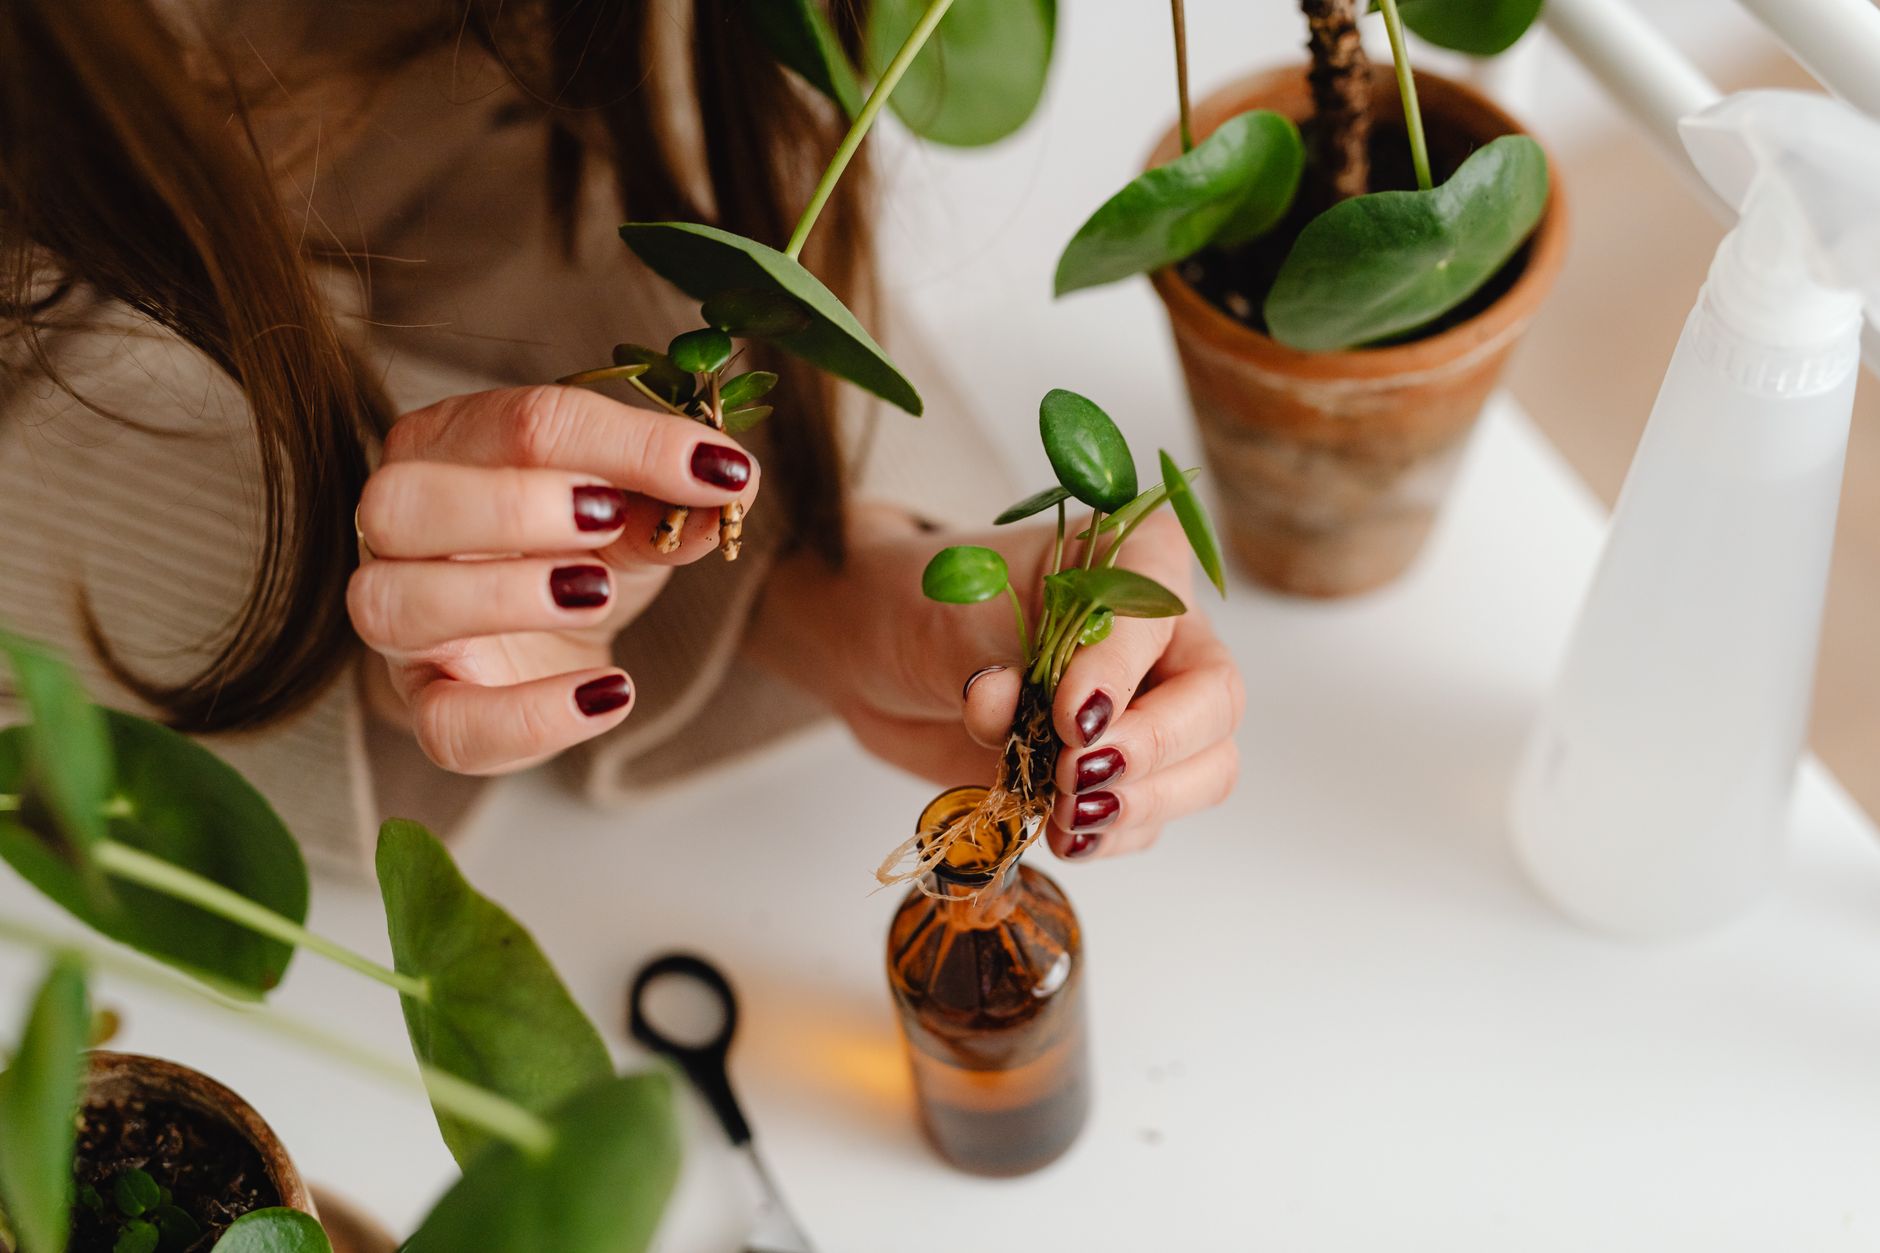
Hydrangeas are best propagated from softwood or semi-hardwood cuttings taken in spring to early summer. Cut 4-6 inch stems below a leaf node, remove lower leaves, dip in rooting hormone, and plant in well-draining soil or place in water. For water propagation, roots appear in 3-5 weeks. For soil propagation, roots develop in 4-6 weeks. Hydrangeas can also be propagated by layering—bending a low branch to the ground and covering it with soil—which has a very high success rate. The key to success is using healthy, non-flowering stems, keeping them out of direct sunlight, and maintaining consistent moisture. Hydrangeas root relatively quickly compared to many other shrubs.
What you will need
Choose the Right Time and Plant Material

Best time: Spring to early summer (May to July) is ideal. Take softwood cuttings in spring when new growth is soft and green. Take semi-hardwood cuttings in early summer when stems have started to firm up.
Choose the right stems: Select healthy, non-flowering stems. Stems with flower buds put energy into blooming, not rooting. Look for stems that are green and flexible.
Morning harvest: Take cuttings in the early morning when the plant is well-hydrated. This reduces wilting.
Mother plant health: Ensure the mother plant is healthy, well-watered, and free from pests and diseases.
After blooming: If you miss the spring window, you can also take cuttings in late summer after the plant has finished blooming.
Take 4-6 Inch Stem Cuttings

Cut length: Take cuttings 4-6 inches (10-15 cm) long. This gives enough stem for rooting and new growth.
Cut angle: Cut just below a leaf node (the bump where leaves attach) at a 45-degree angle. This increases the surface area for rooting.
Sterilize tools: Wipe your pruners with rubbing alcohol before and between cuts to prevent disease spread.
Remove lower leaves: Strip the leaves from the bottom 2-3 inches of the cutting. Leave 2-3 sets of leaves at the top. For large leaves (hydrangeas have big leaves), cut the remaining leaves in half to reduce moisture loss.
Multiple cuttings: Take 5-10 cuttings to increase your chances of success. Hydrangeas root relatively well, but more is always better.
Keep cuttings moist: Place cut stems in a glass of water or wrap in a damp paper towel while preparing the propagation setup.
Dip in Rooting Hormone

Why use rooting hormone: Hydrangeas root relatively well on their own, but rooting hormone speeds up the process and improves success rates. It's especially helpful for semi-hardwood cuttings taken later in the season.
How to apply: Pour a small amount of rooting hormone powder or gel into a separate container (don't dip directly into the bottle to avoid contamination). Dip the cut end (the bottom 1 inch) into the powder or gel. Tap off excess.
Types: Both powder and gel work well. Choose a product labeled for softwood or semi-hardwood cuttings.
Recommended but not required: While hydrangeas can root without hormone, using it will give you faster, more reliable results.
Natural alternatives: Some gardeners use honey or cinnamon, but commercial rooting hormone is more effective.
Water Propagation (Step-by-Step)

Fill the jar: Place the cuttings in a clean glass or jar. Add enough room-temperature water to submerge the bottom 2-3 inches (the leafless part).
Water level: Only the leafless part of the stem should be in water. Leaves submerged in water will rot.
Place in bright, indirect light: A windowsill with filtered light is ideal. Avoid direct sunlight, which can promote algae growth.
Change water regularly: Replace the water every 3-4 days with fresh, room-temperature water. This prevents bacteria growth and provides oxygen.
Watch for roots: Roots typically appear in 3-5 weeks. You'll see small white roots emerging from the cut end.
When to plant: Wait until roots are at least 2 inches long (6-8 weeks). Hydrangea roots from water can be fragile, so handle gently when transplanting.
Note: Some gardeners find that hydrangeas root faster in water than in soil. Water propagation is a great option for this plant.
Soil Propagation (Step-by-Step)

Prepare the soil: Use a well-draining potting mix. A mix of 60% regular potting soil and 40% perlite is ideal. Hydrangeas need good drainage.
Fill the pot: Fill a small pot (3-4 inches) with drainage holes with the soil mix. Moisten the soil slightly (damp, not wet).
Insert the cutting: Make a hole in the soil with a pencil or stick. Insert the cutting about 2-3 inches deep (burying the leafless part of the stem). Gently firm the soil around the cutting.
Water lightly: Water lightly after planting to settle the soil. Then allow the soil to dry slightly between waterings.
Mist regularly: Mist the leaves daily for the first 1-2 weeks to maintain humidity around the cutting.
Cover for humidity: For even better results, cover the pot with a clear plastic bag or humidity dome. This traps moisture and encourages rooting. Remove the bag daily for a few minutes to prevent mold.
Place in bright, indirect light: A warm spot with bright, indirect light is ideal.
Roots appear: In 4-6 weeks, roots will develop. You'll know it's rooted when you see new growth at the top or feel resistance when you gently tug the cutting.
Layering Method (Highly Effective)

What is layering: Layering involves bending a low-growing branch to the ground and covering a section of it with soil. The branch roots while still attached to the mother plant.
How to do it: Select a low, flexible branch. Bend it to the ground. Nick or scrape the bark on the underside of the branch at the point where it touches the soil. Bury that section 2-3 inches deep, leaving the tip exposed. Secure with a rock or landscape pin.
Water and wait: Keep the soil over the layered section moist. In 4-8 weeks, roots will form.
Separate: Once roots are established (you'll see new growth on the tip), cut the branch from the mother plant and transplant the new plant.
Why it works: The branch continues to receive nutrients from the mother plant while developing its own root system. Success rates are 90%+.
Best for: Great for all hydrangea varieties, especially those that don't root easily from cuttings.
Transplant and Care for New Hydrangea Plants

When to transplant (water propagation): Wait until roots are at least 2 inches long (6-8 weeks). Gently remove from water and plant in soil.
When to transplant (soil propagation): Wait until you see new growth at the top or feel resistance when gently tugging the cutting (4-6 weeks).
Choosing a pot: Use a pot with drainage holes (4-6 inches).
Soil: Use well-draining potting soil with perlite.
Aftercare: Place in bright, indirect light for the first week, then gradually move to morning sun. Hydrangeas prefer morning sun and afternoon shade.
Watering: Keep soil consistently moist but not waterlogged. Hydrangeas need regular watering.
Fertilizing: Wait 2-3 months before fertilizing. Then use a balanced, slow-release fertilizer formulated for flowering shrubs.
Winter protection: If you live in a cold climate, protect young plants from harsh winter conditions.
Troubleshoot Common Hydrangea Propagation Problems

Problem: Cutting turns black or mushy in water. Rot caused by bacteria. Remove affected cutting. Change water and sterilize the jar. Try again with fresh cutting.
Problem: Cutting turns brown or wilts in soil. Overwatering or insufficient drainage. Let soil dry out. Ensure pot has drainage holes. Add more perlite.
Problem: No roots after 8 weeks. Not enough light, too cold, or cutting was too woody. Move to brighter, warmer spot. Use softer, younger cuttings next time.
Problem: Leaves turn yellow and drop. Overwatering. Hydrangeas need consistent moisture but not waterlogging. Let soil dry slightly between waterings.
Problem: Leaves wilt despite moist soil. Root rot. Check roots—if they're brown and mushy, the cutting is likely lost. Improve drainage for future attempts.
Common problems and fixes
| Problem | Likely cause | What to do |
|---|---|---|
| Cutting turns mushy in water | Bacteria in water. | Remove affected cutting. Change water and sterilize the jar. Try again with fresh cutting. |
| No roots after 8 weeks | Not enough light, too cold, or woody cutting. | Move to warmer, brighter spot. Try softer, younger cuttings next time. |
| Cutting wilts in soil | Underwatering or overwatering. | Check soil moisture. If dry, water. If wet, let it dry out. Ensure good drainage. |
| Leaves turning yellow | Overwatering. | Let soil dry slightly. Reduce watering frequency. Improve drainage. |
Gardener's checklist
Test what you learned
What type of stem should you use for hydrangea propagation?
Answer: Non-flowering softwood or semi-hardwood stems
How often should you change water when propagating hydrangeas in water?
Answer: Every 3-4 days
What is the most reliable propagation method for hydrangeas?
Answer: Layering
Why should you cut large hydrangea leaves in half when propagating?
Answer: To reduce moisture loss
Common questions
Can I propagate hydrangeas in water?
Yes! Hydrangeas root well in water. Change the water every 3-4 days, and roots will appear in 3-5 weeks. Soil propagation is also effective, but water propagation lets you monitor root development.
How long does it take for hydrangea cuttings to root?
In water, roots appear in 3-5 weeks. In soil, roots appear in 4-6 weeks. Some varieties may take up to 8 weeks.
Can I propagate hydrangeas from a single leaf?
No, hydrangeas need a stem cutting with at least one node for rooting. A single leaf will not produce a new plant.
What is the easiest way to propagate hydrangeas?
Layering is the easiest and most reliable method. Bend a low branch to the ground, cover a section with soil, and wait for roots to form. Success rates are 90%+.
Do I need rooting hormone for hydrangea cuttings?
It's not required, but highly recommended. Rooting hormone speeds up rooting and improves success rates, especially for semi-hardwood cuttings taken later in the season.
Hydrangeas are beautiful, versatile shrubs that are surprisingly easy to propagate. Whether you choose water propagation, soil propagation, or the highly effective layering method, you can multiply your collection and share these gorgeous plants with friends and family. The key to success is taking non-flowering softwood or semi-hardwood cuttings, using rooting hormone, and maintaining consistent moisture without overwatering. Layering is the most reliable method with a 90%+ success rate. With patience and the right technique, your cuttings will root in 4-8 weeks and grow into beautiful new hydrangea plants for your garden.
Frequently asked questions
How often should a vegetable garden be watered?
Frequency depends on weather, soil and plant size. Check the soil rather than watering on a rigid schedule.
Is compost enough fertilizer?
Compost improves soil and provides nutrients slowly. Heavy-feeding crops may still need additional feeding.

The Sproutstead Editorial Team
We create clear, practical gardening and homesteading guides designed for real homes and beginner growers.
View author profile →