
Propagating pothos is one of the easiest ways to grow new plants. Take stem cuttings with at least 3-4 nodes and 2-3 leaves. Remove the lower leaves, leaving 2-3 leaves at the top. Place cuttings in water, ensuring the nodes are submerged but leaves stay above water. Change water weekly. Roots will appear in 2-4 weeks. Once roots are 1-2 inches long, transplant to soil. Alternatively, propagate directly in soil by placing cuttings in moist potting mix. Pothos propagation is fast, reliable, and perfect for beginners.
What you will need
Choose the Right Time to Propagate

The best time to propagate pothos is in spring or summer when the plant is actively growing. During this time, the plant has the most energy and the cuttings root faster and more reliably.
Propagation can be done in fall and winter, but the process will be slower. Cuttings may take longer to root and may be more prone to rot in cooler temperatures.
Propagating during the active growing season ensures the parent plant is healthy and the cuttings have the best chance of success.
If your pothos is stressed, diseased, or recently repotted, wait until it has recovered before taking cuttings.
A healthy parent plant produces the best cuttings. Look for vines with vibrant green leaves and strong stems.
Select the Right Tools and Materials

Use sharp, clean pruning shears or scissors to take cuttings. Dull or dirty tools can crush the stems and introduce bacteria, reducing the chances of successful rooting.
Sterilize your cutting tools with rubbing alcohol before use. This prevents the spread of diseases between plants.
For water propagation, choose a clean glass jar or vase. Clear glass allows you to monitor root development and check for any problems.
For soil propagation, use small pots with drainage holes. The pots should be 3-4 inches in diameter, just large enough for the cuttings.
Use a well-draining potting mix for soil propagation. A mix of potting soil and perlite (70% soil, 30% perlite) provides good drainage and aeration.
Take the Right Cuttings
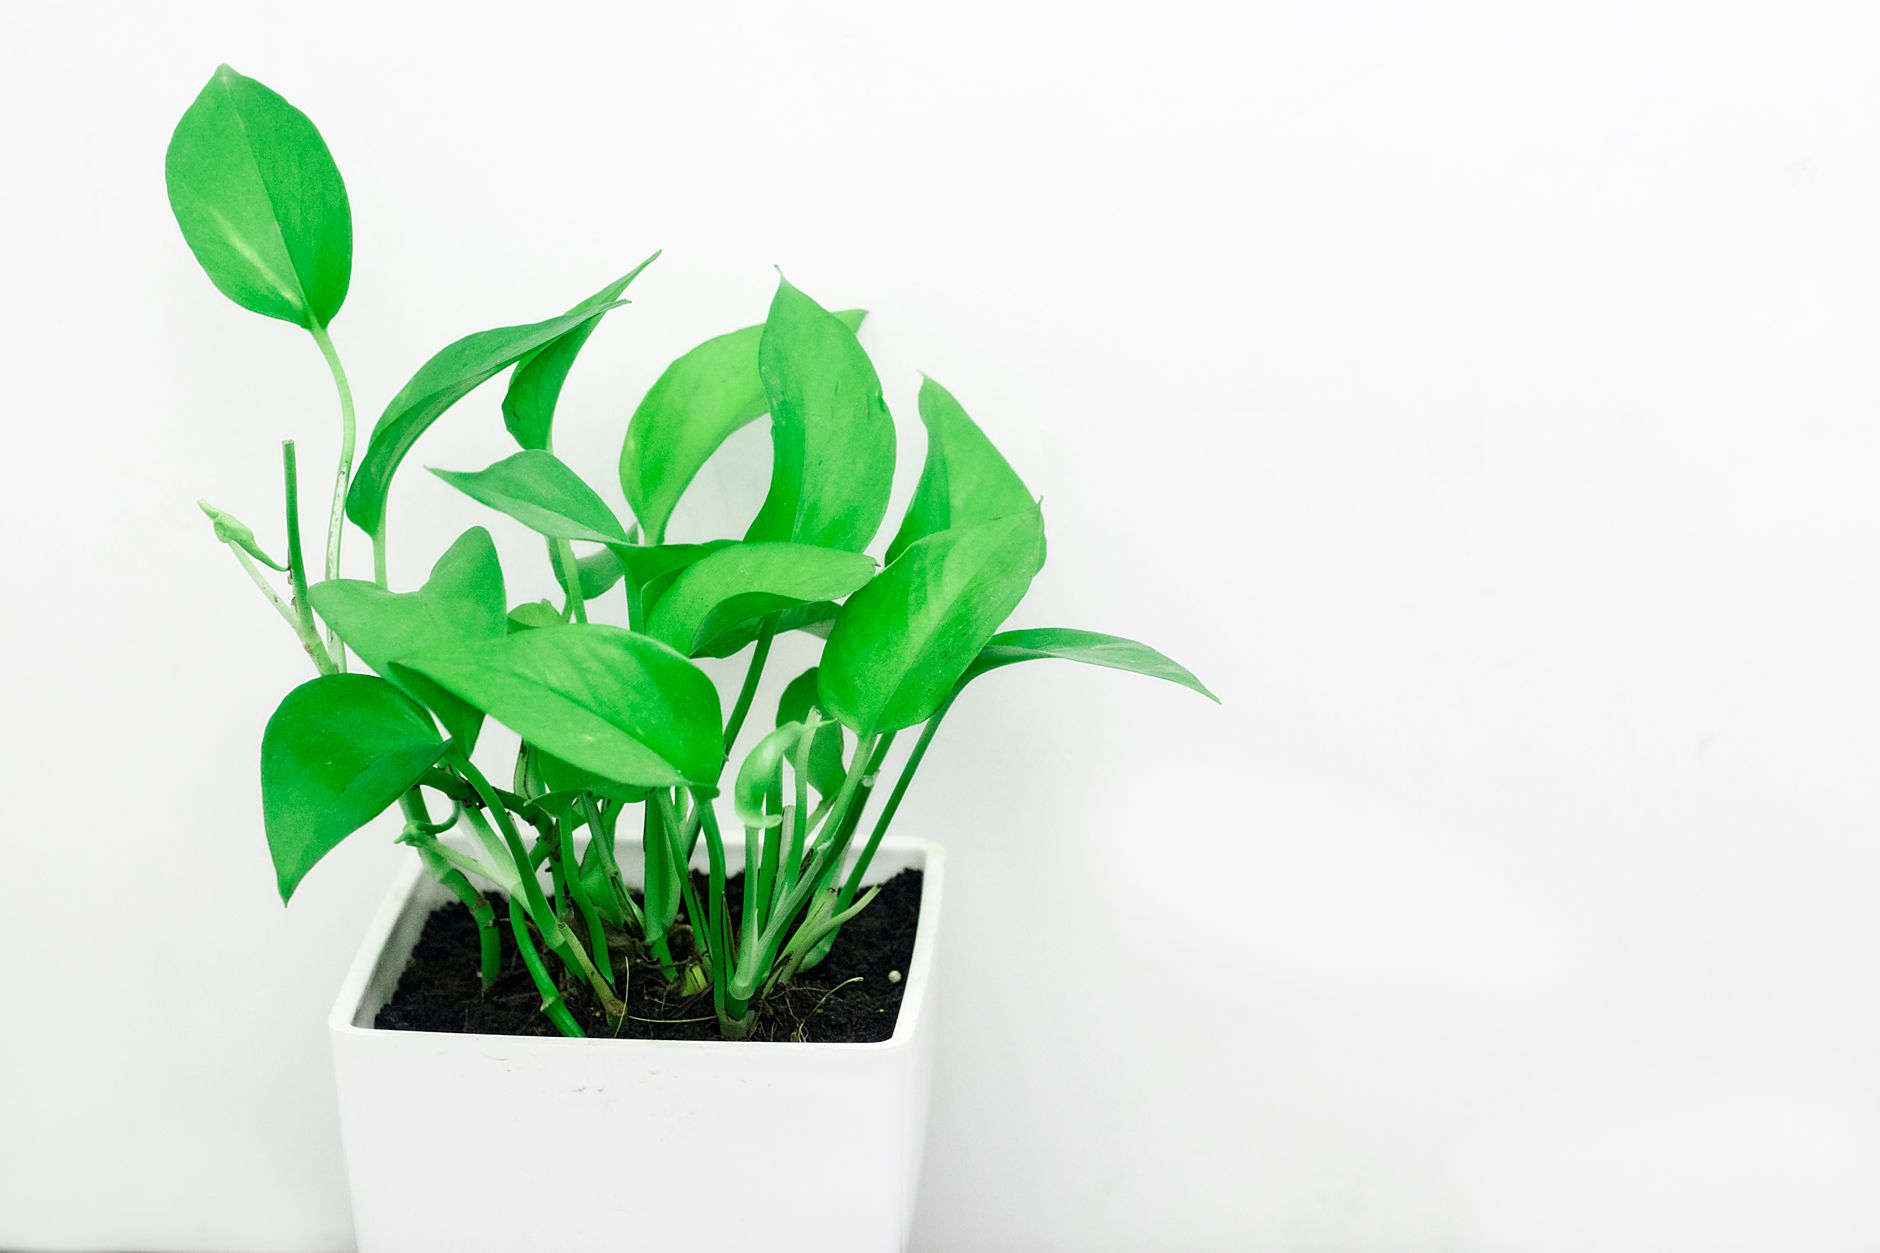
Select a healthy vine with vibrant, green leaves. Look for a vine that is at least 6-8 inches long and has several leaves. Avoid vines that are yellowing, damaged, or diseased.
Cut the stem just below a node. The node is the small bump on the stem where leaves and roots emerge. Each cutting should have at least 3-4 nodes.
Make a clean cut at a 45-degree angle. This creates more surface area for root development and helps prevent the stem from crushing.
Remove the lower leaves from the cutting, leaving 2-3 leaves at the top. The lower leaves would rot in water or soil and can cause the cutting to fail.
Each cutting should be 4-6 inches long with 2-3 leaves. Cuttings that are too long or too short may not root as successfully.
Propagate in Water

Place the cutting in a clean glass jar or vase filled with room temperature water. Ensure that at least 1-2 nodes are submerged in the water. The leaves should stay above the water level.
Place the jar in a location with bright, indirect light. Direct sunlight can cause algae growth and overheat the water. Too little light will slow root development.
Change the water once a week to keep it fresh and oxygenated. Stale water can cause bacterial growth and rot.
Roots will begin to appear in 2-4 weeks. The roots will emerge from the nodes that are submerged in water.
Once the roots are 1-2 inches long, the cutting is ready to be transplanted to soil. Do not wait too long because water roots can be more fragile when transplanted to soil.
Propagate in Soil

Fill small pots with well-draining potting mix. Moisten the soil slightly before planting. The soil should be moist but not waterlogged.
Dip the cut end of the cutting in rooting hormone (optional). Rooting hormone speeds up root development and increases success rates. Pothos roots easily without it, but rooting hormone can give cuttings a head start.
Make a hole in the soil with a pencil or your finger. Insert the cutting into the hole, ensuring at least 1-2 nodes are buried in the soil.
Firm the soil gently around the stem to hold the cutting in place.
Water the cutting lightly and place it in a location with bright, indirect light.
Roots will develop in 3-6 weeks. Gently tug on the cutting to check for resistance, which indicates roots have formed.
Care for Newly Rooted Plants
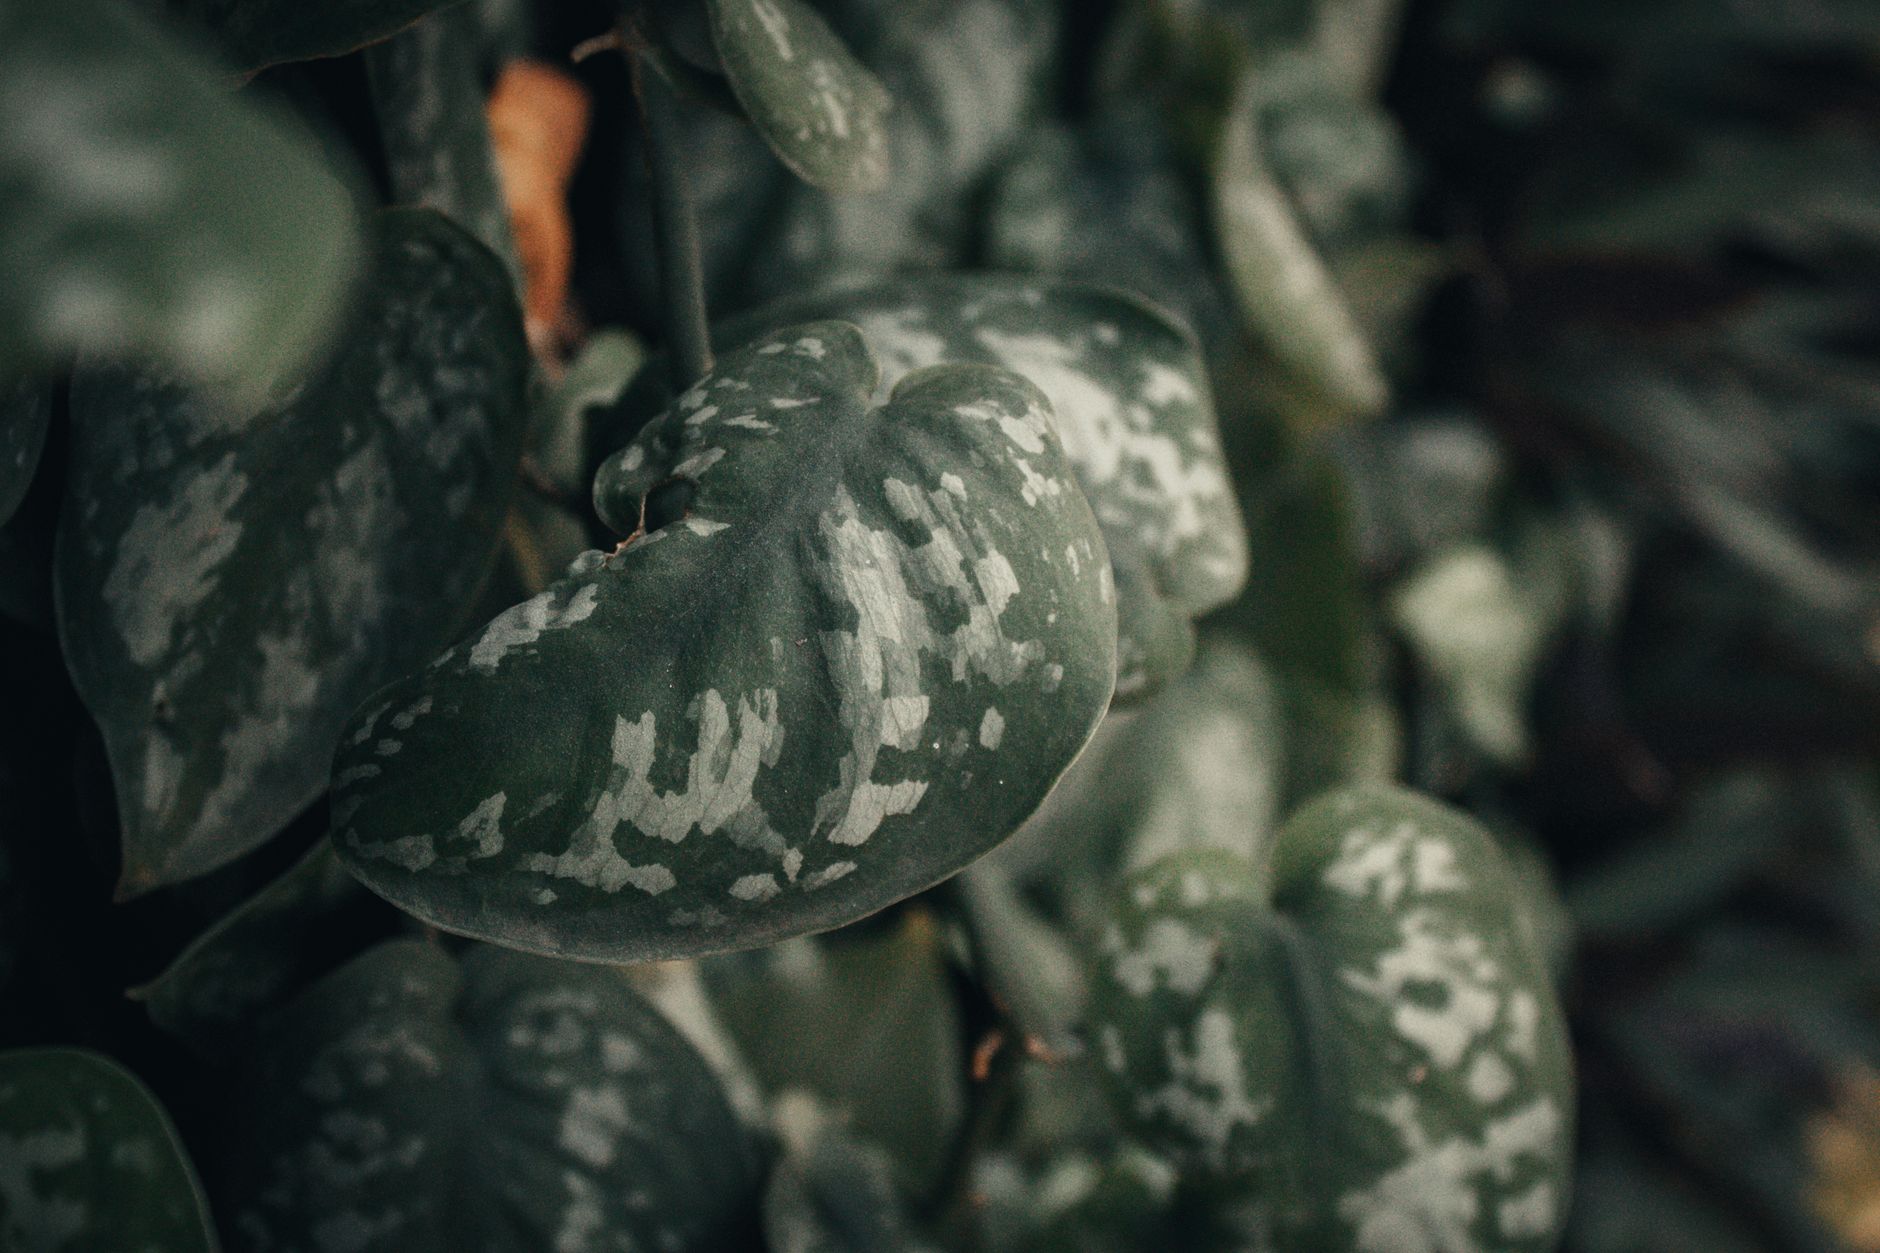
When transplanting water-rooted cuttings to soil, be gentle with the roots. Water roots are more fragile than soil roots. Handle them carefully to avoid breaking them.
Use a small pot with drainage holes. Do not use a pot that is too large because the soil can stay wet for too long and cause rot.
Water the newly potted cutting and place it in bright, indirect light. Keep the soil consistently moist but not waterlogged for the first 2-3 weeks.
After 2-3 weeks, reduce watering and allow the soil to dry slightly between waterings. The plant is now established and can be treated like a mature pothos.
Fertilize after 4-6 weeks with a diluted balanced fertilizer. New roots are sensitive to fertilizer, so start with half the recommended strength.
Troubleshoot Common Propagation Problems

Rotting cuttings are caused by too much moisture or bacteria. In water propagation, change the water weekly and remove any cuttings that look mushy or discolored. In soil propagation, ensure good drainage and do not overwater.
Slow rooting can be caused by low temperatures, insufficient light, or cuttings taken from a stressed parent plant. Place cuttings in a warm spot (65-75°F) with bright, indirect light.
Leaves turning yellow can indicate overwatering or too much direct sun. Move the cuttings to a location with indirect light and reduce watering.
No root development after 4-6 weeks may indicate the cutting was taken from an old or unhealthy vine, or the water was not changed regularly. Take fresh cuttings and try again.
Common problems and fixes
| Problem | Likely cause | What to do |
|---|---|---|
| Cuttings are rotting. | Too much moisture or bacteria. | Change water weekly. Remove mushy cuttings. Ensure good drainage in soil. |
| Roots are not developing. | Low temperature, insufficient light, or unhealthy cutting. | Place in warm spot (65-75°F) with bright, indirect light. Take fresh cuttings. |
| Leaves are turning yellow. | Overwatering or too much direct sun. | Reduce watering. Move to location with indirect light. |
| Roots are brown and mushy. | Root rot from bacteria or stale water. | Change water. Trim mushy roots. Try again with fresh cuttings. |
Gardener's checklist
Test what you learned
How many nodes should each pothos cutting have?
Answer: 3-4 nodes
How often should you change water in water propagation?
Answer: Once a week
When should you transplant water-rooted cuttings to soil?
Answer: When roots are 1-2 inches long
What type of light do propagating pothos cuttings need?
Answer: Bright, indirect light
Common questions
How long does it take for pothos cuttings to root in water?
Pothos cuttings typically root in 2-4 weeks when propagated in water. Root development depends on temperature, light, and the health of the cutting.
Can I propagate pothos from a single leaf?
No. A single leaf without a node will not grow into a new plant. You need a stem cutting with at least one node (the small bump where roots emerge).
Is rooting hormone necessary for pothos propagation?
No. Pothos roots easily without rooting hormone. However, rooting hormone can speed up the process and increase success rates, especially in soil propagation.
Can I propagate pothos in winter?
Yes, but propagation is slower in winter because the plant is in a dormant phase. Cuttings may take longer to root. Spring and summer are ideal for propagation.
How long do water-rooted pothos cuttings last before transplanting?
Water-rooted cuttings can stay in water for several months, but they grow best when transplanted to soil once roots are 1-2 inches long. Prolonged water growth can make roots more fragile.
Propagating pothos is one of the easiest and most rewarding ways to grow new plants. Take stem cuttings with 3-4 nodes and 2-3 leaves, remove the lower leaves, and place them in water or soil. Change water weekly in water propagation, and keep soil moist but not wet in soil propagation. Roots will develop in 2-4 weeks in water or 3-6 weeks in soil. Once roots are 1-2 inches long, transplant to soil. With proper care, your new pothos plants will grow into beautiful, trailing houseplants that you can enjoy or share with friends and family.
Frequently asked questions
How often should a vegetable garden be watered?
Frequency depends on weather, soil and plant size. Check the soil rather than watering on a rigid schedule.
Is compost enough fertilizer?
Compost improves soil and provides nutrients slowly. Heavy-feeding crops may still need additional feeding.

The Sproutstead Editorial Team
We create clear, practical gardening and homesteading guides designed for real homes and beginner growers.
View author profile →

