
Spider plants are incredibly easy to propagate from the baby plants (spiderettes or pups) that grow on long stems from the mother plant. Simply cut off a spiderette with a few roots attached, place it in water or soil, and watch it grow. For water propagation, roots appear in 1-2 weeks. For soil propagation, roots establish in 2-3 weeks. You can also divide a mature plant by separating the root ball into sections. Spider plants are one of the easiest houseplants to propagate—success rates are 95%+ with proper technique. The key is to use healthy, well-rooted spiderettes and avoid overwatering.
What you will need
Understand Spider Plant Propagation Methods
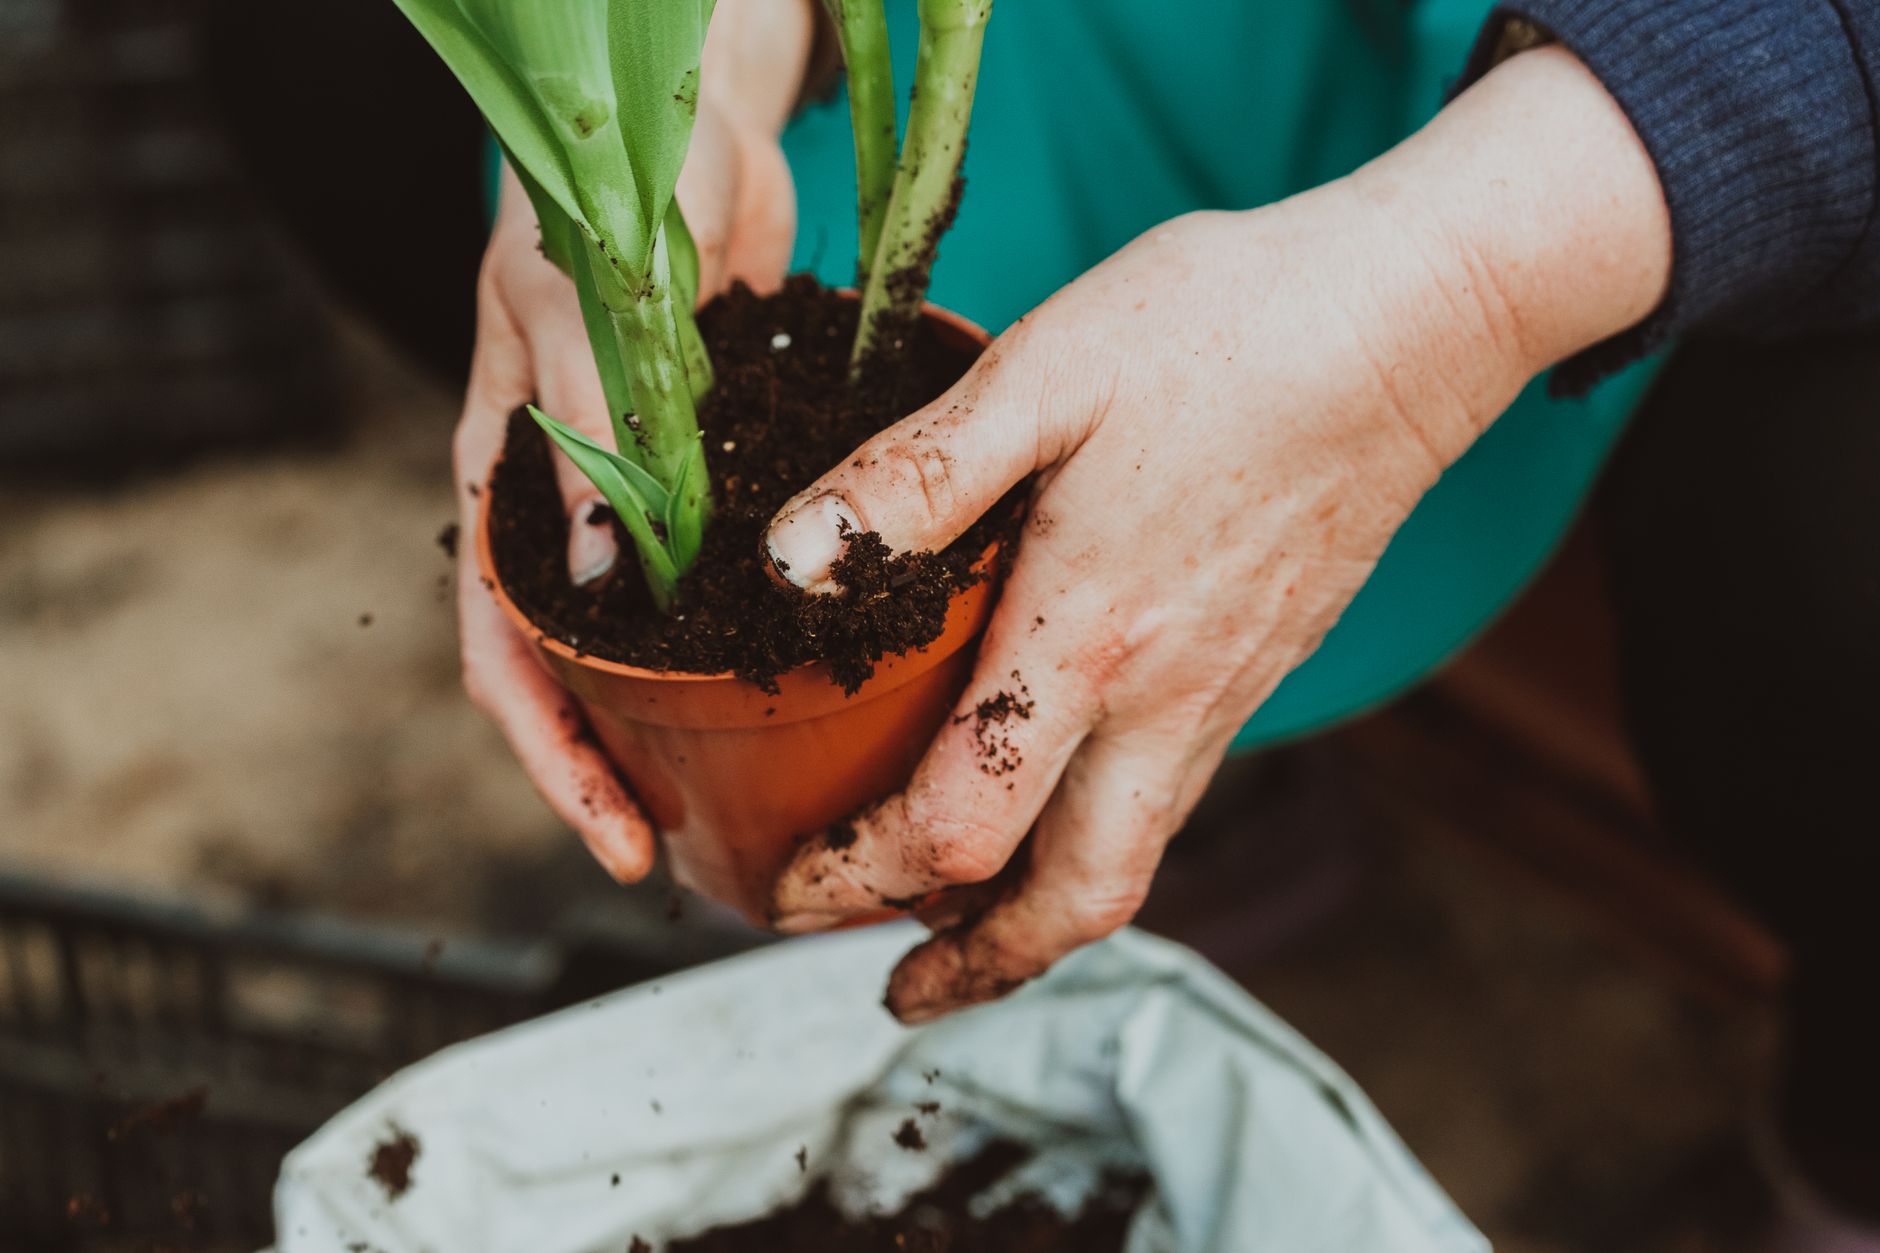
Spiderettes (Pups): Spider plants produce baby plants on long stems (stolons) that hang from the mother plant. These spiderettes have their own roots (or will develop them). This is the easiest and most common method.
Water Propagation: Place spiderette cuttings in water until roots develop, then transplant to soil. This method is fun to watch and works very well.
Soil Propagation: Plant spiderette cuttings directly in soil. They root quickly and avoid the stress of transitioning from water to soil.
Division: For mature, overgrown spider plants, divide the root ball into sections and pot each section individually. This gives you instant mature plants.
Which method is best? Spiderettes in water are the easiest for beginners—you can see the roots grow. Soil propagation is equally effective and avoids transplant shock.
Identify Ready-to-Propagate Spiderettes
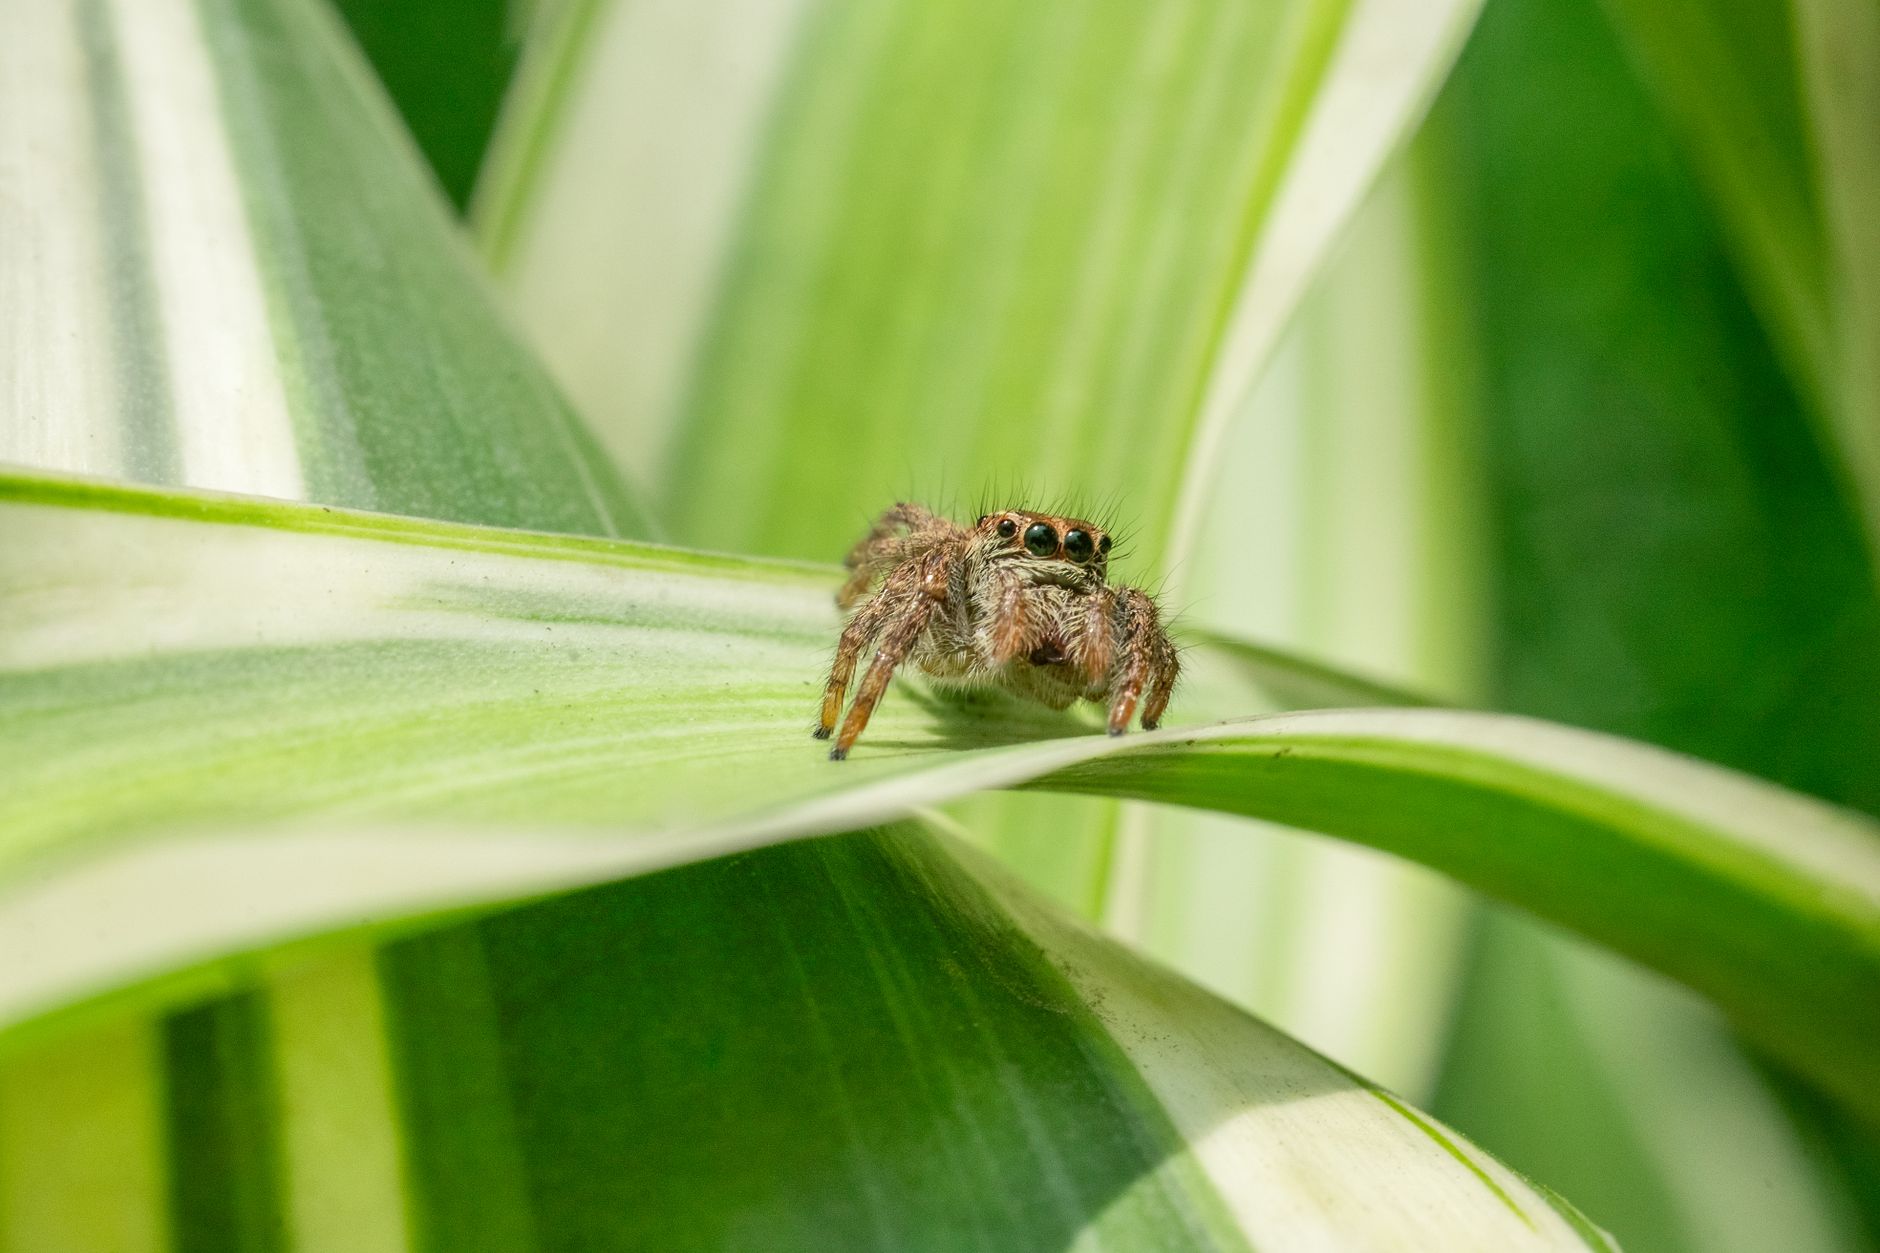
Minimum size: Spiderettes should be at least 3-4 inches long with 3-5 leaves. Smaller ones may not have enough energy to root and grow.
Roots: Look for spiderettes that have visible roots (small, white or brown nubs). Some spiderettes root while still attached to the mother plant. These are ideal.
If no roots: Spiderettes without roots can still be propagated, but they take longer to root. Place them in water—they'll develop roots in 1-2 weeks.
Healthy appearance: Choose spiderettes that look healthy—green leaves (or variegated), no yellowing, and no signs of damage.
Multiple spiderettes: A healthy spider plant can produce dozens of spiderettes. You can propagate multiple at once.
Remove Spiderettes from the Mother Plant

Use sterilized scissors: Wipe your scissors with rubbing alcohol to prevent disease spread.
Cut the stolon: Cut the long stem (stolon) about 1 inch from the base of the spiderette. Leave a small stub attached to the baby plant.
Remove the stolon: If the spiderette already has roots, you can cut the stolon closer to the mother plant and separate it completely.
Don't pull: Never pull the spiderette off the mother plant—you could damage both plants. Always cut.
How many to take: You can take as many spiderettes as you want, as long as the mother plant remains healthy. Most plants can produce dozens.
Water Propagation (Step-by-Step)
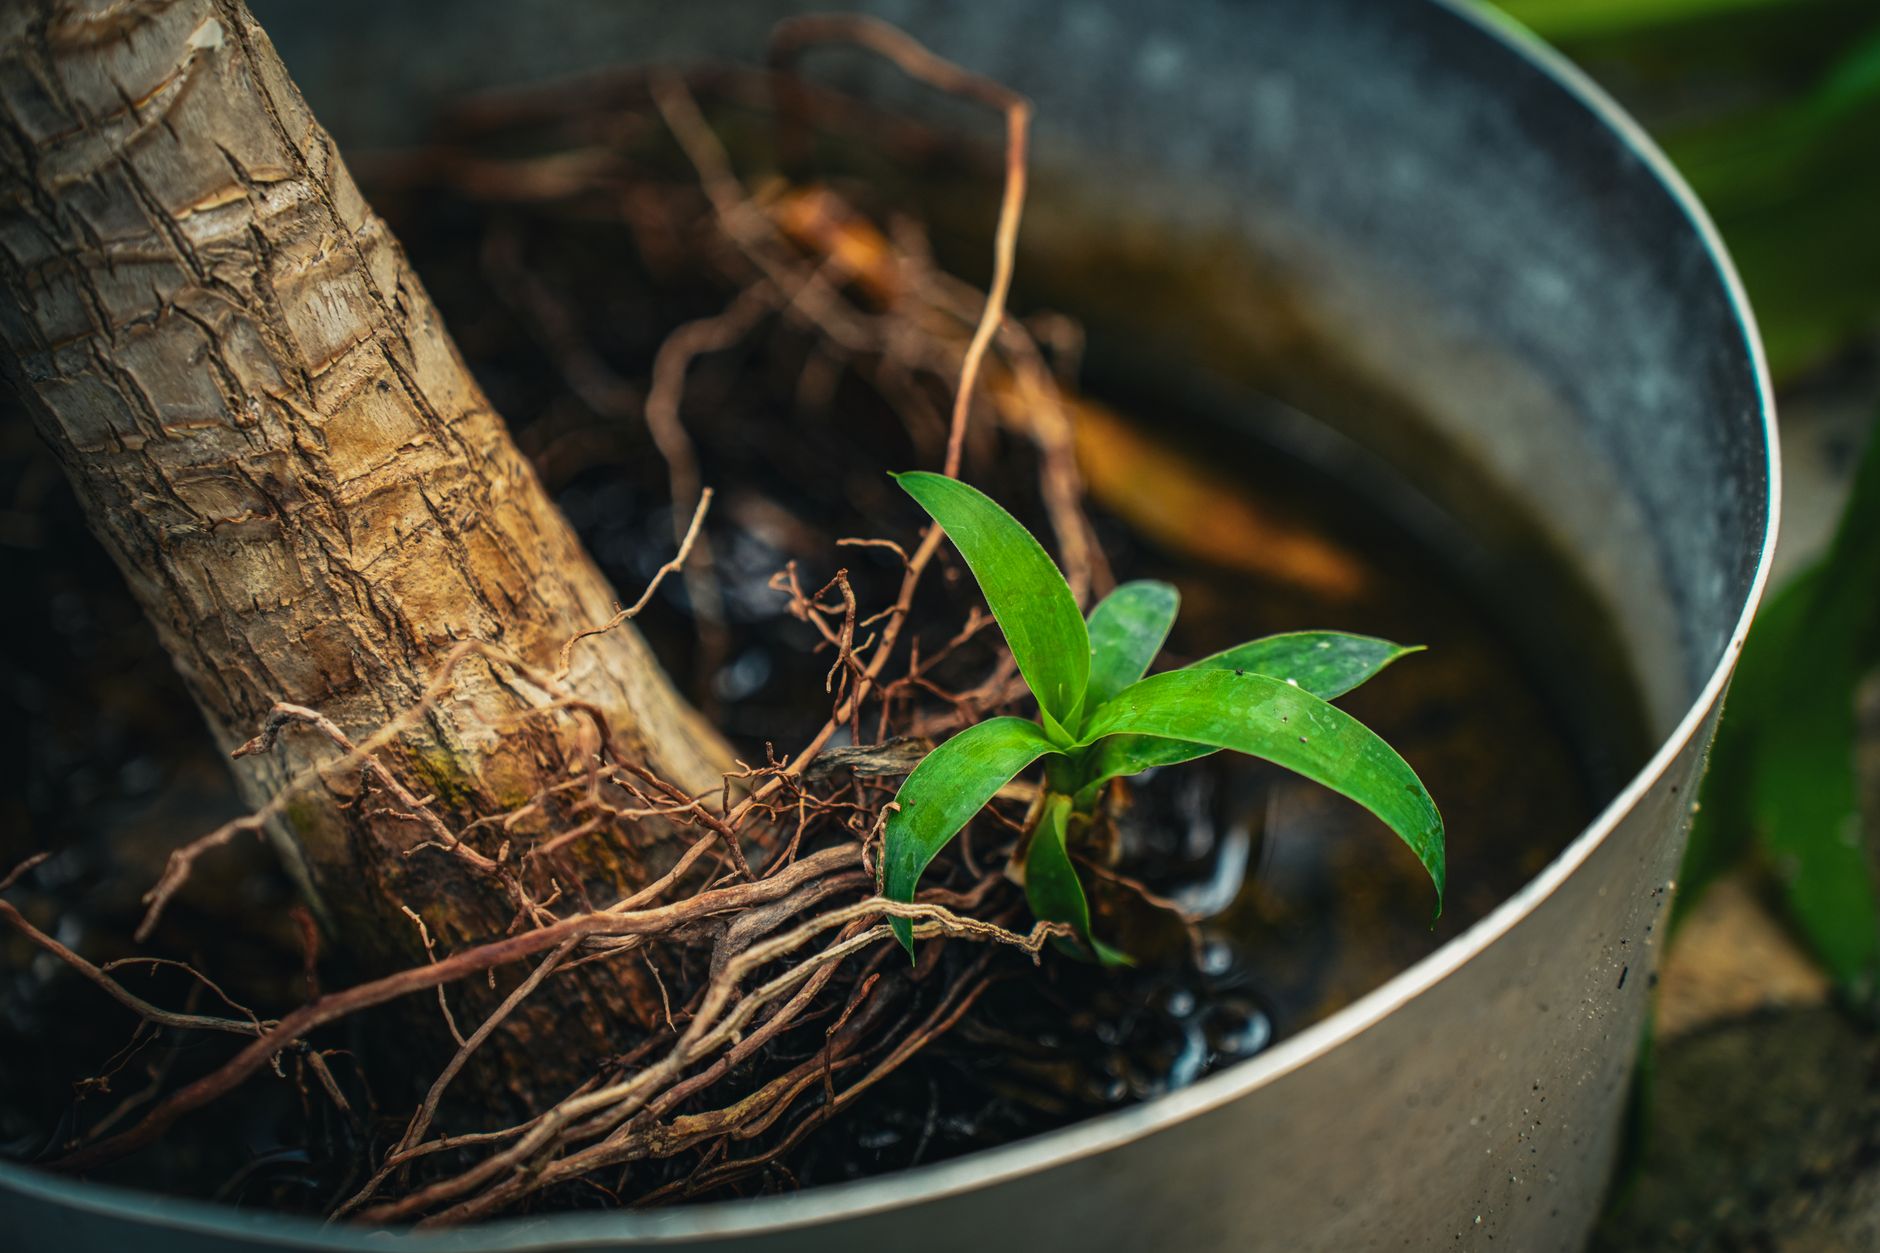
Fill the jar: Place the spiderette in a clean glass or jar. Add enough room-temperature water to submerge the base of the spiderette where the roots will emerge.
Water level: Only the very bottom of the spiderette should be in water—don't submerge the leaves.
Place in bright, indirect light: A windowsill with filtered light is ideal. Avoid direct sunlight.
Change water weekly: Replace the water every week with fresh, room-temperature water. This prevents bacteria growth.
Watch for roots: Roots typically appear in 1-2 weeks. In 3-4 weeks, you'll have a good root system (1-2 inches).
When to plant: Wait until roots are at least 1-2 inches long (3-4 weeks). Then transplant to soil.
Note: Spider plants root very easily in water—this is the most beginner-friendly method.
Soil Propagation (Step-by-Step)
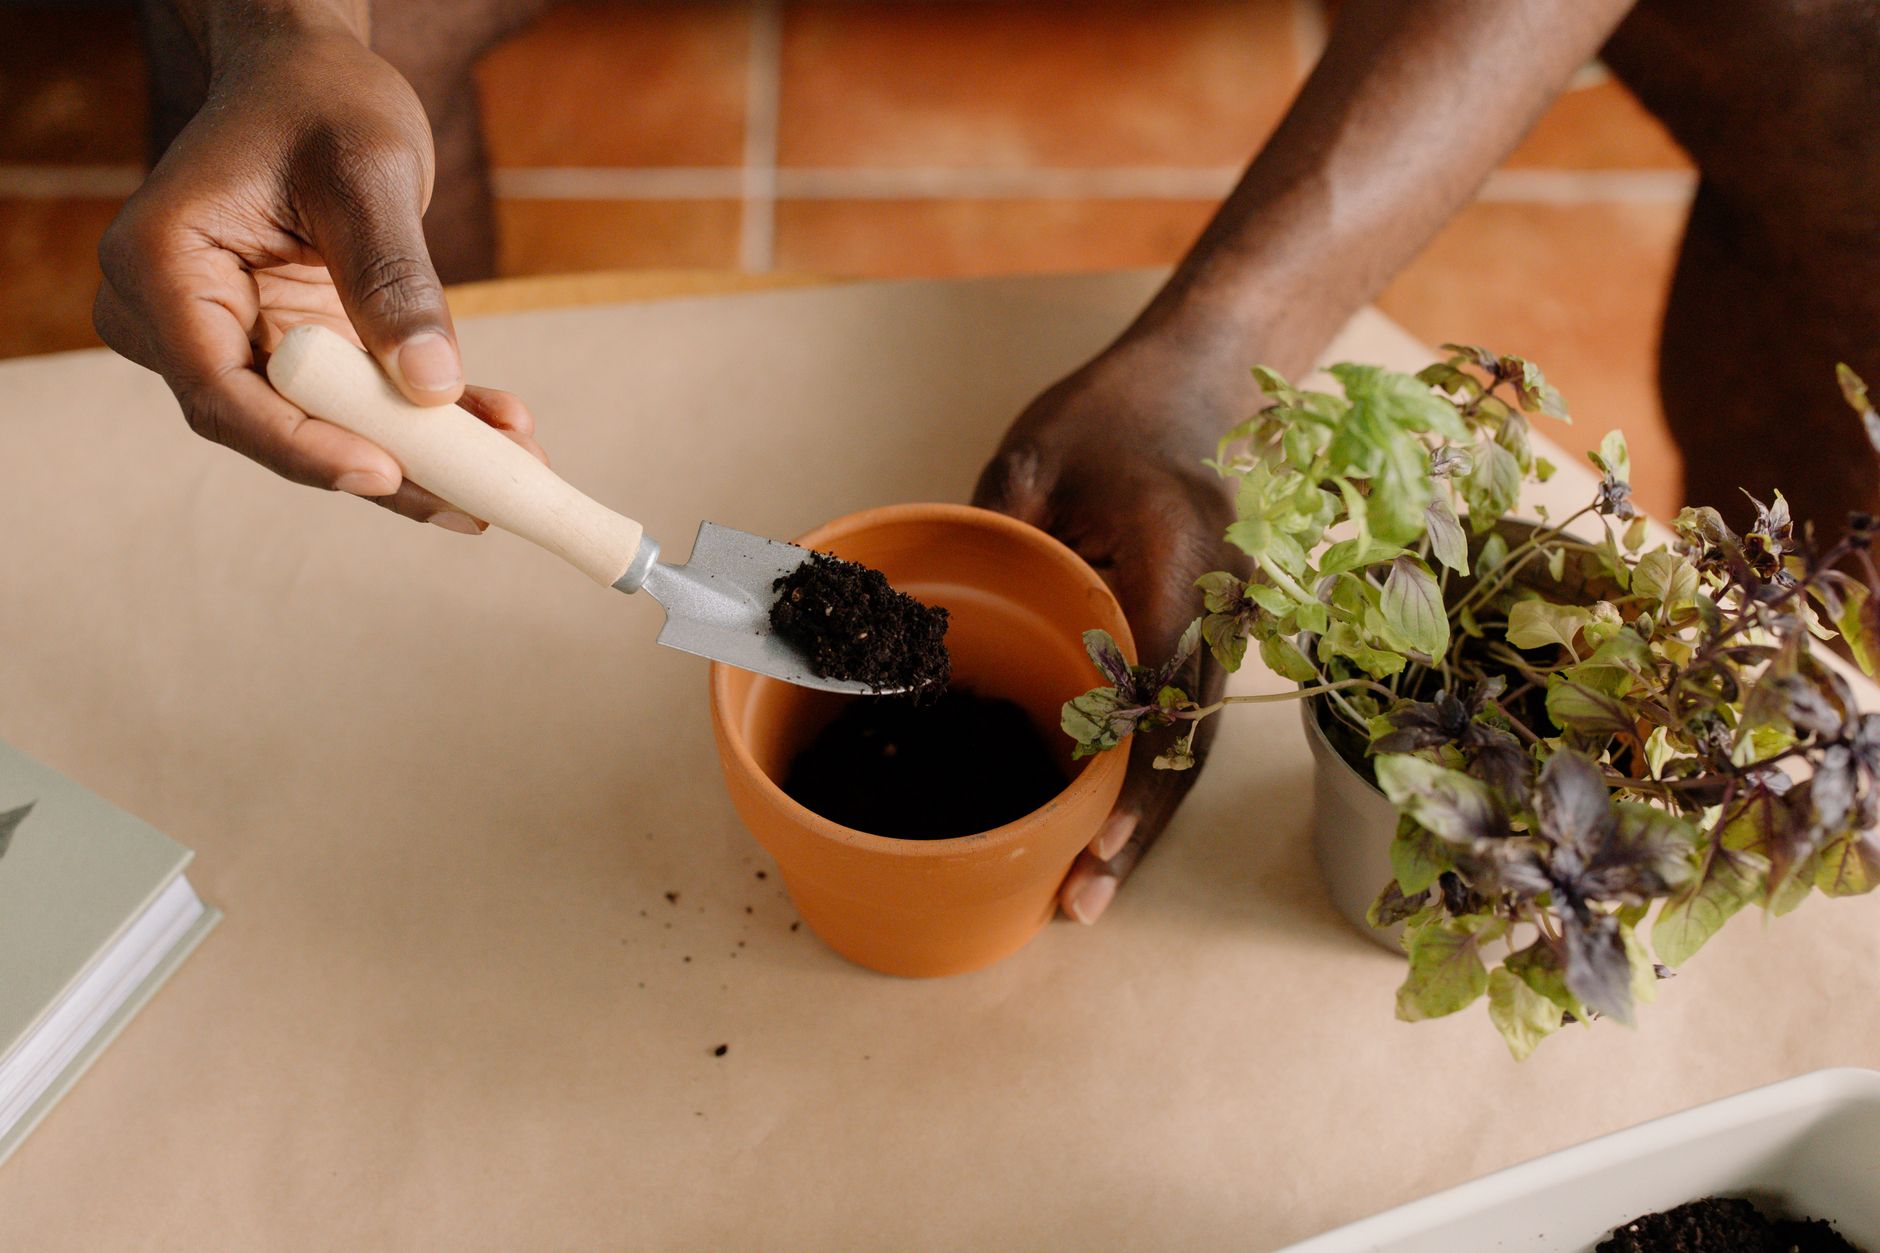
Prepare the soil: Use well-draining potting soil. A mix of regular potting soil with 20-30% perlite is ideal.
Fill the pot: Fill a small pot (3-4 inches) with drainage holes with the soil mix. Moisten the soil slightly (damp, not wet).
Plant the spiderette: Make a small hole in the soil with your finger or a pencil. Place the spiderette's base in the hole and gently cover with soil. The base should be at soil level, with leaves above.
Water lightly: Water lightly after planting to settle the soil. Then allow the soil to dry slightly between waterings.
Place in bright, indirect light: A warm spot with bright, indirect light is ideal.
Roots appear: In 2-3 weeks, roots will establish. You'll know it's rooted when you see new growth or feel resistance when gently tugging the plant.
Success rate: Spider plants have a very high success rate in soil—95%+.
Division Method (For Mature Plants)
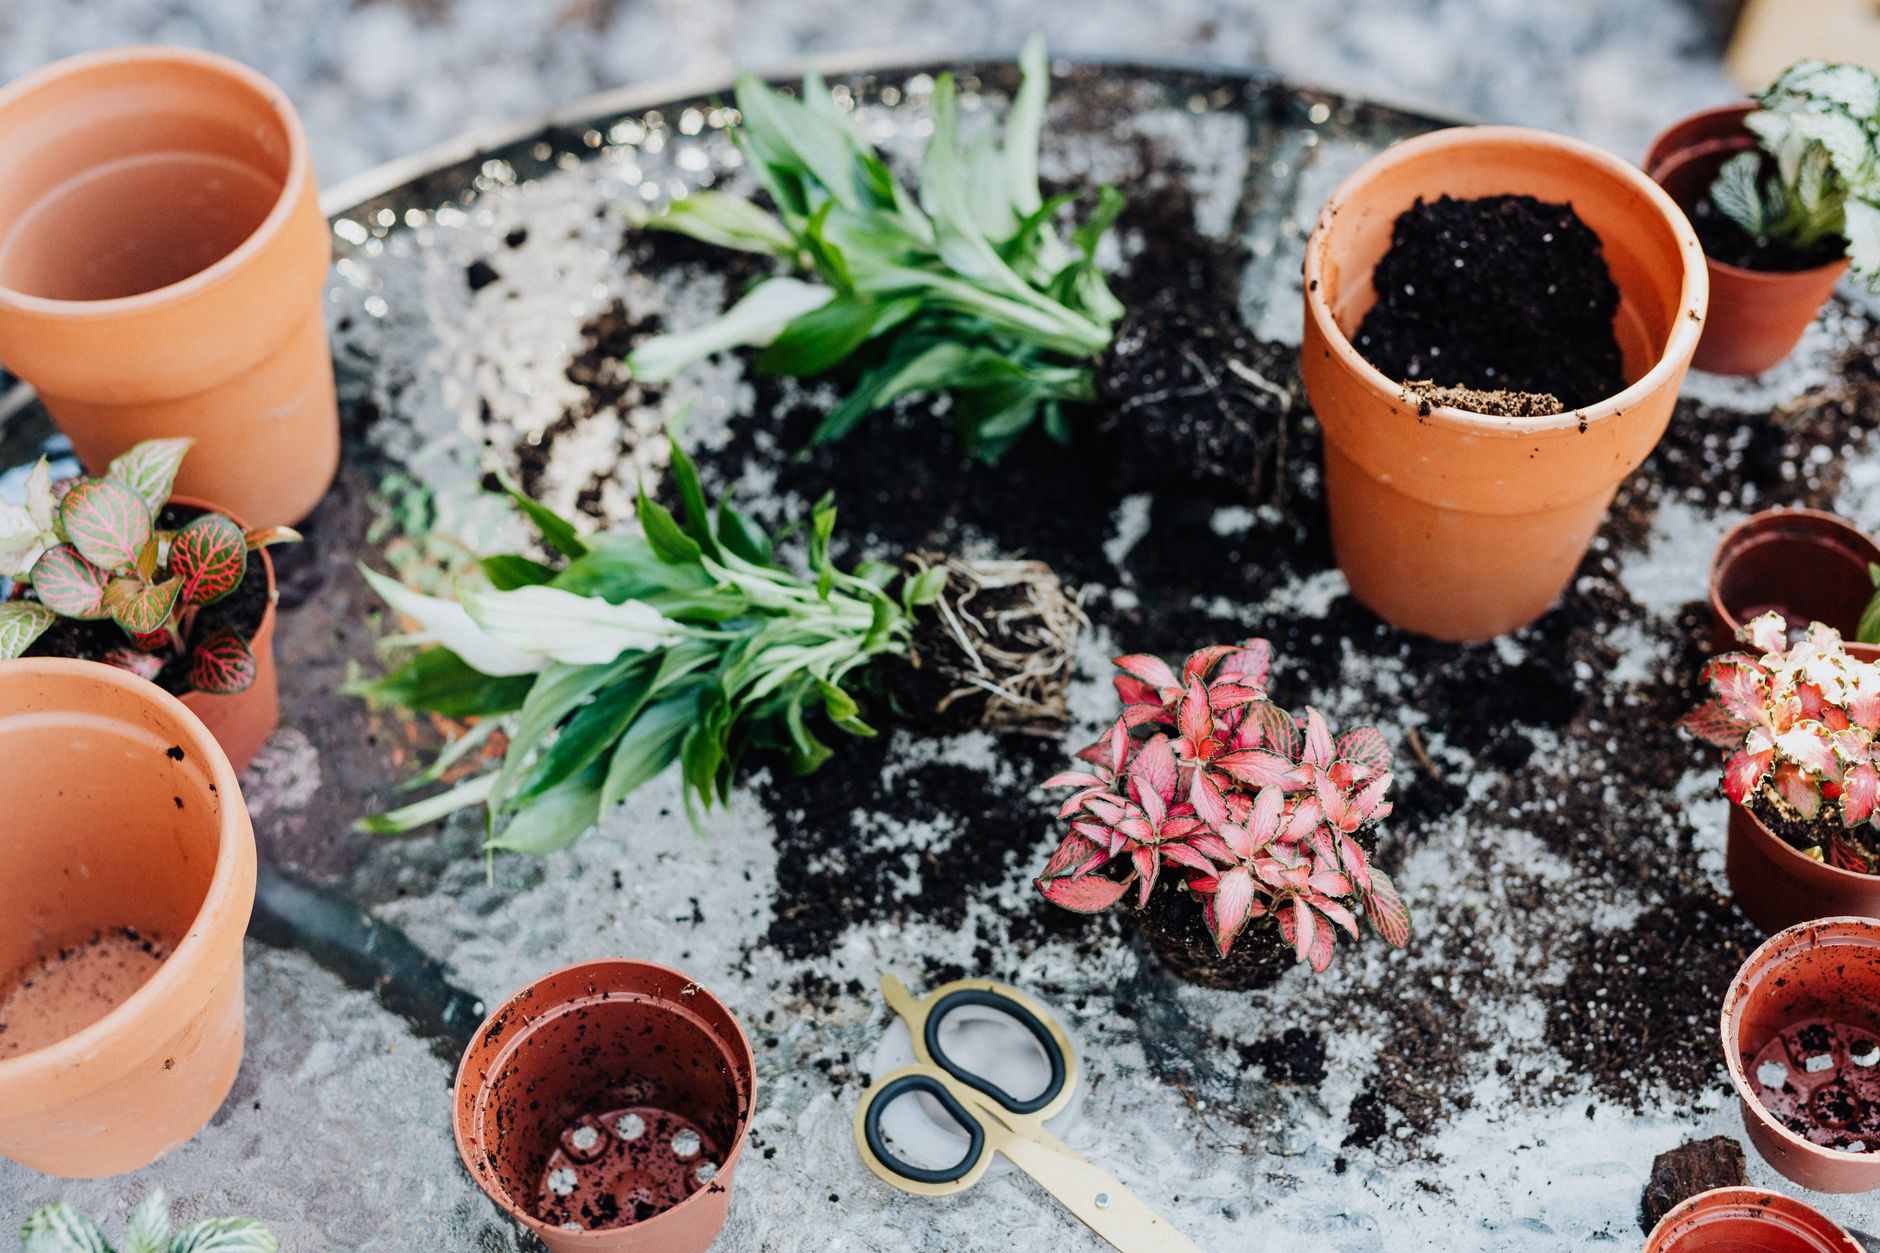
When to divide: Spring to summer is the best time. Divide when the plant is pot-bound or has multiple crowns.
Remove the plant: Carefully remove the spider plant from its pot. Gently shake off excess soil to expose the root ball.
Separate the sections: Using your hands or a clean knife, gently separate the plant into sections. Each section should have its own roots and at least 3-5 leaves.
Pot each section: Plant each divided section in its own pot with fresh, well-draining soil.
Water and place: Water lightly and place in bright, indirect light.
Why division works: Division produces mature plants immediately—no waiting for roots to develop. It's the best way to multiply a large plant quickly.
Transplant and Care for New Spider Plants
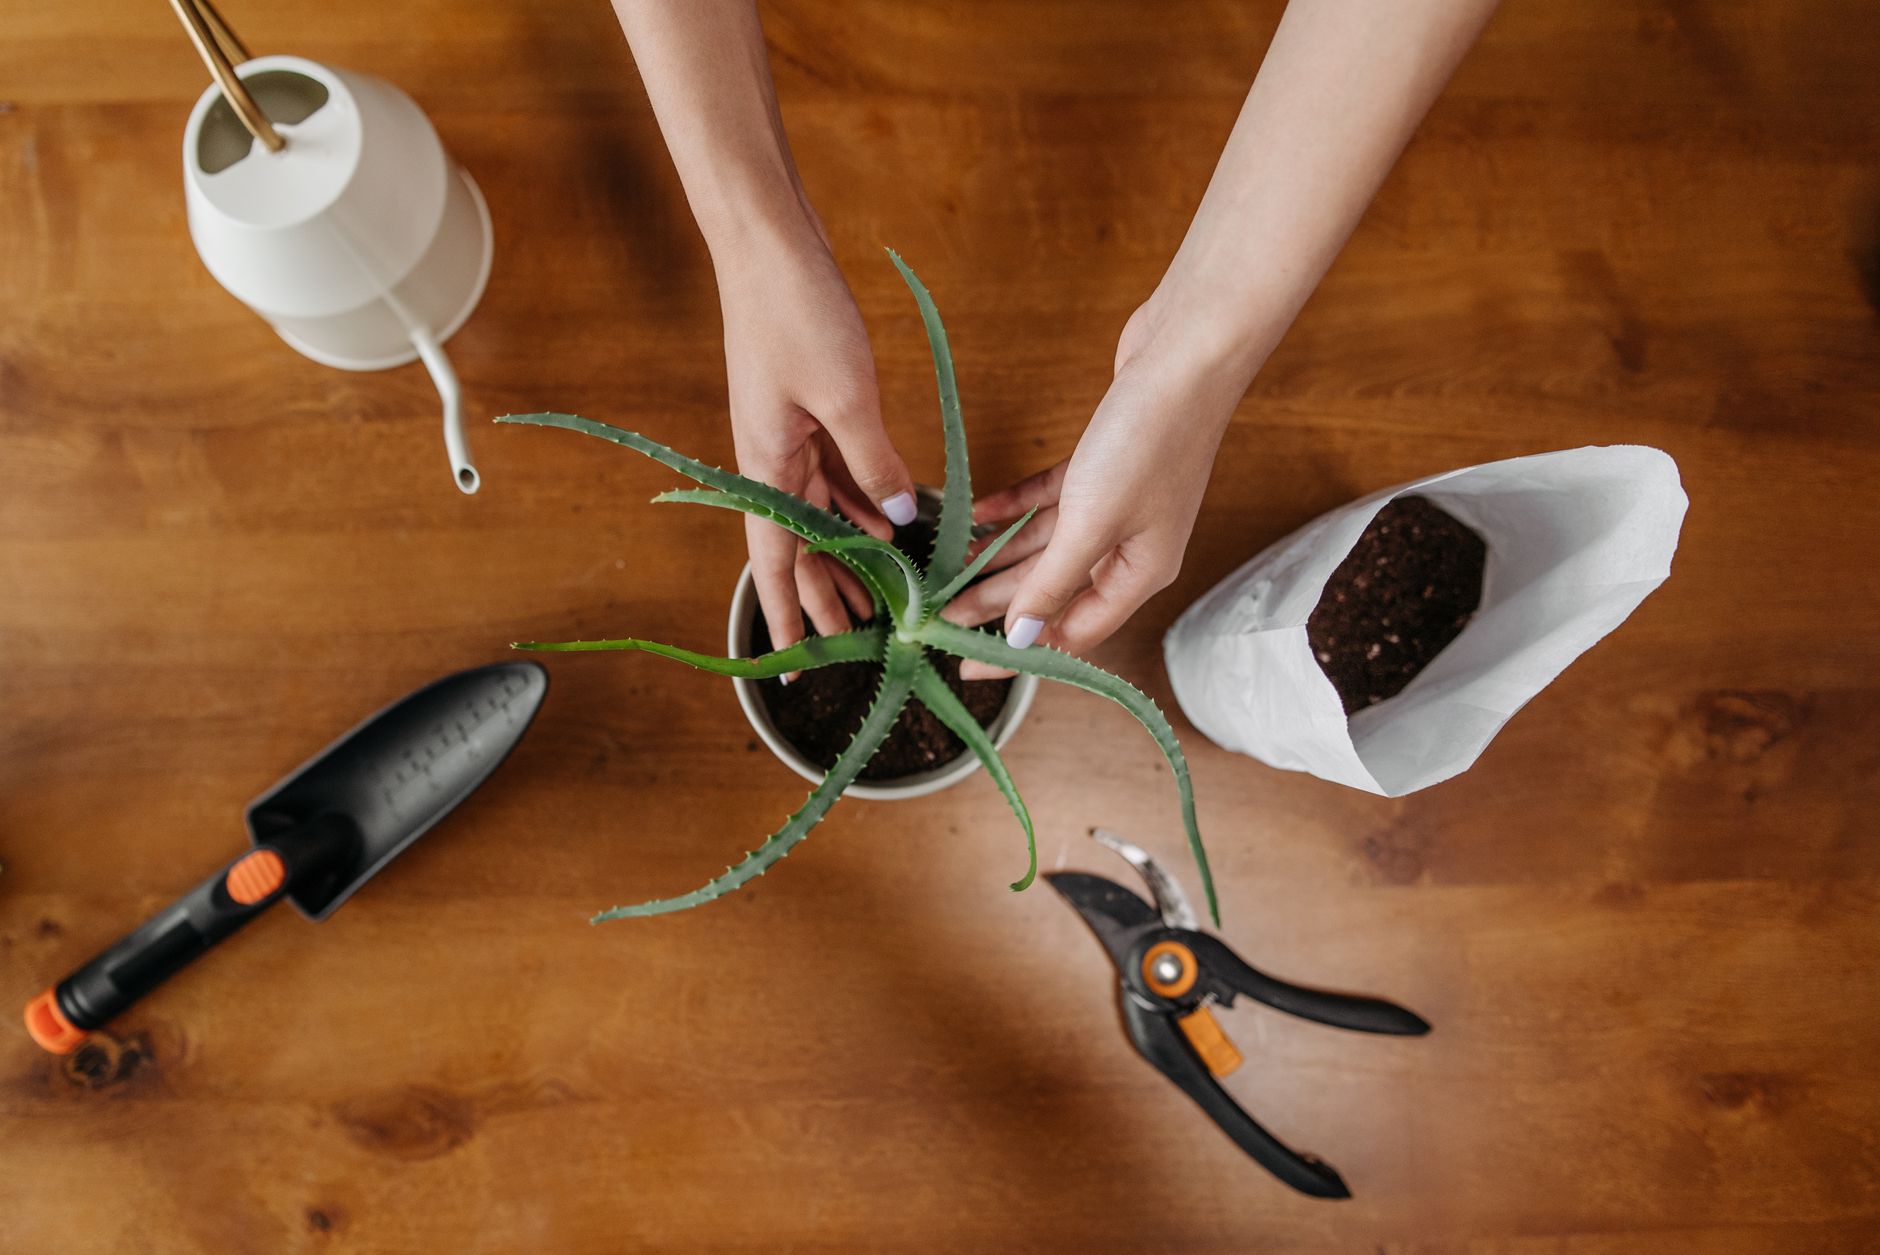
When to transplant (water propagation): Wait until roots are at least 1-2 inches long (3-4 weeks).
When to transplant (soil propagation): Wait until you see new growth or feel resistance when gently tugging (2-3 weeks).
Choosing a pot: Use a small pot with drainage holes (3-4 inches). Spider plants produce tuberous roots and don't need a large pot initially.
Soil: Use well-draining potting soil with perlite.
Aftercare: Place in bright, indirect light for the first week, then move to brighter light. Spider plants tolerate a range of light conditions.
Watering: Water when the top inch of soil feels dry. Spider plants prefer consistent moisture but don't like to be waterlogged.
Fertilizing: Wait 2-3 months before fertilizing. Then use a balanced liquid fertilizer diluted to half strength during the growing season.
Growth: Spider plants grow quickly—they can reach full size in 6-12 months.
Troubleshoot Common Spider Plant Propagation Problems
Problem: Spiderette turns brown or mushy in water. Rot from bacteria. Remove affected spiderette. Change water and sterilize the jar. Try again with a fresh spiderette.
Problem: Spiderette turns brown or wilts in soil. Overwatering. Let soil dry out. Ensure the pot has drainage holes.
Problem: No roots after 4 weeks (water propagation). Too cold or not enough light. Move to a warmer, brighter spot.
Problem: Leaves have brown tips. Usually low humidity or fluoride in the water. Use filtered or distilled water. Increase humidity around the plant.
Problem: Plant is not growing. Not enough light or nutrients. Move to a brighter spot. Start fertilizing if established.
Common problems and fixes
| Problem | Likely cause | What to do |
|---|---|---|
| Spiderette turns mushy in water | Bacteria in water or submerged leaves. | Remove affected spiderette. Change water and sterilize jar. Only submerge the base. |
| No roots after 4 weeks (water) | Too cold or not enough light. | Move to warmer, brighter spot. Spider plants root best in 65-75°F. |
| Spiderette wilts in soil | Underwatering or overwatering. | Check soil moisture. If dry, water. If wet, let it dry out. |
| Brown tips on leaves | Fluoride in water or low humidity. | Use filtered or distilled water. Increase humidity around the plant. |
Gardener's checklist
Test what you learned
What is the easiest way to propagate spider plants?
Answer: Spiderettes (pups)
How long does it take for spider plant spiderettes to root in water?
Answer: 1-2 weeks
What causes brown tips on spider plant leaves?
Answer: Fluoride in water
How often should you change water when propagating spider plants in water?
Answer: Weekly
Common questions
Can you propagate spider plants from a single leaf?
No, spider plants need the base of a spiderette (pup) with a node to root. Single leaves won't produce a new plant.
How many spiderettes can one spider plant produce?
A healthy spider plant can produce dozens of spiderettes over its lifetime. Some plants have been known to produce 50+ at once.
Can spider plants live in water permanently?
Spider plants can live in water for extended periods, but they grow better in soil long-term. Water-grown plants often become nutrient-deficient without proper fertilization.
Why does my spider plant have brown tips?
Brown tips are usually caused by fluoride in tap water. Use filtered or distilled water. Brown tips can also be caused by low humidity or over-fertilizing.
How long does it take for a propagated spider plant to grow to full size?
With proper care, a spider plant can reach full size in 6-12 months from propagation. Growth rate depends on light, water, and nutrients.
Spider plants are among the easiest houseplants to propagate—perfect for beginners and experienced gardeners alike. The spiderettes (pups) that grow on long stems from the mother plant are nature's way of giving you new plants. Simply cut them off, place them in water or soil, and watch them grow. Water propagation is especially rewarding because you can see the roots develop in real-time. With a success rate of 95%+, spider plants are virtually foolproof to propagate. Soon you'll have more spider plants than you know what to do with—perfect for sharing with friends and family.
Frequently asked questions
How often should a vegetable garden be watered?
Frequency depends on weather, soil and plant size. Check the soil rather than watering on a rigid schedule.
Is compost enough fertilizer?
Compost improves soil and provides nutrients slowly. Heavy-feeding crops may still need additional feeding.

The Sproutstead Editorial Team
We create clear, practical gardening and homesteading guides designed for real homes and beginner growers.
View author profile →

