Make sourdough starter by mixing equal parts flour and water in a jar, then feeding it the same equal parts of fresh flour and water once a day for 7-14 days until it consistently doubles in size within 4-8 hours of feeding, becomes full of bubbles, and smells pleasantly tangy. Once active, it can be maintained indefinitely with regular feedings.
What you will need
Understand What a Sourdough Starter Actually Is

A sourdough starter is a living culture of wild yeast and lactic acid bacteria that naturally exist on grain, in flour, and in the air around your kitchen, captured and cultivated simply by mixing flour and water together and letting nature take its course over time.
Unlike commercial yeast, which is a single cultivated strain, a sourdough starter contains a diverse community of wild yeasts and bacteria working together; the yeasts produce the carbon dioxide gas that makes bread rise, while the bacteria produce lactic and acetic acid, which give sourdough bread its characteristic tangy flavor.
This is why no two sourdough starters, even ones started with identical ingredients in different kitchens, ever taste exactly the same; the specific wild yeast and bacteria strains present vary by region, season, and even by the specific flour and water used.
Once established, a starter is essentially self-sustaining as long as it's fed regularly, and many bakers maintain the same starter for years, even decades, some even passing down starters that have been kept alive for generations within a family.
Choose Your Flour and Water

Whole wheat flour or rye flour are the best choices for the first several days of starting a new culture, since they contain more of the bran and germ portions of the grain, which host significantly more of the wild yeast and nutrients that fuel early fermentation compared to refined all-purpose flour.
Once your starter is established and active, typically after the first week, you can transition to all-purpose flour for ongoing feedings if you prefer its milder flavor and more predictable baking behavior, though many bakers continue including a small percentage of whole wheat or rye in every feeding for added vigor.
Use filtered, bottled, or dechlorinated water rather than water straight from the tap if your municipal water is heavily chlorinated, since chlorine is specifically designed to kill microorganisms and can slow or even prevent the wild yeast and bacteria from establishing themselves.
To dechlorinate tap water simply, let it sit uncovered at room temperature for about 24 hours before use, which allows most of the chlorine to evaporate naturally, or simply use water that's already been boiled and cooled.
Water temperature matters too; use room-temperature water rather than cold water straight from the refrigerator, since cold water can noticeably slow down the fermentation activity you're trying to encourage in these early, critical days.
Mix Your Starter for Day One

In a clean glass jar, combine 50 grams of whole wheat or rye flour with 50 grams of room-temperature water, stirring thoroughly until no dry flour remains and the mixture forms a thick, smooth paste.
Using a kitchen scale rather than measuring cups is strongly recommended for sourdough starter maintenance, since flour can vary significantly in weight depending on how it's scooped, and precise, consistent ratios matter for predictable fermentation results.
Cover the jar loosely with a breathable cloth secured by a rubber band, a coffee filter, or a lid that isn't fully tightened, since the culture needs airflow to develop properly, and a completely airtight seal can actually cause pressure buildup as fermentation gases accumulate.
Place a rubber band around the outside of the jar at the current level of the mixture, or mark the level directly on the glass with a marker, which gives you an easy visual reference point for tracking how much the starter rises after each subsequent feeding.
Set the jar in a warm spot in your kitchen, ideally around 70-75°F, such as on top of the refrigerator, inside a turned-off oven with the light on, or near (but not directly touching) any other consistently warm household appliance.
Feed Your Starter Daily

Starting on day two, and continuing once daily at roughly the same time each day, discard all but about 50 grams of your existing starter, then feed the remainder with another 50 grams of flour and 50 grams of room-temperature water, stirring thoroughly.
The discard step, while it can feel wasteful to new bakers, is actually essential; it keeps the overall volume manageable and provides fresh flour for the yeast and bacteria to consume, preventing the mixture from becoming overly acidic too quickly, which can actually inhibit the very yeast you're trying to cultivate.
In the first few days, you may see little to no visible activity at all, which is completely normal; the culture is still in an early establishment phase, often dominated temporarily by less desirable bacteria before the wild yeast population becomes strong enough to compete effectively.
By days 3-5, you should start noticing small bubbles forming and a slight rise after each feeding, along with the mixture developing a distinctly sour, sometimes even slightly unpleasant smell, both signs that fermentation activity is genuinely underway even if it isn't yet strong enough to reliably raise bread.
Continue this daily discard-and-feed routine consistently through days 7-14, watching for the starter to become progressively more active, bubbly, and predictable in its rise and fall pattern with each passing feeding cycle.
Recognize the Signs Your Starter Is Ready
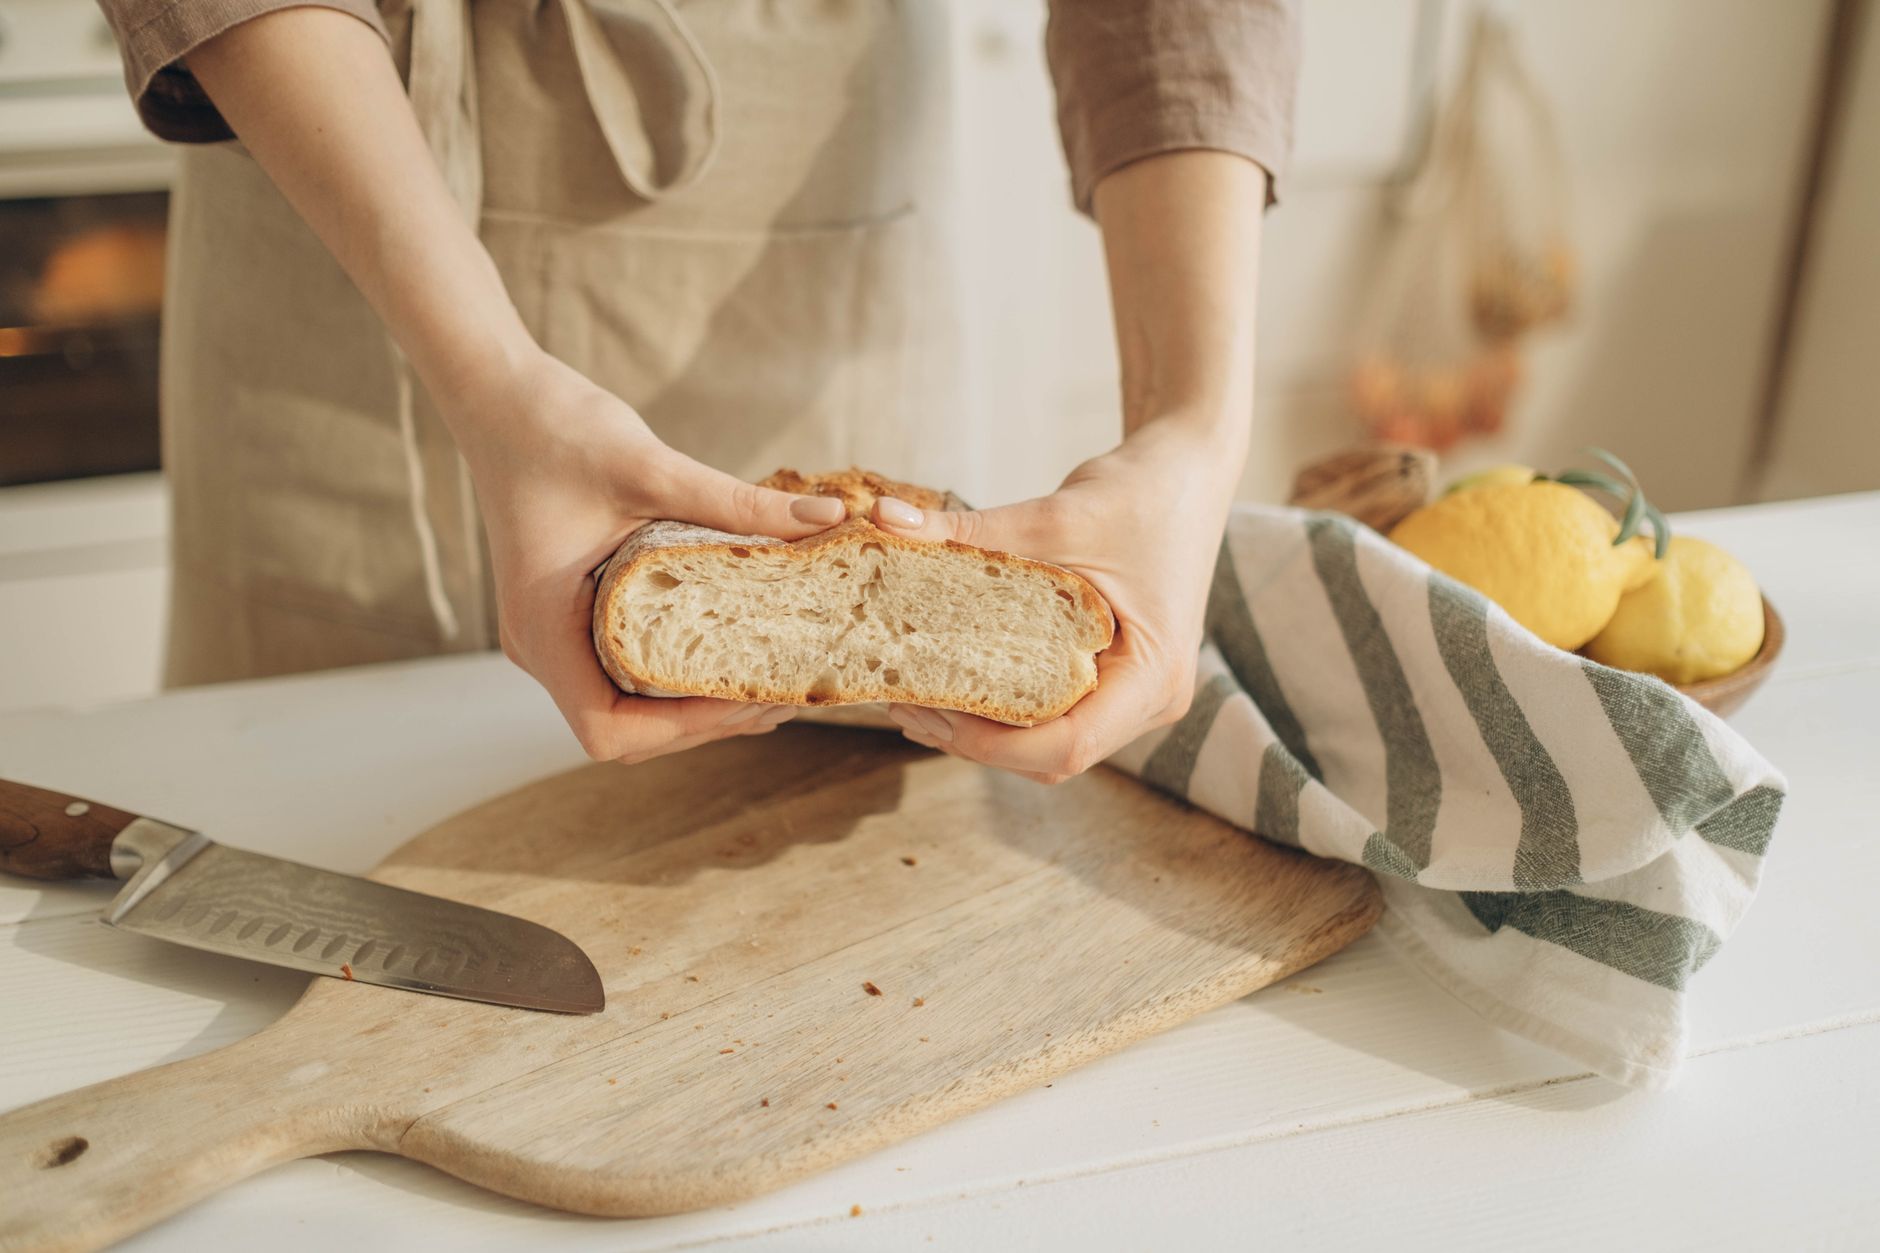
A fully established starter should reliably double in size within 4-8 hours of a feeding, consistently and predictably, rather than showing sporadic or unpredictable activity that varies significantly from one feeding to the next.
The texture should be light, airy, and full of visible bubbles throughout, not just on the surface; gently stirring a mature starter reveals bubbles distributed evenly through the whole mixture rather than concentrated only at the top.
The smell should have developed into a pleasant, tangy, slightly yeasty aroma, sometimes described as similar to yogurt or beer, rather than the harsh, unpleasant, almost nail-polish-remover-like smell that's common and completely normal during the earlier establishment days.
Perform a simple float test to confirm readiness: drop a small spoonful of active starter, ideally right at its peak rise, into a glass of room-temperature water; a starter that floats has enough trapped gas to indicate it's active enough to properly leaven bread.
Once your starter consistently passes these signs across two or three consecutive feedings, it's genuinely ready to be used in baking, and you can transition from twice-daily testing to a more relaxed, sustainable long-term feeding schedule.
Maintain Your Starter Long-Term

If you bake frequently, several times a week, keep your starter at room temperature and continue feeding it once daily, discarding and replenishing with fresh flour and water using the same 1:1:1 ratio you established during the initial creation process.
If you bake less frequently, store the starter in the refrigerator instead, which dramatically slows down fermentation activity and allows you to feed it just once a week rather than daily, making long-term maintenance far more practical for casual or occasional bakers.
Before baking with a refrigerated starter, take it out and feed it once daily for 1-2 days at room temperature to reactivate its full strength and vigor, since cold storage causes activity to slow considerably even though the culture itself remains alive and viable.
A dark liquid sometimes called 'hooch' may form on top of a starter that hasn't been fed in a while; this is simply alcohol produced as a natural byproduct of fermentation and is not a sign of spoilage, though you can either stir it back in for a more sour flavor or pour it off before feeding if you prefer a milder result.
For extended breaks from baking, such as vacations lasting several weeks, a starter can also be dried into flakes and stored indefinitely at room temperature, then rehydrated with water when you're ready to bake again, offering a genuinely low-maintenance long-term backup option.
Troubleshoot Common Starter Problems

If your starter shows absolutely no activity at all after a full week of consistent daily feeding, try moving it to a warmer location, since fermentation slows dramatically in cool kitchens, and even a difference of just 5-10 degrees can significantly speed up or slow down the entire establishment process.
If your starter develops any pink, orange, or fuzzy mold-like growth, rather than the normal grayish liquid hooch, this indicates genuine contamination and unfortunately means the starter should be discarded and restarted fresh with clean equipment, since these growths aren't safe to simply stir back in or remove.
If your starter seems to plateau early, becoming consistently active but never quite doubling reliably, try switching to a higher percentage of whole wheat or rye flour in your feedings for a few days, since the added nutrients can sometimes push a stalled culture past a plateau.
If your starter smells overwhelmingly like acetone or nail polish remover for an extended period beyond the first week, it's typically a sign of hunger between feedings; try feeding twice daily for a few days instead of once, which provides more consistent nourishment and often resolves the smell.
Remember that slight day-to-day variation in your starter's activity level is completely normal and expected, influenced by everything from kitchen temperature to flour freshness, so don't be discouraged by minor inconsistencies once your starter has otherwise clearly matured.
Common problems and fixes
| Problem | Likely cause | What to do |
|---|---|---|
| No bubbles or rise after a full week of feeding | Kitchen temperature too cool, chlorinated water, or inconsistent feeding schedule. | Move the starter to a warmer spot around 70-75°F, switch to filtered water, and maintain strict daily feeding consistency. |
| Strong, unpleasant acetone or nail polish smell | The starter is hungry between feedings, producing excess acetic acid as a byproduct. | Feed twice daily for a few days instead of once, and consider using a slightly larger feeding ratio to provide more sustained nourishment. |
| Pink, orange, or fuzzy growth on the surface | Contamination from unwanted mold or harmful bacteria, distinct from the normal grayish liquid hooch. | Discard the contaminated starter entirely and begin a fresh batch with clean equipment and a new jar. |
| Starter rises but never quite doubles | Insufficient nutrients from the current flour, or a culture that hasn't fully matured yet. | Switch to a higher percentage of whole wheat or rye flour for several feedings, and be patient through the full establishment window. |
Gardener's checklist
Test what you learned
What ratio is used for standard sourdough starter feedings?
Answer: Equal parts starter, flour, and water (1:1:1)
Why is discarding part of the starter before each feeding important?
Answer: It keeps volume manageable and provides fresh food for the culture
What does the float test confirm?
Answer: That the starter is active enough to leaven bread
What should you do if pink or fuzzy growth appears on your starter?
Answer: Discard the starter and begin fresh
Common questions
How long does it take to make a sourdough starter from scratch?
Most starters take 7-14 days of consistent daily feeding to become reliably active enough for baking, though this timeline can vary somewhat depending on kitchen temperature, flour type, and even seasonal differences in ambient wild yeast populations.
Can I use all-purpose flour for the entire process?
Yes, though whole wheat or rye flour is generally recommended for at least the first several days, since these whole grain flours contain more of the nutrients and wild yeast needed to jumpstart fermentation. Many bakers switch to all-purpose flour for ongoing maintenance once the starter is established.
What is the dark liquid on top of my starter?
This is called hooch, and it's simply alcohol produced naturally as a byproduct of fermentation when a starter hasn't been fed recently. It's not harmful and can either be stirred back in for extra tang or poured off before feeding.
Do I need to feed my starter every single day forever?
Only if you keep it at room temperature and bake frequently. Storing the starter in the refrigerator slows fermentation dramatically, allowing you to feed it just once a week, which is far more practical for occasional bakers.
A sourdough starter is simply flour, water, and patience; once you understand what signs to watch for and maintain consistent feeding, you'll have a living culture that can produce bread for years, even generations, to come.
Frequently asked questions
How often should a vegetable garden be watered?
Frequency depends on weather, soil and plant size. Check the soil rather than watering on a rigid schedule.
Is compost enough fertilizer?
Compost improves soil and provides nutrients slowly. Heavy-feeding crops may still need additional feeding.

The Sproutstead Editorial Team
We create clear, practical gardening and homesteading guides designed for real homes and beginner growers.
View author profile →