Make wine at home by crushing ripe fruit (grapes or other fruit), adding sugar if needed to reach adequate alcohol potential, and fermenting with wine yeast for 1-2 weeks in a primary fermenter, then racking (siphoning) into a sealed secondary vessel for several months of clearing and aging. Total time from start to a genuinely well-developed finished wine typically ranges from 6 months to a year, though a basic drinkable wine can be ready sooner.
What you will need
Choose Your Fruit

Wine grapes, specifically varieties bred for winemaking rather than table eating, offer the traditional and often most reliable starting point, given their naturally balanced sugar and acid content for fermentation.
Many other fruits work well too, including blackberries, elderberries, plums, and apples, each producing distinctly different, interesting wine styles beyond traditional grape wine.
Use fully ripe, quality fruit, since flavor and sugar content directly transfer to your finished wine; underripe or overripe fruit produces correspondingly less balanced results.
Wash fruit thoroughly, removing stems and any damaged or moldy portions, since compromised fruit can introduce unwanted flavors or contamination into your batch.
Calculate your fruit-to-water ratio based on your specific fruit's characteristics; grapes are often used with minimal added water, while many other fruits benefit from some dilution to balance their more concentrated flavor.
Crush and Prepare the Must
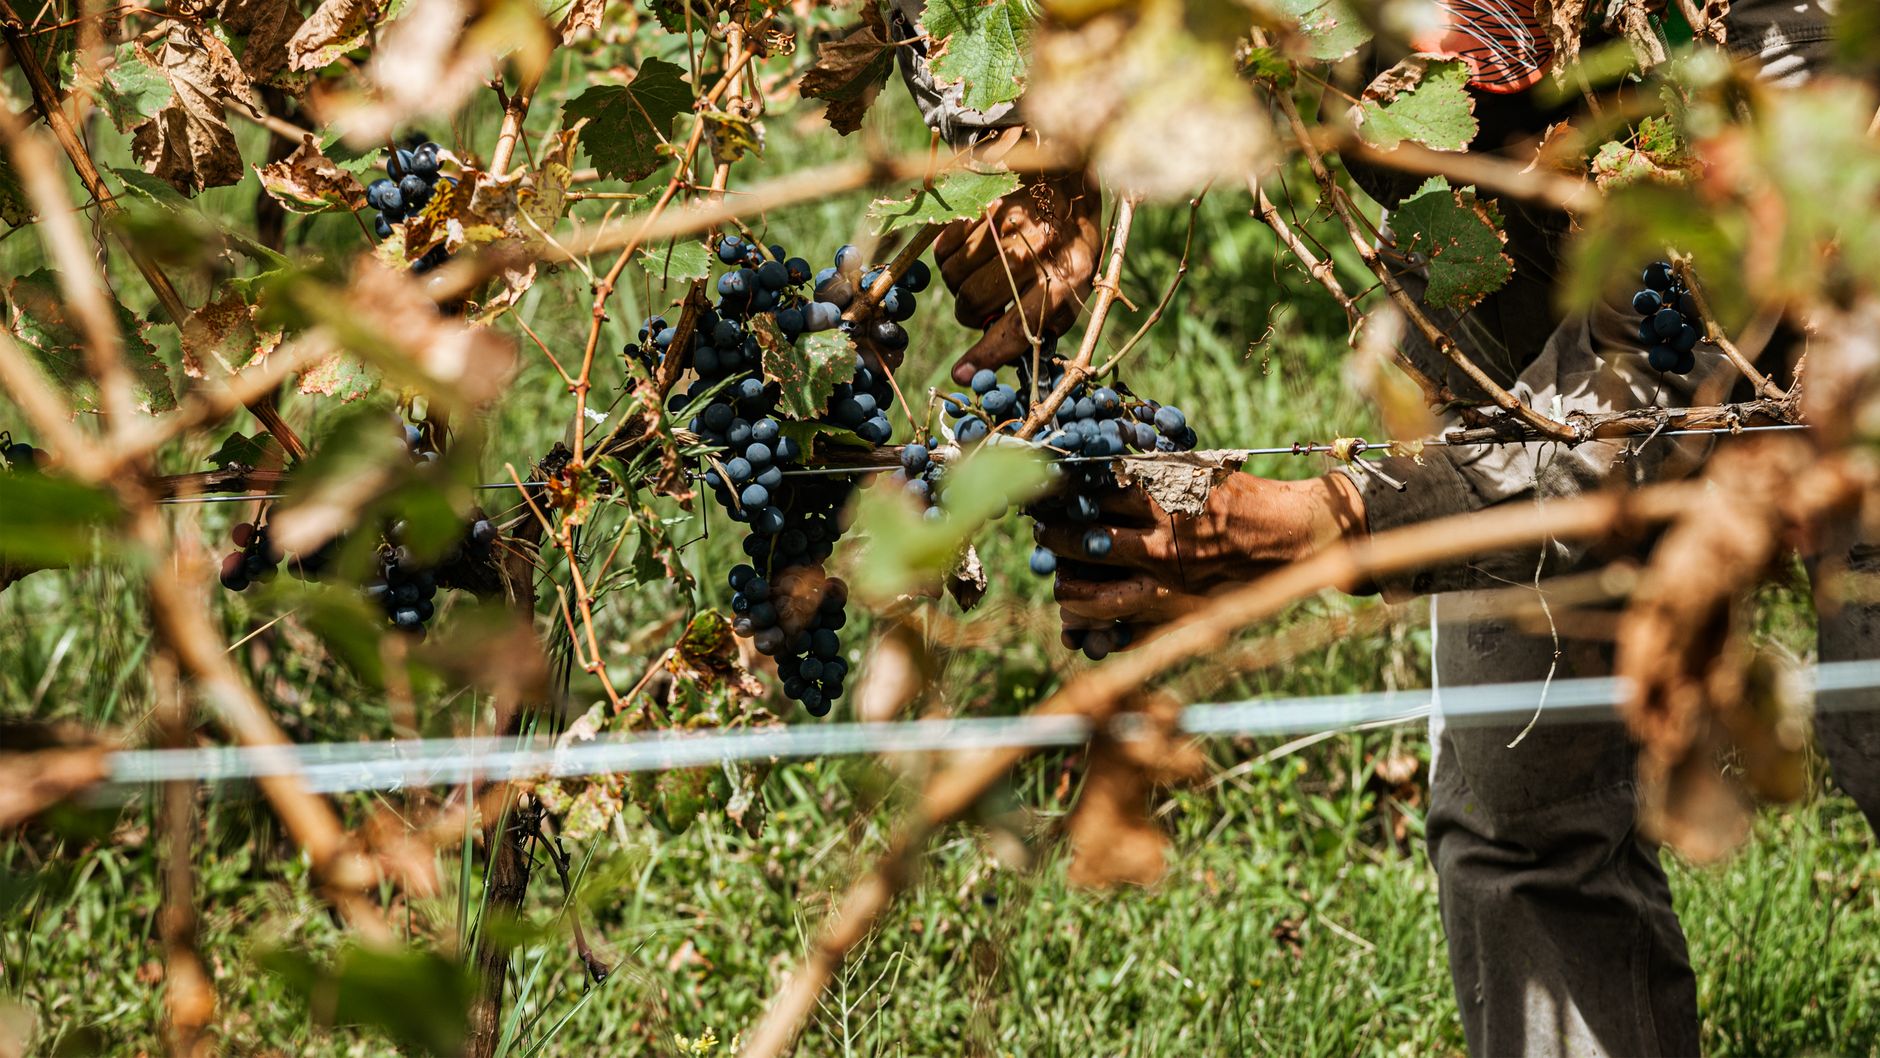
Crush fruit thoroughly by hand, with a potato masher, or using a dedicated fruit crusher for larger batches, releasing juice and pulp into your primary fermentation vessel.
Test the resulting must's sugar content using a hydrometer if you have one, which helps determine whether additional sugar is needed to reach an alcohol potential suitable for stable, well-preserved wine, typically 10-14% ABV.
Add granulated sugar gradually if your fruit's natural sugar content is insufficient, dissolving thoroughly and retesting with your hydrometer until you reach your target reading.
Add yeast nutrient according to package directions, since fruit alone sometimes lacks sufficient nutrients for the healthiest, most complete fermentation, particularly relevant for fruits other than grapes.
Consider adding a wine-specific acid blend if your fruit's natural acidity seems notably low, since proper acid balance contributes significantly to a wine's overall structure and flavor stability.
Pitch Yeast and Begin Primary Fermentation
Use wine yeast specifically, choosing a strain suited to your fruit type and desired wine style; different strains produce varying flavor characteristics and alcohol tolerance.
Rehydrate dry yeast in warm water according to package directions before adding to your must, which improves viability compared to sprinkling directly into the liquid.
Cover your primary fermentation vessel loosely (allowing carbon dioxide to escape while keeping out contaminants) and place in a location maintaining 65-75°F for the most reliable fermentation activity.
Stir the must daily during primary fermentation (typically 5-7 days for fruit wines with solids, or handled differently for grape must depending on your chosen technique), which helps prevent mold on any floating fruit solids and ensures even fermentation.
You should notice vigorous bubbling and foaming within a day or two, confirming active fermentation, which will gradually slow as available sugars are consumed over the following week or so.
Strain and Transfer to Secondary Fermentation

Once primary fermentation slows (typically after about a week), strain out any remaining fruit solids using a fine mesh bag or strainer, transferring the liquid into a clean, sanitized glass carboy for secondary fermentation.
Seal the carboy with an airlock, which continues allowing carbon dioxide to escape while preventing oxygen and contaminants from entering during this longer, quieter fermentation stage.
Secondary fermentation continues at a much slower pace than primary, often taking several weeks to a few months to fully complete, during which sediment gradually settles and the wine clarifies.
Monitor the airlock periodically for bubbling activity, which should gradually decrease and eventually stop as fermentation completes, typically indicated by stable hydrometer readings if you're tracking specific gravity.
Rack (siphon) the wine off its sediment into a fresh, clean carboy once or twice during this extended secondary period, which improves clarity and reduces potential off-flavors from prolonged sediment contact.
Age Your Wine

Allow your wine to age for at least 3-6 months after fermentation completes, though many wines, particularly those made from grapes, benefit noticeably from 6-12 months or even longer.
Store aging wine in a cool, dark, stable-temperature location, since fluctuating temperatures and light exposure can both negatively affect flavor development during this extended period.
Taste-test periodically if you're curious about progress, though resist the temptation to bottle and drink too early, since the flavor difference between a young and properly aged homemade wine is often substantial.
Fruit wines other than grape sometimes reach their peak flavor somewhat sooner than traditional grape wines, so research typical aging expectations for your specific fruit if you're uncertain about timing.
Consider keeping a simple log of your aging wine's progress and any tastings, which helps you learn your own preferences and refine timing for future batches.
Bottle Your Finished Wine
Once your wine has cleared to your satisfaction and aged sufficiently, siphon it into clean, sanitized wine bottles, leaving appropriate headspace below the cork.
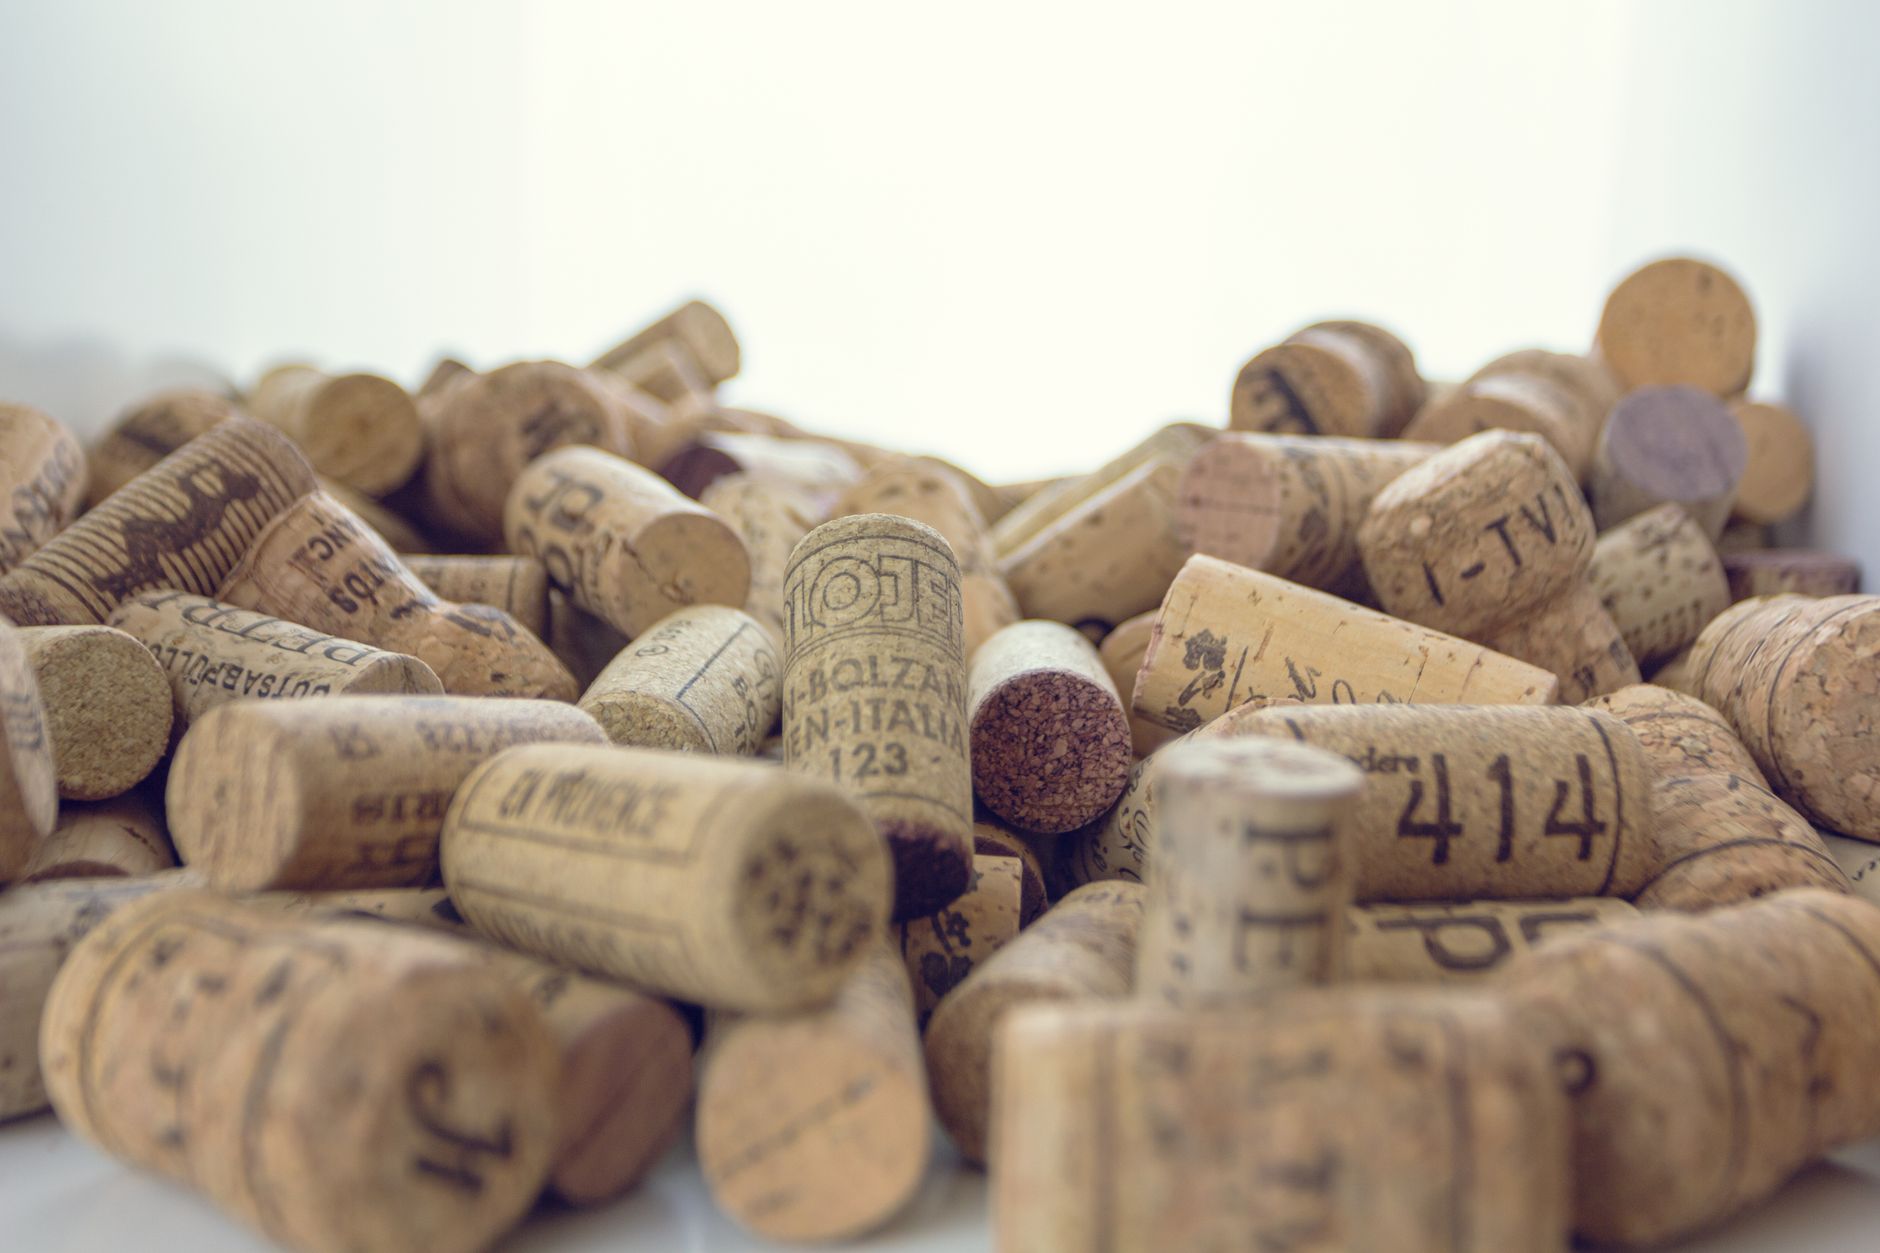
Cork bottles using a hand corker or floor corker, both widely available from home winemaking suppliers, ensuring corks are properly seated for an airtight seal.
Store bottled wine on its side if using natural cork, which keeps the cork moist and properly sealed; screw-cap or synthetic-cork bottles can be stored upright without this consideration.
Continue aging in the bottle for at least a few more weeks to months if possible, since some further integration and smoothing occurs even after bottling, similar to how commercial wines often benefit from bottle aging.
Label bottles with the fruit type and vintage (production year), which helps you track your homemade wine collection and plan future batches based on what you've particularly enjoyed.
Explore Different Wine Styles

Dry wines ferment until essentially all available sugar converts to alcohol, producing a wine without residual sweetness, generally preferred by traditional wine drinkers for pairing with meals.
Sweet wines are produced either by stopping fermentation before all sugar converts (requiring careful monitoring) or by back-sweetening a fully fermented dry wine with additional sugar or fruit juice before bottling.
Fruit wines beyond grapes often naturally lend themselves to slightly sweeter styles, since their distinctive fruit character can be complemented by a touch of residual sweetness in a way that doesn't always suit traditional dry grape wine.
Consider trying a few different fruits and sweetness levels across multiple batches, since developing your own preferences through direct experience is genuinely more valuable than following any single fixed recipe.
Common problems and fixes
| Problem | Likely cause | What to do |
|---|---|---|
| Fermentation seems stuck or stops prematurely | Insufficient yeast nutrient, temperature fluctuations, or high sugar content stressing the yeast. | Add additional yeast nutrient, ensure consistent moderate temperature, and consider a fresh yeast addition if activity doesn't resume. |
| Wine tastes overly harsh or has an off flavor | Insufficient aging time, or contamination introduced during the winemaking process. | Age remaining wine longer before tasting again, since many harsh notes soften with additional time, and ensure thorough sanitation in future batches. |
| Wine remains cloudy despite extended aging | Insufficient racking, or suspended particles that haven't fully settled. | Rack again into a clean vessel, and consider a wine-specific fining agent if cloudiness persists after additional settling time. |
Gardener's checklist
Test what you learned
Why should wine yeast be used instead of baking yeast?
Answer: Wine yeast has appropriate alcohol tolerance and flavor characteristics
What is 'racking' in wine making?
Answer: Siphoning wine off sediment into a clean vessel
How long should homemade wine typically age before bottling?
Answer: At least 3-6 months
Common questions
Can I make wine from fruit other than grapes?
Yes, many fruits including blackberries, elderberries, plums, and apples work well for homemade wine, each producing distinctly different flavor profiles compared to traditional grape wine.
How much alcohol does homemade wine contain?
This varies based on your fruit's sugar content and any adjustments made, but typical homemade wine reaches 10-14% alcohol by volume, comparable to most commercial table wines.
Do I need a hydrometer to make wine?
A hydrometer isn't strictly required but is genuinely helpful, since it lets you measure sugar content before fermentation and track progress throughout, helping ensure your finished wine reaches an appropriate, stable alcohol level.
How long does the entire winemaking process take?
From crushing fruit to a genuinely well-developed finished wine typically takes 6 months to a year, though a basic drinkable wine can technically be ready sooner if you're less concerned about optimal aging.
Can I make wine without adding sugar?
It depends on your fruit's natural sugar content; grapes typically have enough natural sugar on their own, while many other fruits benefit from some added sugar to reach an alcohol level that produces a stable, well-preserved finished wine.
What equipment do I need to get started making wine at home?
Basic equipment includes a food-grade primary fermentation bucket, a glass carboy for secondary fermentation, an airlock, a siphon or racking cane, and wine yeast; a hydrometer, while optional, is genuinely helpful for tracking progress accurately.
Homemade wine making rewards patience through multiple fermentation and aging stages, and while the process spans months rather than days, the resulting wine offers a genuine sense of accomplishment and a distinctive flavor shaped entirely by your own fruit and technique choices.
Frequently asked questions
How often should a vegetable garden be watered?
Frequency depends on weather, soil and plant size. Check the soil rather than watering on a rigid schedule.
Is compost enough fertilizer?
Compost improves soil and provides nutrients slowly. Heavy-feeding crops may still need additional feeding.

The Sproutstead Editorial Team
We create clear, practical gardening and homesteading guides designed for real homes and beginner growers.
View author profile →