Make pickles by packing fresh cucumbers into jars with dill, garlic, and spices, then covering with a hot brine of vinegar, water, and salt for quick vinegar pickles ready in 24-48 hours, or a saltwater brine for traditional fermented pickles that develop over 3-10 days at room temperature. Vinegar pickles can be water-bath canned for shelf-stable storage; fermented pickles are stored in the refrigerator.
What you will need
Choose the Right Cucumbers
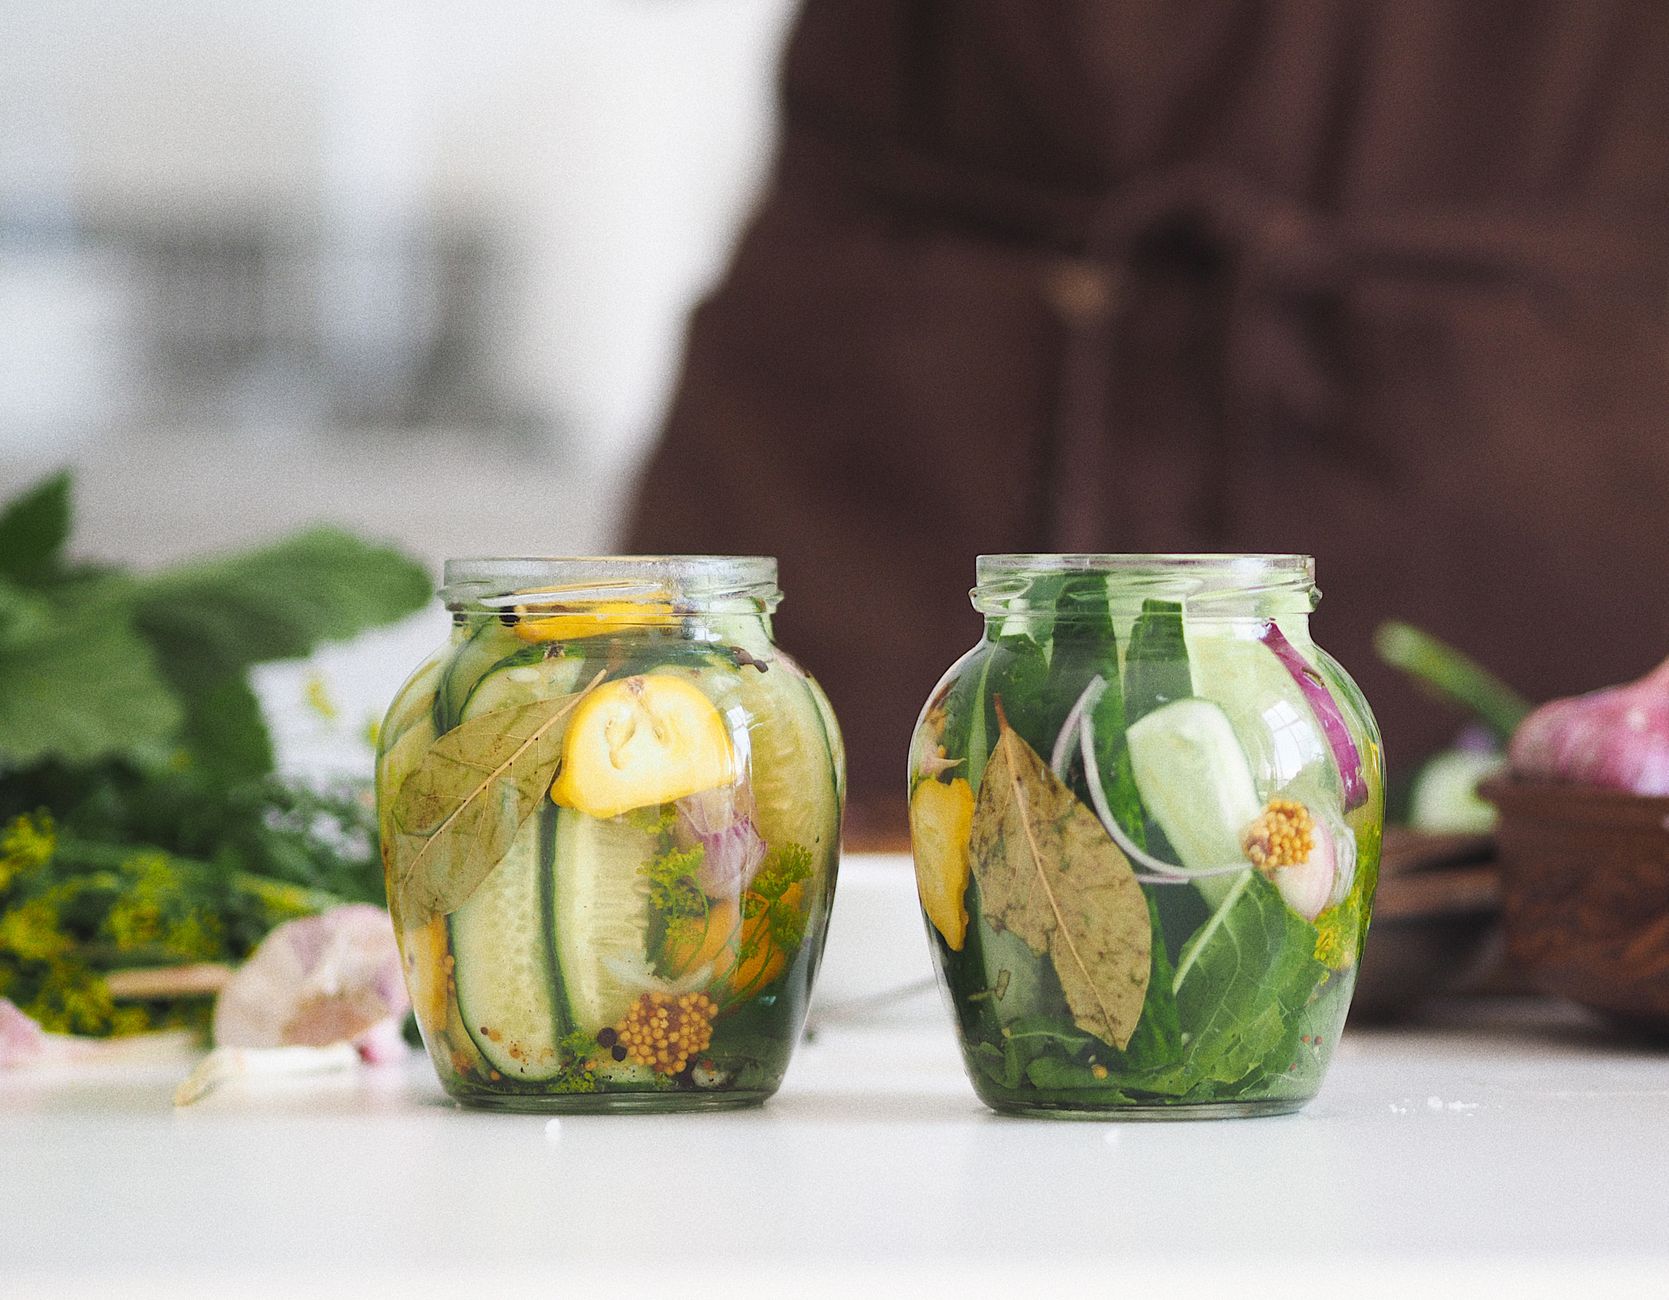
Choose pickling cucumbers specifically, such as Kirby or National Pickling varieties, rather than standard slicing cucumbers; pickling varieties have thinner skin, fewer seeds, and denser flesh that holds up far better to the pickling process.
Use cucumbers as fresh as possible, ideally picked or purchased within a day or two of pickling, since cucumbers that have sat around losing moisture produce noticeably softer, less crisp pickles regardless of technique used afterward.
Select small to medium cucumbers, generally 3-5 inches long, avoiding any that feel soft, have yellowed, or show signs of significant blemishing, since quality going into the jar directly determines quality coming out.
Trim a thin slice off the blossom end of each cucumber before pickling; this end contains enzymes that can contribute to softening, and removing it is a traditional, effective step for improving final crispness.
Decide Between Vinegar Pickles and Fermented Pickles
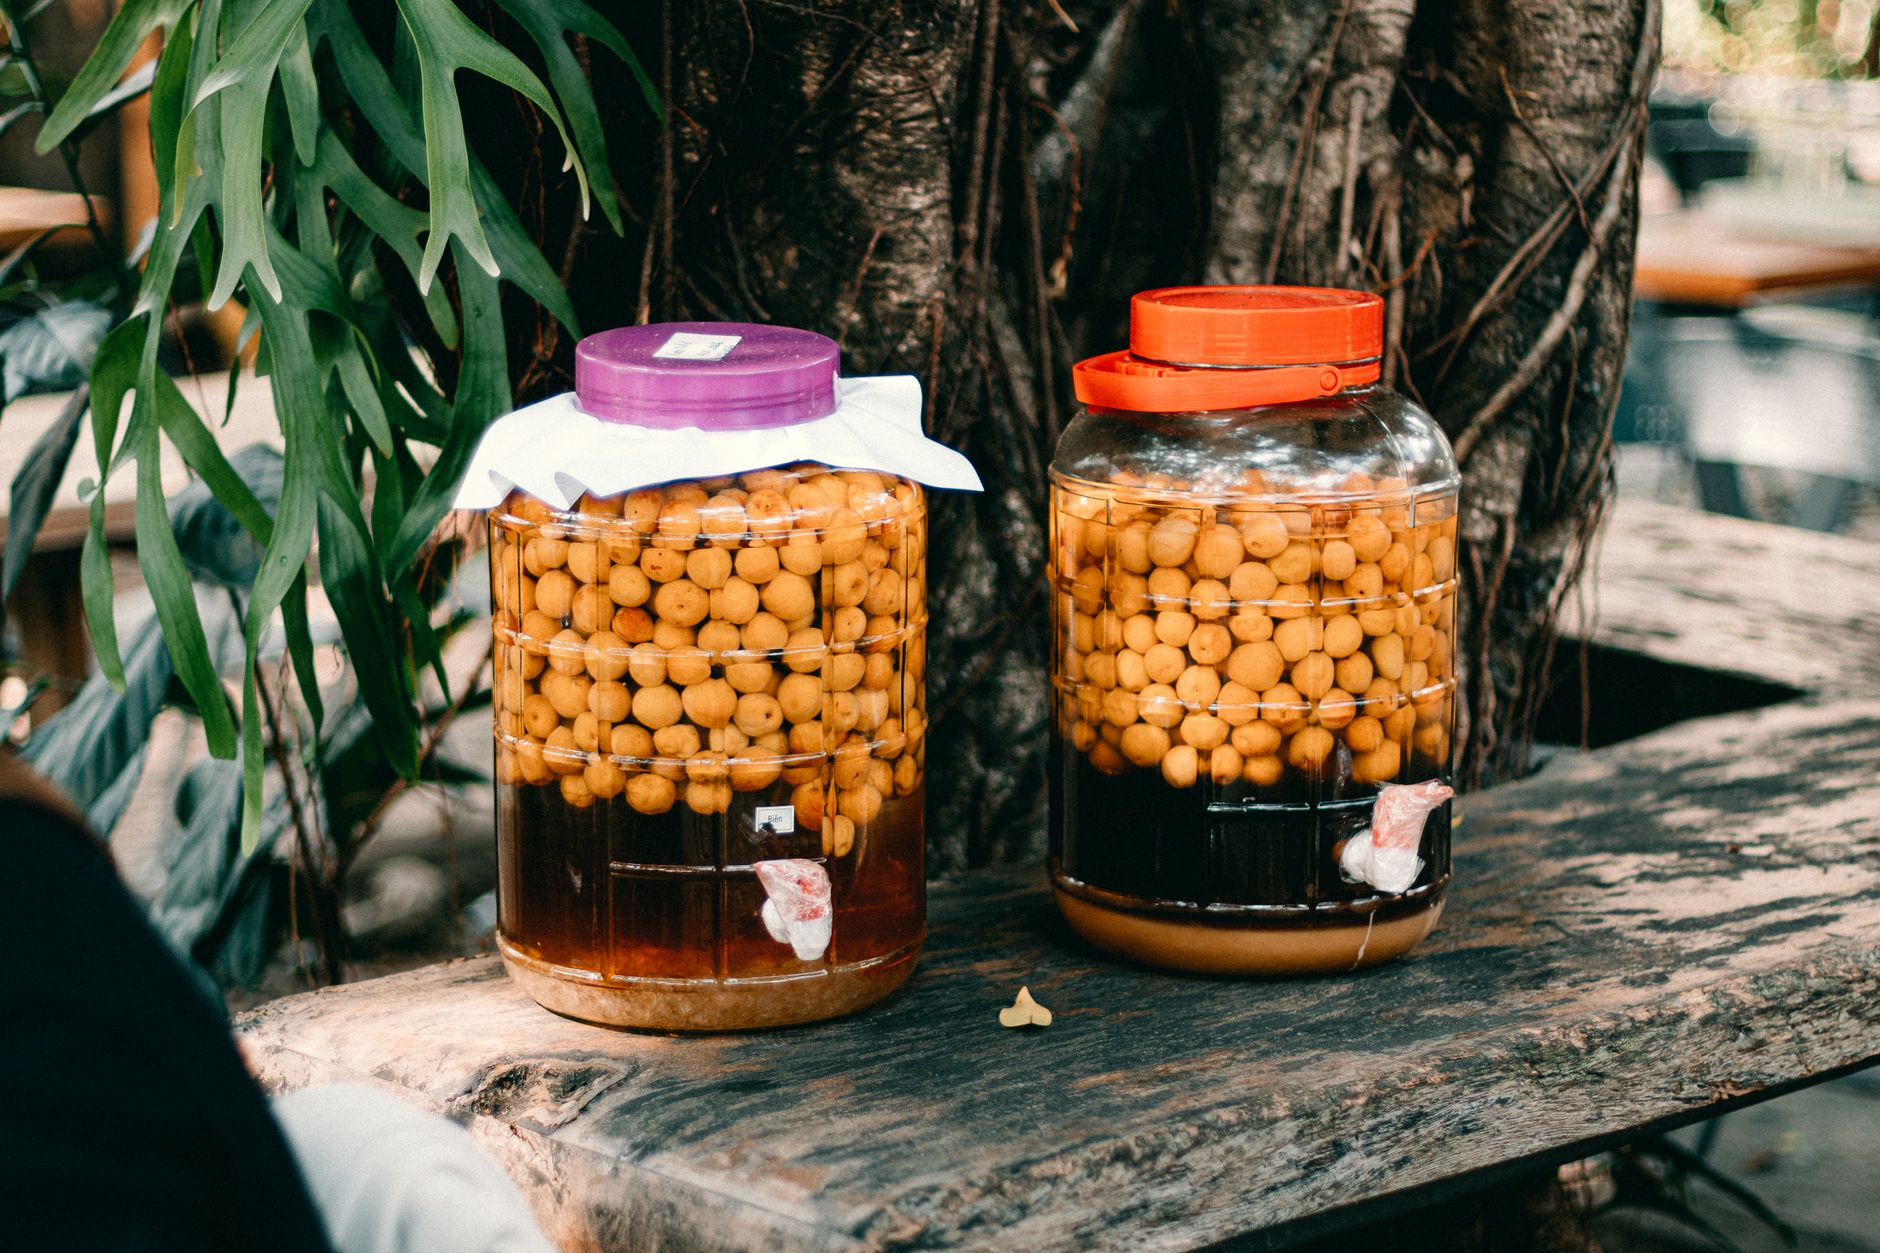
Vinegar (quick) pickles rely on an acidic vinegar brine for both flavor and preservation, are ready to eat in as little as 24-48 hours, and can be made shelf-stable through proper water-bath canning, making them the faster, more straightforward option for most home cooks.
Fermented pickles rely instead on lacto-fermentation, a saltwater brine that encourages beneficial bacteria to develop the characteristic sour, complex flavor over 3-10 days at room temperature, similar to the process used for sauerkraut and kimchi.
Fermented pickles generally develop a more complex, tangy flavor profile with genuine probiotic benefits, but must be stored in the refrigerator rather than canned for shelf storage, since canning would kill the beneficial bacteria the fermentation process created.
Many home picklers make both types depending on their goals: vinegar pickles for quick results and pantry storage, and fermented pickles when the traditional flavor and gut-health benefits are the priority.
Prepare Jars and Pack with Cucumbers and Aromatics
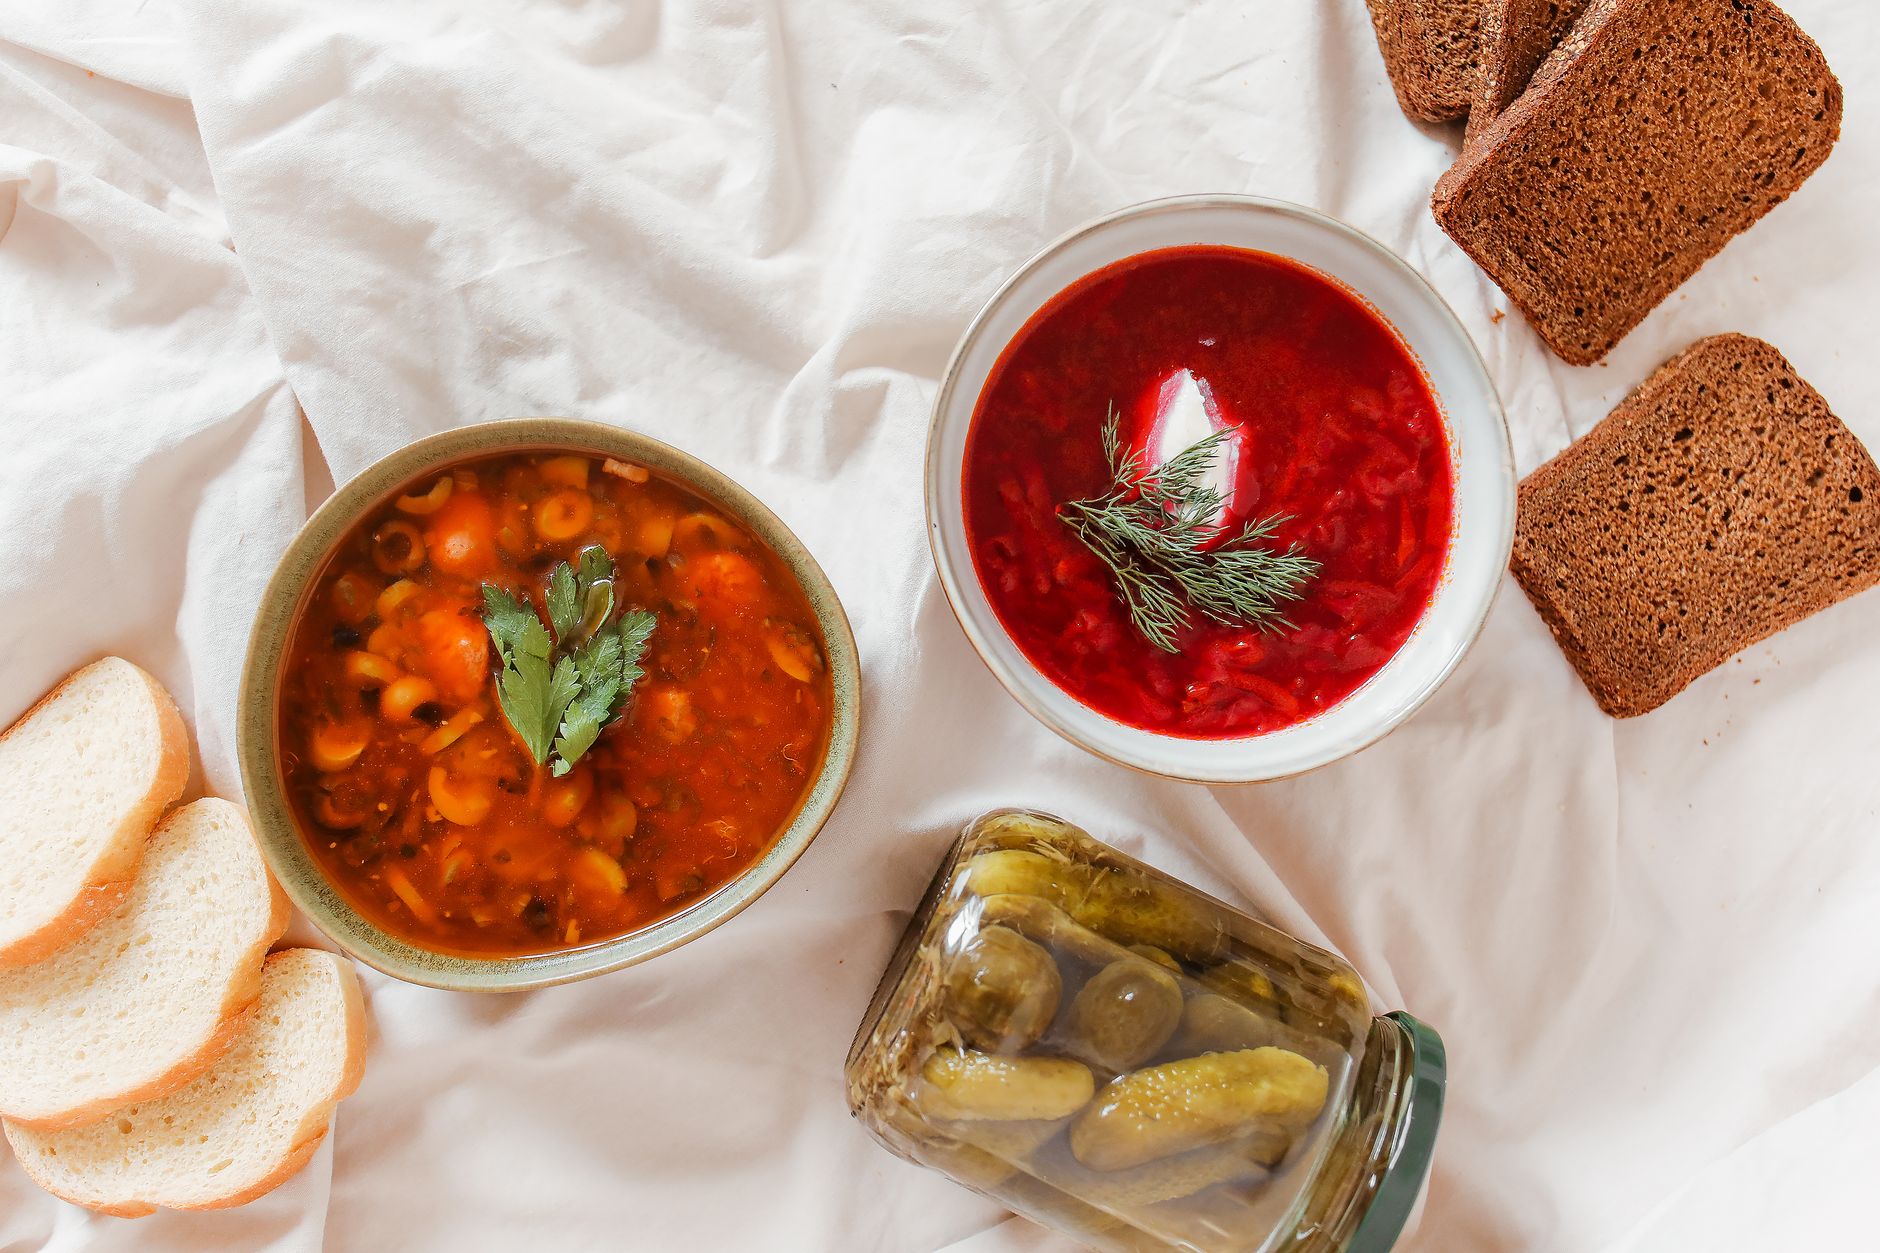
Wash jars thoroughly in hot, soapy water, and if canning for shelf storage, sterilize them according to standard canning practice; for refrigerator pickles of either type, clean jars are sufficient without full sterilization.
Pack cucumbers into jars, either whole, halved lengthwise into spears, or sliced into rounds, along with fresh dill (either sprigs or seed heads), peeled garlic cloves, and any additional spices like mustard seed, coriander seed, or dried chili flakes for heat.
Pack cucumbers fairly snugly to maximize how many fit in each jar and to help keep them submerged once brine is added, but avoid packing so tightly that brine can't circulate properly around and between the pieces.
Leave appropriate headspace at the top of the jar, generally about half an inch for refrigerator pickles or as specified by a tested canning recipe if processing for shelf storage.
Make and Add a Vinegar Brine (Quick Pickles)
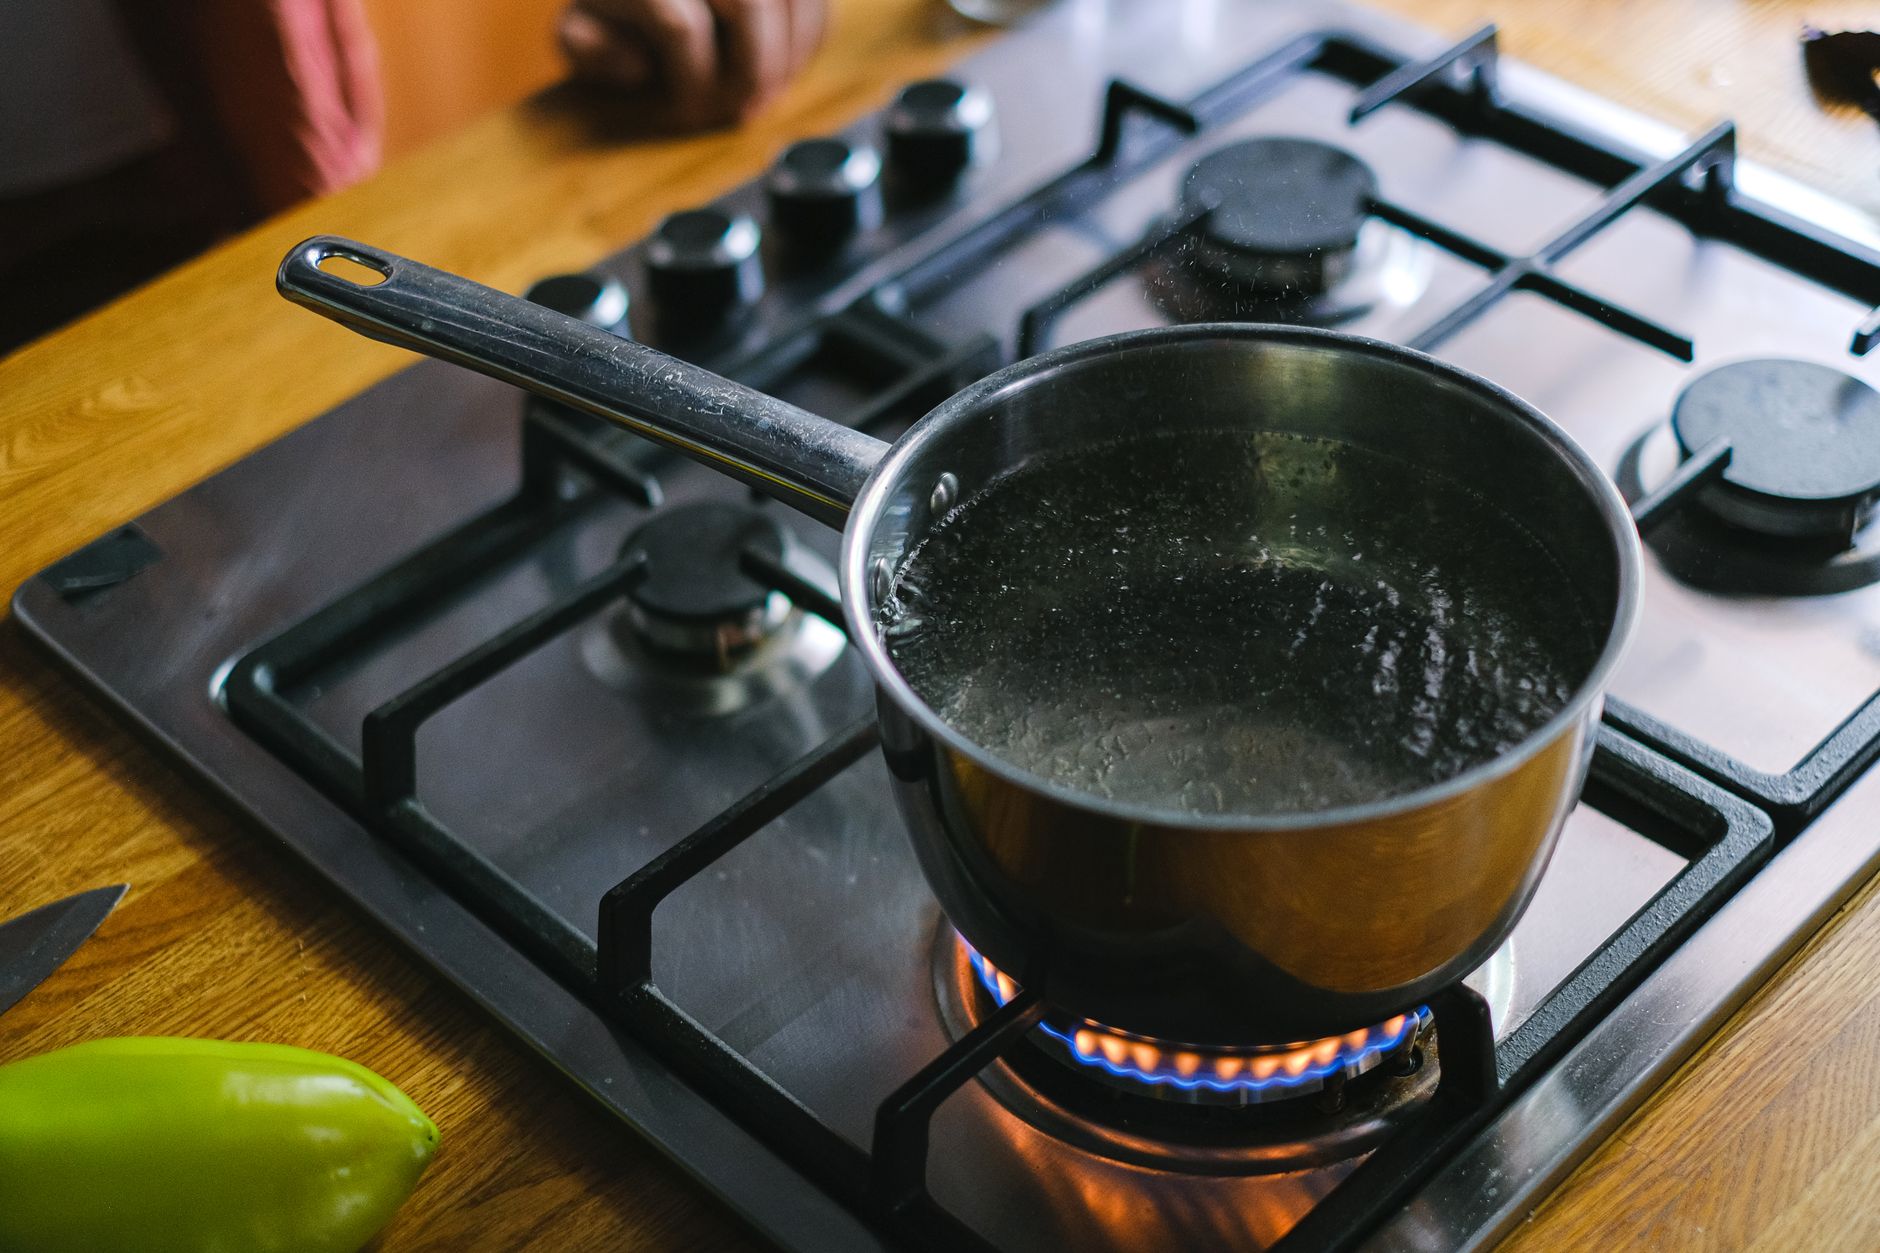
Combine equal parts white vinegar (5% acidity) and water in a pot, along with about 2-3 tablespoons of non-iodized salt and 1-2 tablespoons of sugar per quart of liquid, adjusting sweetness to taste, then bring to a boil.
Pour the hot brine over the packed cucumbers and aromatics in each jar, ensuring cucumbers are fully submerged, leaving the appropriate headspace, then seal jars with clean lids.
For refrigerator pickles, let jars cool to room temperature, then refrigerate; pickles are ready to taste within 24-48 hours, though flavor continues developing and improving for up to a week or two.
Always use vinegar with at least 5% acidity for any pickle you intend to store for more than a few days, since lower-acidity vinegars don't provide reliable preservation even under refrigeration.
Make and Add a Fermentation Brine (Traditional Pickles)
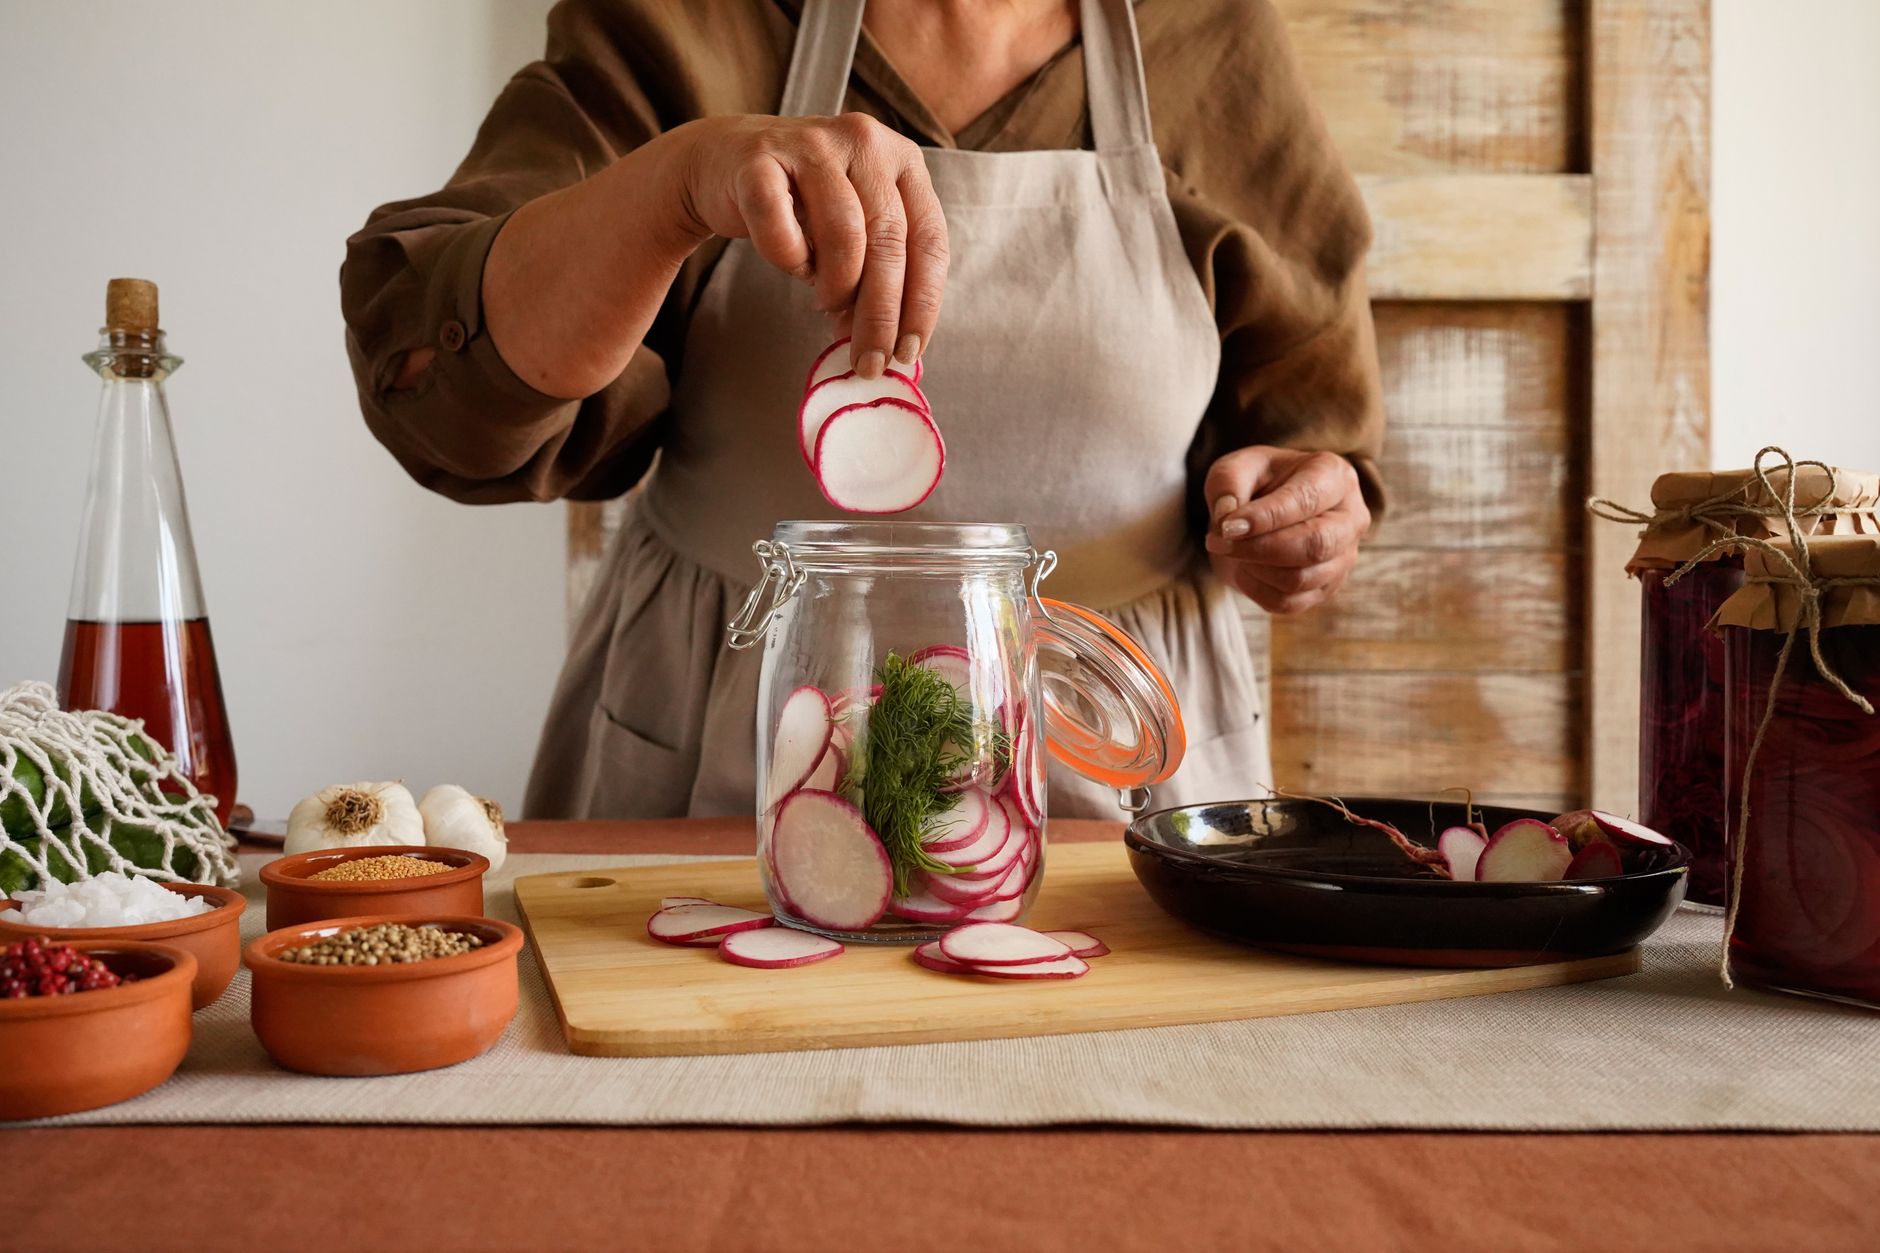
Dissolve about 2-3 tablespoons of non-iodized salt per quart of water (roughly a 3.5% brine by weight, if using a kitchen scale for precision) to make the fermentation brine, stirring until fully dissolved.
Pour the room-temperature brine over the packed cucumbers, ensuring they're fully submerged, since any cucumber pieces exposed above the brine line are prone to developing unwanted mold during the fermentation period.
Use a fermentation weight, a clean glass weight, or a small bag filled with extra brine, to keep cucumbers pushed down below the liquid surface throughout the fermentation process.
Cover the jar with a lid that isn't fully sealed airtight, or a purpose-built fermentation lid with a built-in airlock, since fermentation produces gases that need somewhere to escape safely during the process.
Ferment at Room Temperature and Monitor
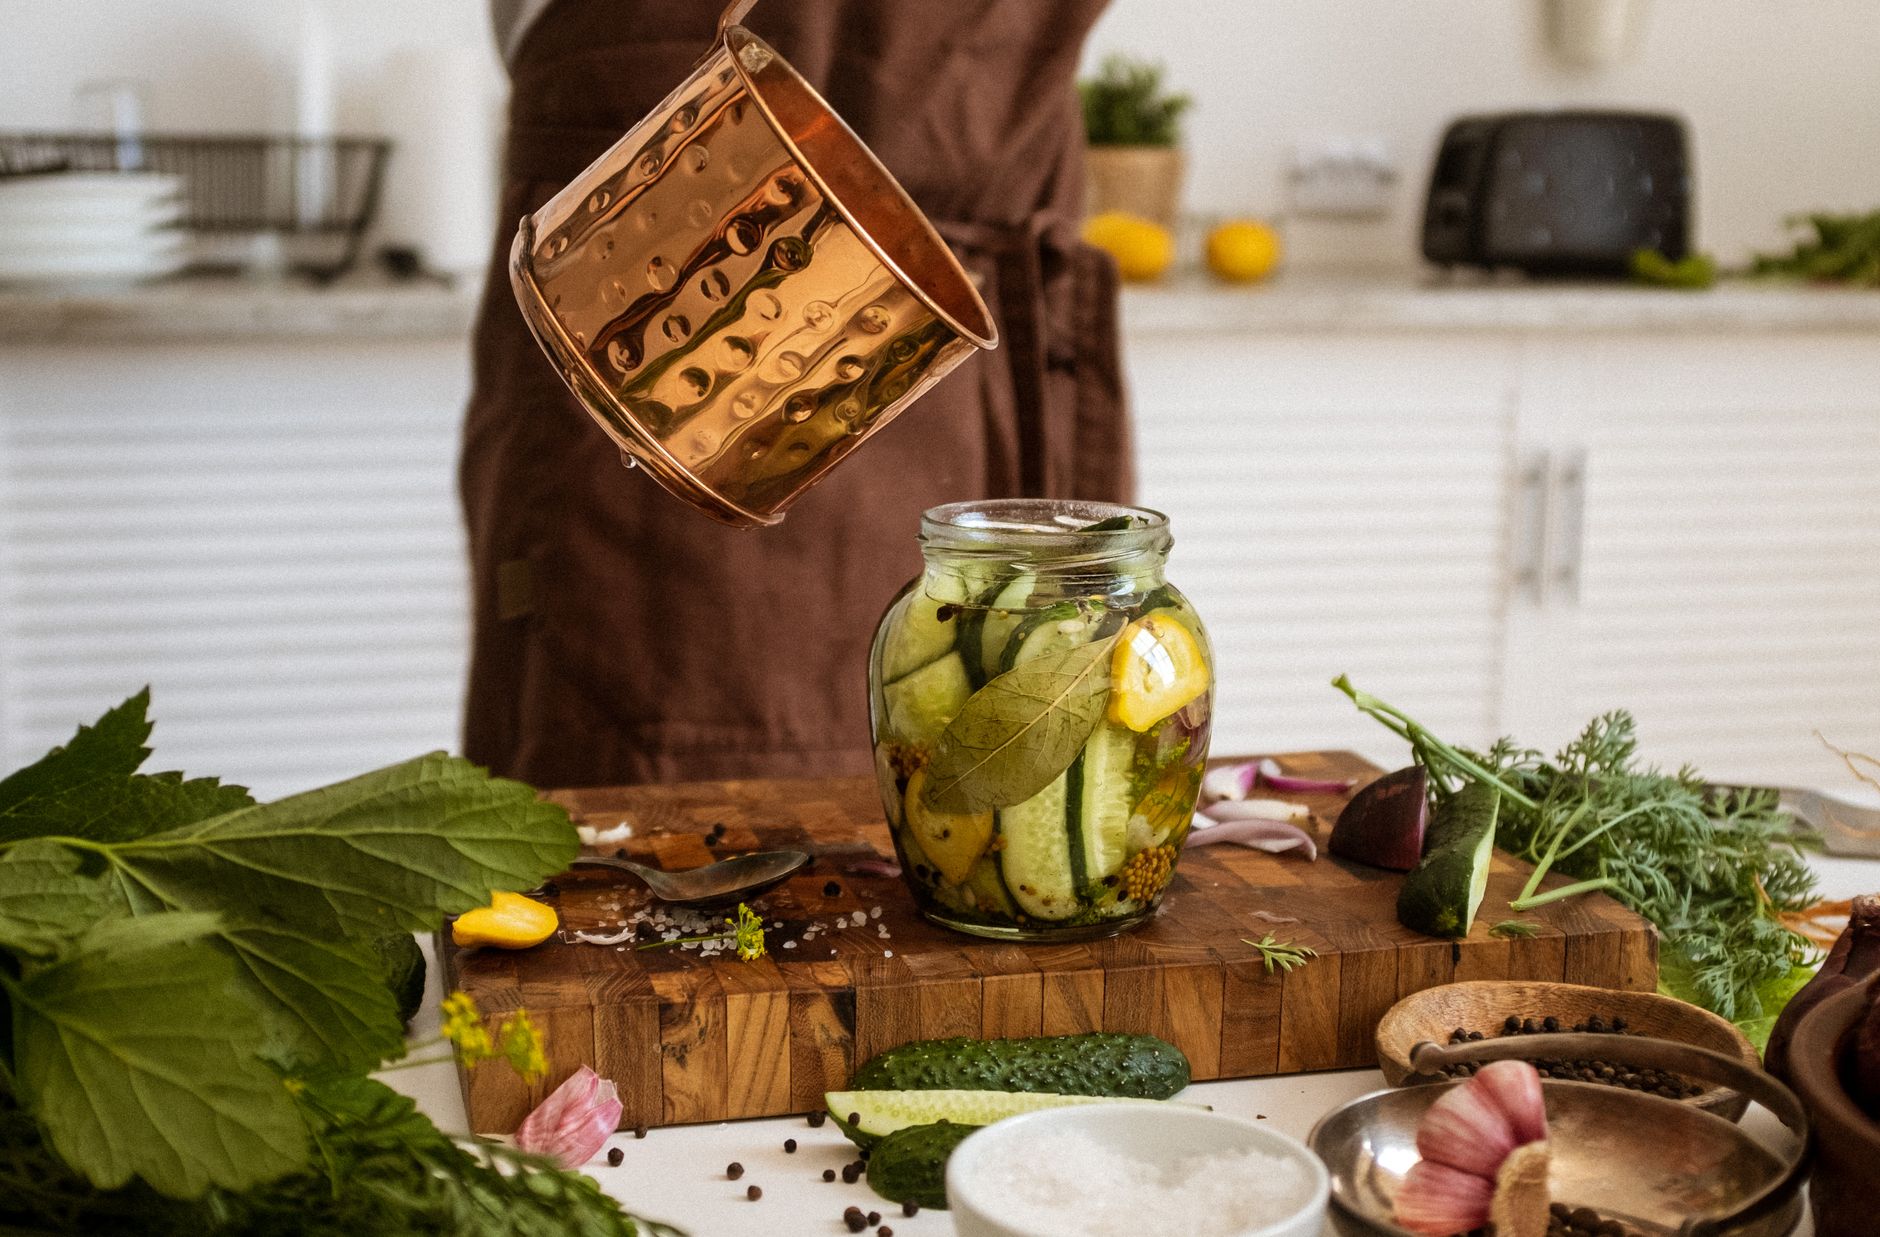
Leave fermenting jars at room temperature, ideally 65-75°F, checking daily for bubbling activity and cloudiness in the brine, both signs that beneficial fermentation is actively underway.
Taste-test starting around day 3, continuing to check every day or two until the pickles reach your preferred level of sourness, which typically develops fully somewhere between 5-10 days depending on temperature and personal preference.
Watch for any white film or fuzzy growth on the surface; a thin white film (kahm yeast) is generally harmless and can be skimmed off, while colorful, fuzzy mold growth means the batch should be discarded.
Once pickles reach your desired flavor, move the jar to the refrigerator, which dramatically slows further fermentation and allows the pickles to be stored, continuing to develop slowly, for several months.
Can Vinegar Pickles for Shelf-Stable Storage (Optional)
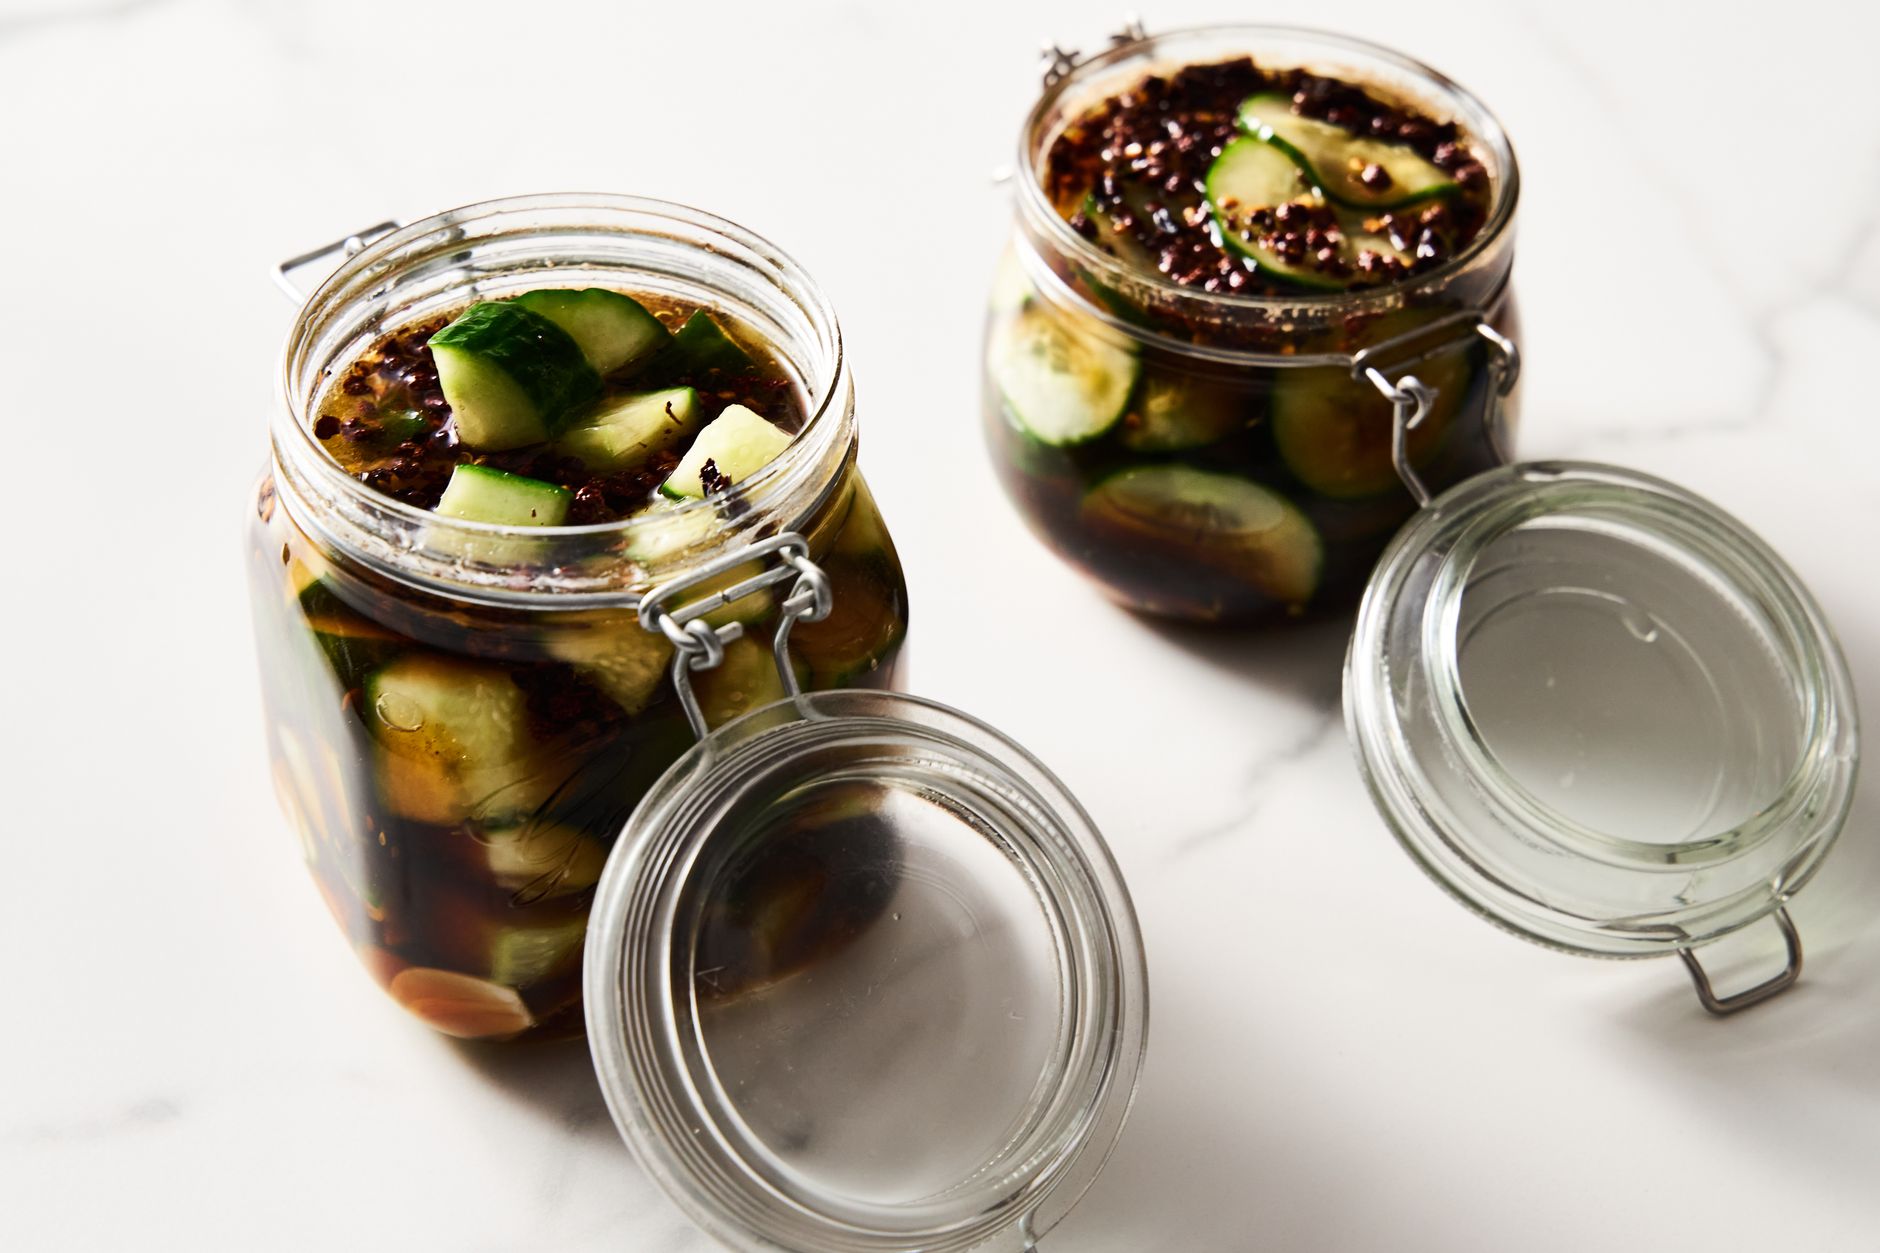
Only vinegar-based pickles, never fermented ones, are appropriate for water-bath canning, since the process requires a reliably high, tested acidity level that fermented brine doesn't consistently provide.
Use only tested, reputable canning recipes for pickle processing times and jar sizes, since safe processing depends on the specific brine acidity, jar size, and altitude, all of which affect the correct processing time.
Process filled, sealed jars in a boiling water bath for the time specified by your tested recipe, typically 10-15 minutes for pint jars at sea level, adjusting for altitude as needed.
After processing, let jars cool undisturbed for 12-24 hours, checking that lids have sealed properly (a popped-down center that doesn't flex when pressed); properly sealed, canned pickles can be stored at room temperature for a year or more.
Common problems and fixes
| Problem | Likely cause | What to do |
|---|---|---|
| Pickles turn out soft rather than crisp | Cucumbers weren't fresh enough, the blossom end wasn't trimmed, or slicing varieties were used instead of pickling cucumbers. | Use the freshest possible pickling cucumbers, trim the blossom end, and consider adding a grape or oak leaf to the jar, a traditional trick using natural tannins to help maintain crispness. |
| White film or cloudiness on the surface of fermenting pickles | Kahm yeast, a generally harmless surface yeast common in fermentation, distinct from harmful mold. | Skim off the film and continue fermenting normally; if fuzzy, colorful mold appears instead, discard the batch. |
| Canned pickle jars fail to seal properly | Insufficient processing time, air bubbles trapped in the jar, or a damaged jar rim. | Refrigerate and use unsealed jars promptly rather than storing at room temperature, and check jar rims carefully for nicks before reprocessing future batches. |
Gardener's checklist
Test what you learned
Why should pickling cucumbers be used instead of slicing cucumbers?
Answer: Pickling cucumbers have thinner skin and denser flesh for a crisper result
Can fermented pickles be water-bath canned for shelf storage?
Answer: No, canning would kill the beneficial fermentation bacteria
What minimum vinegar acidity should be used for pickles intended for storage?
Answer: 5%
Common questions
What's the difference between vinegar pickles and fermented pickles?
Vinegar pickles use an acidic vinegar brine for quick preservation and flavor, ready in 24-48 hours and can be canned for shelf storage. Fermented pickles use a saltwater brine and rely on beneficial bacteria over 3-10 days, developing more complex flavor with probiotic benefits, but must be refrigerated rather than canned.
Why are my homemade pickles soft instead of crisp?
This is usually caused by using cucumbers that weren't fresh enough, using slicing rather than pickling varieties, or not trimming the blossom end, which contains enzymes that contribute to softening.
Can I use any vinegar for pickling?
Use white vinegar or apple cider vinegar with at least 5% acidity for reliable results and safety, especially for any pickles intended for canning or longer storage. Lower-acidity vinegars don't provide consistent preservation.
How long do homemade pickles last?
Refrigerator vinegar pickles last several weeks to a couple of months; properly water-bath canned vinegar pickles can last a year or more at room temperature; and fermented pickles, stored in the refrigerator after fermentation, typically last several months.
Whether you choose the quick vinegar method or traditional fermentation, fresh pickling cucumbers and careful attention to brine and timing are what separate genuinely crisp, flavorful homemade pickles from a disappointing batch.
Frequently asked questions
How often should a vegetable garden be watered?
Frequency depends on weather, soil and plant size. Check the soil rather than watering on a rigid schedule.
Is compost enough fertilizer?
Compost improves soil and provides nutrients slowly. Heavy-feeding crops may still need additional feeding.

The Sproutstead Editorial Team
We create clear, practical gardening and homesteading guides designed for real homes and beginner growers.
View author profile →