Plant sweet potato slips in loose, well-draining soil after the last frost, once soil temperatures reach at least 65°F. Space slips 12-18 inches apart in mounded rows, water consistently early on, taper off before harvest, and dig tubers 90-120 days later before the first fall frost, then cure before storing.
What you will need
Get or Start Sweet Potato Slips

Unlike regular potatoes, sweet potatoes are grown from slips, which are rooted shoots that sprout from a mature sweet potato rather than from cut seed pieces. You can buy certified disease-free slips from a nursery, or start your own by suspending a sweet potato half in water with toothpicks until shoots emerge from the buried end.
Once slips are about 6-8 inches long with several leaves and visible root buds, gently twist them off the parent potato and let them sit in a glass of water for a day or two to develop stronger individual roots before planting.
Start this process indoors 6-8 weeks before your last frost date so slips are well-developed and ready to plant once the soil has warmed sufficiently outdoors.
If buying slips instead, look for firm, healthy stems with good root development and no signs of black or mushy spots, which can indicate rot or disease that will affect the whole planting.
Prepare Loose, Warm, Well-Draining Soil

Sweet potatoes need loose, well-draining soil to form straight, uniform tubers. Heavy clay soil tends to produce stunted, forked, or misshapen roots, so work in plenty of compost or coarse sand if your native soil is dense.
Build mounded rows about 8-12 inches high and 12 inches wide, spaced 3-4 feet apart. Mounding warms the soil faster in spring and gives developing tubers room to expand without pushing through compacted earth.
Wait until soil temperatures are consistently above 65°F before planting, since sweet potatoes are extremely cold-sensitive and growth stalls almost completely in cool soil, even if air temperatures seem warm enough.
Avoid heavily nitrogen-rich soil amendments right before planting; excess nitrogen encourages lush vine growth at the direct expense of tuber development below ground.
Plant and Space the Slips Correctly

Plant slips 4-6 inches deep, burying the roots and the lower portion of the stem while leaving the top two or three leaves above the soil surface.
Space slips 12-18 inches apart within rows, with rows themselves 3-4 feet apart, since sweet potato vines spread widely and will quickly cover the space between rows once established.
Water thoroughly right after planting to help slips establish quickly, then keep the soil consistently moist for the first two weeks while roots take hold; this early establishment period is the most vulnerable point in the whole growing cycle.
Plant on a cloudy day or in the evening if possible, since freshly planted slips can wilt significantly in strong afternoon sun before their roots have re-established contact with soil moisture.
Water, Weed, and Let Vines Sprawl

Water deeply once a week during dry spells, providing roughly an inch of water, but reduce watering significantly in the final 3-4 weeks before harvest to help tubers develop better flavor, firmer texture, and improved storage quality.
Once vines cover the ground, typically within 6-8 weeks of planting, they naturally suppress most weeds by shading the soil, so hand-weeding is really only necessary during the first month after planting.
Avoid high-nitrogen fertilizer throughout the season, which encourages excessive vine growth at the expense of tuber development. A light, one-time application of balanced or low-nitrogen fertilizer at planting is usually all that's needed.
Some gardeners occasionally lift trailing vines to prevent them from rooting at leaf nodes along their length, which can divert energy into smaller secondary root systems instead of the main tubers, though this step is optional and mainly relevant in very long growing seasons.
Monitor for Pests and Common Problems
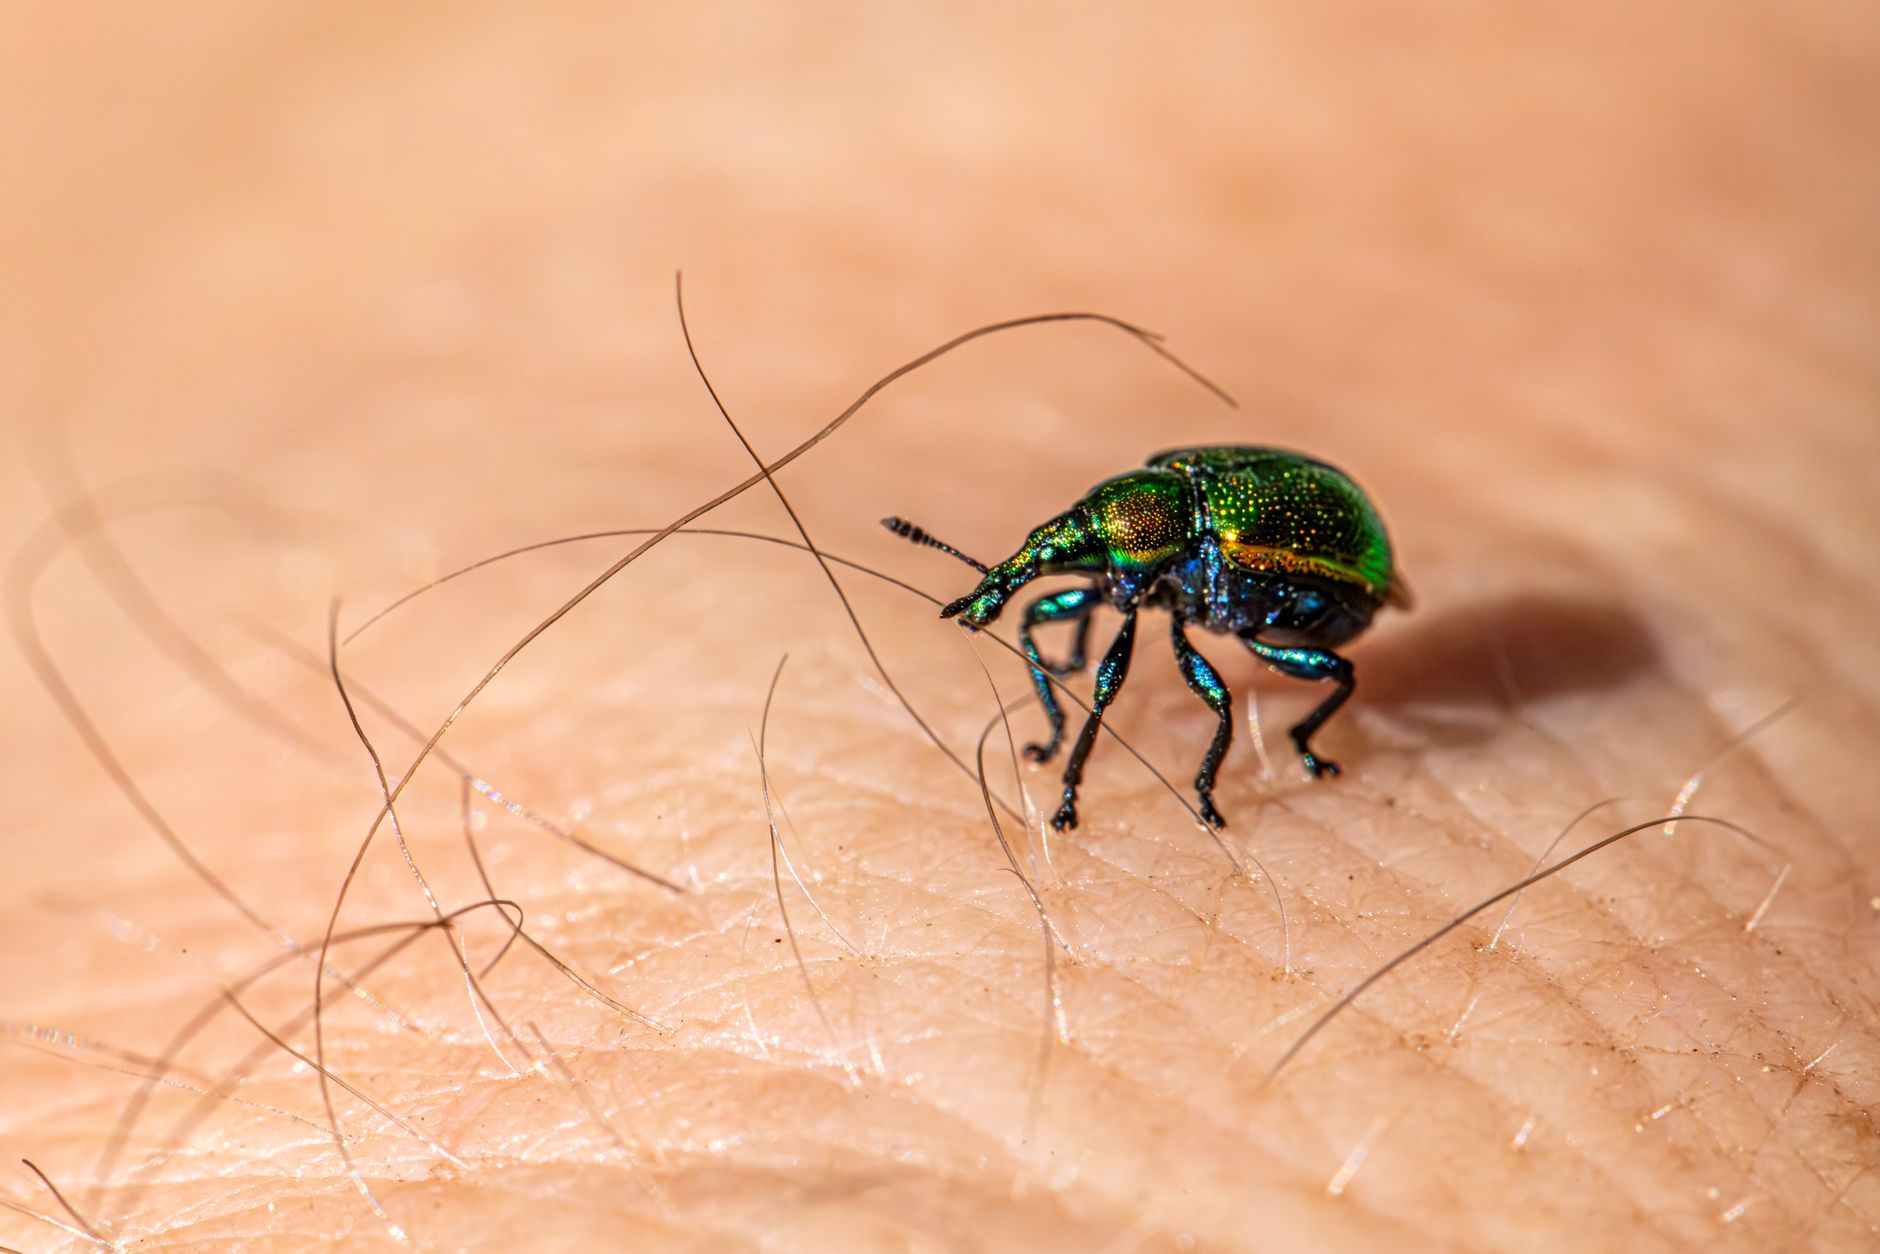
Sweet potato weevils are the most significant pest in warmer climates, boring into both vines and tubers. Using certified slips, practicing crop rotation, and removing plant debris after harvest are the best preventive measures, since there's no easy treatment once weevils are established.
Deer and rabbits will readily eat sweet potato foliage in many regions; a simple fence barrier is usually the most effective long-term protection if browsing pressure is heavy in your area.
Fungal diseases like scurf, which causes dark surface blemishes on tubers, are more common in poorly drained soil, reinforcing the importance of the loose, well-draining soil preparation covered earlier in this guide.
Harvest at the Right Time

Harvest sweet potatoes 90-120 days after planting, or as soon as vines start yellowing, and always before the first fall frost, since cold temperatures quickly damage tubers still in the ground and shorten their storage life.
Dig carefully with a garden fork, starting well away from the plant's base (12-18 inches out) to avoid piercing tubers, which often extend much wider than expected from the main stem.
Handle harvested tubers gently, since their skin is delicate and easily scuffed at this stage; bruised or nicked sweet potatoes don't store nearly as well and should be set aside for immediate use rather than long-term storage.
Avoid washing tubers immediately after digging; brush off loose soil by hand instead and save washing for right before you plan to use them, since moisture on the skin can encourage rot during curing and storage.
Cure and Store for Long-Term Use
Cure harvested sweet potatoes in a warm, humid spot, ideally around 80-85°F with high humidity, for 7-14 days before moving them to cooler, long-term storage. A spot near a furnace, a warm closet with a humidifier, or a covered porch in a warm climate can all work well.
Curing does two important things: it heals small cuts and abrasions from the harvest process, and it converts a portion of the tuber's starches into sugars, which is why properly cured sweet potatoes taste noticeably sweeter than freshly dug ones.
After curing, store sweet potatoes in a cool, dry, dark location around 55-60°F. Under these conditions, well-cured sweet potatoes can keep for several months, making them one of the best long-term storage crops for a home garden.
Never refrigerate uncured or freshly harvested sweet potatoes, since temperatures below about 55°F can cause a hard, unpleasant core to develop and negatively affect both flavor and cooking texture.
Common problems and fixes
| Problem | Likely cause | What to do |
|---|---|---|
| Small or misshapen tubers | Compacted or clay-heavy soil restricting root expansion, or overly rich nitrogen levels favoring vine growth. | Work in compost and sand before planting, use mounded rows to give tubers loose soil to grow into, and avoid high-nitrogen fertilizers. |
| Lots of vine growth but few tubers | Excess nitrogen fertilizer encouraging leafy growth over root development. | Switch to a low-nitrogen or balanced fertilizer at planting only, and avoid any additional fertilizing of established plants through the season. |
| Tubers rotting in storage | Skipped or incomplete curing, or storage temperatures that are too cold or too humid. | Cure fully for 7-14 days at 80-85°F with high humidity before moving to cool, dry, dark storage around 55-60°F. |
Gardener's checklist
Test what you learned
What are sweet potatoes grown from?
Answer: Slips
Why is curing sweet potatoes important?
Answer: It converts starches to sugars and improves storage life
What temperature should sweet potatoes be cured at?
Answer: 80-85°F
Common questions
How long do sweet potatoes take to grow?
Sweet potatoes typically take 90-120 days from planting slips to harvest, depending on the variety and growing conditions, making them a full-season crop in most climates.
Can sweet potatoes be grown in containers?
Yes, in large containers or grow bags at least 12-18 inches deep, though yields per plant are usually smaller than in-ground plantings due to the more limited root space available.
Do sweet potatoes need a trellis?
No, sweet potatoes are typically grown as sprawling ground cover rather than on a trellis, though the vines can be trained upward on a sturdy support if garden space is very limited.
Sweet potatoes are a low-maintenance, high-reward crop once you get the basics right: warm soil, loose ground, consistent early watering, patience through the growing season, and proper curing after harvest for months of storage.
Frequently asked questions
How often should a vegetable garden be watered?
Frequency depends on weather, soil and plant size. Check the soil rather than watering on a rigid schedule.
Is compost enough fertilizer?
Compost improves soil and provides nutrients slowly. Heavy-feeding crops may still need additional feeding.

The Sproutstead Editorial Team
We create clear, practical gardening and homesteading guides designed for real homes and beginner growers.
View author profile →