Grow artichokes as a perennial in mild climates (zones 7-11) or as an annual elsewhere by giving young plants a period of cold exposure (vernalization) to trigger bud formation. Space plants 3-4 feet apart in rich, well-draining soil in full sun, water consistently, and harvest buds while still tightly closed, typically 85-100 days after transplanting or the following spring on established perennial plants.
What you will need
Understand Artichoke's Cold Requirement for Bud Formation

Artichokes are naturally perennial plants that, in their ideal Mediterranean climate, form buds in response to a period of cool temperatures following a season of vegetative growth; without this cold exposure, plants often produce lush foliage but few or no buds at all.
In climates where artichokes can't reliably overwinter outdoors (generally colder than USDA zone 7), gardeners simulate this natural cold cycle by artificially vernalizing young plants, exposing them to temperatures below 50°F for 10-14 days after they've developed several true leaves but before they're transplanted to their final growing location.
This is most commonly done by starting seeds indoors 8-10 weeks before the last frost, then once seedlings have 4-5 true leaves, moving them to a cold frame, unheated garage, or even a refrigerator for the required cold period before hardening off and transplanting outdoors.
Without proper vernalization, annual artichoke plantings in colder climates often grow into large, healthy-looking plants that simply never produce a harvestable bud in a single season, making this step genuinely essential rather than optional for gardeners outside the plant's naturally mild growing range.
Choose Perennial or Annual Growing Based on Your Climate
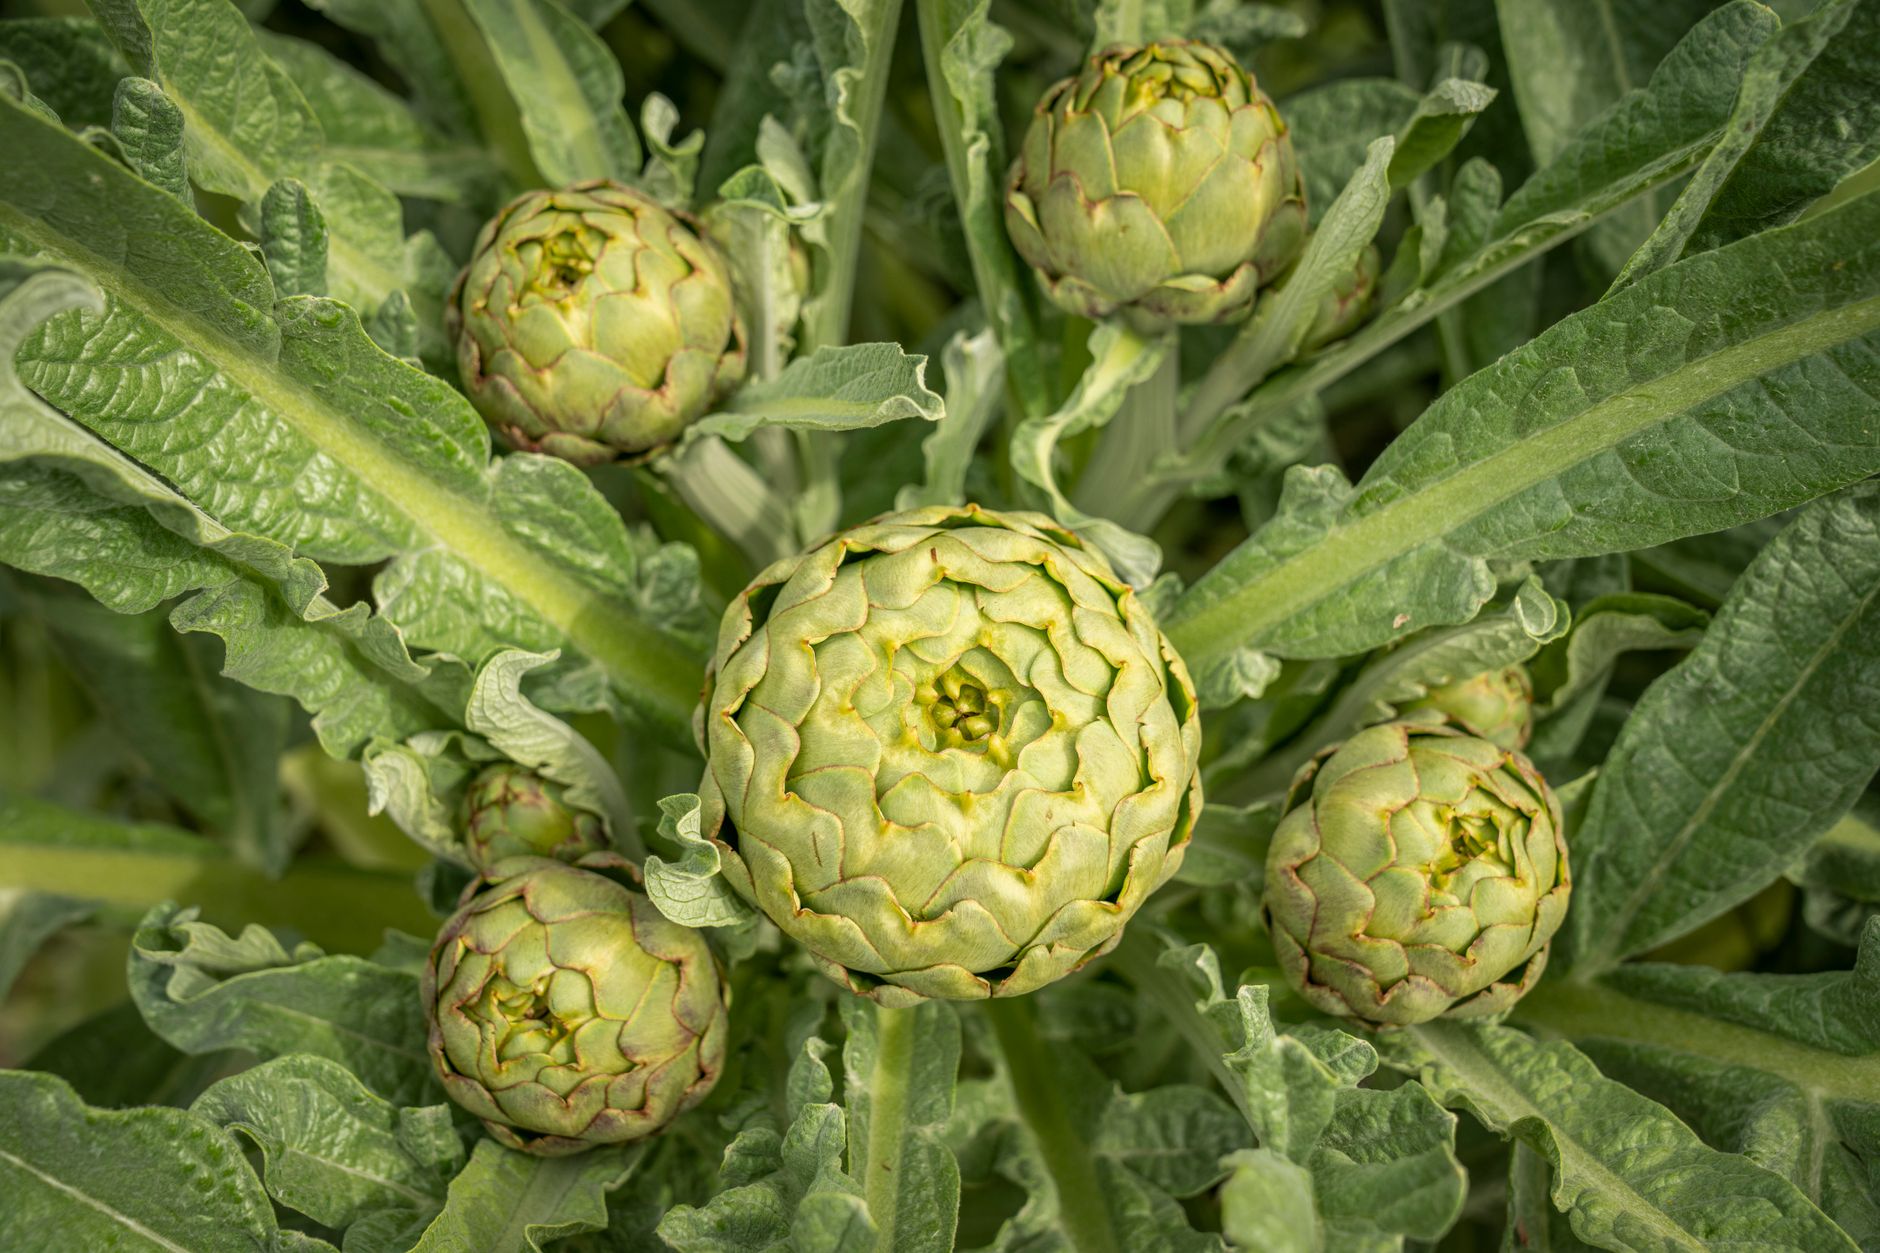
In USDA hardiness zones 7-11, with generally mild winters, artichokes can be grown as true perennials, planted once and producing a reliable harvest for 5-7 years or even longer with proper care, naturally experiencing the cold exposure they need each winter without any special intervention.
In colder zones, artichokes are typically grown as annuals using the vernalization technique described in the previous step, accepting that plants will need to be replanted each year rather than persisting as an ongoing perennial planting.
Some gardeners in borderline or moderately cold climates (zone 6, for example) successfully overwinter artichokes with heavy mulching and protection, effectively extending the perennial growing range slightly beyond its typical limits, though results can vary year to year depending on winter severity.
If you're uncertain which approach suits your specific climate, checking with a local extension office or experienced gardeners in your immediate area often provides more reliable guidance than general hardiness zone maps alone, since microclimates can significantly affect artichoke survival.
Prepare Rich Soil and Give Plants Ample Room
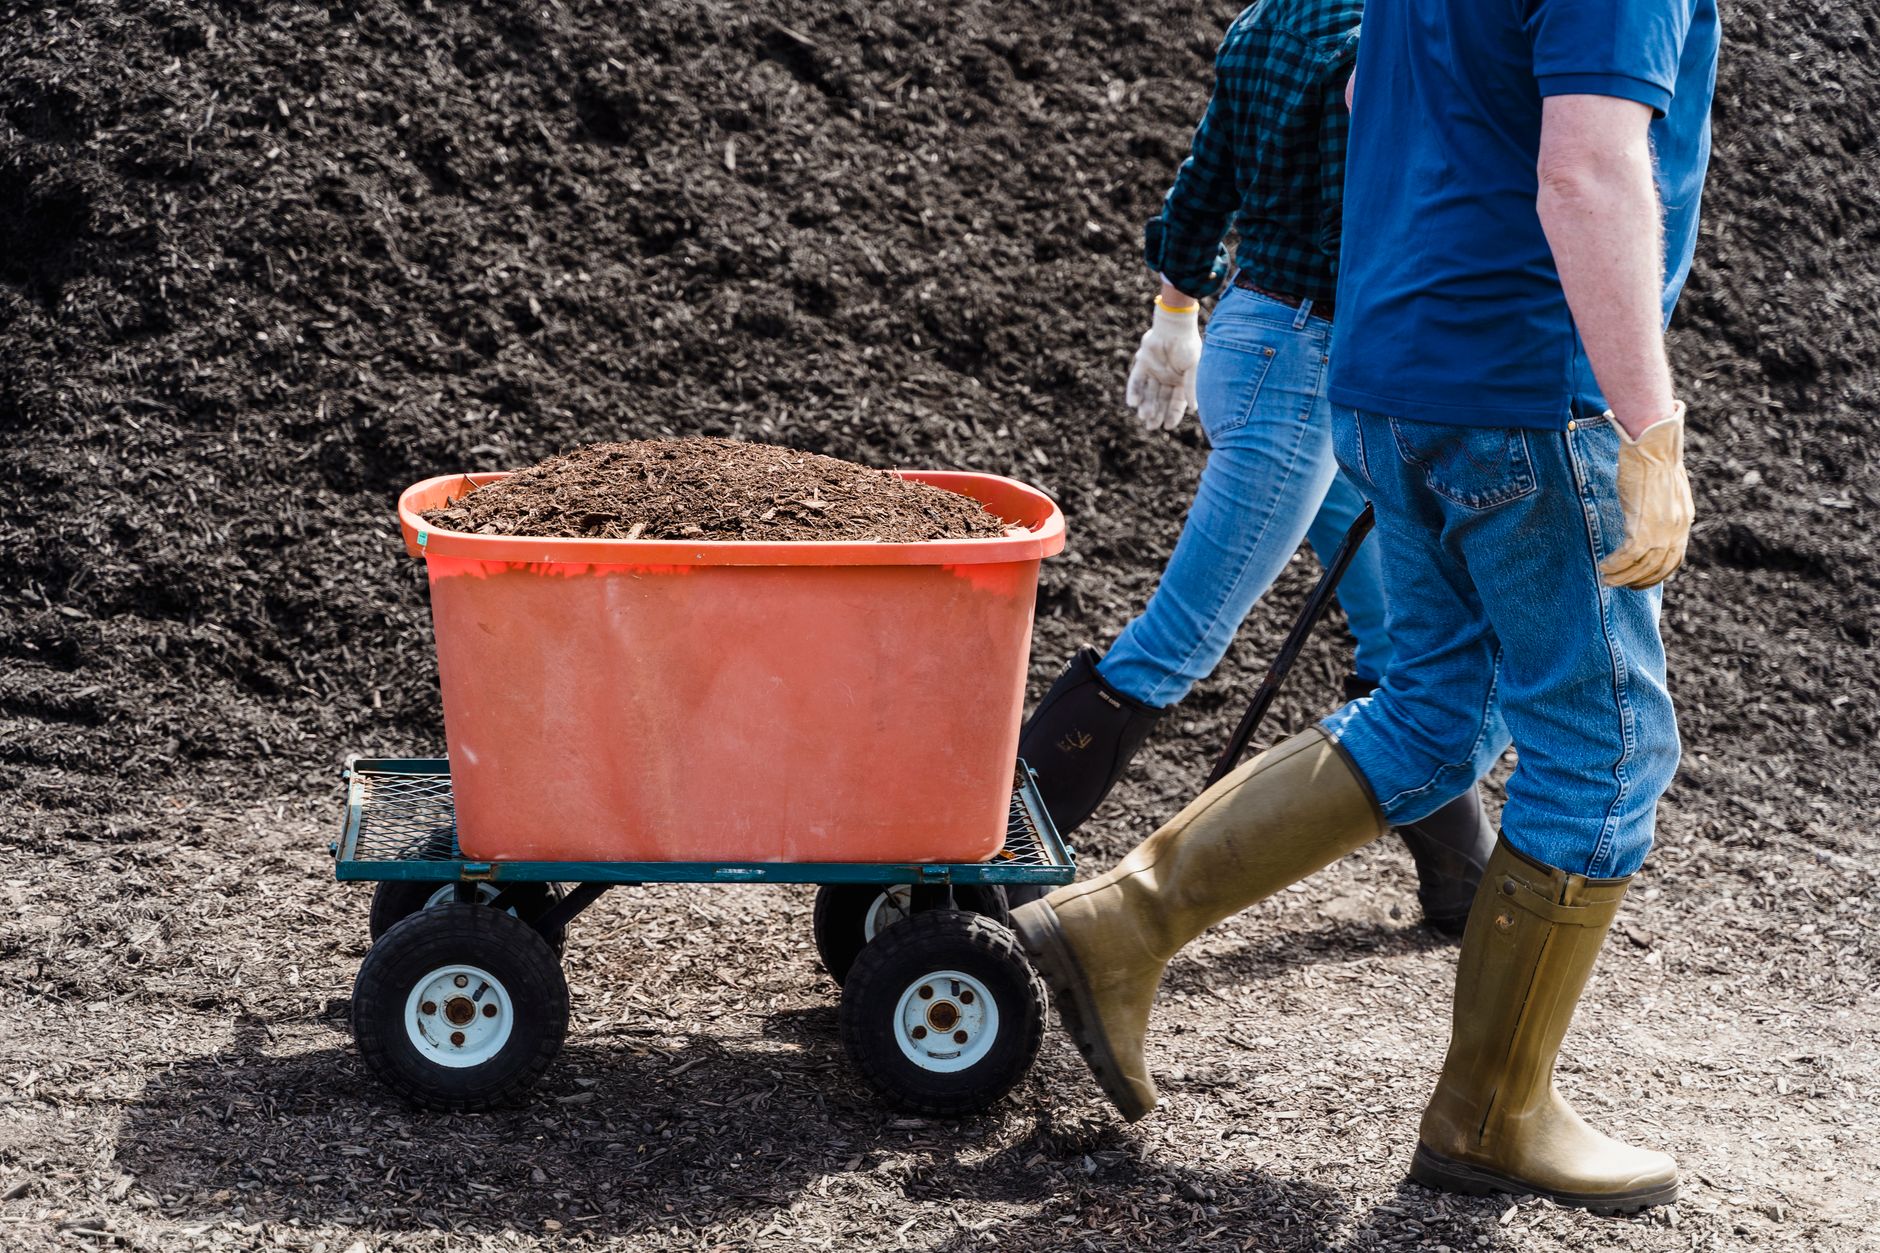
Work 3-4 inches of compost or aged manure into the soil before planting, since artichokes are substantial feeders that need rich, fertile soil to support their large size and bud production.
Space plants 3-4 feet apart in all directions, since a single mature artichoke plant can spread 4-5 feet wide with its large, dramatic, silvery-green leaves, making it one of the more space-demanding vegetables in a home garden.
Choose a full-sun location receiving at least 6-8 hours of direct light daily, and ensure the soil drains well, since artichoke roots are prone to rot in consistently waterlogged conditions.
A soil pH between 6.5 and 7.0 suits artichokes well; testing beforehand is worthwhile if you've had difficulty with other vegetables in the same bed, since artichokes prefer a slightly higher, more neutral pH than many common garden crops.
Transplant and Water Consistently
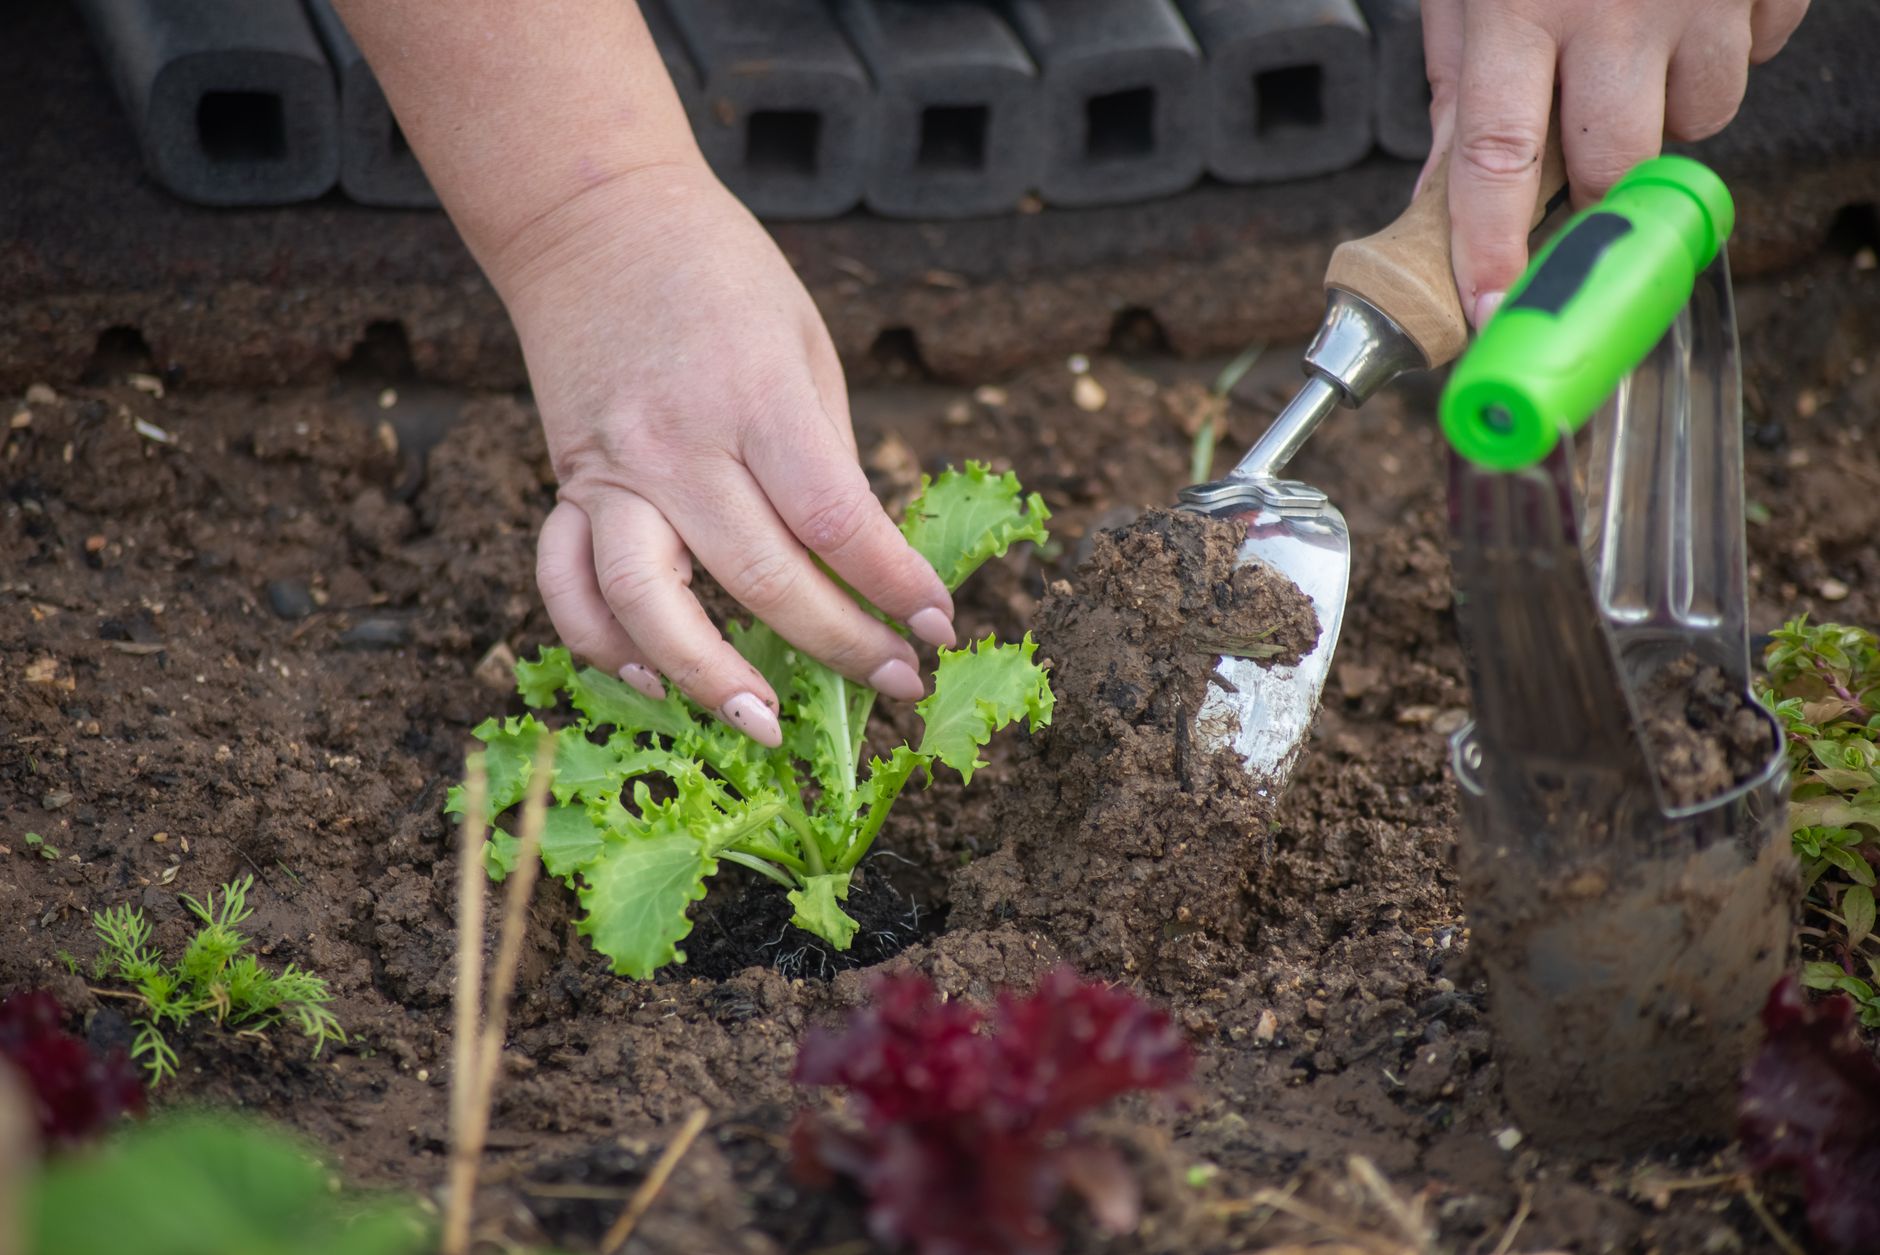
Transplant vernalized seedlings (or nursery-purchased transplants, which are often already appropriately treated) once the danger of hard frost has passed, planting at the same depth they were growing in their containers.
Water deeply and consistently after transplanting, providing about 1-2 inches per week throughout the growing season, since artichokes, despite their tough, substantial appearance, don't tolerate drought stress particularly well and produce noticeably better with steady moisture.
Mulch heavily around the base of plants with straw, both to retain soil moisture during the growing season and, in regions attempting to overwinter plants, to provide crucial insulation against cold once temperatures drop in fall.
Water at the base of plants rather than overhead when practical, which helps reduce the risk of fungal diseases that can affect the large, dense foliage in humid or consistently wet conditions.
Feed Regularly to Support Large Plant Growth

Side-dress with a balanced or nitrogen-rich fertilizer every 4-6 weeks throughout the growing season, since artichokes are genuinely heavy feeders that need sustained nutrition to support both their large leafy growth and subsequent bud development.
For perennial plantings, apply a generous layer of compost around the base of each plant every spring as new growth resumes, replenishing nutrients the plant will draw on heavily throughout its upcoming productive season.
Avoid letting plants become nutrient-stressed during the period leading up to bud formation, since this is when the plant's feeding needs are at their highest and insufficient nutrition can noticeably reduce both bud size and quantity.
A layer of well-rotted manure worked into the soil in fall, for perennial plantings, is a traditional practice that provides slow-release nutrition available as the plant resumes active growth the following spring.
Overwinter Perennial Plants in Cold Climates
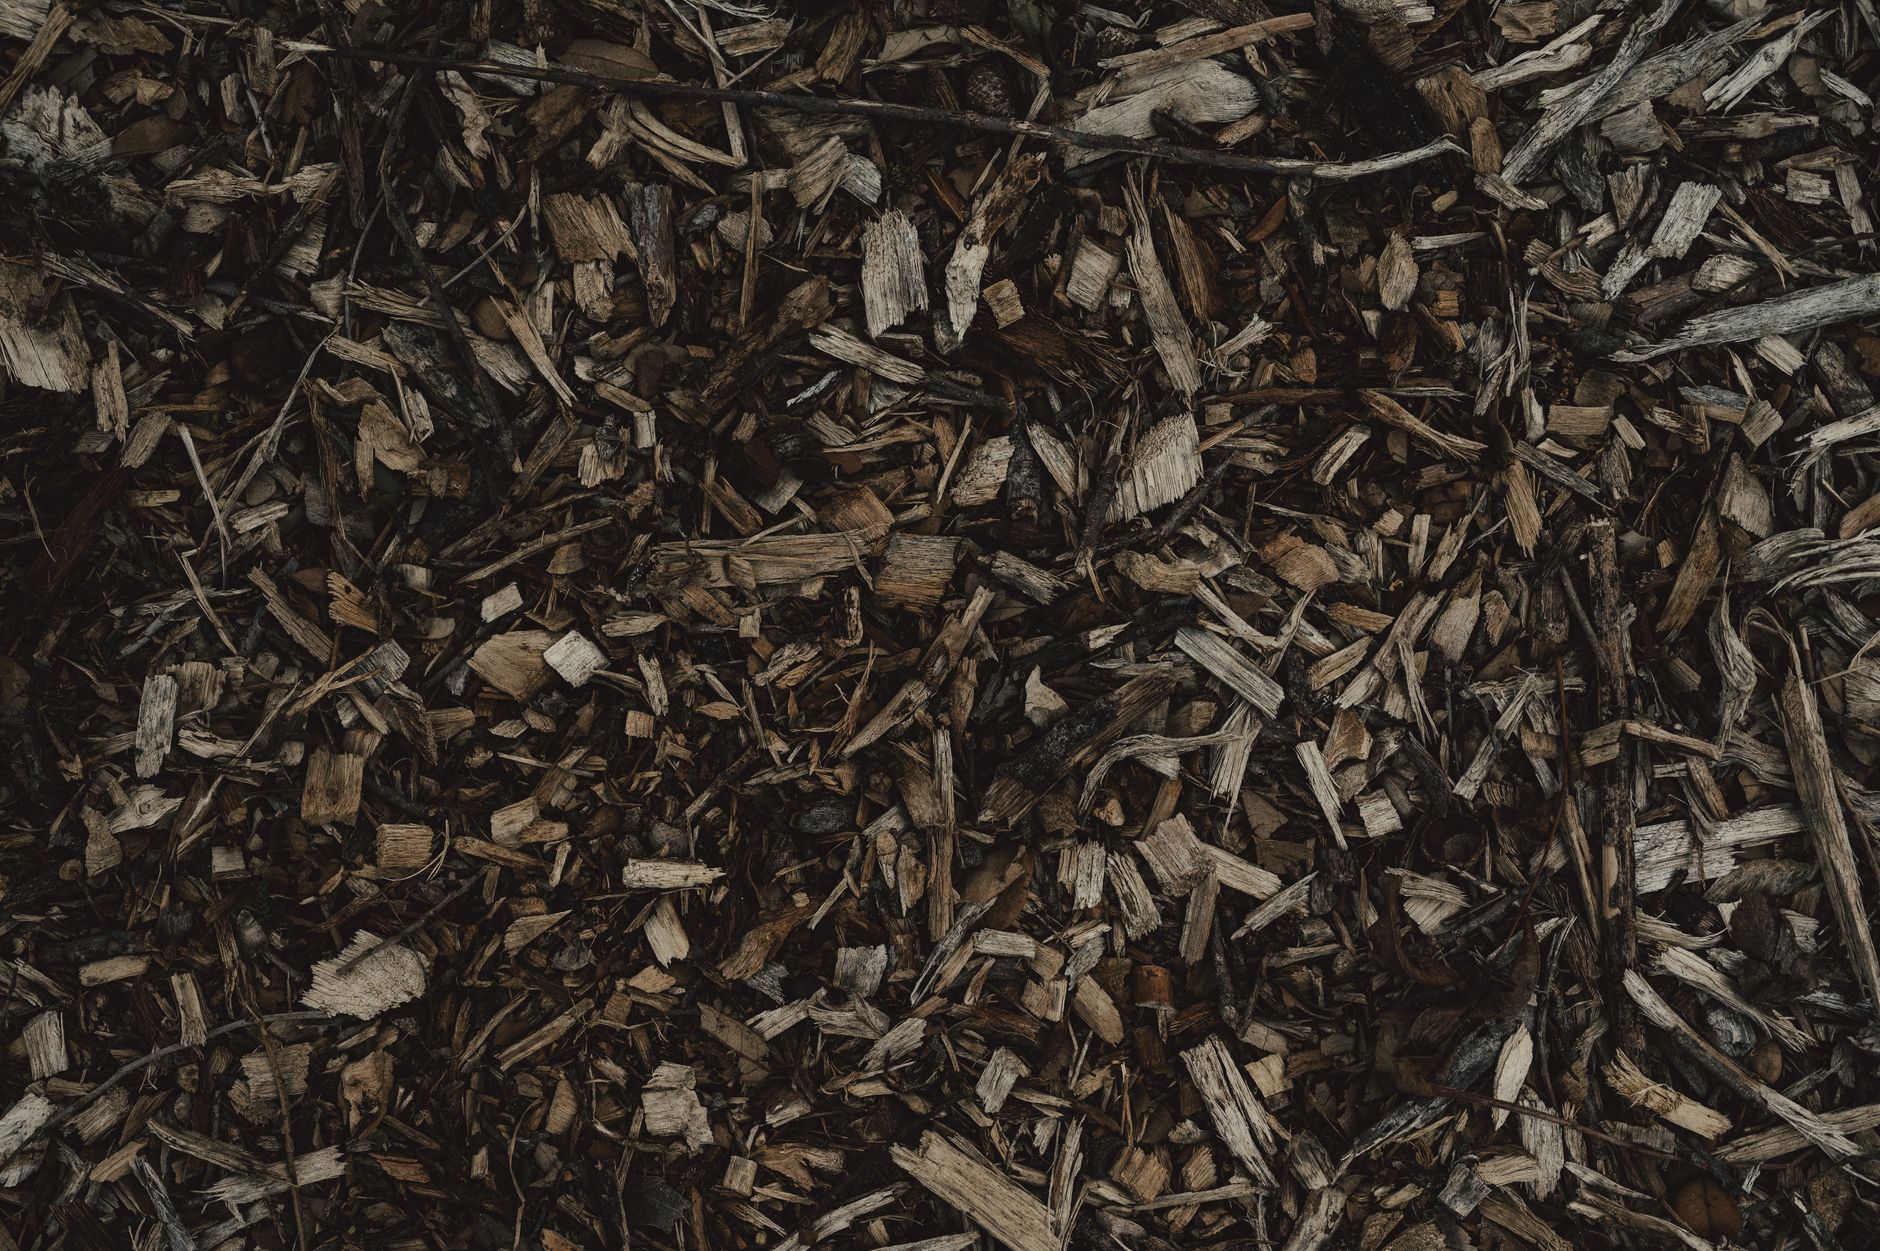
In climates at the colder edge of artichoke's perennial range, cut plants back to about 6-12 inches above the ground after the first hard frost has killed back the foliage, then cover the crown with a thick layer, 12 inches or more, of straw or leaf mulch.
Some gardeners in particularly cold borderline zones add an additional layer of protection, such as an overturned bucket or a cold frame placed over the mulched crown, for extra insulation through the coldest part of winter.
Remove winter mulch gradually in spring as new growth begins to emerge, taking care not to remove protection too early if a late frost is still possible, since tender new spring growth is more vulnerable than the dormant crown was through winter.
In zones where artichokes reliably survive winter without special protection (typically zone 7 and warmer), this step is generally unnecessary, though a light mulch layer still helps retain soil moisture and suppress weeds even in mild climates.
Watch for Aphids and Slugs
Aphids can cluster densely on the undersides of leaves and around developing buds, sometimes in significant numbers given the plant's large leaf surface area; a strong spray of water or insecticidal soap usually controls infestations effectively.
Slugs and snails are drawn to artichoke's lush, moist foliage, particularly in cooler, damp climates; hand-picking in the evening or early morning, along with beer traps or diatomaceous earth around the base of plants, are effective, low-impact control methods.
Check developing buds specifically for aphid clusters before harvest, since these can hide deep within the tightly overlapping scales and are worth rinsing thoroughly before cooking even on otherwise clean-looking buds.
Artichokes are generally considered one of the more pest-resistant vegetables for home gardens overall, with most plantings requiring only minor, occasional intervention through the growing season.
Harvest Buds While Still Tightly Closed

Harvest the central, terminal bud first, typically the largest on the plant, once it's reached a good size but while the scales are still tightly closed and compact, cutting with a sharp knife and leaving 1-2 inches of stem attached.
After the central bud is harvested, side buds will continue developing on the same plant over the following weeks, generally smaller than the terminal bud but still fully usable, extending the harvest window considerably.
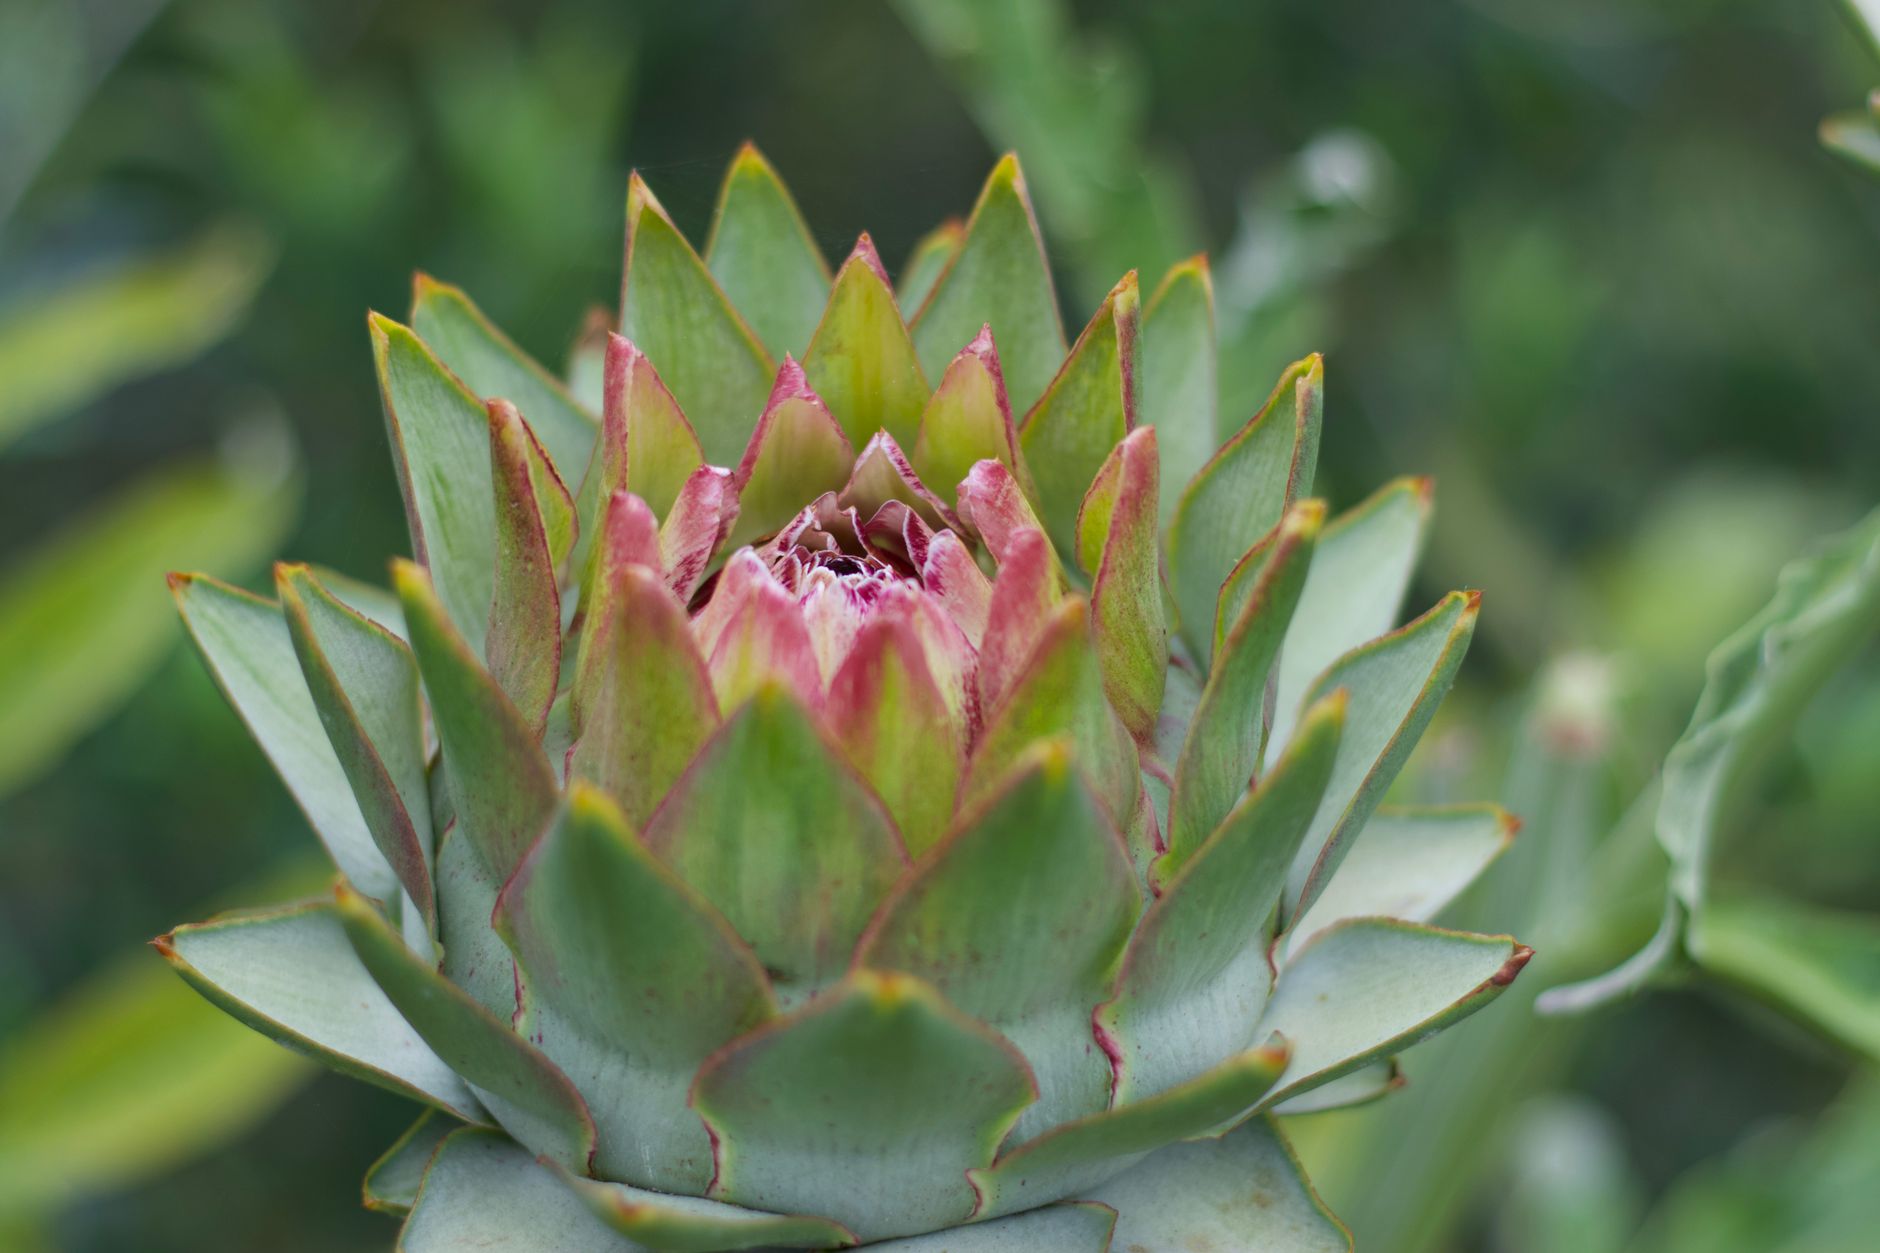
Buds left unharvested will eventually begin opening, revealing a striking purple thistle-like flower; while beautiful, an open bud is past the point of good eating quality, having become tough and fibrous, so timing does matter for culinary use.
Perennial plants in mild climates often produce a spring harvest followed by a smaller secondary harvest in fall, giving established plantings two productive periods within a single year rather than the single harvest window typical of annual plantings.
Check plants every few days once buds begin developing, since the window between a perfectly harvestable tight bud and one that's started opening can be relatively narrow, especially during warm weather.
Common problems and fixes
| Problem | Likely cause | What to do |
|---|---|---|
| Large, healthy plant with lush foliage but no buds forming | Insufficient cold exposure (vernalization) during the seedling stage. | Ensure young plants receive 10-14 days of temperatures below 50°F after developing several true leaves but before transplanting outdoors. |
| Perennial planting doesn't survive winter | Insufficient winter protection, or a climate genuinely too cold for reliable perennial survival. | Increase mulch depth significantly and consider additional insulation, or accept growing artichokes as an annual with vernalization if your climate proves too harsh. |
| Buds open into flowers before harvest | Checking plants too infrequently once buds begin developing. | Monitor developing buds every few days, especially during warm weather when the window to harvest at ideal tightness narrows considerably. |
Gardener's checklist
Test what you learned
What is vernalization, and why does it matter for artichokes?
Answer: A period of cold exposure needed to trigger bud formation
In which USDA hardiness zones can artichokes typically be grown as reliable perennials?
Answer: Zones 7-11
When should artichoke buds be harvested?
Answer: While the scales are still tightly closed
Common questions
Can artichokes be grown in cold climates?
Yes, though they need to be grown as an annual using a vernalization technique, exposing young plants to 10-14 days of temperatures below 50°F to trigger bud formation, since natural winter cold isn't available to accomplish this the way it is in the plant's native mild climate.
How long do artichoke plants live?
In mild climates where they're grown as true perennials, artichoke plants can remain productive for 5-7 years or even longer with proper care, making them a genuine long-term investment similar to asparagus.
What happens if I don't harvest an artichoke bud in time?
The bud will continue opening into a striking purple thistle-like flower, which is beautiful but no longer good for eating, since the scales become tough and fibrous once the bud has passed its harvestable stage.
Do artichokes need a lot of space?
Yes, mature plants can spread 4-5 feet wide, making artichokes one of the more space-demanding vegetables in a home garden; plan for 3-4 feet of spacing between plants in every direction.
Artichokes ask for patience and, in cold climates, an extra vernalization step most vegetables don't require, but the reward is a dramatic, productive plant capable of years of harvests once you understand what triggers it to actually form buds.
Frequently asked questions
How often should a vegetable garden be watered?
Frequency depends on weather, soil and plant size. Check the soil rather than watering on a rigid schedule.
Is compost enough fertilizer?
Compost improves soil and provides nutrients slowly. Heavy-feeding crops may still need additional feeding.

The Sproutstead Editorial Team
We create clear, practical gardening and homesteading guides designed for real homes and beginner growers.
View author profile →