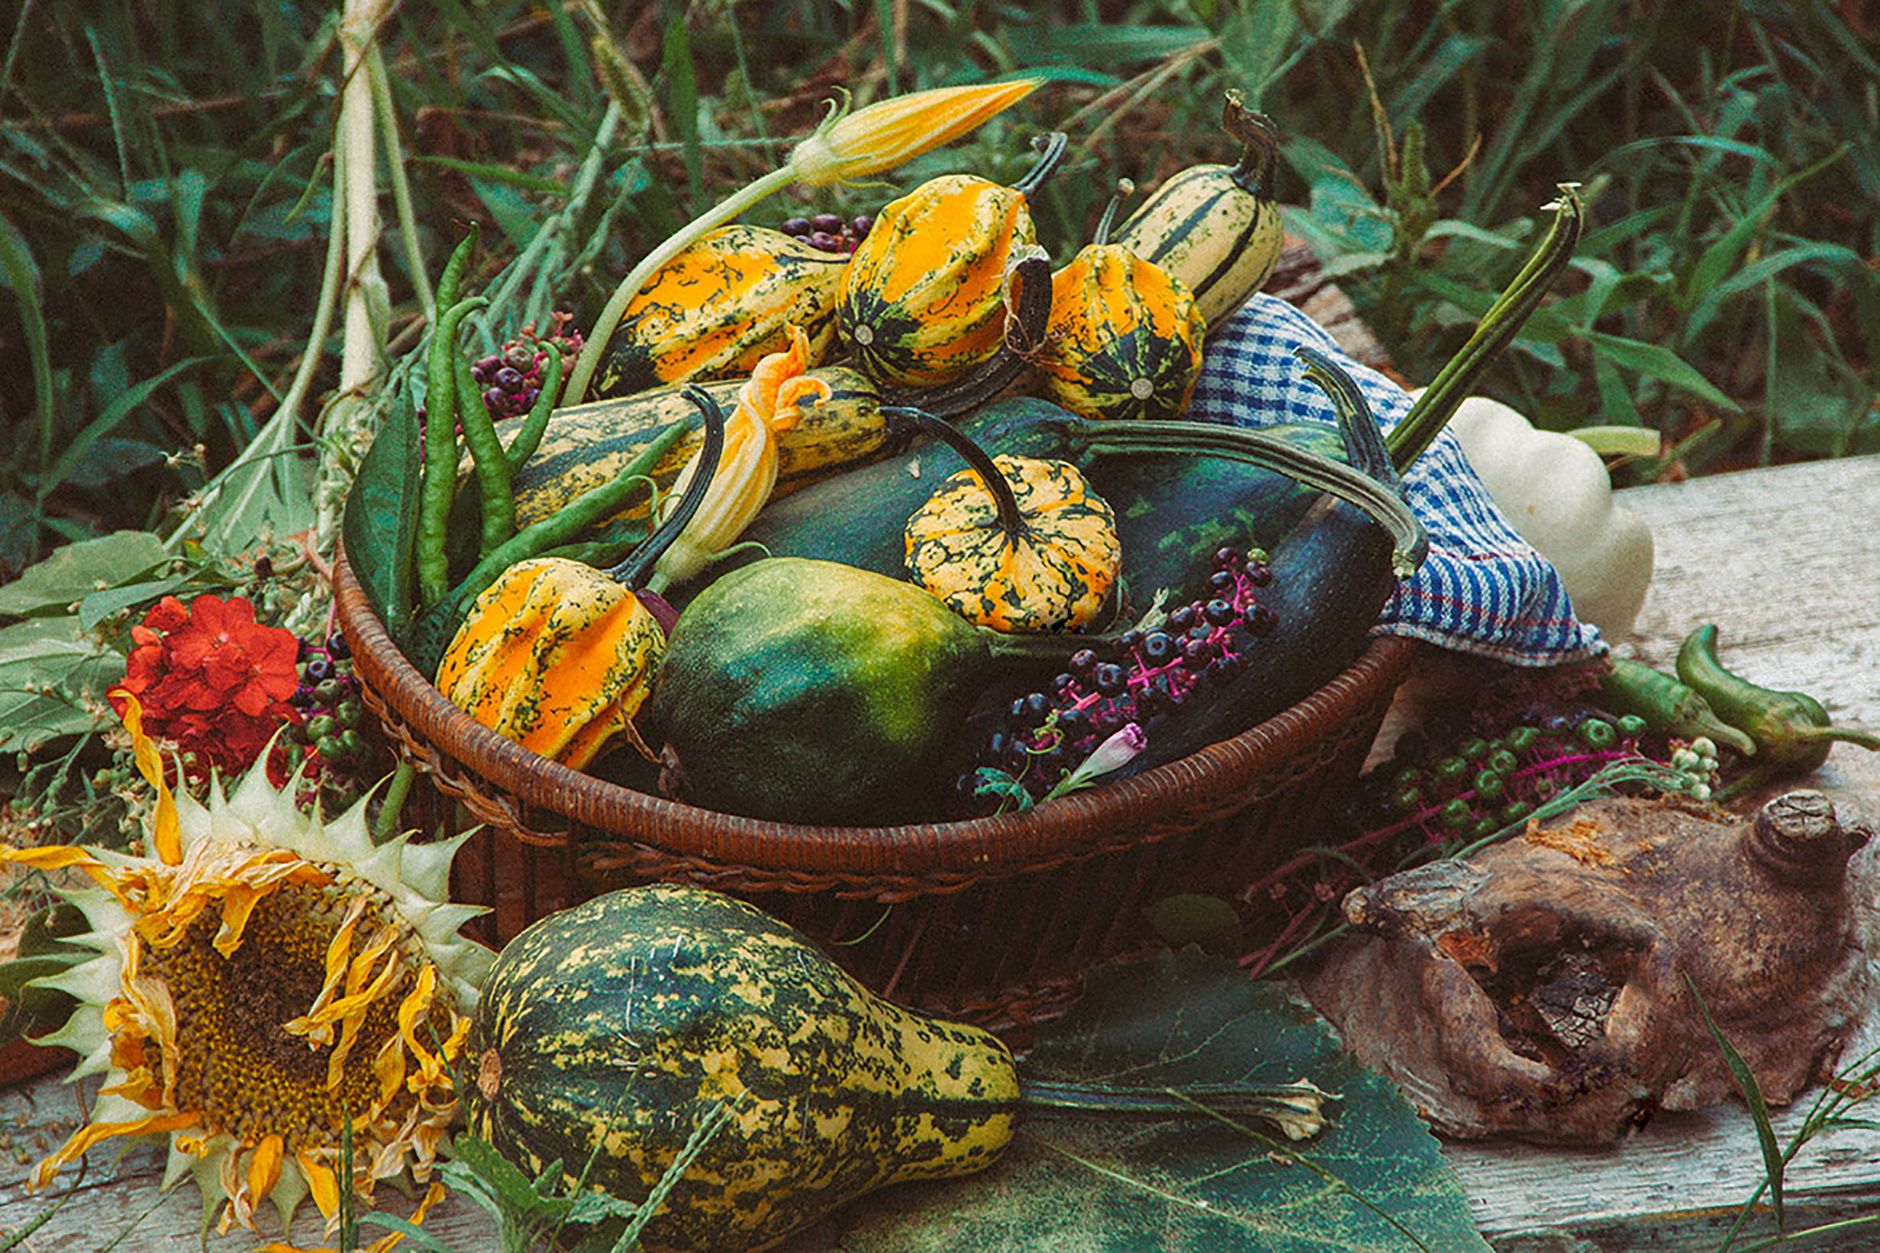
Plant squash seeds directly in the garden after the last frost, once soil is at least 65°F, spacing plants 2-3 feet apart for bush types or 3-6 feet for vining varieties. Water at the base, support pollination, manage squash bugs and vine borers, and harvest summer squash young and often, while winter squash is left until the rind hardens fully before a hard frost.
What you will need
Understand Summer vs. Winter Squash
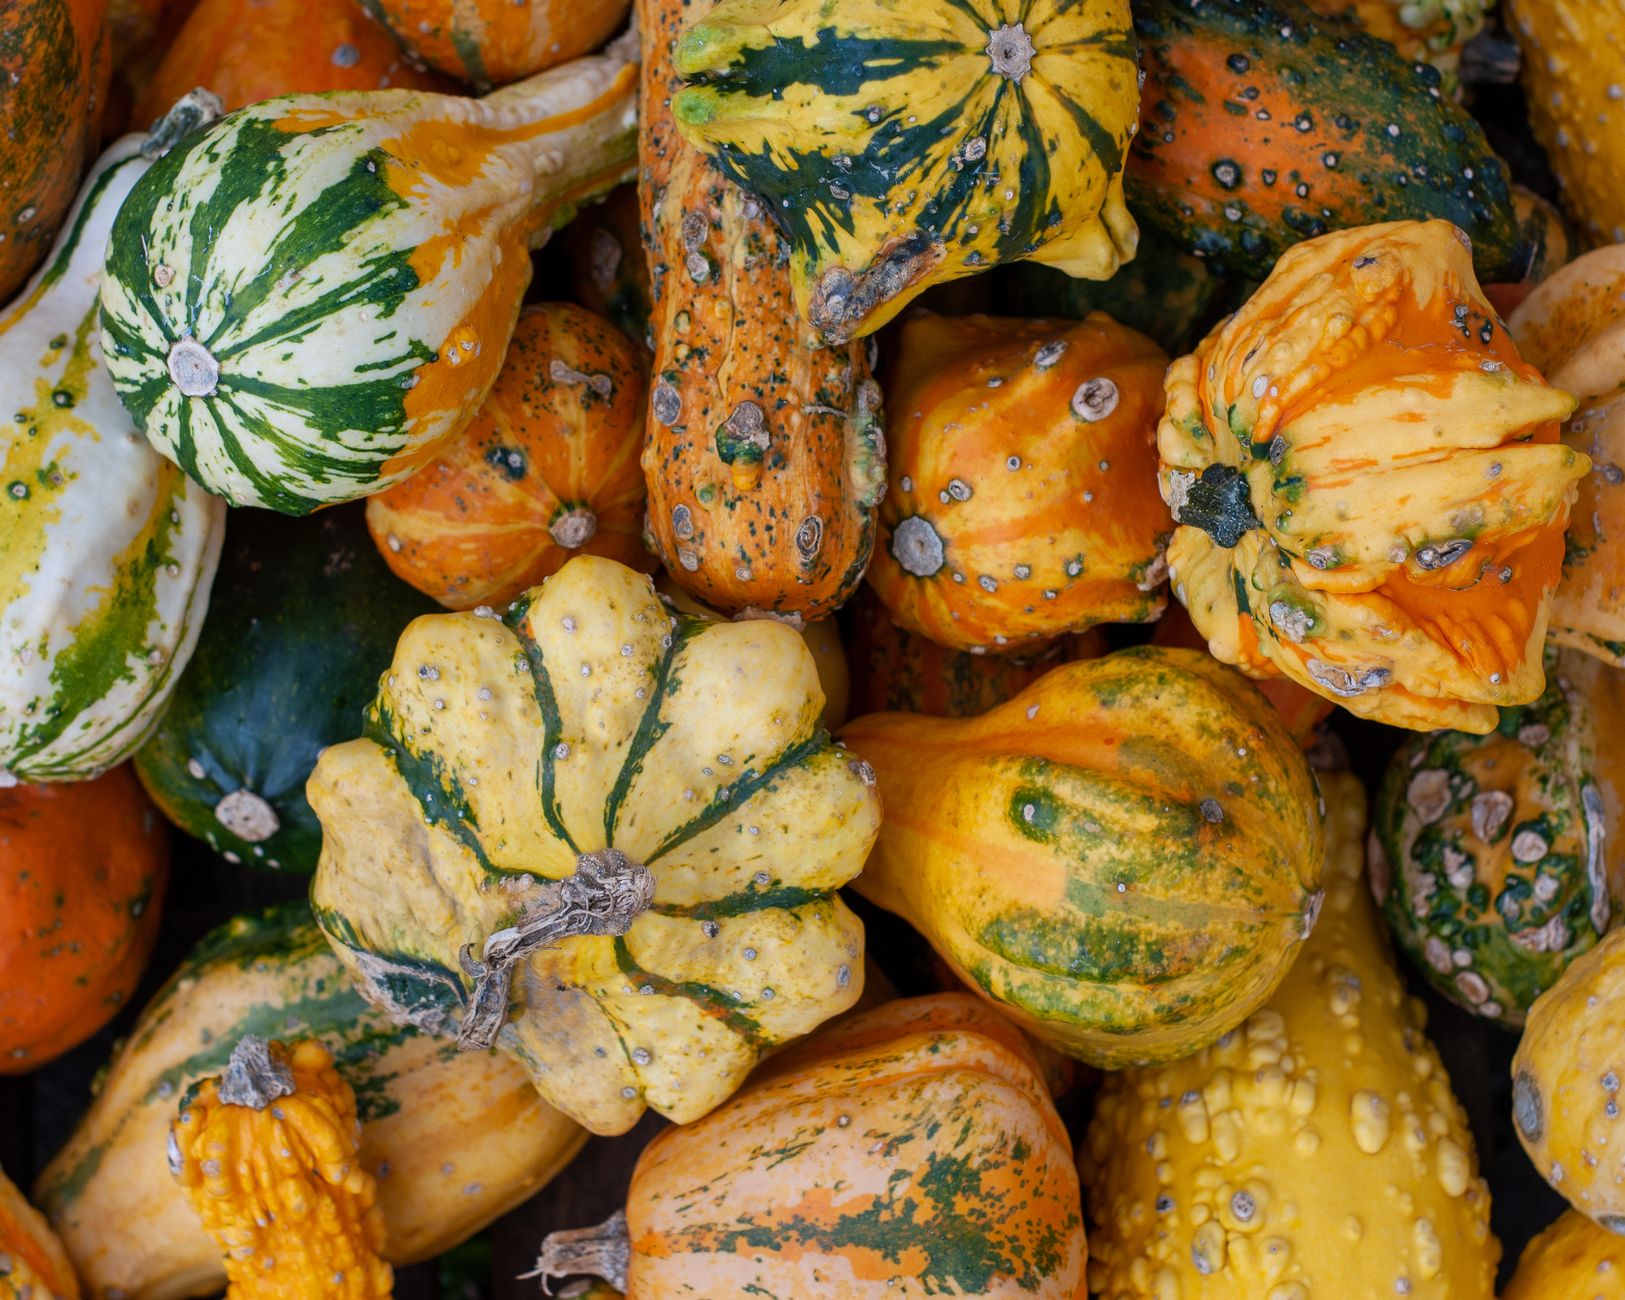
Summer squash, including zucchini, yellow squash, and pattypan, is harvested young and immature, typically within days of the flower fading, with thin, tender skin that doesn't store well and is meant for fairly quick use after picking.
Winter squash, including butternut, acorn, and spaghetti squash, is left on the vine to fully mature, developing a hard, thick rind that allows it to store for months, unlike its summer counterpart, making it a genuinely different crop in terms of both garden management and kitchen use despite the shared name.
Growing requirements for soil, spacing, watering, and pollination are largely similar between the two types, though winter squash generally needs a considerably longer growing season, often 80-110 days compared to summer squash's 45-55 days, so timing your planting appropriately matters more for winter types.
Many gardeners grow both types together, using summer squash for a quick, continuous harvest through the growing season and winter squash as a longer-term investment that pays off with a storable crop lasting well into the colder months.
Choose Bush or Vining Varieties Based on Space
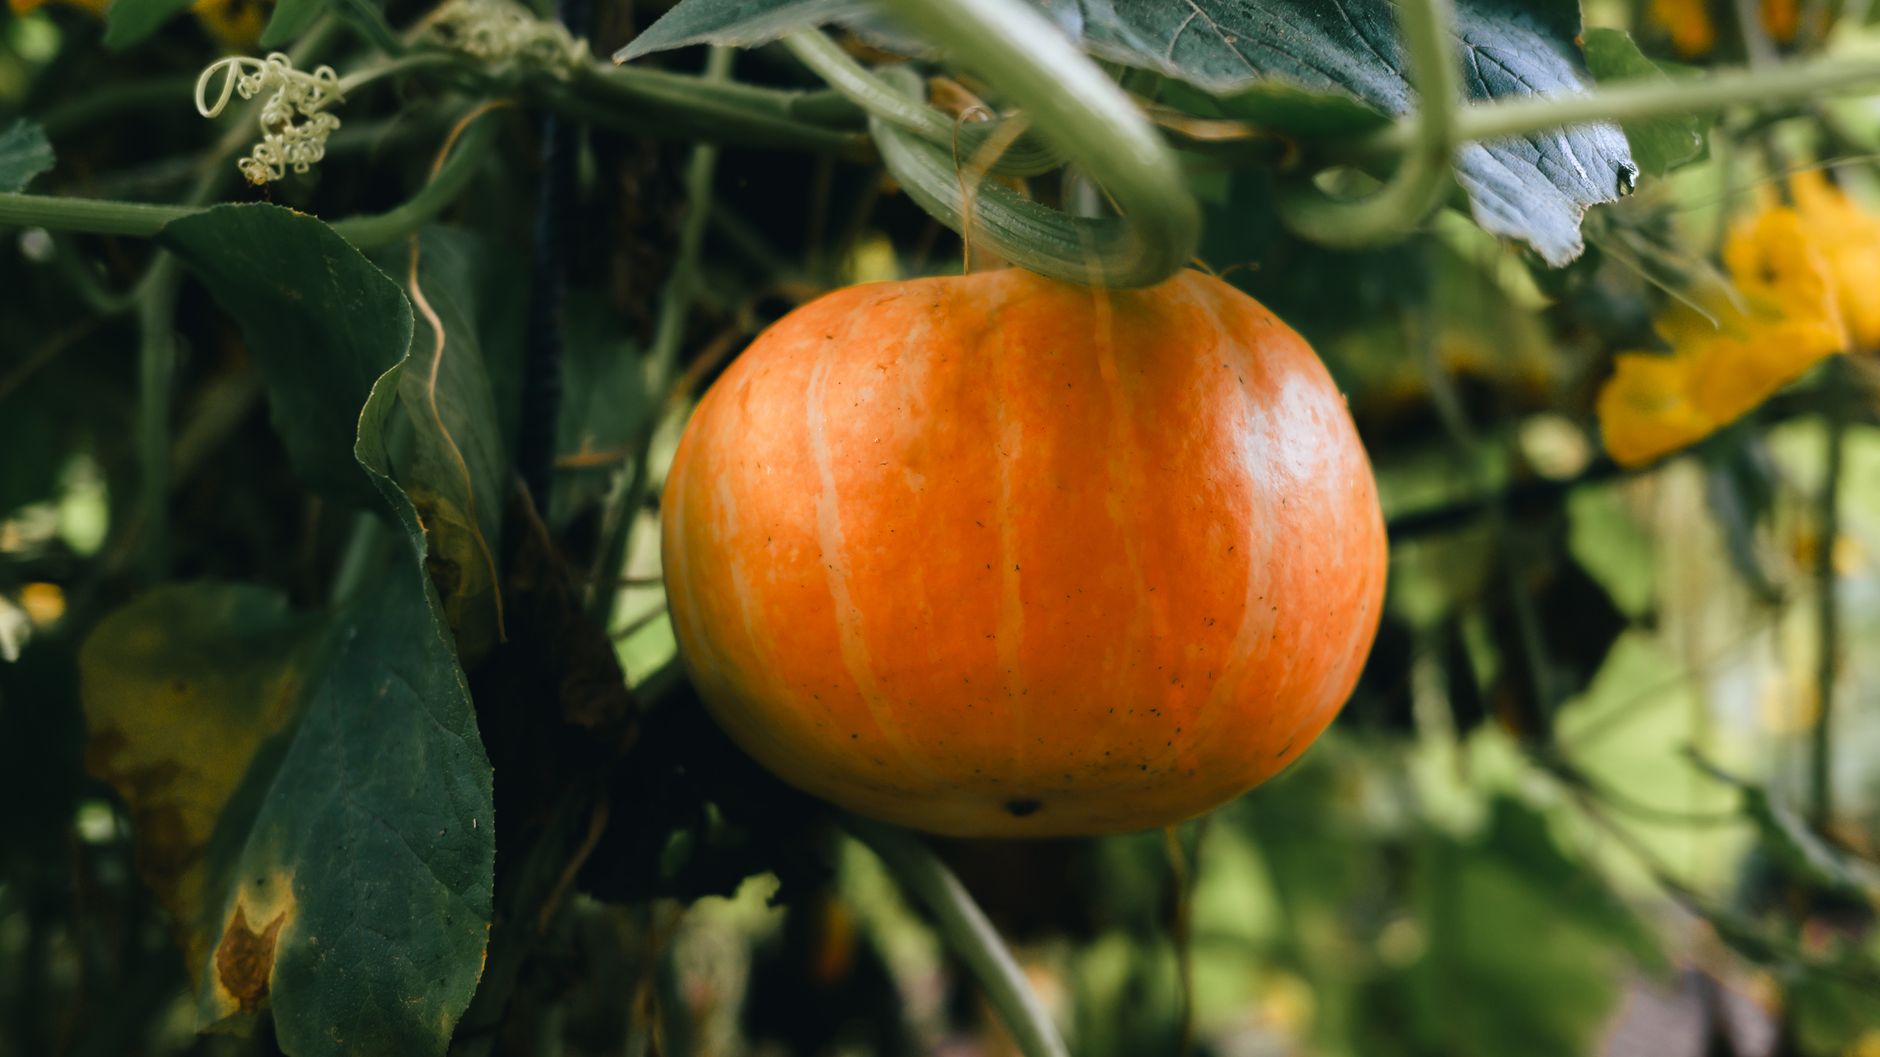
Bush varieties, common among summer squash types, grow as compact plants needing only 2-3 feet of spacing, making them well-suited to smaller gardens or gardeners who prefer more contained, manageable plantings.
Vining varieties, more common among winter squash and some summer types, spread widely, sometimes 10-15 feet or more, and need considerably more room, either sprawling across open garden space or trained up a sturdy trellis for smaller-fruited types.
If garden space is limited, prioritize bush varieties or plan to trellis vining types, using cloth or mesh slings to support developing fruit as it grows heavier on a vertical support.
Check seed packets or plant labels carefully for growth habit before planting, since the difference between a 3-foot bush plant and a 15-foot vine has major implications for how much space you'll need to set aside.
Plant After Soil Has Genuinely Warmed
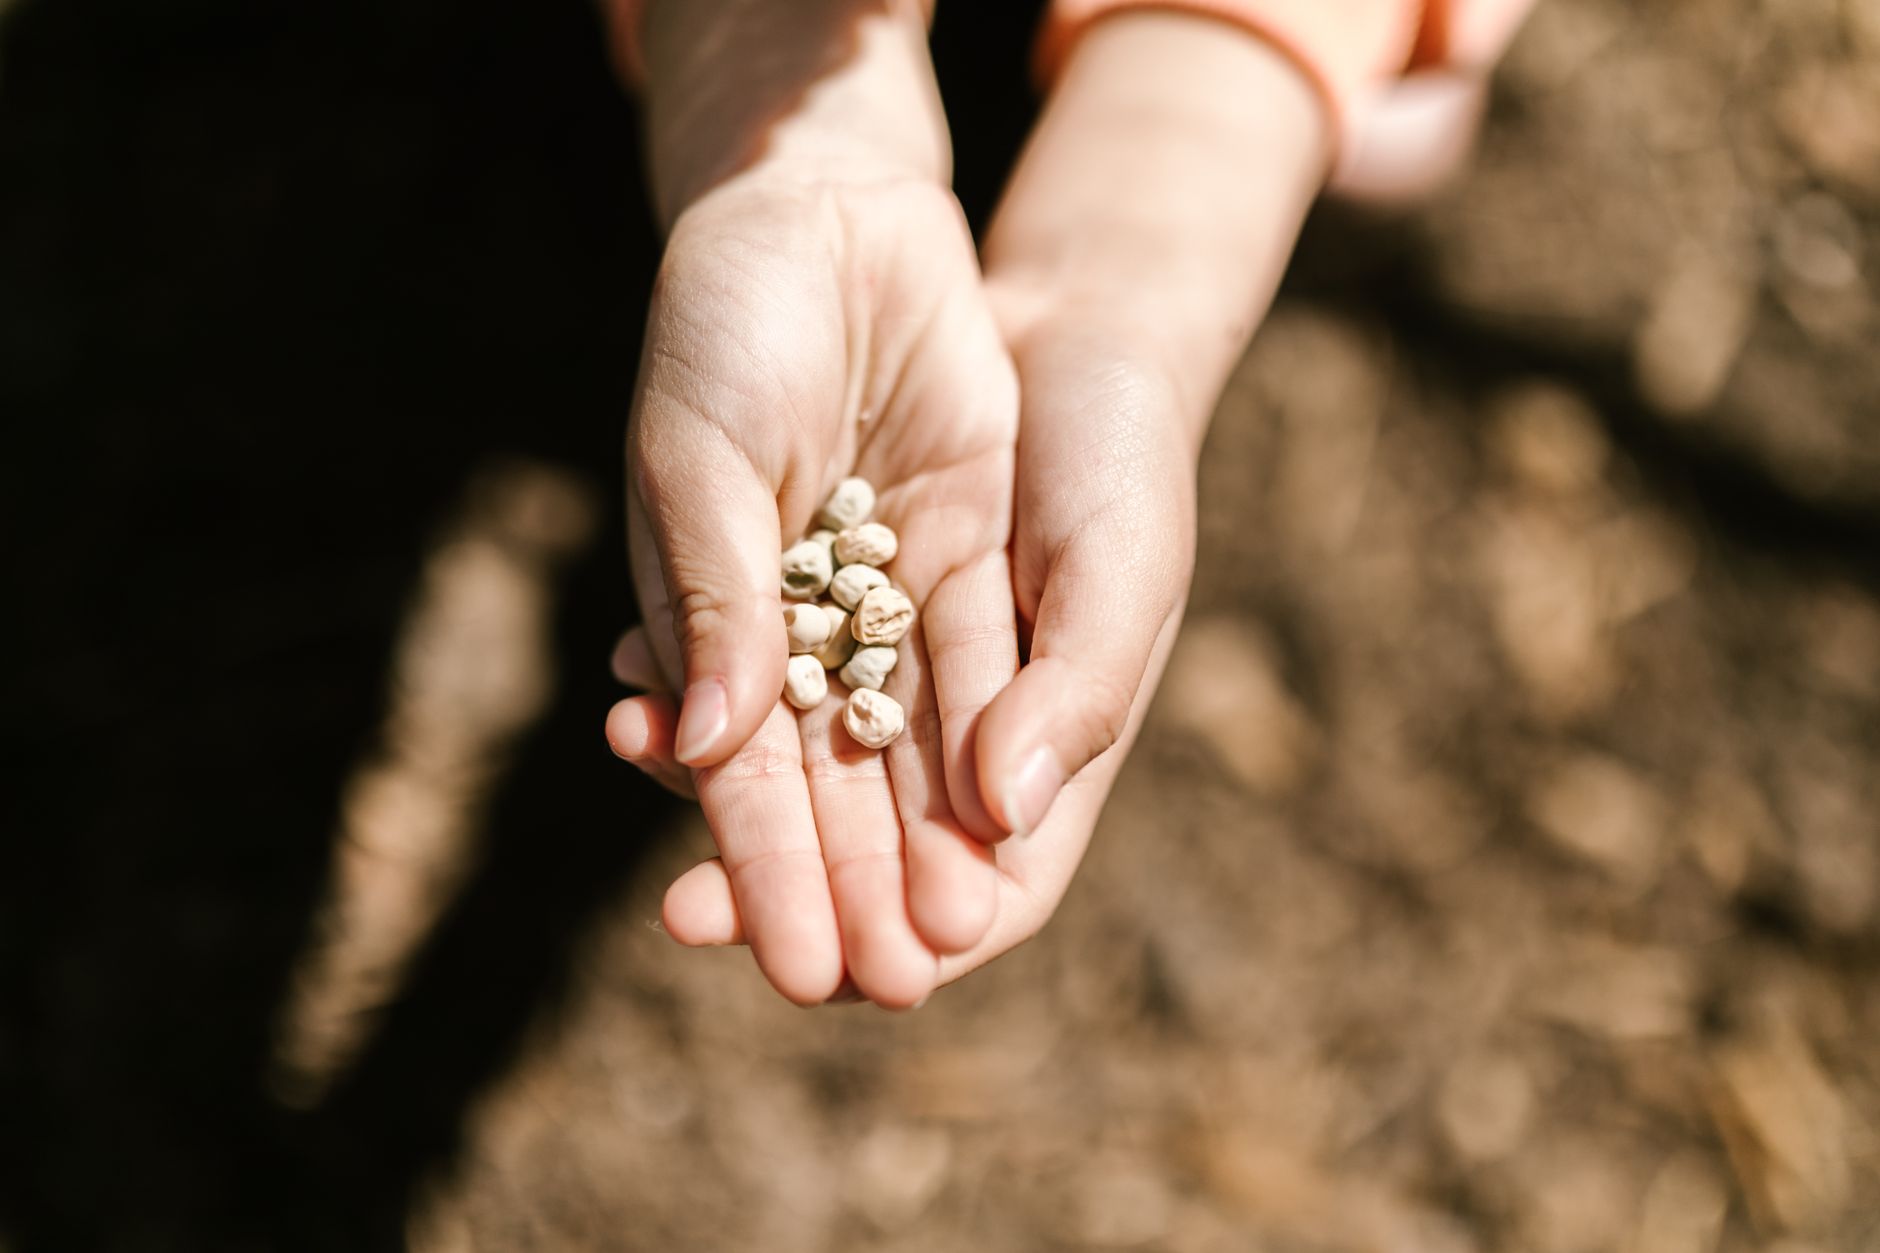
Direct-sow seeds about an inch deep once soil has warmed to at least 65°F, typically a week or two after your last spring frost date, since seeds planted into cold, wet soil are prone to rotting before germination.
Plant 2-3 seeds per hole or hill and thin to the strongest single seedling once true leaves appear, rather than trying to grow multiple crowded plants from the same spot.
For winter squash specifically, given its longer time to maturity, count backward from your first expected fall frost using the variety's days-to-maturity listed on the seed packet to confirm your planting date allows enough time for full ripening.
Squash can also be started indoors 2-3 weeks before the last frost in biodegradable pots for an earlier start, though its roots are sensitive to disturbance, making direct sowing the generally preferred method for most home gardeners.
Prepare Fertile Soil and Water at the Base
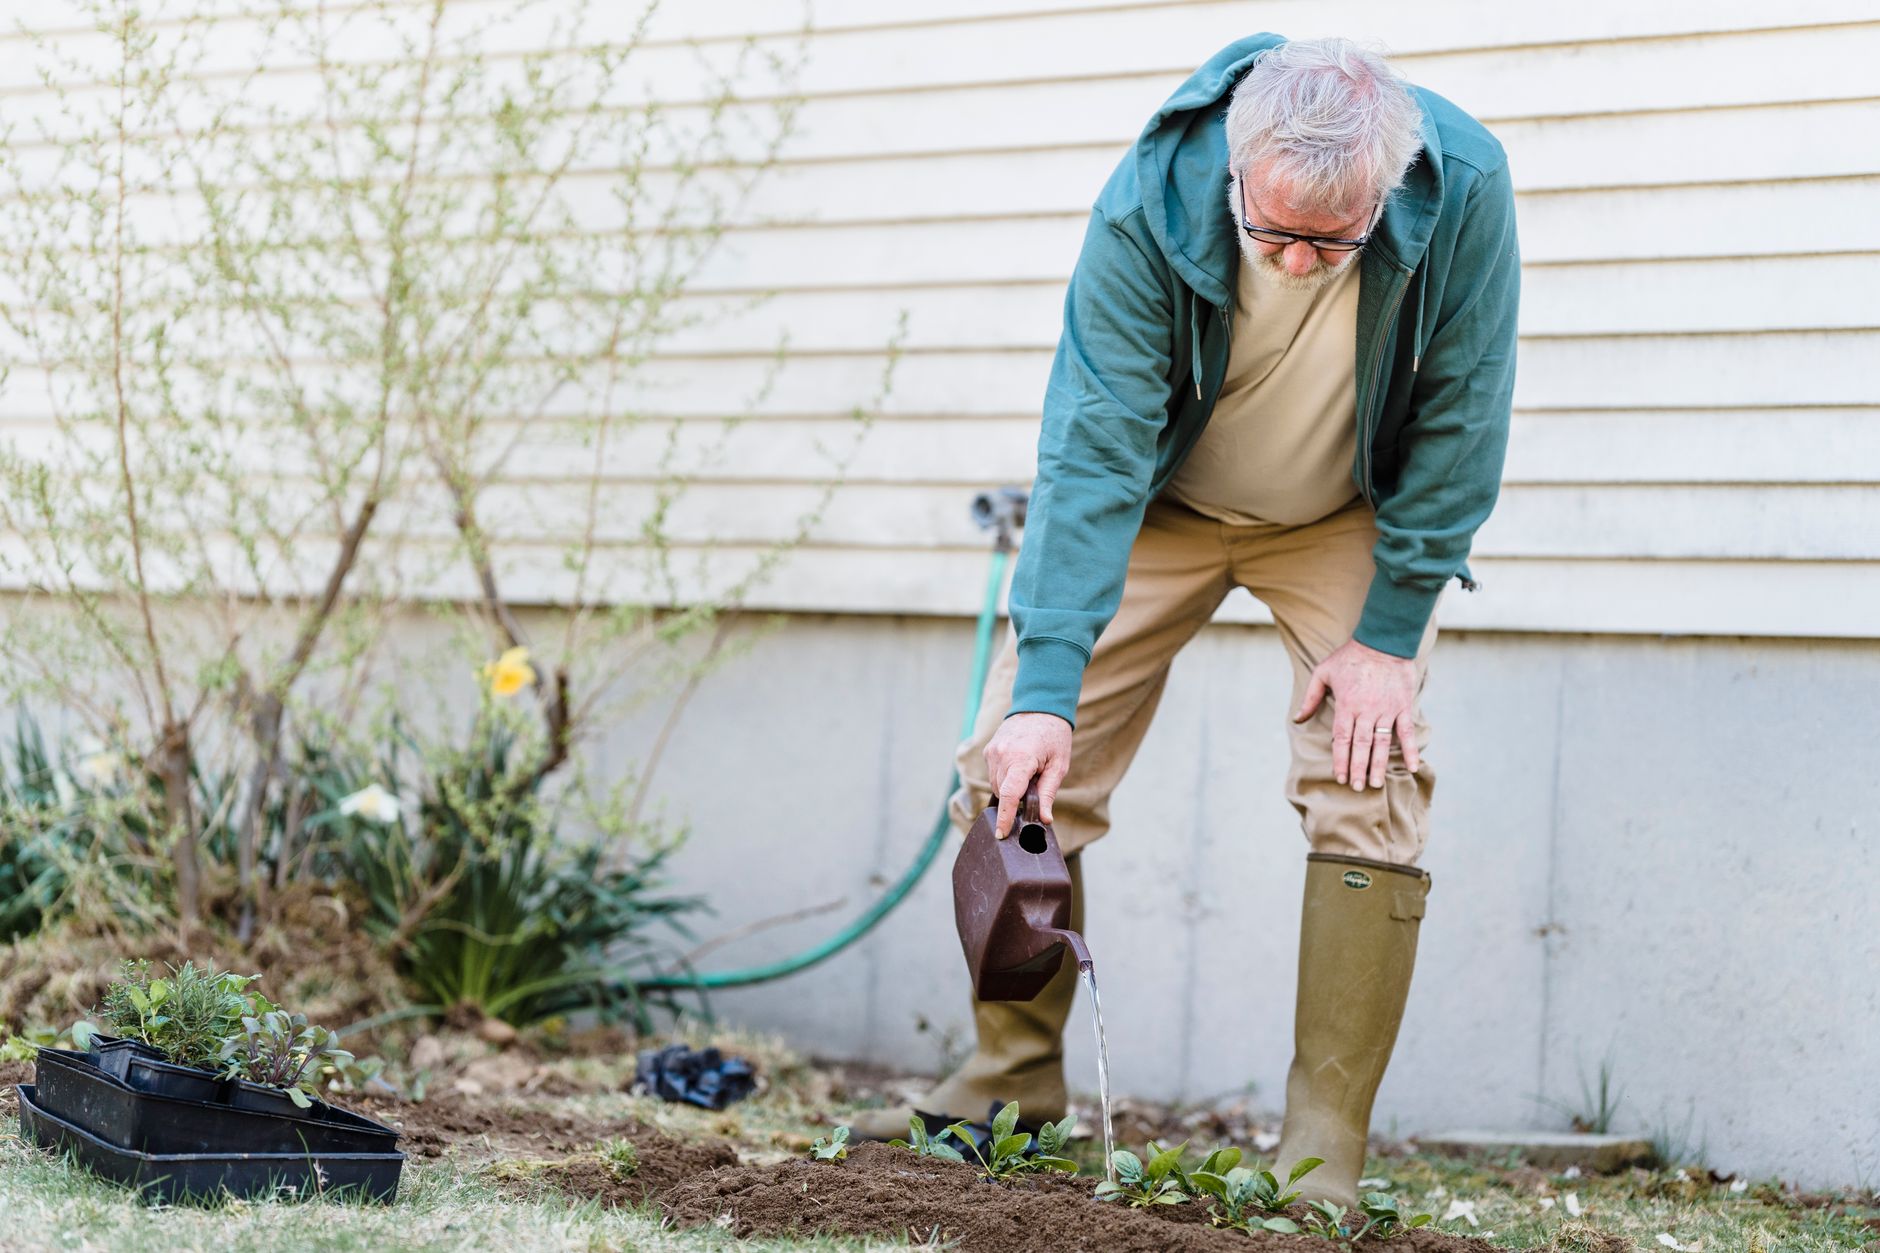
Work 2-3 inches of compost or aged manure into the soil before planting, since squash is a heavy feeder that draws significant nutrients from the soil throughout its growing season, whether that season is short (summer types) or long (winter types).
Water deeply once or twice a week, providing about 1-2 inches total, always at the base of the plant rather than overhead, which significantly reduces the risk of powdery mildew, a disease squash of all types is notably prone to.
Mulch heavily around the base of plants with straw once established, which helps retain soil moisture, suppress weeds, and keep developing fruit from sitting directly on bare, potentially damp soil.
A soil pH between 6.0 and 6.8 suits squash well, and ensuring good drainage matters throughout the season, since squash roots are prone to rot in soil that stays consistently waterlogged.
Support Pollination for Reliable Fruit Set
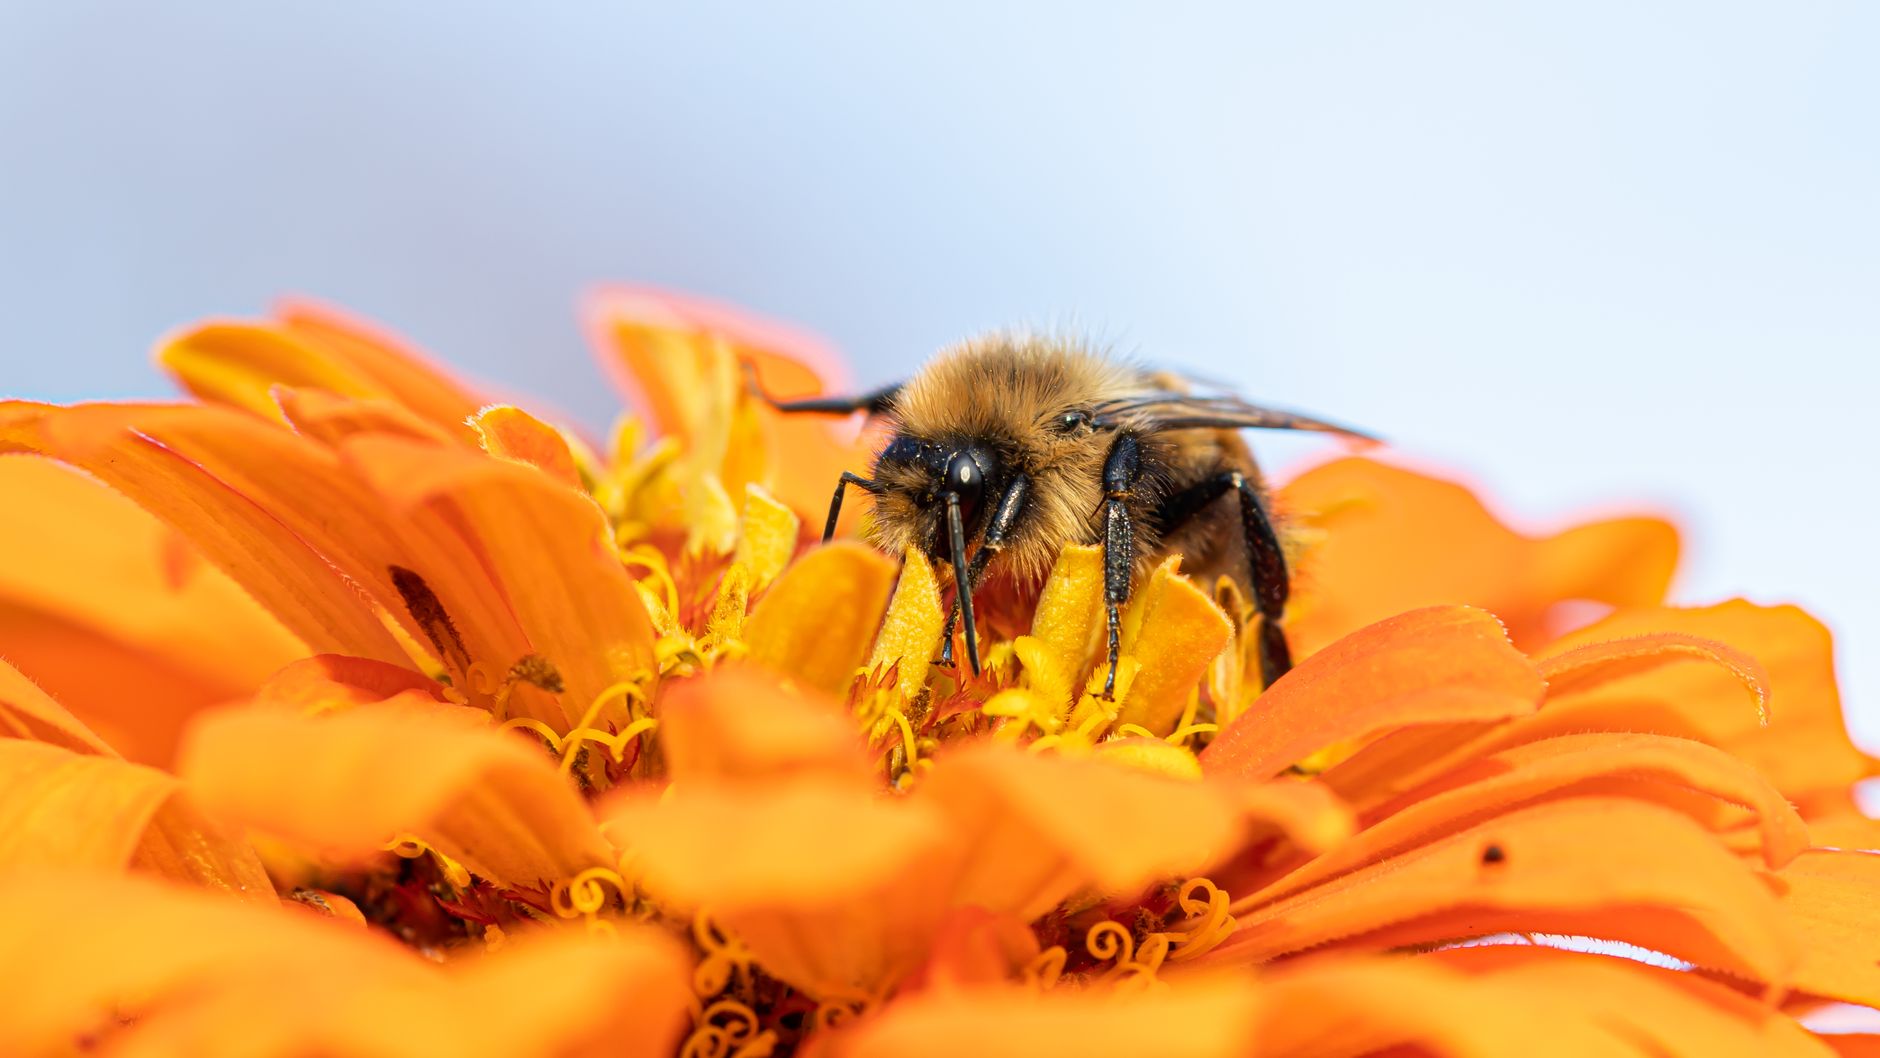
All squash varieties produce separate male and female flowers on the same plant, relying on bees for pollination; male flowers have a thin, straight stem, while female flowers have a small swollen bulge, resembling a miniature squash, right behind the petals.
Male flowers typically appear first, sometimes several days before the first female flowers show up, so don't be concerned if early blossoms drop without producing fruit, which is a completely normal part of the plant's natural flowering sequence.
If small fruit forms but then shrivels and rots at the tip before growing any larger, this is a classic sign of poor pollination; hand-pollinate using a small paintbrush to transfer pollen from a male flower's center to a female flower, or simply rub a picked male flower directly against a female flower's center.
Avoid spraying insecticides during flowering to protect the bee populations squash depends on, treating in the evening after bees have finished foraging if pest control is genuinely necessary during bloom.
Manage Squash Bugs and Vine Borers
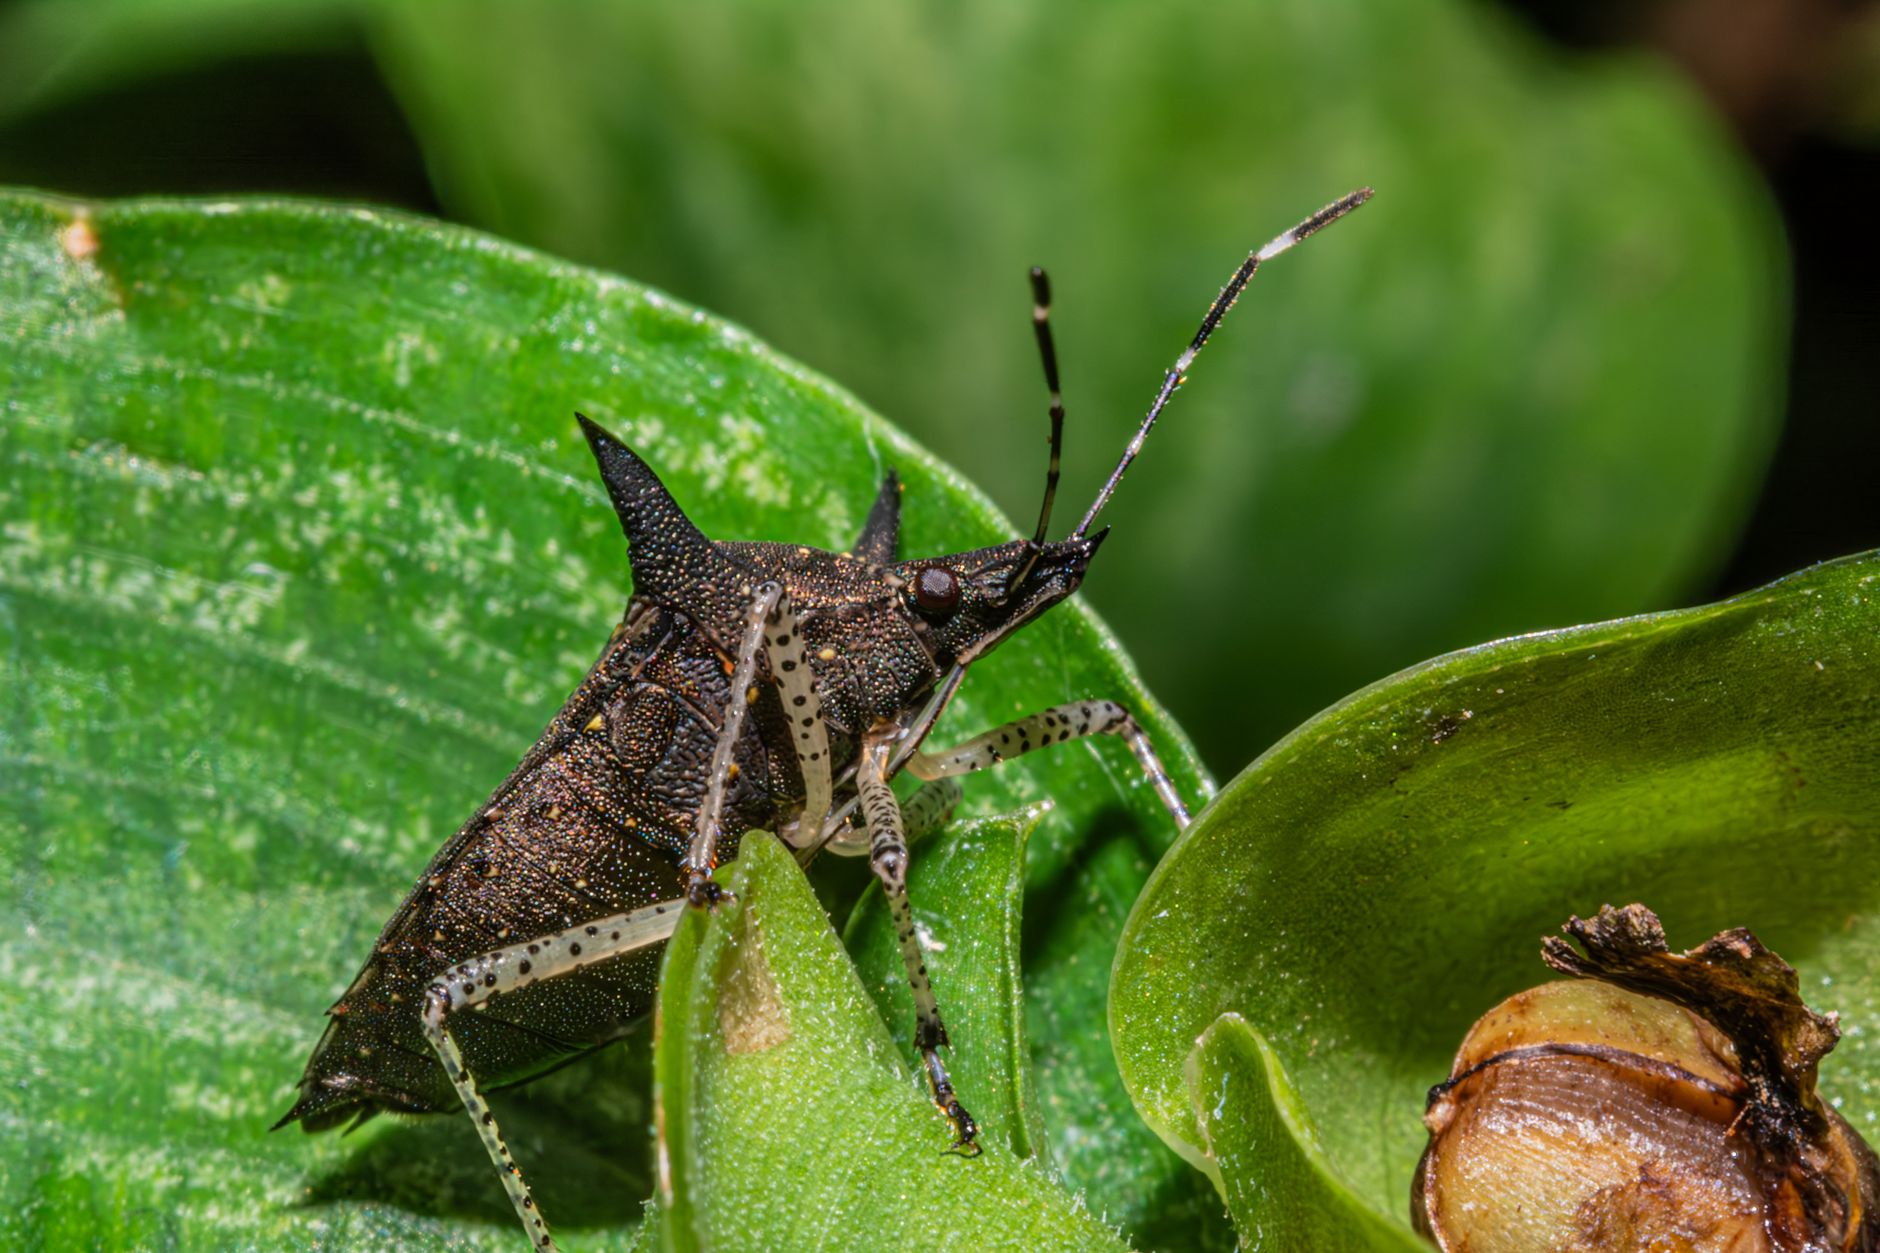
Check the undersides of leaves regularly for squash bug eggs, appearing as small bronze clusters, and remove them by hand before they hatch into the considerably more damaging nymph stage.
Watch for sudden wilting of individual stems or the whole plant even when soil moisture seems adequate, a classic sign of squash vine borer, whose larvae tunnel inside the stem and are notoriously difficult to treat once established.
Row covers over young plants, removed once flowering begins to allow pollinator access, offer good protection against both pests during the vulnerable seedling stage, regardless of whether you're growing summer or winter varieties.
Rotate squash plantings to a different garden section each year, ideally on a 2-3 year rotation, which meaningfully reduces the buildup of pests and diseases specific to this plant family over successive seasons.
Harvest Summer Squash Young and Often
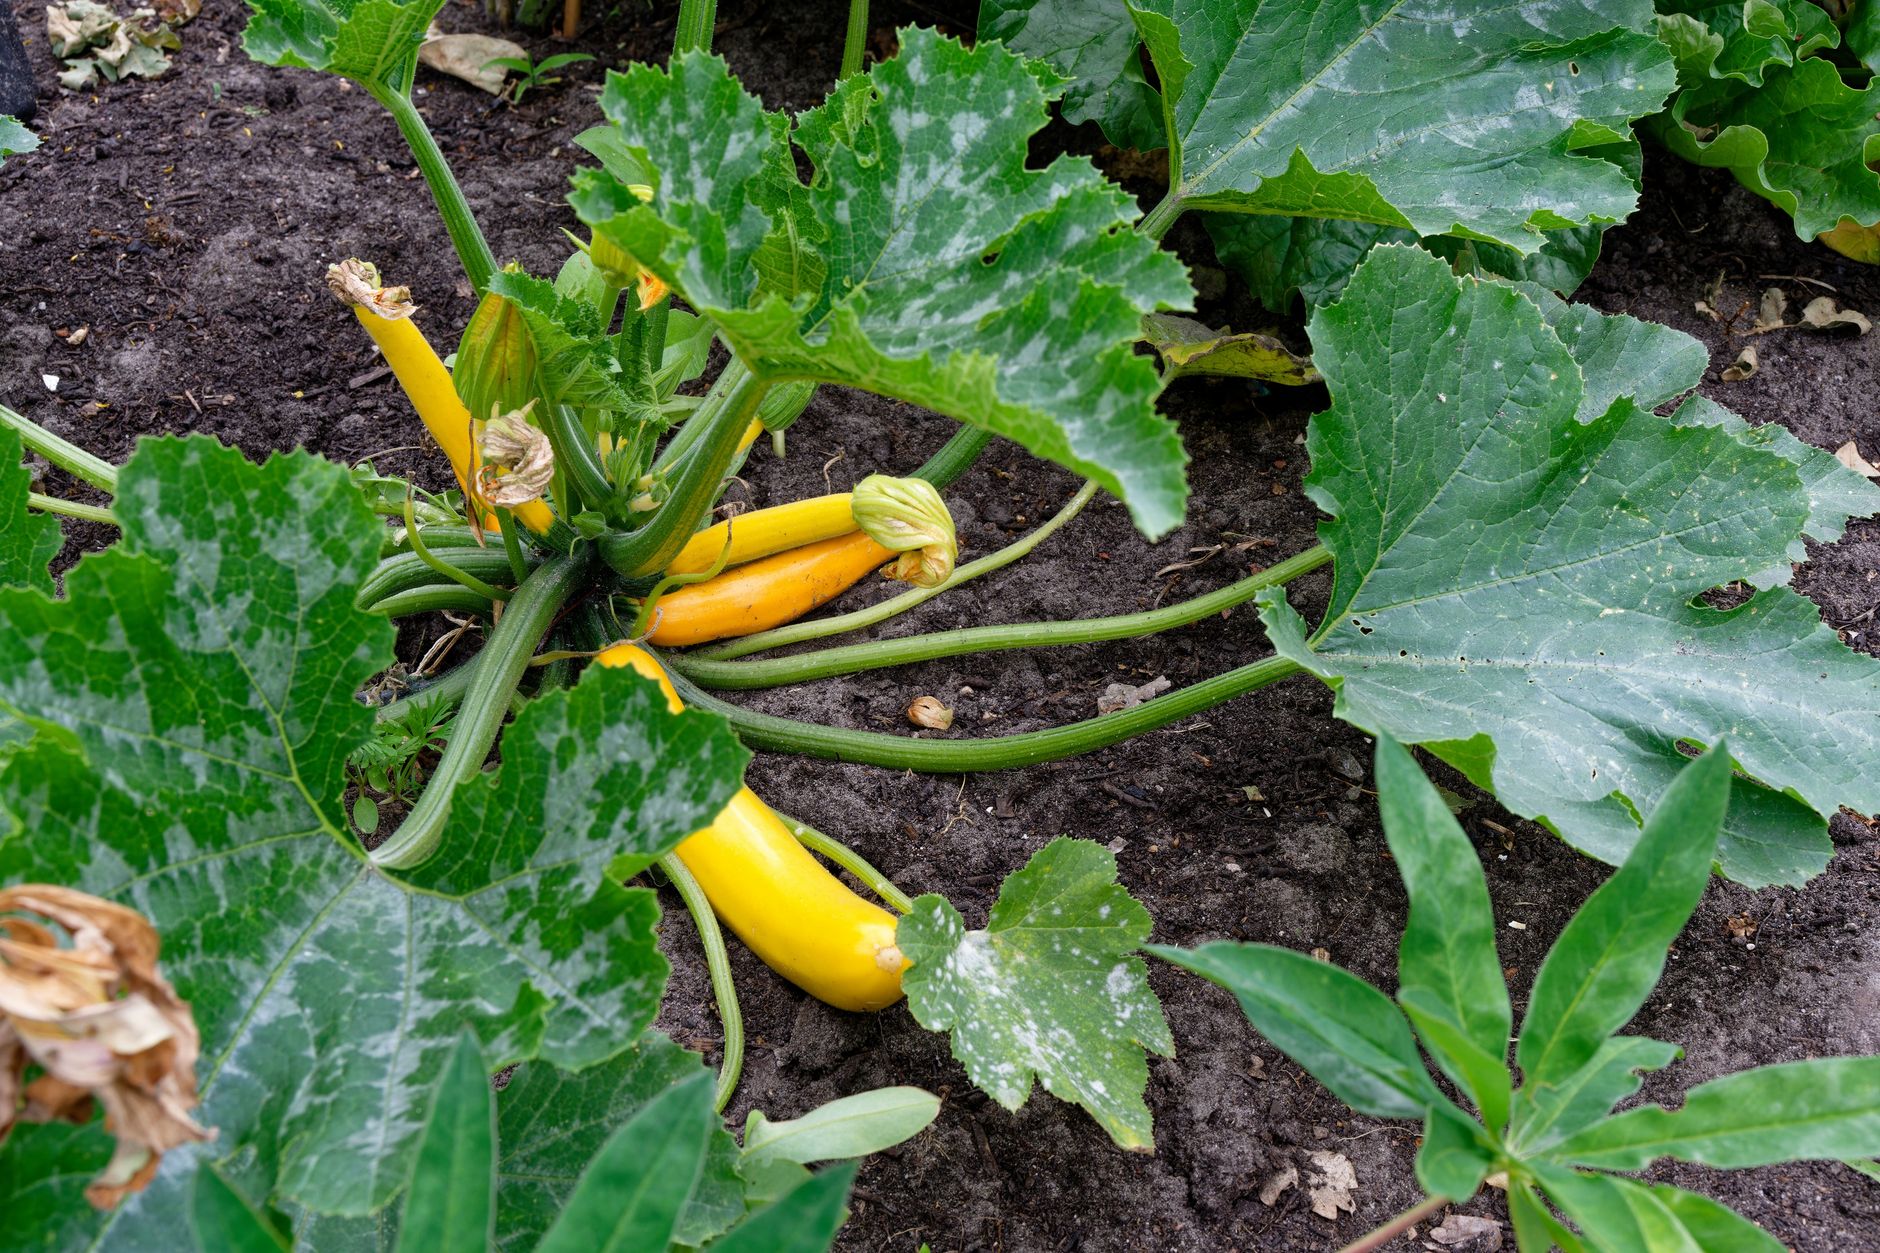
Harvest summer squash when it's young, typically 6-8 inches for zucchini and similar varieties, cutting from the plant with a sharp knife rather than twisting, which can damage the stem and surrounding growth.
Summer squash grows remarkably fast, sometimes visibly larger from one day to the next during peak summer conditions, which is why checking plants every 1-2 days during peak season is so important for catching fruit at its ideal size.
Oversized summer squash develops tough skin, large seeds, and a noticeably more watery, less flavorful texture, though it can still be shredded into baked goods where texture matters less than in dishes meant to showcase the vegetable directly.
Regular harvesting keeps summer squash plants productive throughout the season, since allowing fruit to mature fully signals the plant to slow down and redirect energy toward seed production rather than continuing to set new fruit.
Harvest Winter Squash When Fully Mature
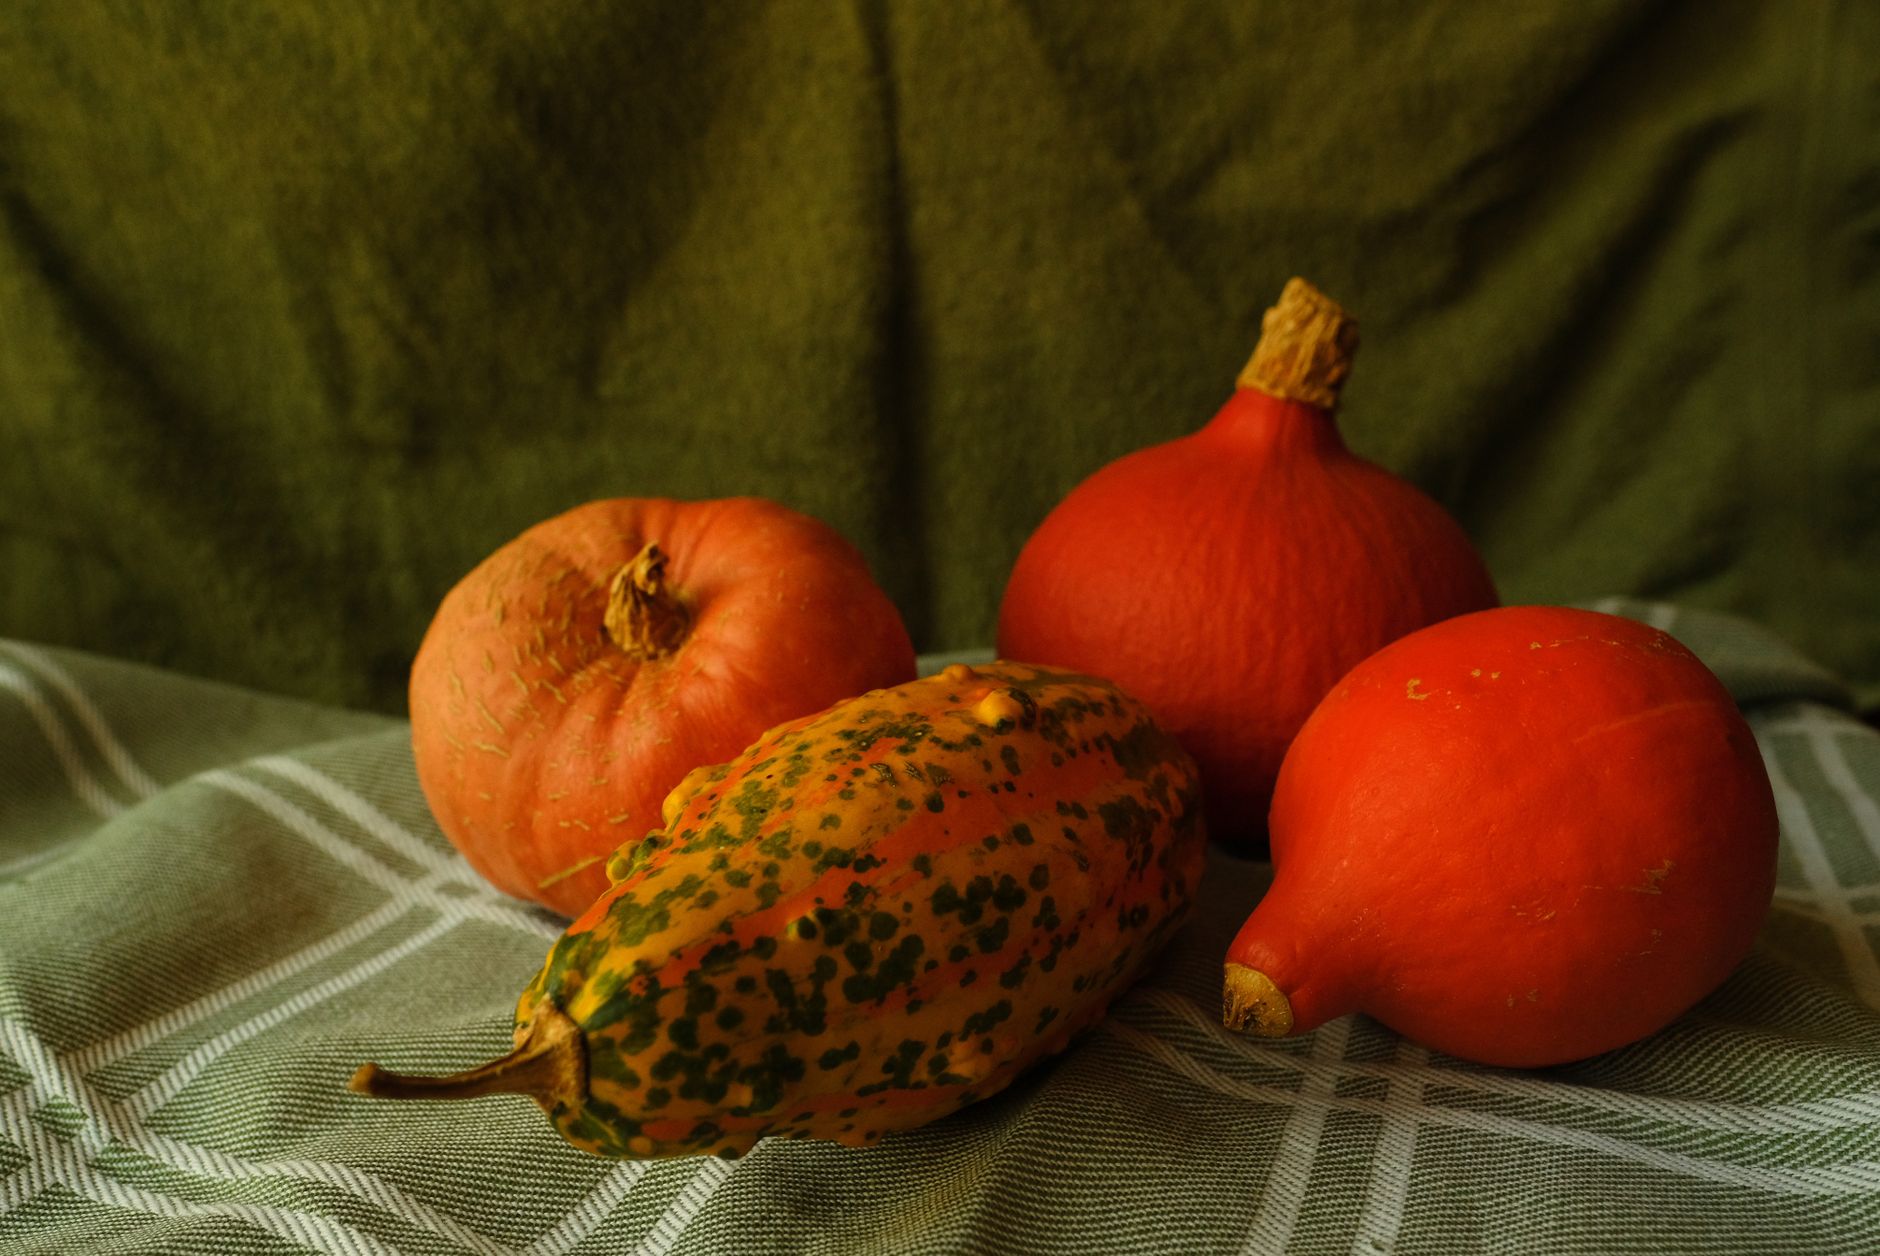
Unlike summer squash, winter squash should be left on the vine until it's fully mature, indicated by a hard rind that resists puncture from a fingernail and full, deep coloring appropriate to the variety, typically 80-110 days after planting.
Cut winter squash from the vine leaving 2-3 inches of stem attached, using sharp pruning shears rather than snapping or twisting, since squash with damaged or missing stems rot considerably faster once in storage.
Harvest before a hard frost damages the fruit, since while winter squash can typically tolerate a very light frost on the vine, a hard freeze can damage the rind and significantly shorten storage life even in otherwise fully mature fruit.
Cure winter squash in a warm, sunny spot for about a week to further harden the skin, which meaningfully improves storage life, then move to a cool, dry location around 50-55°F, where properly cured winter squash can keep for 2-6 months depending on variety.
Common problems and fixes
| Problem | Likely cause | What to do |
|---|---|---|
| Small fruit shrivels and rots instead of growing | Poor pollination, often due to low bee activity or timing between male and female flower blooms. | Hand-pollinate using a small paintbrush, transferring pollen from a male flower's center to a female flower. |
| Sudden wilting of a single vine or stem | Squash vine borer larvae feeding inside the stem. | Inspect the base of affected stems for small holes and frass, and use preventive row covers on young plants in future seasons. |
| Winter squash rotting quickly in storage | Harvested before full maturity, damaged stems, or skipped curing. | Wait for a hard rind and full color before harvest, leave 2-3 inches of stem attached, and cure for about a week before long-term storage. |
Gardener's checklist
Test what you learned
What is the main difference between summer and winter squash?
Answer: Summer squash is picked young, while winter squash is left to fully mature for storage
How can you tell if winter squash is ready to harvest?
Answer: The rind is hard and resists puncture, with full mature color
What pest causes sudden wilting of a single squash vine?
Answer: Squash vine borer
Common questions
Can I grow both summer and winter squash in the same garden?
Yes, and many gardeners do, since their growing requirements for soil, water, and sun are quite similar. The main difference to plan around is winter squash's considerably longer time to maturity and greater space needs if growing vining varieties.
Why is my squash plant wilting even though the soil is moist?
Sudden wilting despite adequate soil moisture, especially affecting a single vine or stem, is a classic sign of squash vine borer damage. Check near the base of the affected stem for small holes or sawdust-like frass, which confirms the diagnosis.
How long does winter squash store after harvest?
Properly matured, cured winter squash stored in a cool, dry spot with good air circulation typically keeps for 2-6 months depending on variety, with harder-shelled types like butternut generally storing longer than more delicate types like acorn squash.
Do all types of squash need a trellis?
No, bush varieties, common among summer squash, don't need any support and grow well as compact, freestanding plants. Vining types, more common among winter squash, benefit from trellising in smaller gardens, though they can also sprawl across open ground if space allows.
Understanding the fundamental difference between summer squash, picked young for immediate use, and winter squash, left to fully mature for long storage, is the single most important concept for growing either type successfully.
Frequently asked questions
How often should a vegetable garden be watered?
Frequency depends on weather, soil and plant size. Check the soil rather than watering on a rigid schedule.
Is compost enough fertilizer?
Compost improves soil and provides nutrients slowly. Heavy-feeding crops may still need additional feeding.

The Sproutstead Editorial Team
We create clear, practical gardening and homesteading guides designed for real homes and beginner growers.
View author profile →