Direct-sow pea seeds an inch deep as soon as the soil can be worked in early spring, weeks before the last frost, since peas thrive in cool weather and struggle once summer heat arrives. Provide a trellis for climbing varieties, water consistently, and harvest pods regularly once they fill out, checking daily during peak season since peas can quickly become starchy if left too long.
What you will need
Choose the Right Type of Pea
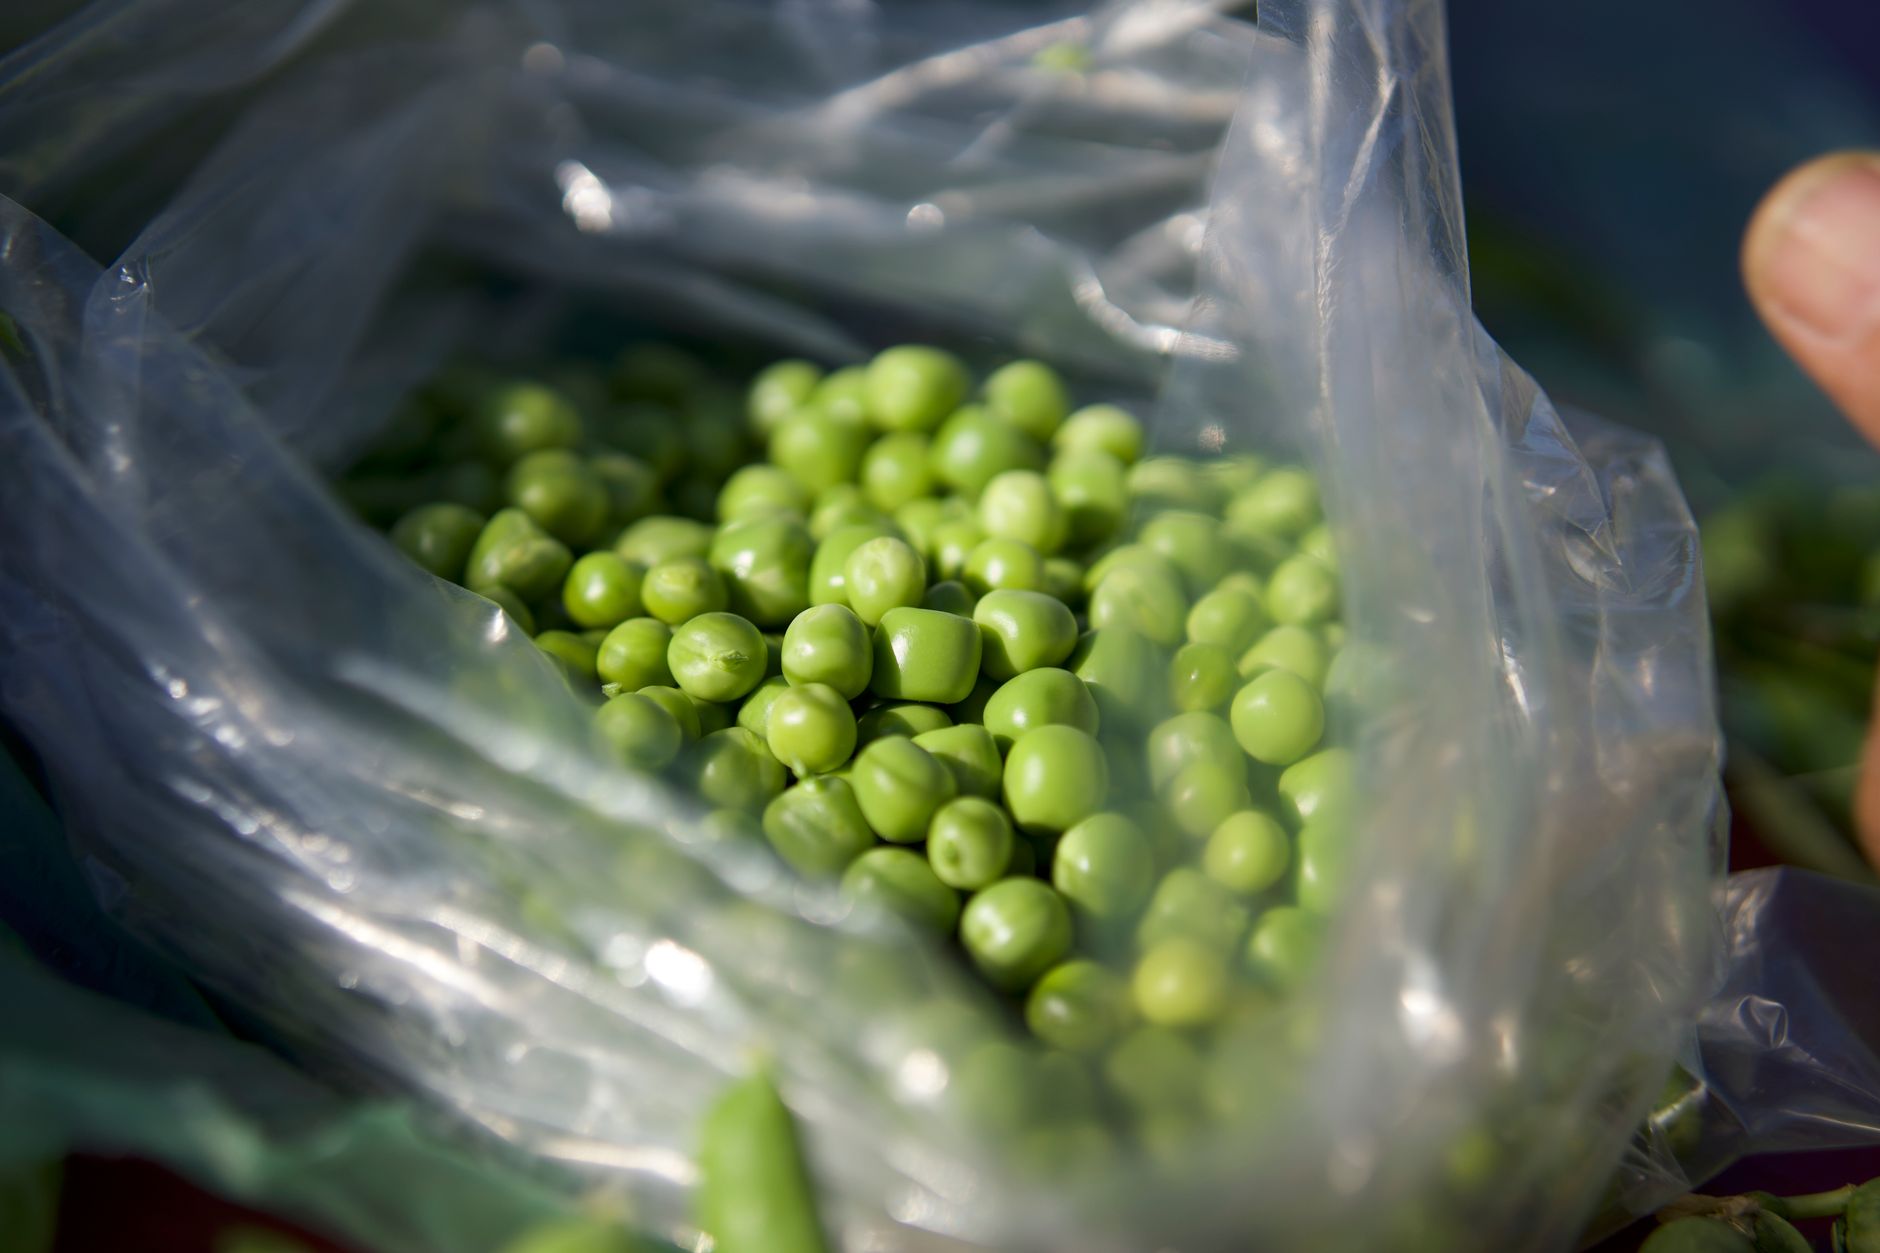
Shelling peas, also called English peas, produce pods with a tough, inedible shell that's discarded, with only the round peas inside eaten fresh, frozen, or dried, representing the traditional 'pea' most people picture.
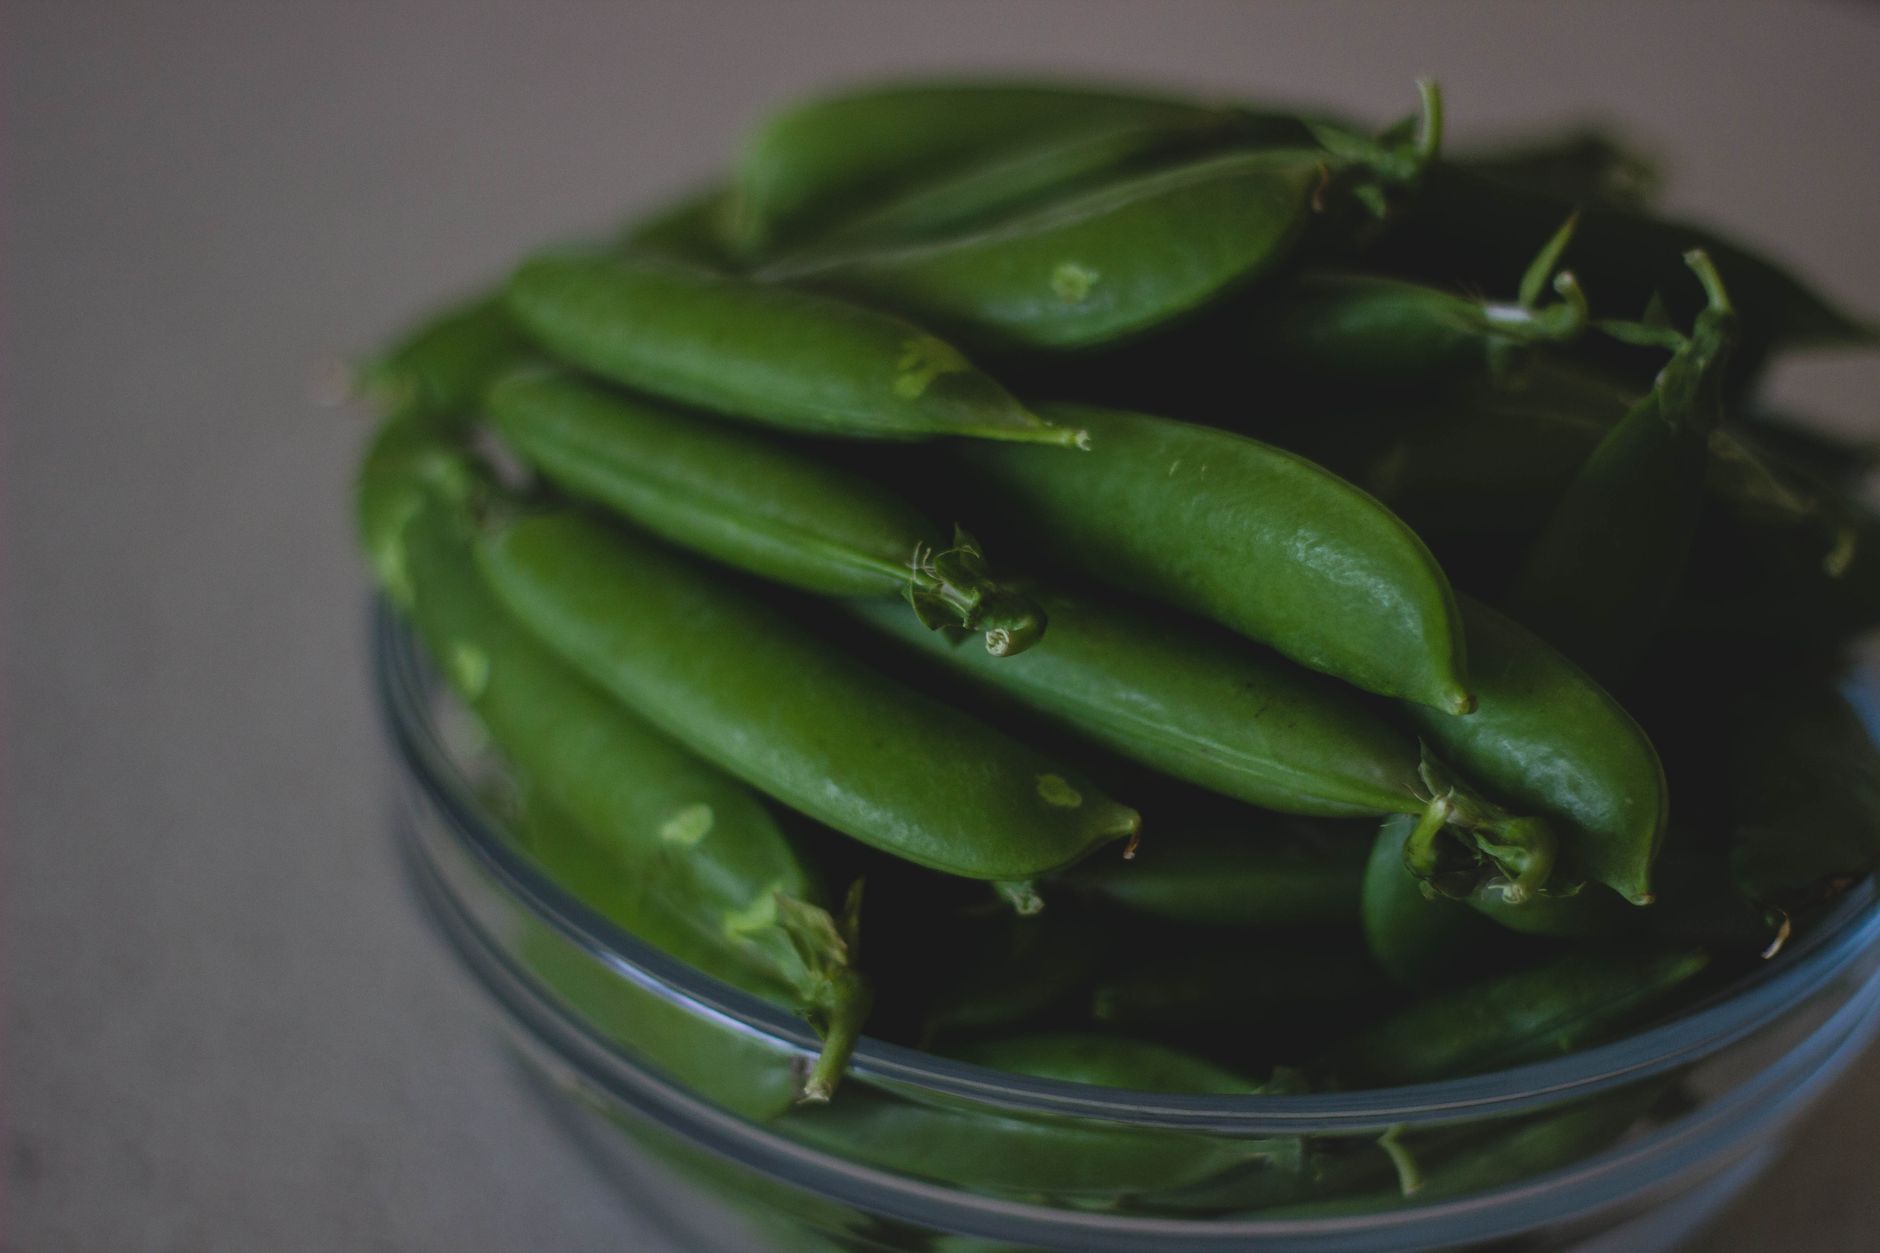
Snap peas have a plump, edible pod along with fully developed peas inside, and the entire pod is eaten together, offering a satisfying crunch and sweetness that's made them enormously popular for fresh eating and snacking directly off the vine.
Snow peas have a flat, thin, edible pod with only barely developed peas inside, harvested before the peas swell significantly, and are commonly used in stir-fries and other dishes where the flat, crisp pod is the primary feature.
All three types share very similar growing requirements for timing, soil, water, and support, so choosing between them is largely a matter of how you plan to use the harvest rather than any significant difference in cultivation difficulty.
Plant Early, Since Peas Genuinely Love Cool Weather
Peas thrive in cool weather between 55-70°F and tolerate light frost well, making them one of the very first crops many gardeners plant each year, often 4-6 weeks before the last expected spring frost, as soon as the soil can be worked and isn't still frozen or excessively wet.
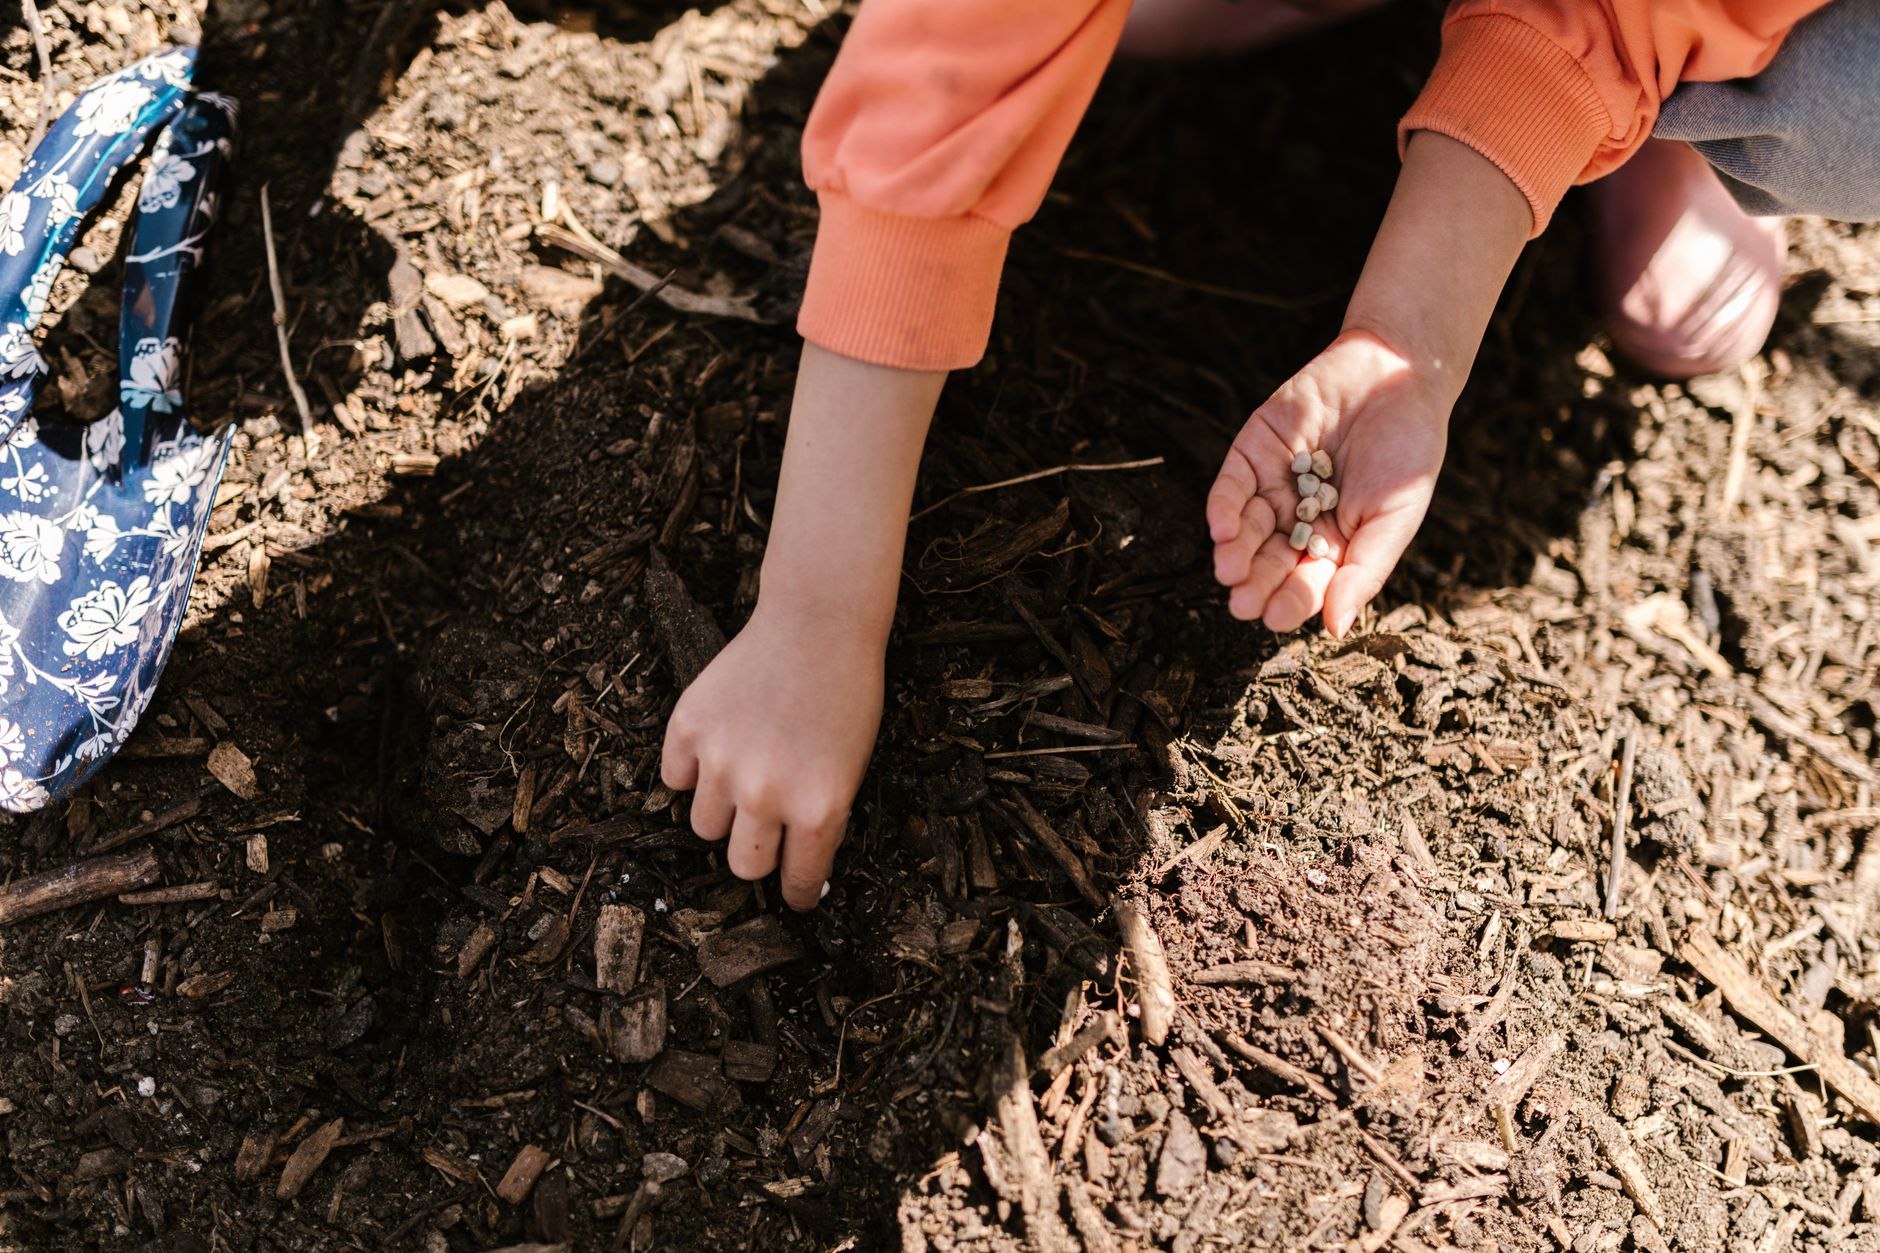
Direct-sow seeds about an inch deep, spacing them 2-3 inches apart in rows or along the base of a trellis, since peas generally don't transplant well and are almost always grown from direct-sown seed.
Peas genuinely struggle and produce poorly once summer heat arrives, typically once temperatures consistently exceed 80°F, so early planting isn't just helpful but essential for a good harvest before the growing window closes for the season.
For a fall crop in climates with a long enough cool autumn season, sow seeds again in late summer, timed so plants mature before the first hard frost, giving you a second harvest window from the same versatile crop.
Set Up Support for Climbing Varieties
Most pea varieties, including many dwarf types, benefit from at least some support; taller varieties can reach 5-6 feet and genuinely need a sturdy trellis, netting, or a row of stakes with string strung between them for the vines to climb.
Install support structures before or immediately at planting time, since young pea tendrils begin reaching for something to grip within just a couple of weeks of germination, and disturbing established vines to add support later can damage their delicate growth.
Simple options include a length of garden netting stretched between two sturdy posts, a row of branches pushed into the ground (sometimes called pea brush, a traditional low-tech method), or a purpose-built trellis panel.
True dwarf or bush pea varieties, generally growing 18-24 inches tall, can be grown without support if preferred, though even these often benefit from a small amount of brush or short stakes to keep pods off the ground and easier to harvest cleanly.
Prepare Soil Without Excess Nitrogen
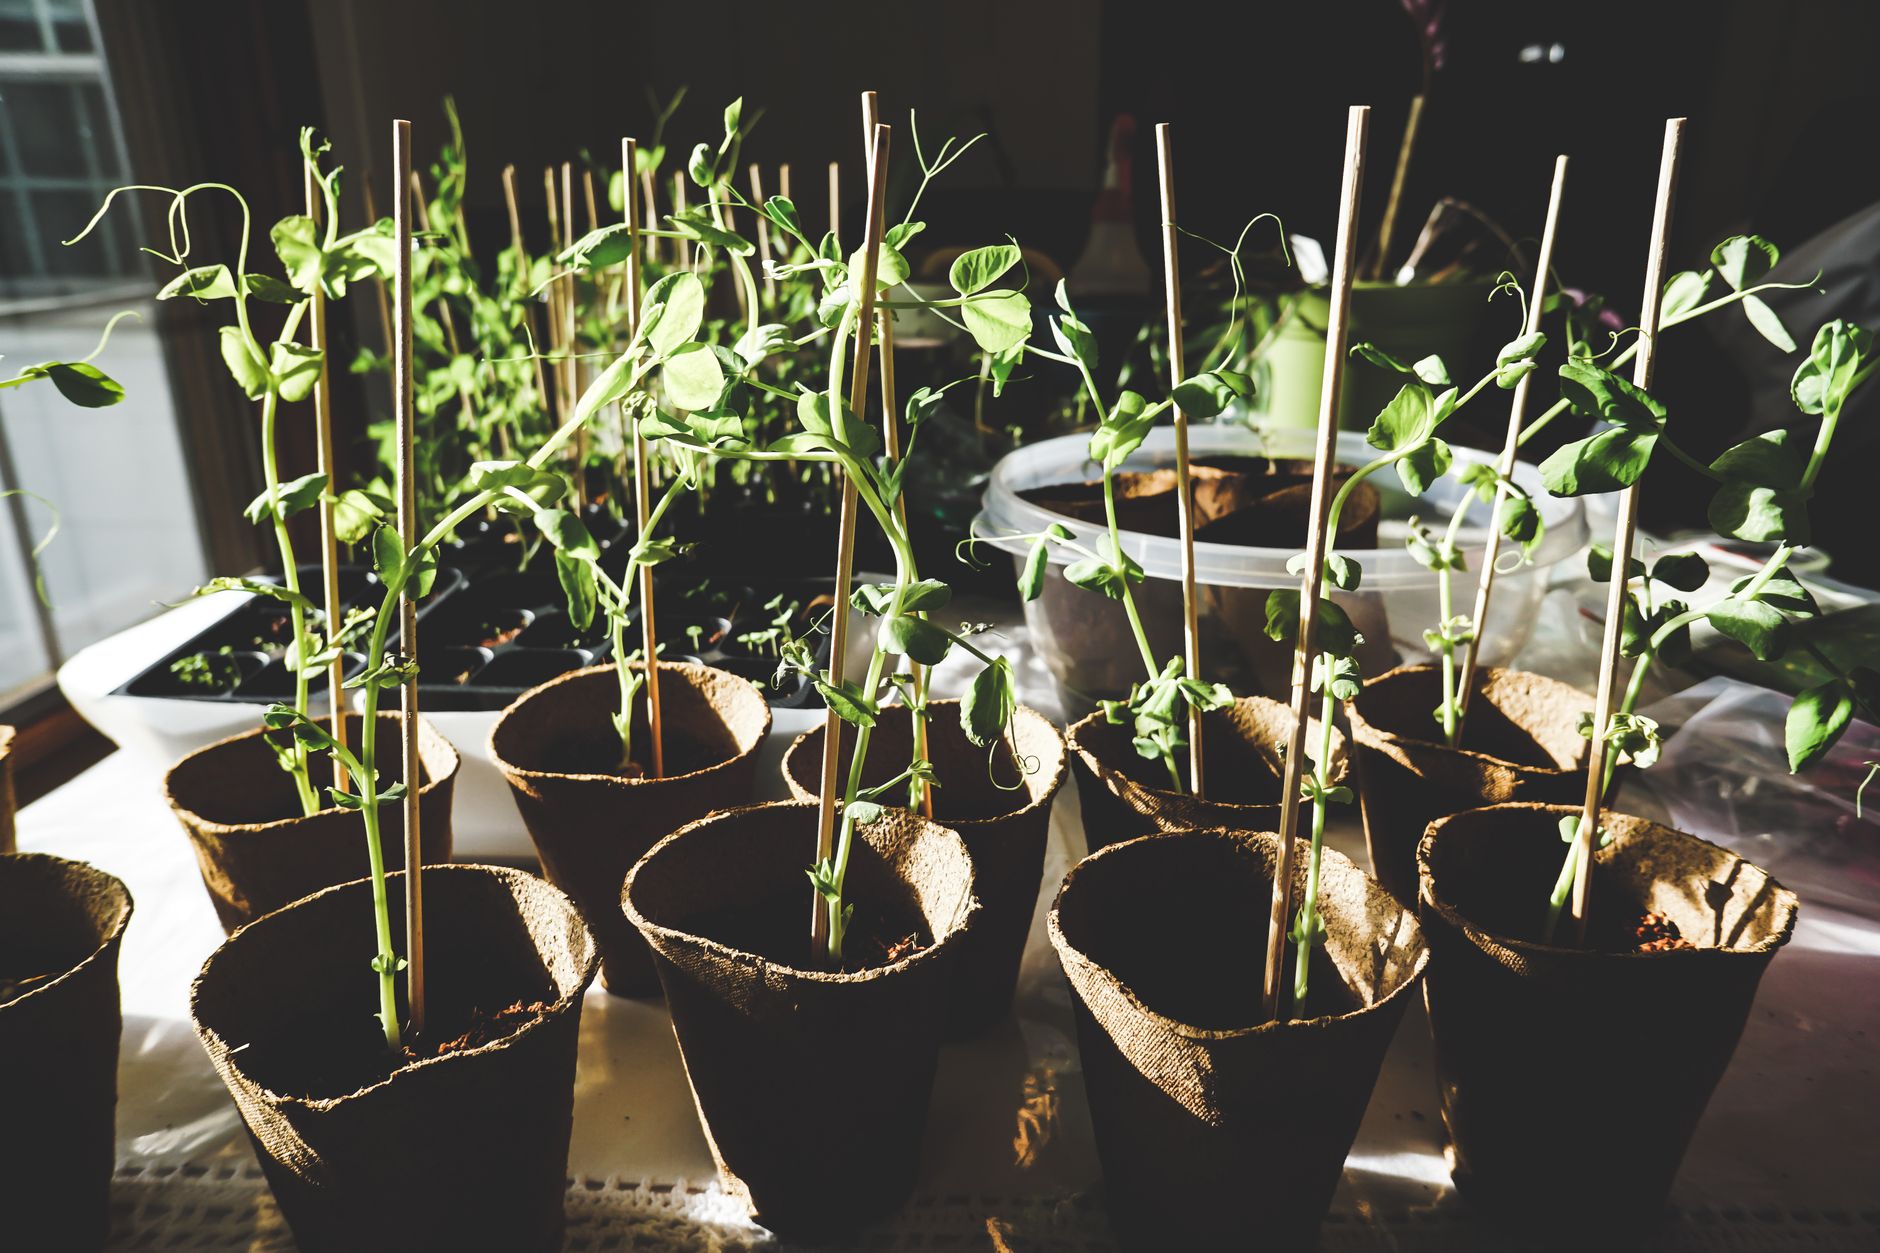
As legumes, peas fix their own nitrogen from the air through a symbiotic relationship with soil bacteria, meaning they generally need less nitrogen fertilizer than most other garden vegetables, and excess nitrogen can actually reduce pod production by encouraging excessive leafy growth instead.
Work a moderate amount of compost into the soil before planting rather than a heavy application, and skip additional nitrogen-rich fertilizer unless a soil test specifically indicates a deficiency.
A soil pH between 6.0 and 7.5 suits peas well, and they tolerate a somewhat wider pH range than many vegetables, though ensuring good drainage remains important, since pea roots don't tolerate consistently waterlogged conditions.
Some gardeners use a pea and bean-specific inoculant powder at planting, which introduces beneficial nitrogen-fixing bacteria to soil that hasn't grown legumes recently, potentially improving nitrogen fixation and overall plant vigor, particularly useful in a garden bed being used for peas for the first time.
Water Consistently, Especially During Flowering
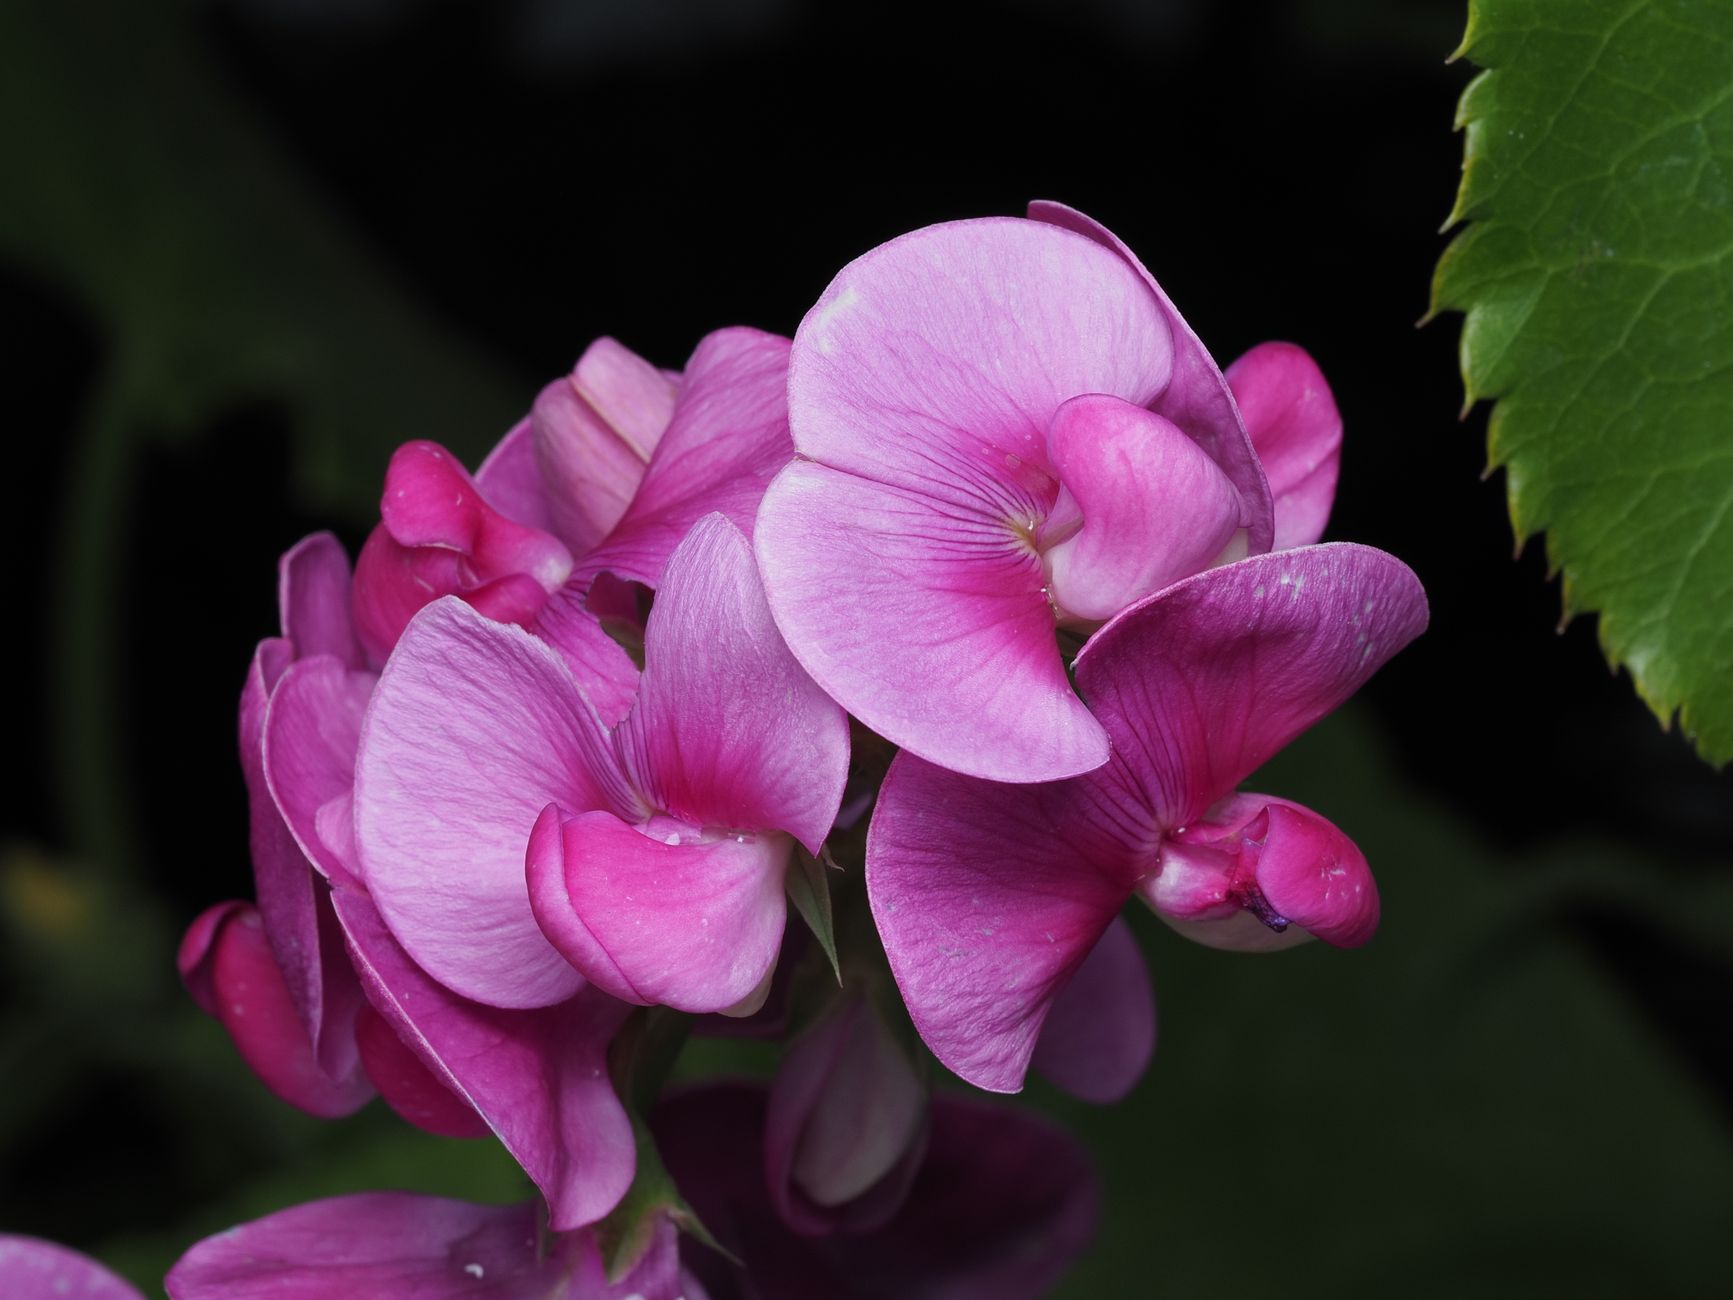
Water consistently, providing about 1 inch per week, with particular attention during flowering and early pod development, since water stress during this window can cause blossoms to drop without setting pods, similar to the pattern seen in beans.
Peas' relatively shallow root systems make them somewhat more sensitive to inconsistent watering than deeper-rooted vegetables, so steady moisture, rather than infrequent heavy watering, tends to produce the best results.
Mulch around the base of plants once established to help retain soil moisture, particularly valuable as spring temperatures begin rising toward the point where pea production naturally starts to decline.
Because peas are a relatively short-season crop, consistent care through their compressed growing window matters more than it might for slower-growing vegetables, since there's less time to correct problems partway through the season.
Manage Powdery Mildew as Temperatures Rise
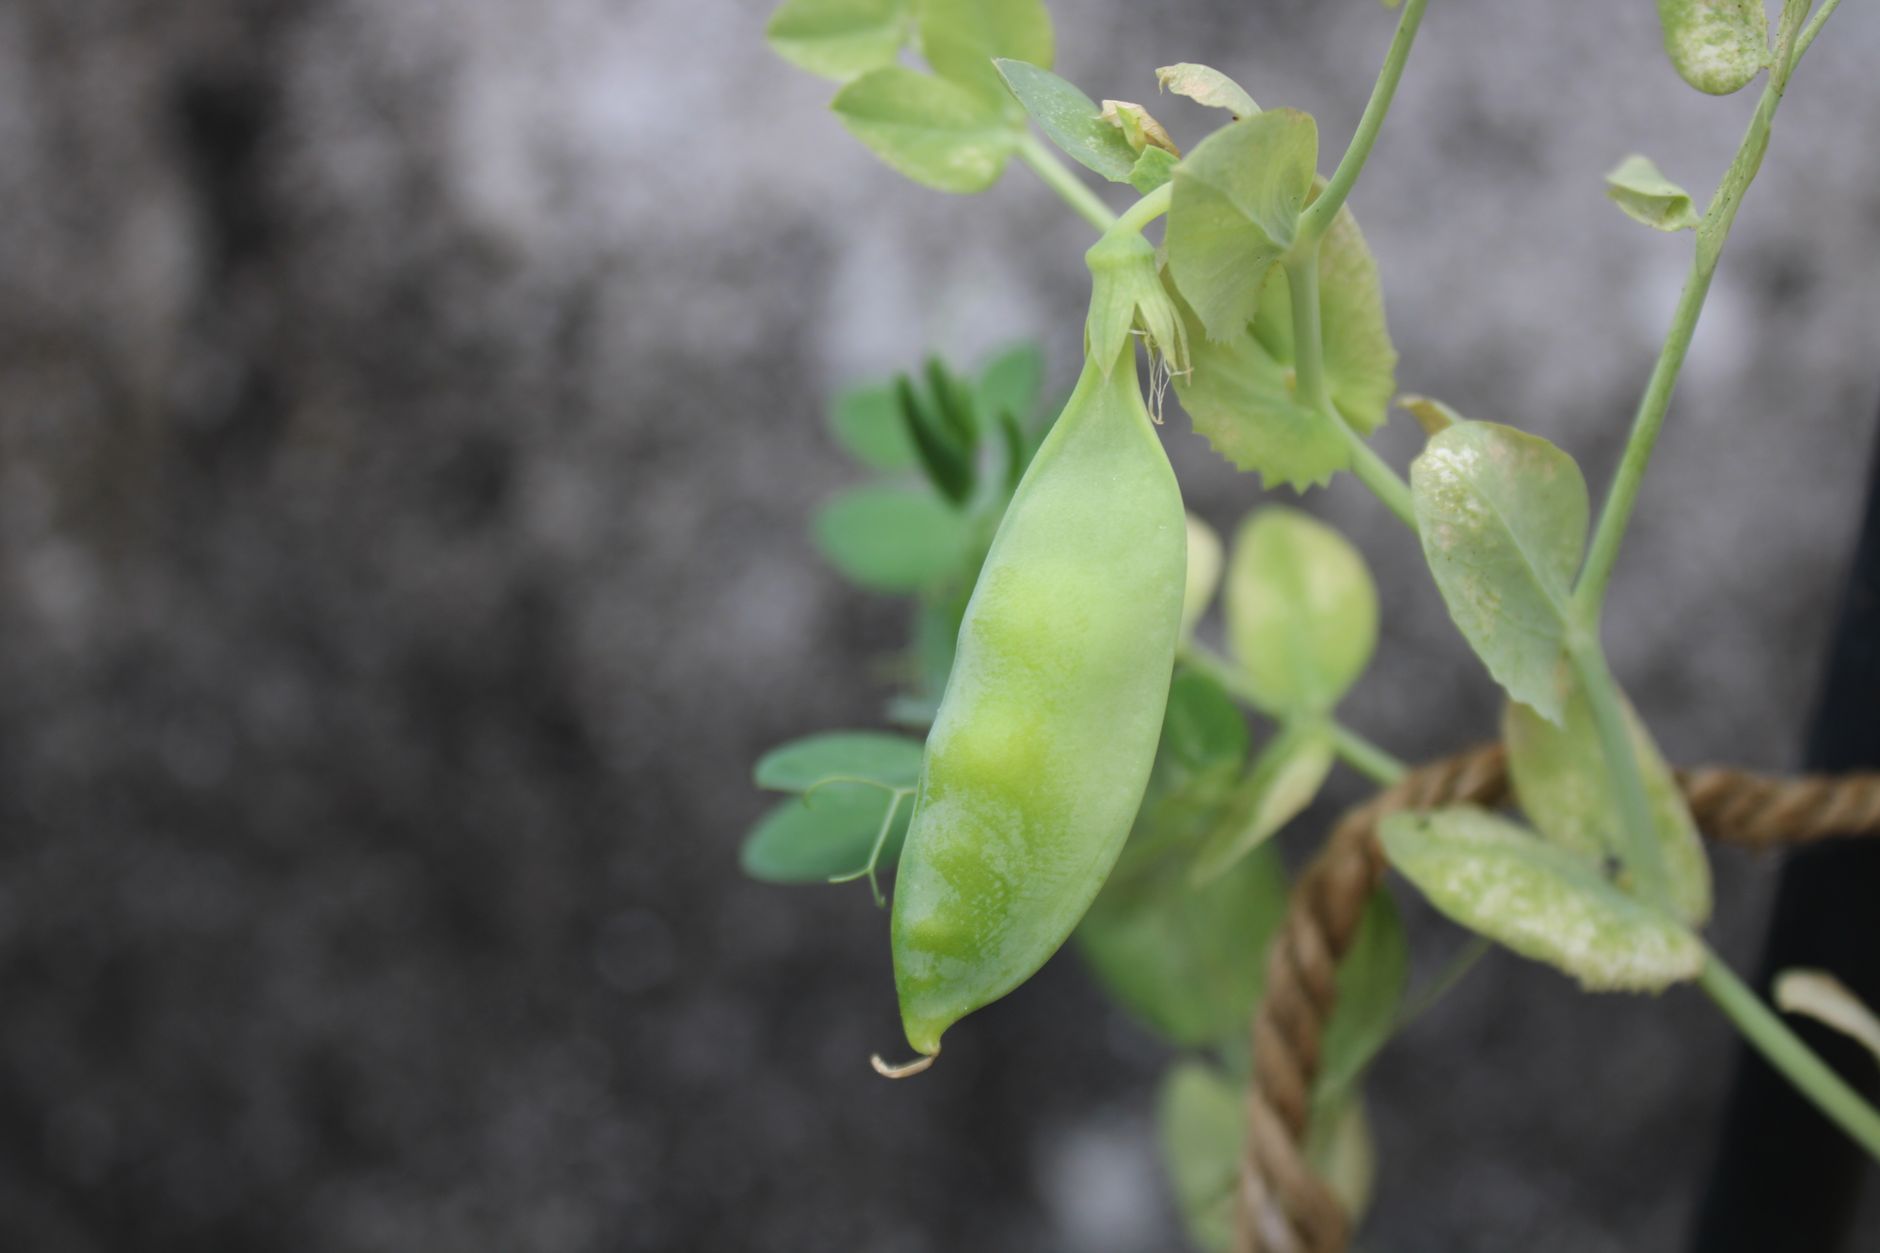
Powdery mildew, appearing as a white, dusty coating on leaves, commonly develops on pea plants as temperatures rise toward the end of their productive season, particularly in humid conditions or when foliage stays wet from overhead watering.
Watering at the base of plants rather than overhead, and ensuring adequate spacing for airflow, both help delay the onset of mildew, though it's genuinely common as peas naturally approach the end of their cool-weather window regardless of preventive care.
Rather than treating established mildew aggressively, many gardeners simply treat its appearance as a natural signal that the pea season is winding down and plan accordingly, harvesting remaining pods promptly and preparing that bed for a summer crop.
Aphids can also occasionally cluster on new growth; a strong spray of water or insecticidal soap usually provides sufficient control before populations become problematic.
Harvest at the Right Stage for Each Pea Type
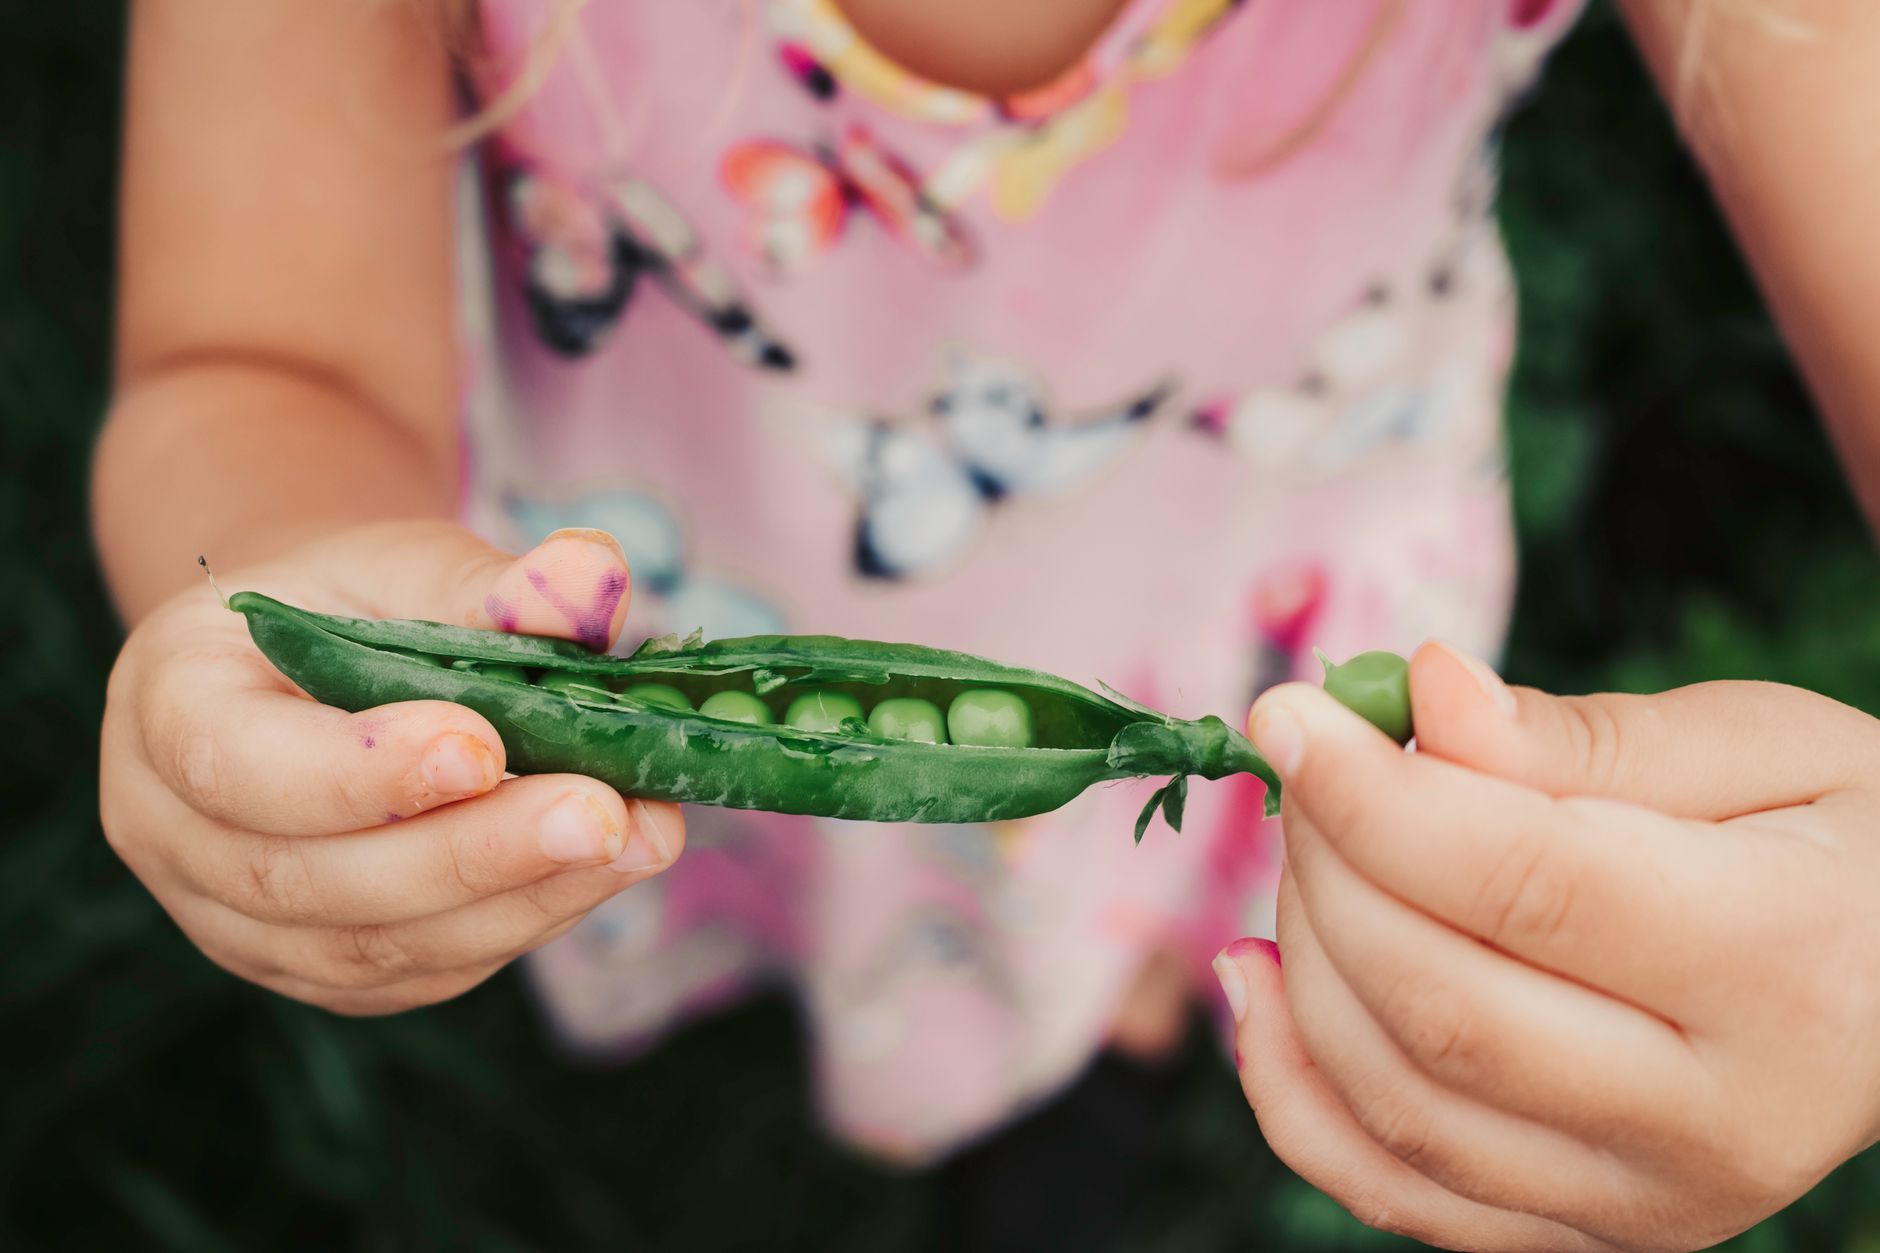
Harvest shelling peas once pods feel full and rounded, with visible bumps from the peas inside, but before pods become tough or start yellowing, checking plants daily during peak season since sweetness declines quickly once peas reach full size.
Harvest snap peas once pods are plump and glossy but still crisp, typically when peas inside have filled out but before the pod itself becomes tough or overly fibrous.
Harvest snow peas while pods are still flat, before the peas inside have developed significantly, since allowing them to fill out defeats their intended flat, tender-pod purpose and results in a tougher, less desirable pod.
Pick with two hands when possible, holding the vine with one hand while pulling the pod with the other, which prevents accidentally damaging the relatively delicate vines, particularly important as the season progresses and vines become heavier with pods.
Regular harvesting, checked every day or two during peak production, keeps plants producing new pods rather than signaling them to slow down as existing pods mature and develop hard seeds.
Store and Use Your Pea Harvest
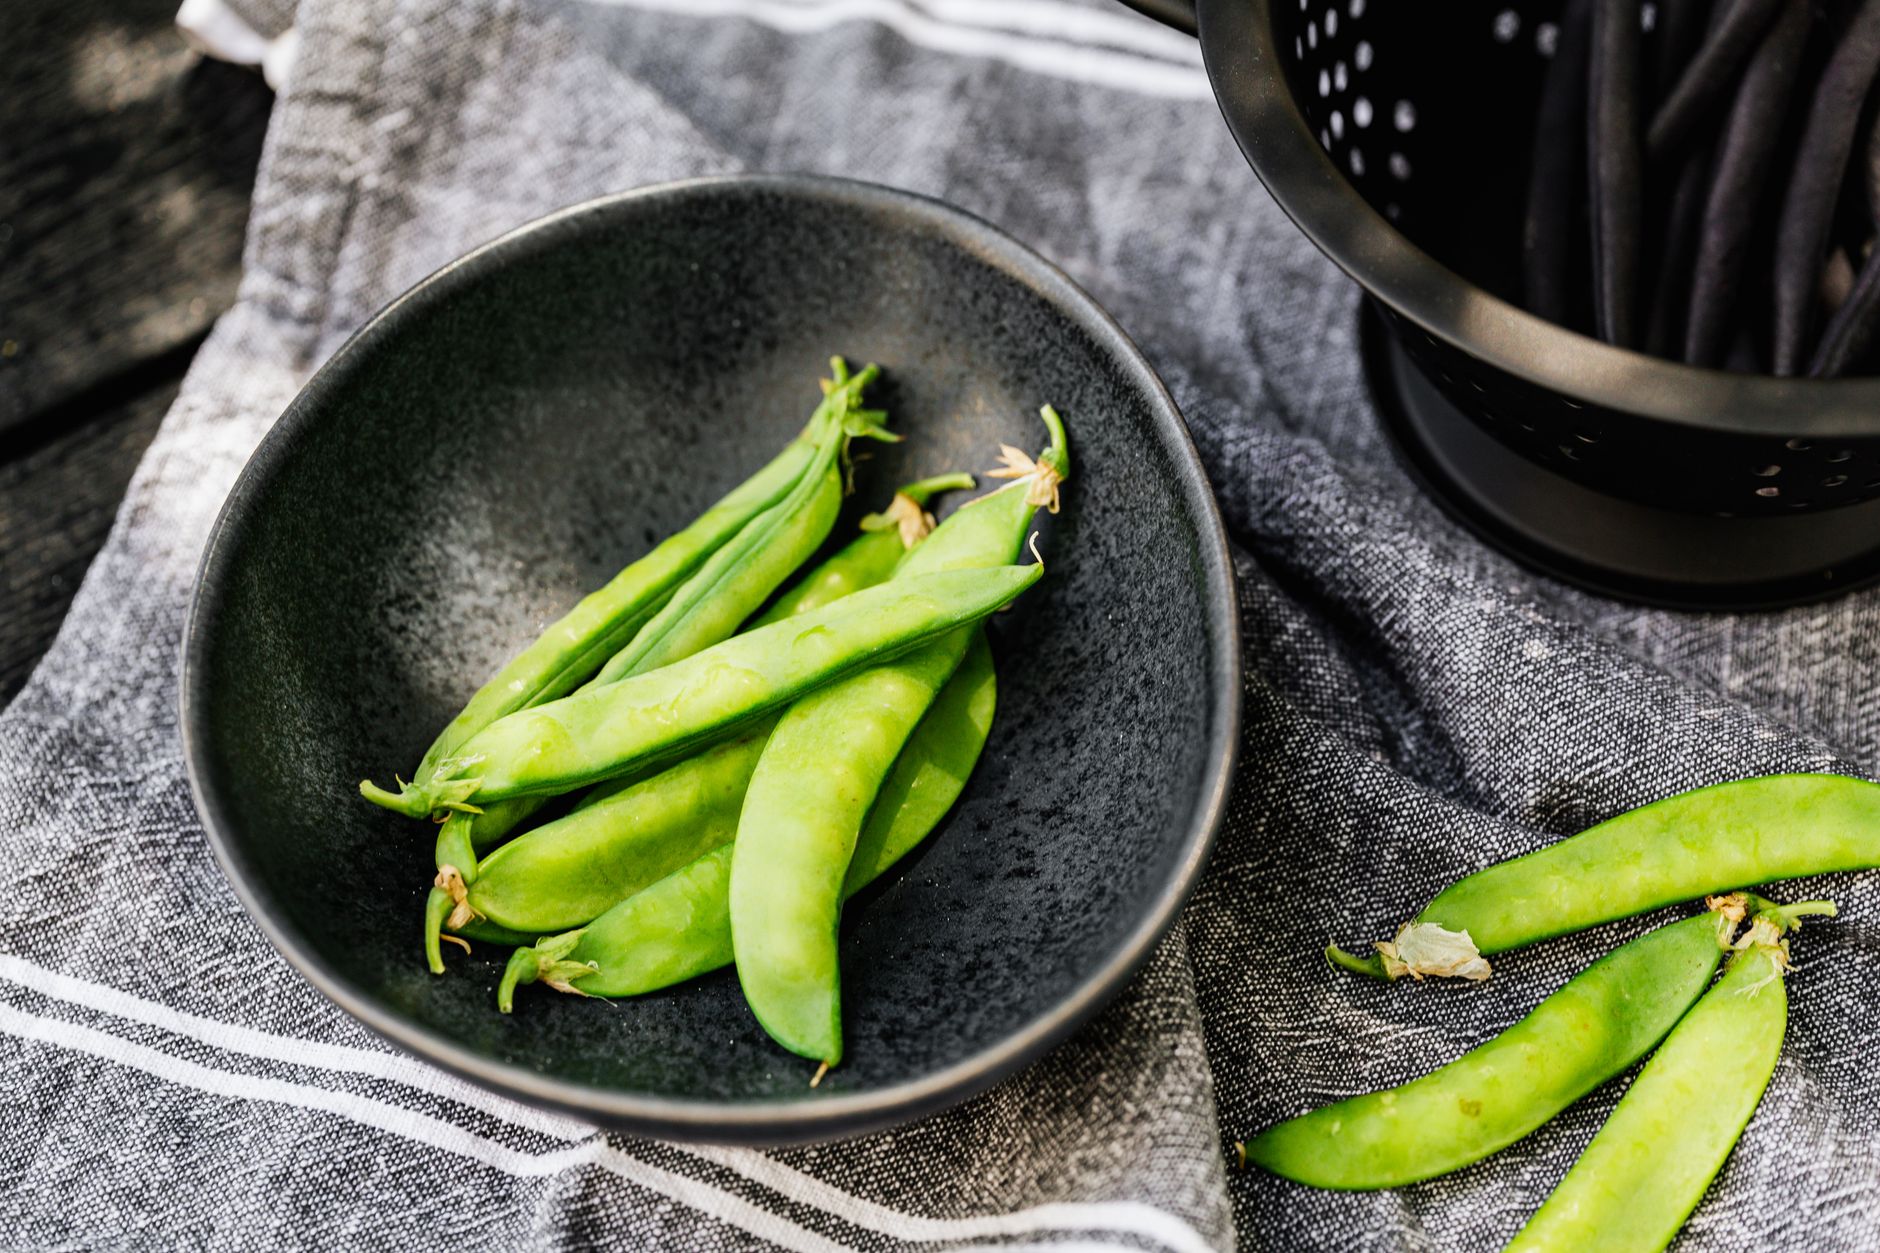
Use fresh peas as soon as possible after harvest, ideally within a day or two, since their sugar content begins converting to starch quickly once picked, similar to sweet corn, meaning flavor genuinely declines the longer they sit.
Store unwashed peas in the refrigerator in a perforated plastic bag if you can't use them immediately, where they'll keep reasonably well for a few days, though quality noticeably declines beyond that window.
For longer-term preservation, peas freeze exceptionally well; blanch shelled peas or whole snap and snow pea pods briefly in boiling water, cool quickly in ice water, and freeze on a tray before transferring to freezer bags for use throughout the year.
Since pea season is relatively short and concentrated, especially compared to longer-producing summer crops, having a preservation plan ready before the harvest peak arrives helps ensure none of this fleeting, flavorful crop goes to waste.
Common problems and fixes
| Problem | Likely cause | What to do |
|---|---|---|
| Flowers dropping without setting pods | Water stress during flowering, or unusually hot weather arriving earlier than expected. | Maintain consistent watering during flowering, and accept that very warm weather naturally signals the end of the pea season regardless of care. |
| White powdery coating on leaves late in the season | Powdery mildew, common as temperatures rise toward the end of peas' cool-weather window. | Water at the base rather than overhead, and treat its appearance as a natural sign to wrap up the harvest and prepare the bed for a summer crop. |
| Peas taste starchy rather than sweet | Pods left on the vine too long before harvest, or peas that sat too long after picking before use. | Check plants daily during peak season, harvest promptly at the ideal stage, and use fresh peas within a day or two for the best flavor. |
Gardener's checklist
Test what you learned
Why should peas be planted so early in spring?
Answer: Peas thrive in cool weather and struggle once summer heat arrives
Why do peas generally need less nitrogen fertilizer than most vegetables?
Answer: As legumes, they fix their own nitrogen from the air
At what stage should snow peas be harvested?
Answer: While pods are still flat, before peas develop significantly
Common questions
Can peas be grown in the fall as well as spring?
Yes, in climates with a sufficiently long cool autumn season, sow seeds again in late summer timed so plants mature before the first hard frost, giving you a second harvest window from the same crop.
What is the difference between snap peas and snow peas?
Snap peas have plump, edible pods with fully developed peas inside, eaten pod and all, while snow peas have flat, thin, edible pods harvested before the peas inside develop significantly, prized for their crisp, flat texture in stir-fries.
Why did my pea plants stop producing suddenly?
This is almost always related to rising temperatures, since peas genuinely struggle once conditions consistently exceed 80°F. This natural decline as summer approaches is expected rather than a sign something went wrong with your care.
Do all pea varieties need a trellis?
Most benefit from some support, though true dwarf or bush varieties, generally 18-24 inches tall, can be grown without a trellis, though even these often do better with a small amount of brush or short stakes to keep pods off the ground.
Peas reward gardeners willing to plant early, before most other crops even go in the ground, with one of the sweetest, most anticipated harvests of the entire growing season, best enjoyed as fresh as possible after picking.
Frequently asked questions
How often should a vegetable garden be watered?
Frequency depends on weather, soil and plant size. Check the soil rather than watering on a rigid schedule.
Is compost enough fertilizer?
Compost improves soil and provides nutrients slowly. Heavy-feeding crops may still need additional feeding.

The Sproutstead Editorial Team
We create clear, practical gardening and homesteading guides designed for real homes and beginner growers.
View author profile →