Plant okra seeds directly in the garden after soil has warmed to at least 65-70°F, soaking seeds overnight beforehand to speed germination. Space plants 12-18 inches apart in full sun, water consistently, and harvest pods every 1-2 days once they reach 2-4 inches long, since okra becomes tough and fibrous quickly if left on the plant too long.
What you will need
Soak Seeds and Wait for Truly Warm Soil

Okra is a heat-loving crop originally from tropical regions, and it needs soil temperatures of at least 65-70°F, ideally warmer, to germinate reliably; seeds planted into cool spring soil often simply rot rather than sprout.
Soak seeds in room-temperature water for 12-24 hours before planting, which softens their notably hard outer seed coat and significantly speeds up and improves germination rates compared to planting dry seeds directly.
Direct-sow soaked seeds about half an inch deep once soil has genuinely warmed, typically several weeks after your last spring frost date rather than right at the frost-free mark, since okra benefits from waiting for consistently warm conditions.
Plant 2-3 seeds per hole and thin to the strongest single seedling once true leaves appear, since okra doesn't transplant particularly well due to its taproot, making direct sowing the generally preferred method for most home gardeners.
Choose a Variety Suited to Your Climate

Standard green varieties like Clemson Spineless are widely available, reliable, and well-suited to most home gardens, typically reaching 4-6 feet tall with abundant pod production over a long summer harvest window.
Compact or dwarf varieties, such as Baby Bubba, are better suited to smaller gardens or container growing, staying noticeably shorter while still producing a respectable harvest of tender pods.
Red or burgundy varieties like Red Burgundy offer striking ornamental value alongside their harvest, with pods that turn green when cooked despite their vivid red color on the plant, making them popular for both eating and garden aesthetics.
Gardeners in regions with shorter or cooler summers should prioritize faster-maturing varieties, since okra genuinely needs sustained heat over an extended period to produce a substantial harvest before cooler fall weather arrives.
Prepare Soil and Space Plants Properly

Work 2-3 inches of compost or aged manure into the soil before planting, since okra grows quickly and benefits from rich, well-draining soil to fuel its rapid summer growth from seedling to a plant several feet tall.
Space plants 12-18 inches apart in rows 3 feet apart, giving each plant enough room to develop its full mature size without excessive crowding, which can reduce airflow and increase disease risk.
Choose a full-sun location receiving at least 6-8 hours of direct light daily; okra grown in partial shade typically produces noticeably fewer pods and can become leggy as it stretches toward available light.
A soil pH between 6.0 and 6.8 suits okra well, and while it tolerates a range of soil types better than many vegetables, avoiding consistently waterlogged conditions remains important for healthy root development.
Water Consistently Through the Growing Season

Water deeply once or twice a week, providing about an inch total, particularly during flowering and pod development, since consistent moisture during this period directly supports steady, ongoing pod production.
Okra is genuinely more drought-tolerant than many common garden vegetables once established, thanks to its deep taproot, but consistent watering still produces noticeably better yields and more tender pods than letting the plant experience significant drought stress.
Mulch around the base of plants with straw once they're established, which helps retain soil moisture during hot summer weather and suppresses competing weeds.
Reduce concern about watering during brief dry spells more than you might with other vegetables, since okra's resilience means it will generally continue producing even through short periods of inconsistent moisture, though sustained drought will still reduce pod size and quantity.
Feed Okra for Sustained Pod Production

Side-dress with a balanced fertilizer once plants begin flowering, then again every 3-4 weeks throughout the summer harvest season, which supports okra's ability to keep producing new pods over what's often a two- to three-month harvest window.
Avoid excessive nitrogen, which can encourage lush leafy growth at the expense of pod production, similar to the trade-off seen in other fruiting vegetables like tomatoes and peppers.
A layer of compost worked into the soil at planting, combined with modest ongoing feeding through the season, is generally sufficient for good production without needing to over-fertilize.
Watch for pale or yellowing lower leaves as a sign that additional feeding may be needed sooner than your regular schedule, particularly on plants that have been producing heavily for several weeks.
Manage Aphids and Other Common Pests
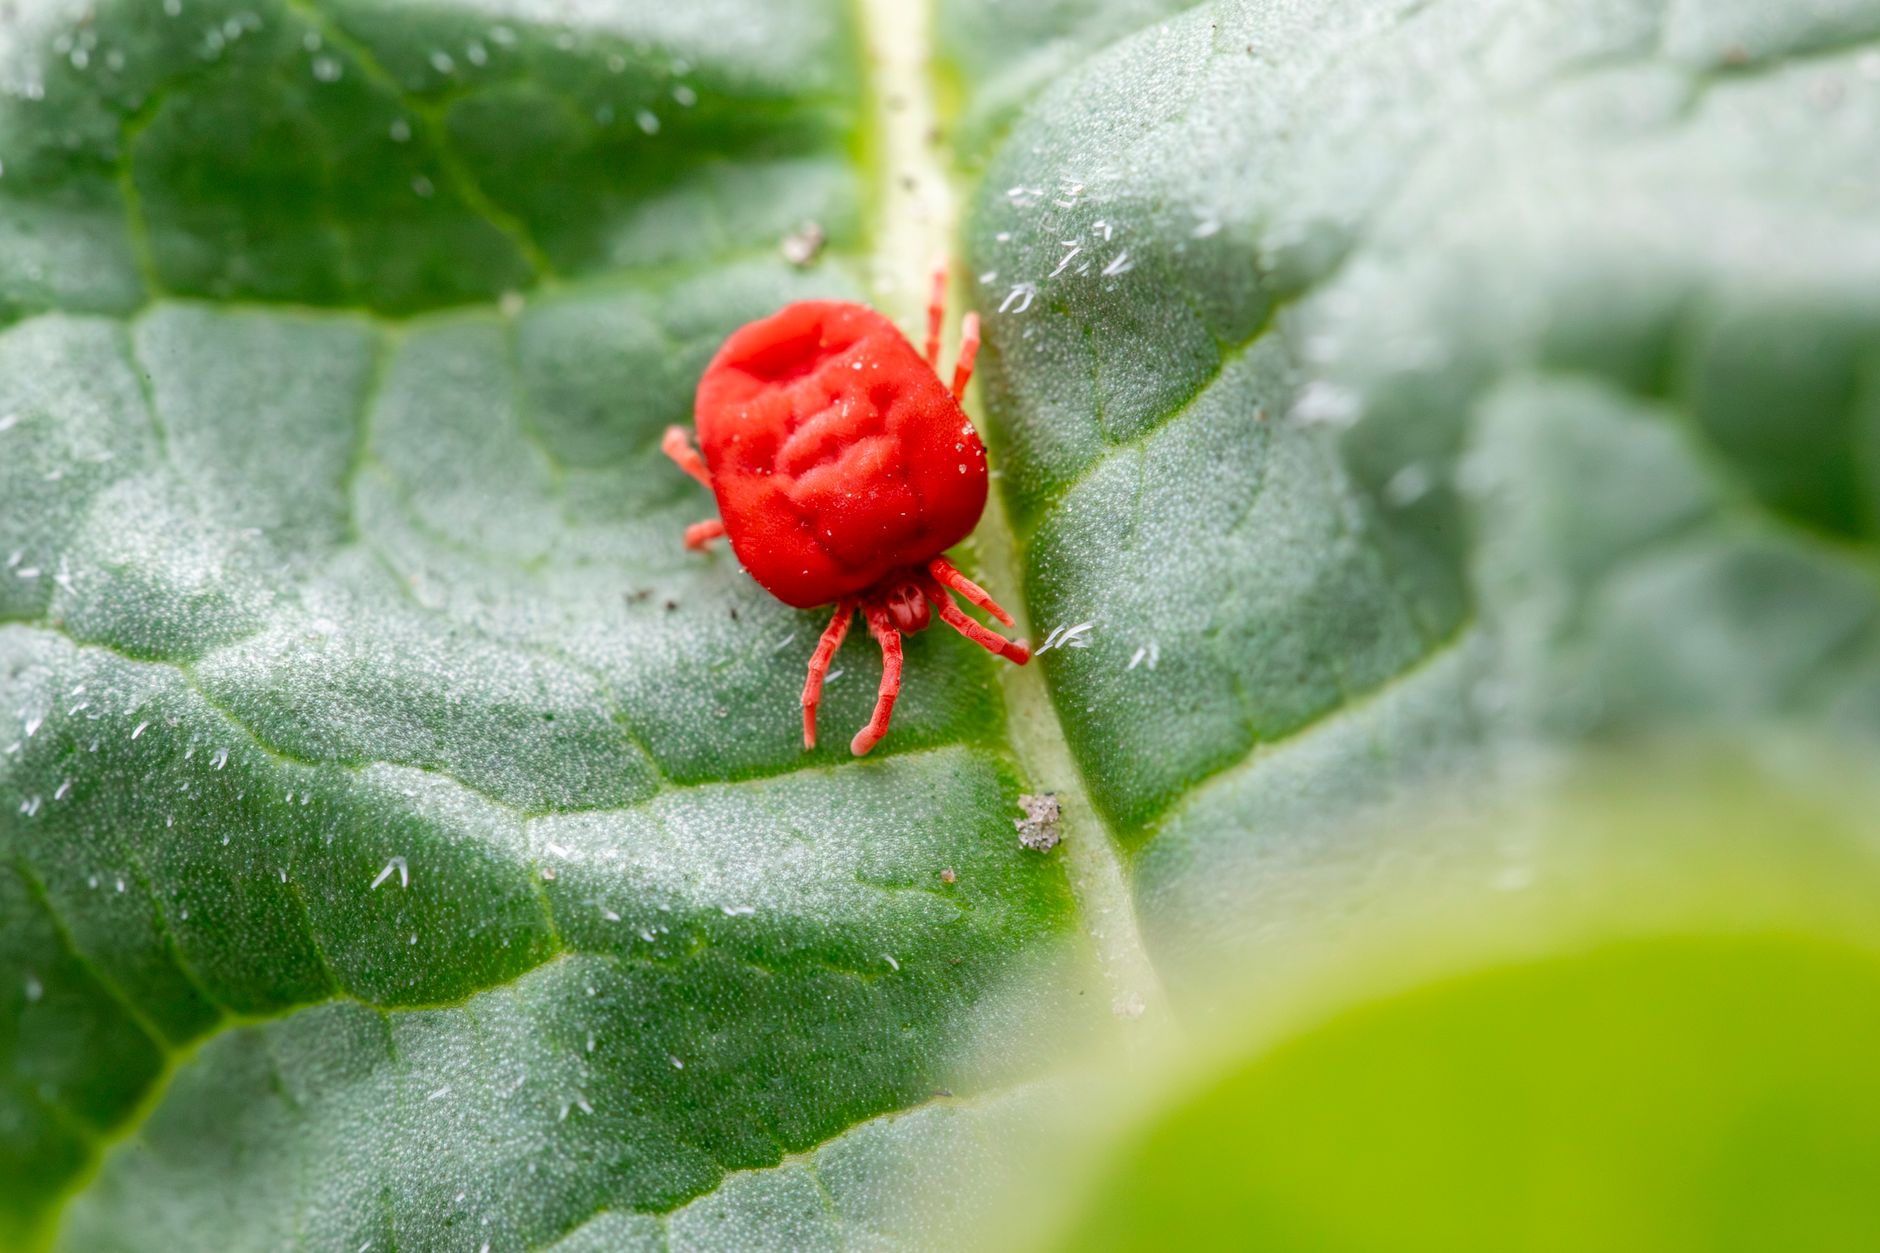
Aphids can cluster on new growth and the undersides of leaves, typically controllable with a strong spray of water or insecticidal soap before populations become large enough to seriously affect plant health.
Japanese beetles occasionally feed on okra foliage in regions where they're present; handpicking visible beetles in the morning when they're most sluggish is often sufficient control for a home garden planting.
Okra is notably more pest-resistant overall than many related crops like squash or cucumbers, in part due to its thick, somewhat fuzzy stems and leaves, which many common garden pests find less appealing than smoother-leaved vegetables.
Root-knot nematodes can affect okra in some regions, particularly in sandy soils; if you notice stunted growth without an obvious aboveground cause, consider this possibility and practice crop rotation to reduce buildup in affected beds.
Harvest Young Pods Frequently

Harvest pods when they reach 2-4 inches long, using a sharp knife or pruning shears to cut them from the plant, since pods left to grow larger become notably tough, fibrous, and unpleasantly woody in texture.
Wear gloves when harvesting if you have sensitive skin, since okra plants, particularly some varieties, have small spines on their stems and leaves that can cause mild skin irritation for some people during repeated handling.
Check plants every 1-2 days during peak summer production, since okra pods, similar to zucchini, can grow from ideal harvest size to noticeably oversized within just a couple of days in hot weather.
Regular harvesting is what keeps an okra plant productive throughout its long summer season; leaving pods to mature fully on the plant signals it to slow new pod production and redirect energy toward seed development within the pods already there.
Even pods that have gotten slightly larger than ideal are often still usable if caught within a day or two of the ideal window; test tenderness by gently bending the tip, which should snap cleanly rather than bending without breaking, a sign the pod has already become tough.
Store and Use Your Okra Harvest

Store fresh okra unwashed in the refrigerator, ideally in a paper bag rather than sealed plastic, which helps prevent the excess moisture buildup that can accelerate spoilage; used within 3-5 days, fresh okra retains the best texture and flavor.
For longer-term storage, okra freezes well; blanch whole or sliced pods briefly in boiling water, cool quickly in ice water, and freeze on a tray before transferring to freezer bags for use in soups, stews, and gumbo throughout the year.
Pickled okra is a popular traditional preservation method that many gardeners with a heavy harvest turn to, producing a tangy, crisp product that keeps well for months when properly processed using standard canning techniques.
If your harvest is more than your household can use fresh, okra's continuous production throughout summer makes it an excellent candidate for regular sharing with neighbors or donating to a local food pantry, similar to zucchini's famous abundance.
Common problems and fixes
| Problem | Likely cause | What to do |
|---|---|---|
| Seeds failing to germinate | Soil too cold, or seeds not soaked before planting. | Wait for soil to reach at least 65-70°F, and soak seeds overnight in water before sowing to improve germination. |
| Pods are tough, fibrous, and hard to cut | Pods left on the plant too long before harvesting. | Harvest more frequently, checking every 1-2 days during peak season, and pick pods at 2-4 inches long. |
| Stunted growth with no clear aboveground cause | Possible root-knot nematode damage, particularly in sandy soils. | Practice crop rotation in affected beds, and consider having soil tested if the problem persists across seasons. |
Gardener's checklist
Test what you learned
Why should okra seeds be soaked before planting?
Answer: It softens the hard seed coat and speeds up germination
What is the ideal harvest size for okra pods?
Answer: 2-4 inches
What minimum soil temperature does okra need for planting?
Answer: 65-70°F
How can you test if an okra pod has become too tough to eat?
Answer: Gently bend the tip; it should snap cleanly if tender
Common questions
Why won't my okra seeds germinate?
The most common causes are soil that's still too cool (okra needs at least 65-70°F) or skipping the seed-soaking step, since okra seeds have a notably hard outer coat that benefits significantly from being softened in water before planting.
Is okra difficult to grow?
No, okra is actually one of the more forgiving and heat-tolerant vegetables once soil has properly warmed, thriving in conditions that stress many other crops. The main challenge is simply remembering to harvest frequently before pods become tough.
Can okra be grown in containers?
Yes, particularly compact or dwarf varieties like Baby Bubba, which stay shorter and are well-suited to a large container at least 12 inches deep with good drainage.
Why does okra get slimy when cooked?
The natural mucilage in okra, which creates its characteristic texture when cooked, is simply part of the vegetable's composition and isn't related to growing conditions. Cooking methods like roasting or grilling at high heat can reduce the perceived sliminess if that texture isn't to your taste.
Okra is one of the most heat-tolerant, low-fuss vegetables you can grow, and its main demand is simply frequent harvesting; check plants every couple of days through summer, and you'll be rewarded with a steady, reliable supply of tender pods.
Frequently asked questions
How often should a vegetable garden be watered?
Frequency depends on weather, soil and plant size. Check the soil rather than watering on a rigid schedule.
Is compost enough fertilizer?
Compost improves soil and provides nutrients slowly. Heavy-feeding crops may still need additional feeding.

The Sproutstead Editorial Team
We create clear, practical gardening and homesteading guides designed for real homes and beginner growers.
View author profile →