Direct-sow or transplant kale in early spring or late summer, spacing plants 12-18 inches apart in fertile, well-draining soil. Water consistently, protect young plants from cabbage worms, and harvest outer leaves as needed starting around 55-75 days, since kale tolerates frost extremely well and often tastes sweeter after cold exposure.
What you will need
Time Your Planting for Cool Weather

Kale is genuinely one of the most cold-hardy vegetables commonly grown in home gardens, tolerating temperatures down to 20°F or even lower once established, and it can be direct-sown or transplanted several weeks before your last spring frost date.
For a spring crop, start seeds indoors 5-6 weeks before your last frost, or direct-sow 3-4 weeks before that date, since young kale handles cold considerably better than the heat of summer.
For a fall and winter crop, which many gardeners consider kale's best season since cold exposure actually improves its flavor, sow seeds in mid-to-late summer, timed so plants are established before the weather turns cold.
In regions with mild winters, kale can often be grown right through the cold months, providing fresh greens when most of the garden is otherwise dormant, making it one of the most valuable crops for extending a garden's productive season.
Choose a Variety Suited to Your Preferences
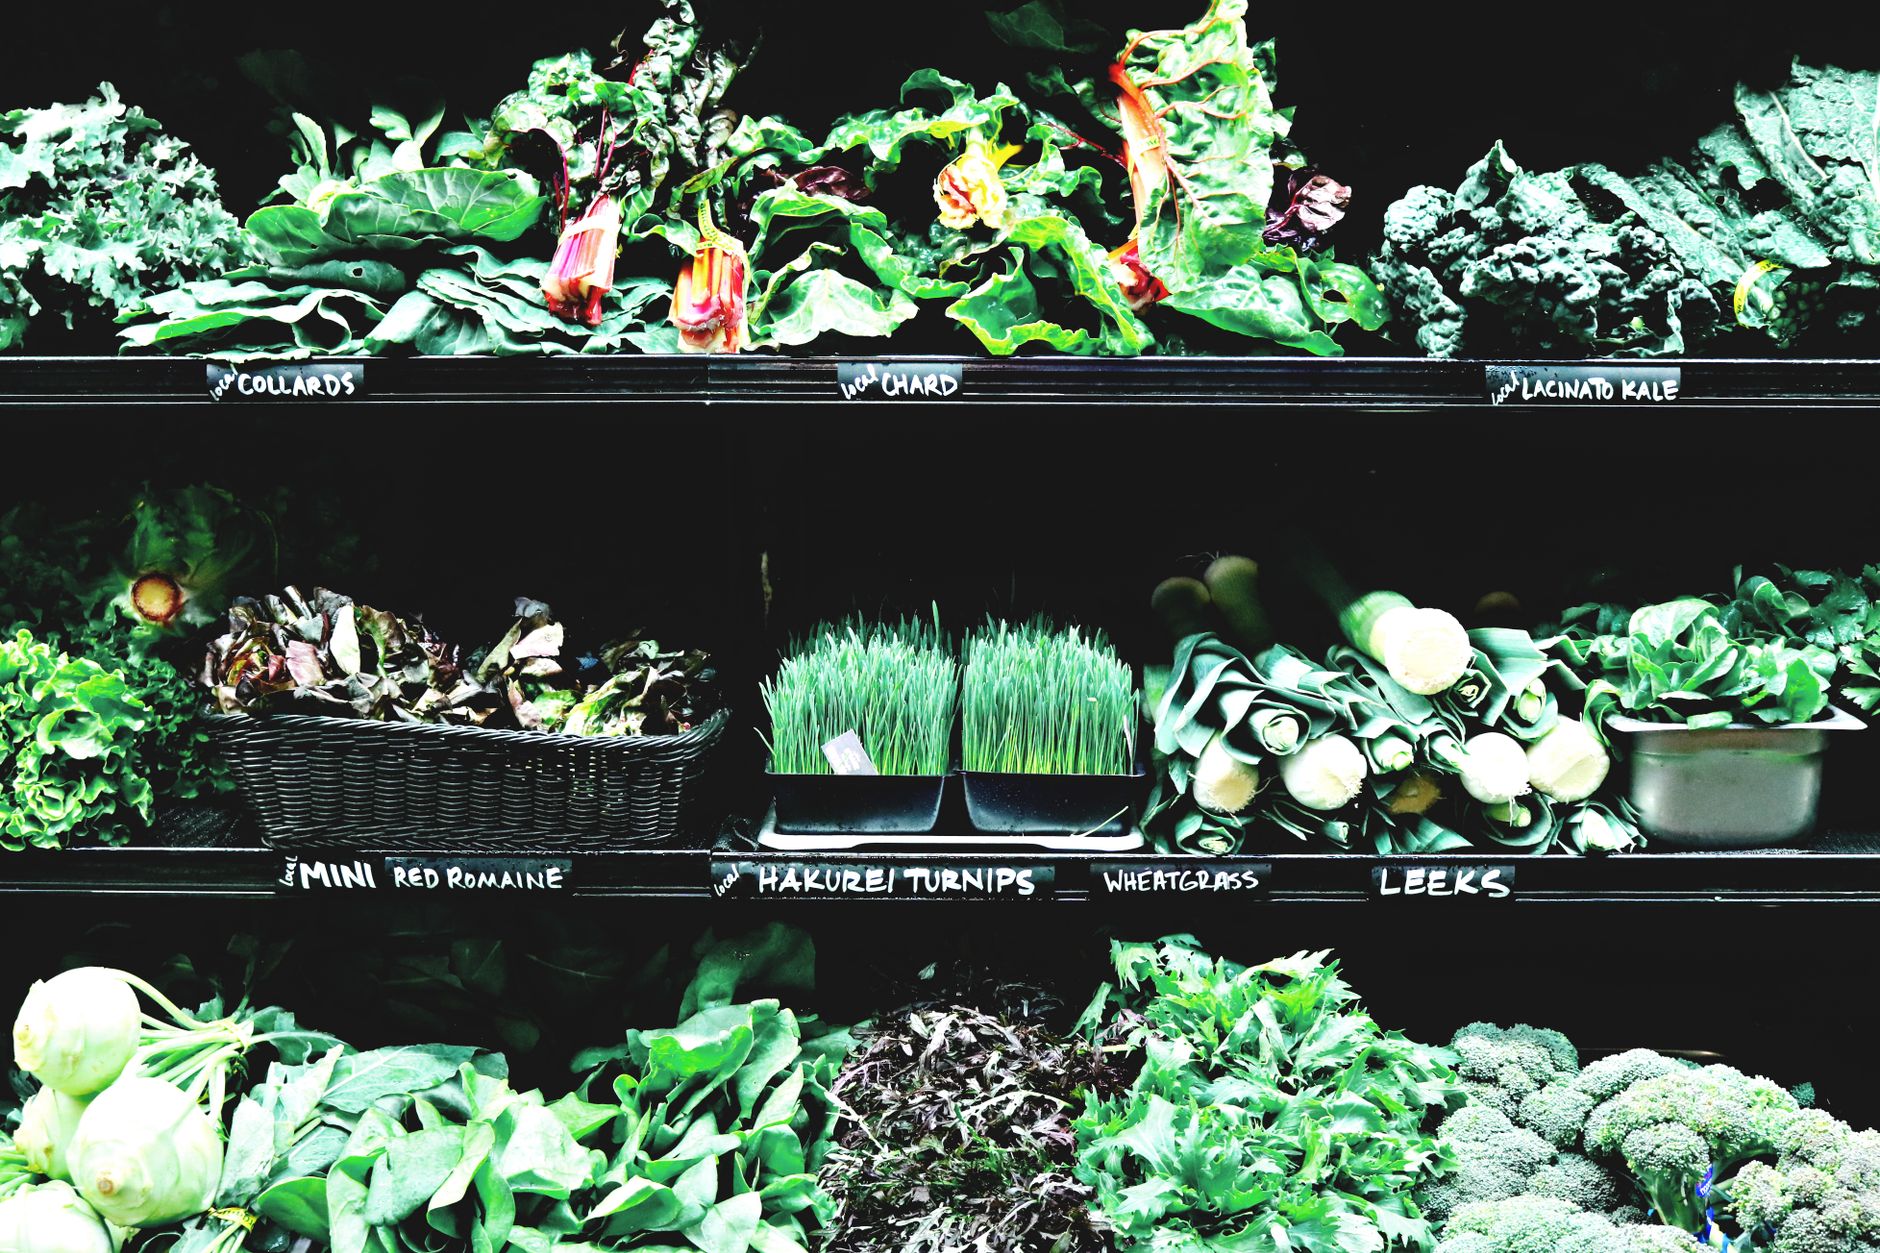
Curly kale, the most commonly recognized type with its ruffled, textured leaves, is widely available and holds up particularly well to cooking methods like sautéing and baking into chips.
Lacinato kale, also called dinosaur or Tuscan kale, has smoother, darker, more elongated leaves with a slightly more tender texture, popular for salads and often considered milder in flavor than curly types.
Red Russian kale has flatter, more tender, purple-tinged leaves and tends to be one of the sweeter, more tender varieties, particularly well-suited to fresh eating rather than heavier cooking applications.
All common kale varieties share similar growing requirements, so variety selection is largely a matter of personal preference for texture and appearance rather than any significant difference in cultivation difficulty.
Prepare Fertile Soil and Plant

Work 2-3 inches of compost into the soil before planting, since kale is a moderately heavy feeder that benefits from rich soil to support its extended harvest period, often lasting many weeks or even months from a single planting.
Direct-sow seeds a half-inch deep, or transplant seedlings, spacing plants 12-18 inches apart in rows 18-24 inches apart, giving each plant enough room to develop a full, productive cluster of leaves.
Kale tolerates a wider soil pH range than many vegetables, generally thriving between 6.0 and 7.5, and does well in both full sun and locations with some afternoon shade, particularly useful for extending a spring or early fall planting slightly into warmer weather.
Choose a location with good drainage, since while kale tolerates a range of conditions well, consistently waterlogged soil can still stress the roots and reduce overall vigor.
Water and Feed Consistently

Water consistently, providing about 1-1.5 inches per week, since kale, while more drought-tolerant than many leafy greens, still produces more tender, better-flavored leaves with steady moisture rather than significant dry stretches.
Feed with a balanced or nitrogen-rich fertilizer 3-4 weeks after planting, then again every 4-6 weeks throughout an extended harvest period, since kale's long productive window means the nutrients from initial soil preparation are eventually depleted without additional feeding.
Mulch around plants to help retain consistent soil moisture and suppress competing weeds, particularly useful during any warmer stretches the planting might experience, whether at the tail end of a spring crop or the start of a fall one.
Kale planted for a fall and winter harvest generally needs less supplemental feeding than a spring crop pushing through into summer heat, since cooler temperatures naturally slow growth and correspondingly reduce nutrient demand somewhat.
Protect Young Plants from Cabbage Worms
Cabbage worms and loopers, the larvae of white and brown moths, are kale's most common pest, chewing ragged holes in leaves; since kale is grown specifically for its leaves, this damage directly affects the harvestable portion of the plant.
Row covers installed at planting time and left in place through most of the growing season are highly effective, physically blocking moths from ever reaching the plants to lay eggs, and since kale doesn't need pollinator access, covers can generally stay on much longer than with flowering or fruiting crops.
If worms are already present, handpicking visible caterpillars, particularly checking the undersides of leaves where they're often well camouflaged, or applying Bacillus thuringiensis (Bt), an organic biological treatment specific to caterpillars, are both effective options.
Kale grown through fall and winter often faces significantly less pest pressure than spring or summer plantings, since many common pests become less active as temperatures drop, making cold-season kale plantings notably lower-maintenance overall.
Watch for Aphids on the Undersides of Leaves

Aphids frequently cluster on the undersides of kale leaves, sometimes going unnoticed until populations have grown substantial, since they're not immediately visible from a casual glance at the top of the plant.
Make it a habit to occasionally flip a few leaves during routine garden checks or harvesting, since catching aphid populations early makes control considerably easier than addressing an established, widespread infestation.
A strong spray of water directed at the undersides of leaves usually dislodges light aphid infestations effectively, while insecticidal soap provides additional control for more persistent populations.
Beneficial insects like ladybugs and lacewings are natural aphid predators; planting flowering companions nearby that attract these beneficial insects can provide some ongoing natural pest control throughout the season.
Harvest Outer Leaves for Continuous Production

Begin harvesting outer, larger leaves once plants reach about 8-10 inches tall, typically 55-75 days after planting, cutting or gently snapping leaves at the base while always leaving the central growing point intact so the plant continues producing new leaves from the top.
This cut-and-come-again approach allows a single kale planting to provide a continuous harvest for many weeks, and in mild climates or with winter protection, sometimes for several months from one initial planting.
Avoid stripping more than about a third of a plant's leaves at any single harvest, which helps ensure the plant retains enough leaf area to continue photosynthesizing effectively and producing vigorous new growth.
Kale exposed to a light frost or two often develops noticeably sweeter flavor, since cold temperatures trigger the plant to convert some stored starches into sugars, similar to the flavor improvement seen in carrots and parsnips after frost exposure.
In mild winter climates, kale can often be harvested in small quantities right through the coldest months, providing fresh greens during a season when most other garden crops have finished or gone dormant.
Common problems and fixes
| Problem | Likely cause | What to do |
|---|---|---|
| Ragged holes in leaves | Cabbage worms or loopers feeding on foliage. | Handpick visible caterpillars, checking leaf undersides, and use row cover fabric from planting onward in future plantings. |
| Small clusters of insects on leaf undersides with sticky residue | Aphid infestation, often going unnoticed until it's well established. | Spray affected undersides with a strong stream of water or insecticidal soap, and check leaf undersides more regularly going forward. |
| Bitter-tasting leaves | Heat stress during summer growth, or leaves that have simply become older and tougher. | Prioritize fall plantings for the sweetest flavor, and harvest leaves at a moderate size rather than letting them grow excessively large and tough. |
Gardener's checklist
Test what you learned
How cold can established kale plants typically tolerate?
Answer: 20°F or lower
What harvesting method extends a kale planting's productive life the longest?
Answer: Harvesting outer leaves first, cut-and-come-again
Why does kale often taste sweeter after a light frost?
Answer: Cold temperatures convert some stored starches into sugars
Common questions
Can kale survive winter outdoors?
Yes, kale is exceptionally cold-hardy and can survive temperatures down to 20°F or lower once established, and in mild winter climates it can often be harvested in small quantities right through the coldest months of the year.
How long does a kale planting keep producing?
Using the cut-and-come-again harvesting method, a single kale planting can produce continuously for many weeks, and in mild climates with some winter protection, sometimes for several months from one initial planting.
Is fall or spring better for growing kale?
Many experienced gardeners prefer fall plantings, since cold exposure improves kale's flavor, making it sweeter and less bitter than kale grown and harvested during warmer spring or summer conditions.
Does kale need full sun?
Kale grows well in full sun but also tolerates partial shade better than many vegetables, making it a flexible option for gardens with some shaded areas, particularly useful for extending plantings into slightly warmer weather.
Kale rewards very little effort with an exceptionally long harvest window, especially when planted for fall and winter, when its natural cold tolerance turns what stops most crops into kale's best-tasting season.
Frequently asked questions
How often should a vegetable garden be watered?
Frequency depends on weather, soil and plant size. Check the soil rather than watering on a rigid schedule.
Is compost enough fertilizer?
Compost improves soil and provides nutrients slowly. Heavy-feeding crops may still need additional feeding.

The Sproutstead Editorial Team
We create clear, practical gardening and homesteading guides designed for real homes and beginner growers.
View author profile →