Plant corn seeds directly in the garden after the last frost in blocks of at least 4x4 rows rather than a single long row, spacing plants 8-12 inches apart. Feed heavily since corn is a nitrogen-hungry crop, water consistently especially during tasseling, and harvest 60-100 days later when silks turn brown and kernels release a milky liquid when pierced.
What you will need
Understand Why Block Planting Is Non-Negotiable
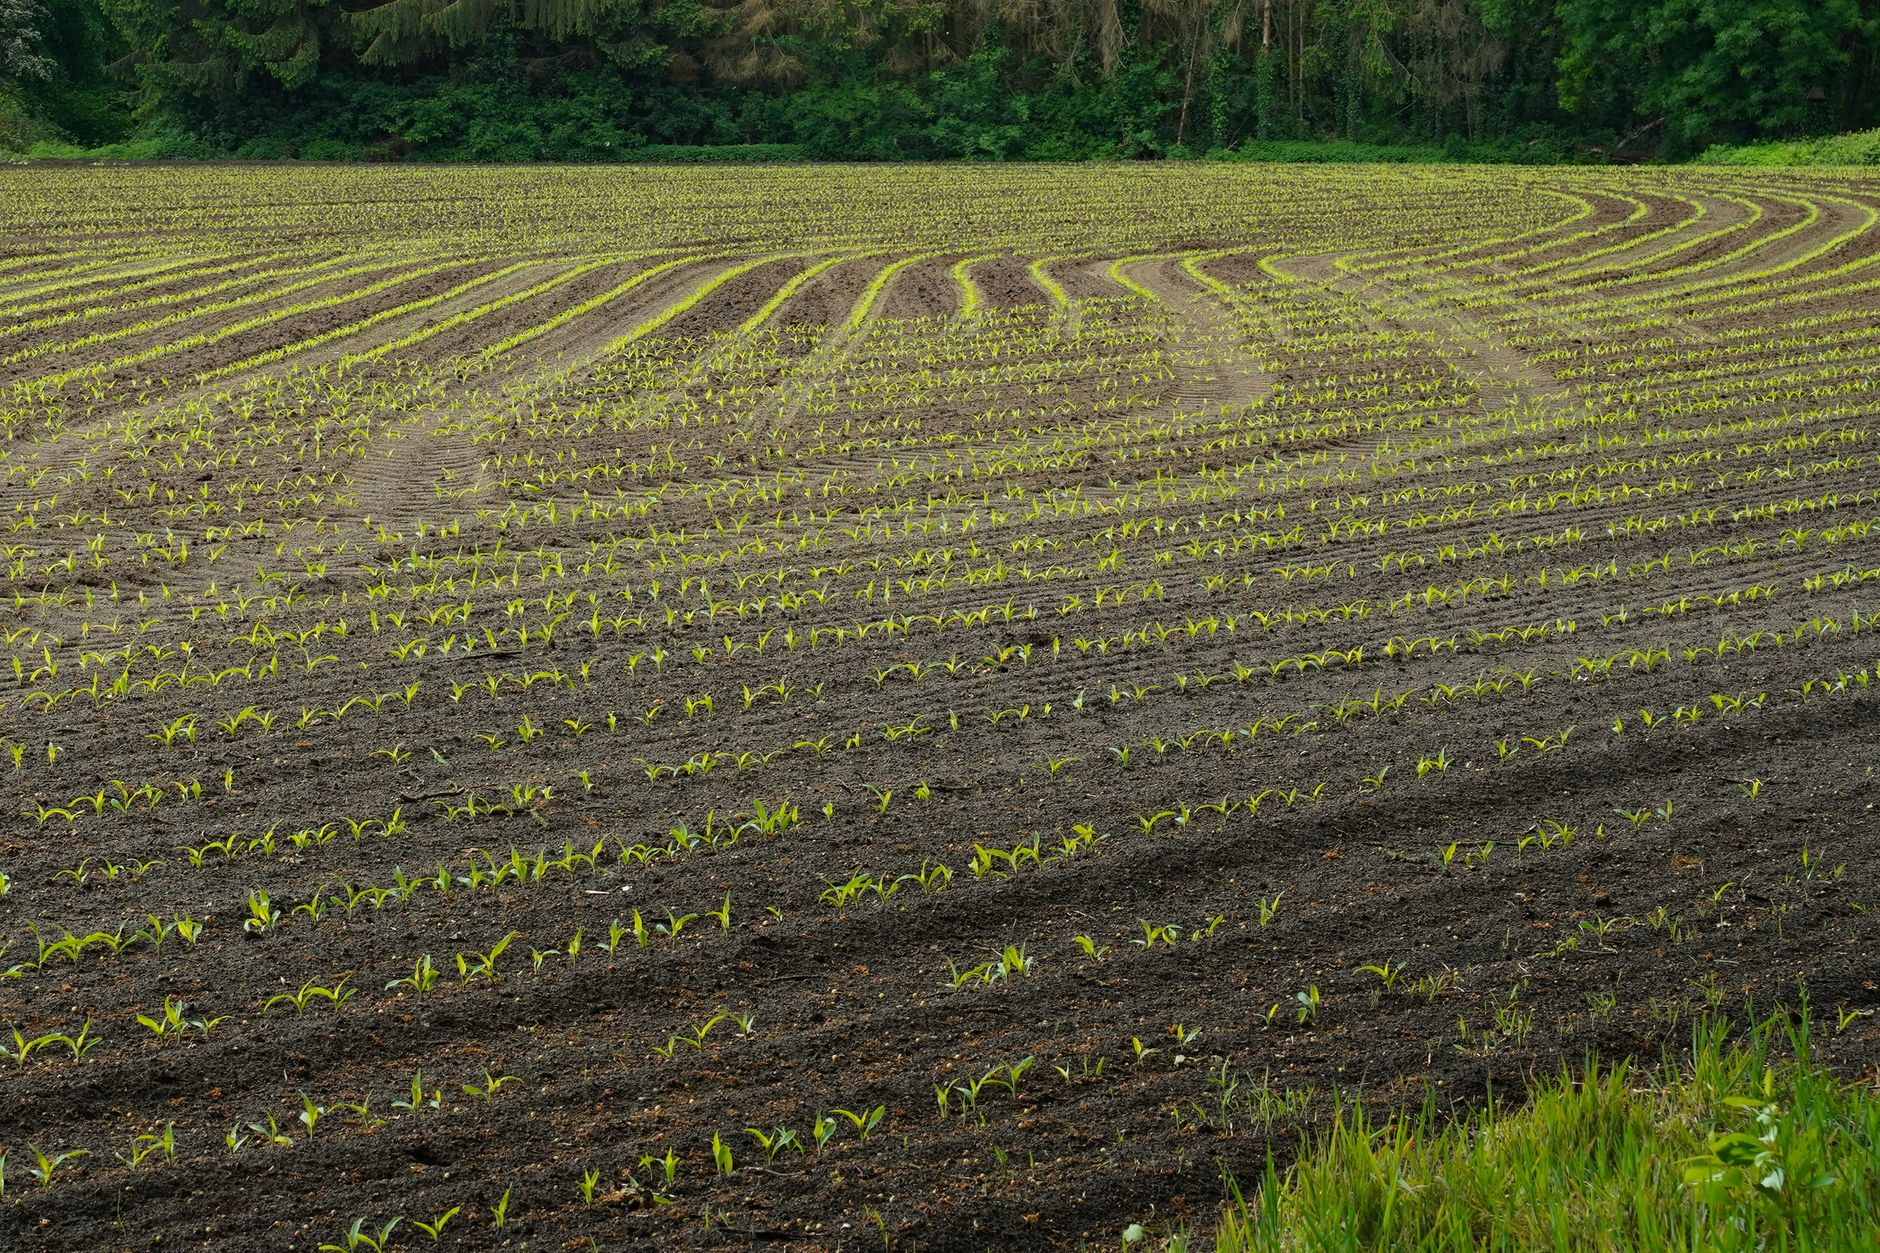
Corn is pollinated by wind, not by bees or other insects the way most garden vegetables are, which fundamentally changes how it needs to be laid out in the garden compared to nearly everything else you might plant.
Pollen released from the tassels at the top of each stalk needs to drift down and land on the silks of nearby plants, and this process works far more reliably when there are corn plants in every direction rather than just ahead and behind in a single line.
Plant in a block of at least 4 rows by 4 rows rather than one or two long rows; single or double rows very commonly produce ears with missing kernels or large gaps, since pollen from a lone row has a much smaller chance of actually reaching nearby silks compared to a plant surrounded by pollen sources on all sides.
If garden space genuinely only allows for a narrow planting area, a short, wide block is still considerably better than a long, thin row of the same total plant count; reworking the shape of your planting area, even without adding more plants, meaningfully improves pollination odds.
For gardeners with very limited space, hand-pollination (covered later in this guide) can partially compensate for a less-than-ideal block shape, though proper block planting remains the more reliable foundation for a good harvest.
Choose a Variety and Time Your Planting
Sweet corn varieties are generally categorized by their sugar content and how that sugar converts to starch after harvest: standard (su) varieties have the shortest post-harvest window before sweetness fades, sugary enhanced (se) varieties hold their sweetness longer, and supersweet (sh2) varieties stay sweet the longest but require slightly different growing conditions and isolation from other types to avoid cross-pollination issues that affect flavor.
Plant seeds directly in the garden 1-1.5 inches deep after your last frost date, once soil has warmed to at least 60°F; corn seed planted into cold, wet soil is prone to rotting before it ever germinates.
Space seeds 8-12 inches apart within rows that are 30-36 inches apart, giving each plant's root system enough room to draw the substantial water and nutrients corn requires without excessive competition from immediate neighbors.
For a continuous summer harvest rather than one large batch all at once, stagger plantings about 2 weeks apart, or plant early, mid, and late-season varieties together in the same block, both of which spread the harvest window out over several weeks instead of concentrating it into just a few days.
Keep different sweet corn types (standard, sugary enhanced, and supersweet) planted at least 25 feet apart or timed to tassel at different points if growing more than one type, since cross-pollination between types can result in starchy, less sweet kernels on the supersweet variety specifically.
Prepare Soil and Feed Heavily From the Start
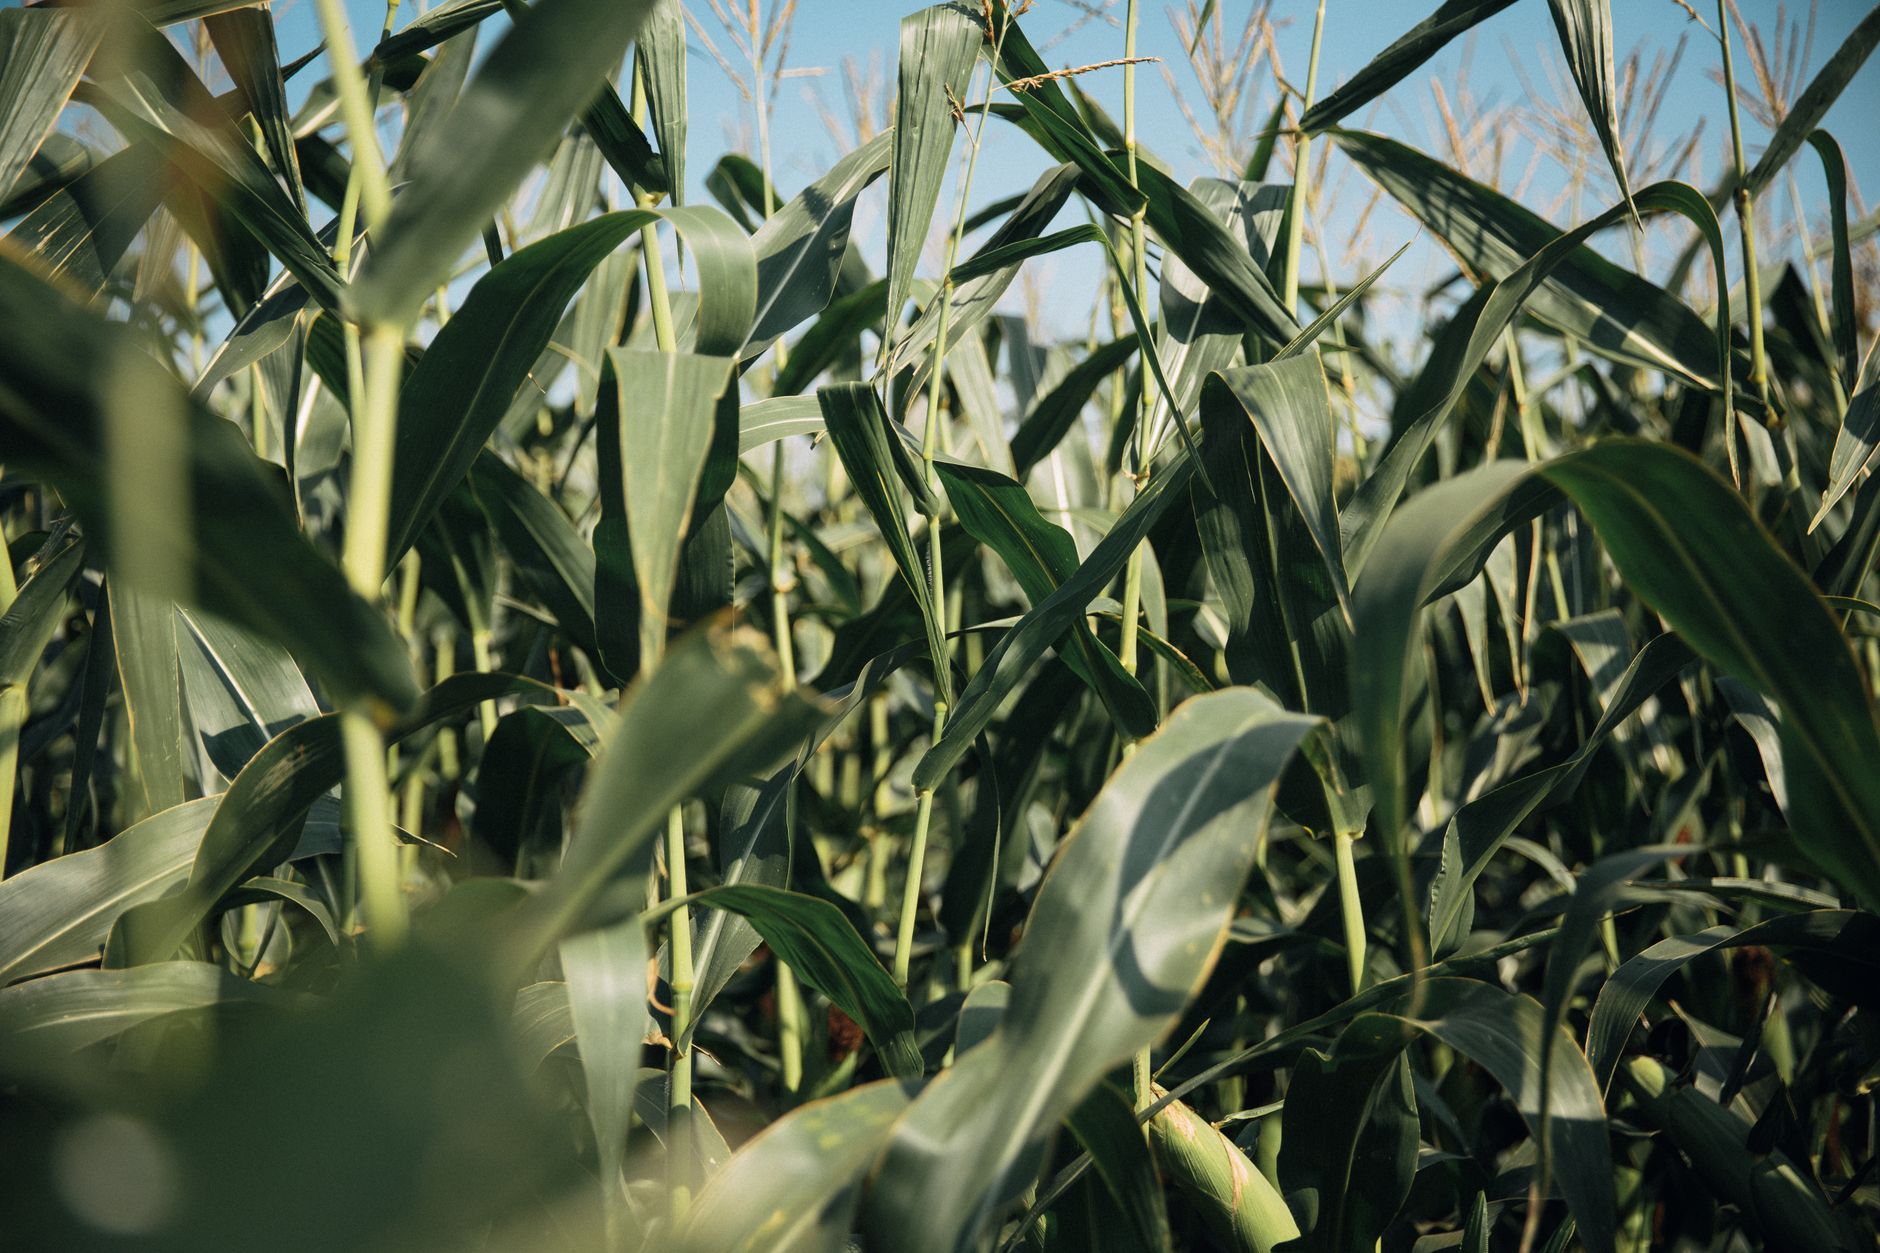
Work generous amounts of compost or aged manure into the soil before planting, since corn depletes soil nitrogen notably quickly during its rapid, intensive growth cycle from seedling to towering stalk in just a couple of months.
Corn is widely considered one of the heaviest-feeding vegetables grown in a typical home garden, and skimping on initial soil preparation is one of the most common reasons gardeners end up with disappointingly small, thin, or poorly filled ears despite otherwise careful care.
Aim for a soil pH between 5.8 and 6.8, and choose a planting site in full sun that receives at least 6-8 hours of direct light daily, since shaded corn produces noticeably weaker stalks and smaller ears.
Planting corn following a bed of nitrogen-fixing legumes like beans or peas from the previous season can meaningfully reduce the amount of additional fertilizer needed, since the legumes will have already replenished some of the soil's nitrogen naturally.
Side-Dress Fertilizer at Key Growth Stages
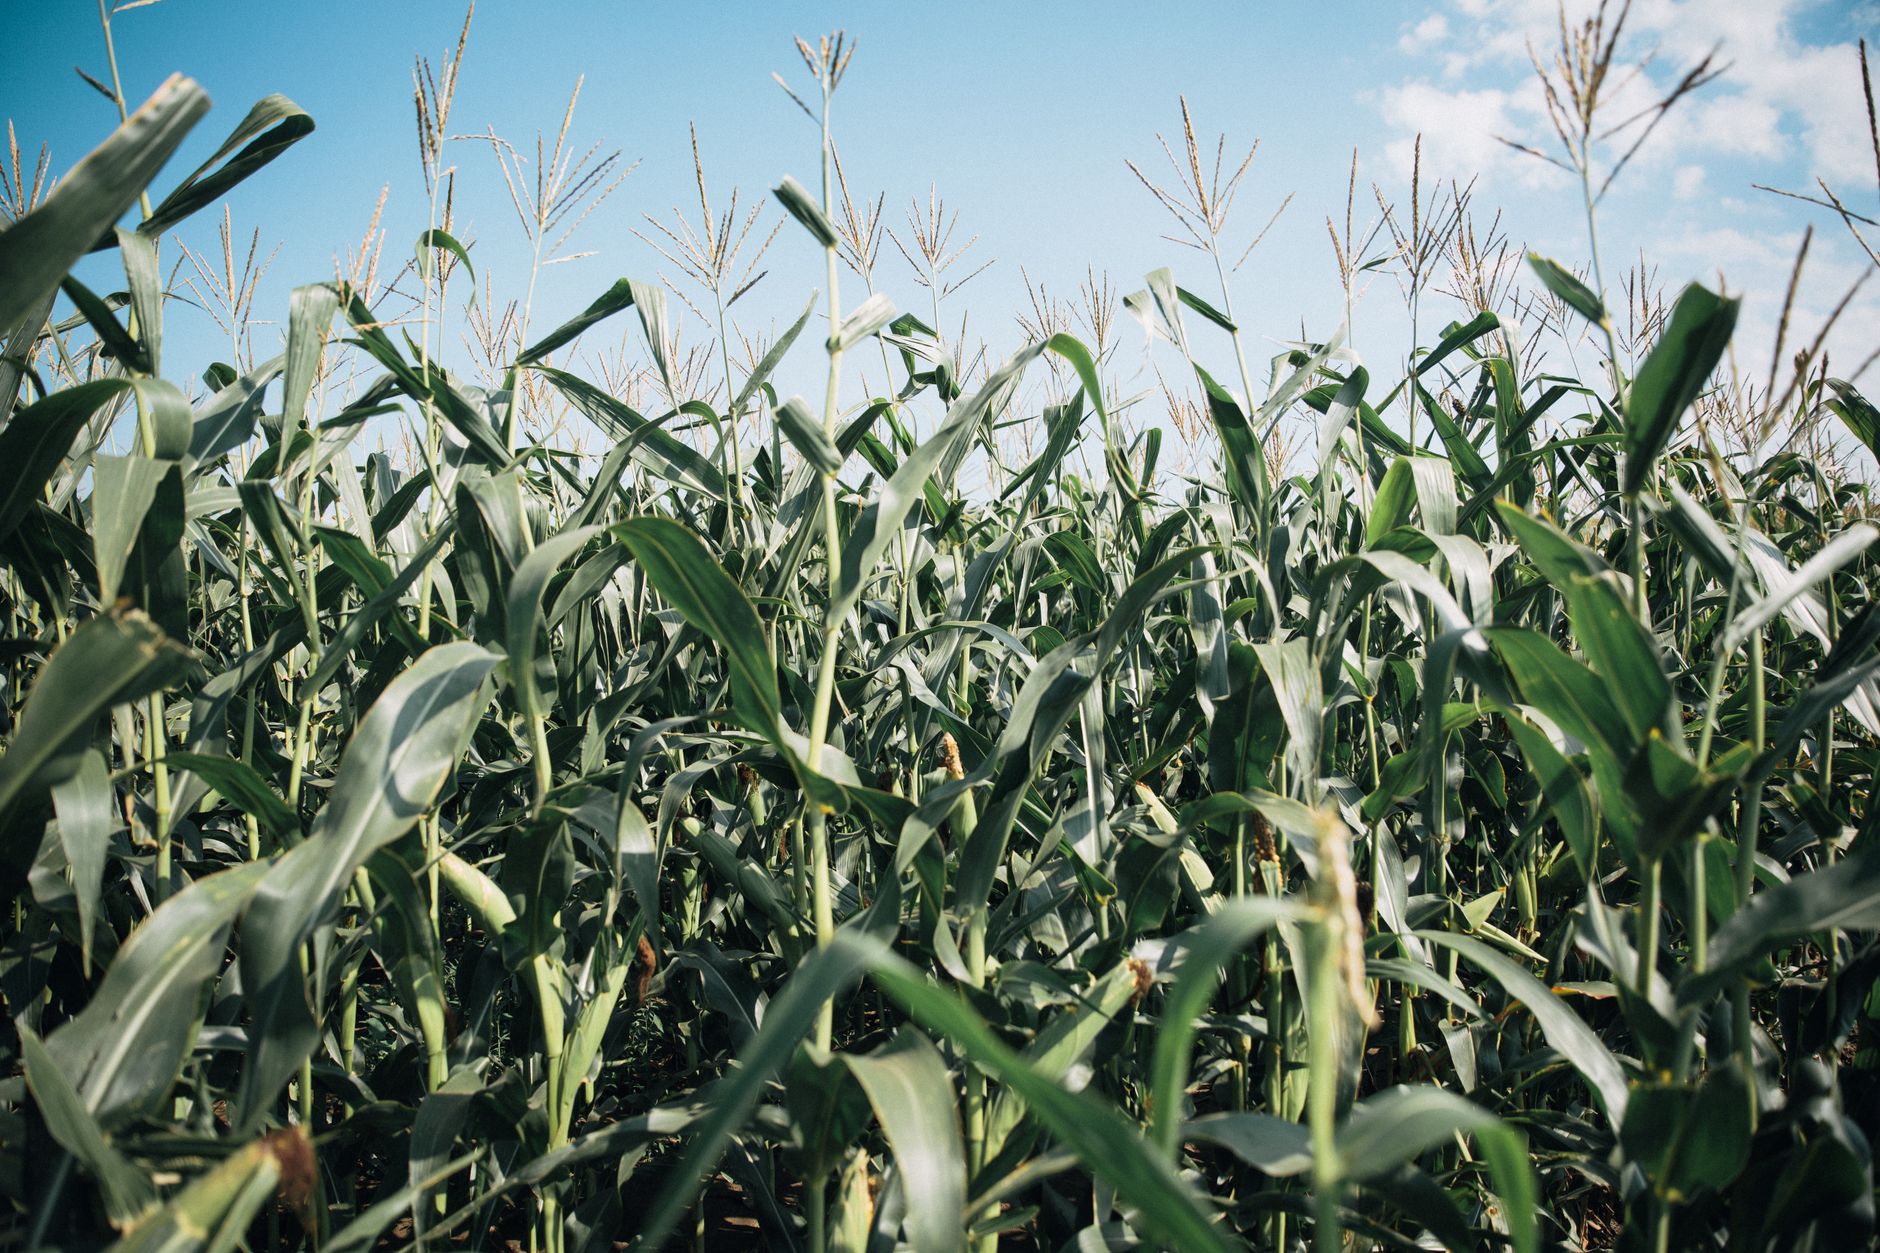
Side-dress with a nitrogen-rich fertilizer when plants are about knee-high, typically 4-6 weeks after planting, which supports the rapid vertical growth and leaf development happening at that stage.
Apply a second side-dressing when tassels begin to appear, since this period of pollen production and silk development represents the plant's second major peak in nutrient demand before ear filling begins.
Apply fertilizer in a shallow trench a few inches away from the base of each plant rather than directly on the stalk, then water it in well, which helps the nutrients reach the root zone efficiently without risking fertilizer burn on stems or leaves.
Watch the lower leaves for pale green or yellowing coloration between growth stages, which can signal a nitrogen deficiency developing before the next scheduled feeding, and adjust your fertilizing schedule accordingly if you notice this warning sign.
Water Deeply, Especially During Tasseling and Silking
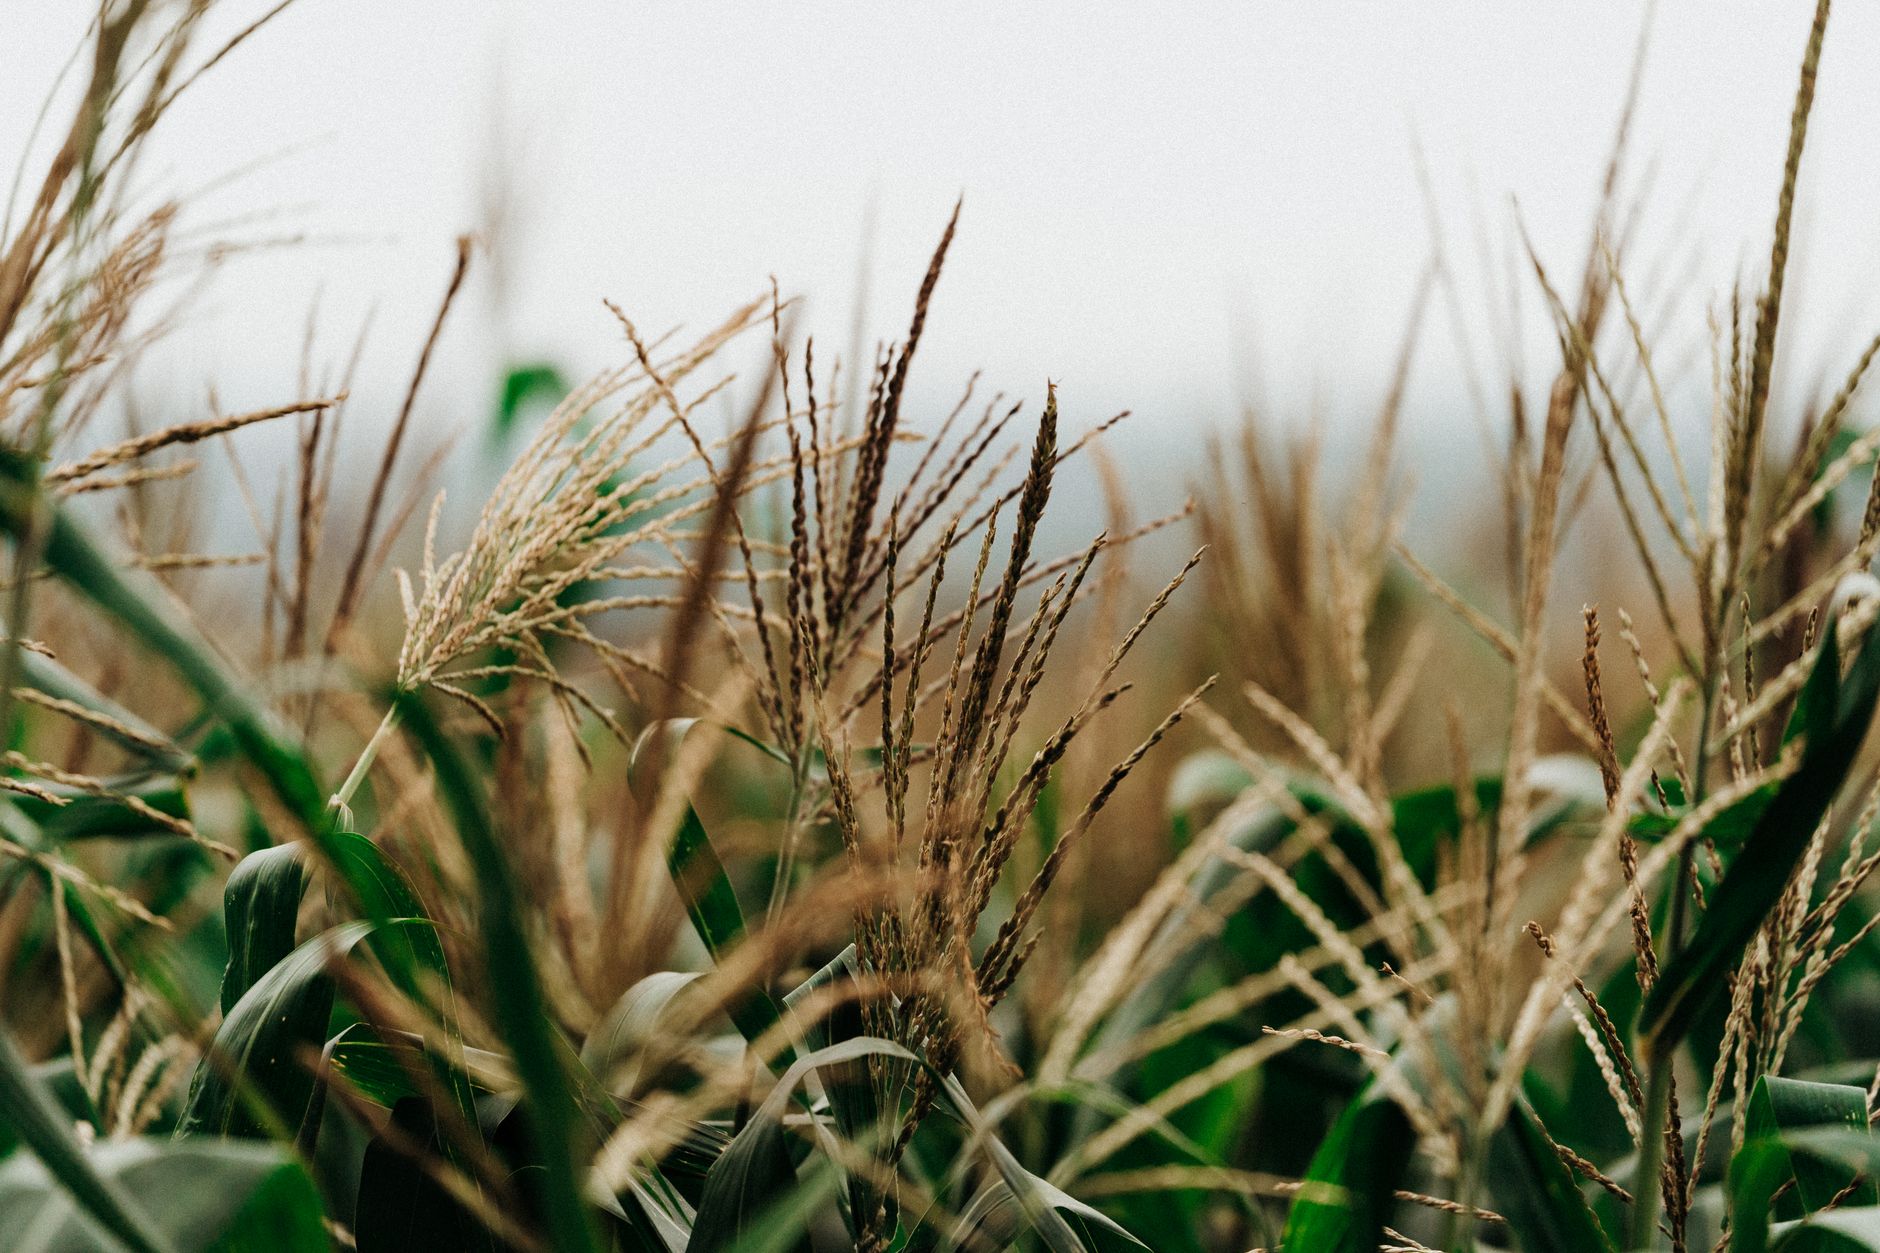
Water consistently, providing 1-2 inches per week from rainfall and irrigation combined, with particular attention during the tasseling and silking stage, which typically occurs 6-8 weeks after planting and represents the point when corn is most vulnerable to drought stress.
Water stress during this critical window can cause poor pollination even in a properly planted block, resulting in ears with missing kernels or noticeable gaps, since drought-stressed silks don't receive and transport pollen as effectively as well-hydrated ones.
Mulch around the base of plants with straw or another organic material to help retain soil moisture and suppress weeds, which compete significantly with corn's relatively shallow root system for both water and nutrients.
Deep, less frequent watering is generally more effective for corn than light, frequent watering, since it encourages roots to grow deeper into the soil profile in search of moisture, ultimately making the plant more resilient to short dry spells later in the season.
Reduce watering slightly once ears have fully filled out and begun drying down near the very end of the season, since mature corn approaching harvest doesn't need the same level of consistent moisture as it did during active growth and pollination.
Support Stalks Against Wind Damage
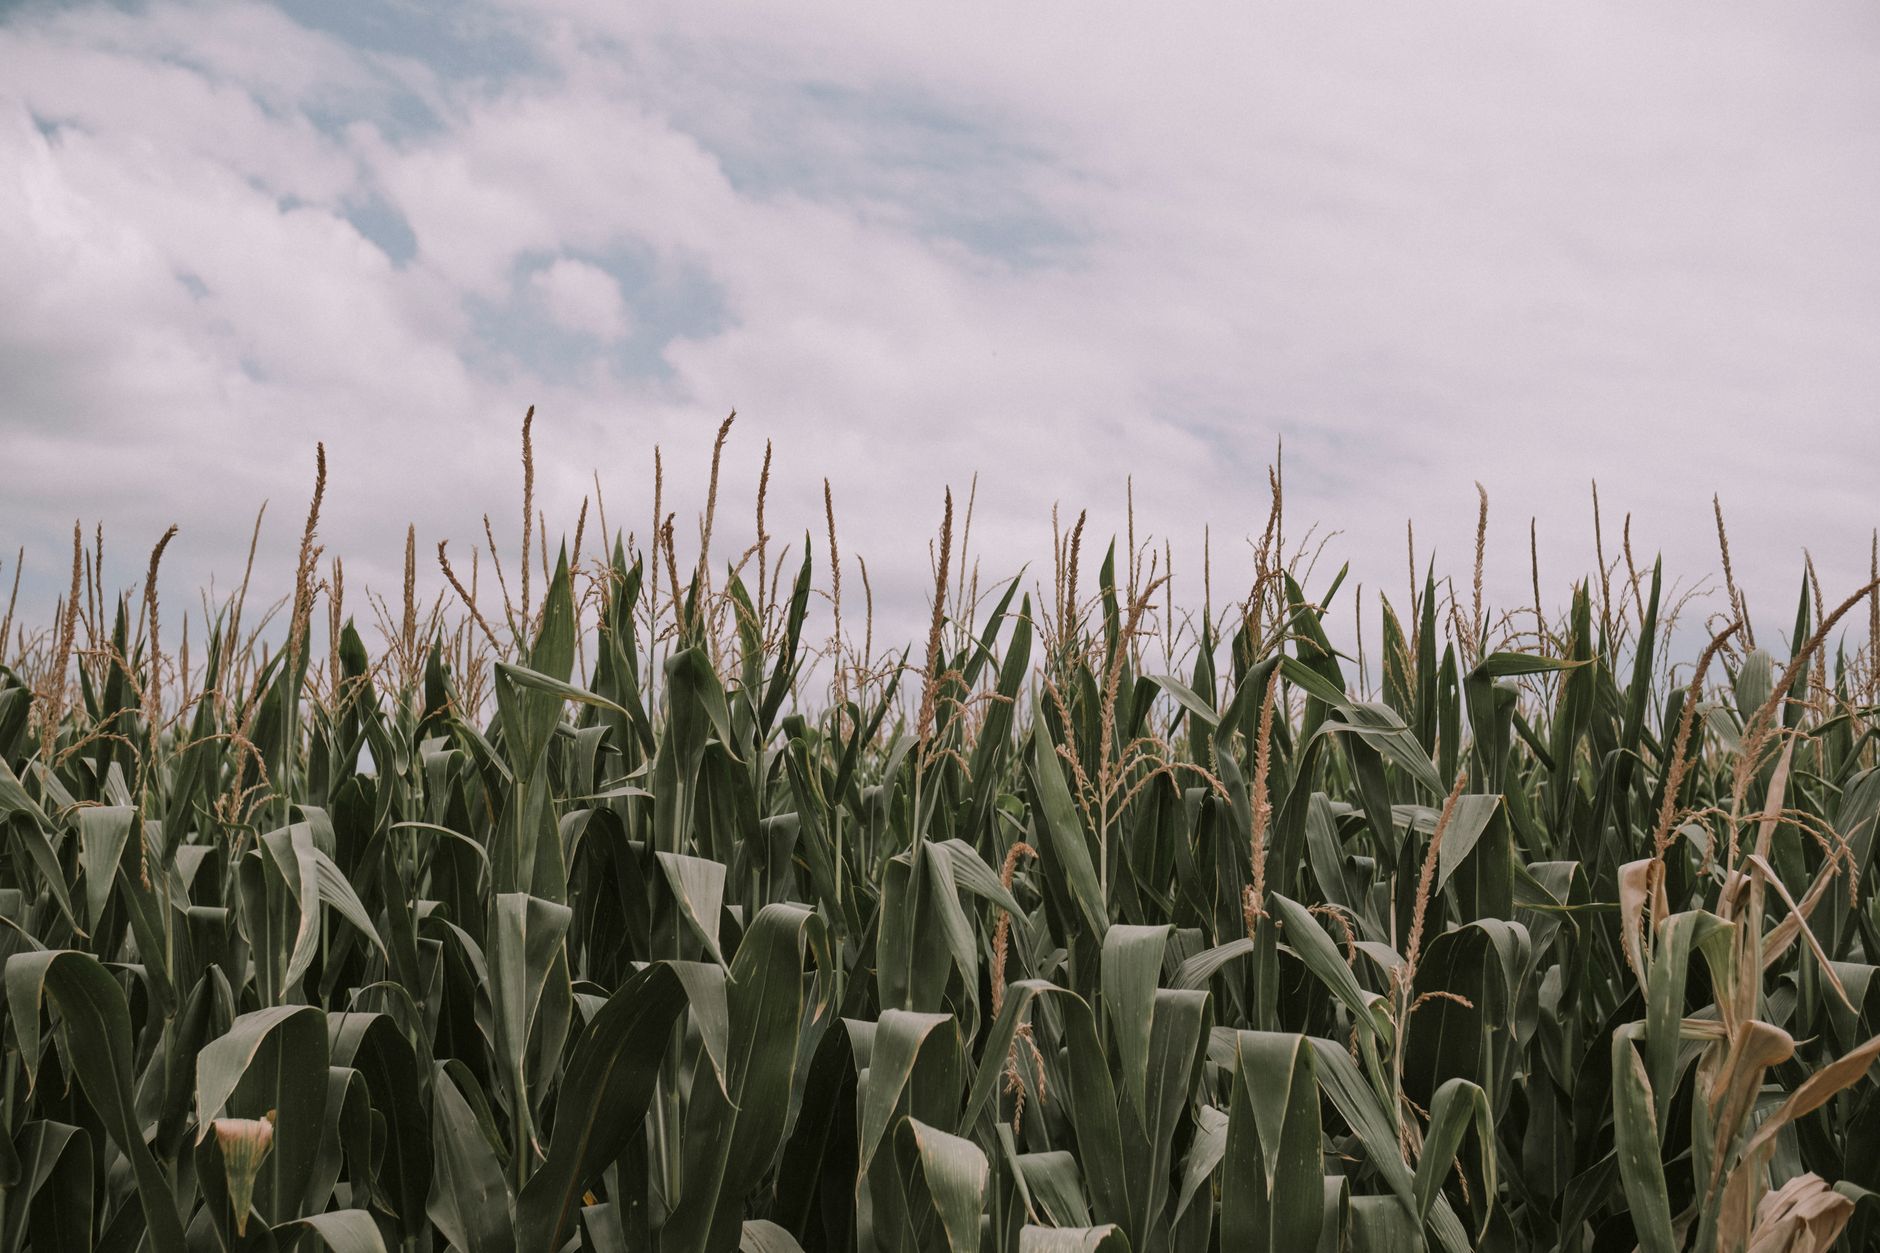
Corn's relatively shallow root system makes it genuinely prone to toppling in strong wind, especially once ears begin developing and add substantial extra weight high up on the stalk.
Hill soil up around the base of each stalk when plants are about a foot tall, mounding it a few inches high around the stem, which encourages additional brace roots to form at the soil line and anchors plants considerably more securely against wind.
In consistently windy areas or regions prone to summer storms, consider planting a slightly denser block than the standard spacing, which provides some mutual wind support between neighboring stalks, or installing stake support specifically along the outer rows, which take the brunt of prevailing winds.
If a storm does knock stalks partially over before they've fully matured, many will straighten themselves back up over the following days through natural growth response, so it's often worth waiting a few days before assuming the affected plants are a total loss.
Manage Corn Earworm and Other Common Pests
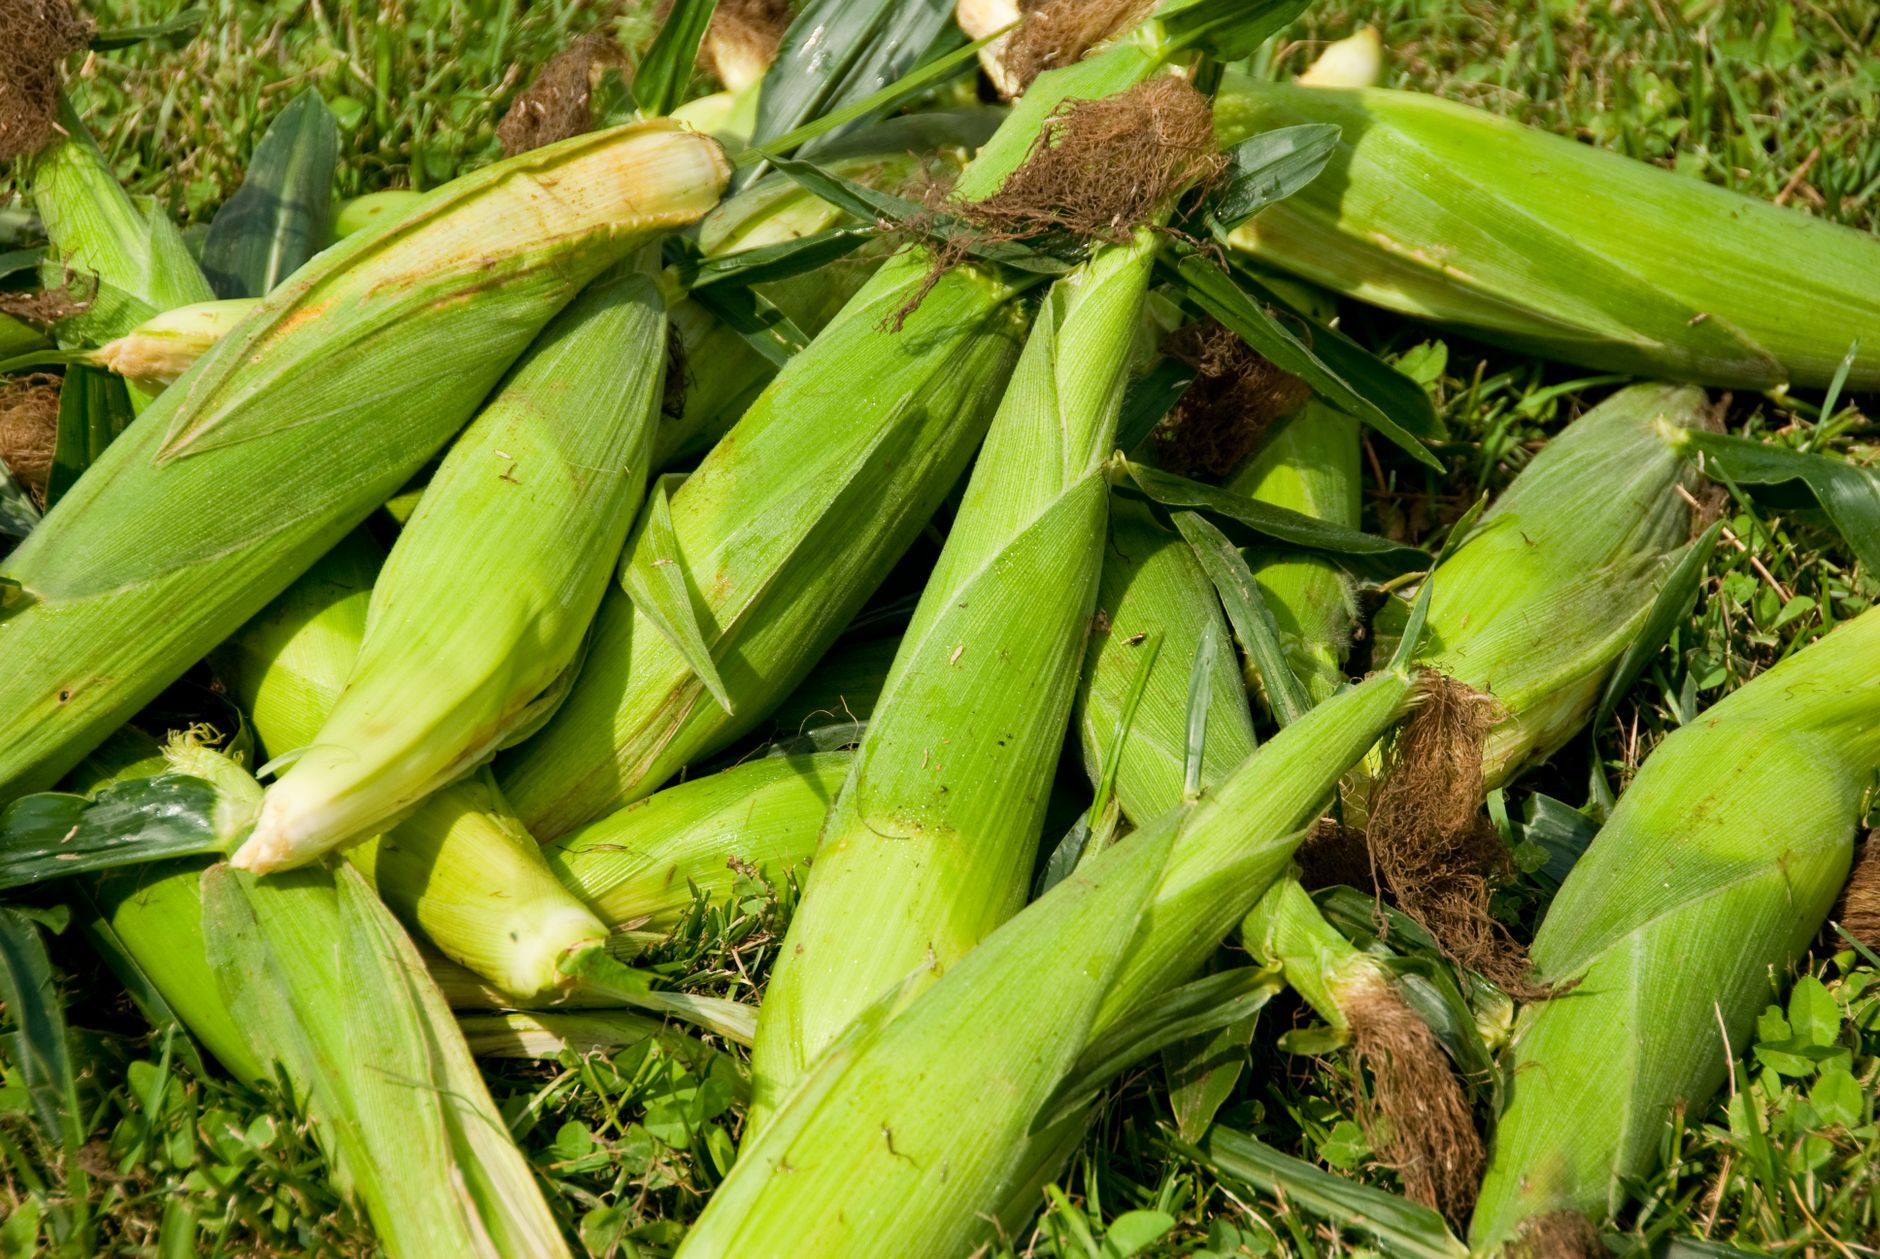
Corn earworm, the larvae of a moth that lays eggs directly on developing silks, is the single most common pest issue for home-grown sweet corn, tunneling down into the tip of the ear and feeding on kernels as it goes.
Applying a few drops of mineral oil or a small amount of Bacillus thuringiensis (Bt) directly onto the silks just after they begin to brown, a traditional and effective organic technique, smothers or poisons young larvae before they can tunnel deeply into the ear.
Damage from corn earworm is typically confined to just the very tip of the ear; simply cutting off the affected top inch or two after harvest usually salvages the rest of a perfectly good ear rather than requiring you to discard the whole thing.
European corn borer and fall armyworm can also occasionally affect stalks and ears in some regions; monitoring plants regularly for small holes in leaves or stalks, and removing and destroying visibly infested plant material promptly, helps limit their spread within a planting.
Check Silk Color and Kernel Fluid Before Harvest
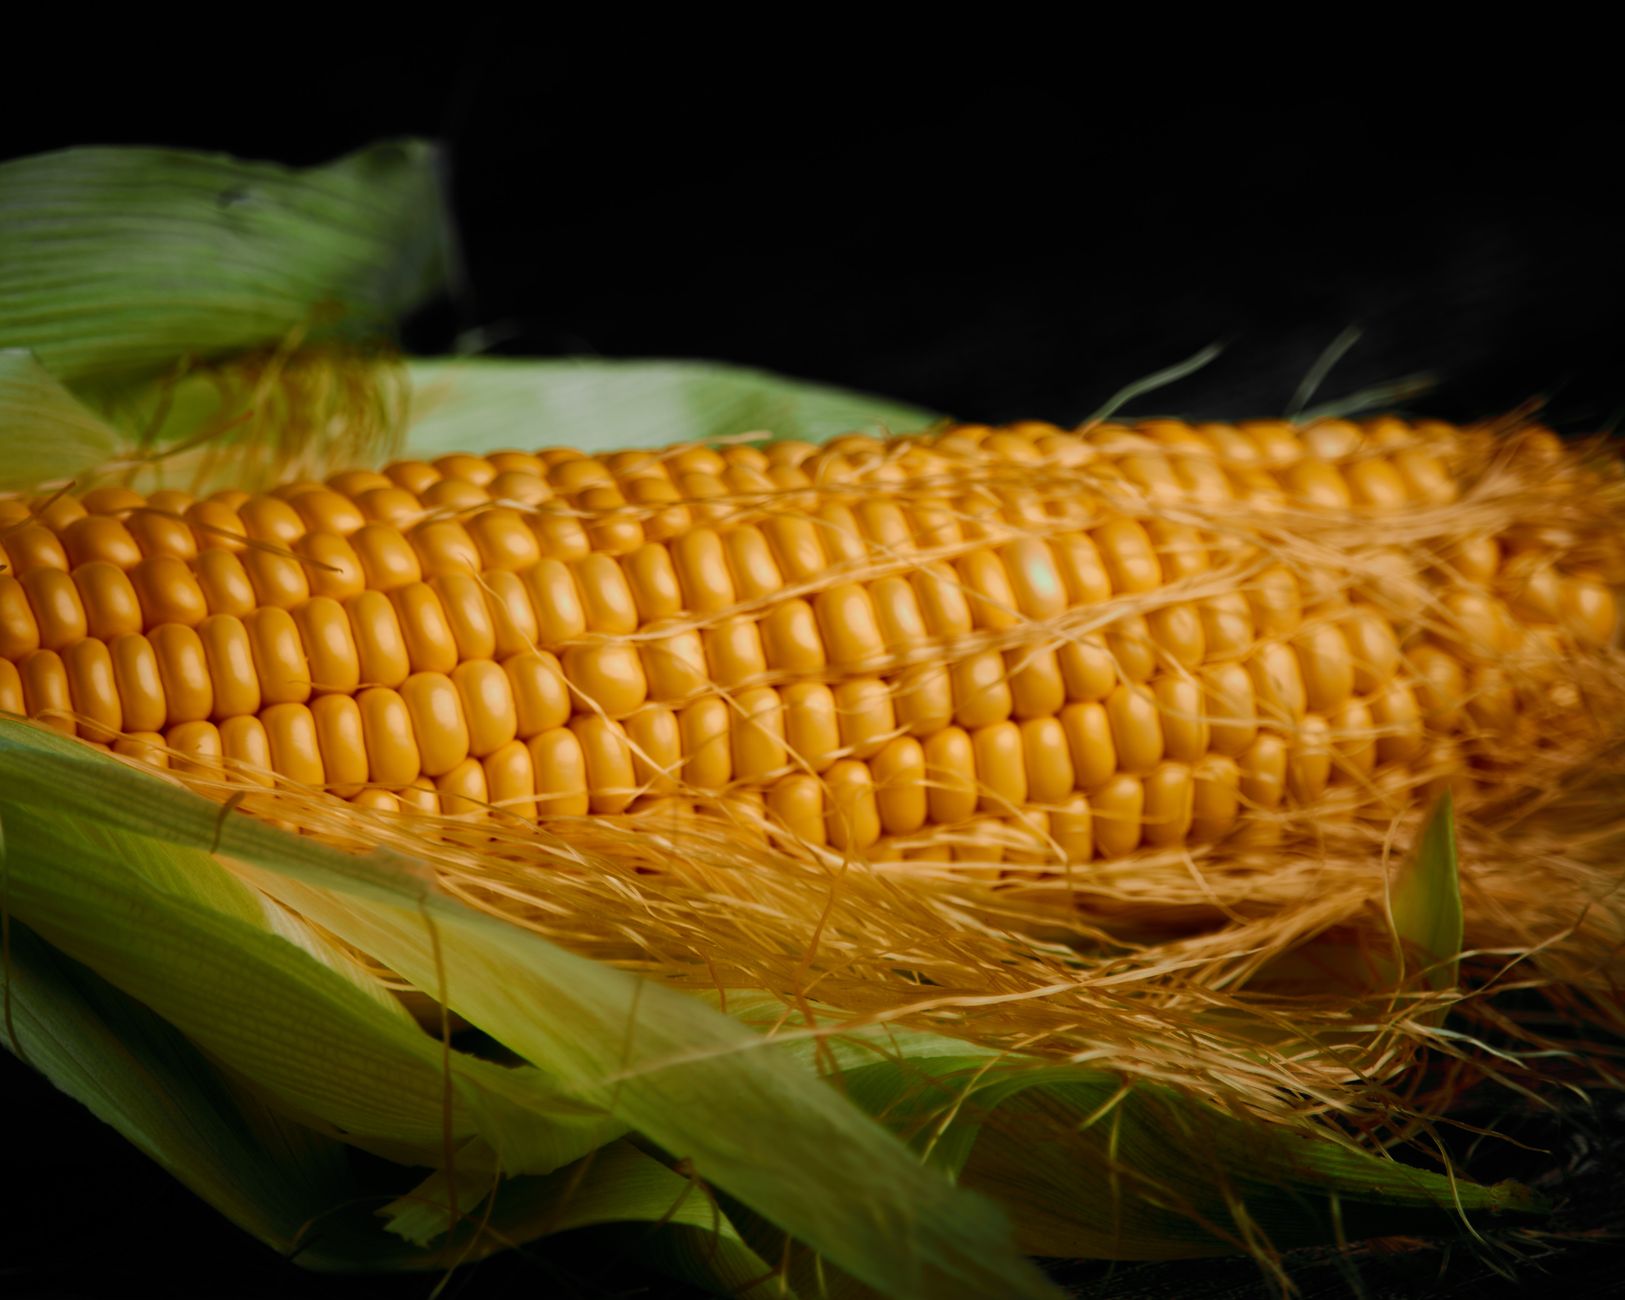
Corn is typically ready 60-100 days after planting depending on variety, indicated externally by silks that have turned brown and dry while the surrounding husk remains fully green and the ear itself feels well-filled when gently squeezed through the husk.
For a definitive check beyond the external signs, peel back a small section of husk near the top and pierce a kernel with a fingernail; ripe corn releases a milky white liquid, unripe corn releases a clear, watery liquid, and overripe corn releases a thick, doughy paste rather than liquid at all.
Check a few ears across different parts of the block rather than relying on just one, since ears at the edges of the planting sometimes mature slightly ahead of or behind those in the center depending on subtle variations in sun exposure and pollination timing.
If a test kernel shows clear liquid, rewrap the husk loosely around the exposed section and check again in a day or two, since the window between underripe and overripe corn is relatively narrow and worth monitoring closely rather than guessing.
Harvest and Use Corn Quickly for Best Flavor
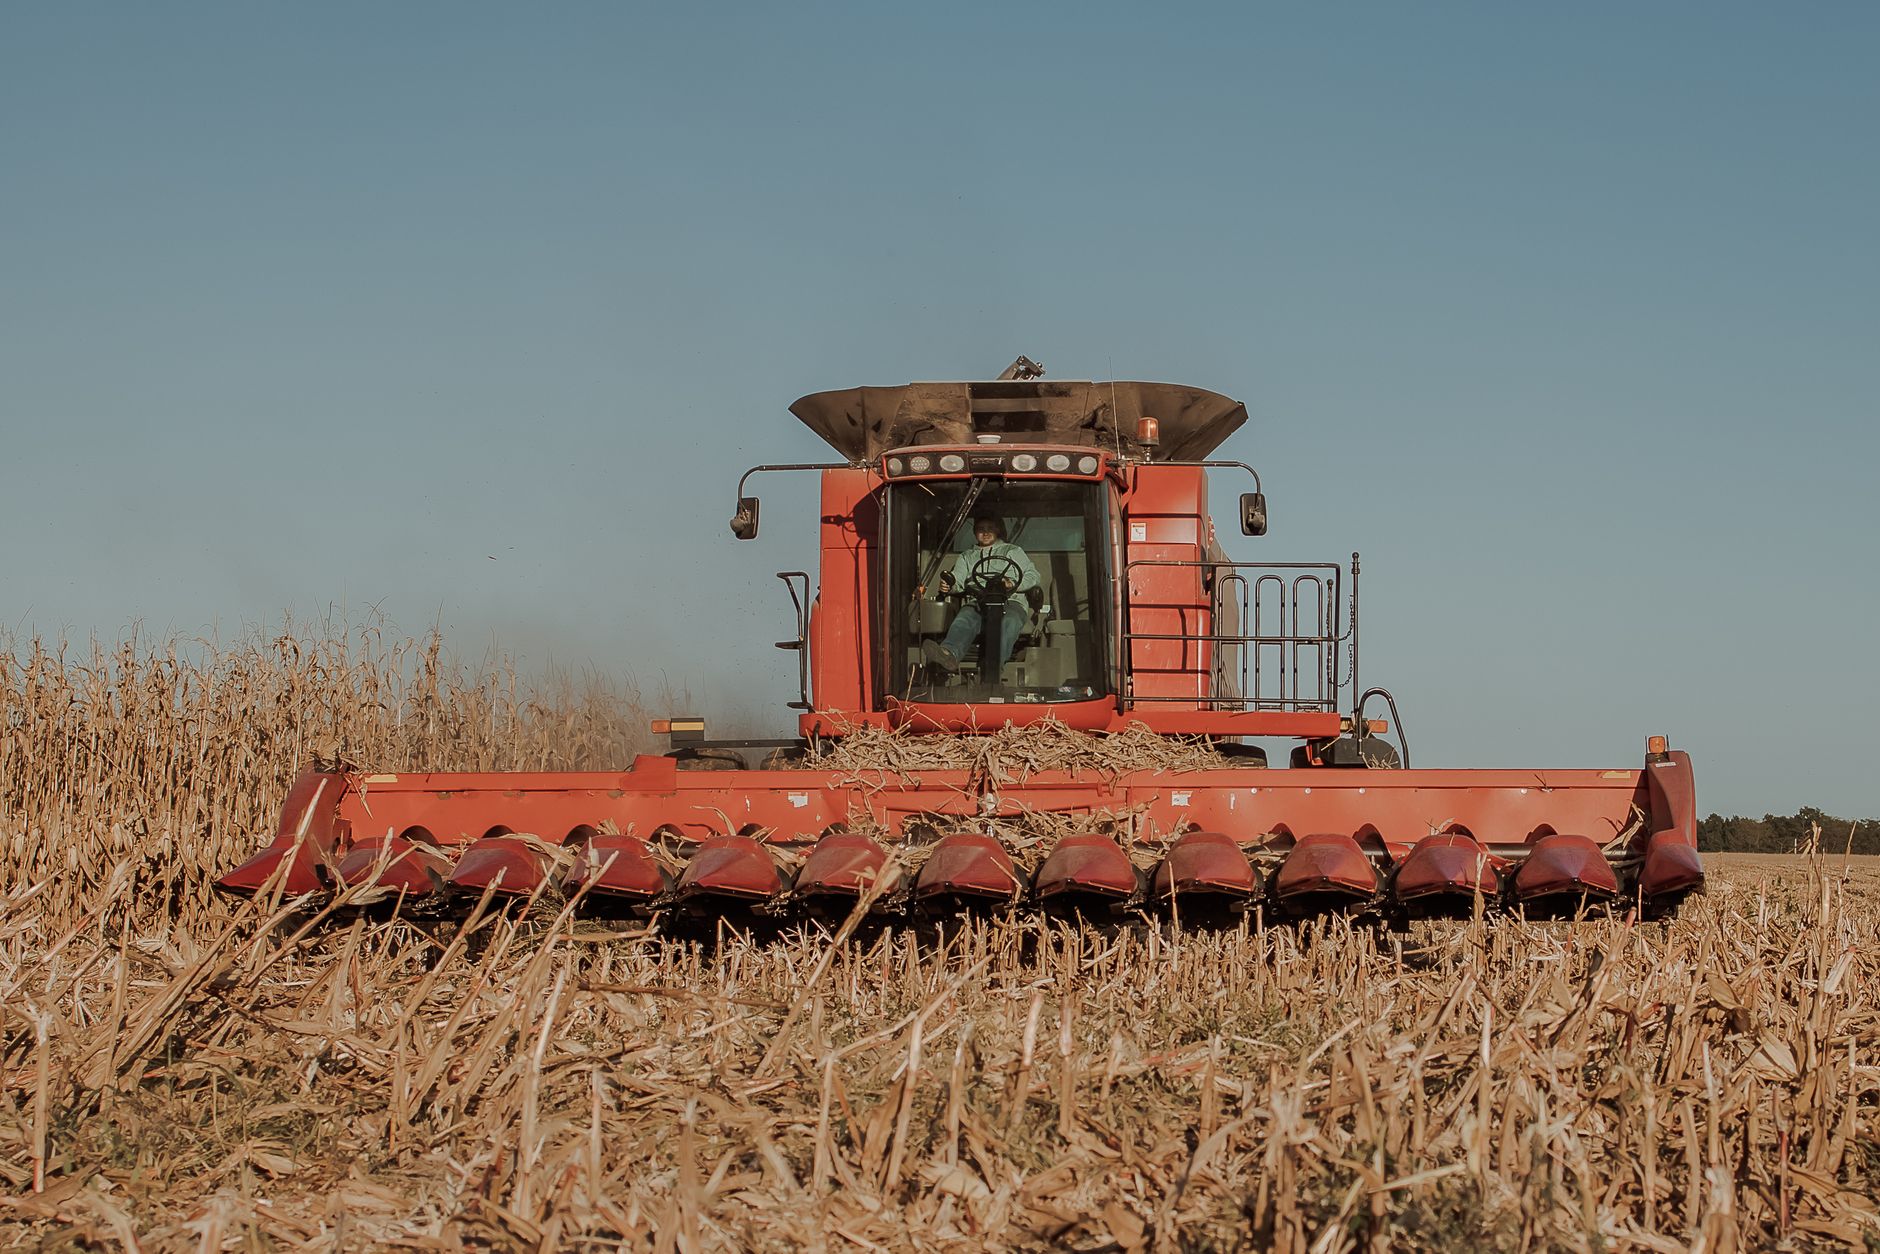
Harvest by grasping the ear firmly and twisting it downward and away from the stalk in one motion, which cleanly separates it at its natural attachment point without unnecessarily damaging the surrounding stalk or neighboring ears.
Sweet corn's sugars begin converting to starch almost immediately after picking, particularly in standard (su) varieties, so for the best possible flavor, plan to cook or preserve corn as soon as possible after harvest, ideally within a few hours.
If corn can't be used immediately, refrigerate it right away, still in the husk, which slows the sugar-to-starch conversion considerably compared to leaving harvested ears at room temperature.
For preservation, sweet corn freezes exceptionally well; blanch ears briefly in boiling water, cool quickly in ice water, then either freeze whole or cut kernels off the cob before freezing, both of which preserve much of the fresh flavor for months.
After the harvest is complete, cut down and compost the spent stalks, which returns organic matter to the soil, or chop and till them in directly if you're not concerned about pest overwintering in the residue.
Common problems and fixes
| Problem | Likely cause | What to do |
|---|---|---|
| Ears with missing or gapped kernels | Poor pollination, often due to single-row planting or water stress during the tasseling and silking stage. | Plant in proper blocks next season and ensure consistent watering during the tasseling and silking stage. |
| Stalks toppling in wind | Shallow root system combined with the added weight of developing ears high on the stalk. | Hill soil around stalk bases when plants are about a foot tall to encourage stabilizing brace roots. |
| Damaged kernels at the tip of otherwise good ears | Corn earworm larvae feeding at the tip after hatching from eggs laid on the silks. | Apply mineral oil or Bt to browning silks preventively, and simply trim away the damaged tip after harvest to salvage the rest of the ear. |
| Pale, yellowing lower leaves mid-season | Developing nitrogen deficiency between scheduled feedings. | Side-dress with additional nitrogen fertilizer promptly rather than waiting for the next scheduled feeding stage. |
Gardener's checklist
Test what you learned
Why should corn be planted in blocks rather than single rows?
Answer: Corn is wind-pollinated and needs blocks for reliable pollination
What liquid should come out of a ripe corn kernel when pierced?
Answer: Milky white liquid
What are corn's two periods of peak nutrient demand?
Answer: Knee-high stage and tasseling
What is the most common pest affecting home-grown sweet corn ears?
Answer: Corn earworm
Common questions
How much space does corn need?
Corn needs a block of at least 4 rows by 4 rows, with plants spaced 8-12 inches apart and rows 30-36 inches apart, making it one of the more space-demanding vegetables in a home garden.
Why is my corn not producing full ears?
Incomplete ears are almost always a pollination issue, most commonly caused by planting in a single row instead of a block, or by drought stress during the tasseling and silking stage when pollination actually occurs.
How long does corn take to grow?
Sweet corn typically takes 60-100 days from planting to harvest depending on the variety, with earlier-maturing varieties useful for shorter growing seasons or for extending the harvest window when planted alongside later varieties.
Can different types of sweet corn be planted near each other?
It's best to avoid planting standard, sugary enhanced, and supersweet varieties too close together, since cross-pollination can affect kernel sweetness, particularly reducing the quality of supersweet types. Space different types at least 25 feet apart or stagger planting so they tassel at different times.
Block planting for pollination, heavy feeding at the right growth stages, and consistent water during tasseling are the three non-negotiables for a full, sweet corn harvest, with quick post-harvest handling preserving all that effort in the final flavor.
Frequently asked questions
How often should a vegetable garden be watered?
Frequency depends on weather, soil and plant size. Check the soil rather than watering on a rigid schedule.
Is compost enough fertilizer?
Compost improves soil and provides nutrients slowly. Heavy-feeding crops may still need additional feeding.

The Sproutstead Editorial Team
We create clear, practical gardening and homesteading guides designed for real homes and beginner growers.
View author profile →