Start celery seeds indoors 10-12 weeks before your last frost, since it germinates slowly and needs a long season. Transplant into rich, moisture-retentive soil 8-10 inches apart once nights stay above 40°F, keep soil consistently damp throughout the season, and harvest stalks 85-120 days after transplanting once plants reach about 8 inches tall.
What you will need
Understand Why Celery Needs an Early, Careful Start

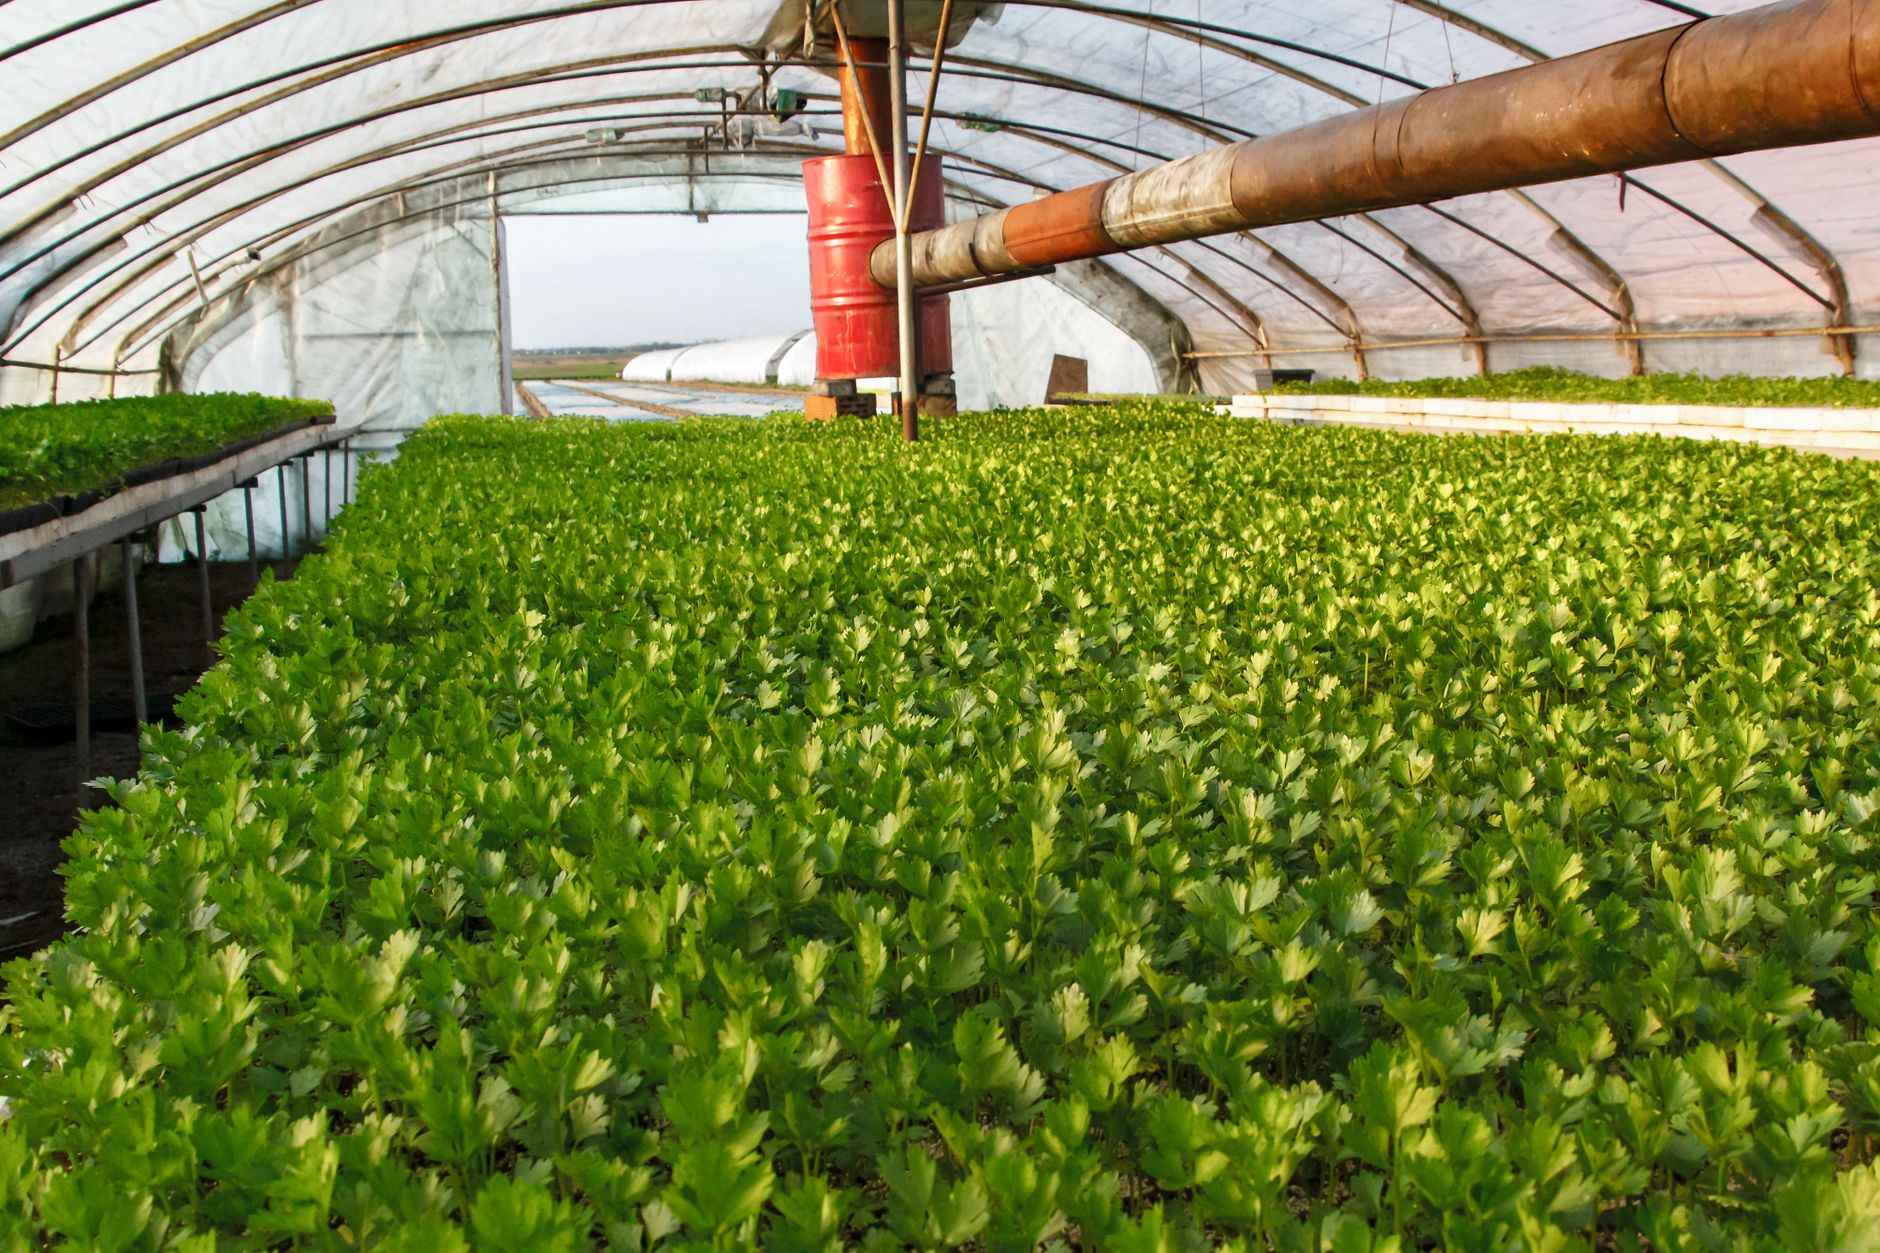
Celery has a notably long growing season compared to most garden vegetables, typically needing 16-19 weeks total from seed to harvest, which is why getting the timing right at the very start of the process has such an outsized effect on your eventual success.
Unlike fast crops such as radishes or lettuce that can be direct-sown with little planning, celery genuinely needs to be started indoors 10-12 weeks before your last expected frost date, giving it a substantial head start before it ever goes into the garden.
This long lead time surprises many first-time celery growers, who often start seeds at the same time as their tomatoes or peppers and then wonder why their celery lags far behind; celery simply operates on a different, slower internal clock than most other warm-season vegetables.
Mark your calendar well in advance of your typical spring seed-starting window specifically for celery, since missing this early start is one of the most common reasons home gardeners give up on the crop after a single disappointing attempt.
If you've missed the ideal indoor-starting window, purchasing established celery transplants from a local nursery is a completely reasonable alternative that skips the trickiest part of the process entirely.
Sow Seeds Correctly for Reliable Germination

Celery seeds are tiny, almost dust-like, and unlike many vegetable seeds, they actually need light to germinate well rather than being buried in darkness. Sow them on the surface of a good seed-starting mix and press down gently rather than covering them with additional soil.
Keep the growing medium consistently moist at all times during germination, which can take a notably slow 2-3 weeks; a humidity dome or a loosely placed sheet of plastic wrap over the tray helps maintain the constant moisture level seeds need without requiring watering multiple times a day.
Maintain a growing temperature around 70-75°F for the fastest, most even germination; temperatures that are too cool can extend germination time even further, sometimes stretching out to a full month before seedlings appear.
Once seedlings do emerge, move them under strong light immediately, either a bright south-facing window or, preferably, a grow light positioned just a few inches above the plants, since celery seedlings that stretch toward weak light become leggy and fragile.
Thin seedlings to one per cell once they develop their first true leaves, and continue growing them indoors under consistent light and moisture for several more weeks before it's time to think about hardening off and transplanting outdoors.
Prepare Rich, Moisture-Retentive Soil
Work generous amounts of compost or well-aged manure into the soil before transplanting, since celery is a genuinely heavy feeder that needs consistent, rich nutrition available throughout its unusually long growing season.
Celery specifically prefers soil that retains moisture well but still drains adequately; if your native soil is sandy and drains too quickly, work in extra organic matter to help it hold water more effectively between waterings.
A soil pH between 6.0 and 6.5 is ideal for celery, and it's worth testing your soil ahead of time if you haven't grown celery successfully before, since pH significantly outside this range can limit the plant's ability to take up key nutrients even from otherwise fertile soil.
Choose a location with full sun to light afternoon shade; in hot climates, some afternoon shade is actually genuinely helpful for celery, protecting it from the heat stress that commonly leads to bitter, stringy stalks or premature bolting.
Consider building a slightly sunken bed or trench for celery, an old-fashioned technique that naturally concentrates water around the root zone and makes consistent moisture significantly easier to maintain throughout the growing season.
Harden Off and Transplant Seedlings

Harden off seedlings for about a week to ten days before transplanting, gradually increasing their outdoor exposure each day, starting with an hour or two in a sheltered, shaded spot and building up to a full day in the conditions they'll eventually face permanently in the garden.
Celery transplants tolerate cool weather reasonably well and can go outside once nighttime temperatures stay reliably above 40°F, though prolonged exposure to temperatures below 55°F for an extended period can sometimes trigger premature bolting later in the season.
Space plants 8-10 inches apart in rows 24-36 inches apart, giving each plant enough room to develop a full, well-rounded cluster of stalks without excessive competition from its immediate neighbors.
Transplant on a cloudy day or in the cool of the evening if possible, and water thoroughly immediately after planting to help roots establish contact with surrounding soil moisture as quickly as possible.
Avoid transplanting celery seedlings that have become noticeably rootbound or stressed in their trays, since celery is less forgiving of transplant shock than many other vegetables and struggling seedlings often never fully recover their growth momentum.
Water Consistently Throughout the Season

Celery needs significantly more water than many garden vegetables, roughly 1-2 inches per week from rainfall and irrigation combined, and soil should genuinely never be allowed to dry out completely at any point during the growing season.
Drip irrigation or soaker hoses are particularly well suited to celery's needs, since they can maintain the kind of steady, even soil moisture that's difficult to achieve with occasional heavy hand-watering, which tends to create the wet-dry cycles celery dislikes most.
Mulch heavily around plants, 2-3 inches of straw or shredded leaves, to help retain soil moisture between waterings and keep root temperatures more stable, which becomes especially important during warmer stretches of the growing season.
Watch closely for early signs of water stress, including dull, drooping foliage or stalks that feel noticeably less crisp than usual, and respond promptly rather than waiting, since celery under drought stress rarely fully recovers its ideal flavor and texture even after watering resumes.
In particularly hot climates, consider providing light afternoon shade using shade cloth during the peak of summer heat, which helps reduce the plant's overall water demand and lowers the risk of stress-induced bitterness.
Feed Regularly to Support Steady Growth

Feed every 3-4 weeks with a balanced or nitrogen-rich fertilizer throughout the growing season, since celery's unusually long time in the ground means the nutrients worked into the soil at planting are typically depleted well before harvest without additional feeding.
Side-dress with compost or a balanced organic fertilizer directly around the base of plants rather than broadcasting it widely, which ensures the nutrients reach celery's relatively shallow root system where they're needed most.
Avoid excessive nitrogen late in the season, which can encourage overly lush, watery growth at the expense of the firmer, more flavorful stalk texture most gardeners are aiming for at harvest time.
A balanced approach of steady, moderate feeding throughout the season tends to produce better results than infrequent heavy applications, which can shock the plant's growth rhythm and potentially contribute to stress-related bolting.
Blanch Stalks for Milder Flavor (Optional)
Blanching is a traditional technique where stalks are shielded from sunlight for the final few weeks before harvest, which reduces the chlorophyll development responsible for celery's characteristic strong, slightly bitter green flavor, resulting in paler, milder-tasting stalks.
To blanch, wrap cardboard collars, brown paper, or even simple garden fabric around the base of the plant about three to four weeks before your expected harvest date, covering most of the stalk length while leaving the top leaves exposed to continue photosynthesizing.
Alternatively, some gardeners mound soil gently up around the base of the stalks in stages as the plant grows, achieving a similar light-blocking effect, though this technique requires more care to avoid getting soil directly into the tight stalk cluster.
Blanching is entirely optional; many gardeners today prefer the fuller, more robust flavor of unblanched, naturally green celery and skip this step altogether, particularly since modern celery varieties tend to be less bitter than older heirloom types were.
If you do choose to blanch, remove the collars a day or two before harvest and rinse the stalks well, since the covered environment can sometimes create a slightly damp, less crisp texture right at the surface that benefits from a brief period back in open air.
Watch for Pests and Common Problems

Celery leaf tiers and armyworms can chew ragged holes in foliage and, if left unchecked, tunnel into the stalks themselves. Handpicking visible caterpillars and applying an organic Bacillus thuringiensis (Bt) treatment are both effective, low-impact control options.
Aphids frequently cluster in the tight inner stalks where they're difficult to spot and even harder to rinse away once celery is harvested; regular inspection of the inner stalk cluster throughout the season helps catch infestations while they're still small and manageable.
Fungal leaf spot diseases, including early blight and late blight varieties specific to celery, appear as small brown or yellow spots on foliage, generally worsened by overly wet leaves and poor airflow between crowded plants. Proper spacing and base watering rather than overhead watering are the best preventive measures.
Celery that bolts, sending up a tall flower stalk prematurely, usually does so in response to a period of cold stress after transplanting or significant heat stress during summer; while bolted celery is still technically edible, its stalks typically become noticeably tougher and more bitter than normal.
Harvest Stalks at the Right Time

Celery is typically ready to harvest 85-120 days after transplanting, once stalks reach about 8 inches tall and have filled out into a full, dense cluster of stems rather than remaining thin and sparse.
You can harvest individual outer stalks as needed throughout the season by cutting them at the base with a sharp knife, which allows the plant to continue producing new inner stalks over an extended period rather than requiring a single all-at-once harvest.
For a complete harvest, cut the entire plant at soil level using a sharp knife, which is the better approach if a hard frost or the end of your growing season is approaching and you need to bring in the whole crop at once.
Harvest celery in the cool of the morning when stalks are at their crispest and most hydrated, avoiding the heat of the afternoon when stalks can already be somewhat softened by the day's warmth.
In regions with mild winters, celery can often tolerate a light frost and even taste slightly sweeter afterward, so there's no need to rush the entire harvest at the very first hint of cool fall weather.
Store Celery for Maximum Freshness

Store harvested celery in the refrigerator wrapped loosely in a damp paper towel or cloth, then placed inside a plastic bag, which helps maintain the humidity level celery needs to stay crisp without becoming waterlogged or moldy.
Properly stored celery typically keeps well for one to two weeks in the refrigerator, though the exact timeline depends somewhat on how it was handled between harvest and storage; stalks that were kept consistently cool from the moment of cutting tend to last noticeably longer.
If stalks do go slightly limp during storage, they can often be revived by trimming the base and standing them upright in a glass of cold water in the refrigerator for a few hours before use, which allows them to reabsorb moisture.
For longer-term preservation, celery can be blanched briefly in boiling water and then frozen for later use in soups, stocks, and cooked dishes, though frozen celery loses the crisp texture needed for fresh eating and is best reserved for cooked applications.
Common problems and fixes
| Problem | Likely cause | What to do |
|---|---|---|
| Bitter, tough, or stringy stalks | Inconsistent watering or heat stress during the growing season. | Maintain steady, consistent watering and provide afternoon shade in hot climates to reduce overall stress on the plants. |
| Slow or stunted growth | Insufficient soil fertility, cool soil temperatures during establishment, or transplant shock from a late or rushed start. | Enrich soil generously with compost before planting, feed every 3-4 weeks throughout the season, and start seeds early enough indoors to avoid transplant stress. |
| Plant bolting (sending up a flower stalk) prematurely | A period of cold stress shortly after transplanting, or significant heat stress during summer. | Wait until nighttime temperatures reliably stay above 40°F before transplanting, and provide afternoon shade during extreme summer heat in future seasons. |
| Seeds never germinating despite regular watering | Seeds buried too deep, blocking the light they need to germinate, or soil that was allowed to dry out even briefly during the multi-week germination period. | Sow seeds directly on the soil surface without covering, and use a humidity dome or loose plastic wrap to maintain constant moisture throughout germination. |
Gardener's checklist
Test what you learned
How many weeks before the last frost should celery seeds be started indoors?
Answer: 10-12 weeks
What is the most common cause of bitter celery stalks?
Answer: Inconsistent watering
Do celery seeds need to be buried to germinate?
Answer: No, they need light and should stay on the surface
What does blanching celery accomplish?
Answer: It produces paler, milder-tasting stalks by blocking sunlight
Common questions
Why is celery considered hard to grow?
Celery has an unusually long growing season and needs very consistent moisture and fertility throughout, which makes it more demanding than many other garden vegetables. Getting the early indoor start and steady watering right are the two biggest factors in success, and both require more patience than most beginner vegetables.
Can celery regrow from a store-bought stalk base?
Yes, placing the root end of a store-bought celery bunch in a shallow dish of water can produce new small stalks within a week or two, though the yield and vigor from this method are typically much lower than plants grown from seed and are best treated as a fun kitchen project rather than a real harvest source.
Does celery need full sun?
Celery grows best in full sun in cooler climates, but genuinely benefits from light afternoon shade in hot regions, since excessive heat is one of the leading causes of bitter, stressed stalks and premature bolting.
Why did my celery bolt (flower) early?
Bolting is most often triggered by a period of cold stress shortly after transplanting outdoors, or by intense heat stress during summer. Waiting until nights are reliably above 40°F before transplanting and providing shade during peak summer heat both help prevent this.
Is blanching celery necessary?
No, blanching is entirely optional. It produces paler, milder-flavored stalks by blocking sunlight in the weeks before harvest, but many gardeners today prefer the fuller flavor of naturally green, unblanched celery and skip this traditional step altogether.
Celery demands patience and consistency more than any special skill: start it early, feed and water it steadily throughout its long season, and never let the soil dry out for crisp, flavorful stalks worth the wait.
Frequently asked questions
How often should a vegetable garden be watered?
Frequency depends on weather, soil and plant size. Check the soil rather than watering on a rigid schedule.
Is compost enough fertilizer?
Compost improves soil and provides nutrients slowly. Heavy-feeding crops may still need additional feeding.

The Sproutstead Editorial Team
We create clear, practical gardening and homesteading guides designed for real homes and beginner growers.
View author profile →