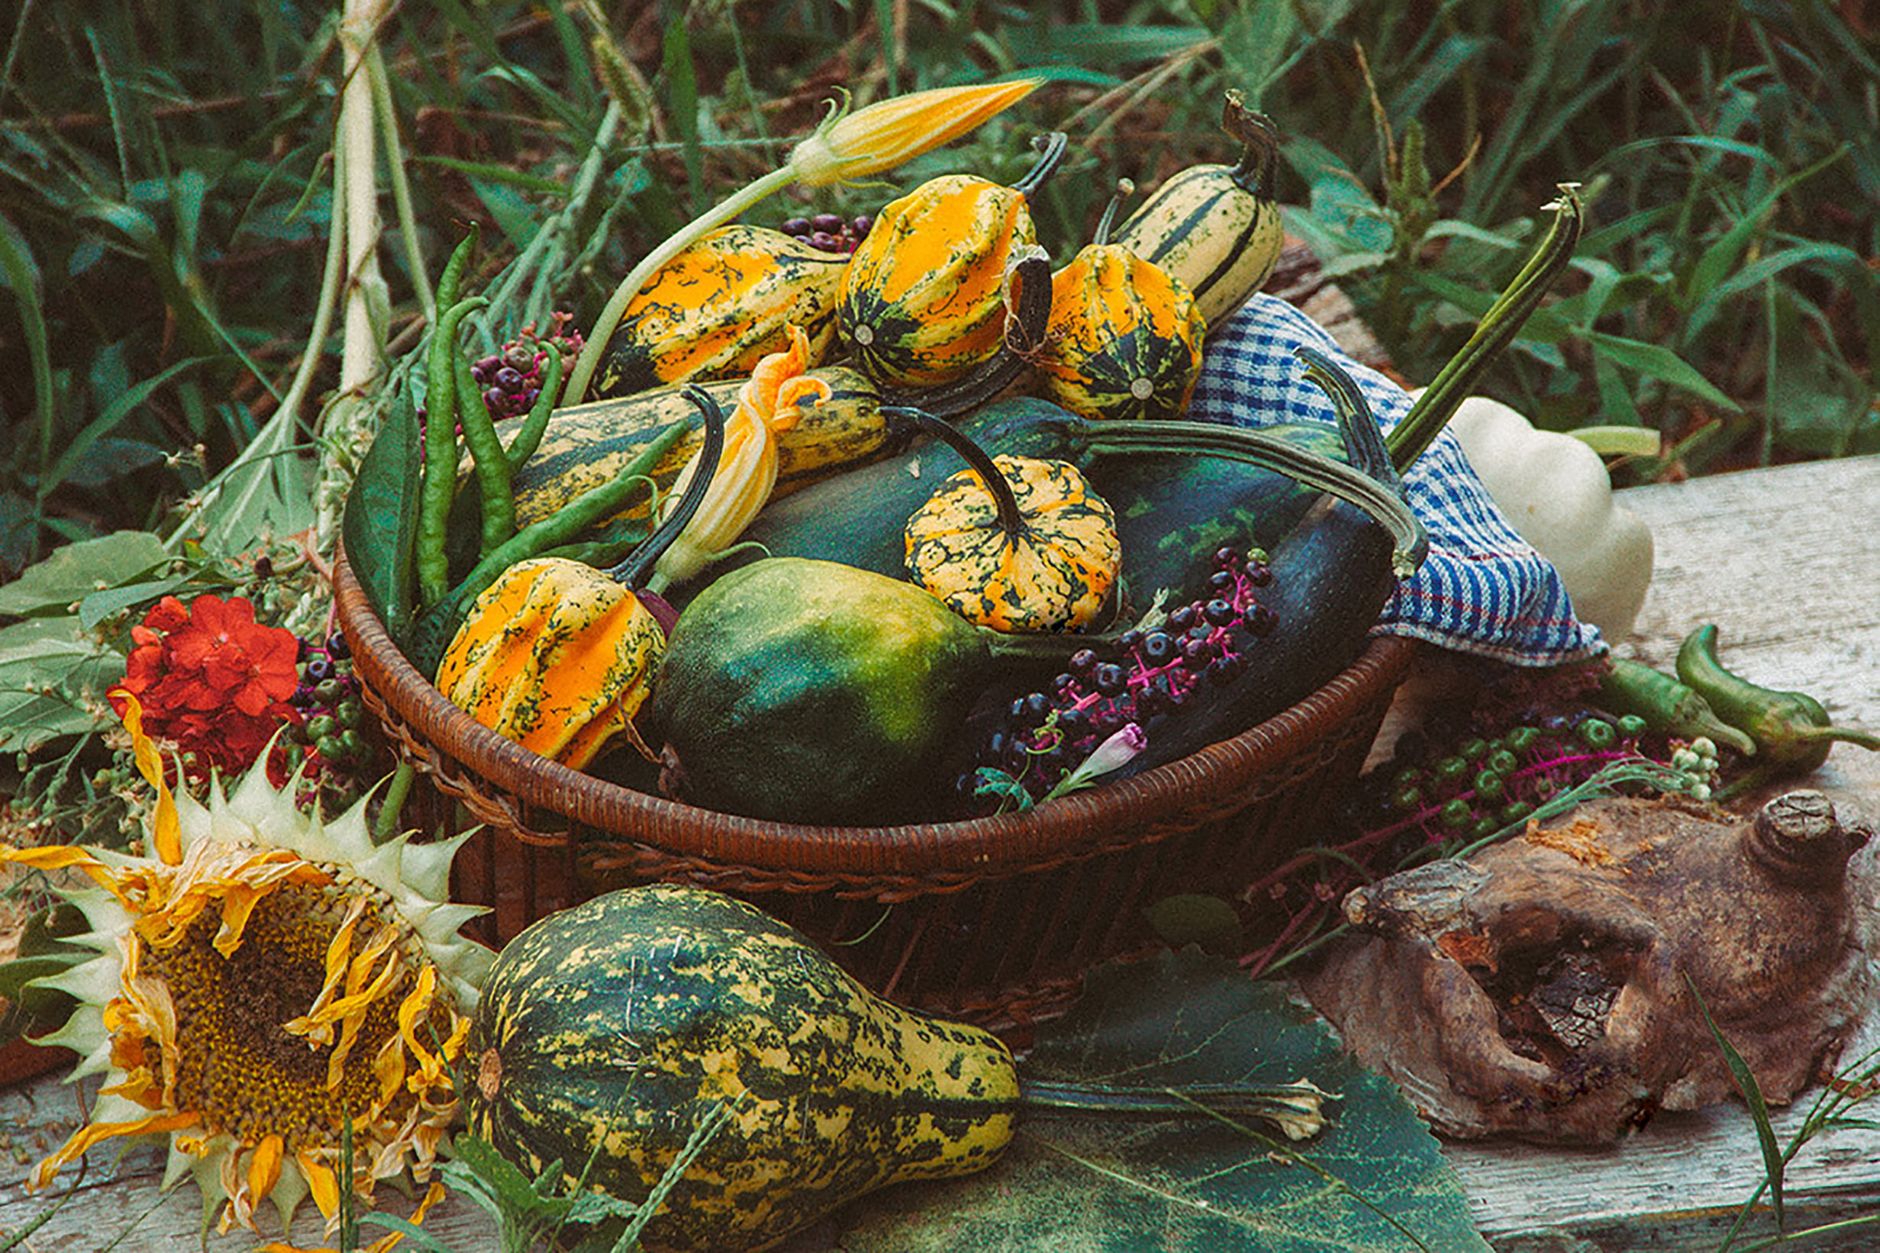
Grow cauliflower as a cool-season crop, starting transplants 4-6 weeks before your last spring frost or in mid-summer for a fall crop, which many gardeners find more reliable. Space plants 18-24 inches apart, feed and water consistently without interruption, tie outer leaves over the developing head to blanch it if growing a white variety, and harvest once heads reach 6-8 inches and are still tight and compact.
What you will need
Understand Why Cauliflower Is More Demanding Than Its Relatives

Cauliflower has a genuine reputation among gardeners as the trickiest of the common brassicas, largely because it has a narrower ideal temperature range, roughly 60-65°F, than broccoli or cabbage, and any significant stress, whether from heat, cold, or inconsistent care, can cause the plant to produce small, poorly formed heads or none at all.
This sensitivity, sometimes called 'buttoning' when it results in small premature heads, is most often triggered by a check in growth, any interruption to the plant's steady development from seedling through head formation, making consistency the single most important theme throughout this entire guide.
Many experienced gardeners specifically recommend a fall planting over spring for cauliflower, since fall's naturally cooling temperatures align much more reliably with the plant's narrow preferences than spring's often unpredictable warming trend toward summer heat.
Despite its reputation, cauliflower isn't genuinely difficult once you understand its specific needs; it simply demands more consistent attention to timing, feeding, and watering than its more forgiving brassica relatives.
Time Your Planting Carefully
For a spring crop, start seeds indoors 4-6 weeks before your last frost and transplant out as soon as the danger of hard frost has passed, aiming to have the plant reach maturity before summer heat arrives, which can be a tight and sometimes unreliable window in warmer climates.
For a fall crop, widely considered more reliable, start seeds in mid-summer, roughly 85-100 days before your first expected fall frost, so the plant matures during cooling autumn temperatures rather than racing against rising spring heat.
Purchasing nursery transplants rather than starting from seed is a completely reasonable choice for cauliflower specifically, since it removes some of the timing precision required and lets you plant at exactly the right outdoor window without managing the indoor seed-starting phase.
Avoid transplanting cauliflower seedlings that are already stressed, rootbound, or have experienced a significant check in their growth before you even get them in the ground, since this early stress often carries through and affects head formation later.
Prepare Rich, Consistent Soil
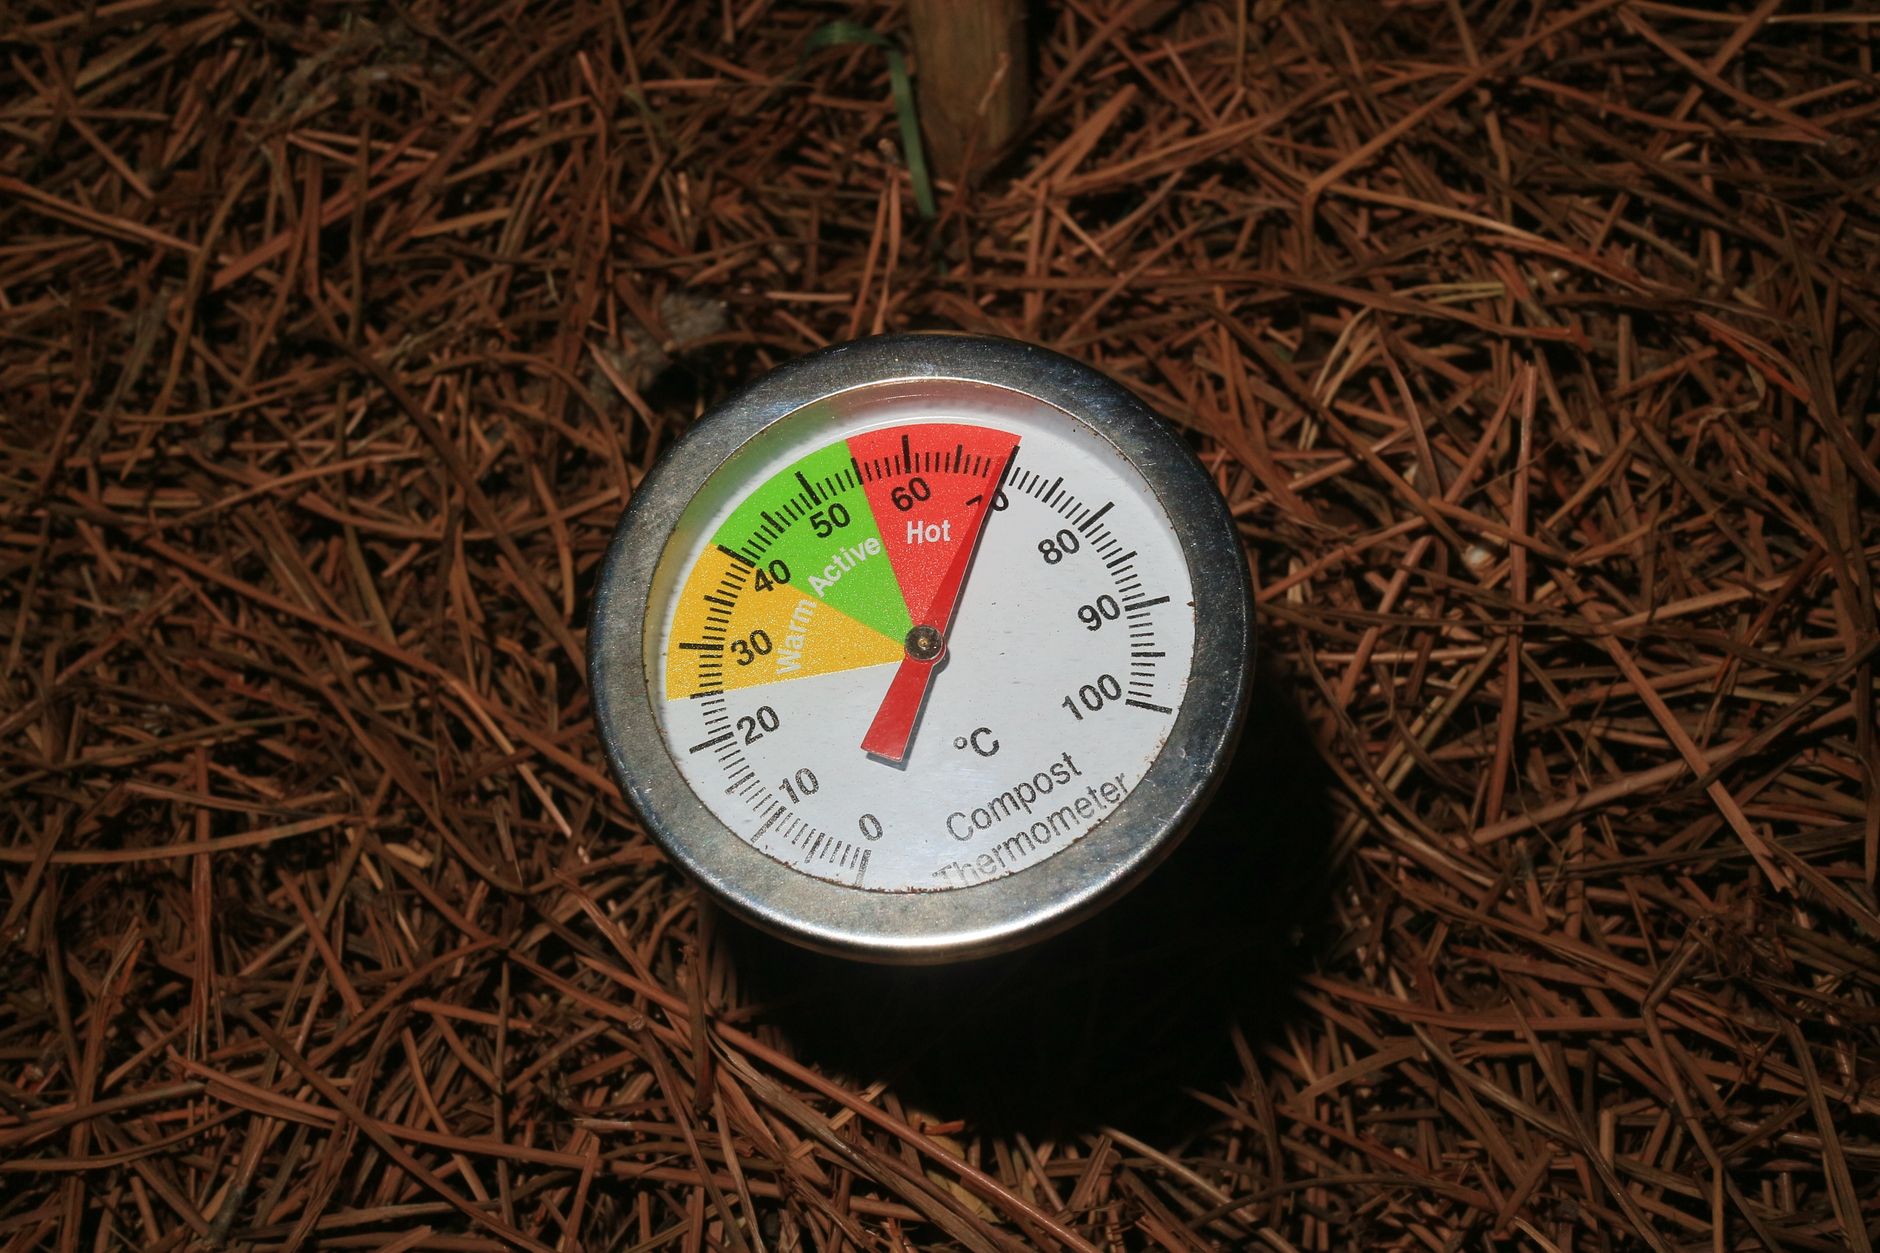
Work 2-3 inches of compost or aged manure into the soil before planting, since cauliflower is a heavy feeder, and unlike some vegetables, insufficient fertility specifically increases the risk of the small, premature heads discussed in step one.
Aim for a soil pH between 6.0 and 7.0, and ensure the soil retains moisture well while still draining adequately, since both drought stress and waterlogged roots can equally trigger the growth interruptions cauliflower is so sensitive to.
Space transplants 18-24 inches apart in rows 24-36 inches apart, giving each plant enough room for its full leaf canopy, which needs to be robust and healthy to support proper head development.
Avoid planting cauliflower in a bed that grew other brassicas like broccoli, cabbage, or kale within the past 2-3 years, since this rotation gap helps reduce disease and pest pressure specific to the brassica family.
Water and Feed Without Interruption

Water consistently, providing about 1-1.5 inches per week without significant gaps, since even a single notable dry spell can trigger premature, undersized head formation that won't correct itself once it's begun.
Feed with a balanced or nitrogen-rich fertilizer 2-3 weeks after transplanting, then continue with regular feedings every 3-4 weeks throughout the growing season, since interrupted or insufficient nutrition is another common trigger for the growth checks that ruin head formation.
Mulch around plants immediately after transplanting to help maintain the consistent soil moisture cauliflower demands, reducing the risk of the dry spells that are so detrimental to this particular crop.
Consider drip irrigation or a consistent watering schedule rather than relying solely on unpredictable rainfall, particularly for a spring crop where a sudden warm, dry stretch could otherwise easily disrupt the steady conditions cauliflower needs.
Blanch White Varieties for the Classic Pale Head

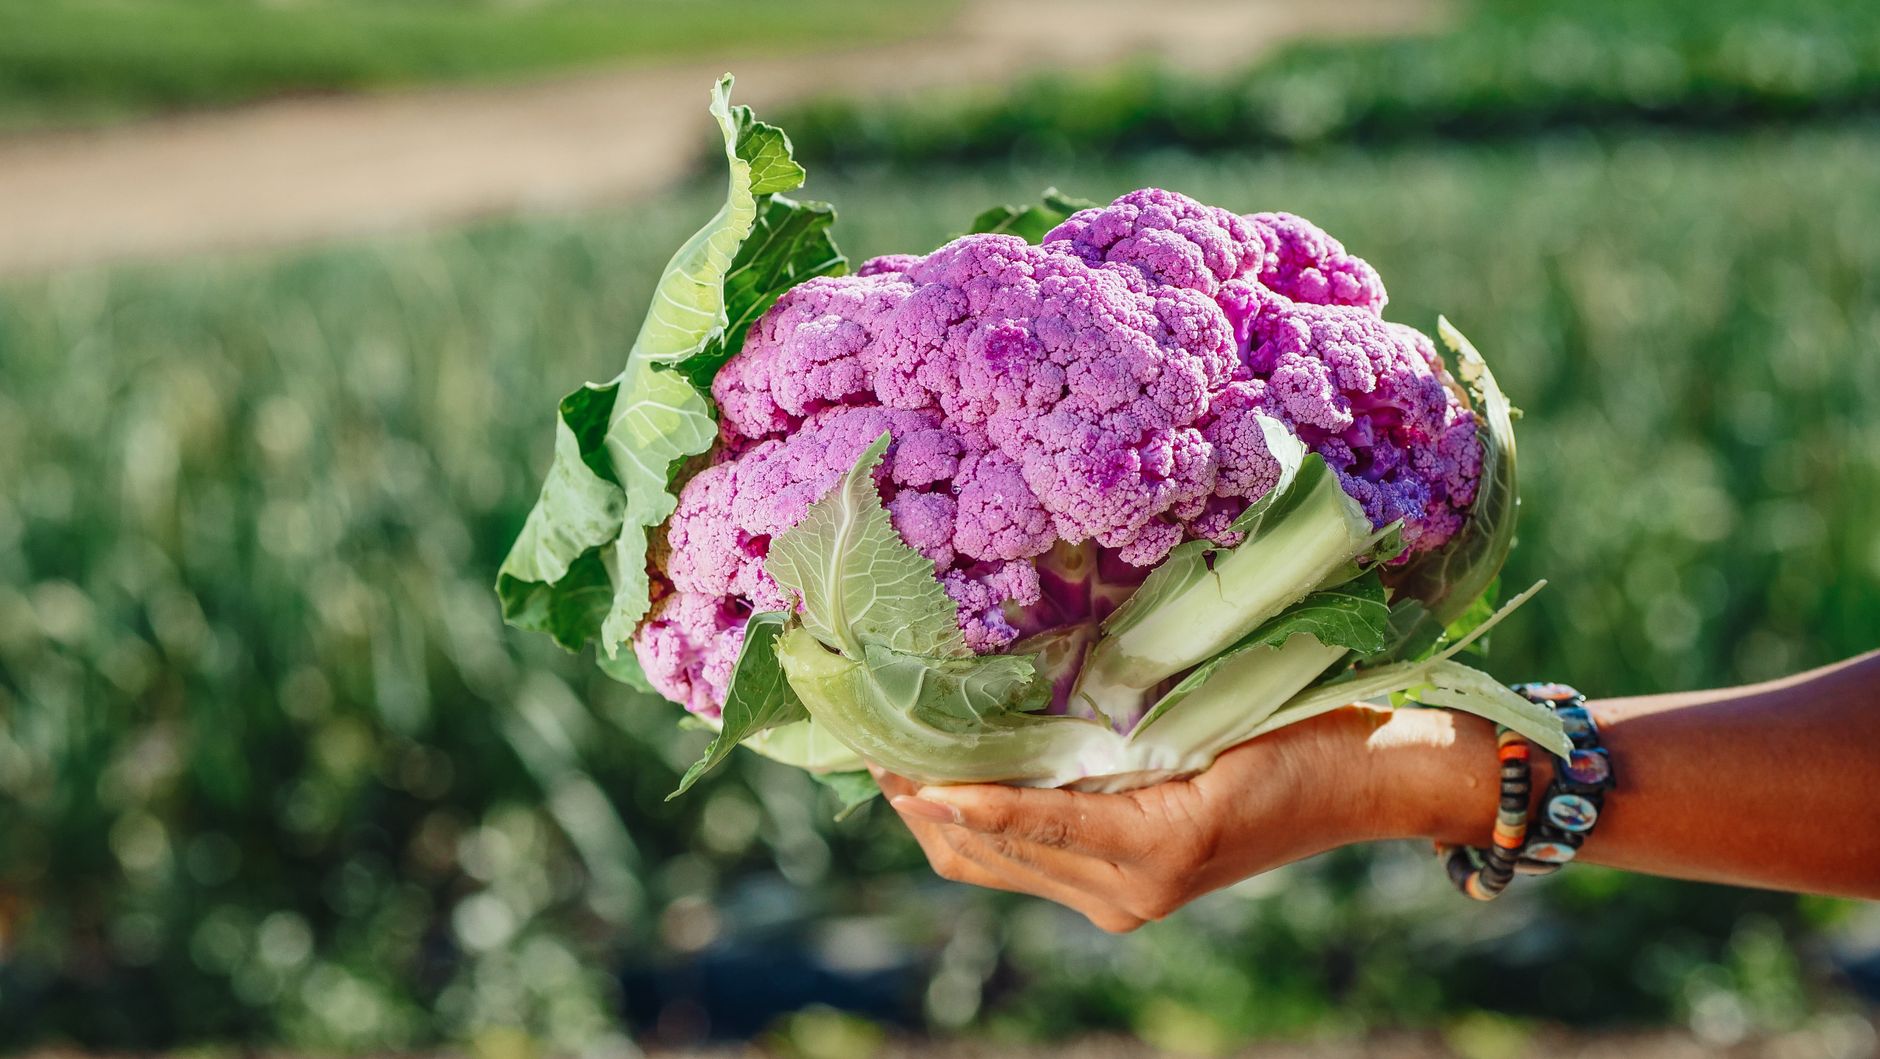
Once the developing head, called the curd, reaches about 2-3 inches across, gather the surrounding outer leaves up and over it, securing them loosely with twine, a rubber band, or a clothespin to block sunlight from reaching the curd.
This blanching process prevents the head from developing a yellowish or greenish tinge from sun exposure, which is purely cosmetic and doesn't affect flavor, but is nonetheless the traditional appearance most people expect from cauliflower.
Check the tied head every few days, since it will continue growing underneath the covering leaves and needs monitoring to catch it at the ideal harvest size without accidentally leaving it covered so long that it develops other quality issues.
This step is entirely unnecessary for purple, orange, or green cauliflower varieties, which are bred to display their natural color and don't require blanching; check your specific variety's characteristics before assuming this step applies.
Protect from Cabbage Worms and Aphids

Cabbage worms and loopers, common to all brassicas, chew holes in leaves and can occasionally work their way into the developing head itself; row cover fabric installed at transplanting and left in place through most of the season is highly effective prevention.
Aphids can cluster in the tightly wrapped curd, particularly once blanching leaves are tied over it, making inspection more difficult; check beneath the tied leaves periodically for any sign of infestation.
Handpicking visible caterpillars, checking leaf undersides regularly, and applying Bacillus thuringiensis (Bt) if worms become established are all effective, low-impact control options that don't add stress to an already sensitive crop.
Given cauliflower's particular vulnerability to any growth interruption, pest pressure that might be a minor annoyance on hardier brassicas deserves somewhat more prompt attention here, since even pest-related stress can potentially contribute to poor head formation.
Harvest Before Heads Become Ricey

Harvest once heads reach about 6-8 inches in diameter and are still tight and compact, cutting the head from the plant with a sharp knife, leaving a few surrounding leaves attached to help protect it until use.
Heads left too long past their ideal harvest point begin to separate into individual, looser florets, sometimes described as becoming 'ricey' in texture, along with developing a noticeably stronger, less pleasant flavor than a head harvested at its peak.
Check plants every few days once heads begin forming under their blanching cover, since cauliflower can move from ideal to overripe faster than many gardeners expect, especially during any warm stretch of weather.
Unlike broccoli, cauliflower doesn't produce a meaningful secondary harvest of side shoots after the main head is cut, so each plant typically represents a single, one-time harvest rather than an extended picking season.
Common problems and fixes
| Problem | Likely cause | What to do |
|---|---|---|
| Small, premature heads (buttoning) | A growth check caused by inconsistent watering, insufficient fertility, or temperature stress. | Maintain unbroken consistency in watering and feeding throughout the growing season, and consider switching to a fall planting for more reliable temperature conditions. |
| Head develops a yellowish or greenish tinge | Sun exposure reaching the developing curd on a white variety. | Tie outer leaves over the head once it reaches 2-3 inches across to block sunlight, unless growing a colored variety that doesn't require blanching. |
| Head becomes loose and ricey-textured | Harvested too late, well past its ideal tight, compact stage. | Check plants more frequently once heads begin forming, and harvest promptly once they reach 6-8 inches while still tight. |
Gardener's checklist
Test what you learned
What is 'buttoning' in cauliflower?
Answer: Small, premature heads caused by a growth interruption
Why is a fall planting often recommended over spring for cauliflower?
Answer: Cooling autumn temperatures align more reliably with cauliflower's narrow preferences
Why do gardeners tie outer leaves over a white cauliflower head?
Answer: To block sunlight and prevent yellowish discoloration
Common questions
Why is cauliflower considered harder to grow than broccoli?
Cauliflower has a narrower ideal temperature range and is more sensitive to any interruption in consistent watering, feeding, or temperature, all of which can trigger small, premature heads. Broccoli tolerates these fluctuations considerably better.
Do I need to blanch all cauliflower varieties?
No, blanching (tying leaves over the developing head) is only needed for traditional white varieties, which discolor slightly with sun exposure. Purple, orange, and green varieties are bred to display their natural color and don't require this step.
Does cauliflower produce a second harvest like broccoli?
No, unlike broccoli, cauliflower typically doesn't produce a meaningful secondary harvest of side shoots after the main head is cut, so each plant generally represents a single harvest rather than an extended picking season.
How long does cauliflower take to grow?
From transplanting, cauliflower typically takes 55-85 days to reach harvest depending on variety, with the full timeline, including any indoor seed-starting phase, spanning a considerable portion of a growing season.
Cauliflower's demanding reputation comes down to one core principle: unbroken consistency in water, feeding, and temperature, and gardeners who prioritize that steadiness, especially with a fall planting, are consistently rewarded with tight, beautiful heads.
Frequently asked questions
How often should a vegetable garden be watered?
Frequency depends on weather, soil and plant size. Check the soil rather than watering on a rigid schedule.
Is compost enough fertilizer?
Compost improves soil and provides nutrients slowly. Heavy-feeding crops may still need additional feeding.

The Sproutstead Editorial Team
We create clear, practical gardening and homesteading guides designed for real homes and beginner growers.
View author profile →