Direct-sow carrot seeds a quarter-inch deep in loose, stone-free soil in early spring, keeping the surface consistently moist for the 2-3 weeks it takes to germinate. Thin seedlings to 2-3 inches apart once they emerge, water consistently throughout the season, and harvest 60-80 days later once roots reach the desired size.
What you will need
Understand Why Soil Preparation Matters More Than Anything Else
More than almost any other common vegetable, carrots' success or failure is determined before a single seed even goes into the ground. Because the entire edible portion of the plant is a single taproot pushing straight down through the soil, any obstruction, whether a rock, a hard clay clump, or compacted subsoil, will cause that root to fork, twist, or simply stop growing.
Dig or till the planting area to a depth of at least 12 inches, working through the soil by hand if necessary to remove rocks, roots, and hard clumps that a tiller alone might just break up rather than fully remove.
Work in well-rotted compost rather than fresh manure, since high-nitrogen fresh manure tends to cause excessive leafy top growth at the expense of the root, and can also contribute to forked, hairy roots that branch awkwardly as they search for the path of least resistance downward.
If your native soil is heavy clay or notably rocky despite your best amendment efforts, growing carrots in a raised bed filled with loose, sandy loam is often far more reliable and considerably less frustrating than repeatedly trying to fully correct difficult native ground.
Consider this soil preparation step as important as, if not more important than, everything that follows; even perfect watering and thinning can't fully compensate for carrots planted into rocky or compacted ground.
Choose a Variety Suited to Your Soil Conditions

Long, slender varieties like Danvers and Imperator, the type most commonly sold in grocery stores, require the deepest, most thoroughly loosened soil to grow straight and reach their full length without obstruction.
Shorter, rounder, or more tapered varieties such as Chantenay, Nantes, or ball-shaped Parisian types are considerably more forgiving of imperfect soil conditions and are an excellent choice for gardeners working with heavier or rockier native ground.
Rainbow or specialty colored varieties, including purple, yellow, and white carrots, generally have similar growing requirements to standard orange types and can be mixed into the same planting for visual variety without any special adjustments to care.
If you're planning to grow carrots in containers rather than an open garden bed, choose specifically compact or round varieties, since even a well-prepared container often doesn't have the full 12 inches of depth that long varieties genuinely need.
Sow Seeds and Maintain Constant Moisture for Germination
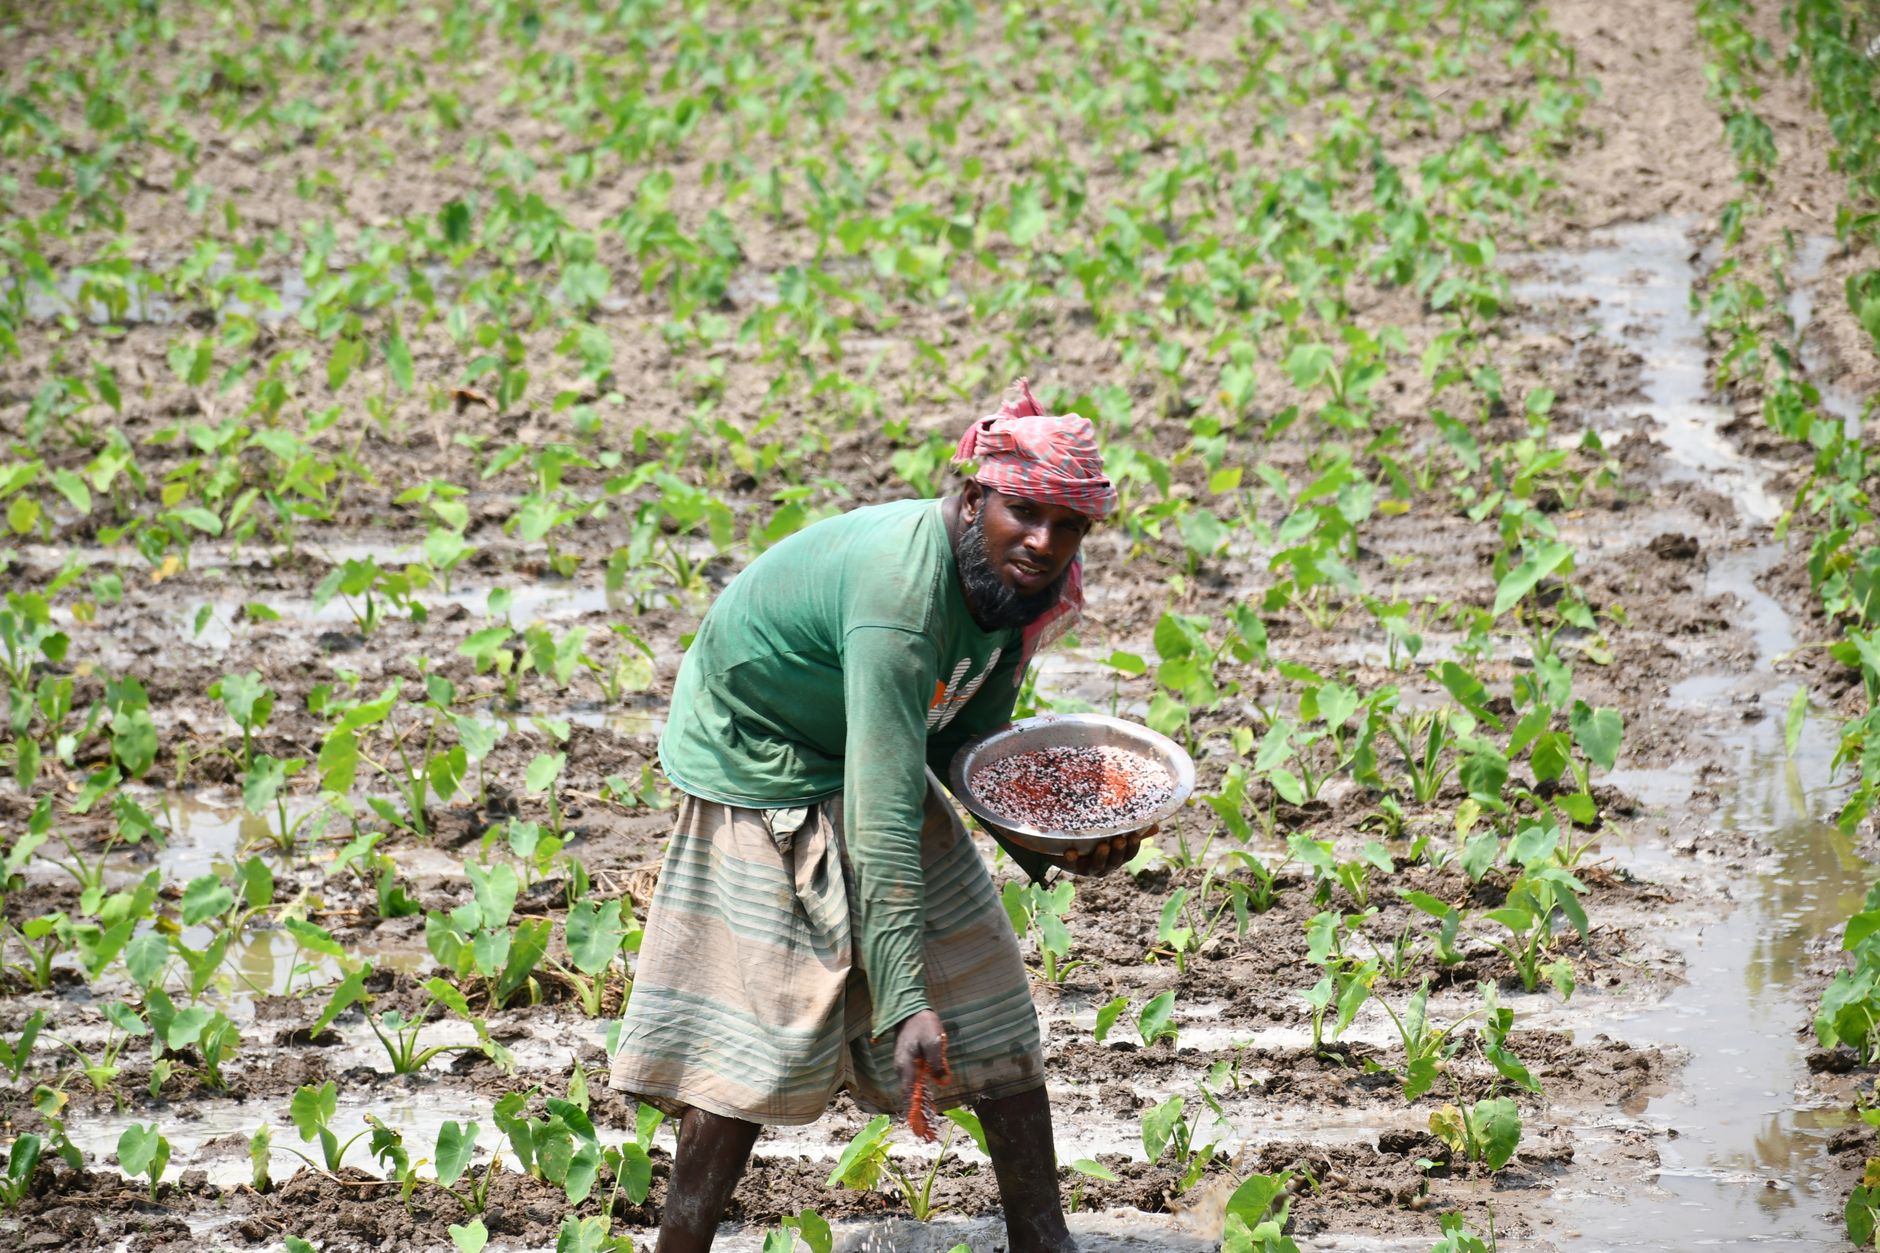
Sow seeds directly in the garden, since carrots don't transplant well at all due to their long taproot, which is easily damaged or deformed by the disturbance of being moved from a container into the ground.
Plant seeds a quarter-inch deep in rows spaced about 12 inches apart; because the seeds are extremely small, many gardeners find it easier to mix them with a small amount of sand before sowing, which helps spread them more evenly and reduces the need for heavy thinning later.
Carrot seeds germinate notably slowly compared to most garden vegetables, often taking a full 2-3 weeks, so keep the soil surface consistently moist throughout this entire period; even a single dry day during this window can prevent germination for the seeds affected by it.
Some experienced gardeners cover freshly sown rows with a board, burlap, or a light row cover to retain surface moisture and prevent soil crusting until seedlings emerge, checking daily and removing the covering as soon as the first sprouts appear so they're not smothered.
Because germination is spread out over such a long window, don't be discouraged if the row looks patchy after the first week; continue watering consistently, since additional seeds are very likely still germinating even as the first sprouts become visible.
Thin Seedlings for Proper Root Development
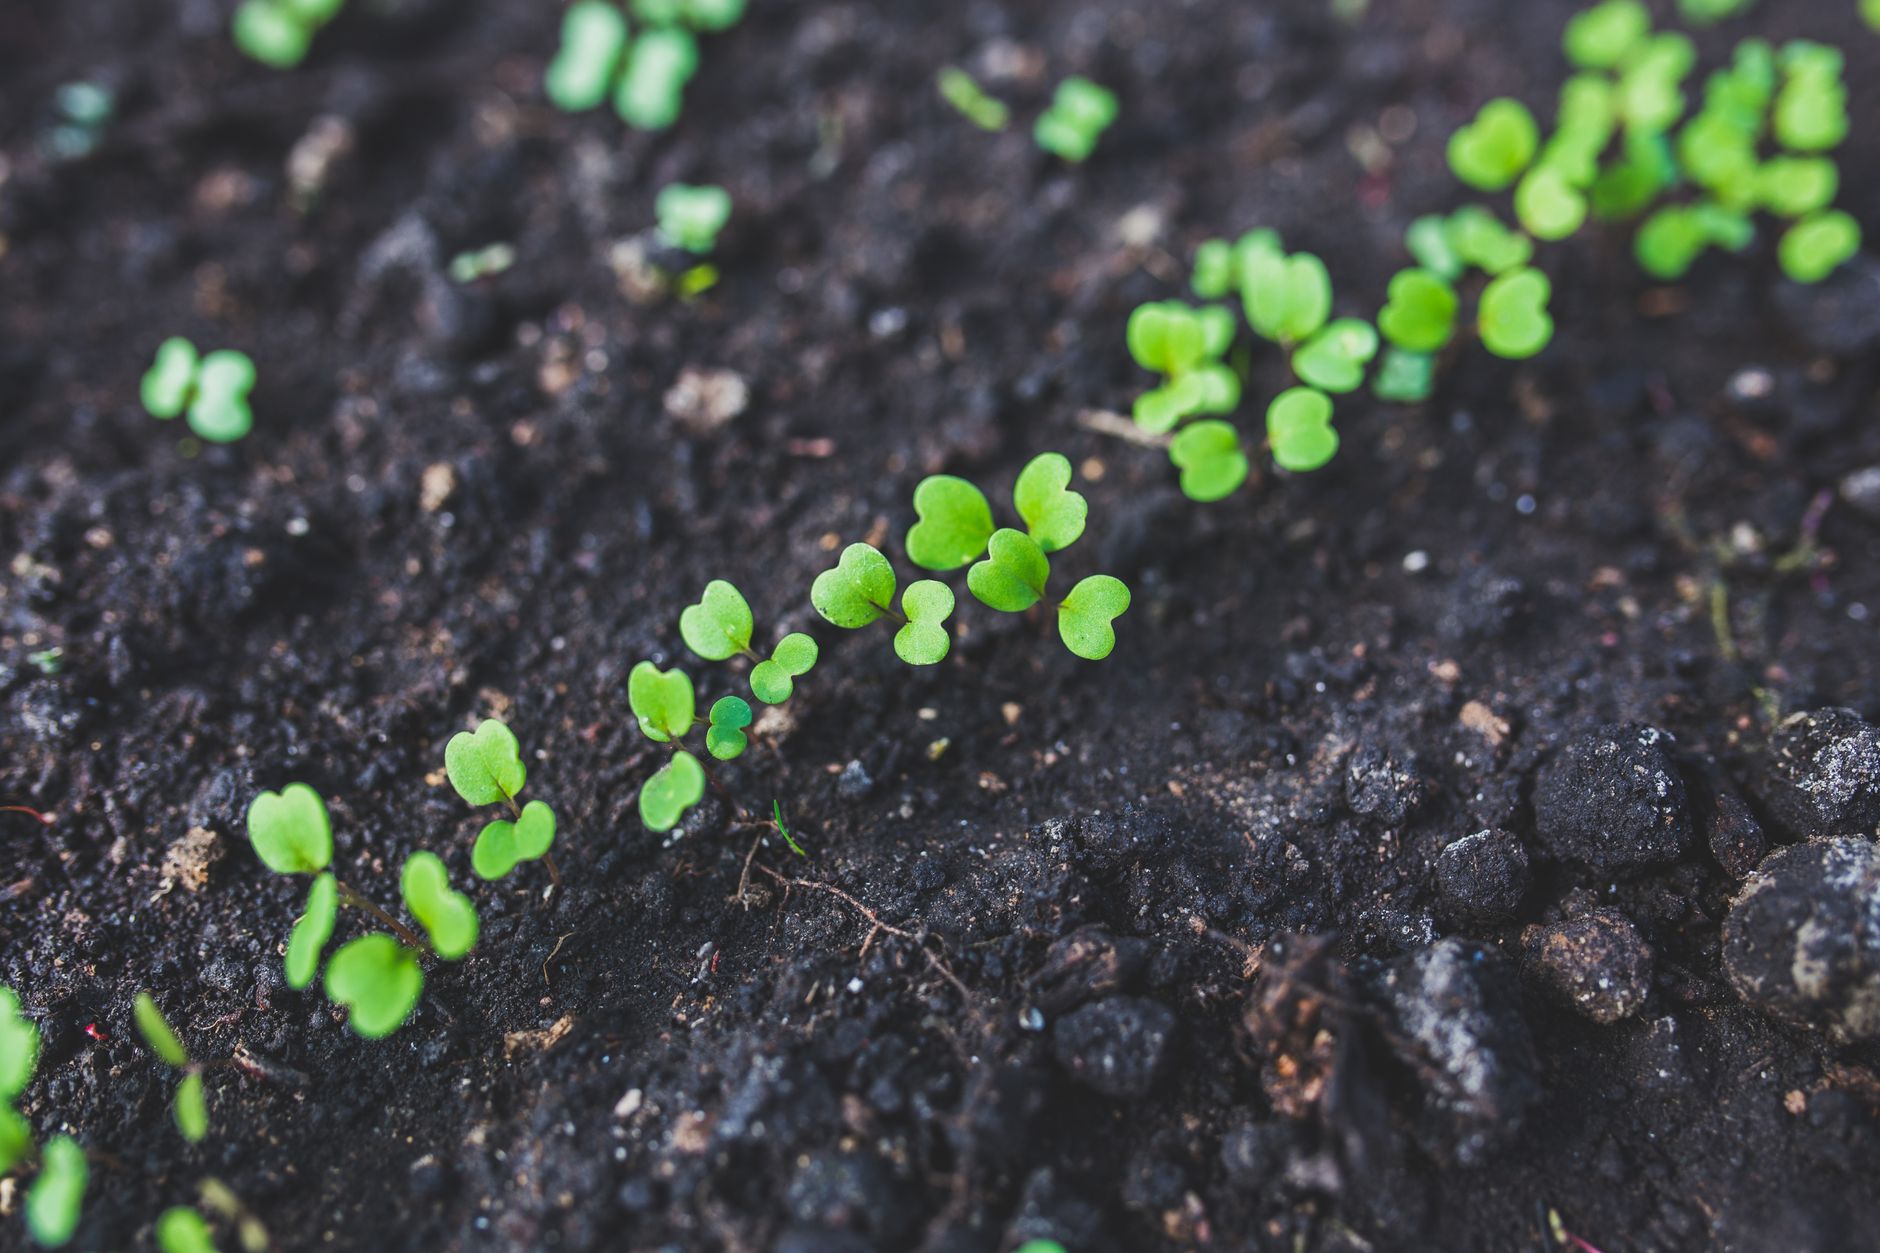
Once seedlings reach about 2 inches tall, thin them to 2-3 inches apart by snipping unwanted seedlings at soil level with small scissors rather than pulling them, since pulling can disturb and damage the delicate developing roots of the seedlings you're keeping.
Skipping this step is genuinely one of the most common carrot-growing mistakes among beginners; overcrowded carrots compete directly for the limited space and nutrients in the row and typically end up small, thin, or oddly twisted around one another as they push against their neighbors underground.
A second thinning pass a few weeks later, harvesting the thinned carrots as tender baby carrots for immediate eating, ensures the remaining roots have enough room to reach their full mature size without ongoing competition.
If germination was particularly patchy or sparse in certain sections of the row, you may find little or no thinning is actually necessary in those spots, since nature has effectively already done some of the spacing work for you.
Water the row gently right after thinning, since the process inevitably disturbs the soil slightly around the remaining seedlings' shallow root zone, and a light watering helps resettle them quickly.
Water Consistently Throughout the Growing Season
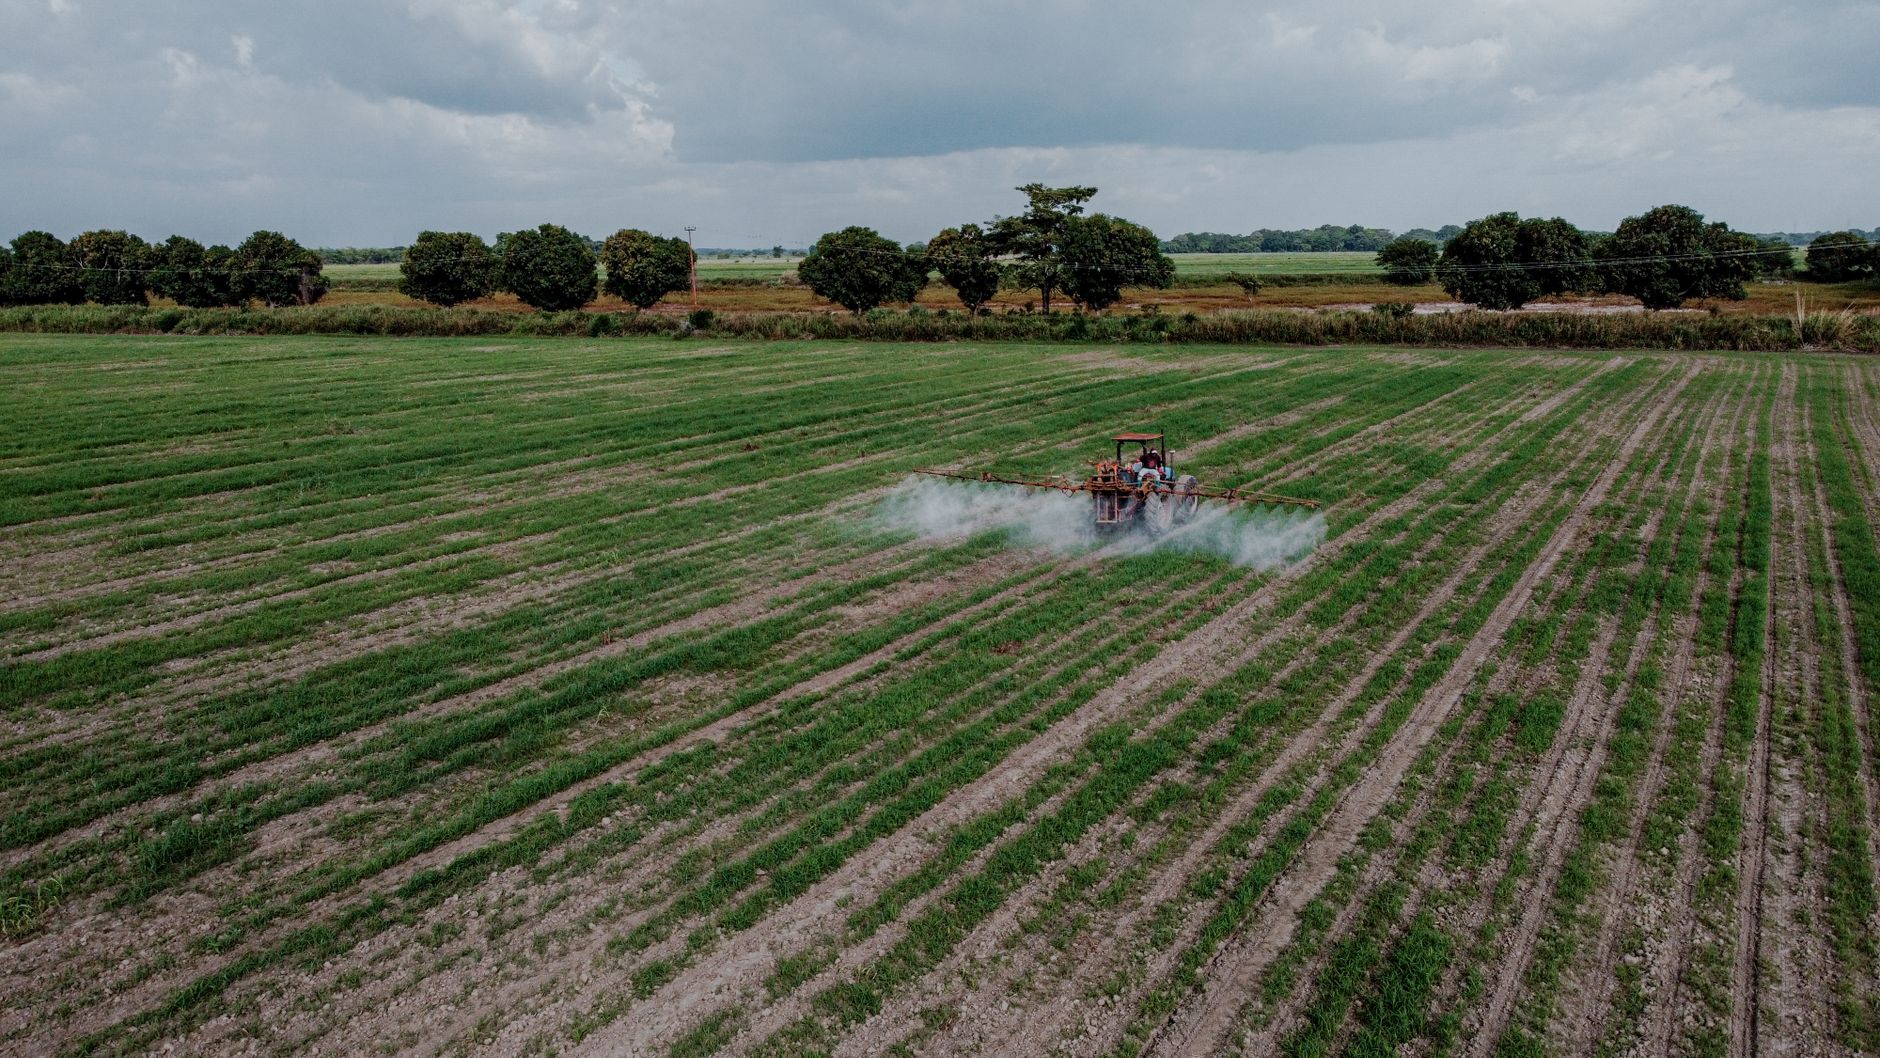
Water consistently, providing about an inch per week from rainfall and irrigation combined, and avoid letting soil swing dramatically between very dry and very wet conditions, since this fluctuation is the single most common cause of split or cracked roots at harvest.
Mulch lightly around plants once they're well established to help retain even soil moisture between waterings and suppress competing weeds, which draw heavily on the same shallow moisture zone that carrots' fine root systems rely on.
Carrots generally don't need heavy ongoing fertilization beyond the compost worked into the soil at planting time; too much additional nitrogen during the growing season tends to encourage lush, leafy top growth at the direct expense of root development below ground.
During particularly hot, dry stretches of summer, increase watering frequency slightly rather than watering more deeply all at once, since carrots' relatively shallow, fine root system responds better to steady, moderate moisture than to infrequent heavy soakings.
Manage Carrot Rust Fly and Other Common Pests
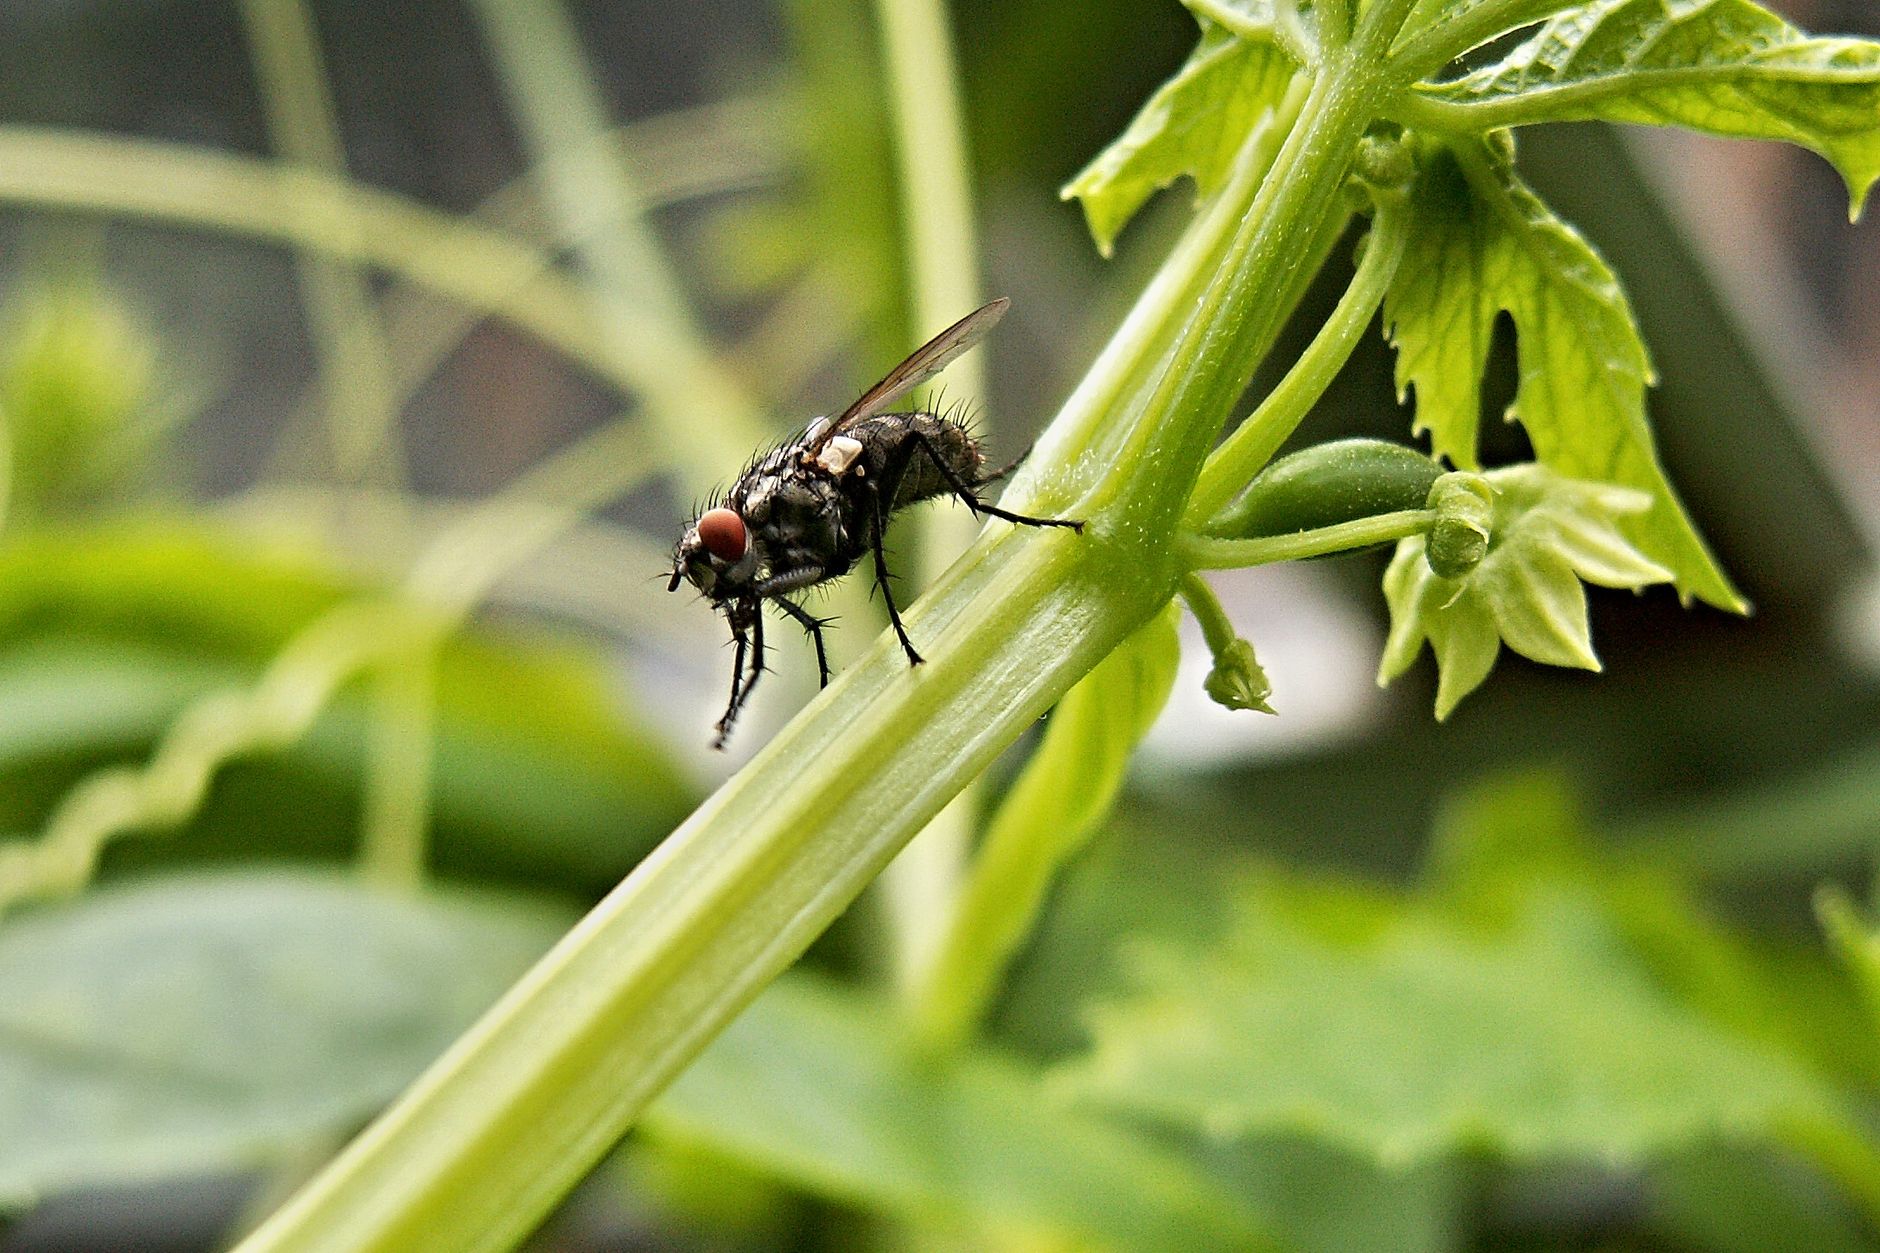
Carrot rust fly is one of the more significant carrot pests in many regions, with larvae tunneling into roots and causing rusty brown scarring that, while not usually dangerous to eat, noticeably affects both appearance and storage quality.
Covering the bed with fine mesh row cover fabric immediately after sowing, and keeping it in place through most of the growing season, is highly effective against carrot rust fly, since the adult flies simply can't reach the plants to lay eggs in the first place.
Carrot weevils and wireworms can also occasionally damage roots underground; practicing crop rotation and avoiding planting carrots in a bed that recently grew grass or was previously lawn (a common source of wireworms) both help reduce this risk.
Aboveground, carrots are relatively pest-resistant compared to many other garden vegetables, with aphids being the most common minor nuisance on foliage, usually controllable with a strong spray of water rather than requiring any chemical treatment.
Harvest at the Right Size and Time
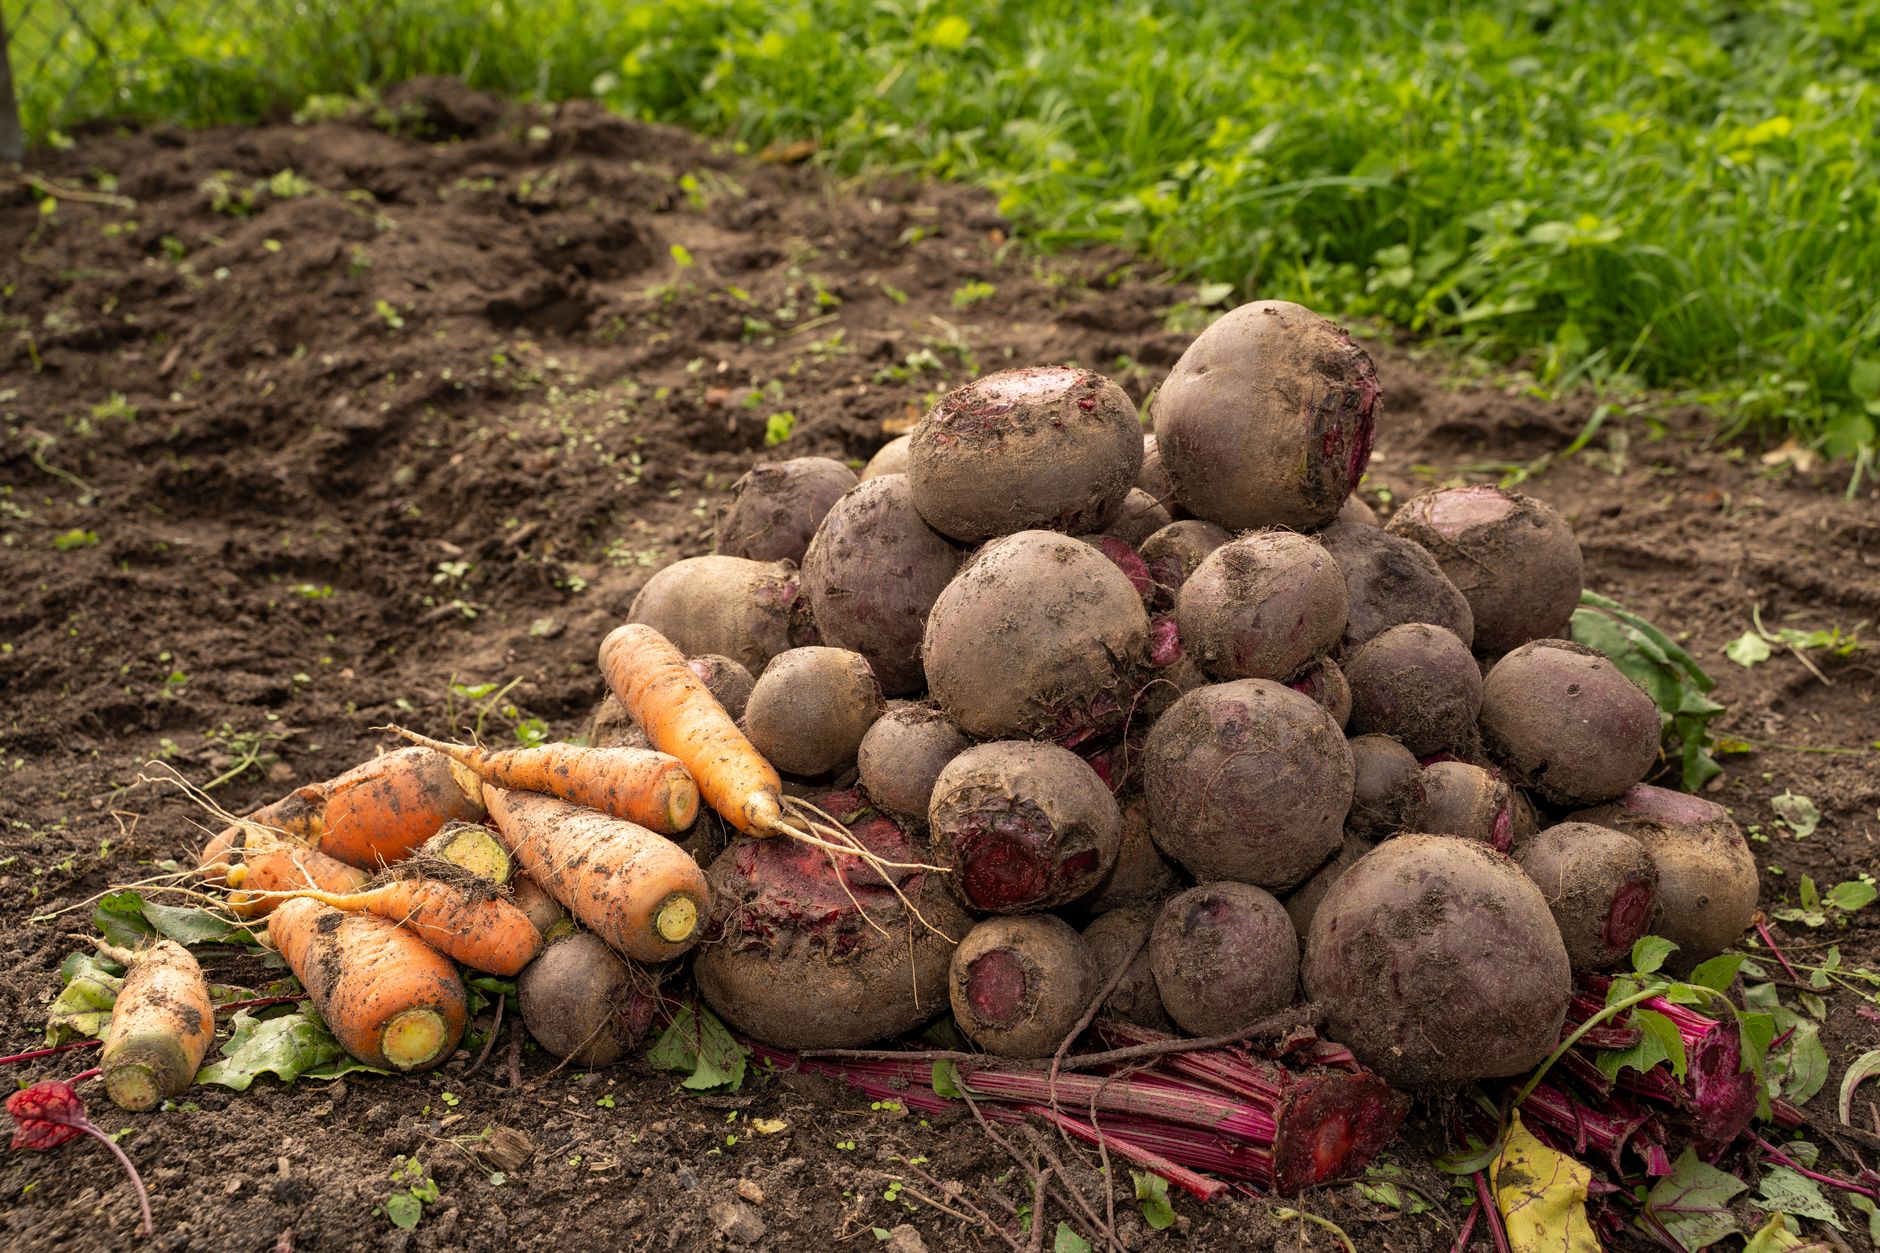
Most carrot varieties are ready 60-80 days after sowing, though you can begin harvesting a few early as tender baby carrots once roots reach finger thickness, well before the full maturity date if you prefer a smaller, sweeter bite.
Check the top of the root, often visible slightly protruding above the soil line, to gauge size before committing to pulling, and use a garden fork to gently loosen soil first if it's at all compacted, which significantly reduces the risk of snapping the root during harvest.
Carrots left in the ground through a light frost often develop noticeably sweeter flavor than those harvested in warm weather, since cold temperatures trigger the plant to convert some of its stored starches into sugars as a natural cold-protection response.
In regions with mild winters, carrots can often be left in the ground and harvested gradually as needed throughout the cooler months, effectively using the garden bed itself as extended cold storage rather than digging the entire crop at once.
Harvest before the ground freezes solid in colder climates, or apply a thick layer of straw mulch over the bed to keep the soil workable longer if you want to extend in-ground storage into early winter.
Store Your Harvest for Maximum Freshness
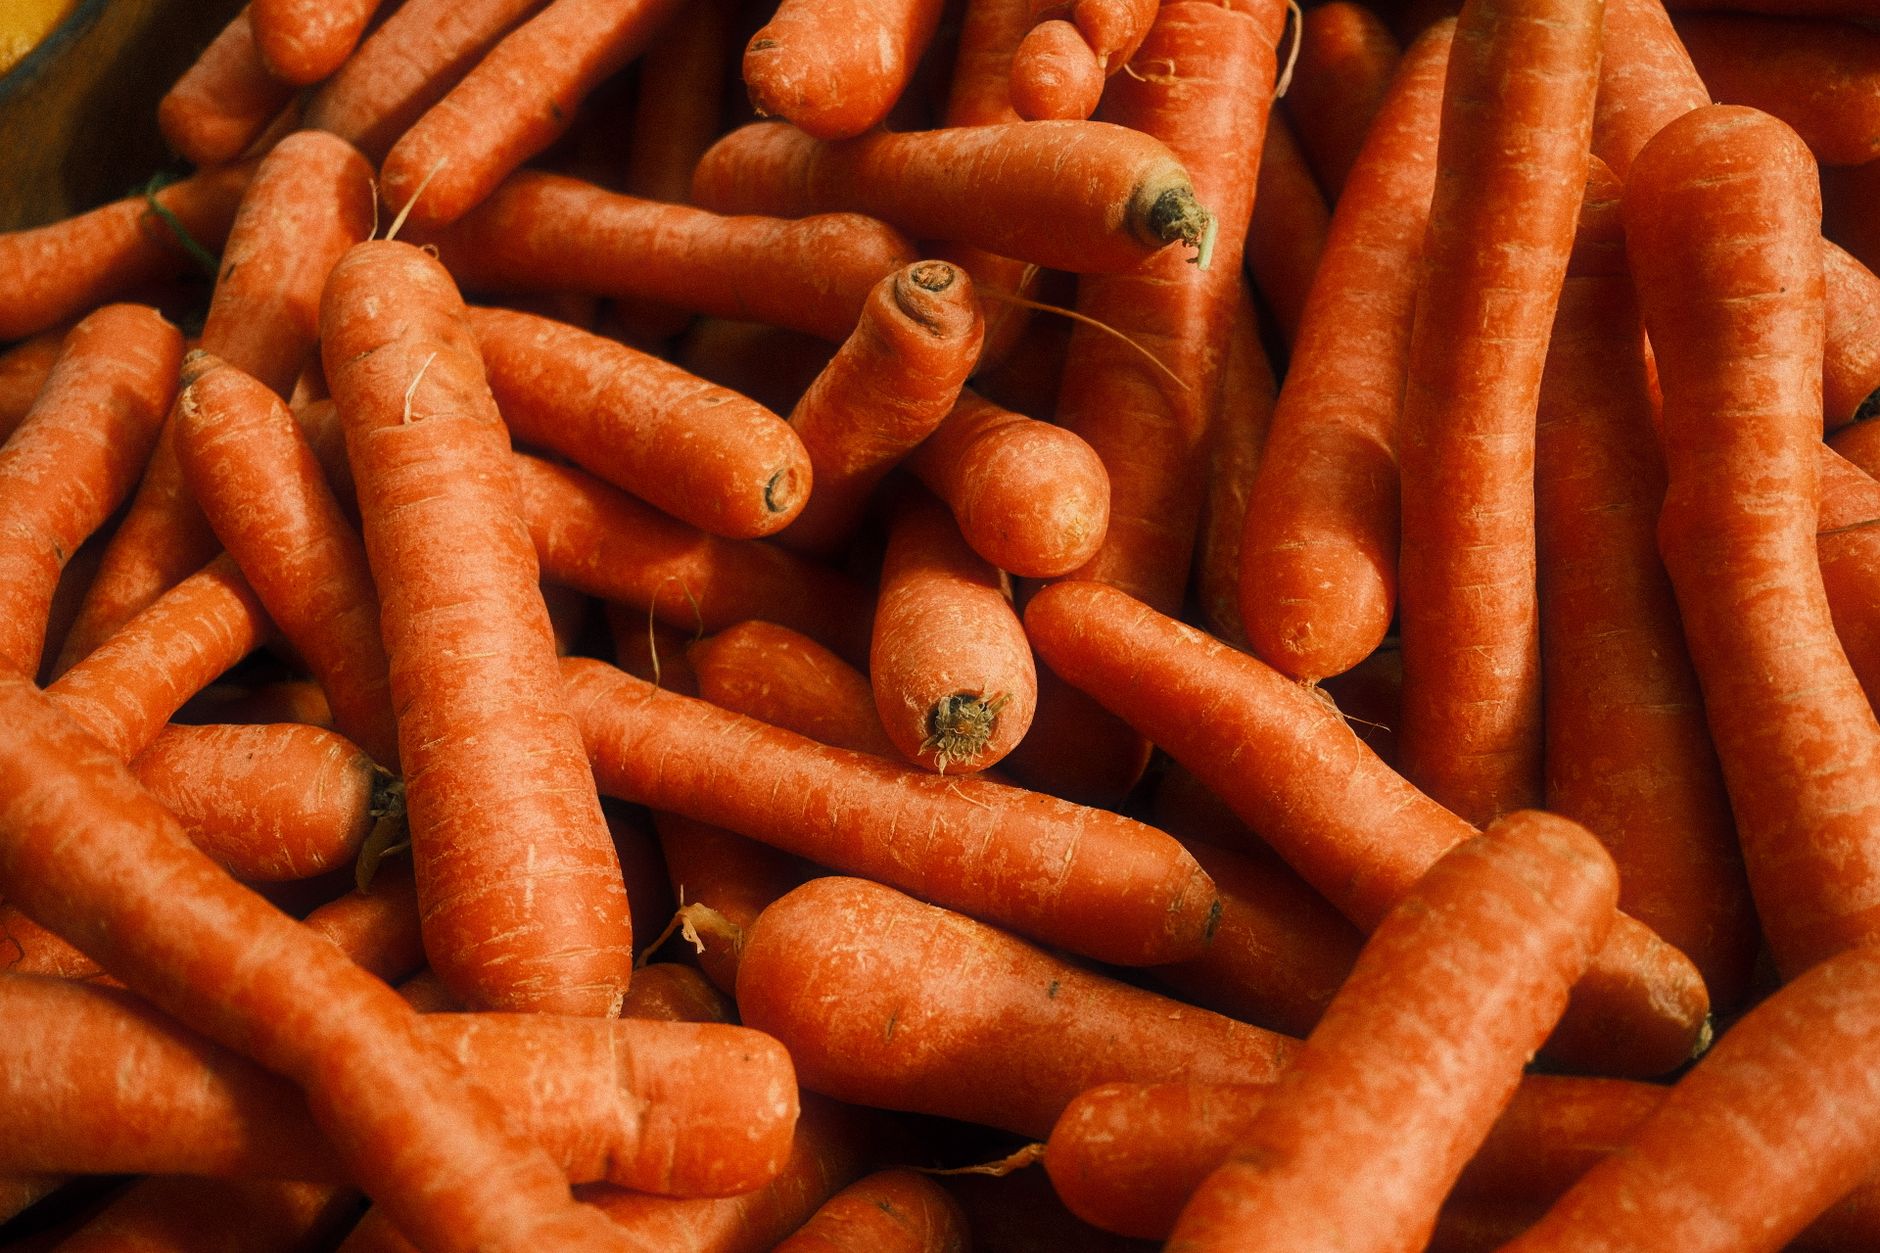
Remove the green tops before storing, cutting them close to the root's shoulder, since the leafy tops continue drawing moisture out of the root even after harvest, causing carrots to go limp considerably faster if the tops are left attached.
Store unwashed carrots in a perforated plastic bag in the refrigerator crisper drawer, where they'll typically keep for several weeks; washing just before use rather than immediately after harvest helps preserve their skin's natural protective barrier a bit longer.
For longer-term storage, carrots can be kept in a box layered with slightly damp sand or sawdust in a cool root cellar or unheated garage around 32-40°F, a traditional method that can extend storage to several months under the right conditions.
Carrots also freeze well for cooked applications; blanch cut pieces briefly in boiling water, cool quickly in ice water, and freeze on a tray before transferring to freezer bags, though frozen carrots lose the crisp texture needed for fresh eating and salads.
Common problems and fixes
| Problem | Likely cause | What to do |
|---|---|---|
| Forked or twisted carrot roots | Rocky, compacted soil or fresh manure that hasn't fully broken down. | Loosen soil deeply and remove obstructions before planting, and use only well-composted organic matter, never fresh manure. |
| Split carrots at harvest | Inconsistent watering, particularly a dry spell followed by heavy watering or a large rain event. | Maintain steady, even soil moisture throughout the growing season using mulch to buffer against natural fluctuations. |
| Rusty brown tunneling scars on roots | Carrot rust fly larvae feeding inside the root. | Cover the bed with fine mesh row cover fabric from the moment of sowing through most of the season to prevent adult flies from laying eggs. |
| Seeds failing to germinate at all | Soil surface allowed to dry out during the multi-week germination period. | Water gently but consistently every day if needed until seedlings emerge, and consider using a board or row cover to help retain moisture. |
Gardener's checklist
Test what you learned
Why should carrots be direct-sown rather than transplanted?
Answer: They have a long taproot that doesn't transplant well
What commonly causes forked or twisted carrot roots?
Answer: Rocky or compacted soil
How long does carrot seed typically take to germinate?
Answer: 2-3 weeks
Why should carrot tops be removed before storage?
Answer: They continue drawing moisture out of the root
Common questions
Why are my carrot seeds not germinating?
Carrot seeds germinate slowly, often taking 2-3 weeks, and need consistently moist soil the entire time. Letting the soil surface dry out even briefly during this window is the most common reason for poor or patchy germination.
Can carrots be grown in containers?
Yes, in a container at least 12 inches deep for standard long varieties, or in a shallower container for round or short varieties like Paris Market or Thumbelina, which are specifically better suited to limited root depth.
Why are my carrots small even though the tops look healthy?
Small roots despite healthy foliage usually point to overcrowding from insufficient thinning, or to excess nitrogen fertilizer that encouraged leafy top growth at the expense of the root itself. Confirm proper spacing and avoid additional nitrogen feeding after planting.
Do carrots need full sun?
Carrots grow best in full sun but can tolerate light afternoon shade, particularly in hot climates, where some relief from intense sun can actually help prevent stress-related bitterness in the roots.
Loose, stone-free soil, consistent moisture from germination through harvest, and proper thinning are the three habits that separate straight, sweet carrots from small, twisted ones, and getting the soil right from the start matters more than anything that follows.
Frequently asked questions
How often should a vegetable garden be watered?
Frequency depends on weather, soil and plant size. Check the soil rather than watering on a rigid schedule.
Is compost enough fertilizer?
Compost improves soil and provides nutrients slowly. Heavy-feeding crops may still need additional feeding.

The Sproutstead Editorial Team
We create clear, practical gardening and homesteading guides designed for real homes and beginner growers.
View author profile →