
Most vegetables are low-acid foods and require pressure canning, not water bath canning, since only pressure canning reaches the 240°F temperature needed to destroy Clostridium botulinum spores safely. Exceptions include tomatoes (with added acid) and pickled vegetables (with adequate vinegar), both of which can use water bath canning. Always follow a specific, tested recipe for your exact vegetable, since processing times vary considerably by type and jar size.
What you will need
Determine Which Canning Method Your Vegetable Needs
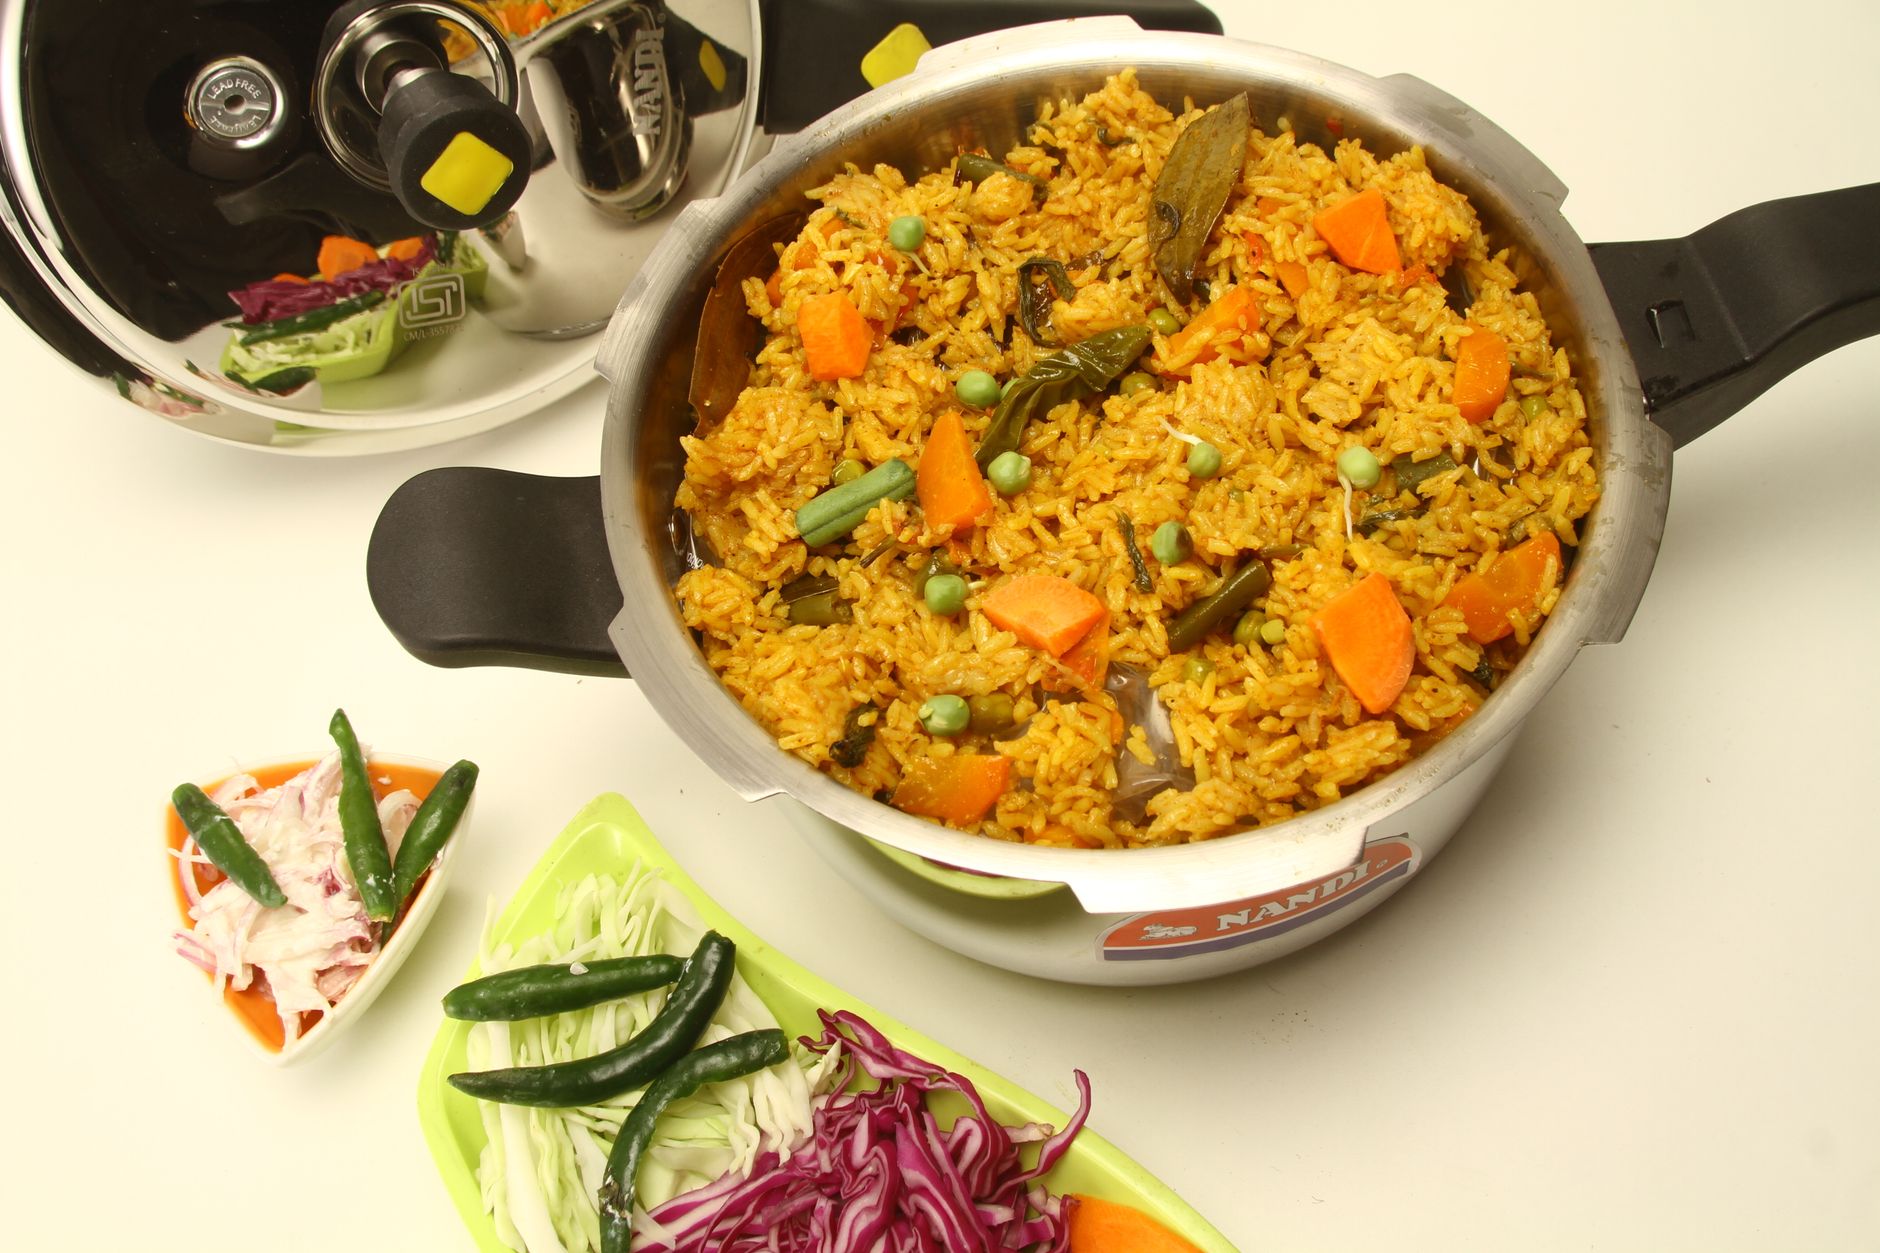
Most vegetables, including green beans, corn, carrots, potatoes, beets, and peas, are low-acid foods that require pressure canning, since water bath canning can't reach temperatures high enough to destroy botulism spores in these foods.
Tomatoes are a partial exception, since when properly acidified with added lemon juice or citric acid, they can be safely water bath canned, though unacidified tomatoes should still be pressure canned.
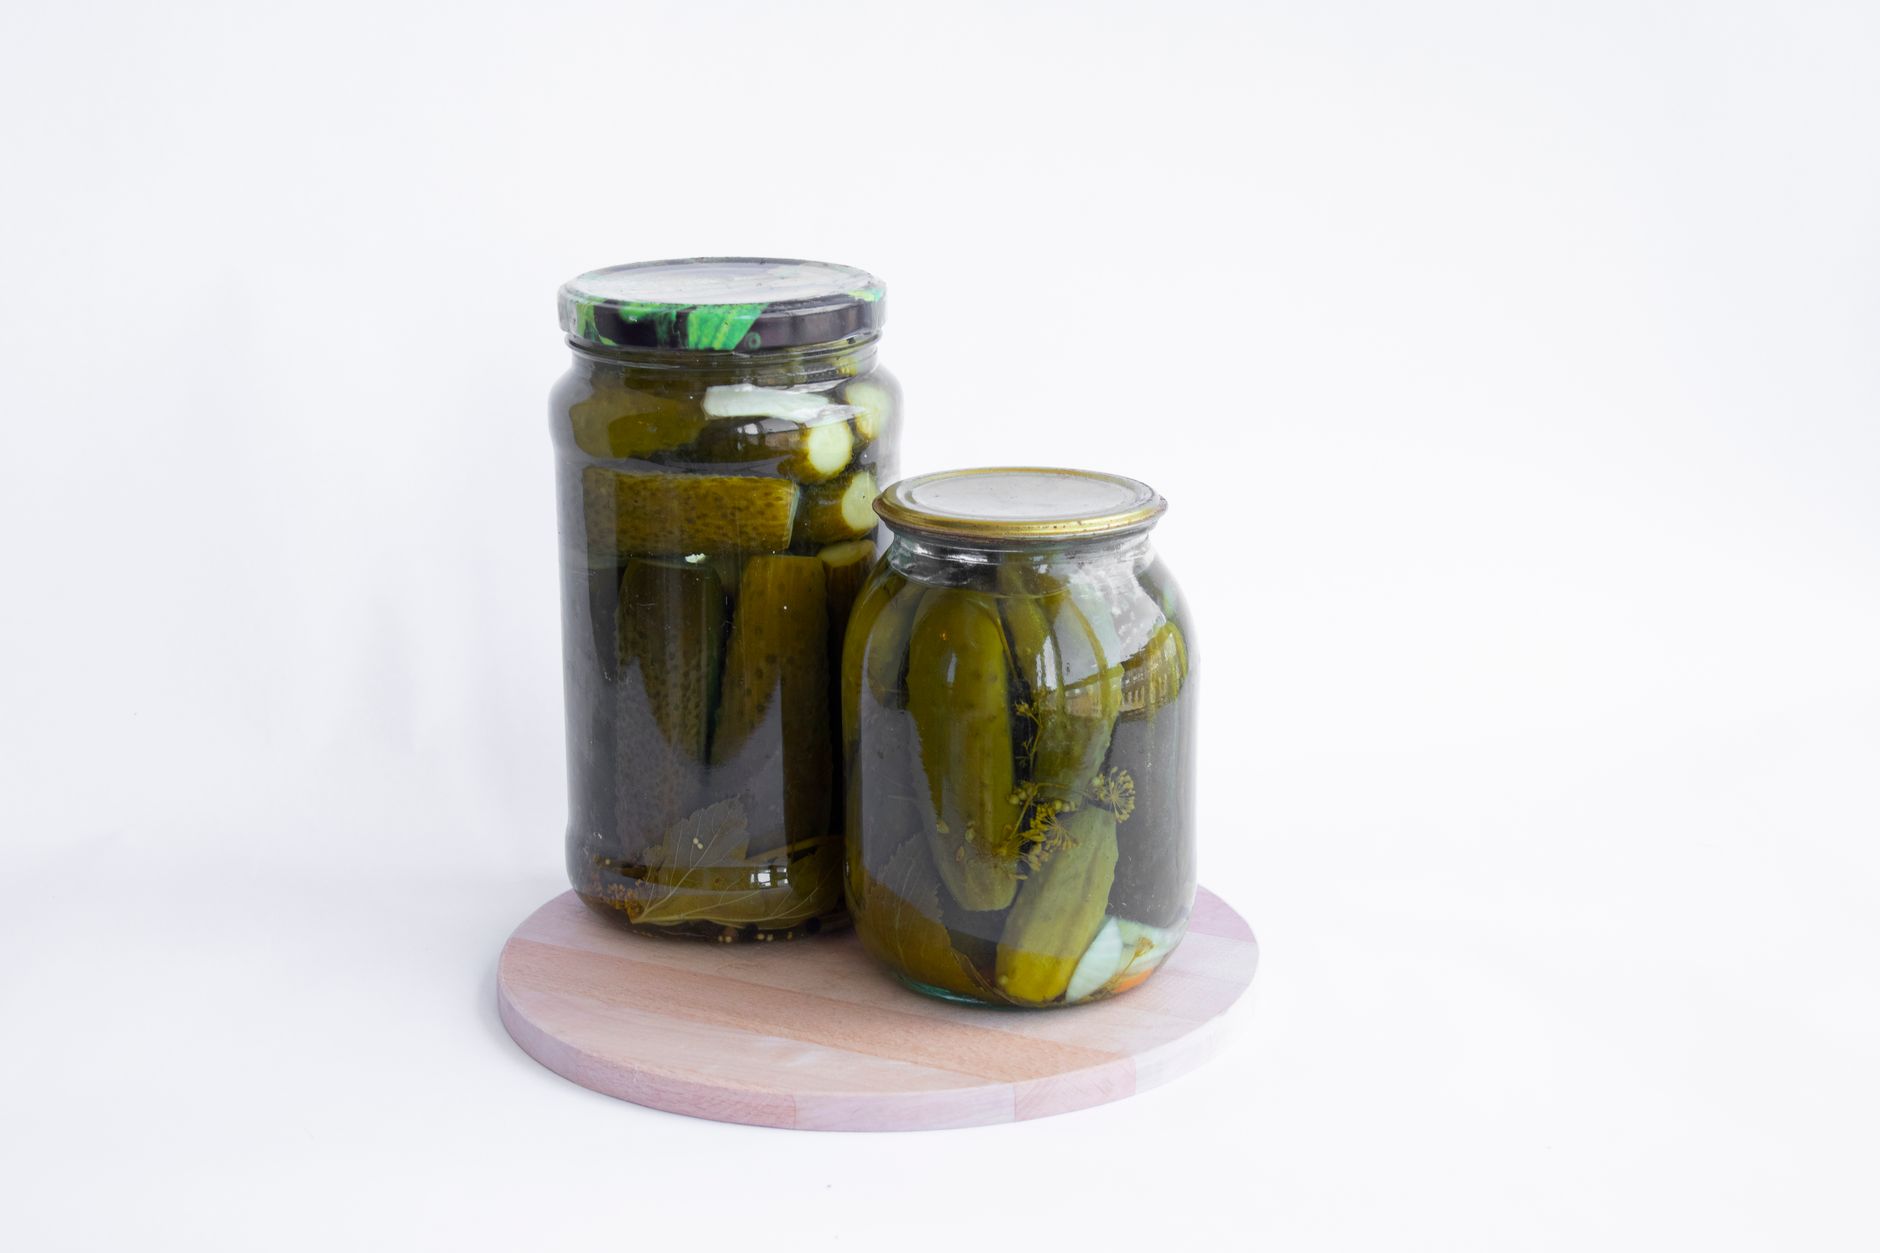
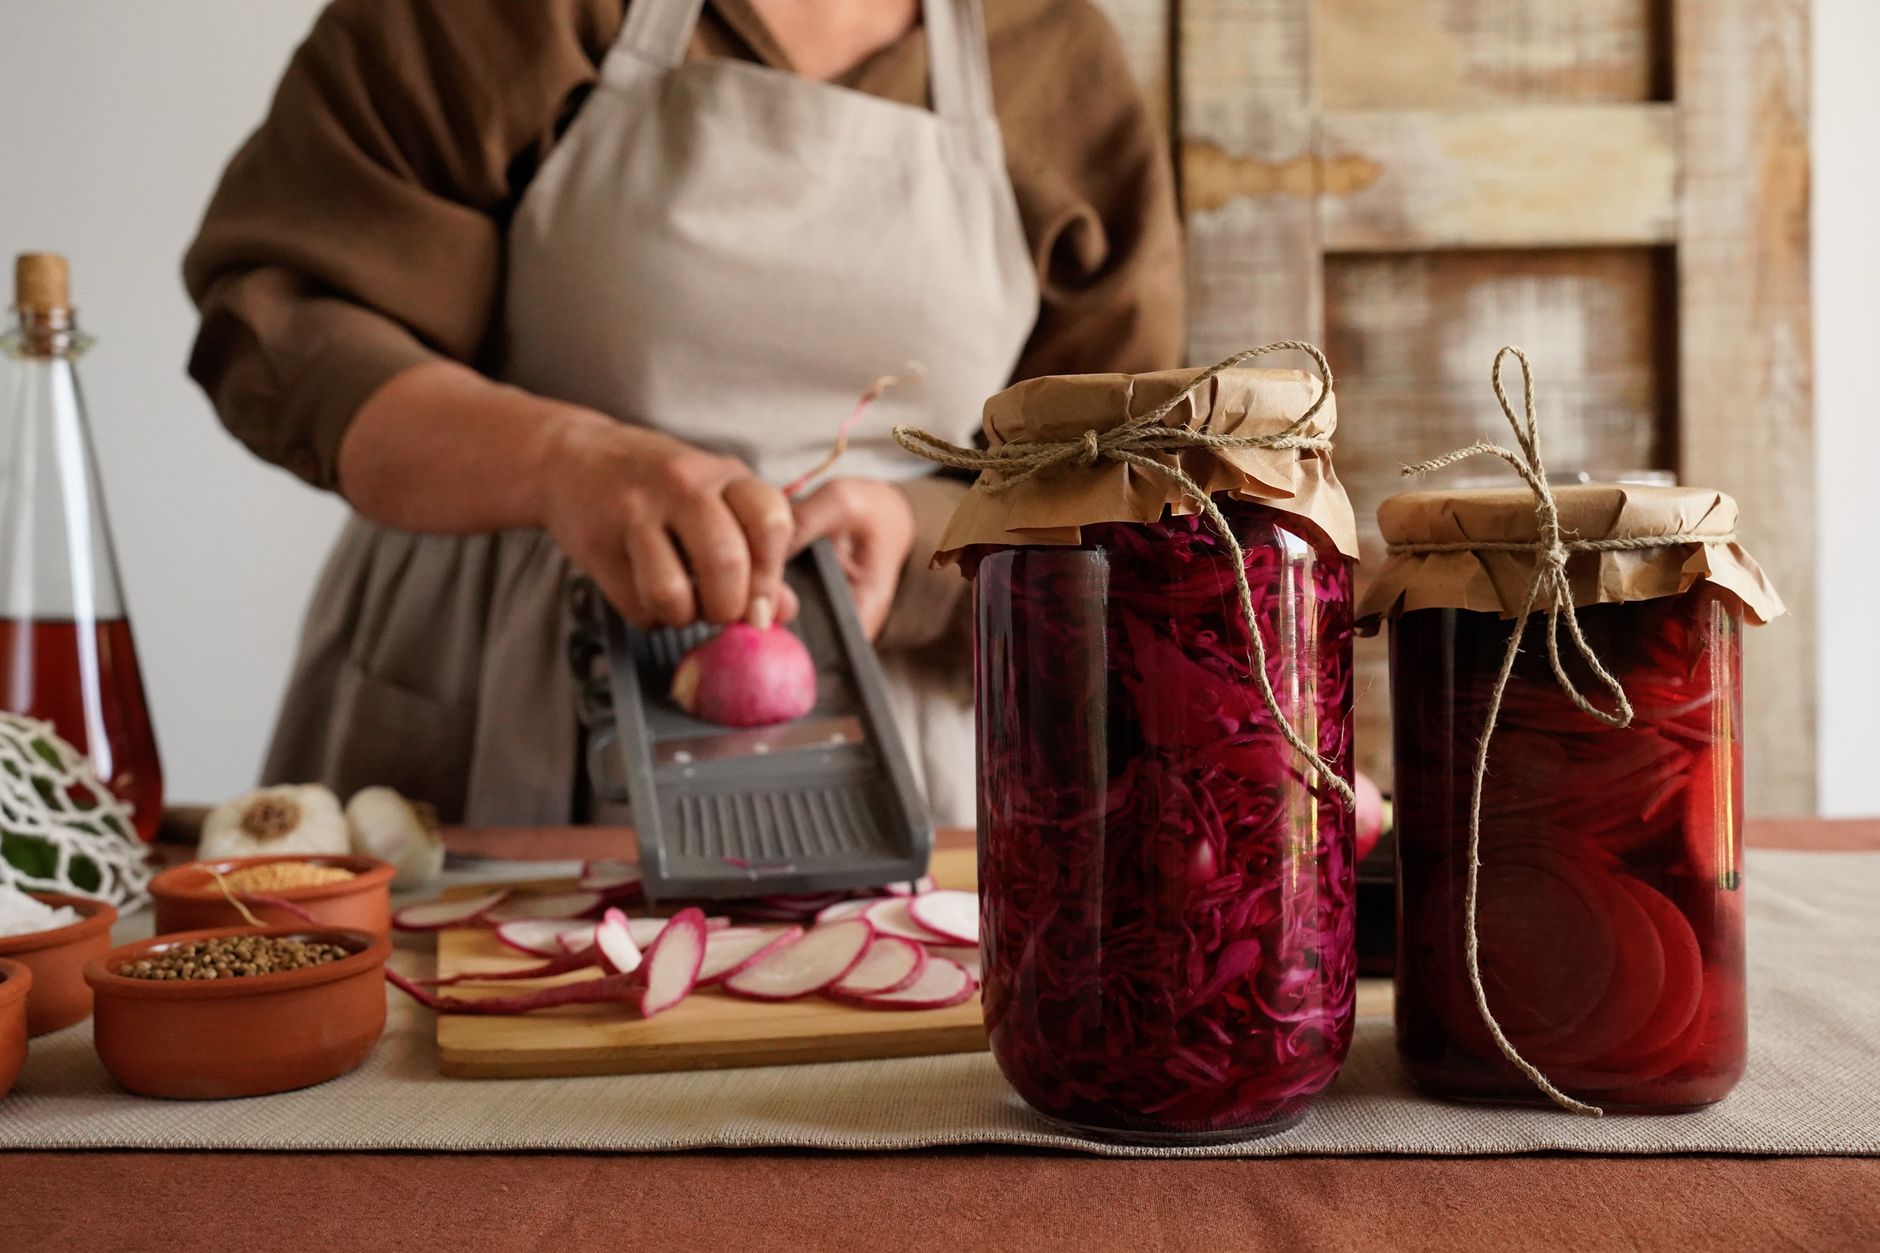
Pickled vegetables, prepared with adequate vinegar for sufficient acidity, can also be safely water bath canned, since the added acid brings them into a safe pH range regardless of the vegetable's natural acidity.
When in doubt about a specific vegetable, default to pressure canning, since this method is safe for both low-acid and high-acid foods, while water bath canning is only safe for genuinely high-acid or properly acidified foods.
Never substitute water bath canning for pressure canning based on tradition, a recipe you've seen without verification, or assumption; this is a genuine food safety requirement rather than a matter of preference or convenience.
Prepare Vegetables for Canning
Choose fresh, high-quality vegetables at peak ripeness, avoiding any that are overripe, damaged, or showing signs of spoilage, since canning preserves whatever quality you start with rather than improving it.
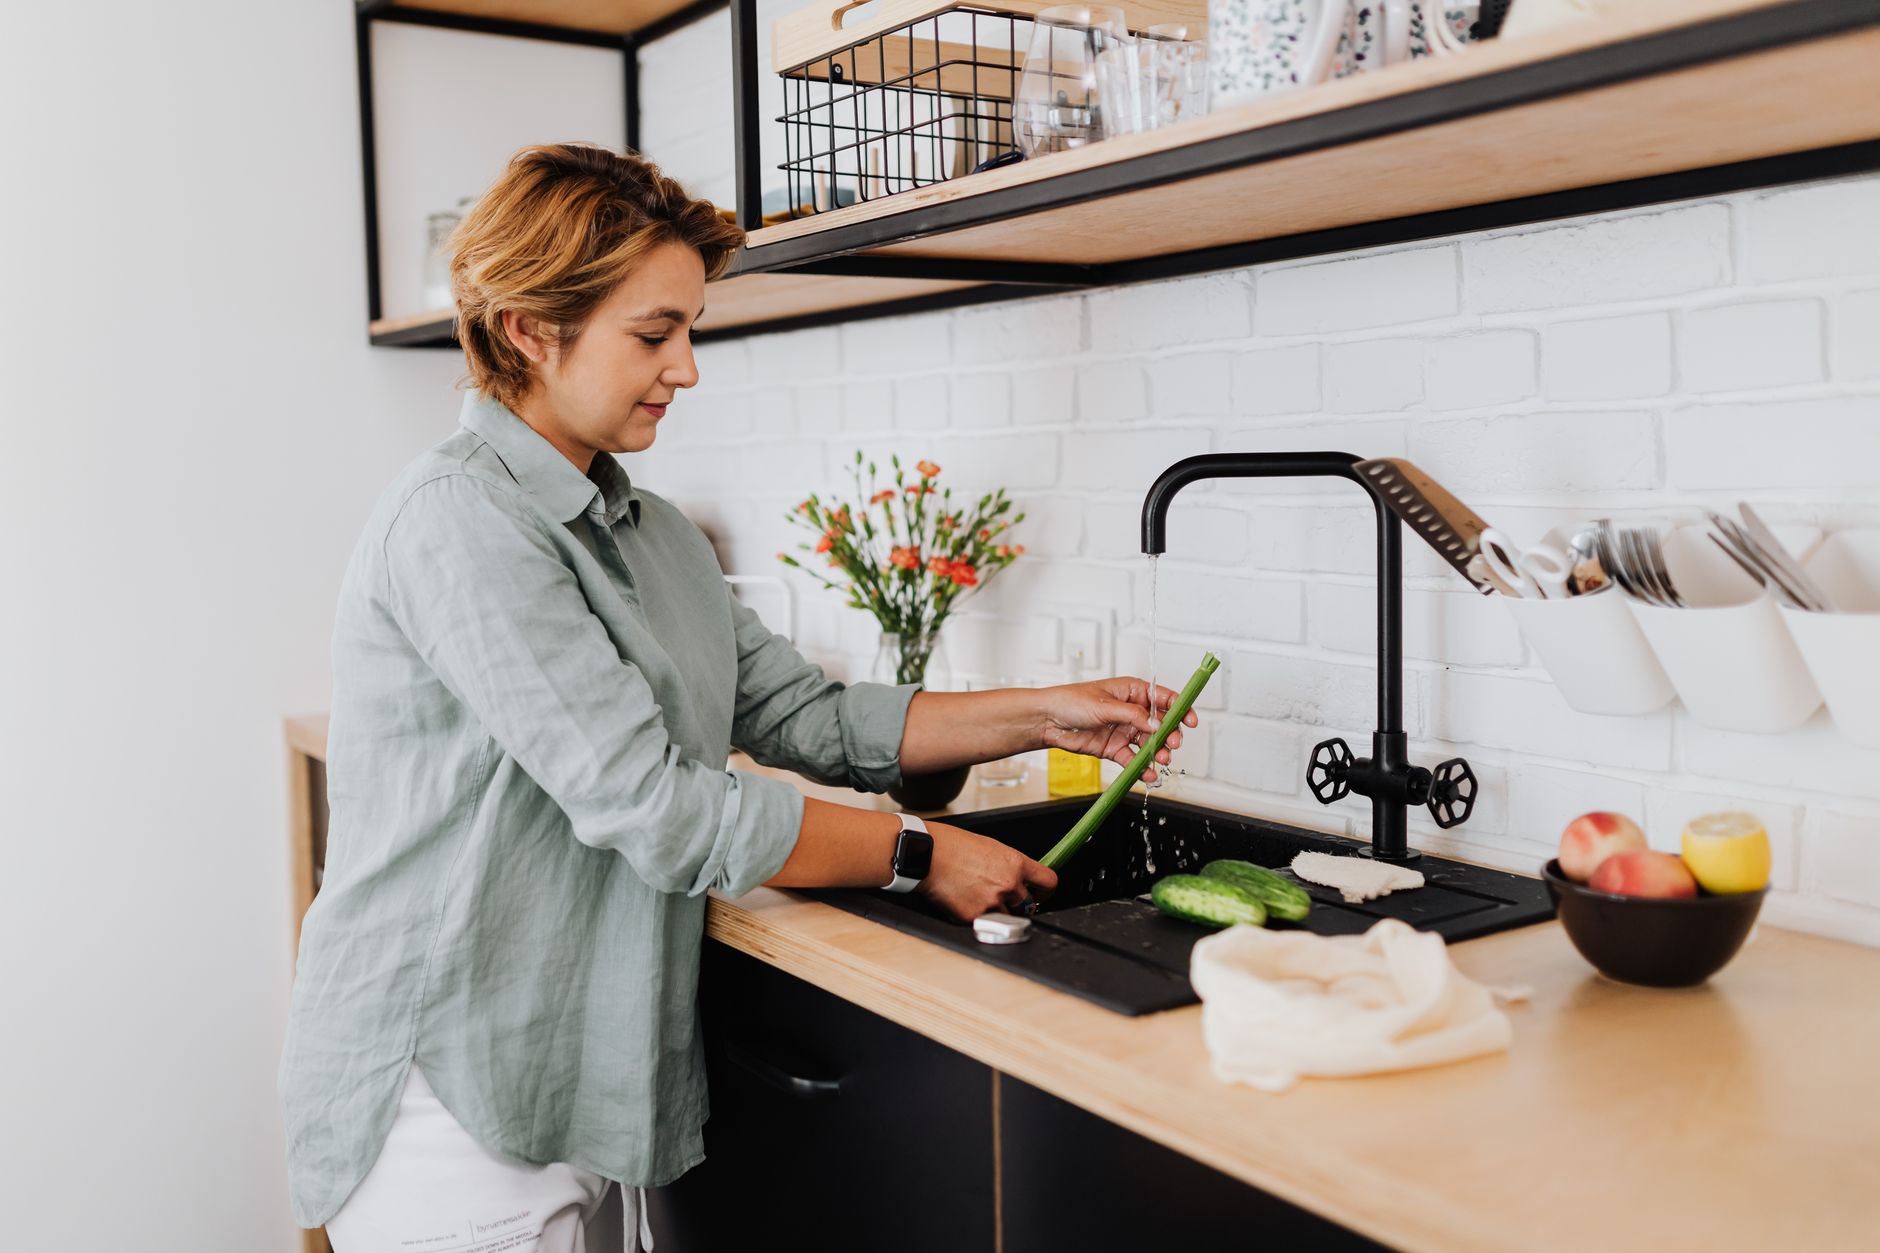
Wash vegetables thoroughly under running water, removing dirt, debris, and any damaged portions before proceeding to specific preparation like peeling, cutting, or blanching.
Follow vegetable-specific preparation steps from a tested recipe, since different vegetables have different requirements; some need blanching before canning, while others are packed raw.
Cut vegetables to a consistent, appropriate size for your jars, since uniform pieces process more evenly than a mix of very large and very small pieces in the same jar.
Work through preparation in a reasonably efficient timeframe once you begin, since prepared vegetables sitting too long before processing can lose quality, though brief delays while completing preparation aren't a safety concern.
Pack Jars and Add Liquid
Pack prepared vegetables into clean, hot jars using either a raw pack (unheated vegetables) or hot pack (briefly cooked vegetables) method, following your specific recipe's guidance for which approach it recommends.
Cover vegetables with boiling water, or the cooking liquid if using hot pack, leaving the specific headspace your recipe calls for, typically around 1 inch for most vegetables.
Add canning salt if desired for flavor, understanding this is entirely optional and doesn't affect the safety of the canning process, which relies on proper processing method, time, and pressure rather than salt content.
Run a bubble remover tool around the inside of each jar to release trapped air pockets, then wipe rims thoroughly clean before applying lids, since residue can prevent a proper seal.
Apply lids and bands according to manufacturer instructions, typically to fingertip tightness, which allows air to escape properly during processing rather than trapping it inside the jar.
Process According to a Tested Recipe
Always use a current, tested recipe specific to your exact vegetable, since processing times and pressures vary considerably; green beans, corn, and carrots, for example, all have different required processing times despite all being low-acid vegetables.
Adjust processing pressure for your altitude according to a chart specific to your canner type (weighted or dial gauge), since water boils at lower temperatures at higher elevations, requiring increased pressure to compensate.
Vent pressure canners for a full 10 minutes before pressurizing, which removes air from the canner and is essential for accurate, reliable pressure throughout processing.
Maintain consistent pressure throughout the required processing time, restarting the timer if pressure drops significantly at any point, since inconsistent pressure can compromise the processing's effectiveness.
Allow natural depressurization after processing completes, never forcing a quick release, which protects both jar seals and your personal safety from the pressurized canner.
Cool, Check Seals, and Store Properly
Let jars cool undisturbed for 12-24 hours after processing, avoiding any handling, tilting, or disturbance while the sealing process actively completes.
Check each jar's seal by pressing the center of the lid; a properly sealed lid will be concave and won't flex or click when pressed, confirming successful processing.
Remove metal bands before long-term storage to prevent moisture-related rusting, and label jars with the vegetable type and canning date for easy future identification.
Store sealed jars in a cool, dark location, where properly processed canned vegetables typically remain in best quality for 12-18 months, though they often remain safe considerably longer if the seal stays intact.
Before eating any home-canned low-acid vegetable, boil the contents for 10 minutes as a standard safety precaution, and discard immediately without tasting if you notice any spoilage sign like off odor or unusual appearance.
Learn Vegetable-Specific Requirements
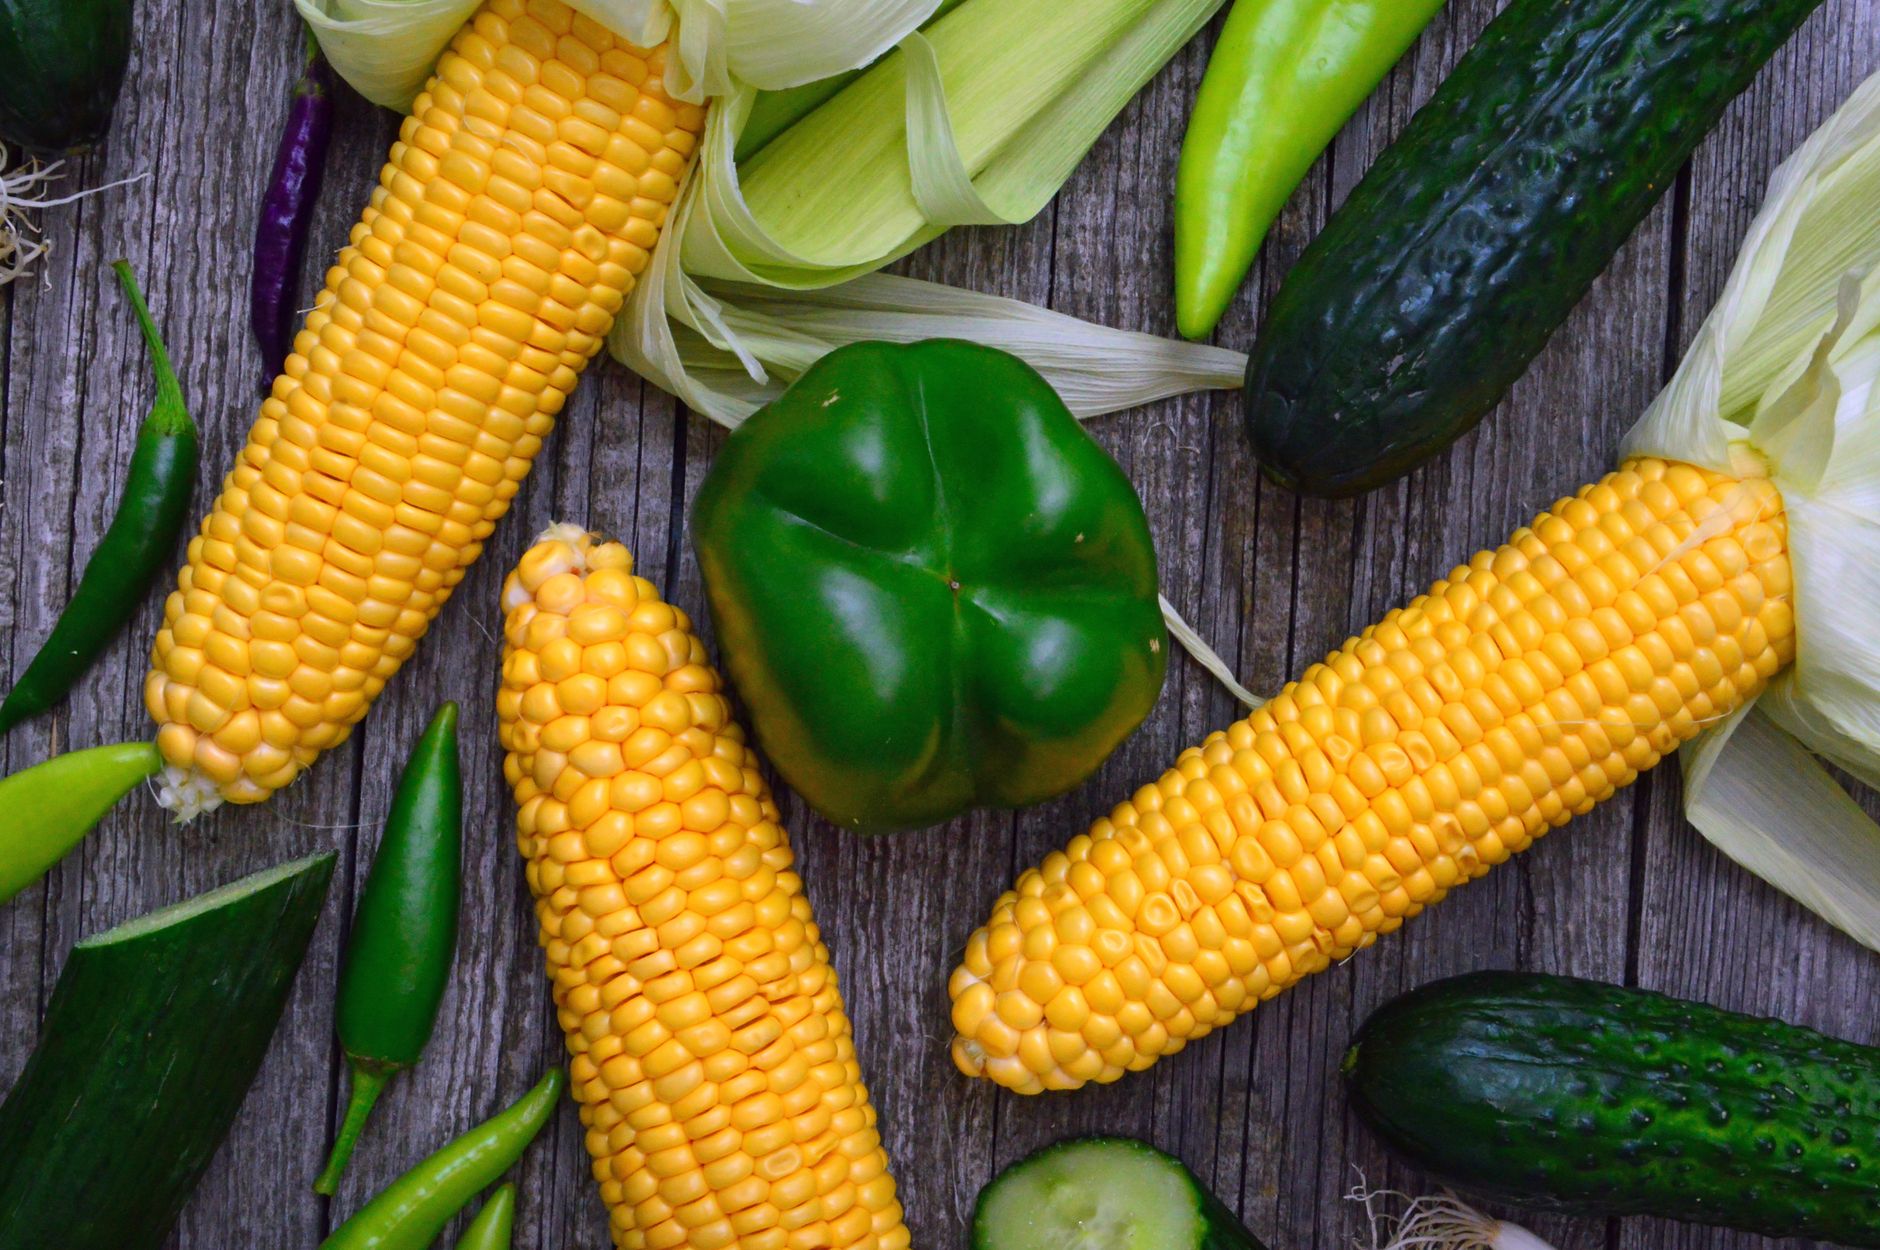
Green beans, one of the most commonly home-canned vegetables, process for 20-25 minutes depending on jar size and can be packed raw or hot, following widely available tested recipes.
Corn requires careful attention to processing time given its density, typically 55-85 minutes depending on jar size, considerably longer than many other vegetables due to how heat penetrates through packed kernels.
Carrots and beets both benefit from pre-cooking or blanching before packing, and their processing times differ from green beans despite both being root vegetables commonly canned at home.
Potatoes require cubing to a consistent size and have their own specific processing guidelines given their density and starch content, differing meaningfully from other root vegetables.
For any vegetable not covered in detail here, consult a current, reputable source like your local extension office or a recent edition of a trusted canning reference specifically for that vegetable's tested processing requirements.
Keep Records and Use Reliable Recipe Sources
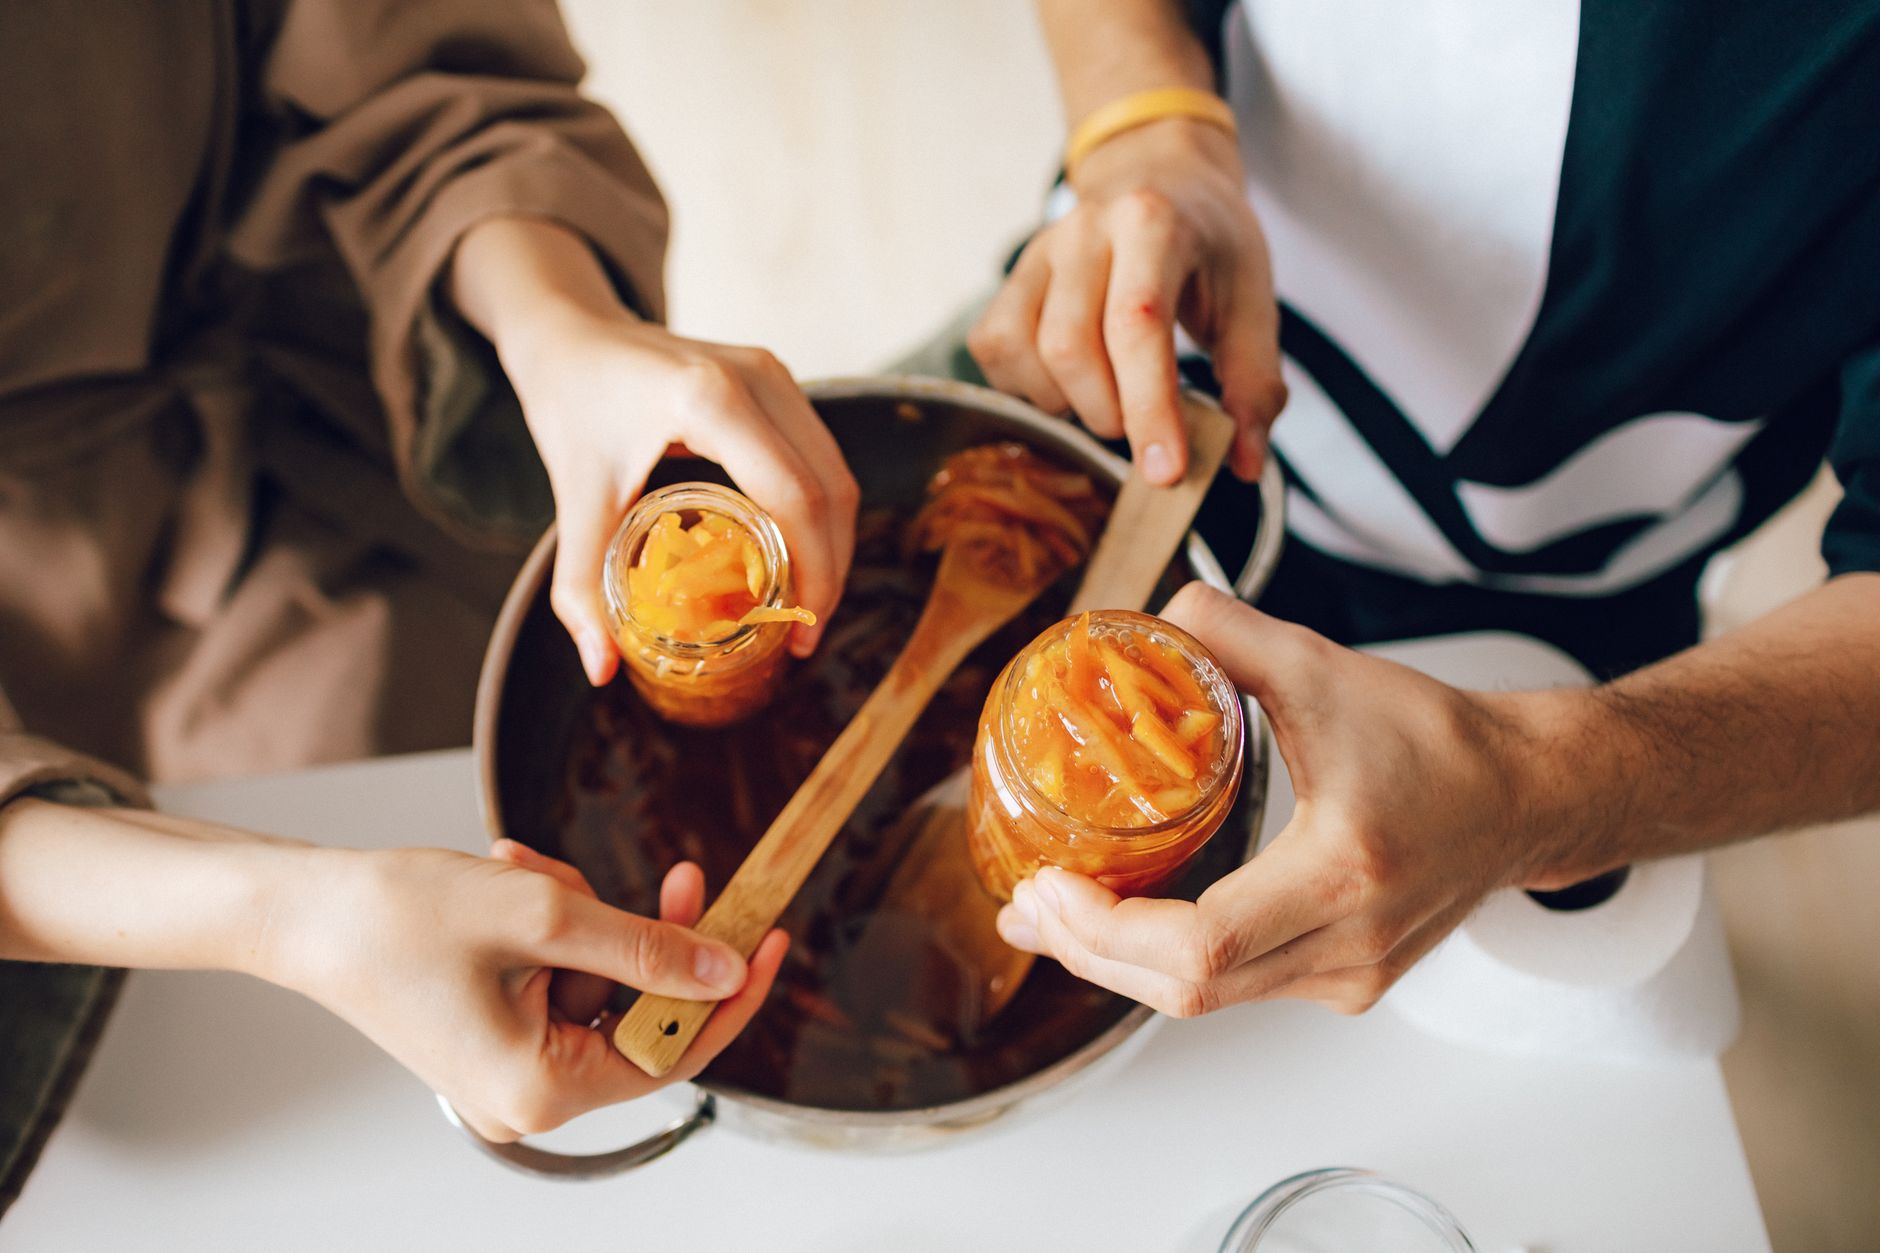
Use recipes from reputable, tested sources specifically, such as the USDA Complete Guide to Home Canning, university extension offices, or current editions of trusted canning references, rather than older family recipes or unverified internet sources that may predate current food safety understanding.
Keep a simple log of what you've canned each season, including the specific recipe source and processing details used, which helps you replicate successful batches and track your growing collection over time.
Revisit your recipe sources periodically, since food safety guidance occasionally updates based on new research; a recipe that was considered safe decades ago isn't automatically still considered safe by current standards.
Consider connecting with a local Master Food Preserver program or extension office canning class if available in your area, which provides hands-on, personalized guidance beyond what any general written guide can offer.
Common problems and fixes
| Problem | Likely cause | What to do |
|---|---|---|
| Uncertain whether a specific vegetable needs pressure or water bath canning | Lack of clarity on the vegetable's natural acidity level. | Default to pressure canning when uncertain, since this method safely handles both low-acid and high-acid foods. |
| Jars fail to seal after pressure canning | Debris on the jar rim, insufficient processing time, or a damaged lid. | Refrigerate unsealed jars and use within a few days, or reprocess with a fresh lid within 24 hours if caught early. |
Gardener's checklist
Test what you learned
Why do most vegetables require pressure canning rather than water bath canning?
Answer: Water bath canning can't reach temperatures high enough to destroy botulism spores in low-acid foods
Which vegetable preparation can sometimes be safely water bath canned?
Answer: Properly acidified tomatoes
What should you do before eating home-canned low-acid vegetables?
Answer: Boil the contents for 10 minutes as a safety precaution
Common questions
Can I water bath can any vegetable if I add enough vinegar?
Only if following a specifically tested pickled recipe with adequate vinegar for the particular vegetable; plain (unpickled) low-acid vegetables should always be pressure canned regardless of any other modifications you might make.
Why do processing times vary so much between different vegetables?
Processing time depends on how quickly heat penetrates to the center of the jar's contents, which varies based on the vegetable's density, how it's packed, and jar size, making vegetable-specific tested recipes essential rather than assuming uniformity.
Is it cheaper to can my own vegetables than buy canned vegetables at the store?
This depends on factors like whether you're growing your own produce, equipment costs, and time investment, though many home canners find genuine value beyond just cost savings, including flavor control, ingredient transparency, and the satisfaction of self-sufficiency.
Can I reuse canning lids?
Standard two-piece metal lids should not be reused for canning, since their sealing compound is designed for one-time use; the metal bands, however, can be reused as long as they're not rusted or damaged.
Do I need to blanch vegetables before canning them?
This depends on the specific vegetable and recipe; some vegetables are hot-packed after a brief pre-cook, which improves color and packing density, while others can be raw-packed directly, so following your specific vegetable's tested recipe guidance is essential.
Can I mix different vegetables in the same canning jar?
Only if following a specifically tested mixed-vegetable recipe, since processing times must account for the density and heat penetration of the slowest-processing ingredient in the mix; combining vegetables without a tested recipe for that specific combination isn't recommended.
Successful vegetable canning starts with correctly identifying whether pressure canning is required (almost always, for plain vegetables) and always following a current, tested, vegetable-specific recipe rather than assuming general principles cover every safety detail.
Frequently asked questions
How often should a vegetable garden be watered?
Frequency depends on weather, soil and plant size. Check the soil rather than watering on a rigid schedule.
Is compost enough fertilizer?
Compost improves soil and provides nutrients slowly. Heavy-feeding crops may still need additional feeding.

The Sproutstead Editorial Team
We create clear, practical gardening and homesteading guides designed for real homes and beginner growers.
View author profile →

