Can tomatoes using the water bath method, adding bottled lemon juice or citric acid to each jar to ensure safe acidity, since modern tomato varieties can be borderline low-acid. Peel tomatoes after a brief blanch, pack into sterilized jars, add acid and optional salt, then process in a boiling water bath for 35-85 minutes depending on pack style and jar size. Properly sealed jars store at room temperature for 12-18 months.
What you will need
Understand Why Acidification Is Essential

Tomatoes were traditionally considered acidic enough for safe water bath canning without added acid, but modern breeding has produced many varieties with borderline pH levels, some low enough to potentially support the growth of Clostridium botulinum, the bacteria responsible for botulism, in a sealed, low-oxygen jar environment.
Current USDA and extension office guidance specifically recommends adding acid to every jar of canned tomatoes regardless of variety, since there's no reliable way to visually determine a batch's exact acidity without laboratory testing.
Use bottled lemon juice specifically, not fresh-squeezed, since bottled juice has a standardized, guaranteed acidity level, while fresh lemon juice's acidity can vary meaningfully between fruits and isn't reliable for this safety purpose.
Citric acid, available as a powder from canning suppliers, offers an alternative to lemon juice with a more neutral flavor impact, used at a rate of a quarter teaspoon per pint or half teaspoon per quart.
This acidification step takes only seconds per jar but represents the single most important food safety practice in home tomato canning, and skipping it is genuinely not a safe shortcut regardless of how tomatoes have traditionally been processed in the past.
Select and Prepare Fresh Tomatoes
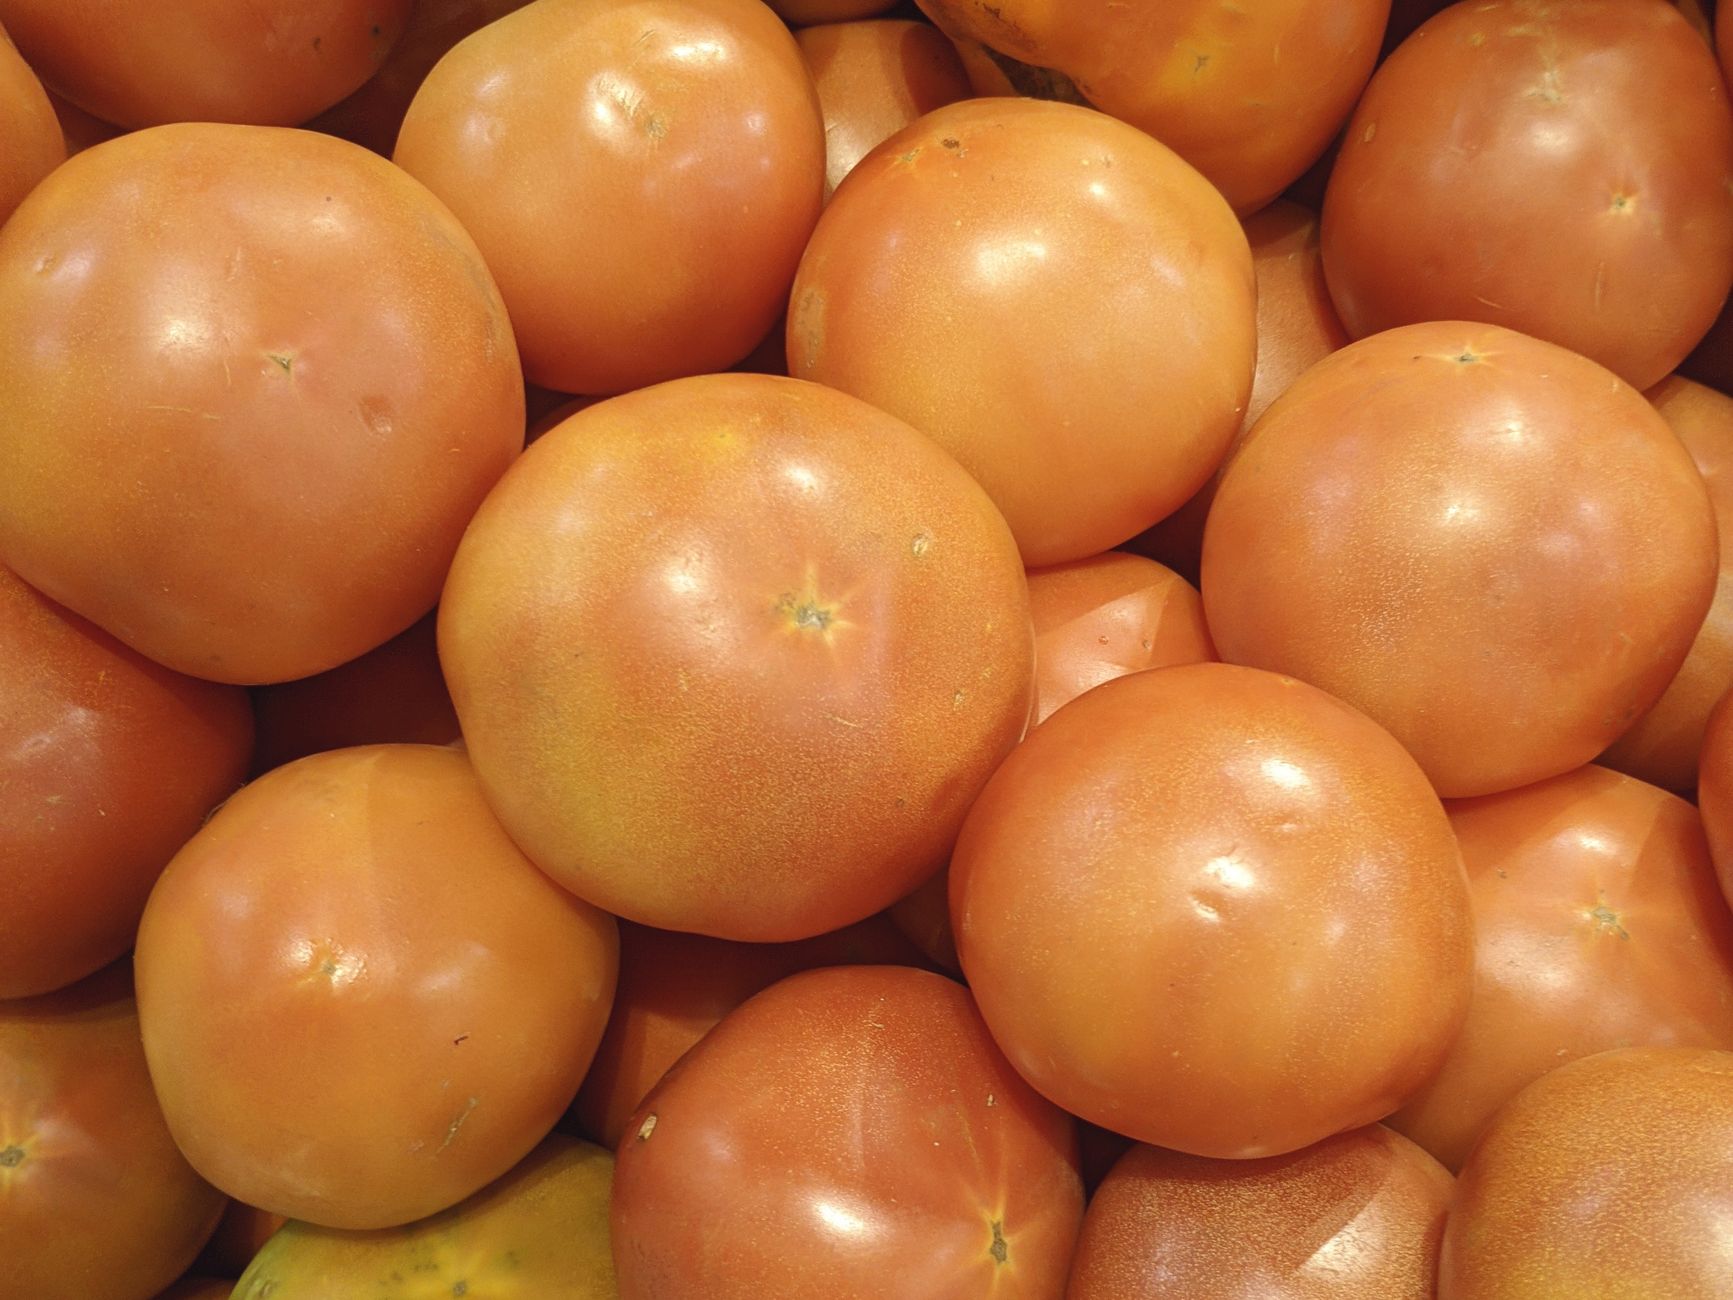
Choose firm, ripe, unblemished tomatoes for canning, avoiding any with soft spots, mold, or significant bruising, since compromised produce can affect both safety and quality in the finished jars.
Wash tomatoes thoroughly under running water, removing any stems and checking carefully for any remaining dirt or debris before proceeding to the blanching step.
Paste-type tomatoes like Roma or San Marzano are popular choices for canning, since their meatier flesh and lower water content produce a thicker, less watery finished product compared to slicing varieties.
Plan your batch size based on your canner's capacity and how much time you have available, since tomato canning is genuinely more efficient in larger batches given the fixed time investment in setup and processing.
Have all your equipment, jars, lids, and acidification supplies ready and within reach before beginning, since the process moves through several time-sensitive steps once you start.
Blanch and Peel the Tomatoes
Score a small X on the bottom of each tomato with a paring knife, which helps the skin release more easily during the blanching process that follows.
Submerge tomatoes in boiling water for 30-60 seconds, just until the skins begin visibly splitting and curling at the scored X, then immediately transfer to a bowl of ice water to stop the cooking process.
Once cooled, the skins should slip off easily with your fingers or a paring knife, requiring minimal effort compared to attempting to peel raw, unblanched tomatoes.
Core the peeled tomatoes, removing the tough stem attachment point, and cut larger tomatoes in half or quarters if you're planning a halved or crushed pack rather than whole tomatoes.
Work in batches through the blanching and peeling process if handling a large quantity, keeping peeled tomatoes covered or refrigerated briefly if there's a delay before the next canning step.
Prepare Jars and Add Acid
Wash canning jars in hot, soapy water, then keep them hot in a low oven (around 200°F) or in the canner itself until ready to fill, since packing hot tomatoes into cold jars can cause thermal shock and jar breakage.
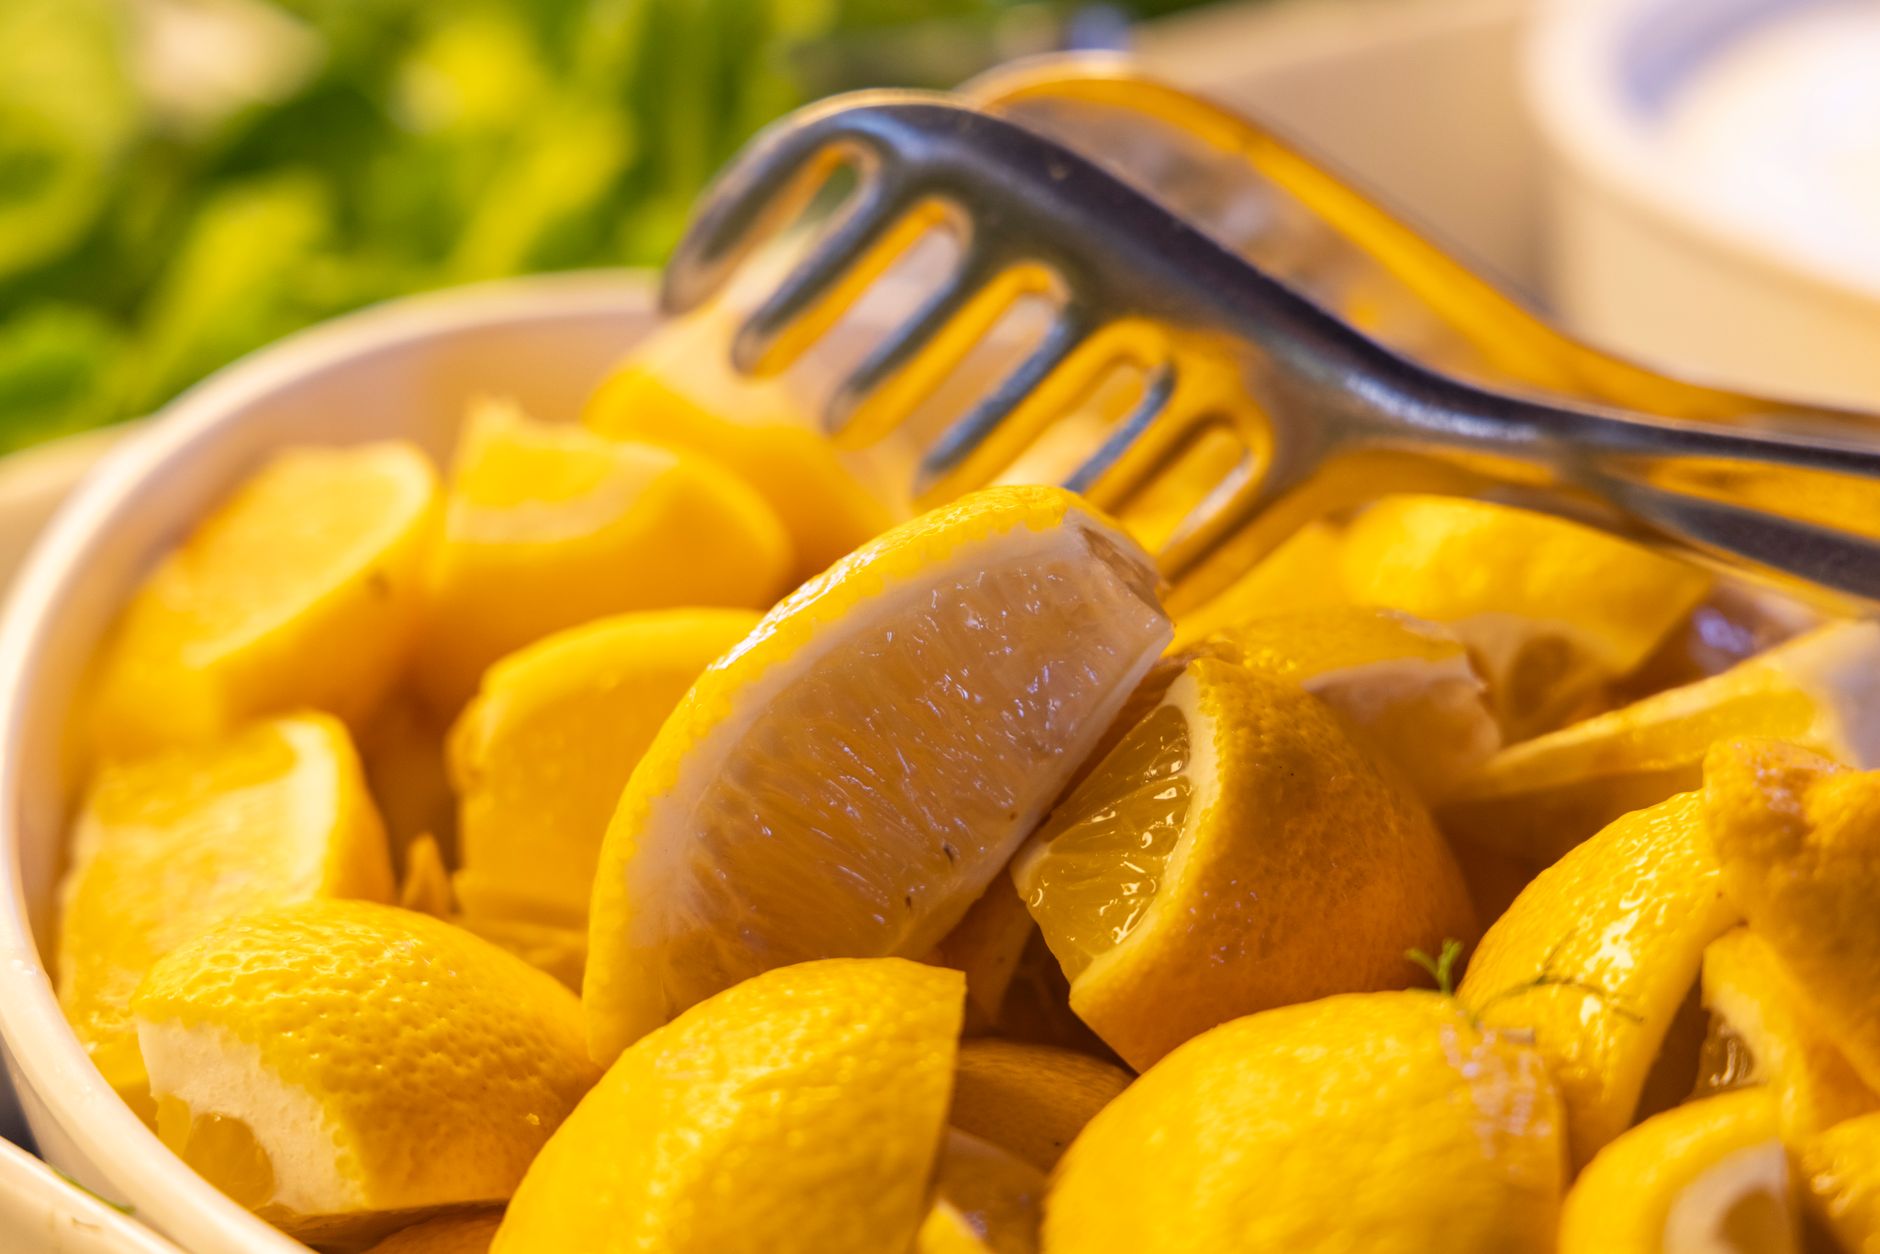
Add 2 tablespoons of bottled lemon juice to each quart jar, or 1 tablespoon per pint jar, directly into the empty jar before packing tomatoes, ensuring accurate measurement for this critical safety step.
If using citric acid instead, add a half teaspoon per quart or a quarter teaspoon per pint, following the same principle of measuring directly into the jar before adding tomatoes.
Prepare new canning lids according to manufacturer instructions, typically simmering (not boiling) in hot water for a few minutes to soften the sealing compound, though newer lid designs sometimes don't require this step; check your specific product's instructions.
Have your jar lifter, canning funnel, and bubble remover tool within easy reach, since the packing and processing steps move quickly once you begin filling jars with hot tomatoes.
Pack Tomatoes and Remove Air Bubbles

Pack peeled, cored tomatoes into your prepared jars (already containing the measured acid), pressing gently to fill gaps while leaving 1/2 inch of headspace at the top for a raw pack, since tomatoes will release liquid during processing.
For a hot pack, briefly simmer prepared tomatoes in a pot for about 5 minutes before packing hot into jars, which reduces the amount of floating and shrinkage that can occur with raw-packed tomatoes during processing.
Add salt if desired for flavor, typically 1/2 teaspoon per pint or 1 teaspoon per quart, though this is optional for flavor only and doesn't affect the canning process's safety.
Run a bubble remover tool or clean plastic knife around the inside of each jar, gently pressing to release any trapped air pockets, which can otherwise prevent a proper seal or cause liquid loss during processing.
Wipe jar rims thoroughly with a clean, damp cloth before applying lids, since any tomato residue on the rim can prevent the lid from sealing properly, one of the most common causes of seal failure.
Process in a Boiling Water Bath
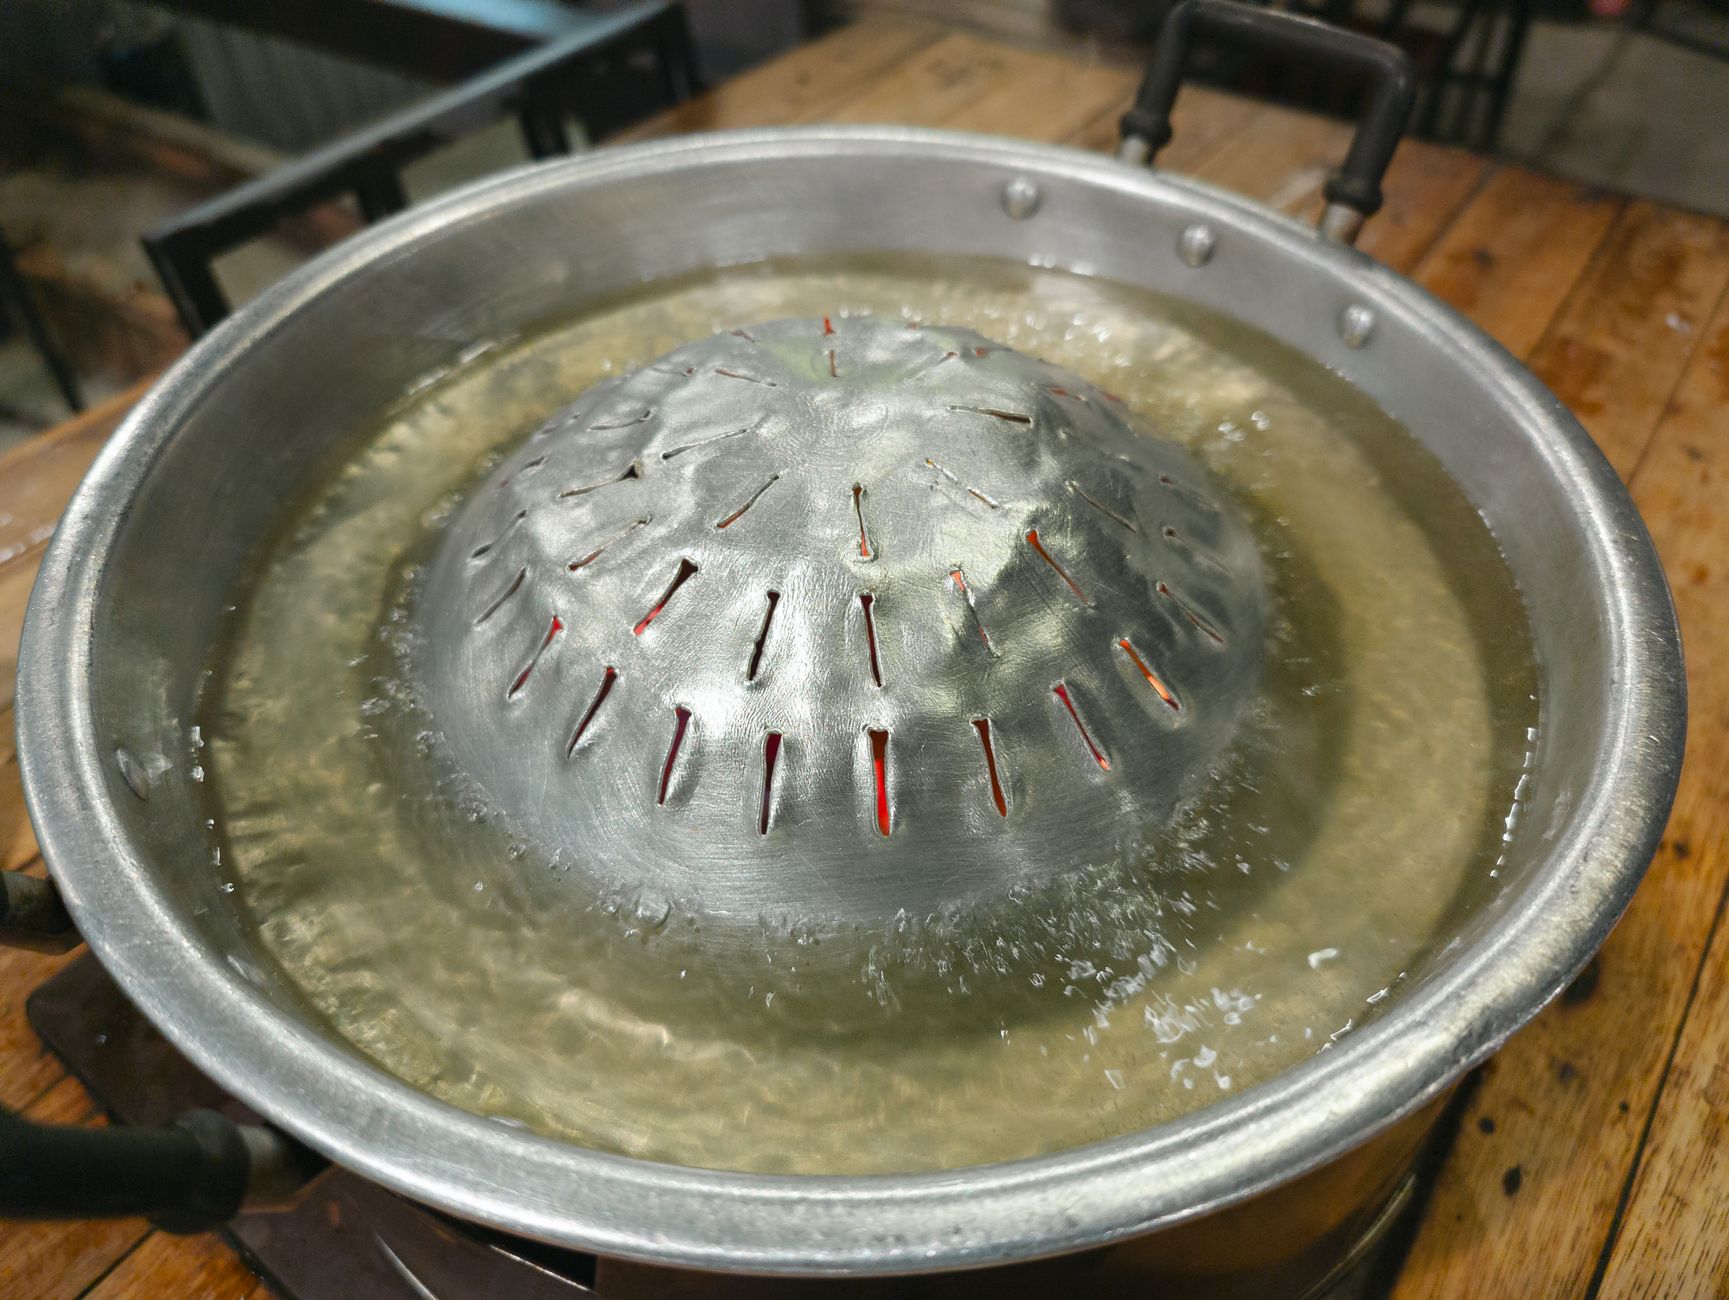
Place filled, sealed jars into your water bath canner, ensuring they're covered by at least 1-2 inches of water, then bring to a full rolling boil before starting your processing timer.
Process pint jars for 40 minutes and quart jars for 45 minutes for a raw pack, or reduce times slightly for a hot pack according to a current, tested recipe source, adjusting upward for altitudes above 1,000 feet.
Maintain a full rolling boil throughout the entire processing time, adding more boiling water if needed to keep jars adequately covered, since dropping below a boil at any point means restarting the timer from the beginning.
Once processing time is complete, turn off the heat and let jars sit in the water for about 5 minutes before removing, which helps prevent the temperature shock that can occasionally cause liquid loss or seal failure.
Remove jars carefully with a jar lifter, placing them on a towel-lined surface with space between each jar, and avoid touching the lids or disturbing jars for at least 12-24 hours while they cool and seal completely.
Check Seals and Store Properly
After the full cooling period, check each jar's seal by pressing the center of the lid; a properly sealed lid should be concave (curved slightly downward) and shouldn't flex or click when pressed.
Remove the metal bands before long-term storage, since leaving them on can trap moisture against the jar and potentially cause rust, though bands can be used temporarily to test seals before removal.
Any jar that hasn't sealed properly should be refrigerated and used within a few days, or reprocessed with a fresh lid within 24 hours if you catch the seal failure early enough.
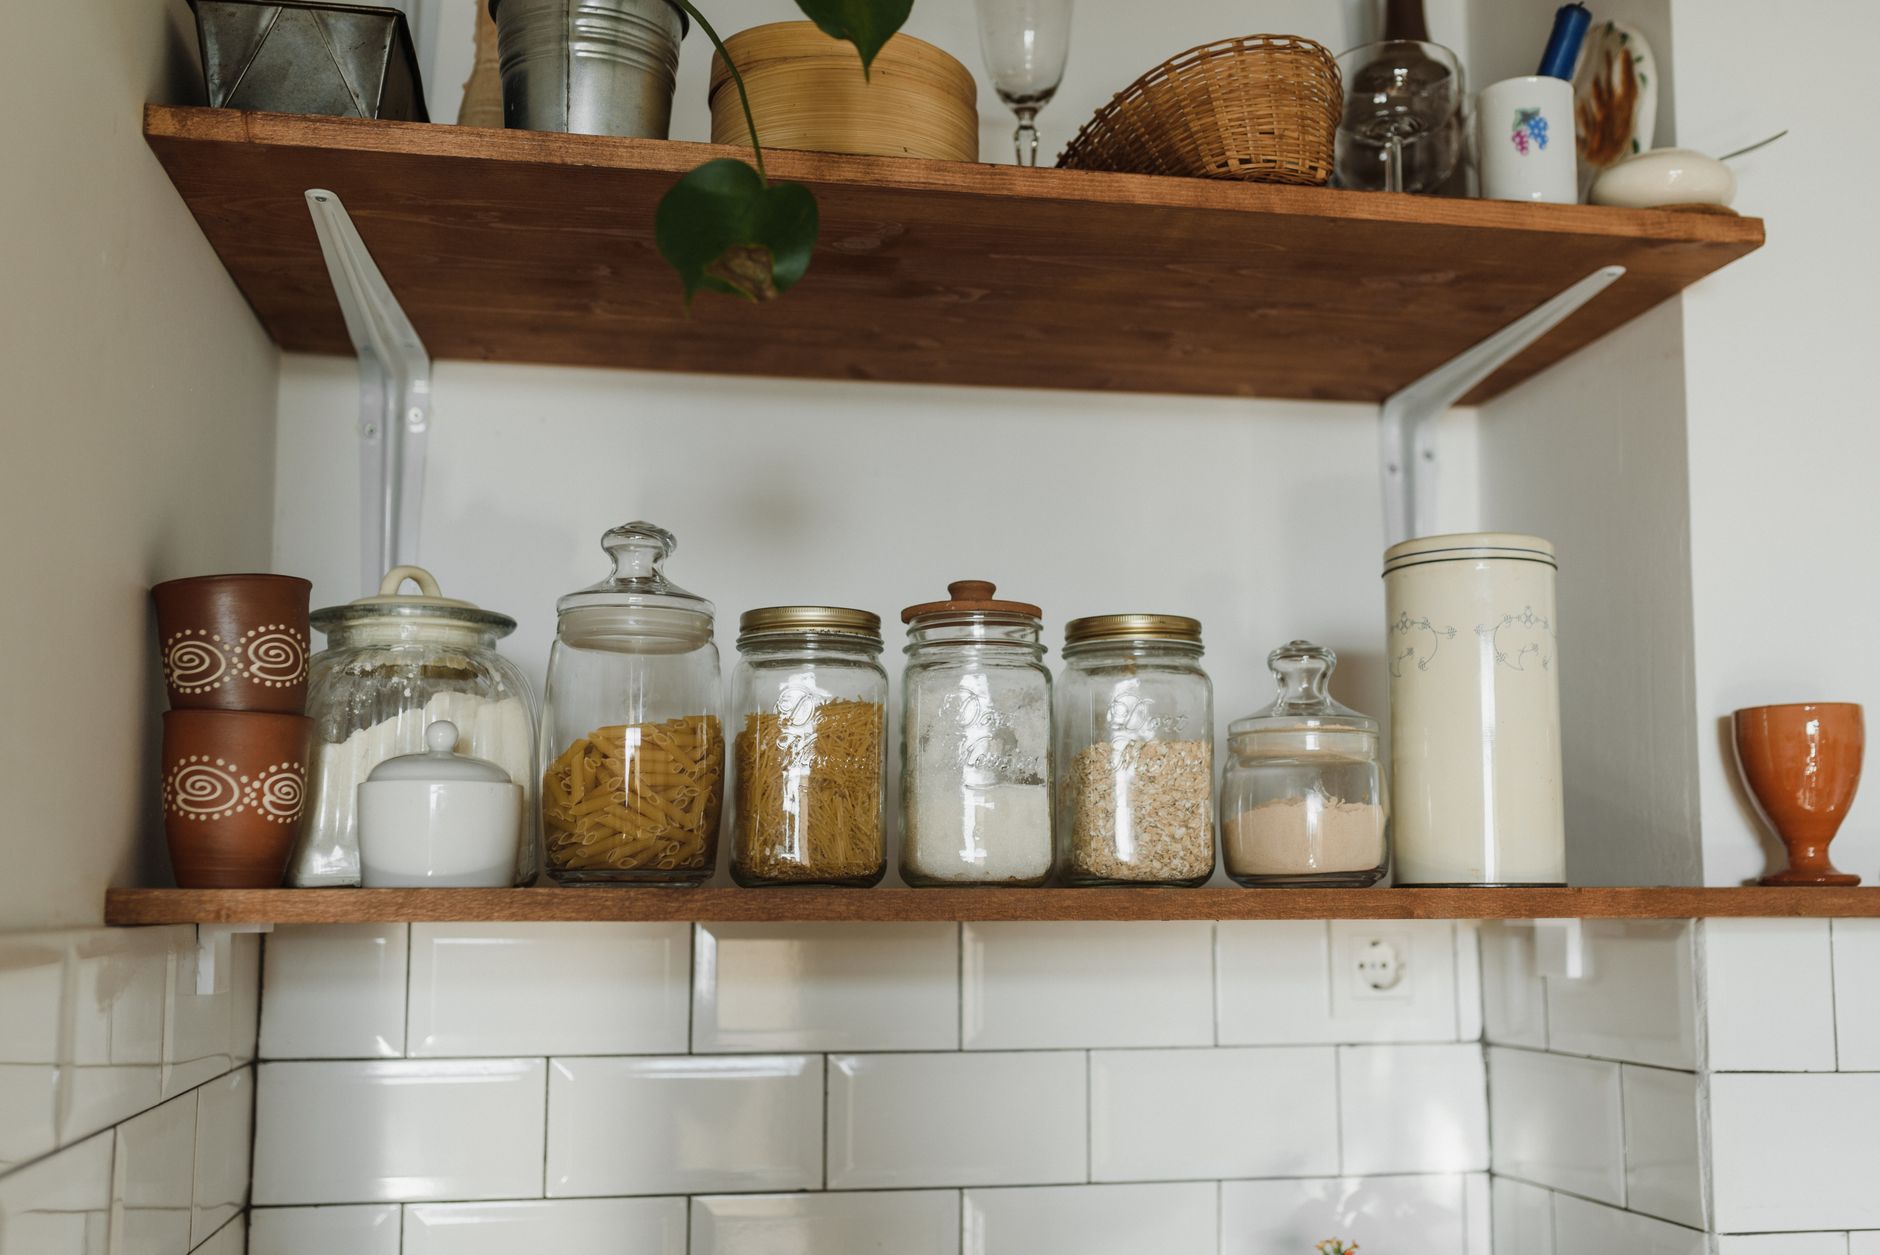
Label sealed jars with the canning date, and store in a cool, dark location, ideally below 75°F, where properly canned tomatoes typically remain good for 12-18 months, though quality gradually declines somewhat beyond that window even if still technically safe.
Inspect stored jars periodically for any signs of spoilage, including bulging lids, off odors upon opening, or visible mold, discarding any jar showing these warning signs without tasting the contents.
Common problems and fixes
| Problem | Likely cause | What to do |
|---|---|---|
| Jars don't seal after processing | Debris on the jar rim, an old or damaged lid, or insufficient processing time. | Refrigerate unsealed jars and use within a few days, or reprocess with a fresh lid within 24 hours if caught early. |
| Liquid loss from jars during processing | Air bubbles not fully removed before sealing, or too rapid a temperature change when removing jars. | Use a bubble remover tool more thoroughly during packing, and let jars sit in the turned-off canner for 5 minutes before removing. |
| Canned tomatoes appear cloudy or have an off odor when opened | Possible spoilage or contamination. | Discard the jar without tasting; when in doubt about any canned food's safety, throw it out rather than risk exposure to potential toxins. |
Gardener's checklist
Test what you learned
Why is added acid required when canning tomatoes today?
Answer: Modern varieties can have borderline low acidity levels
Why should bottled lemon juice be used instead of fresh?
Answer: Bottled juice has a standardized, guaranteed acidity level
What should you do if a water bath drops below boiling during processing?
Answer: Restart the processing timer once it returns to a full boil
Common questions
Do I really need to add lemon juice to canned tomatoes?
Yes, current USDA and extension office guidance recommends acidification for all home-canned tomatoes, since modern varieties can have borderline pH levels that, without added acid, could potentially support harmful bacterial growth in a sealed jar.
How long do home-canned tomatoes last?
Properly sealed jars stored in a cool, dark location typically remain good for 12-18 months, though quality gradually declines somewhat beyond that window even if the jar remains technically safe and sealed.
Can I can tomatoes without a water bath canner?
A large stockpot deep enough to fully submerge jars with 1-2 inches of water above them can substitute for a dedicated water bath canner, as long as it can maintain a full rolling boil for the required processing time.
What's the difference between raw pack and hot pack canning?
Raw pack involves packing unheated tomatoes directly into jars before processing, while hot pack involves briefly simmering tomatoes first, which reduces floating and shrinkage during processing but requires an extra preparation step.
Canning tomatoes safely comes down to one non-negotiable step above all others: adding acid to every jar, which, combined with proper processing time and technique, produces shelf-stable jars that capture summer's harvest for use throughout the year.
Frequently asked questions
How often should a vegetable garden be watered?
Frequency depends on weather, soil and plant size. Check the soil rather than watering on a rigid schedule.
Is compost enough fertilizer?
Compost improves soil and provides nutrients slowly. Heavy-feeding crops may still need additional feeding.

The Sproutstead Editorial Team
We create clear, practical gardening and homesteading guides designed for real homes and beginner growers.
View author profile →