
Green beans are a low-acid vegetable and must be canned using a pressure canner, never a water bath canner, since only pressure canning reaches temperatures high enough (240°F) to destroy Clostridium botulinum spores that cause botulism. Pack raw or hot-packed beans into jars, cover with boiling water leaving 1-inch headspace, then process at 10-15 PSI (adjusted for altitude) for 20-25 minutes for pints or 25 minutes for quarts.
What you will need
Understand Why Pressure Canning Is Required
Green beans are a low-acid food, with a pH well above the 4.6 threshold below which Clostridium botulinum, the bacteria responsible for botulism, cannot grow and produce its dangerous toxin.
Water bath canning only reaches 212°F (the boiling point of water), which is sufficient for high-acid foods like tomatoes with added acid, jams, and pickles, but is not hot enough to destroy botulism spores in low-acid foods.
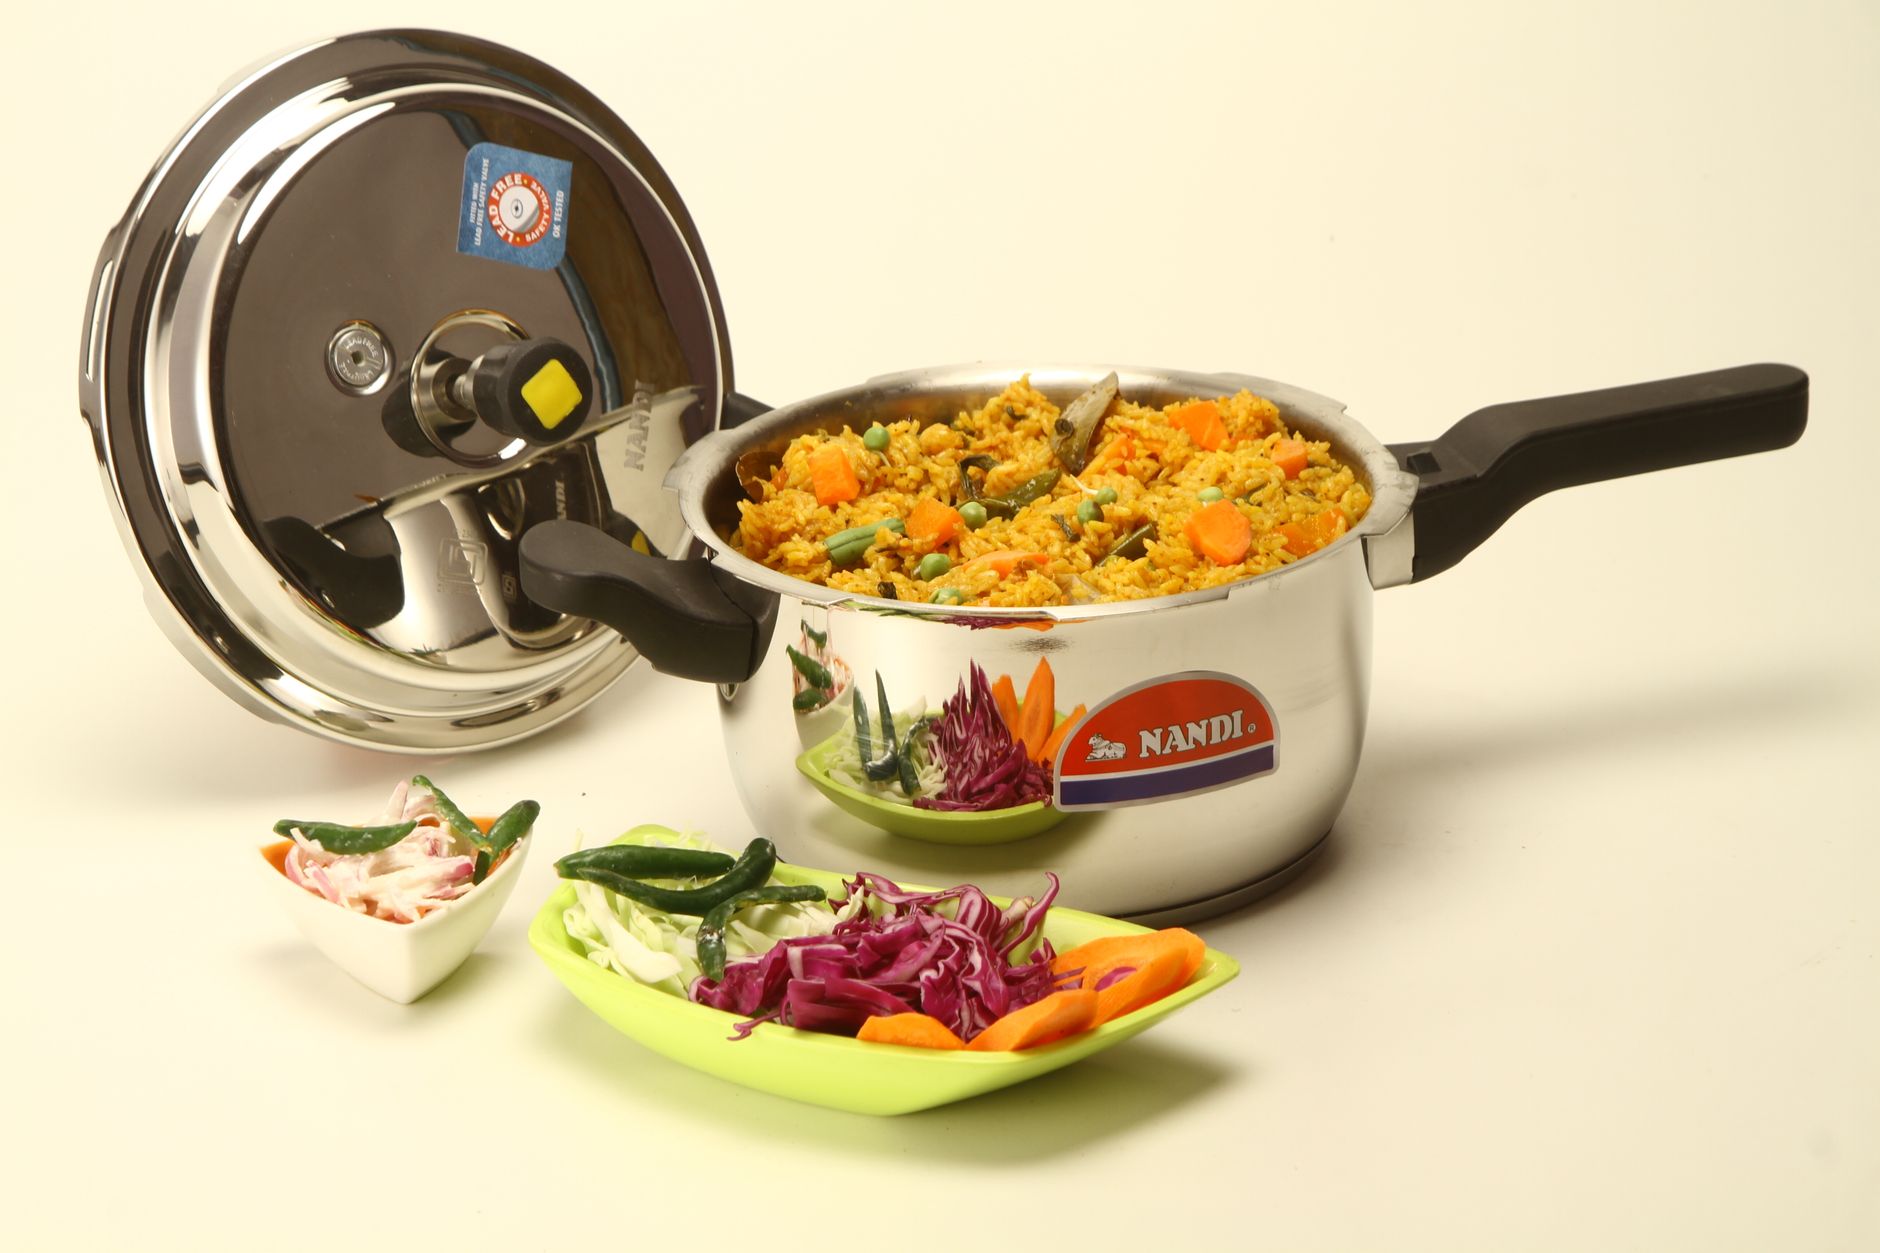
Pressure canning reaches 240°F or higher by building pressure inside a sealed canner, a temperature genuinely necessary to destroy botulism spores in low-acid vegetables like green beans, corn, and most other vegetables besides tomatoes.
There is no safe substitute for pressure canning when preserving green beans for room-temperature, shelf-stable storage; recipes suggesting water bath canning for green beans are outdated or unsafe and should not be followed regardless of source.
If you don't have access to a pressure canner, safe alternatives for preserving green beans include freezing, pickling with adequate vinegar for water bath processing, or simply refrigerating for short-term use.
Select and Prepare Fresh Green Beans
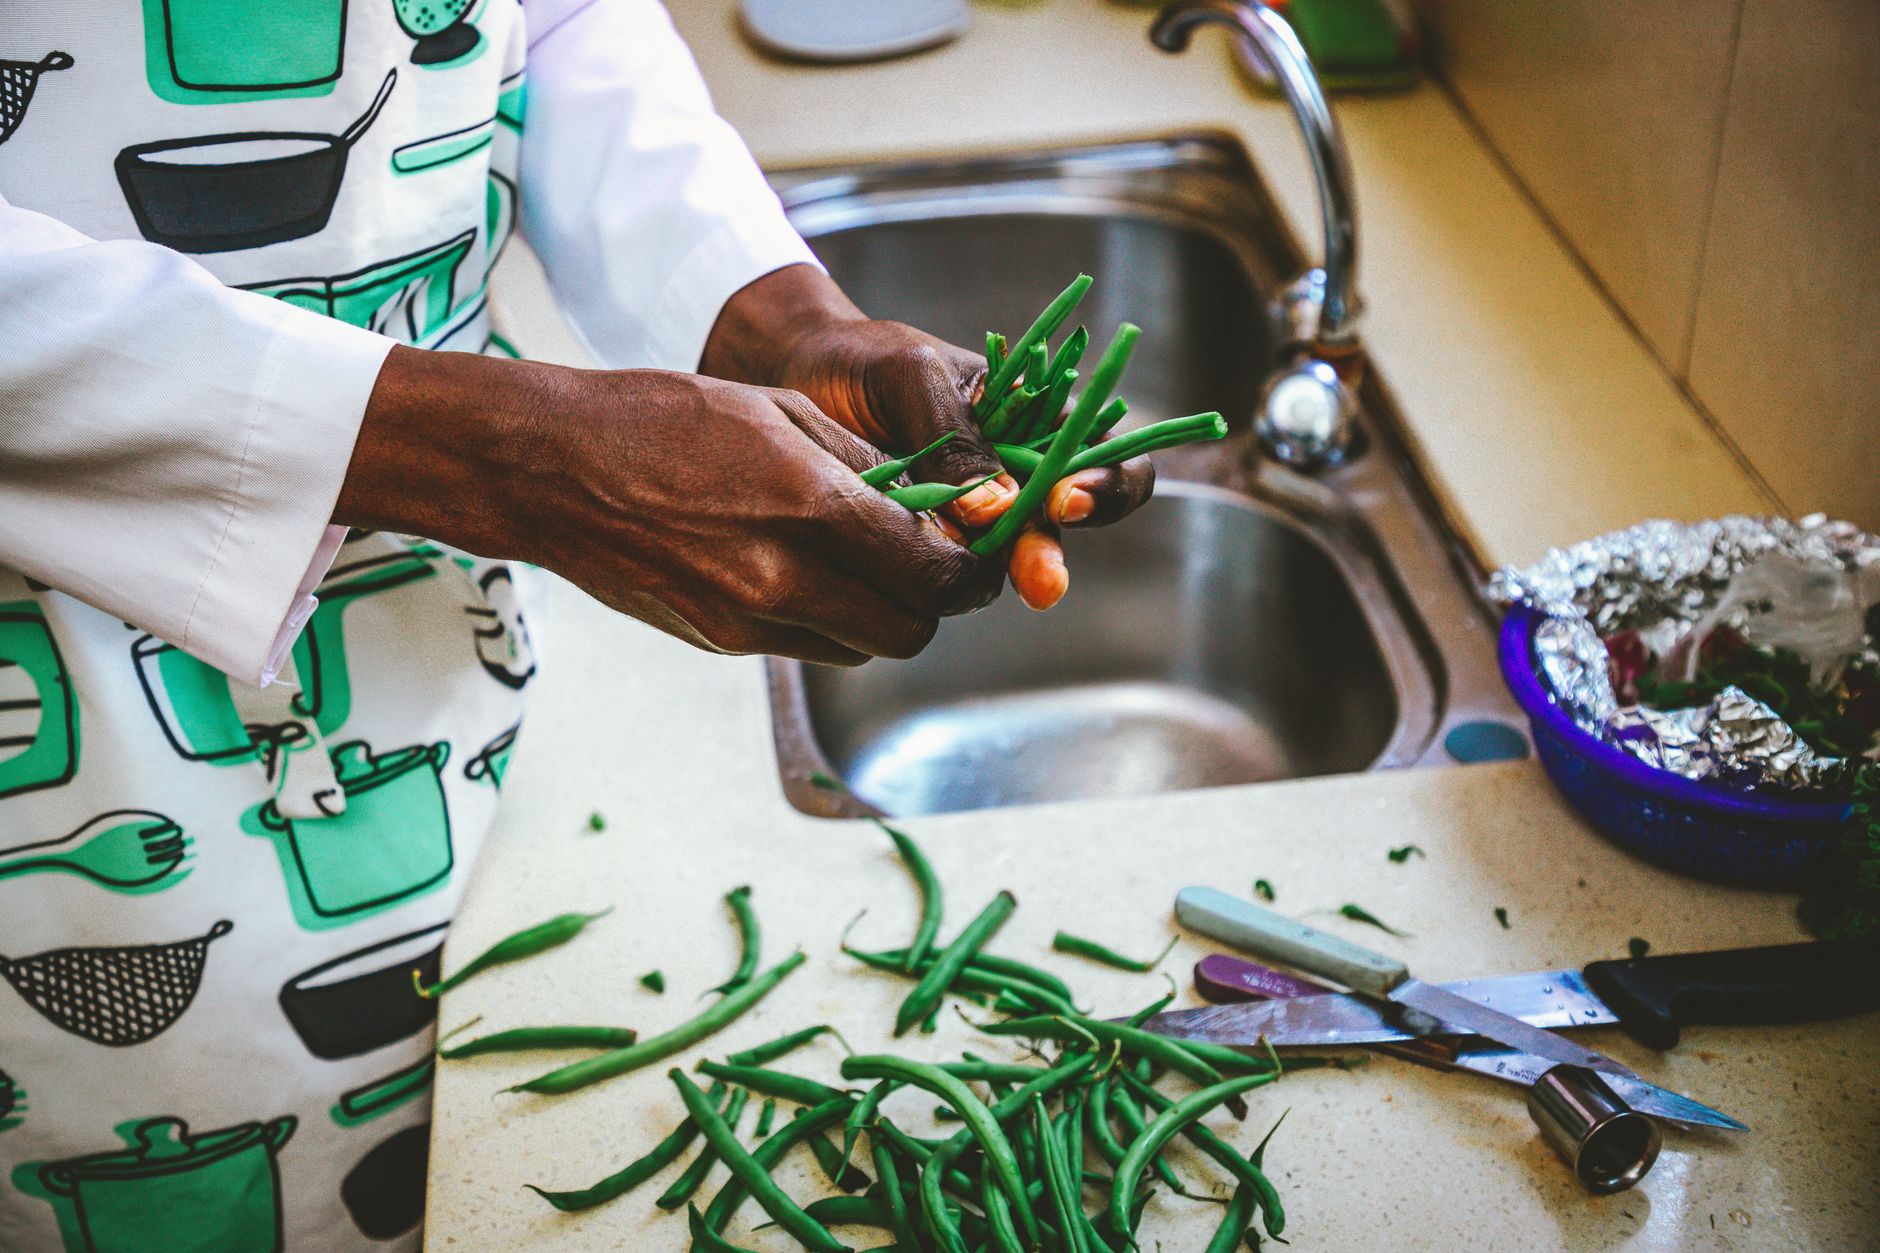
Choose fresh, firm, unblemished green beans, ideally harvested or purchased within a day or two of canning, since beans that have sat too long lose crispness and quality in the finished product.
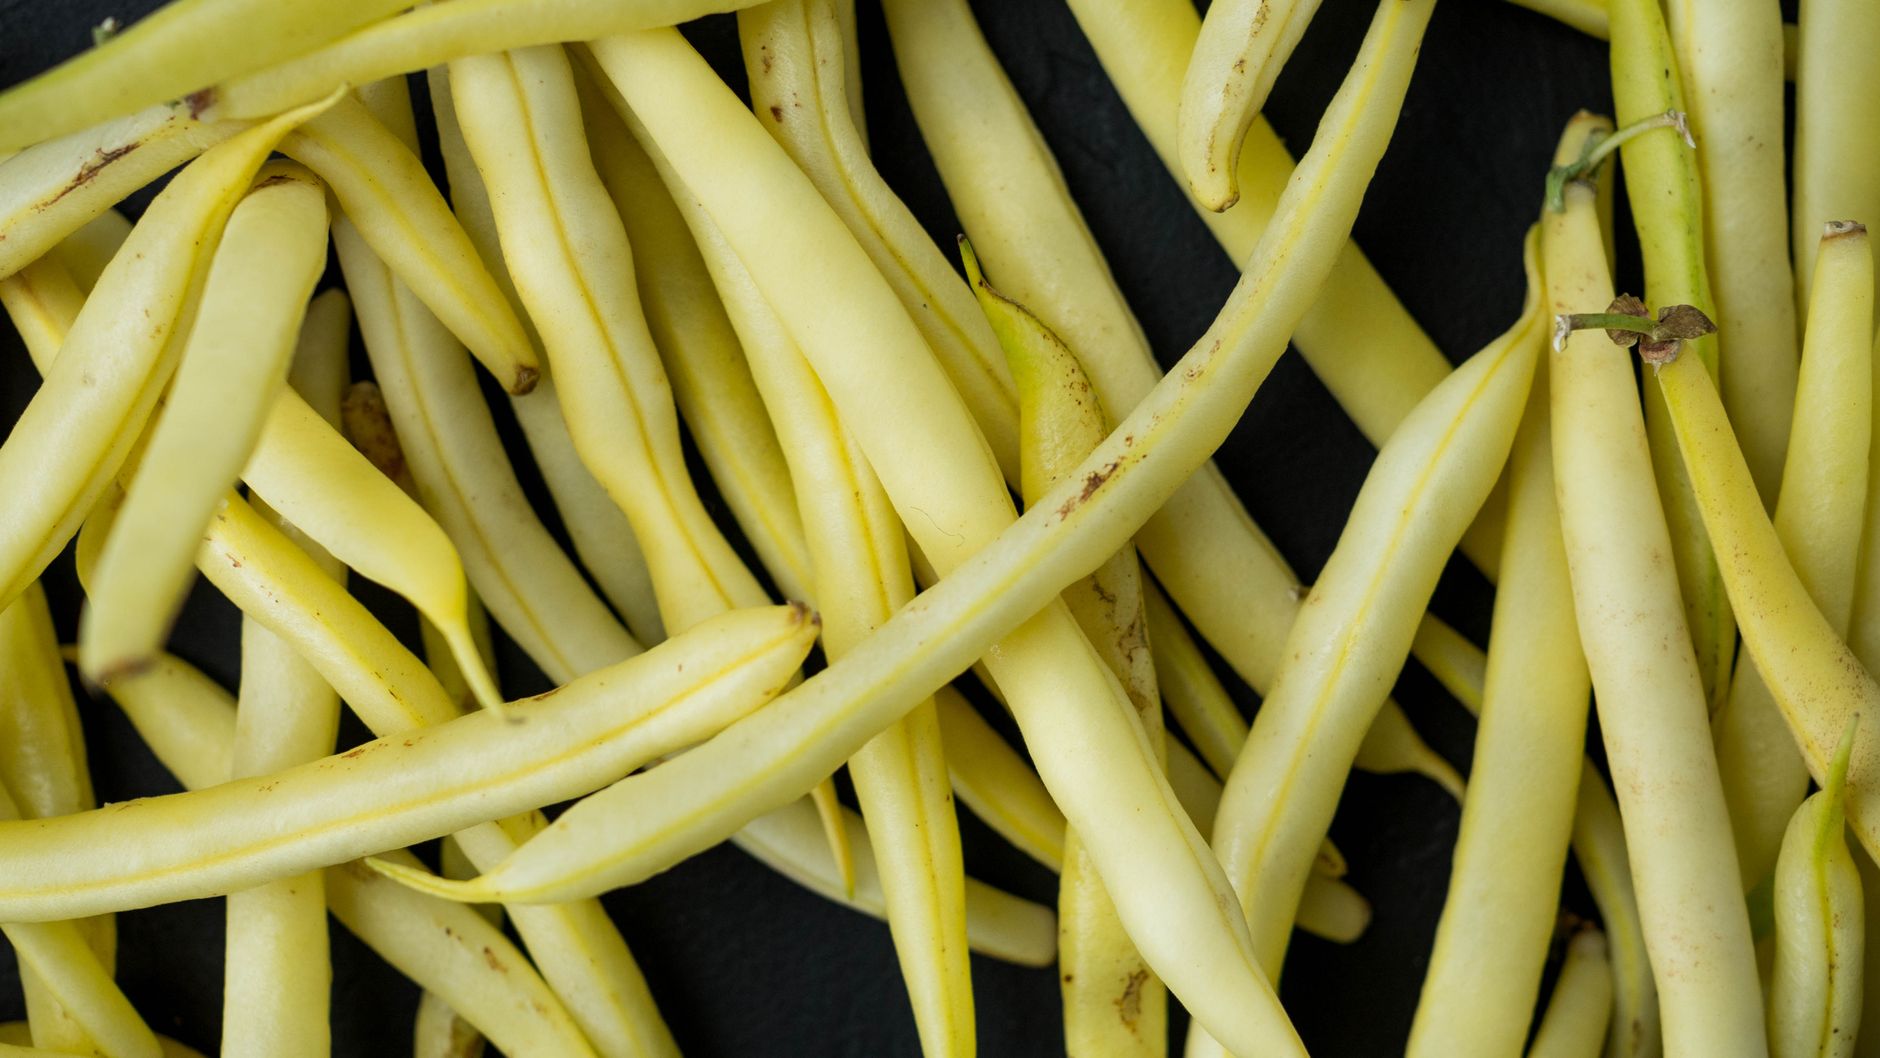
Wash beans thoroughly under running water, then trim both ends, removing any tough strings if your variety has them (many modern varieties are stringless).
Cut or snap beans into pieces sized for your jars, typically 1-2 inches long, or leave whole if you prefer, packing vertically for a more visually appealing presentation.
Sort out any beans that are overly mature, tough, or showing signs of damage, since these won't improve through the canning process and are best set aside for other uses like composting.
Work through your batch in a reasonably timely manner once you begin, since prepared beans sitting too long before processing can lose quality, though a short delay while completing preparation isn't a safety concern.
Pack Jars Using Raw or Hot Pack Method
For a raw pack, tightly pack prepared raw beans into jars, leaving 1 inch of headspace, then cover with boiling water, also leaving the same 1-inch headspace.
For a hot pack, boil prepared beans in water for 5 minutes first, then pack the hot beans into jars along with enough of the cooking liquid to cover, again leaving 1 inch of headspace.
Hot packing tends to produce beans with slightly better color and texture retention, while raw packing is faster and simpler, with both methods being equally safe when properly processed.
Add 1/2 teaspoon of canning salt per pint or 1 teaspoon per quart if desired for flavor, understanding this is entirely optional and doesn't affect the safety of the canning process.
Run a bubble remover tool around the inside of each jar to release trapped air pockets, then wipe jar rims thoroughly clean before applying lids, since any residue can prevent a proper seal.
Load and Operate the Pressure Canner

Add the amount of water specified by your pressure canner's manufacturer instructions (typically 2-3 inches) to the canner base, then load filled jars onto the rack, ensuring they don't touch each other or the canner walls.
Secure the canner lid according to manufacturer instructions, then heat until steam vents steadily from the vent pipe, and let it vent for a full 10 minutes before closing the petcock or adding the weighted gauge, a step that removes air from the canner essential for accurate pressure readings.
Bring the canner up to the required pressure, typically 10 PSI at sea level for a weighted gauge canner (adjust for your specific altitude and canner type), then begin timing once the correct pressure is reached and maintained.
Process pint jars for 20 minutes and quart jars for 25 minutes once proper pressure is reached, adjusting pressure (not time) for altitudes above 1,000 feet according to a current, tested chart specific to your canner type.
Monitor the canner throughout processing, adjusting heat as needed to maintain consistent pressure, since fluctuating pressure can affect processing effectiveness and generally requires restarting the timer if pressure drops significantly.
Depressurize and Remove Jars Safely

After processing time completes, turn off the heat and let the canner depressurize naturally, never forcing quick-release by removing the weight or opening the petcock prematurely, since this can cause jar liquid loss or even personal injury from the sudden pressure release.
Natural depressurization typically takes 30-45 minutes depending on your canner size and model; wait until the pressure gauge reads zero or the pressure indicator has fully dropped before proceeding.
Once fully depressurized, wait an additional 10 minutes before opening the canner lid, then carefully remove the lid, tilting it away from your face to avoid any residual steam.
Remove jars carefully with a jar lifter, placing them on a towel-lined surface with space between each jar, avoiding any tilting that could disturb the still-sealing lids.
Let jars cool undisturbed for 12-24 hours before checking seals, handling, or moving them, since the sealing process continues actively during this cooling period.
Check Seals and Store Your Canned Beans
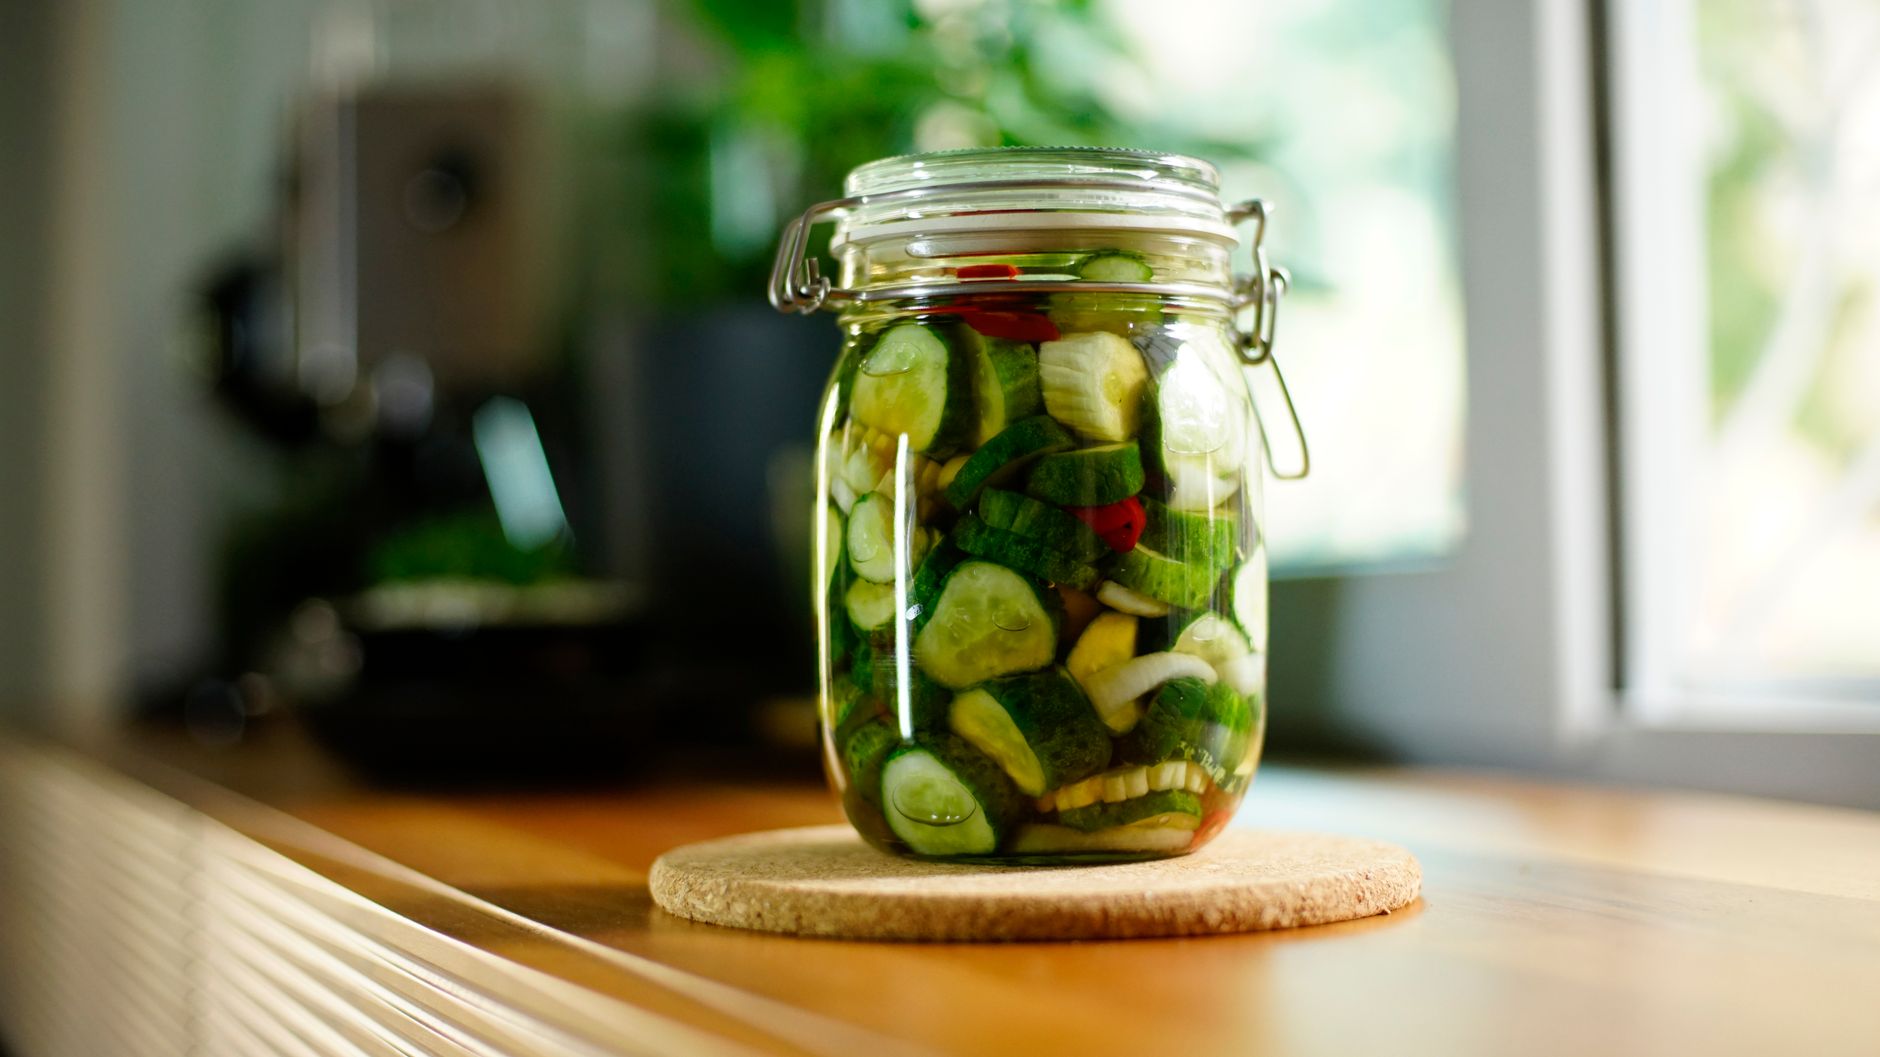
After the full cooling period, check each jar's seal by pressing the center of the lid; a properly sealed lid will be concave and won't flex or click when pressed.
Remove metal bands before storage, since leaving them on can trap moisture and cause rust, though they can be reused for testing seals before this removal step.
Any jar that hasn't sealed properly should be refrigerated and used within a few days, or reprocessed with a fresh lid within 24 hours following the complete pressure canning process again.
Label sealed jars with the canning date, and store in a cool, dark location where properly canned, pressure-processed green beans remain good for 12-18 months, with quality gradually declining somewhat beyond that window.
Before eating any home-canned low-acid vegetable, boil the contents for 10 minutes (a standard safety precaution recommended by extension services), and discard immediately without tasting if you notice any off odor, unusual color, or spurting liquid when the jar is opened.
Maintain Your Pressure Canner for Reliable Results

Inspect the rubber gasket or sealing ring before each use, checking for cracks, stiffness, or damage, since a compromised gasket can prevent the canner from reaching or maintaining proper pressure.
Have dial gauge canners tested for accuracy annually, typically through your local agricultural extension office, since these gauges can drift out of calibration over time in ways that aren't visible without testing.
Clean the vent pipe and safety valve after each use, ensuring they remain clear of any food debris that could block proper pressure regulation during future canning sessions.
Store your pressure canner with the lid off or loosely placed rather than fully sealed, which helps the gasket maintain its shape and prevents the trapped moisture that can occur in prolonged sealed storage.
Common problems and fixes
| Problem | Likely cause | What to do |
|---|---|---|
| Pressure drops significantly during processing | Inconsistent heat source, or a canner seal issue allowing pressure to escape. | Restart the timer once pressure returns to the correct level, and check the canner's gasket and seal for any issues before future batches. |
| Jars lose significant liquid during processing | Rapid pressure changes, insufficient headspace, or too-rapid depressurization after processing. | Ensure proper headspace when packing, and always allow natural depressurization rather than forcing a quick release. |
| Jar contents look spoiled or smell off when opened | Possible processing failure or seal breach allowing contamination. | Discard the jar without tasting; when in doubt about any low-acid canned food, throw it out rather than risk exposure to potential toxins. |
Gardener's checklist
Test what you learned
Why must green beans be pressure canned rather than water bath canned?
Answer: Water bath canning can't reach temperatures high enough to destroy botulism spores in low-acid foods
Why should a pressure canner be vented for 10 minutes before pressurizing?
Answer: It removes air from the canner, essential for accurate pressure
What should you do before eating home-canned green beans?
Answer: Boil the contents for 10 minutes as a safety precaution
Common questions
Can I water bath can green beans if I add vinegar?
Only if following a specifically tested pickled green bean recipe with adequate vinegar for high-acid preservation; plain canned green beans (not pickled) must always be pressure canned regardless of any other modifications.
What altitude adjustments are needed for pressure canning?
Standard processing pressures assume sea level; at higher altitudes, pressure must be increased according to a tested chart specific to your canner type (weighted or dial gauge), since water boils at a lower temperature at altitude, requiring higher pressure to compensate.
How long do pressure-canned green beans last?
Properly processed and sealed jars typically remain good for 12-18 months when stored in a cool, dark location, though quality gradually declines somewhat beyond that window even if the jar remains technically safe.
What's the difference between raw pack and hot pack for green beans?
Raw pack involves packing unheated beans directly into jars before processing, while hot pack involves briefly boiling beans first; both are safe, tested methods, with hot pack generally producing slightly better color and texture retention.
Can I use a dial gauge instead of a weighted gauge pressure canner?
Yes, both are safe and effective, though dial gauge canners should be tested for accuracy annually (often through your local extension office), since their reading can drift over time, unlike weighted gauges which are inherently self-regulating.
Do I need to add salt when canning green beans?
No, salt is entirely optional and added purely for flavor preference; it has no effect on the safety of the canning process itself, which relies on the pressure and temperature reached during processing.
Pressure canning is a non-negotiable safety requirement for green beans, and following tested processing times and pressures precisely, along with allowing natural depressurization, produces safe, shelf-stable jars that capture your harvest for months of future use.
Frequently asked questions
How often should a vegetable garden be watered?
Frequency depends on weather, soil and plant size. Check the soil rather than watering on a rigid schedule.
Is compost enough fertilizer?
Compost improves soil and provides nutrients slowly. Heavy-feeding crops may still need additional feeding.

The Sproutstead Editorial Team
We create clear, practical gardening and homesteading guides designed for real homes and beginner growers.
View author profile →

