Ferment vegetables by submerging them in a 2-5% salt brine, which favors beneficial lactic acid bacteria over harmful organisms, then letting them sit at room temperature for 1-4 weeks depending on the vegetable and desired sourness. Keep vegetables fully submerged beneath the brine throughout fermentation to prevent mold, taste-test periodically starting around day 5-7, and refrigerate once fermentation reaches your preferred flavor.
What you will need
Understand How Lacto-Fermentation Works

Lacto-fermentation relies on lactic acid bacteria, naturally present on vegetables and in the environment, which thrive in a salty, low-oxygen environment while less desirable organisms are inhibited by the same conditions.
As these beneficial bacteria consume the natural sugars in vegetables, they produce lactic acid, which both preserves the vegetables and gives fermented foods their characteristic tangy, sour flavor.
This process is fundamentally different from vinegar pickling, relying on biological fermentation rather than added acid, and produces the complex, evolving flavor characteristic of foods like traditional sauerkraut and kimchi.
The salt concentration in the brine is genuinely important, since it's specifically calibrated to favor lactic acid bacteria while discouraging the growth of harmful organisms during the fermentation period.
This traditional preservation method predates refrigeration and has been used across many cultures worldwide, from European sauerkraut to Korean kimchi to countless other regional variations of essentially the same core technique.
Prepare Your Brine at the Correct Ratio

A standard fermentation brine uses 2-5% salt by weight relative to water, which translates to roughly 1-3 tablespoons of salt per quart of water, depending on your specific vegetable and desired final texture.
Use non-iodized salt specifically, such as sea salt or canning salt, since iodine and anti-caking agents in table salt can interfere with fermentation or produce cloudy, less appealing brine.
For vegetables that release their own liquid when salted directly (like cabbage for sauerkraut), you can sometimes skip a separate liquid brine entirely, instead massaging salt into shredded vegetables until they release enough of their own juice to create a submersion liquid.
For firmer vegetables that don't release much liquid (like whole cucumbers or carrots), prepare a separate brine by dissolving salt into filtered or dechlorinated water, since chlorine can inhibit the beneficial fermentation bacteria.
Weighing salt and water with a kitchen scale produces more consistent, reliable results than measuring by volume alone, particularly important for beginners still developing a feel for proper brine strength.
Pack Vegetables and Ensure Full Submersion

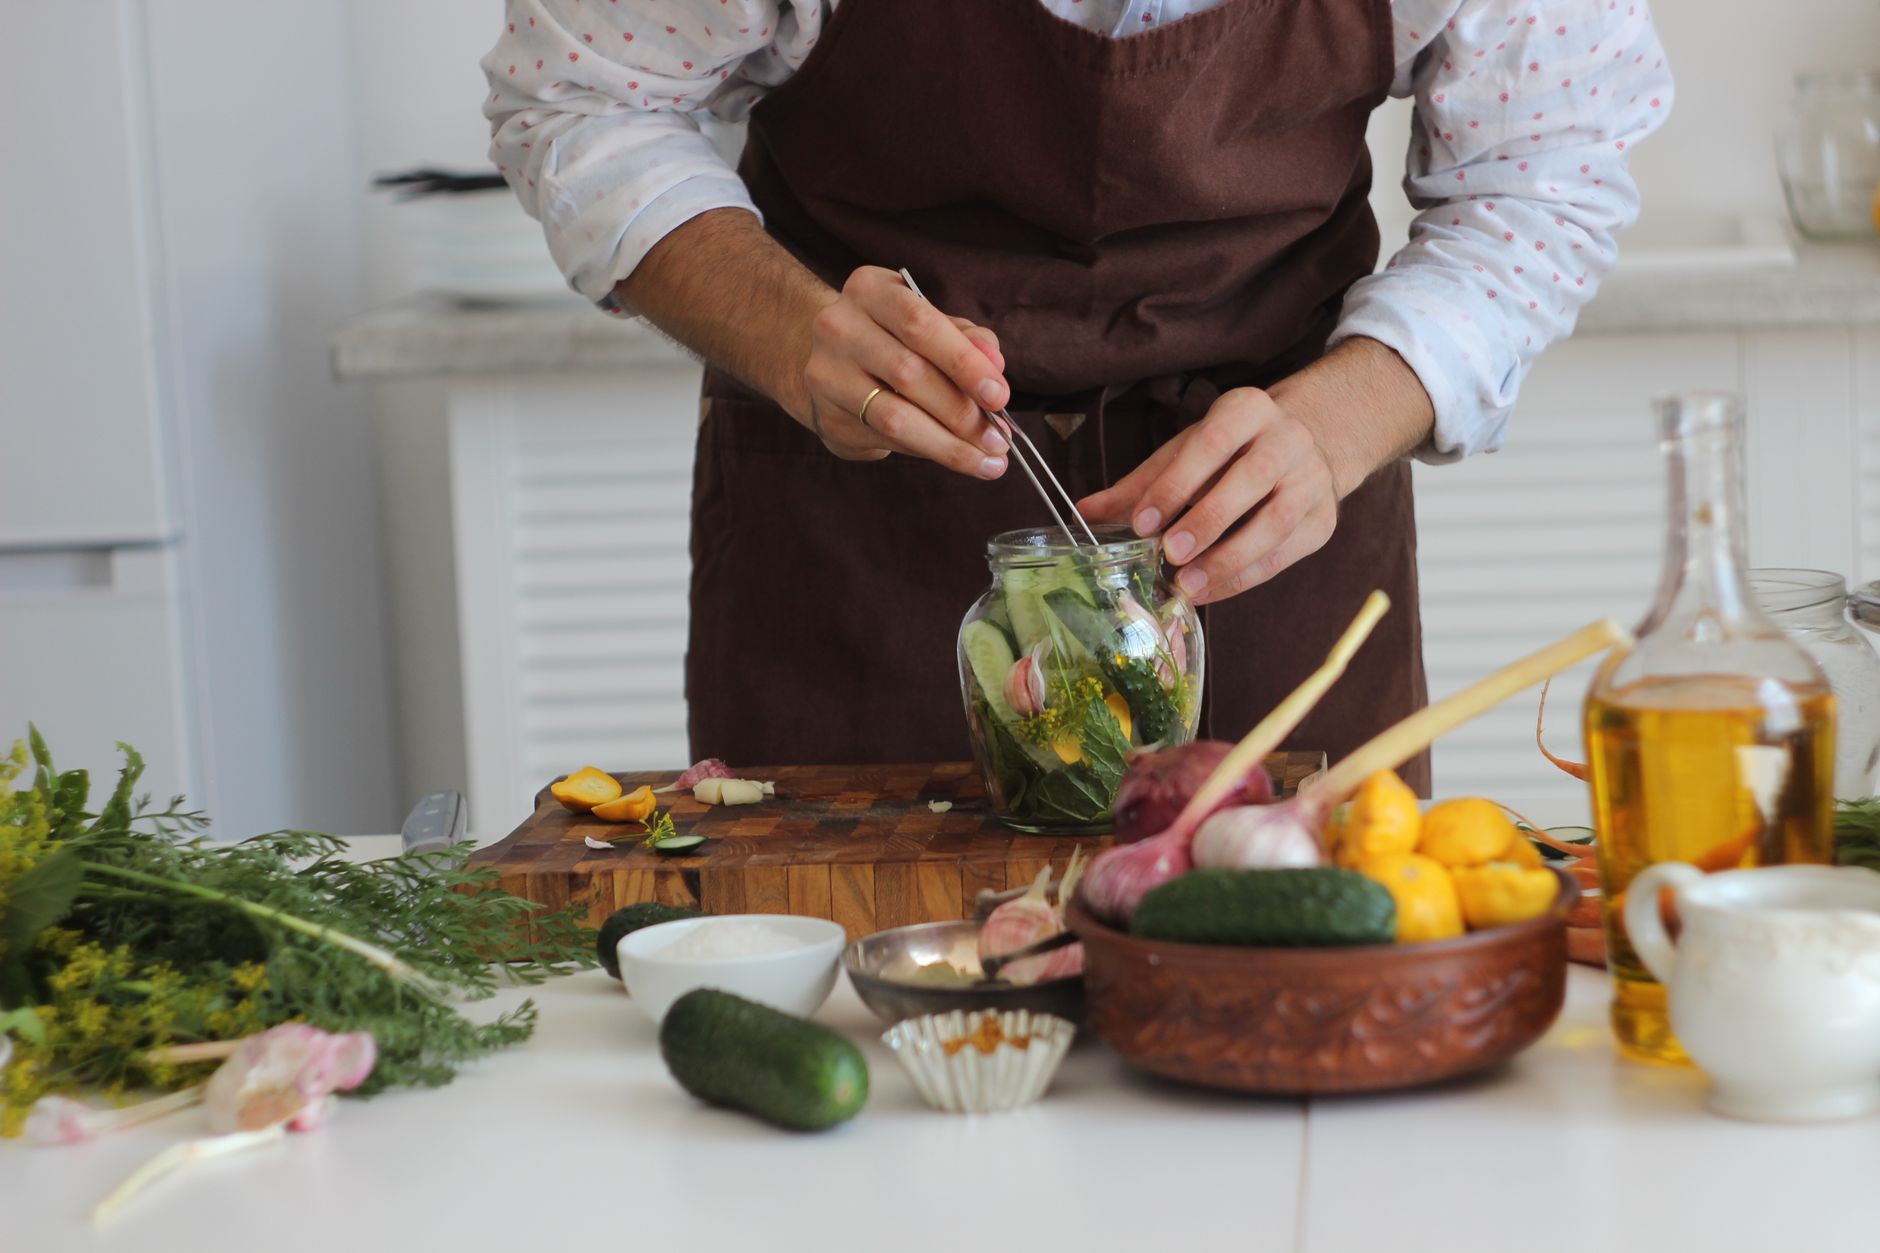
Pack prepared vegetables tightly into your fermentation vessel, leaving some headspace at the top for the brine and for gases produced during active fermentation.
Pour brine over the vegetables until fully covered, then use a fermentation weight, a smaller jar, or a clean rock in a bag to hold everything beneath the liquid surface throughout the fermentation period.
Any vegetable pieces exposed above the brine surface are at genuine risk of developing mold, since they're exposed to oxygen and lack the protective, low-oxygen environment the brine provides beneath its surface.
Cover the jar with a cloth secured by a rubber band, or use a specialized fermentation lid with a built-in airlock, both of which allow gas produced during fermentation to escape without letting contaminants in.
Check submersion daily during the first week especially, since vegetables can sometimes float upward as fermentation gas develops, requiring you to adjust or add weight to maintain proper submersion.
Ferment at Room Temperature
Place your fermentation vessel in a location maintaining 65-75°F, away from direct sunlight, since consistent moderate temperature supports predictable, healthy fermentation activity.
Warmer temperatures speed up fermentation but can sometimes produce softer texture or less complex flavor development, while cooler temperatures slow the process but often develop more nuanced flavor over a longer period.
You should notice small bubbles forming within a few days, confirming active fermentation is underway, along with the brine gradually becoming cloudier as beneficial bacteria populations grow.
Fermentation time varies significantly by vegetable and personal preference, ranging from about a week for milder results to 4 weeks or more for more intensely sour, traditionally aged flavor.
Taste-test periodically using a clean utensil starting around day 5-7, continuing to check every few days until the flavor and texture reach your personal preference before moving to refrigerated storage.
Distinguish Normal Signs from Actual Problems

A white, filmy layer sometimes forms on the brine surface, called kahm yeast, which is generally harmless (though it can affect flavor if left too long) and can simply be skimmed off, distinct from true mold.
True mold typically appears fuzzy and comes in colors like green, black, pink, or blue, and any batch developing this type of growth should be discarded rather than attempting to skim and salvage it.
Some cloudiness in the brine and small bubbles rising to the surface are both completely normal signs of active, healthy fermentation, not indications of any problem.
A pleasantly sour, tangy smell is expected and desirable; a rotten, putrid, or otherwise clearly off odor is a genuine warning sign that something has gone wrong and the batch should be discarded.
When genuinely uncertain whether a growth is normal kahm yeast or concerning mold, the safer choice is to discard the batch rather than risk consuming something that could cause illness.
Move to Refrigerated Storage

Once your fermented vegetables reach your preferred flavor and texture, transfer the jar to the refrigerator, which dramatically slows further fermentation without fully stopping it entirely.
Keep vegetables submerged in their brine during refrigerated storage as well, following the same principle as active fermentation, since exposed portions can still develop unwanted growth even in cold storage.
Properly fermented and refrigerated vegetables typically keep well for several months, sometimes up to a year, with flavor continuing to slowly develop and deepen even at refrigerator temperatures.
Use clean utensils each time you remove vegetables from the jar, avoiding introducing contamination from hands or previously used utensils that could affect the remaining batch's quality.
Label jars with the fermentation start date, which helps you track how long a batch has been developing and plan future batches based on your preferred fermentation timeline.
Explore Different Vegetables and Combinations

Classic sauerkraut uses just cabbage and salt, relying on the cabbage's own released liquid rather than a separately prepared brine, making it one of the simplest fermentation projects to start with.
Mixed vegetable ferments combine several vegetables in one jar, such as carrots, radishes, and cauliflower together, which can create interesting flavor combinations while using the same basic brine technique throughout.
Adding garlic, ginger, chili peppers, or fresh herbs to your brine introduces additional flavor dimensions beyond the basic tangy fermented taste, similar to how different cultures have developed distinct traditional fermented dishes.
Once you're comfortable with the fundamentals, experimenting with less common vegetables like green beans, beets, or even fruit combinations opens up considerable room for personal creativity within this traditional technique.
Common problems and fixes
| Problem | Likely cause | What to do |
|---|---|---|
| Vegetables float above the brine surface | Insufficient weight, or gas produced during fermentation pushing pieces upward. | Add or adjust a fermentation weight to keep vegetables submerged, checking daily especially during the first active week. |
| Fuzzy, colorful growth appears on the surface | True mold contamination, often from insufficient submersion or unclean equipment. | Discard the entire batch rather than attempting to skim and salvage it, and ensure thorough submersion in future attempts. |
| Fermented vegetables taste too salty | Brine concentration was too high relative to the recipe's intended ratio. | Rinse briefly before eating to reduce surface salt, and use a slightly lower salt percentage within the safe 2-5% range in future batches. |
Gardener's checklist
Test what you learned
What is the standard salt concentration for a fermentation brine?
Answer: 2-5%
Why must vegetables stay submerged beneath the brine during fermentation?
Answer: Exposed portions are at risk of mold growth
What is kahm yeast?
Answer: A generally harmless white film that can be skimmed off
Common questions
What vegetables can be lacto-fermented?
Most vegetables work well, including cabbage (sauerkraut), cucumbers, carrots, radishes, and peppers; firmer vegetables generally hold texture better through fermentation than very soft or delicate ones.
How do I know if my fermented vegetables have gone bad?
True mold (fuzzy, colorful growth) and a putrid, rotten smell are clear warning signs to discard a batch; harmless kahm yeast (a white film) and a pleasantly sour smell are both normal and expected during healthy fermentation.
Do fermented vegetables need to be refrigerated?
During active fermentation, room temperature storage is intended and necessary; once fermented to your preferred flavor, refrigeration significantly slows further fermentation and extends shelf life to several months or longer.
Is homemade fermented food the same as store-bought?
Many popular store-bought fermented products (some pickles, sauerkraut) are actually pasteurized after fermentation for shelf stability, which kills the beneficial live bacteria; homemade, unpasteurized ferments retain these live cultures throughout their refrigerated shelf life.
Can I ferment vegetables without a special fermentation crock or weight?
Yes, a simple glass jar with a smaller jar or clean weighted object placed inside to hold vegetables under the brine works perfectly well; specialized fermentation equipment adds convenience but isn't strictly necessary for successful results.
Why does my fermented food smell strong?
A pronounced tangy, sour smell is completely normal and expected for lacto-fermented foods, reflecting the lactic acid produced during fermentation; this differs from a putrid or rotten odor, which would indicate spoilage rather than normal fermentation.
Lacto-fermenting vegetables is a genuinely accessible traditional preservation technique, and mastering the core principle of full submersion beneath an appropriately salted brine unlocks endless variation across nearly any vegetable you'd like to try.
Frequently asked questions
How often should a vegetable garden be watered?
Frequency depends on weather, soil and plant size. Check the soil rather than watering on a rigid schedule.
Is compost enough fertilizer?
Compost improves soil and provides nutrients slowly. Heavy-feeding crops may still need additional feeding.

The Sproutstead Editorial Team
We create clear, practical gardening and homesteading guides designed for real homes and beginner growers.
View author profile →