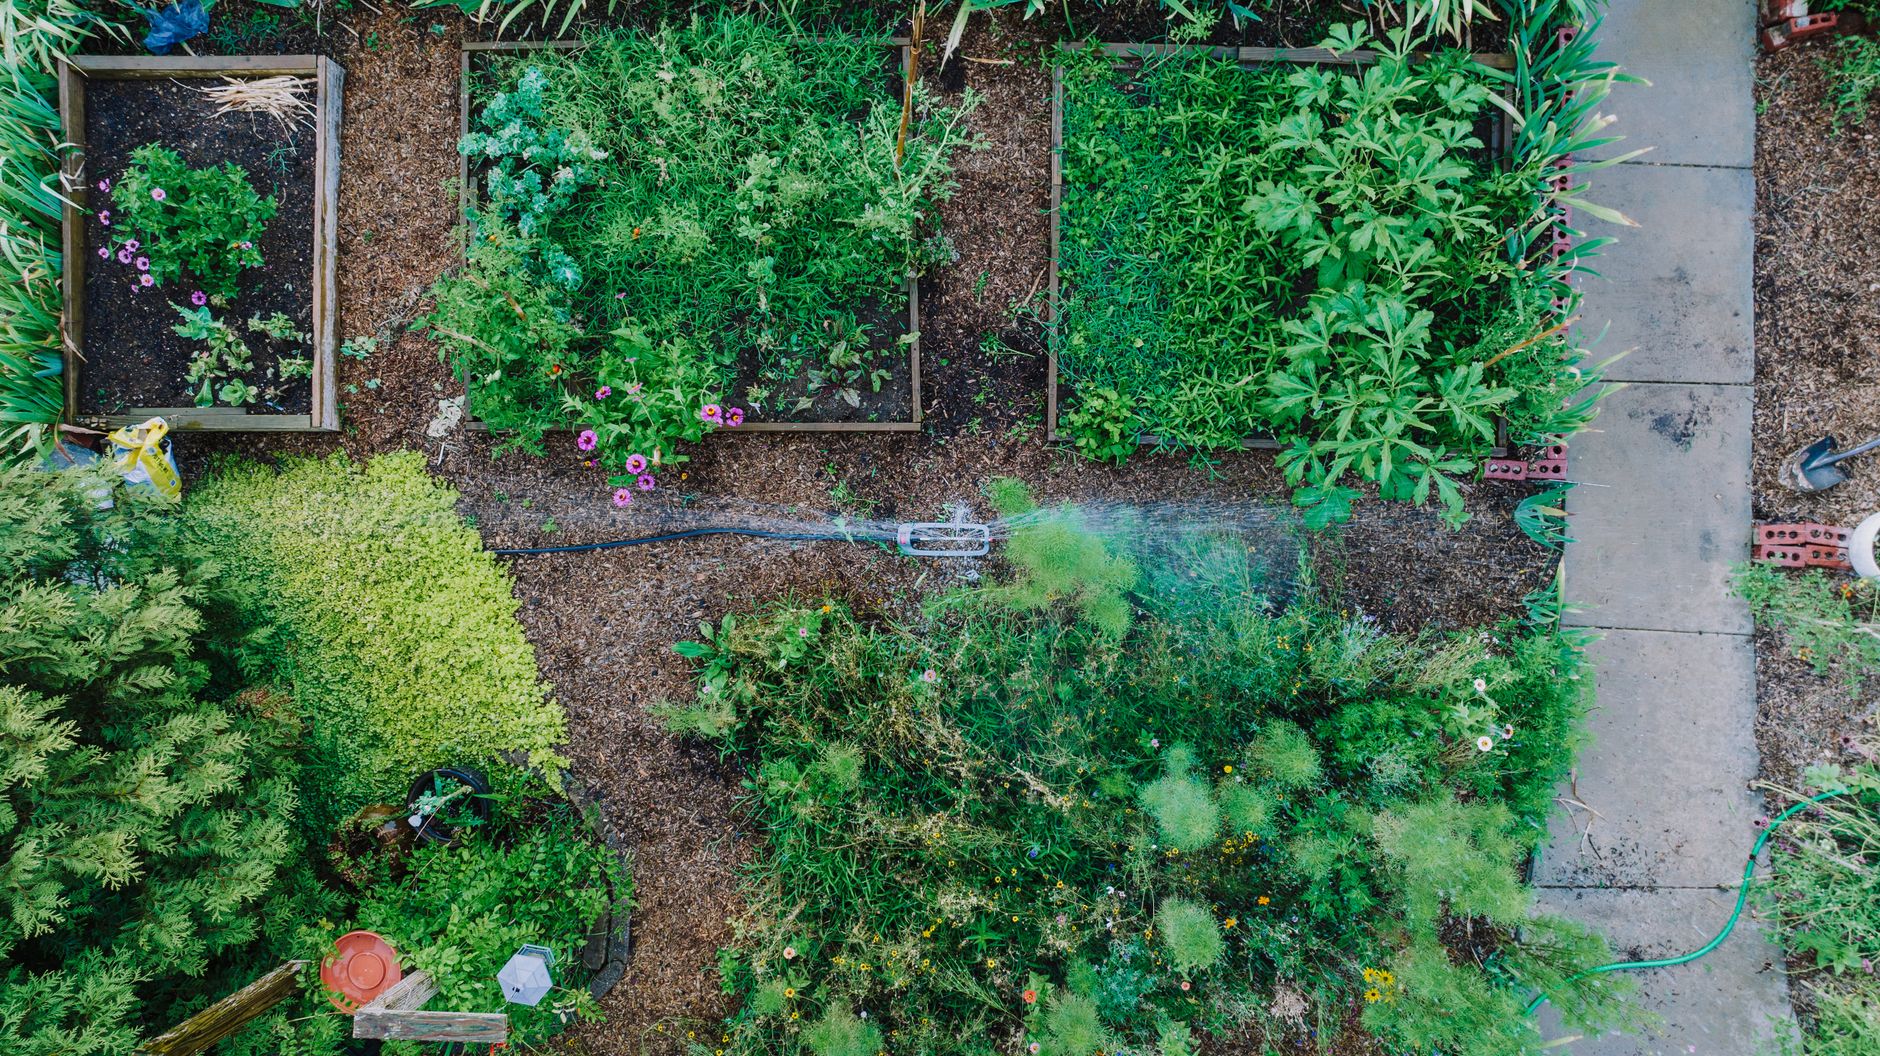
Plan your vegetable garden layout by placing tall crops on the north side so they don't shade shorter plants, grouping vegetables with similar water and nutrient needs together, keeping beds to 3-4 feet wide for easy reach, and leaving clear paths at least 18-24 inches wide. Rotate crop families to different sections each year on a 3-4 year cycle to reduce pest and disease buildup.
What you will need
Assess Your Site's Sunlight and Orientation

Track sunlight across your intended garden site over the course of a full day, ideally checking at several points from morning through late afternoon, noting which areas get full sun, partial shade, and deep shade, since this single factor determines what can realistically be planted where.
Repeat this observation on a day in early spring and again once trees have leafed out, since deciduous trees that seem harmless in March can cast significant shade over a garden bed by June once fully leafed out.
In the northern hemisphere, orient rows running north-to-south when possible, which allows sunlight to reach both sides of each row more evenly throughout the day compared to east-west oriented rows, where one side often stays shaded by its neighbor.
Place your tallest crops, like corn, pole beans, and trellised cucumbers, along the north side of the garden so they don't cast shade over shorter, sun-loving plants like peppers, tomatoes, and most root vegetables planted further south in the layout.
If your site has partial shade in certain areas, don't write that space off entirely; use it intentionally for shade-tolerant crops like lettuce, spinach, and many leafy greens, which actually benefit from some relief from intense afternoon sun in hot climates.
Decide on Bed Style and Size

Whether you choose raised beds, traditional in-ground rows, or a mix of both, keep bed width to about 3-4 feet so you can comfortably reach the middle from either side without ever needing to step onto and compact the growing soil.
Raised beds offer notably better drainage and warm up earlier in spring than in-ground soil, which can be especially useful in areas with heavy clay soil, poor native drainage, or a shorter growing season where every extra week of warmth matters.
In-ground rows are typically less expensive to establish and work well in regions with already-good native soil, though they generally take longer to warm in spring and can be more prone to compaction from foot traffic if paths aren't clearly defined.
Leave paths at least 18-24 inches wide between beds, wide enough for a wheelbarrow if you'll need to move compost, mulch, or soil through the garden regularly, and consider even wider main paths if you plan to use a garden cart.
Bed length is far more flexible than width; long, narrow beds of 10-20 feet are common and efficient, since length doesn't affect your ability to reach plants the way excessive width does.
Group Crops by Water and Nutrient Needs

Group thirsty crops like celery, lettuce, and cucumbers together, keeping them separate from more drought-tolerant plants like peppers and Mediterranean herbs such as rosemary and thyme, so you're not compromising the needs of one group to satisfy the other during watering.
Place heavy feeders such as tomatoes, corn, and squash in the most nutrient-rich sections of your garden, ideally the areas that received the deepest compost amendment, while lighter feeders like beans and peas, which actually add nitrogen back to the soil, can thrive in somewhat less fertile areas.
Consider grouping quick-maturing crops like radishes and lettuce together in one section, so that entire bed becomes available for a second planting once the first crop is harvested, rather than having fast and slow crops scattered unpredictably throughout the garden.
Zone your garden loosely by irrigation practicality as well; if you're using drip irrigation lines or soaker hoses, grouping plants with similar watering schedules together makes it far easier to run separate zones on separate timers rather than manually adjusting individual plants.
Plan for Crop Rotation from Year One

Divide your garden into logical sections and plan to rotate major plant families, including nightshades like tomatoes and peppers, brassicas like broccoli and cabbage, legumes like beans and peas, alliums like onions and garlic, and cucurbits like squash and cucumbers, through different sections on a 3-4 year cycle to meaningfully reduce disease and pest buildup in the soil.
Keep a simple garden journal or sketch noting exactly what was planted where each year, since it's remarkably easy to forget the specific details by the time next spring arrives, especially once you're managing more than a handful of beds.
Follow heavy feeders like tomatoes and corn with nitrogen-fixing legumes the following year in the same bed, which helps naturally replenish soil fertility between rotations without relying entirely on purchased fertilizer.
Even gardeners with only one or two beds can practice a meaningful version of rotation by dividing a single bed into sections and rotating within it, rather than assuming rotation requires a large, multi-bed garden to be worthwhile.
Photograph your garden layout each season in addition to written notes, since a quick photo often captures spacing and placement details that are easy to omit from a hand-drawn sketch but matter when planning the following year's rotation.
Use Vertical Space to Maximize a Small Garden

Train vining crops like cucumbers, pole beans, and small squash varieties up trellises, cages, or netting to save significant ground space, which is especially valuable in smaller gardens where every square foot of growing area counts.
Position trellised crops carefully within your sunlight mapping from earlier, since a tall trellis placed in the wrong spot can inadvertently shade neighboring beds that need full sun, effectively undoing careful planning elsewhere in the layout.
Vertical growing also improves airflow around vining plants compared to letting them sprawl across the ground, which can reduce the risk of certain fungal diseases that thrive in the still, humid air near ground-level foliage.
Combine vertical structures with companion planting where practical; growing lettuce or spinach in the cooler, lightly shaded microclimate cast by a bean trellis is a classic small-space technique that makes use of space that would otherwise sit unused.
Plan for Succession Planting and Season Extension

Plan for succession planting in your layout by intentionally leaving flexibility to replant fast-maturing crops like lettuce, radishes, spinach, and bush beans multiple times through the season as earlier plantings finish and are cleared out.
Reserve a small section of the garden specifically for experimenting with new varieties or techniques each year, kept separate from your reliable, proven crops, so that a failed experiment doesn't put your main food-producing harvest at risk.
Consider which beds will be available earliest in spring (typically raised beds, which warm faster) for cool-season crops like peas and lettuce, and which beds can wait for warm-season plantings, building this natural sequencing directly into your overall layout.
If you're interested in extending your growing season further, plan space near the edges of your layout for simple additions like a cold frame or low tunnel, which can significantly extend both the spring and fall growing windows for cool-season crops.
Account for Access, Storage, and Practical Workflow

Position your garden as close as practical to a water source, since a long hose drag every single watering session is one of the most common reasons gardeners eventually neglect an otherwise well-planned layout.
Keep frequently harvested crops like herbs, lettuce, and cherry tomatoes closer to the kitchen or main access point if possible, since plants you'll pick from almost daily benefit enormously from convenient, low-friction access.
Plan a dedicated spot for a compost bin or pile within reasonable distance of the garden beds, ideally close enough that carrying kitchen scraps and garden waste there doesn't feel like a genuine chore.
Leave a slightly wider main path, at least 3 feet, if you plan to use a wheelbarrow or garden cart regularly, since narrow standard paths that work fine for foot traffic often prove frustrating once you're trying to move loads of mulch or compost through them.
Common problems and fixes
| Problem | Likely cause | What to do |
|---|---|---|
| Some plants are consistently smaller or weaker than others in the same bed | Mismatched sunlight, water, or nutrient needs among plants grouped together in that section. | Regroup plants by similar sun, water, and fertility requirements next season, and double-check that taller neighbors aren't shading shorter plants unexpectedly. |
| Recurring pest or disease problems in the same bed year after year | Lack of crop rotation, allowing pests and pathogens specific to one plant family to build up in the soil over successive seasons. | Implement a documented 3-4 year rotation plan, tracking plantings in a journal or with photos so the rotation is followed consistently rather than by memory alone. |
| Certain garden areas seem chronically underused or forgotten | Poor access, such as a long walk from the house or an awkward path around obstacles. | Reassess pathway placement and consider relocating frequently harvested crops closer to the main access point for more convenient daily use. |
Gardener's checklist
Test what you learned
Where should the tallest crops be placed in a garden layout?
Answer: North side
What is the recommended maximum width for a garden bed?
Answer: 3-4 feet
How often should major plant families be rotated to a new section?
Answer: Every 3-4 years
Why is it recommended to orient garden rows north-to-south?
Answer: It allows sunlight to reach both sides of each row more evenly
Common questions
How much space do I need for a beginner vegetable garden?
A productive beginner garden can start in as little as 100-200 square feet, focusing on a handful of reliable crops before expanding in future seasons as you learn what grows well in your specific space and climate.
Why is crop rotation important in garden layout planning?
Rotating plant families prevents the same pests and diseases from building up in one area of soil year after year, and it also helps balance soil nutrients, since different crop families use and contribute different nutrients as they grow.
Should I use raised beds or in-ground rows?
Raised beds offer better drainage and earlier spring warming, making them a strong choice for heavy clay soil or shorter growing seasons, while in-ground rows are typically cheaper to establish and work well where native soil is already fertile and well-draining.
How do I plan a garden layout for a small backyard?
Prioritize vertical growing with trellises for vining crops, choose compact or bush varieties where available, use succession planting to get multiple harvests from the same space, and keep paths as narrow as practical while still allowing comfortable access.
A thoughtful layout, planned around sunlight, plant needs, access, and rotation, saves you effort all season long and sets up stronger, healthier harvests year after year, no matter how large or small your garden space is.
Frequently asked questions
How often should a vegetable garden be watered?
Frequency depends on weather, soil and plant size. Check the soil rather than watering on a rigid schedule.
Is compost enough fertilizer?
Compost improves soil and provides nutrients slowly. Heavy-feeding crops may still need additional feeding.

The Sproutstead Editorial Team
We create clear, practical gardening and homesteading guides designed for real homes and beginner growers.
View author profile →