
No dig gardening builds growing beds by layering organic materials directly on top of existing ground, typically cardboard to suppress weeds and grass, followed by compost, and often additional mulch, rather than tilling or digging the soil. This preserves soil structure and beneficial organisms, requires less physical labor, and can be started directly over lawn without removing sod first. Beds are ready to plant within a few weeks to a season, depending on layer thickness and materials used.
What you will need
Understand the No Dig Philosophy

Traditional tilling disrupts soil structure, breaks up fungal networks, and can bring buried weed seeds to the surface where they germinate; no dig gardening avoids these disruptions by building fertility on top of existing ground rather than working the soil directly.
This approach preserves beneficial soil organisms like earthworms and mycorrhizal fungi, which thrive in undisturbed conditions and contribute significantly to long-term soil fertility and structure.
No dig methods also require considerably less physical labor than traditional double-digging or rototilling, making this approach particularly appealing to gardeners with physical limitations or simply those wanting to reduce the effort involved in bed preparation.
The technique, sometimes called sheet mulching or lasagna gardening, has roots in permaculture practices and has gained mainstream popularity for its combination of reduced labor and genuine soil health benefits.
Weed suppression is another significant advantage, since the cardboard or newspaper base layer smothers existing grass and weeds without needing to physically remove them first, saving substantial time and effort in bed conversion.
Prepare the Site Without Removing Existing Grass

Mow existing grass or weeds as short as practical before beginning, which helps the following layers make better contact with the ground and speeds the smothering process.
Lay plain, unwaxed cardboard directly over the mowed area, overlapping pieces generously (at least 6 inches) to eliminate gaps where grass or weeds could push through as the layers above develop.
Water the cardboard thoroughly once laid, which helps it settle against the ground and begins the decomposition process that will eventually integrate it into the soil below.
Remove any tape, labels, or glossy printed sections from cardboard boxes before using them, since these materials don't break down naturally and can leave unwanted debris in your finished bed.
For areas with particularly aggressive or established weeds, consider a double layer of cardboard for extra insurance against persistent growth pushing through the initial barrier.
Build Layers of Organic Material
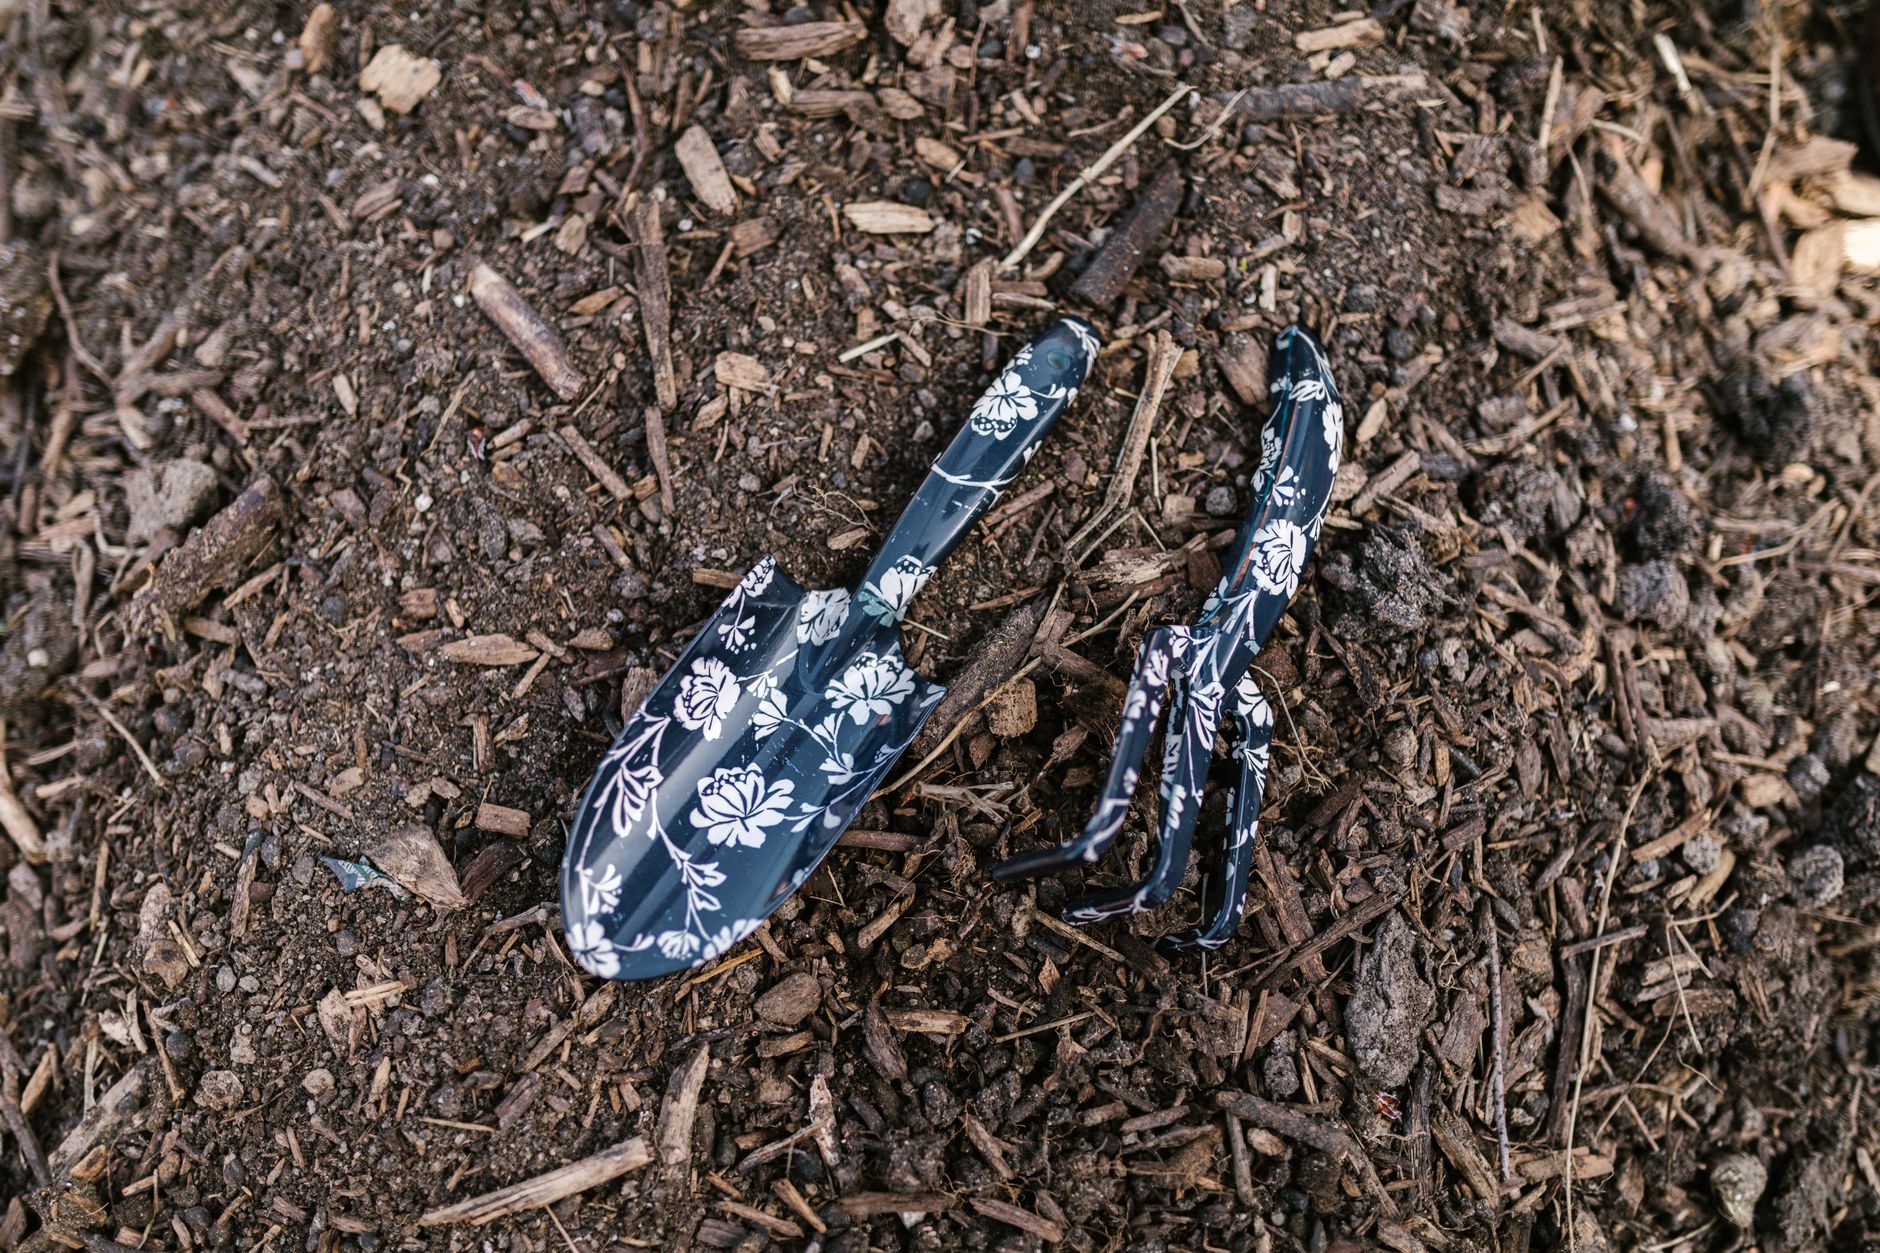
Add a layer of compost, aged manure, or a similar nutrient-rich organic material directly on top of the wetted cardboard, aiming for at least 4-6 inches of depth to provide adequate growing medium for most vegetables.
Some practitioners of the traditional 'lasagna gardening' variation alternate additional layers, such as straw, grass clippings, or shredded leaves, between compost layers, building up considerable total depth over multiple applications.
Top the bed with a final layer of mulch, such as straw or wood chips, which helps retain moisture, suppress any remaining weed pressure, and gradually breaks down to further enrich the growing layers beneath it.
Water each layer as you build it, which helps materials settle and begins the decomposition process that will eventually integrate everything into a cohesive, fertile growing bed.
For a bed you want to plant immediately, ensure the top compost layer is thick and finished enough to support direct planting; for beds you can let develop over a season before planting, less mature materials work fine since they'll have time to break down further.
Plant Directly into the New Bed

For transplants, simply dig a planting hole through the compost layer down to (but not through) the cardboard, adding a bit of extra compost around the roots if the hole intersects the cardboard layer before it's fully decomposed.
For direct-seeded crops, sow into the compost layer as you would into any prepared garden bed, since seeds don't need to reach the cardboard layer below and will establish roots in the rich material above it.
If your bed was built immediately before planting, monitor closely for the first few weeks, since freshly layered material can settle unevenly, sometimes requiring minor adjustments or additional compost around newly planted transplants.
Beds built and left to develop for a full season before planting typically offer the most reliably decomposed, ready-to-use growing medium, though many gardeners successfully plant into freshly built beds with good results as well.
Root vegetables generally do best in beds that have had more time to fully break down and integrate, since freshly layered material can still contain some structural inconsistency that affects straight root development.
Maintain the Bed with Ongoing Top-Dressing

Add a fresh layer of compost to the surface each season rather than digging or tilling the bed between plantings, maintaining the undisturbed soil structure that gives this method its core benefits.
Top-dress with additional mulch as the previous layer breaks down and thins, keeping a consistent protective layer over the soil surface throughout the growing season and beyond.
Pull any weeds that do emerge by hand rather than hoeing or cultivating, which would disturb the soil structure you've worked to preserve and potentially bring buried weed seeds to the surface.
Over multiple seasons, no dig beds typically develop increasingly rich, dark, crumbly soil as organic matter continues accumulating and integrating, often becoming visibly more fertile than when first established.
This ongoing top-dressing approach means a no dig bed genuinely improves year over year with minimal effort, in contrast to tilled beds that often require repeated amendment just to maintain baseline fertility.
Weigh No Dig Against Traditional Tilling
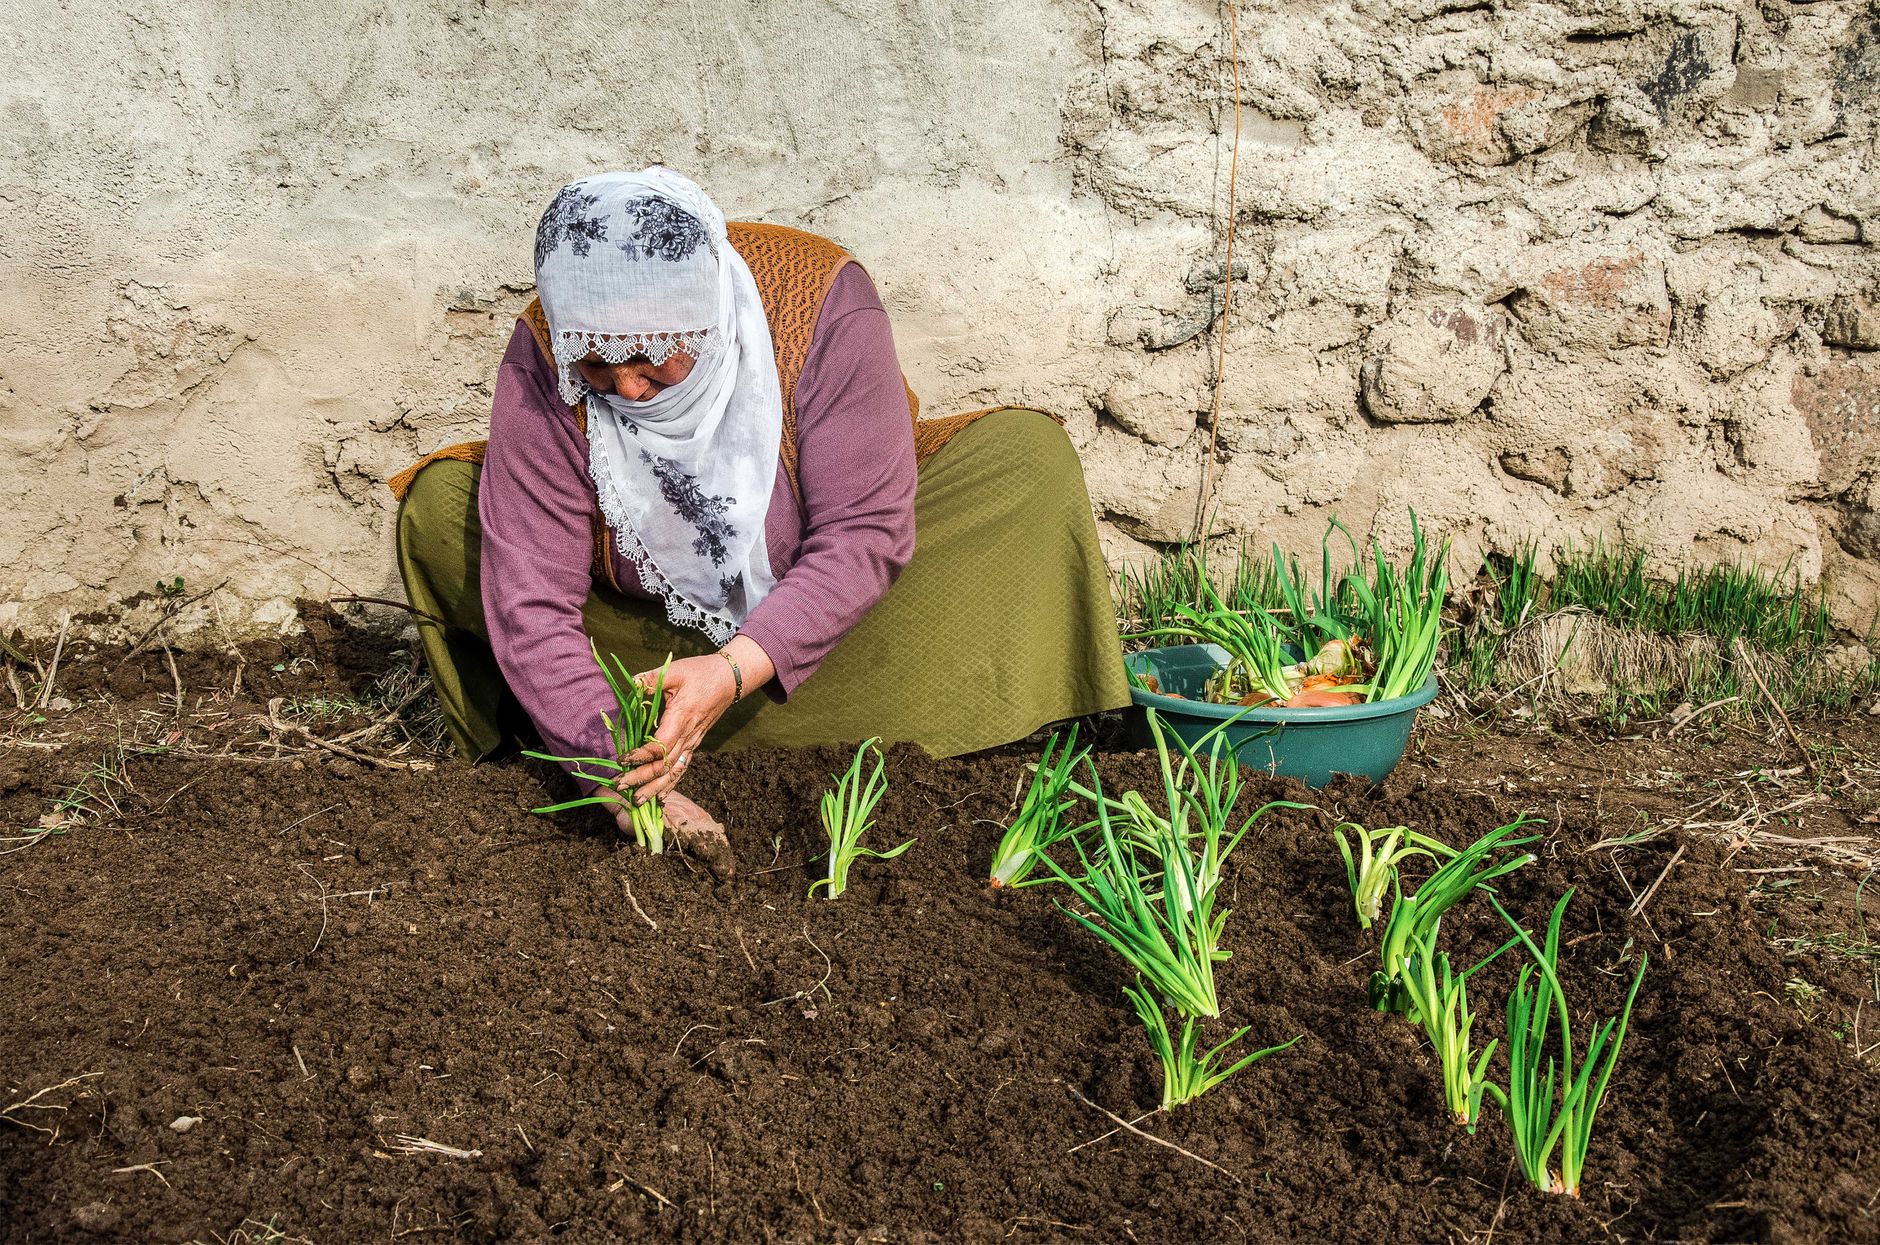
No dig gardening generally requires less physical labor for both initial bed establishment (no digging or tilling) and ongoing maintenance (top-dressing rather than repeated cultivation), a genuine advantage for many gardeners.
Traditional tilling can be faster for initial bed preparation in situations requiring rapid conversion of compacted or rocky ground, though it sacrifices the soil structure benefits no dig methods preserve.
For gardeners dealing with severely compacted soil or heavy clay, an initial one-time tilling or double-digging to break up the worst compaction, followed by transitioning to no dig maintenance practices afterward, is a reasonable hybrid approach some gardeners choose.
Over the long term, most gardeners who commit to no dig methods report improving soil quality and reduced weed pressure, making the modest patience required during initial bed establishment a worthwhile trade-off for many home food growers.
Common problems and fixes
| Problem | Likely cause | What to do |
|---|---|---|
| Grass or weeds push through the new bed | Gaps in the cardboard layer, or persistent weeds capable of penetrating a single layer. | Use a double layer of cardboard in future beds, overlapping sections more generously, and hand-pull any breakthrough growth promptly. |
| Newly planted transplants seem to struggle | Uneven settling in a freshly built bed, or insufficient compost depth around the planting hole. | Add extra compost around struggling transplants, and consider letting future beds settle for a few weeks before planting. |
Gardener's checklist
Test what you learned
What is the primary purpose of the cardboard base layer in no dig gardening?
Answer: It smothers existing grass and weeds without needing removal
Why does no dig gardening preserve beneficial soil organisms better than tilling?
Answer: It avoids disrupting soil structure and fungal networks
How should an established no dig bed be maintained between seasons?
Answer: Top-dressing with fresh compost, not tilling
Common questions
Can no dig gardening be started directly over a lawn?
Yes, this is one of the method's biggest practical advantages; laying cardboard directly over mowed grass smothers it effectively without needing to dig up or remove sod first, saving considerable labor.
How long before a no dig bed is ready to plant?
This ranges from a few weeks to a full season depending on layer thickness and materials used; beds built with mature compost can often be planted immediately, while those using less decomposed materials benefit from more settling time.
Is no dig gardening the same as raised bed gardening?
They're related but distinct; no dig specifically refers to building fertility through layering without tilling, which can be done either directly on the ground or within a raised bed frame, so the two approaches can be combined.
Does no dig gardening really produce better soil than tilling?
Many gardeners and some research support this, since avoiding tillage preserves beneficial soil organisms and structure that repeated digging disrupts, though results depend on consistent application of the method over multiple seasons rather than a single bed-building event.
What materials work best for the compost layer in no dig gardening?
Well-finished compost or aged manure works best for beds you plan to plant immediately, while less mature compost, grass clippings, or shredded leaves can work well if you're building the bed well ahead of your planting date and allowing extra time for decomposition.
Can no dig gardening be used for an existing garden bed, not just converting lawn?
Yes, the top-dressing maintenance approach used in ongoing no dig gardening can be applied to any existing bed, simply by discontinuing tilling and instead adding compost layers to the surface each season going forward.
No dig gardening offers a genuinely lower-labor path to fertile garden beds, building soil health through layering rather than disruption, and the ability to start directly over existing lawn makes it an especially practical choice for converting new growing space.
Frequently asked questions
How often should a vegetable garden be watered?
Frequency depends on weather, soil and plant size. Check the soil rather than watering on a rigid schedule.
Is compost enough fertilizer?
Compost improves soil and provides nutrients slowly. Heavy-feeding crops may still need additional feeding.

The Sproutstead Editorial Team
We create clear, practical gardening and homesteading guides designed for real homes and beginner growers.
View author profile →

