
Repotting is the process of moving a plant to a larger container with fresh soil. It is necessary when roots outgrow the current pot, soil is depleted, or the plant becomes root-bound. Signs include roots growing out of drainage holes, stunted growth, yellowing leaves, and water running straight through the pot. Choose a new pot that is 1-2 inches larger in diameter than the current one. Use fresh potting mix, gently loosen the roots, place the plant at the same depth, and water thoroughly. Repot in spring or early summer during the active growing season. After repotting, place the plant in bright, indirect light and avoid fertilizing for 4-6 weeks.
What you will need
Know When to Repot

Roots growing out of drainage holes is the most obvious sign. When you see roots poking out of the bottom or circling around the inside of the pot, the plant is root-bound and needs more space.
Water running straight through the pot indicates that roots have filled the pot and there is little soil left to hold water. The water simply flows around the root ball without being absorbed.
Stunted growth is a clear sign. If your plant has stopped growing despite proper light, water, and fertilizer, it may be root-bound and unable to absorb nutrients.
Yellowing leaves can indicate root congestion. When roots are crowded, they cannot absorb nutrients and water effectively, causing leaves to yellow and drop.
The plant may become top-heavy and tip over easily. This happens when the root system is too small to support the top growth.
If the plant has been in the same pot for 1-2 years, it is time to repot, even if there are no visible signs. Soil nutrients deplete over time and potting mix breaks down.
Choose the Right Time to Repot
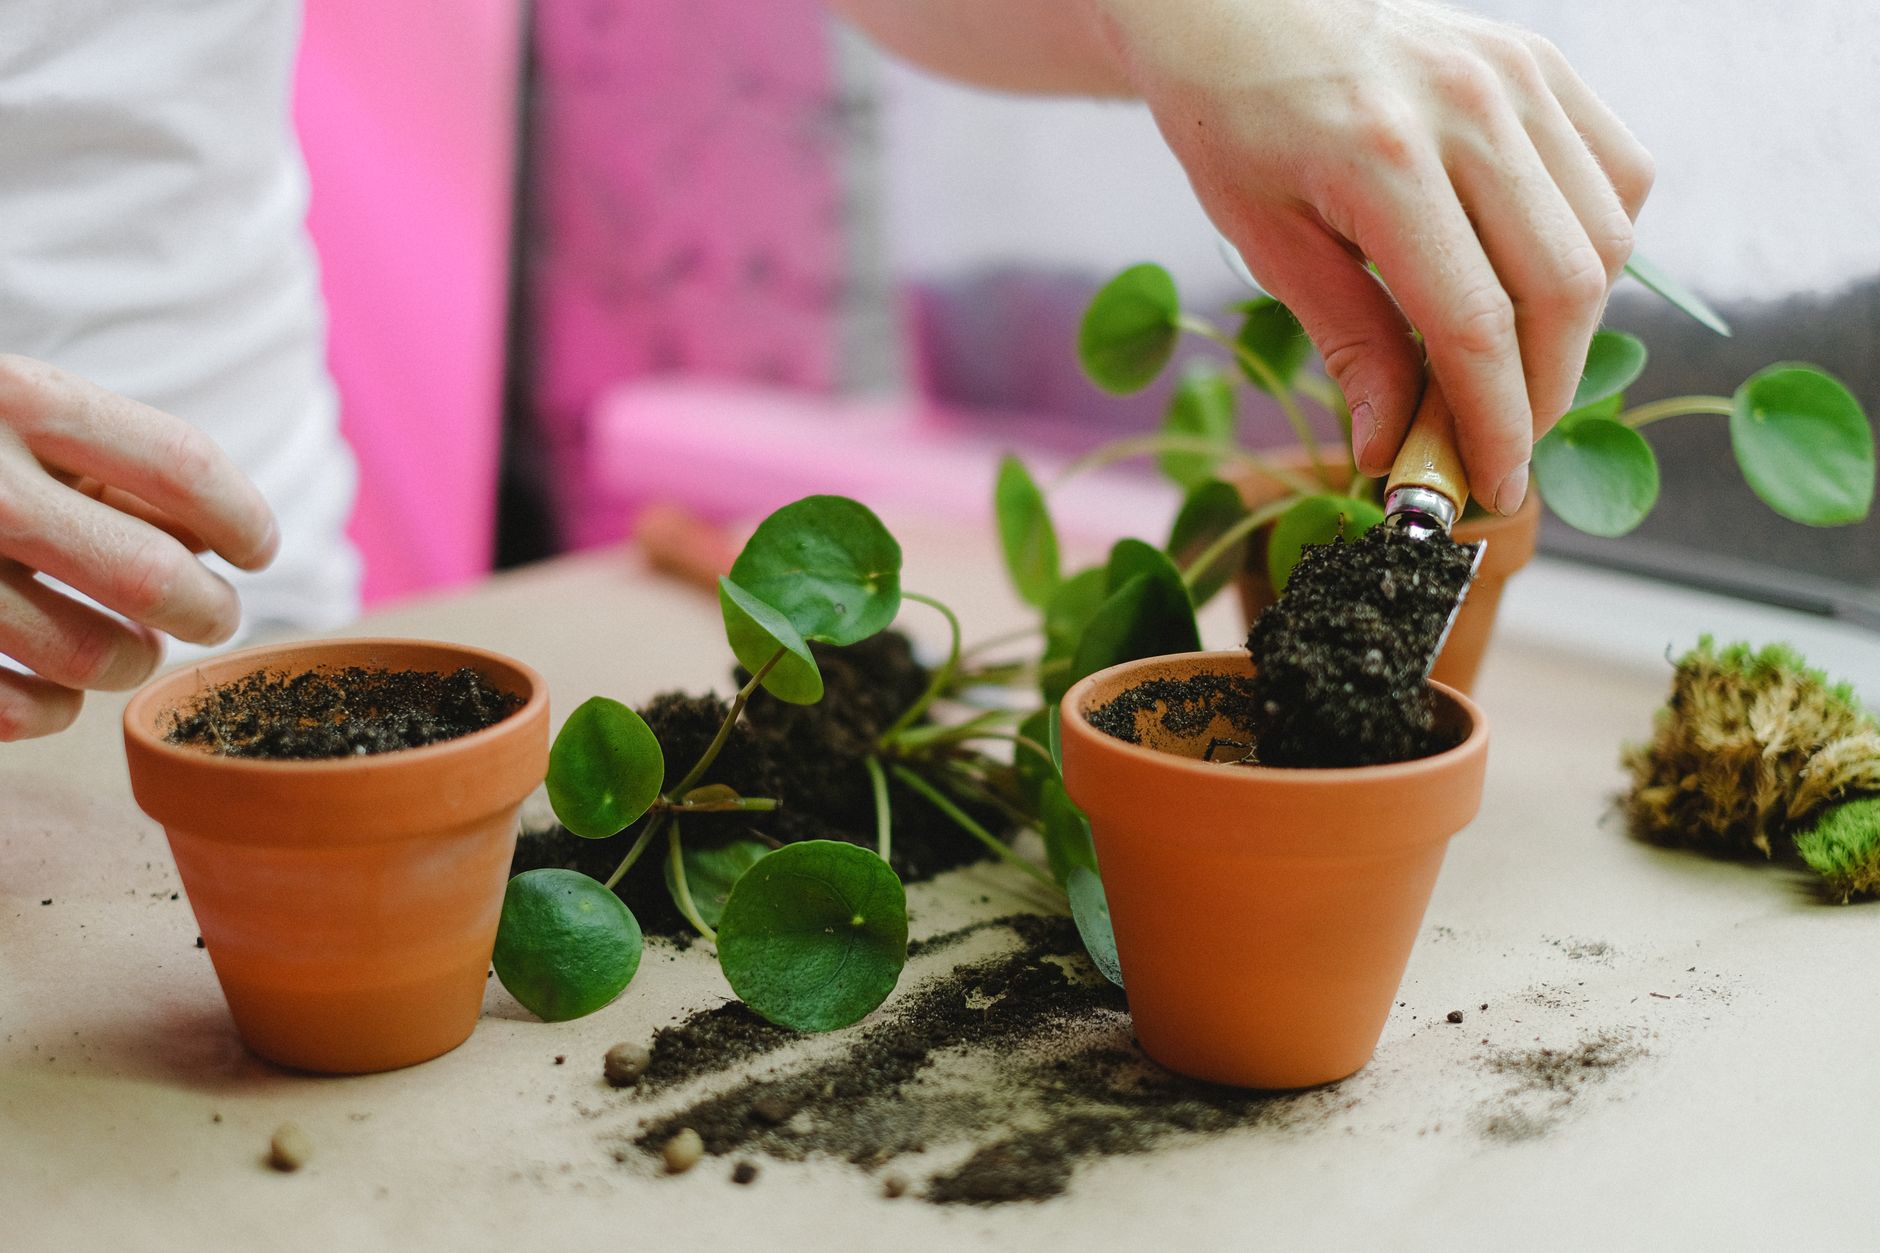
The best time to repot is in spring or early summer when the plant is actively growing. During this time, plants have the energy to recover quickly and establish roots in the new pot.
Avoid repotting in winter when most plants are dormant. Repotting during dormancy can stress the plant and cause root rot because the plant is not actively growing.
Do not repot a plant that is blooming or in flower. Repotting can cause flower drop and stress the plant. Wait until after the blooming period.
If your plant is severely root-bound or showing signs of stress, repotting can be done at any time. In this case, the benefits outweigh the risks.
Do not repot a plant that is stressed, diseased, or recently purchased. Give the plant time to acclimate to its new environment before repotting.
Select the Right Pot and Soil

Choose a new pot that is 1-2 inches larger in diameter than the current pot. A pot that is too large holds excess soil and can stay wet for too long, causing root rot.
Ensure the new pot has drainage holes. Drainage is essential to prevent waterlogging and root rot. If the pot does not have holes, drill some or use it as a decorative outer pot.
Use fresh potting mix appropriate for your plant type. For most houseplants, a general-purpose potting mix works well. For succulents and cacti, use a well-draining mix with added perlite or sand.
Do not reuse old potting mix. Old mix can be depleted of nutrients and may harbor pests or diseases.
Do not use garden soil in pots. Garden soil is too heavy, compacts in containers, and may contain pests and diseases.
Prepare for Repotting

Water the plant 1-2 days before repotting. Moist soil holds the root ball together and reduces stress on the roots. Do not water immediately before repotting because wet soil is heavy and messy.
Lay down newspaper or a tarp to catch soil spills. This makes cleanup easier and protects your work surface.
Have all tools ready: the new pot, fresh potting mix, trowel, scissors, and gloves.
Cover the drainage holes with a piece of mesh, a coffee filter, or a layer of small stones to prevent soil from washing out while still allowing water to drain.
Remove any dead or damaged leaves from the plant before repotting. This reduces stress and allows the plant to focus energy on root growth.
Remove the Plant from the Pot
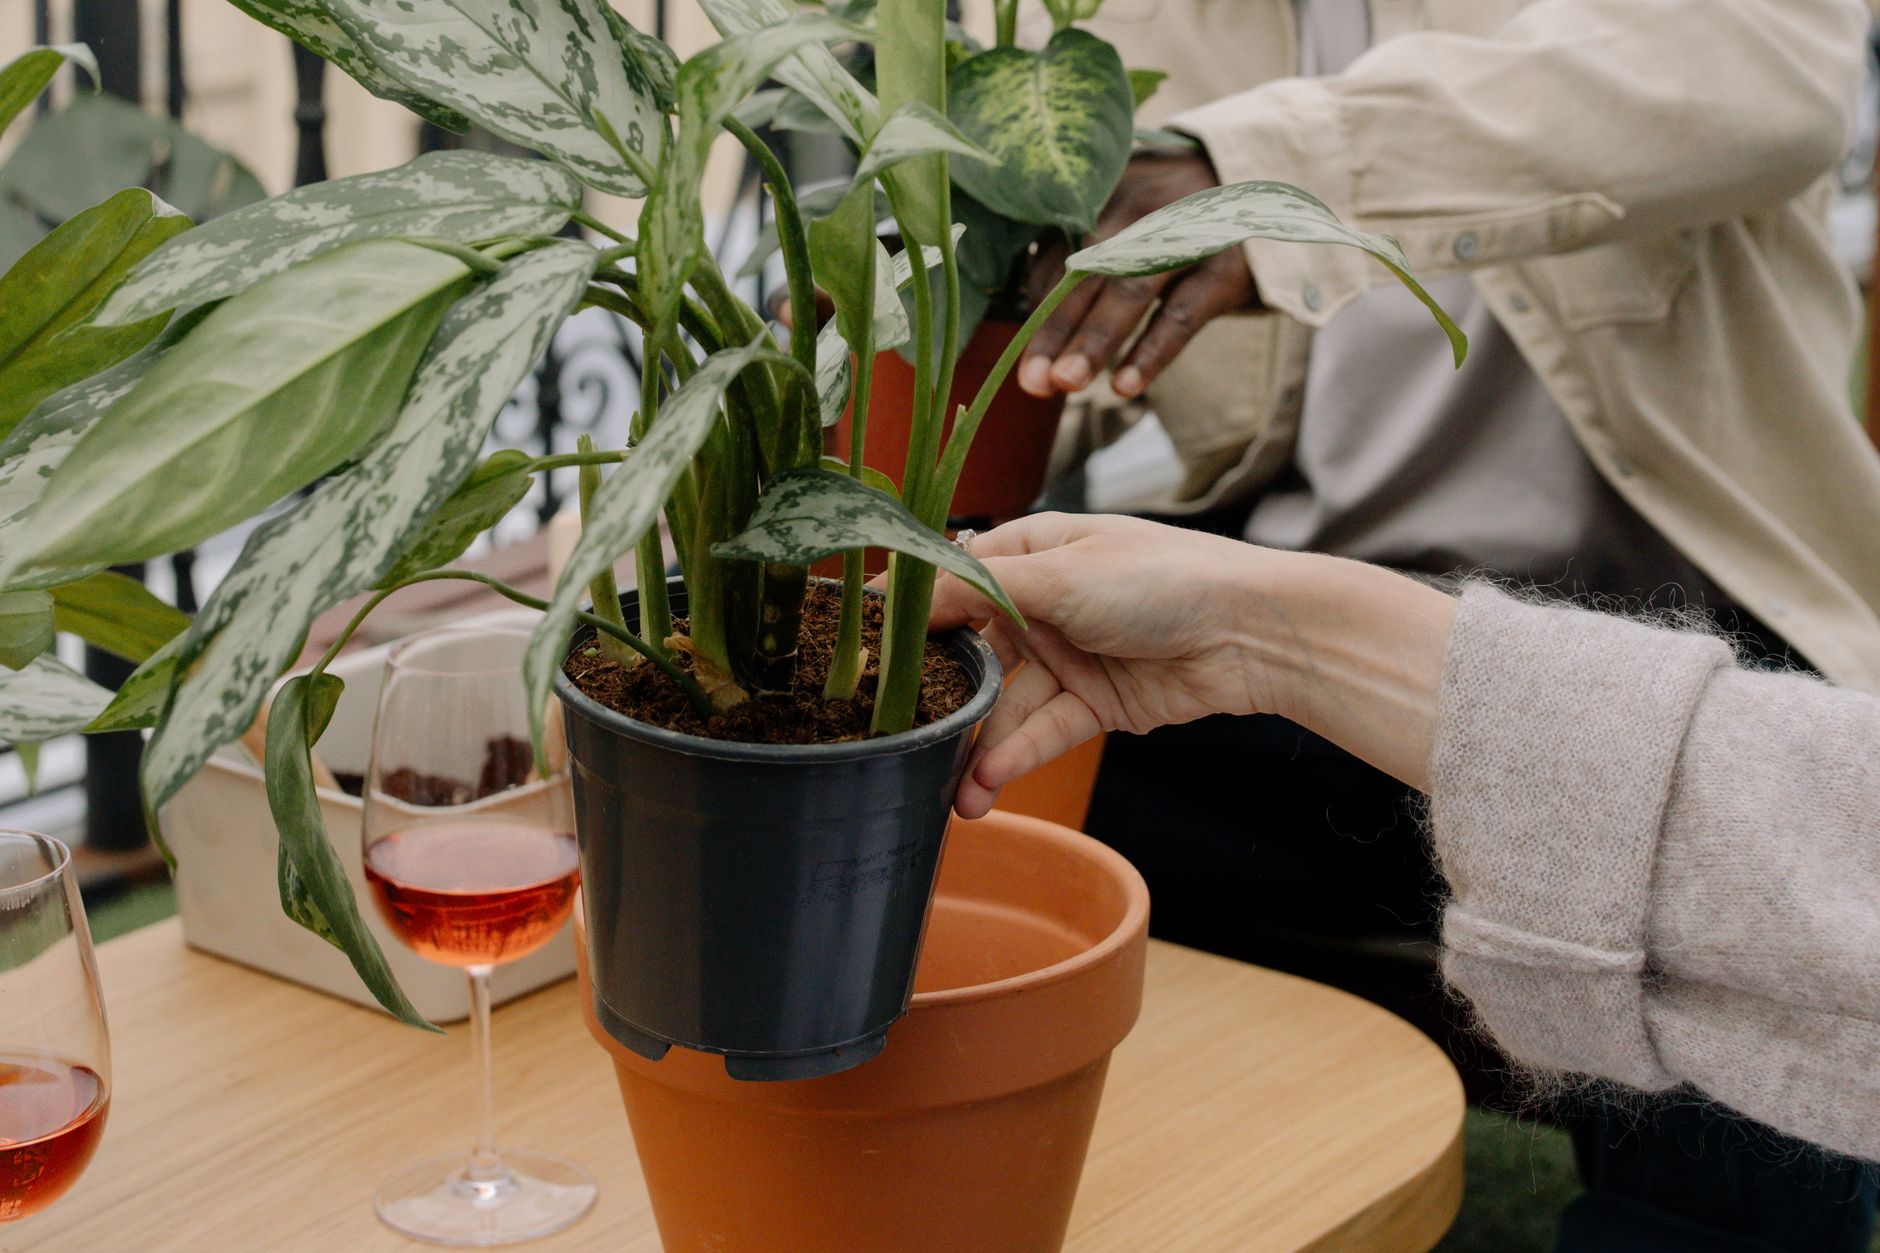
Gently squeeze the sides of the pot to loosen the soil. This helps separate the root ball from the pot walls.
Turn the pot upside down, supporting the plant with one hand at the base of the stem, and gently tap the rim of the pot on a hard surface. The root ball should slide out.
If the plant is stuck, run a knife or trowel around the inside edge of the pot to loosen the roots. Do not pull the plant by its stem because this can break the stem or damage the roots.
Once the plant is out, examine the root ball. Look for healthy white roots and brown or mushy roots that indicate rot.
Prepare the Root Ball

Gently loosen the root ball with your fingers. If the roots are tightly circling the pot, carefully tease them apart. This encourages roots to grow outward into the new soil.
If the plant is severely root-bound, use a clean knife or scissors to make 3-4 vertical cuts around the root ball. This stimulates new root growth.
Remove any brown, mushy, or dead roots. These roots are rotting and can spread disease. Healthy roots are firm and white or light-colored.
Remove any dead or damaged leaves from the plant. This reduces stress and allows the plant to focus energy on root growth.
Place the Plant in the New Pot
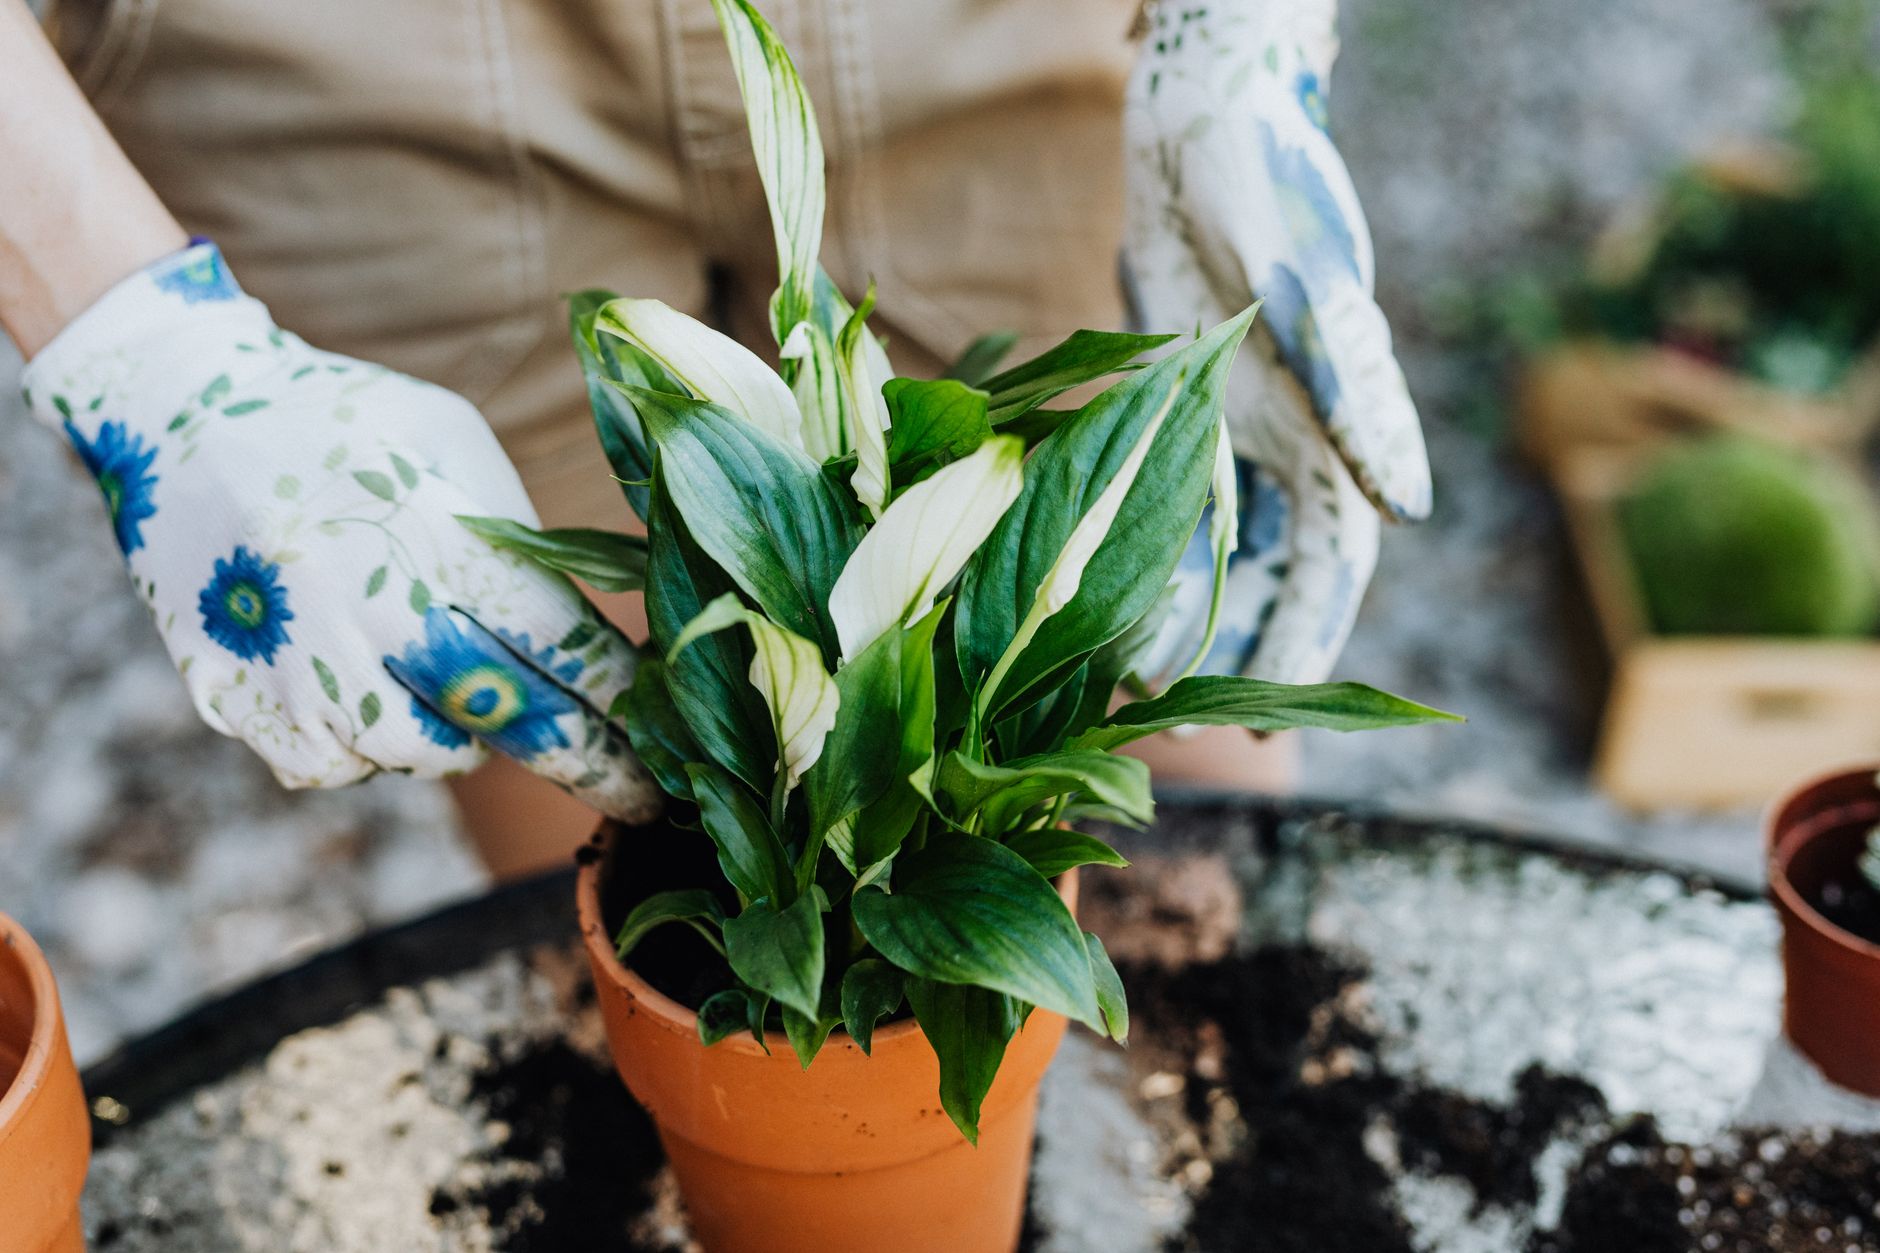
Add a layer of fresh potting mix to the bottom of the new pot. The layer should be deep enough so that the plant sits at the same depth as it was in the old pot.
Place the plant in the center of the new pot. Ensure the top of the root ball is about 1 inch below the rim of the pot to allow room for watering.
Add potting mix around the sides of the root ball. Press the soil gently to remove air pockets. Do not pack the soil too tightly because roots need air.
The plant should be at the same depth as it was in the old pot. Do not plant deeper because this can cause stem rot. Do not plant shallower because roots may dry out.
Water and Aftercare

Water the plant thoroughly after repotting. Water until water drains from the bottom of the pot. This settles the soil around the roots and removes air pockets.
Do not fertilize for 4-6 weeks after repotting. The fresh potting mix contains nutrients, and fertilizing too soon can burn new roots.
Place the plant in a location with bright, indirect light for the first few weeks. Direct sunlight can stress the freshly transplanted plant.
Do not overwater. The fresh soil holds moisture differently than the old soil. Check the moisture level before watering.
Mist the leaves regularly to reduce transplant shock and increase humidity.
Common problems and fixes
| Problem | Likely cause | What to do |
|---|---|---|
| Plant is wilting after repotting. | Transplant shock or root damage. | Place in bright, indirect light. Mist regularly. Reduce stress by avoiding overwatering. |
| Leaves are turning yellow. | Overwatering or root rot. | Check soil moisture. Allow soil to dry before watering. Remove any rotting roots. |
| Water is pooling on top of soil. | Soil is compacted or pot does not have drainage. | Gently aerate soil. Ensure drainage holes are clear. |
| Plant is not growing after repotting. | Transplant shock or winter dormancy. | Be patient. Give the plant time to adjust. Provide proper light and water. |
Gardener's checklist
Test what you learned
How much larger should the new pot be?
Answer: 1-2 inches larger
When is the best time to repot most houseplants?
Answer: Spring or early summer
What should you do immediately after repotting?
Answer: Water thoroughly
How long should you wait before fertilizing after repotting?
Answer: 4-6 weeks
Common questions
How often should I repot my houseplants?
Most houseplants need repotting every 1-2 years. Fast-growing plants may need repotting annually, while slow-growing plants may need repotting every 2-3 years.
Can I repot a plant that is blooming?
It is best to wait until after blooming. Repotting during blooming can cause flower drop and stress the plant. If the plant is severely root-bound, repotting may be necessary despite the bloom.
What do I do with the old potting mix?
Do not reuse old potting mix for repotting. It can be added to your compost pile or used as a soil amendment in outdoor gardens. Old mix may contain pests, diseases, and depleted nutrients.
Why are my plant's leaves drooping after repotting?
Drooping leaves are a sign of transplant shock. The plant is adjusting to its new environment. Place it in bright, indirect light, water correctly, and avoid fertilizing. Most plants recover within 1-2 weeks.
Can I repot a plant in the same pot?
Yes, if the plant is not root-bound but the soil needs refreshing. Remove the plant, replace the old soil with fresh potting mix, and return the plant to the same pot. This refreshes nutrients and improves drainage.
Repotting is an essential skill for keeping houseplants healthy and thriving. The key is to know when to repot, choose the right pot and soil, and handle the roots with care. Repot in spring or early summer, choose a pot that is 1-2 inches larger, use fresh potting mix, and water thoroughly after repotting. Do not fertilize for 4-6 weeks. With proper technique and aftercare, your plant will quickly recover and reward you with vigorous growth and beautiful foliage.
Frequently asked questions
How often should a vegetable garden be watered?
Frequency depends on weather, soil and plant size. Check the soil rather than watering on a rigid schedule.
Is compost enough fertilizer?
Compost improves soil and provides nutrients slowly. Heavy-feeding crops may still need additional feeding.

The Sproutstead Editorial Team
We create clear, practical gardening and homesteading guides designed for real homes and beginner growers.
View author profile →

