
Christmas cactus (Schlumbergera) is incredibly easy to propagate from stem cuttings. Simply take 2-4 segment cuttings from a healthy plant, allow them to callus for 1-2 days, then place them in water or moist soil. In water propagation, roots appear in 2-4 weeks. In soil propagation, roots develop in 4-6 weeks. The key to success is using healthy, mature segments, allowing the cut ends to callus, and providing bright, indirect light. Christmas cactus can also be propagated by division—separating rooted sections of a mature plant. Propagation is best done in spring or early summer when the plant is actively growing.
What you will need
Choose the Right Time to Propagate
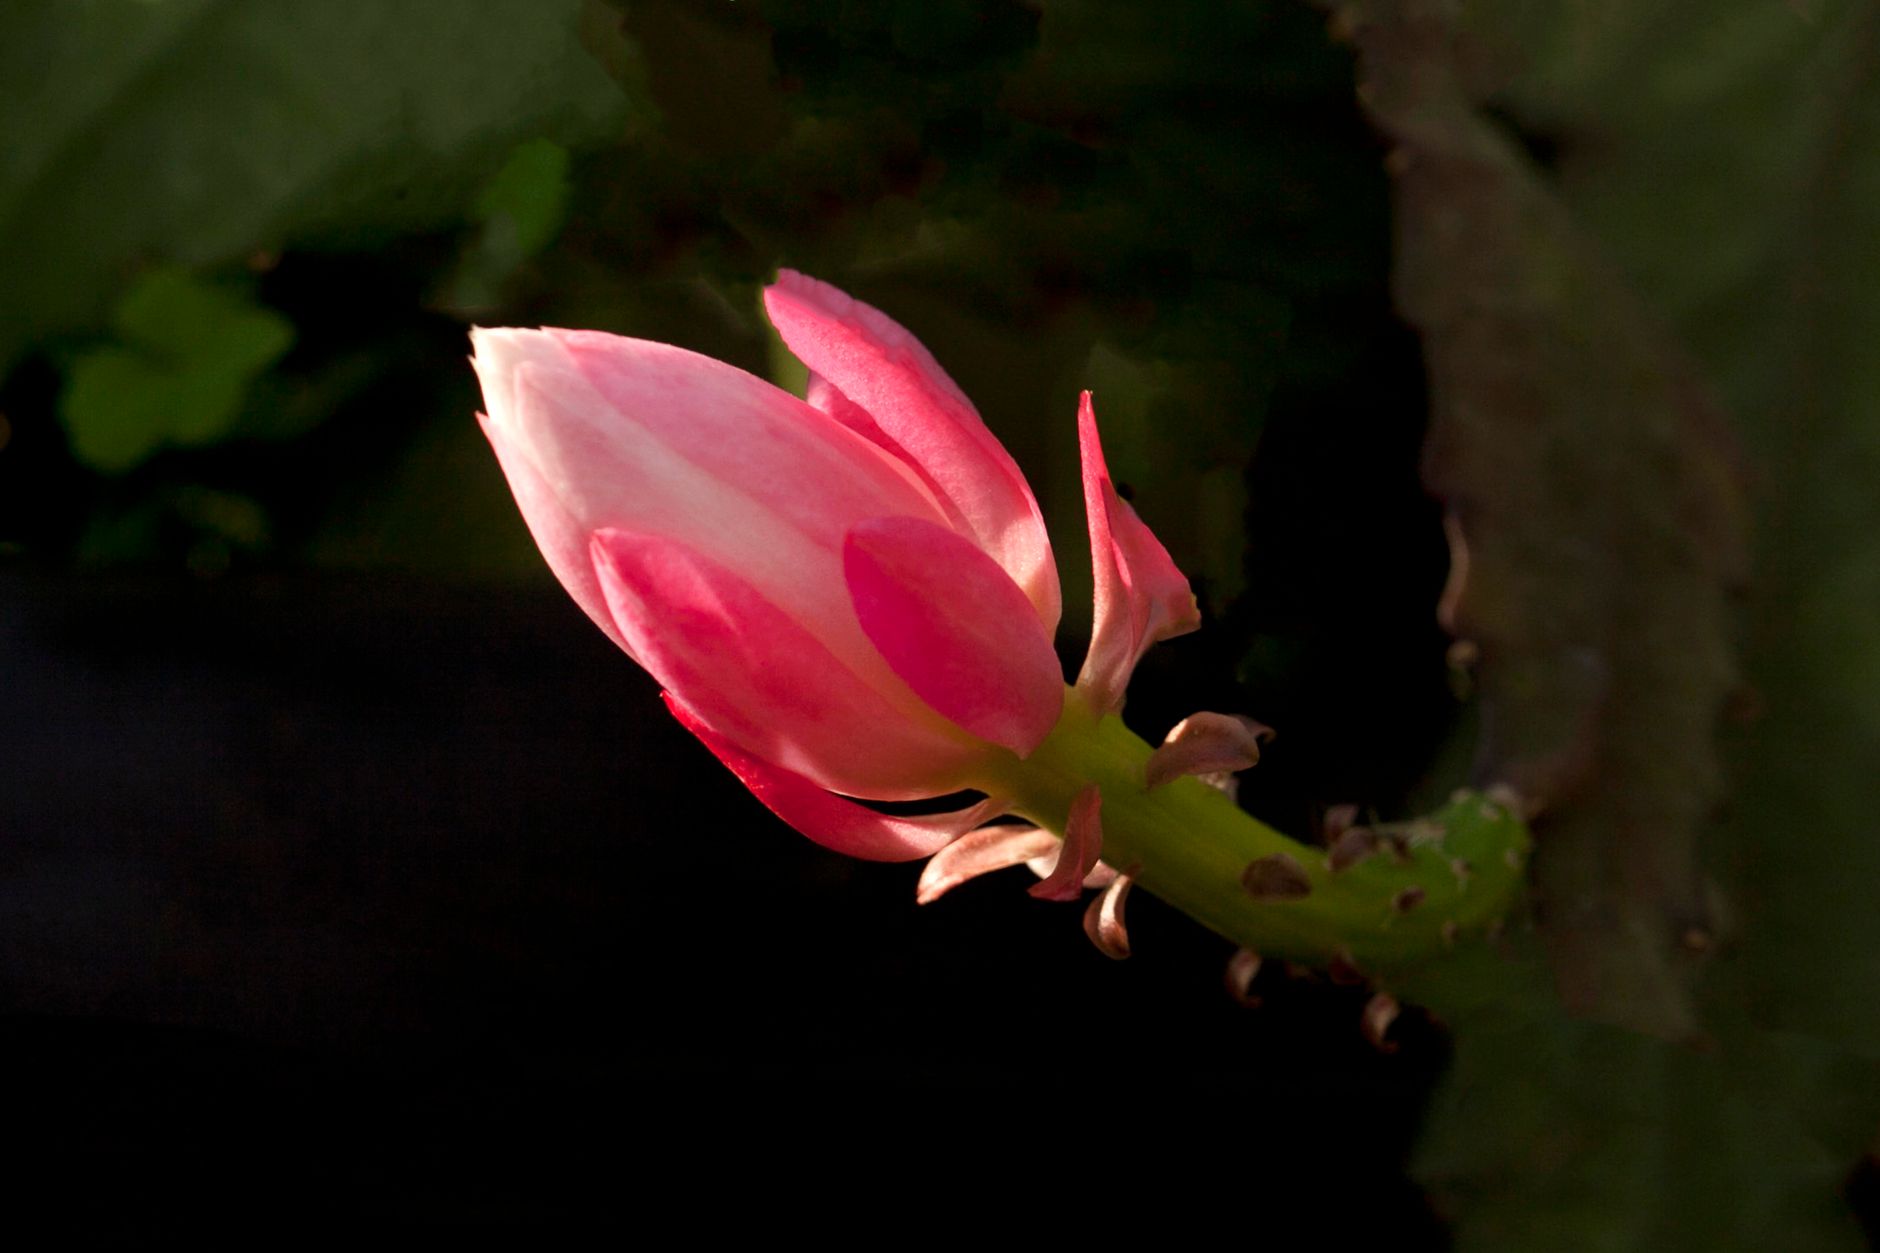
Best time: Spring to early summer (March to June) is the best time to propagate Christmas cactus. The plant is actively growing after its winter rest and blooming period.
After blooming: Wait until the plant has finished blooming. Propagating during or right after blooming can stress the plant.
Avoid winter: Avoid propagating in winter when the plant is resting. Cuttings taken in winter root more slowly and may rot.
Active growth: Look for signs of active growth—new leaf segments (pads) forming. This indicates the plant is ready to propagate.
If you must propagate in other seasons: It's still possible, but rooting will be slower. Provide extra warmth and light to encourage rooting.
Take Healthy Stem Cuttings
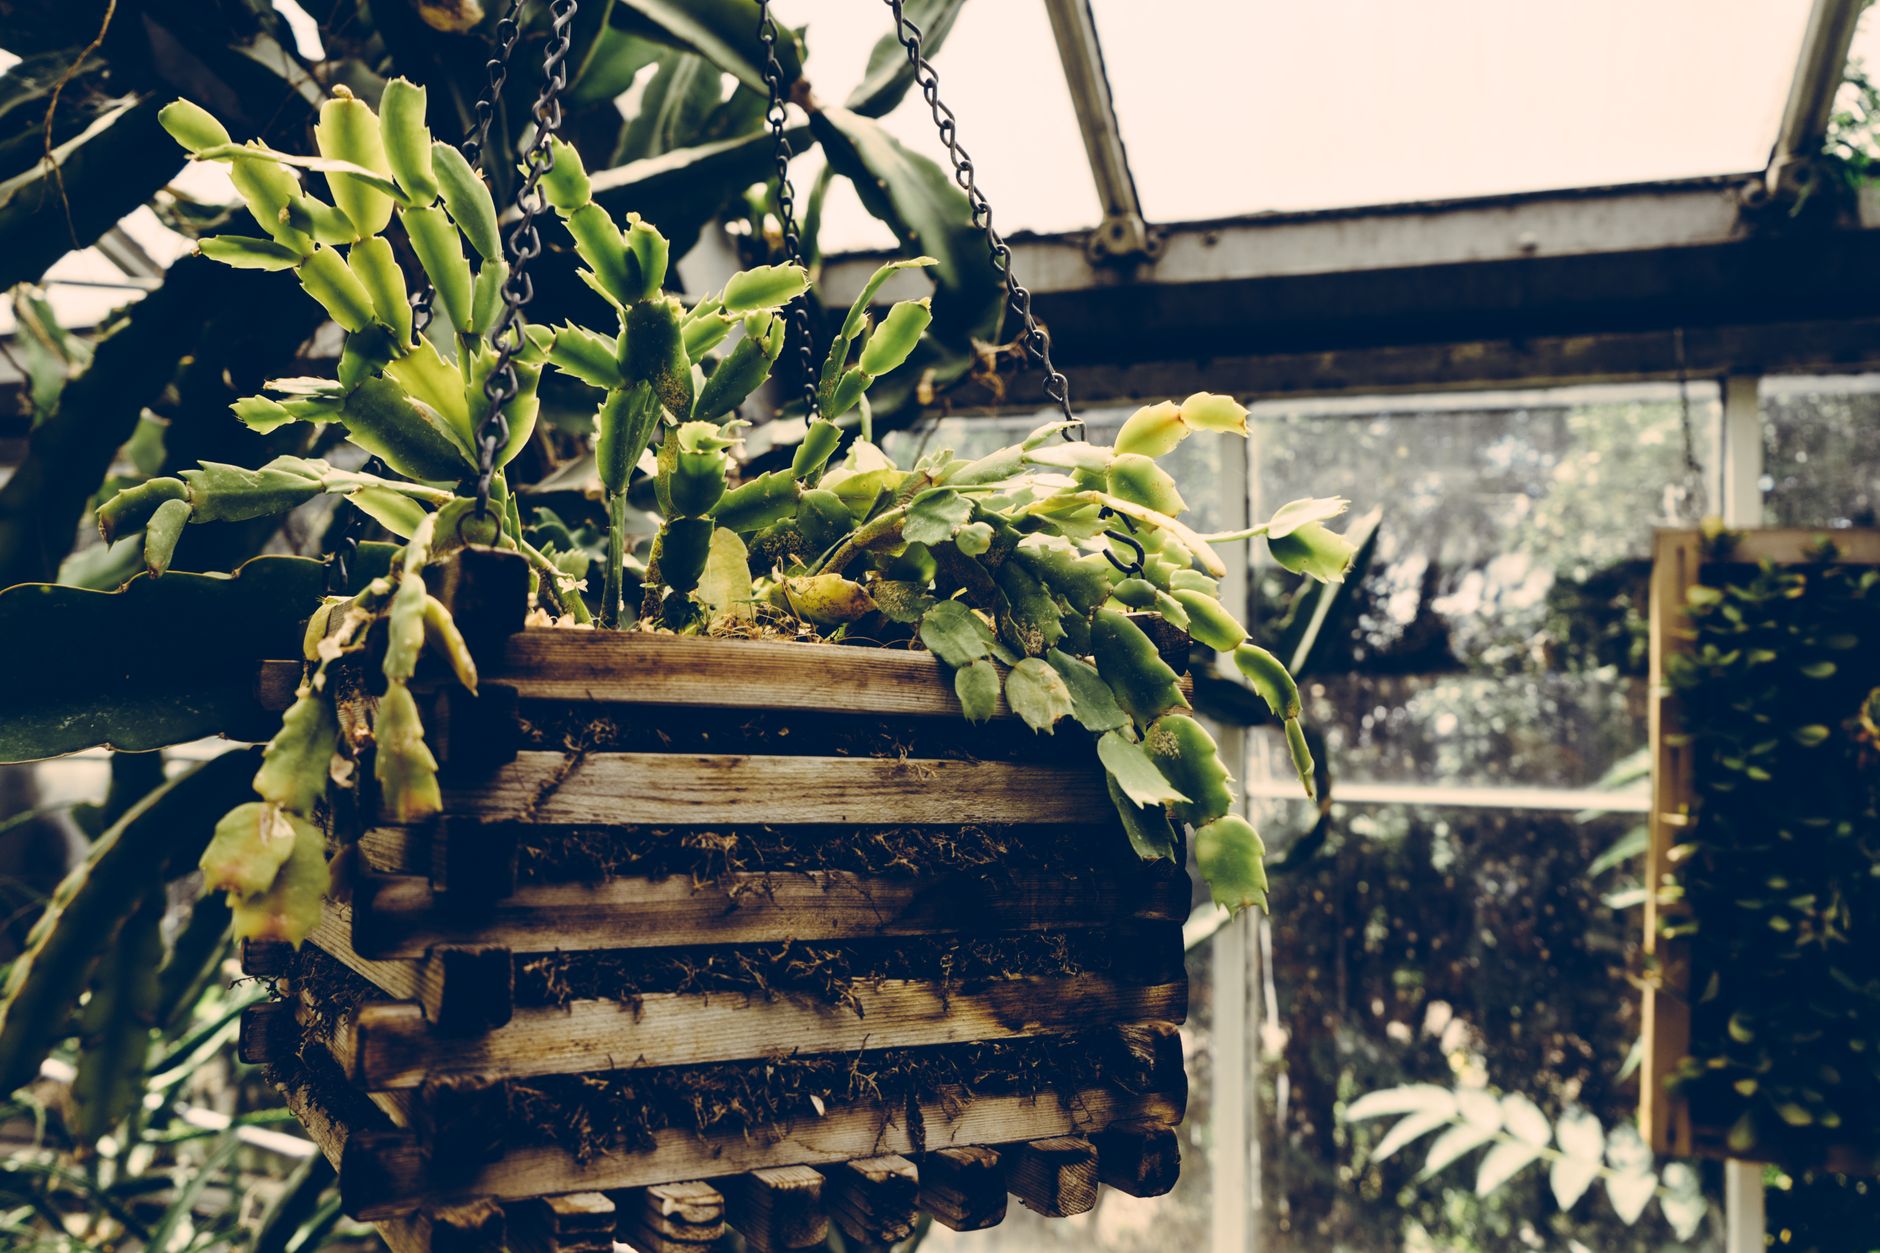
Select the right segments: Choose healthy, mature segments from the mother plant. Look for firm, plump, green segments that are at least 2-3 segments long. Avoid segments that are shriveled, yellow, or damaged.
How to take cuttings: Using sterilized scissors or pruners, cut a stem that is 2-4 segments long. You can also gently twist segments off at the joints—this often works well.
Segments per cutting: Each cutting should have 2-4 segments. This gives the cutting enough stored energy to grow roots and new segments.
Where to cut: Cut at the joint between segments. This is where the cutting will root best.
How many cuttings: You can take multiple cuttings from a healthy plant. Each cutting can grow into a new plant. Don't take more than 20-30% of the plant to avoid stressing the mother.
Sterilize your tools: Clean your scissors with rubbing alcohol before cutting to prevent disease spread.
Allow Cuttings to Callus
What is callusing? Callusing is the process where the cut end dries and forms a protective layer. This seals the wound and prevents bacteria from entering and causing rot.
How to callus: Place the cut cuttings on a paper towel or clean surface. Leave them in a warm, dry place out of direct sunlight for 1-2 days.
Why it's important: Christmas cactus segments have a high moisture content. If you place fresh cuttings directly in water or moist soil, the cut end is vulnerable to rot.
Signs of callusing: The cut end will be slightly dry and firm. You may notice a thin, white-ish film forming—that's the callus.
Don't rush: Even if you're eager, wait the full 1-2 days. This step significantly increases your success rate.
Water Propagation (Step-by-Step)

Fill the jar: Place the callused cuttings in a clean glass or jar. Add enough room-temperature water to submerge the bottom segment (the cut end).
Submerge the bottom segment only: Only the bottom 1-2 segments should be in water. The rest should be above water to prevent rot.
Place in bright, indirect light: A windowsill with filtered light is ideal. Avoid direct sunlight, which can cause algae growth in the water.
Change water weekly: Replace the water every week with fresh, room-temperature water. This prevents bacteria growth.
Watch for roots: In 2-4 weeks, roots will begin to appear from the bottom of the cutting. In 4-6 weeks, new leaf segments may start forming.
When to plant: Wait until roots are at least 1-2 inches long and there is visible new growth. Then transplant to soil.
Pro tip: Add a few drops of liquid fertilizer to the water once a month to encourage faster root growth.
Soil Propagation (Step-by-Step)
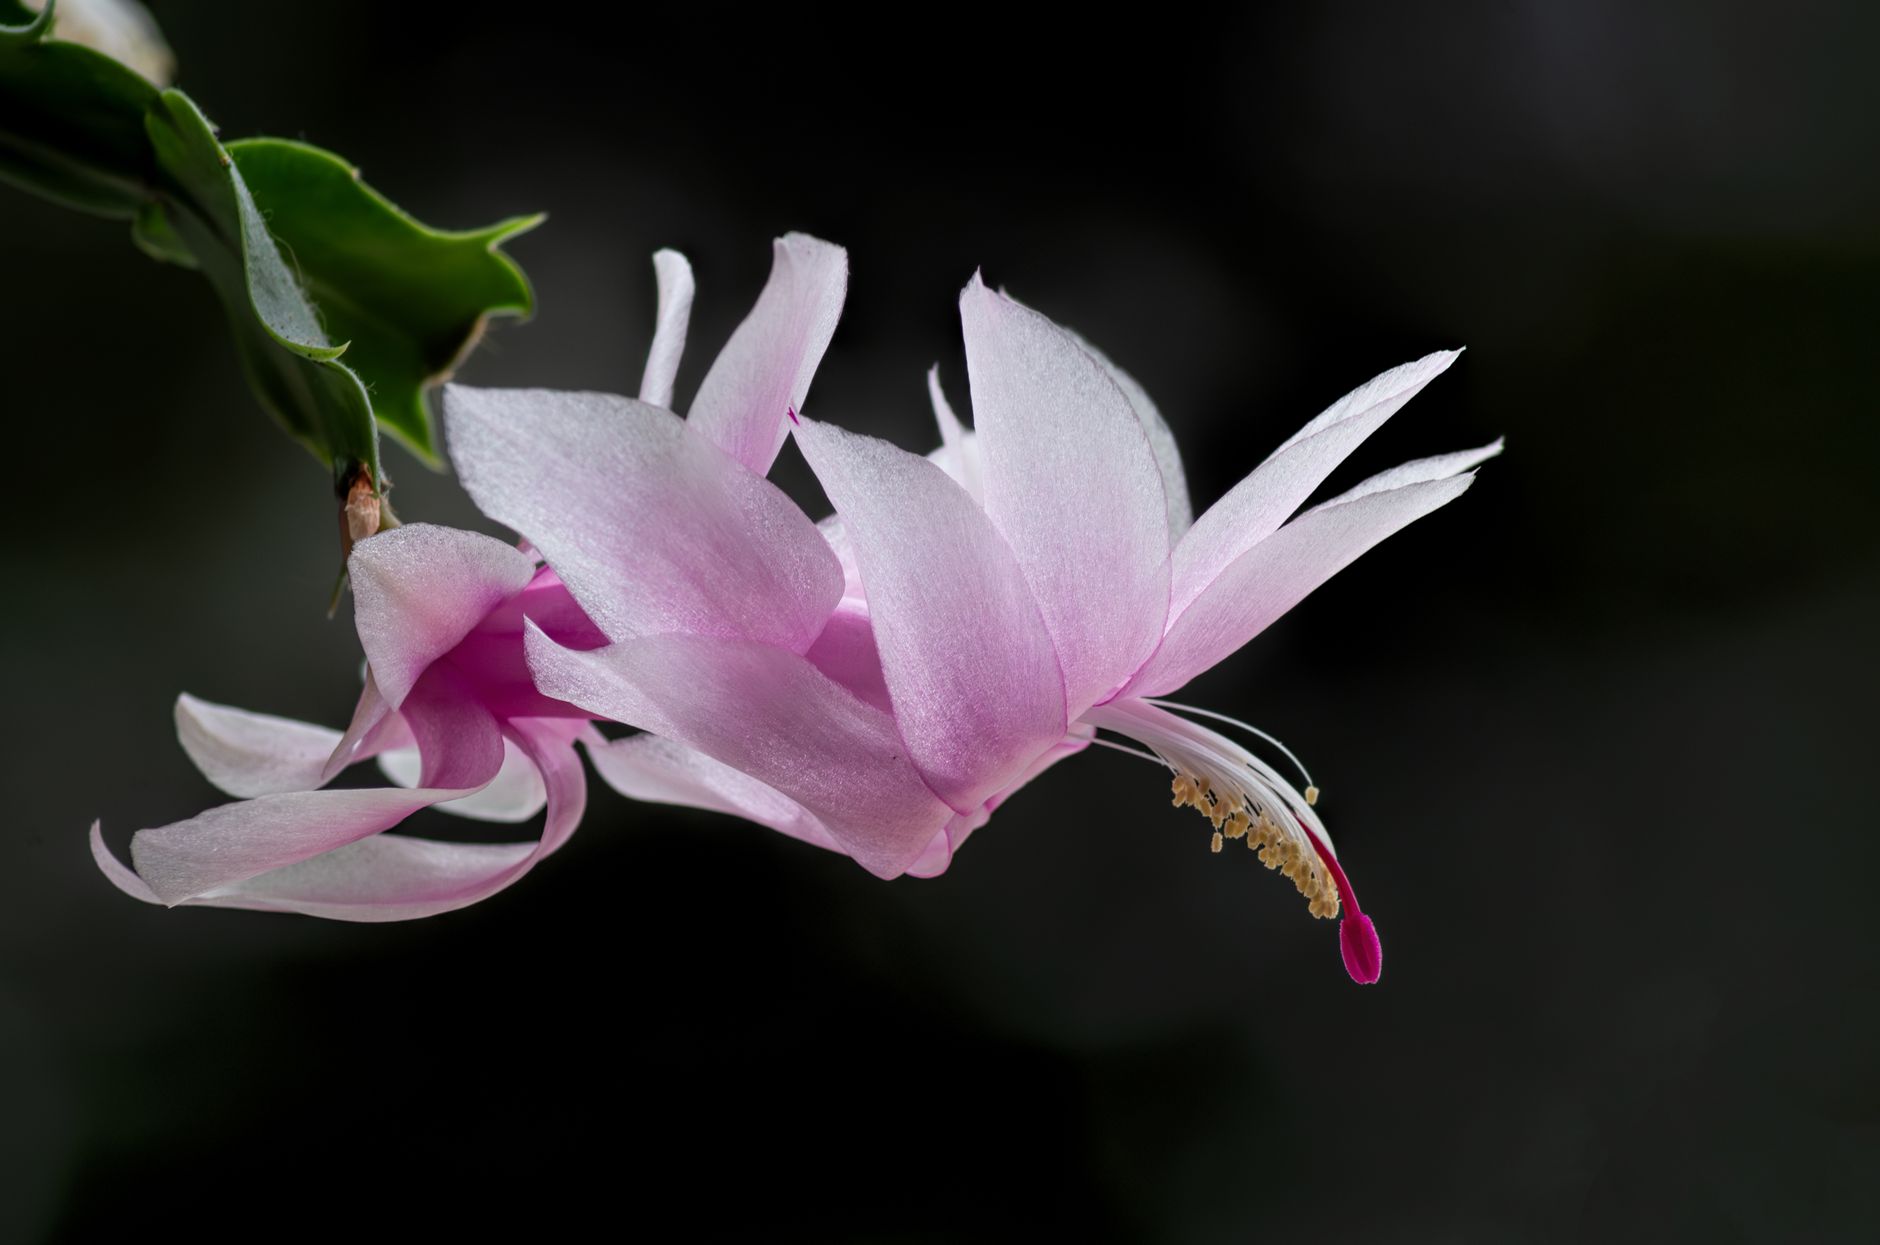
Prepare the soil: Use a well-draining potting mix. A mix of 50% cactus/succulent soil and 50% perlite works well. Christmas cactus roots need good aeration.
Fill the pot: Fill a small pot with drainage holes with the soil mix. Moisten the soil slightly (it should be damp, not wet).
Plant the cutting: Insert the callused end of the cutting into the soil about 1 inch deep. The first segment should be partially buried, with the rest above the soil.
Water sparingly: Water lightly and then let the soil dry out slightly before watering again. Overwatering is the most common cause of failure.
Place in bright, indirect light: Like water propagation, bright indirect light is ideal.
Roots appear: In 4-6 weeks, roots will develop. In 8-12 weeks, new leaf segments will emerge from the top.
Misting: Mist the cuttings lightly every few days to maintain humidity around the plant. This encourages rooting.
Division Method
When to divide: Spring or early summer is the best time. Divide when the plant is pot-bound or has multiple stems growing from the same pot.
Remove the plant: Carefully remove the entire Christmas cactus from its pot. Gently shake off excess soil to expose the root ball.
Separate the sections: Using your hands or a clean knife, gently separate the plant into sections. Each section should have a healthy root system and at least 3-4 stems.
Pot each section: Plant each divided section in its own pot with fresh, well-draining potting soil. The soil level should be the same as before.
Water and place: Water lightly and place in bright, indirect light. Treat like a mature plant.
Why division works: Division produces mature plants immediately—no waiting for roots to develop. It's the best way to multiply a large plant quickly.
Transplant and Care for New Plants
When to transplant (water propagation): Wait until roots are 1-2 inches long and new growth is visible. This usually takes 4-6 weeks.
When to transplant (soil propagation): Wait until you see new leaf segments emerging from the soil. This indicates roots are established.
Choosing a pot: Use a small pot with drainage holes (3-4 inches). Christmas cactus prefers to be slightly pot-bound.
Soil: Use well-draining cactus/succulent potting mix with perlite.
Aftercare: Place in bright, indirect light. Water when the top inch of soil feels dry. Avoid overwatering.
Fertilizing: Wait 2-3 months before fertilizing. Then use a balanced liquid fertilizer (diluted to half strength) during the growing season.
Growth rate: Christmas cactus grows slowly at first, then speeds up. Within a year, you'll have a blooming-sized plant.
Troubleshoot Common Propagation Problems
Problem: Cutting turns mushy or slimy in water. This is rot caused by bacteria. Remove the affected cutting immediately. Change the water and try again with a fresh cutting that has been properly callused.
Problem: Cutting turns brown or black in soil. Overwatering or lack of callusing. Remove the cutting. Let it dry out completely. If possible, cut off the rotted part and start again.
Problem: No roots after 6 weeks. Not enough light, too cold, or cutting was too old. Move to a brighter spot. Ensure temperature is 65-75°F. Try a younger cutting next time.
Problem: Cutting is shriveling or wrinkling. Underwatering or the cutting is using its stored energy. If it's not too shriveled, keep misting. If it completely dries up, it didn't take.
Problem: New growth is pale or yellow. Too much direct sun or nutrient deficiency. Move to indirect light. If established, start fertilizing.
Problem: Cutting falls over in soil. Not planted deep enough. Gently reinsert the cutting deeper into the soil.
Common problems and fixes
| Problem | Likely cause | What to do |
|---|---|---|
| Cutting turns mushy in water | No callus or bacteria in water. | Remove affected cutting. Change water. Callus a fresh cutting for 2 days before trying again. |
| No roots after 6 weeks | Not enough light, too cold, or old cutting. | Move to brighter spot. Ensure temperature is 65-75°F. Try a fresher cutting. |
| Cutting turns brown in soil | Overwatering. | Let soil dry completely. Reduce watering frequency. Consider repotting in drier soil. |
| Cutting is shriveling and not rooting | Underwatering or using its stored energy. | Mist more frequently if in soil. If in water, ensure the bottom is submerged. Be patient. |
Gardener's checklist
Test what you learned
What is the most critical step before placing Christmas cactus cuttings in water or soil?
Answer: Letting them callus for 1-2 days
How often should you change the water when propagating Christmas cactus in water?
Answer: Every week
What is the best time of year to propagate Christmas cactus?
Answer: Spring to early summer
How many segments should a Christmas cactus cutting have?
Answer: 2-4 segments
Common questions
Can I propagate Christmas cactus in water?
Yes! Water propagation is one of the easiest methods. Just place the callused cutting in water with the bottom segment submerged, change water weekly, and wait for roots to appear.
How long does it take for Christmas cactus cuttings to root?
In water, roots appear in 2-4 weeks. In soil, roots appear in 4-6 weeks. New growth appears in 4-8 weeks.
Can I use rooting hormone on Christmas cactus cuttings?
Yes, but it's not necessary. Christmas cactus roots easily without it. If you use it, choose a formula for succulents.
Why is my Christmas cactus cutting not rooting?
Possible reasons: not enough light, too cold, old cutting, or the cutting didn't callus properly. Move to a brighter, warmer spot and try again with a fresh cutting.
Can I propagate Christmas cactus from a single segment?
A single segment can root, but it's slower and less reliable. Cuttings with 2-4 segments have more stored energy and root faster.
Christmas cactus is one of the most satisfying houseplants to propagate. With just a few 2-4 segment cuttings, you can create an entire collection of new plants to keep or share with friends. The key to success is simple: take healthy cuttings, allow them to callus for 1-2 days, then root them in water or soil. Water propagation is especially rewarding because you can watch the roots develop in real-time. Spring and early summer are the best times to propagate, as the plant is actively growing. With patience and the right conditions, your cuttings will root in 2-6 weeks and start producing new growth in 4-8 weeks. Before you know it, you'll have blooming-sized plants to enjoy for years to come.
Frequently asked questions
How often should a vegetable garden be watered?
Frequency depends on weather, soil and plant size. Check the soil rather than watering on a rigid schedule.
Is compost enough fertilizer?
Compost improves soil and provides nutrients slowly. Heavy-feeding crops may still need additional feeding.

The Sproutstead Editorial Team
We create clear, practical gardening and homesteading guides designed for real homes and beginner growers.
View author profile →

