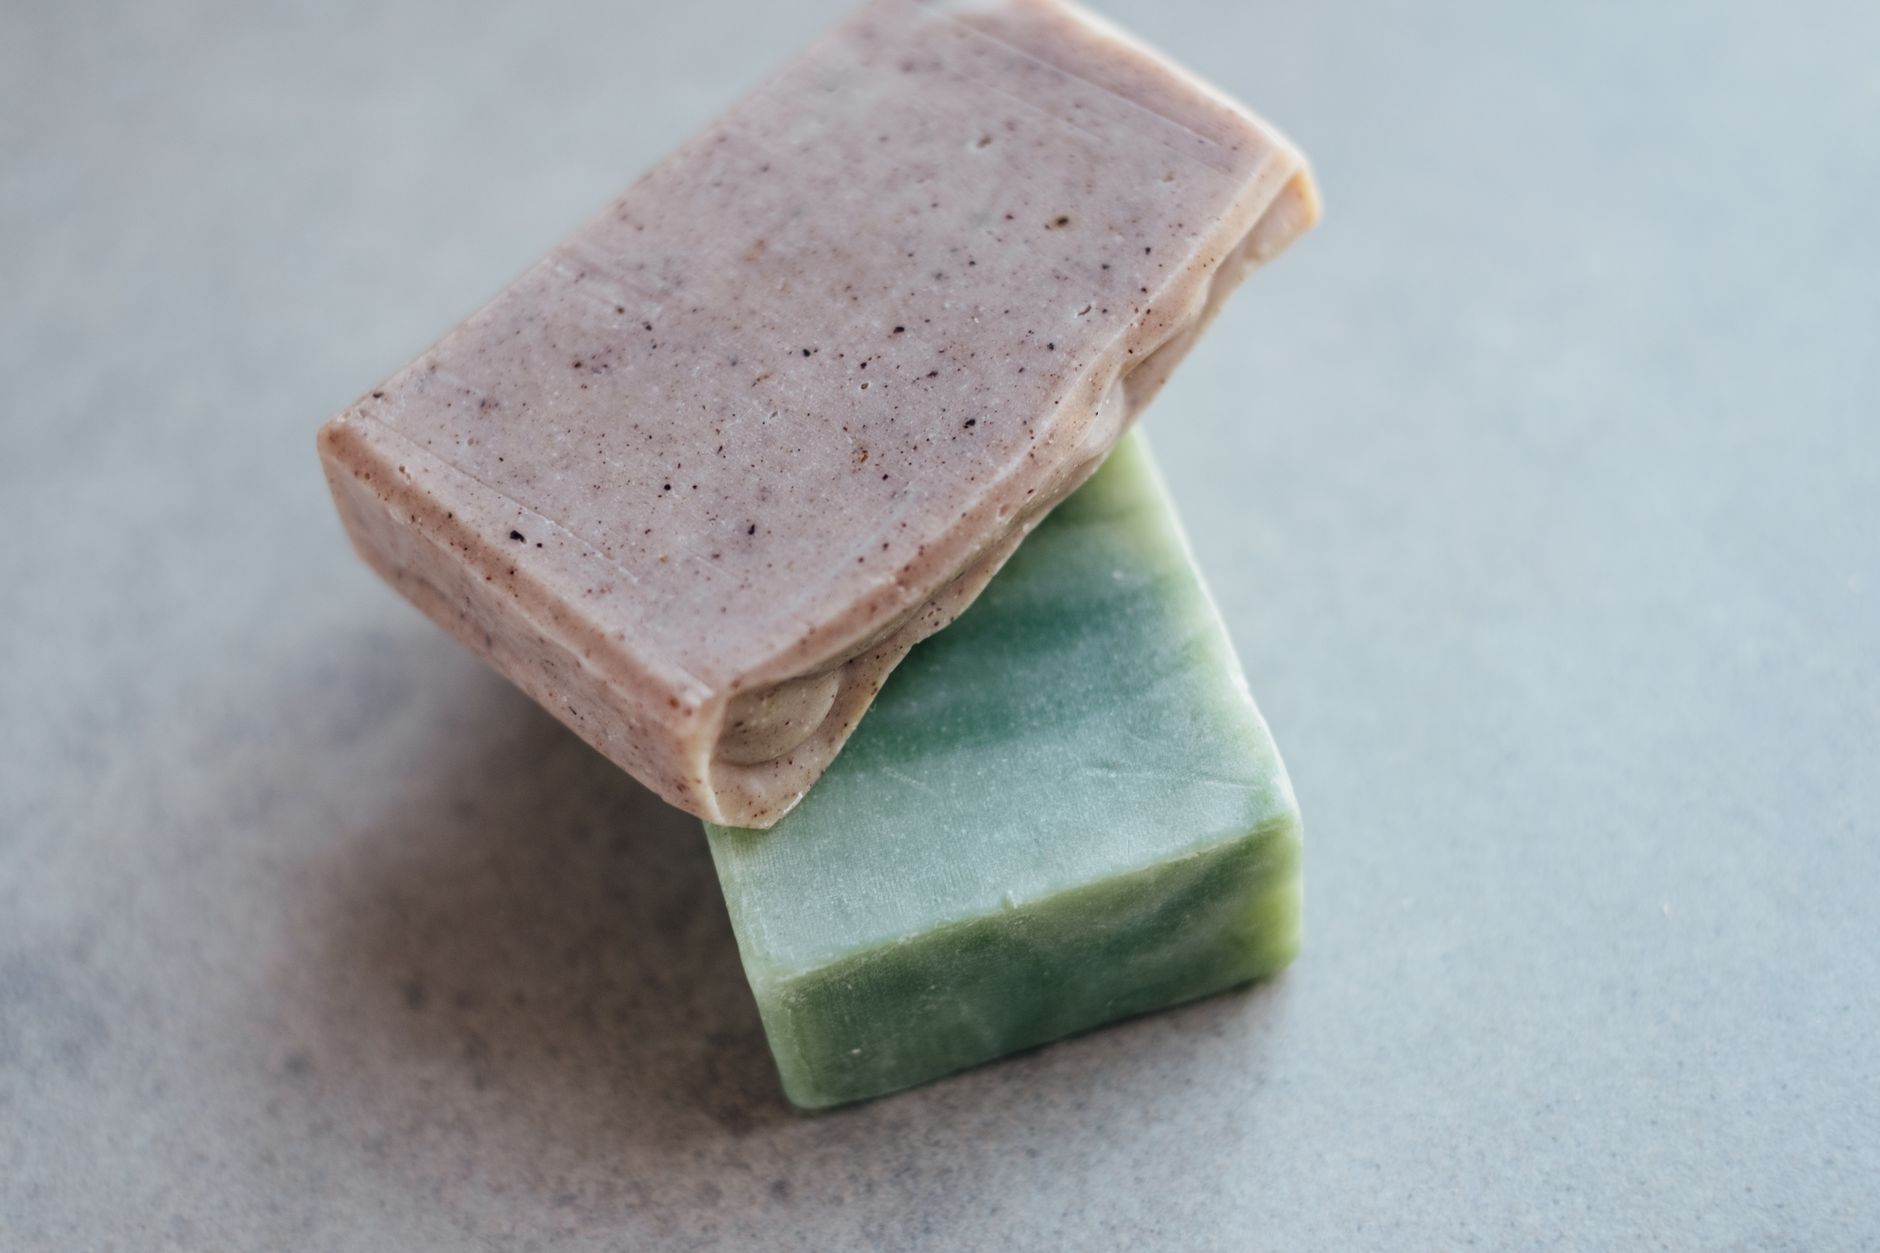
Cold process soap is made by combining lye (sodium hydroxide) dissolved in water with a blend of oils, mixing until the combination reaches 'trace' (a pudding-like consistency), then pouring into molds. The chemical reaction between lye and oils, called saponification, converts them into actual soap over the following 24-48 hours, though bars need to cure for 4-6 weeks before use to allow excess moisture to evaporate and the bars to harden fully.
What you will need
Understand Lye Safety Before You Begin

Sodium hydroxide, commonly called lye, is a caustic substance that can cause serious chemical burns on contact with skin and severe eye damage if splashed, making proper safety equipment absolutely non-negotiable before beginning any soap project.
Always wear safety goggles and chemical-resistant gloves when handling lye or fresh soap batter (which remains caustic until saponification completes), and work in a well-ventilated area, since lye dissolving in water releases fumes that shouldn't be directly inhaled.
Always add lye to water, never water to lye, since adding water to concentrated lye can cause a dangerous, rapid, and potentially explosive reaction; the correct order matters genuinely for safety, not just convention.
Keep lye and fresh soap batter well away from children and pets, and work on a surface that won't be damaged by accidental spills, since lye can etch or damage certain countertop materials.
Have vinegar on hand as a precaution, since it neutralizes lye if accidental skin contact occurs; flush any exposed skin with cool water first, then apply diluted vinegar, and seek medical attention for any significant exposure.
Choose Your Oils and Calculate Your Recipe
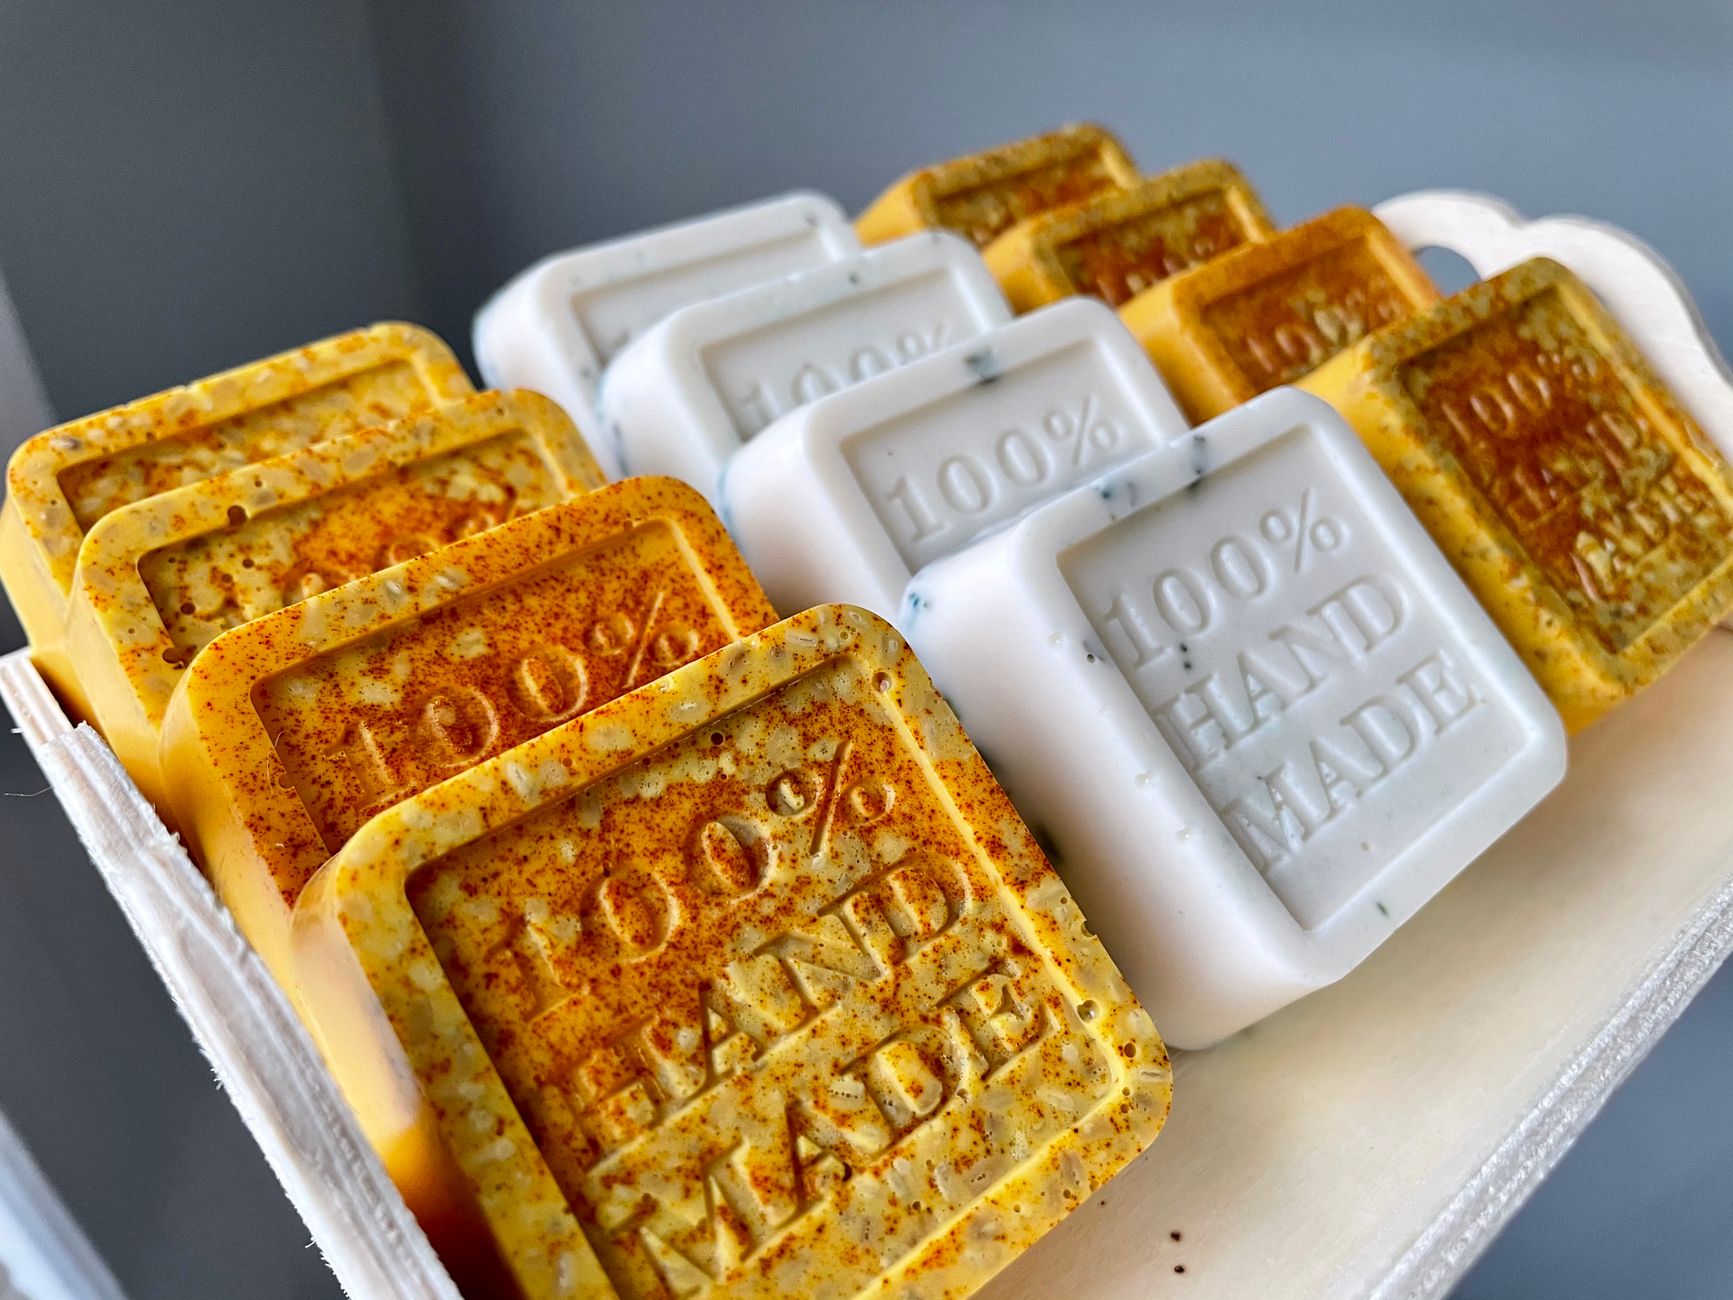
Olive oil produces a gentle, mild soap but on its own creates a somewhat soft bar; coconut oil contributes hardness and generous lather but can be drying in high concentrations; palm oil (or a sustainable alternative) adds hardness and stable lather.
Shea butter, cocoa butter, and similar luxury additions contribute moisturizing qualities and a silky feel, typically used at 5-15% of the total oil weight rather than as a primary base oil.
A common beginner recipe blends roughly 30% olive oil, 30% coconut oil, and 30% palm oil (or sustainable substitute), with the remaining 10% as a specialty oil like castor oil for added lather, though countless variations exist.
Never guess or estimate lye amounts; always use a soap-making lye calculator (widely available online for free) that determines the exact lye and water quantities needed based on your specific oil blend and weights, since each oil requires a different amount of lye to fully saponify.
Weigh all ingredients precisely using a digital kitchen scale rather than measuring by volume, since soap making is fundamentally a chemistry process where accurate proportions directly determine both safety (excess unreacted lye) and quality.
Prepare Your Lye Solution

Weigh out your calculated lye amount and distilled water separately in heat-resistant containers, using distilled rather than tap water to avoid minerals that could affect the finished soap's quality.
Slowly add the lye to the water, never the reverse, stirring gently as you add it; the mixture will heat up significantly, sometimes reaching 200°F or higher, which is a completely normal part of the dissolving process.
Work in a well-ventilated area or outdoors if possible, avoiding direct inhalation of the fumes released as the lye dissolves, which are most concentrated in the first minute or two of mixing.
Set the dissolved lye solution aside to cool, typically to around 100-110°F, which usually takes 20-40 minutes depending on ambient temperature and container material.
Never leave a lye solution unattended where children or pets could access it, and always label containers clearly if you need to step away, since the clear liquid can be mistaken for water at a dangerous glance.
Melt and Combine Your Oils

Melt any solid oils and butters (coconut oil, palm oil, shea butter) together using a double boiler or careful direct heat, then combine with any liquid oils (olive oil, castor oil) in your recipe.
Allow the combined oil mixture to cool to roughly the same temperature range as your lye solution, typically 100-110°F, since combining the two at similar temperatures produces more predictable, consistent results.
Use a thermometer to check both the oils and lye solution temperatures before combining, rather than guessing, since temperature mismatches can affect how quickly and evenly the mixture reaches trace.
Some soap makers work at room temperature (around 80-90°F) for both components instead, a technique that generally produces a slower trace but works well for recipes with a high percentage of liquid oils.
If your oils have cooled too much and any solid fats have begun re-solidifying, gently rewarm before combining, since lumpy or unevenly melted oils can create inconsistent texture in the finished soap.
Combine Lye Solution and Oils to Reach Trace

Slowly pour the cooled lye solution into your oil mixture, then begin mixing using a dedicated stick blender (never one also used for food, given lingering caustic residue concerns even after washing).
Alternate between blending in short bursts and stirring by hand, watching for the mixture to thicken and reach 'trace,' a pudding-like consistency where drizzled batter briefly holds its shape on the surface before sinking back in.
Light trace, a thin but visible trail, is appropriate for recipes with intricate swirled designs, while a thicker trace works better for simple, single-color soaps or recipes with additions like oatmeal that need more support to stay suspended.
Trace can take anywhere from 5-20 minutes depending on your specific oil blend, since recipes higher in fast-tracing oils like castor oil or beeswax reach this stage considerably faster than those dominated by slower-tracing oils like olive oil.
Add any essential oils, colorants, or additional ingredients like oatmeal or dried herbs once you've reached your desired trace consistency, mixing briefly to distribute evenly before pouring.
Pour into Molds and Allow Initial Saponification
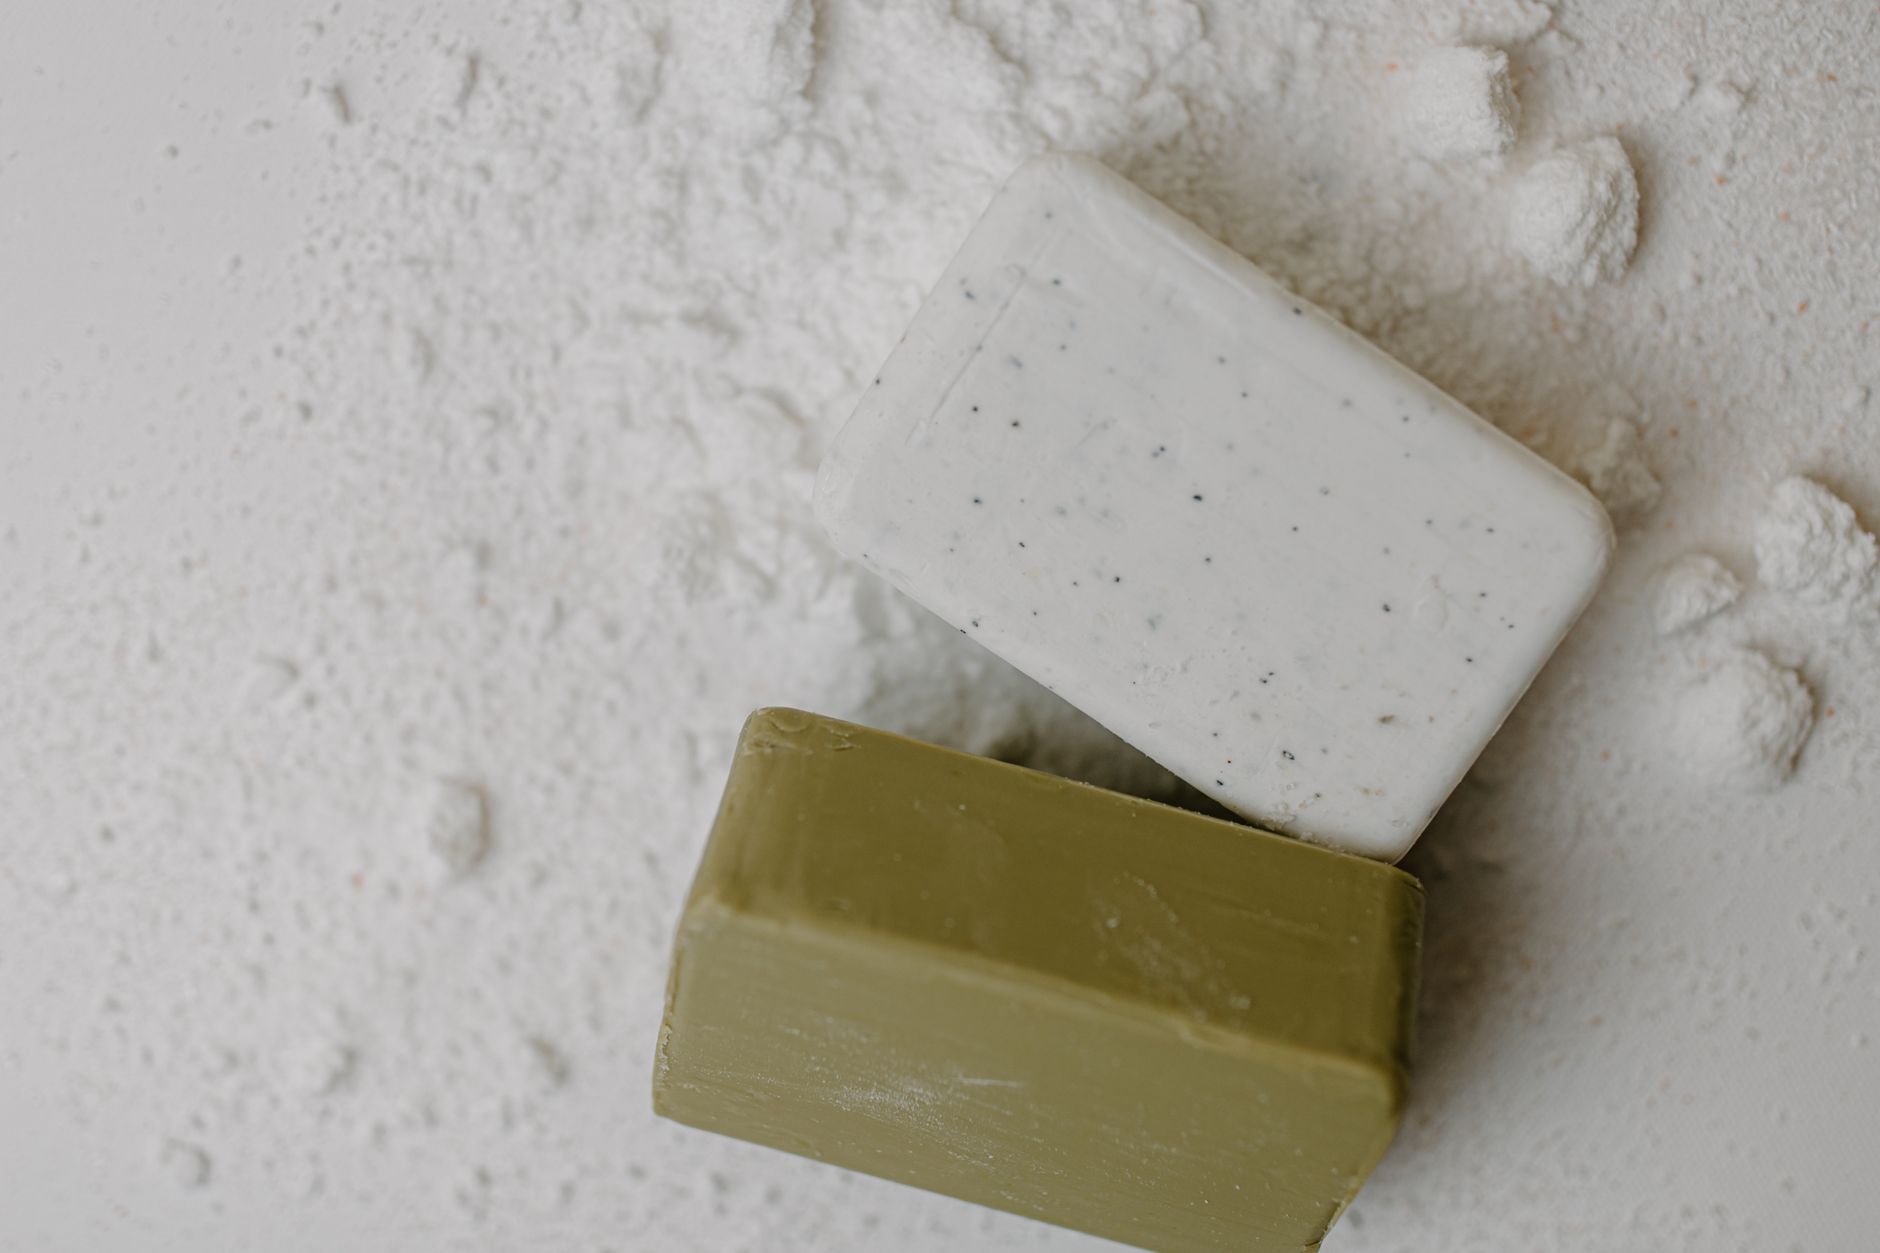
Pour the traced soap batter into silicone molds, tapping gently on the counter to release any trapped air bubbles before the mixture continues thickening.
Cover molds loosely and insulate with towels for the first 24 hours, which helps maintain the heat needed for saponification to proceed evenly throughout the batch.
The soap will go through a natural heating phase (sometimes called 'gel phase') during this period, sometimes becoming translucent and notably warm to the touch, which is a normal part of the saponification process rather than a problem.
Leave soap in the mold for 24-48 hours before unmolding, by which point saponification is largely complete and the bars should be firm enough to handle, though still technically 'young' soap that needs further curing.
Cut larger block molds into individual bars once firm enough to slice cleanly, typically the same day you unmold, using a sharp knife or a dedicated soap cutter for clean, even bars.
Cure Soap for 4-6 Weeks Before Use

Arrange cut bars on a curing rack or any surface allowing air circulation on all sides, in a cool, dry location away from direct sunlight, for 4-6 weeks before use.
During curing, excess water evaporates from the bars, which both hardens them (producing a longer-lasting bar that doesn't dissolve quickly in the shower) and allows any remaining trace amounts of unreacted lye to fully complete the saponification process.
Turn bars periodically during curing, particularly in the first week or two, to ensure even air exposure and drying on all sides rather than just the top-facing surface.
Test soap pH before use if you want extra confidence, using pH testing strips; properly cured, fully saponified soap should read in the 8-10 range rather than significantly higher, which could indicate residual unreacted lye.
Resist the temptation to use soap before the curing period completes, even though it's technically already 'soap' by day two; the curing time genuinely improves the final bar's quality, mildness, and longevity significantly.
Common problems and fixes
| Problem | Likely cause | What to do |
|---|---|---|
| Soap batter never reaches trace | Incorrect lye measurement, oils and lye solution at very different temperatures, or insufficient blending time. | Double-check your lye calculator figures for accuracy, ensure both components are within a similar temperature range, and continue blending in patient intervals. |
| Finished soap feels greasy or doesn't lather well | Excess oil (superfat) in the recipe, either intentional or from a measurement error. | Recheck your recipe's superfat percentage, and verify measurements were accurate if the greasiness seems unintentional. |
| Soap develops white, powdery spots on the surface (soda ash) | Exposure of the fresh soap surface to air during the early saponification period, causing a cosmetic reaction. | This is purely cosmetic and doesn't affect soap quality or safety; it can be reduced in future batches by covering molds more completely during the initial saponification period. |
Gardener's checklist
Test what you learned
What is the correct order for combining lye and water?
Answer: Lye into water
What is 'trace' in soap making?
Answer: The pudding-like consistency signaling the batter is ready to pour
How long should cold process soap cure before use?
Answer: 4-6 weeks
Common questions
Is homemade soap actually safe to use on skin?
Yes, when made correctly with accurate lye calculations and given the full curing period, cold process soap is genuinely safe and mild, since the saponification process fully converts the caustic lye into actual soap, leaving no significant unreacted lye in a properly cured bar.
Why does soap need to cure for so long?
Curing allows excess water to evaporate, which hardens the bar for longer-lasting use, and gives any trace amounts of unreacted lye additional time to fully complete the saponification reaction, resulting in a milder, better-quality finished product.
Can I use tap water instead of distilled water for the lye solution?
Distilled water is recommended, since minerals in tap water can potentially affect the soap's quality, appearance, or the accuracy of the saponification reaction, making distilled water worth the minimal extra cost for more reliable results.
What's the difference between cold process and melt-and-pour soap?
Cold process soap involves working directly with lye and oils through the full saponification process described in this guide, while melt-and-pour uses a pre-made soap base that's simply melted and reshaped, avoiding lye handling entirely but offering less recipe customization.
Cold process soap making rewards careful attention to safety and precise measurement with a genuinely satisfying, customizable craft, and the patience required through the curing period is what separates good homemade soap from a rushed, inferior bar.
Frequently asked questions
How often should a vegetable garden be watered?
Frequency depends on weather, soil and plant size. Check the soil rather than watering on a rigid schedule.
Is compost enough fertilizer?
Compost improves soil and provides nutrients slowly. Heavy-feeding crops may still need additional feeding.

The Sproutstead Editorial Team
We create clear, practical gardening and homesteading guides designed for real homes and beginner growers.
View author profile →