Make maple syrup by tapping mature maple trees (12+ inches in diameter) in late winter when temperatures fluctuate between freezing nights and above-freezing days, collecting the clear sap that flows, then boiling it down outdoors over several hours until it reaches 219°F (7°F above water's boiling point), the point at which it becomes finished syrup. It takes roughly 40 gallons of sap to produce 1 gallon of syrup, making this a genuinely labor-intensive but rewarding homestead project.
What you will need
Identify and Select Trees to Tap
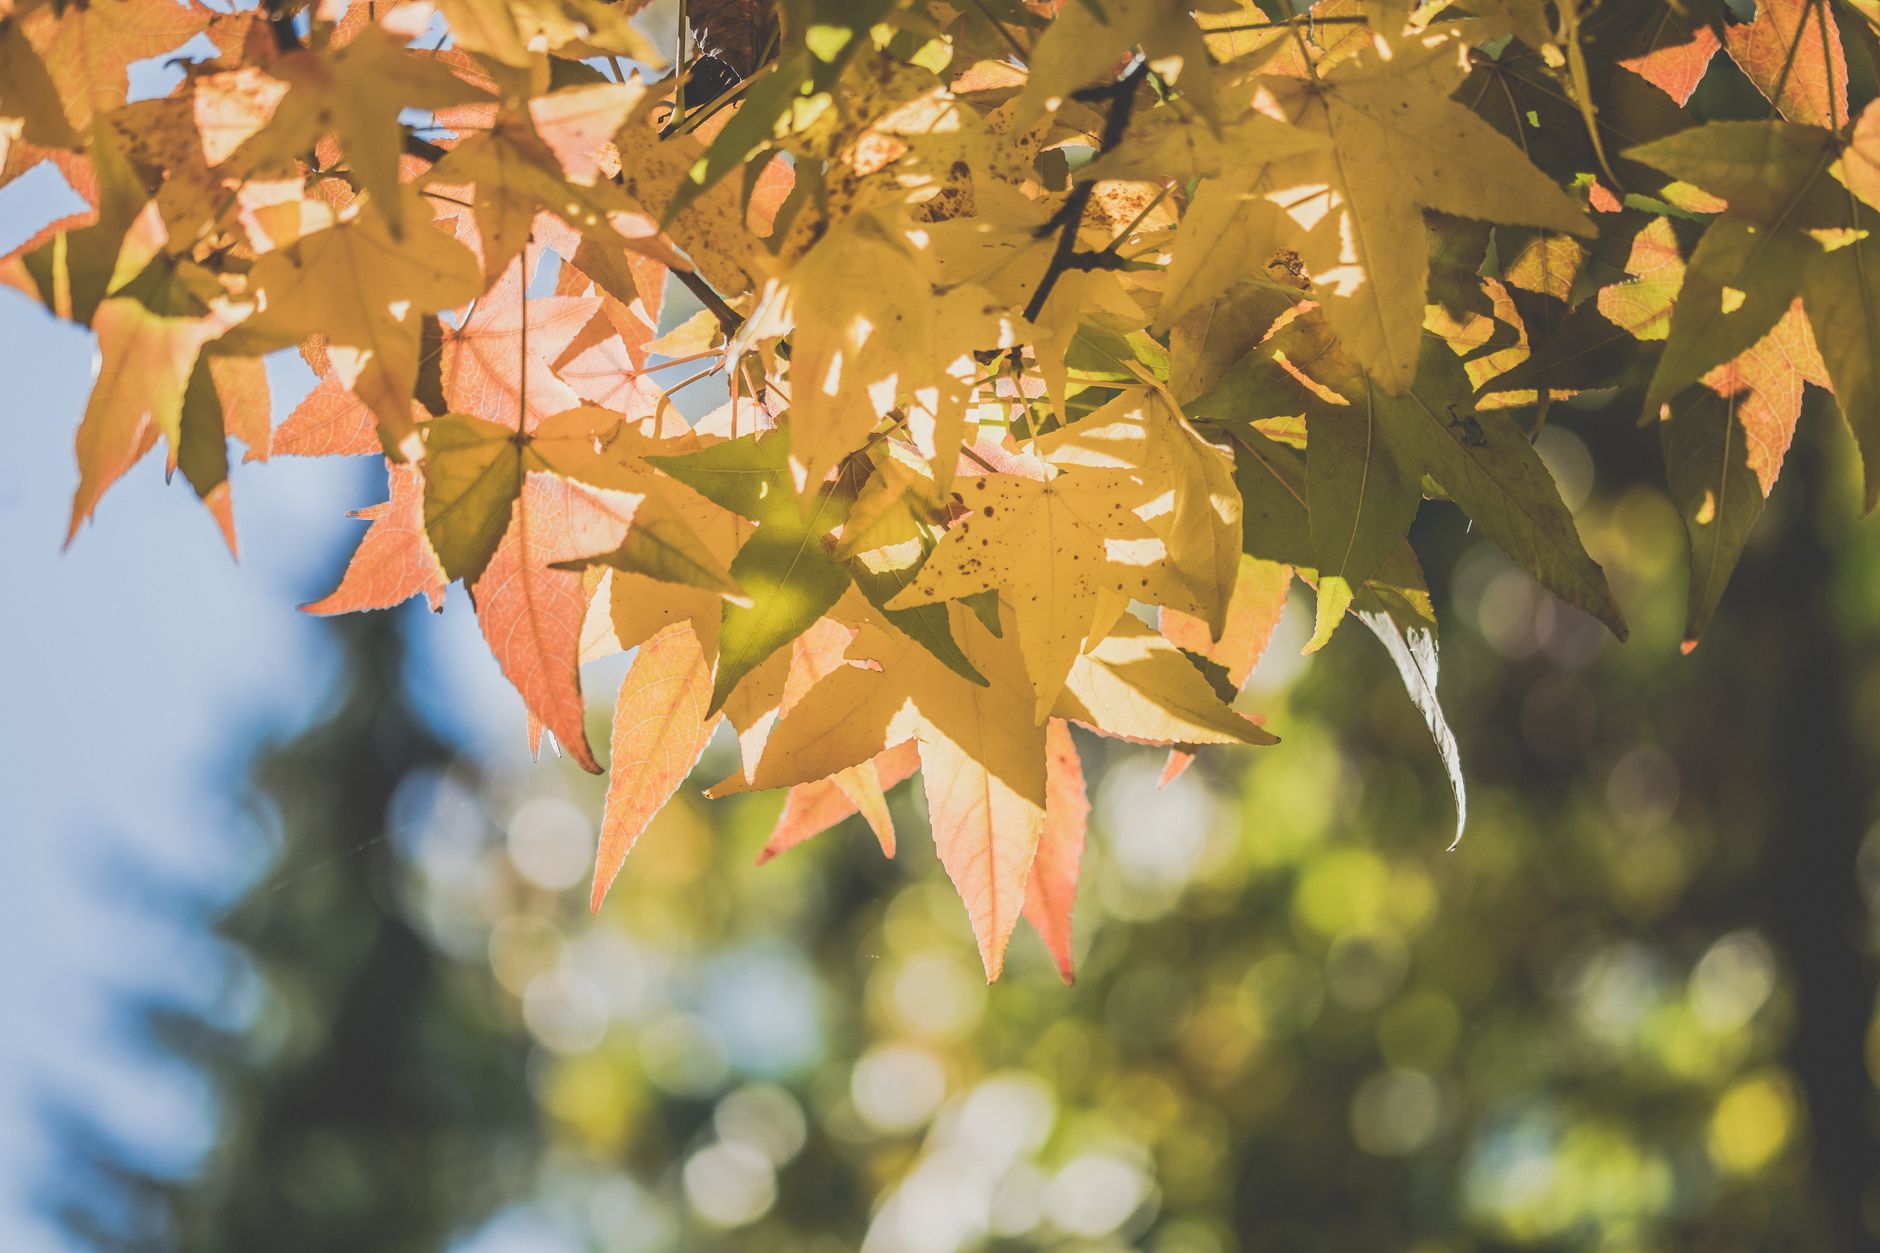
Sugar maples produce the sweetest, most concentrated sap, though red maples, black maples, and even boxelder can also be tapped, generally producing sap with somewhat lower sugar content requiring more boiling per gallon of finished syrup.
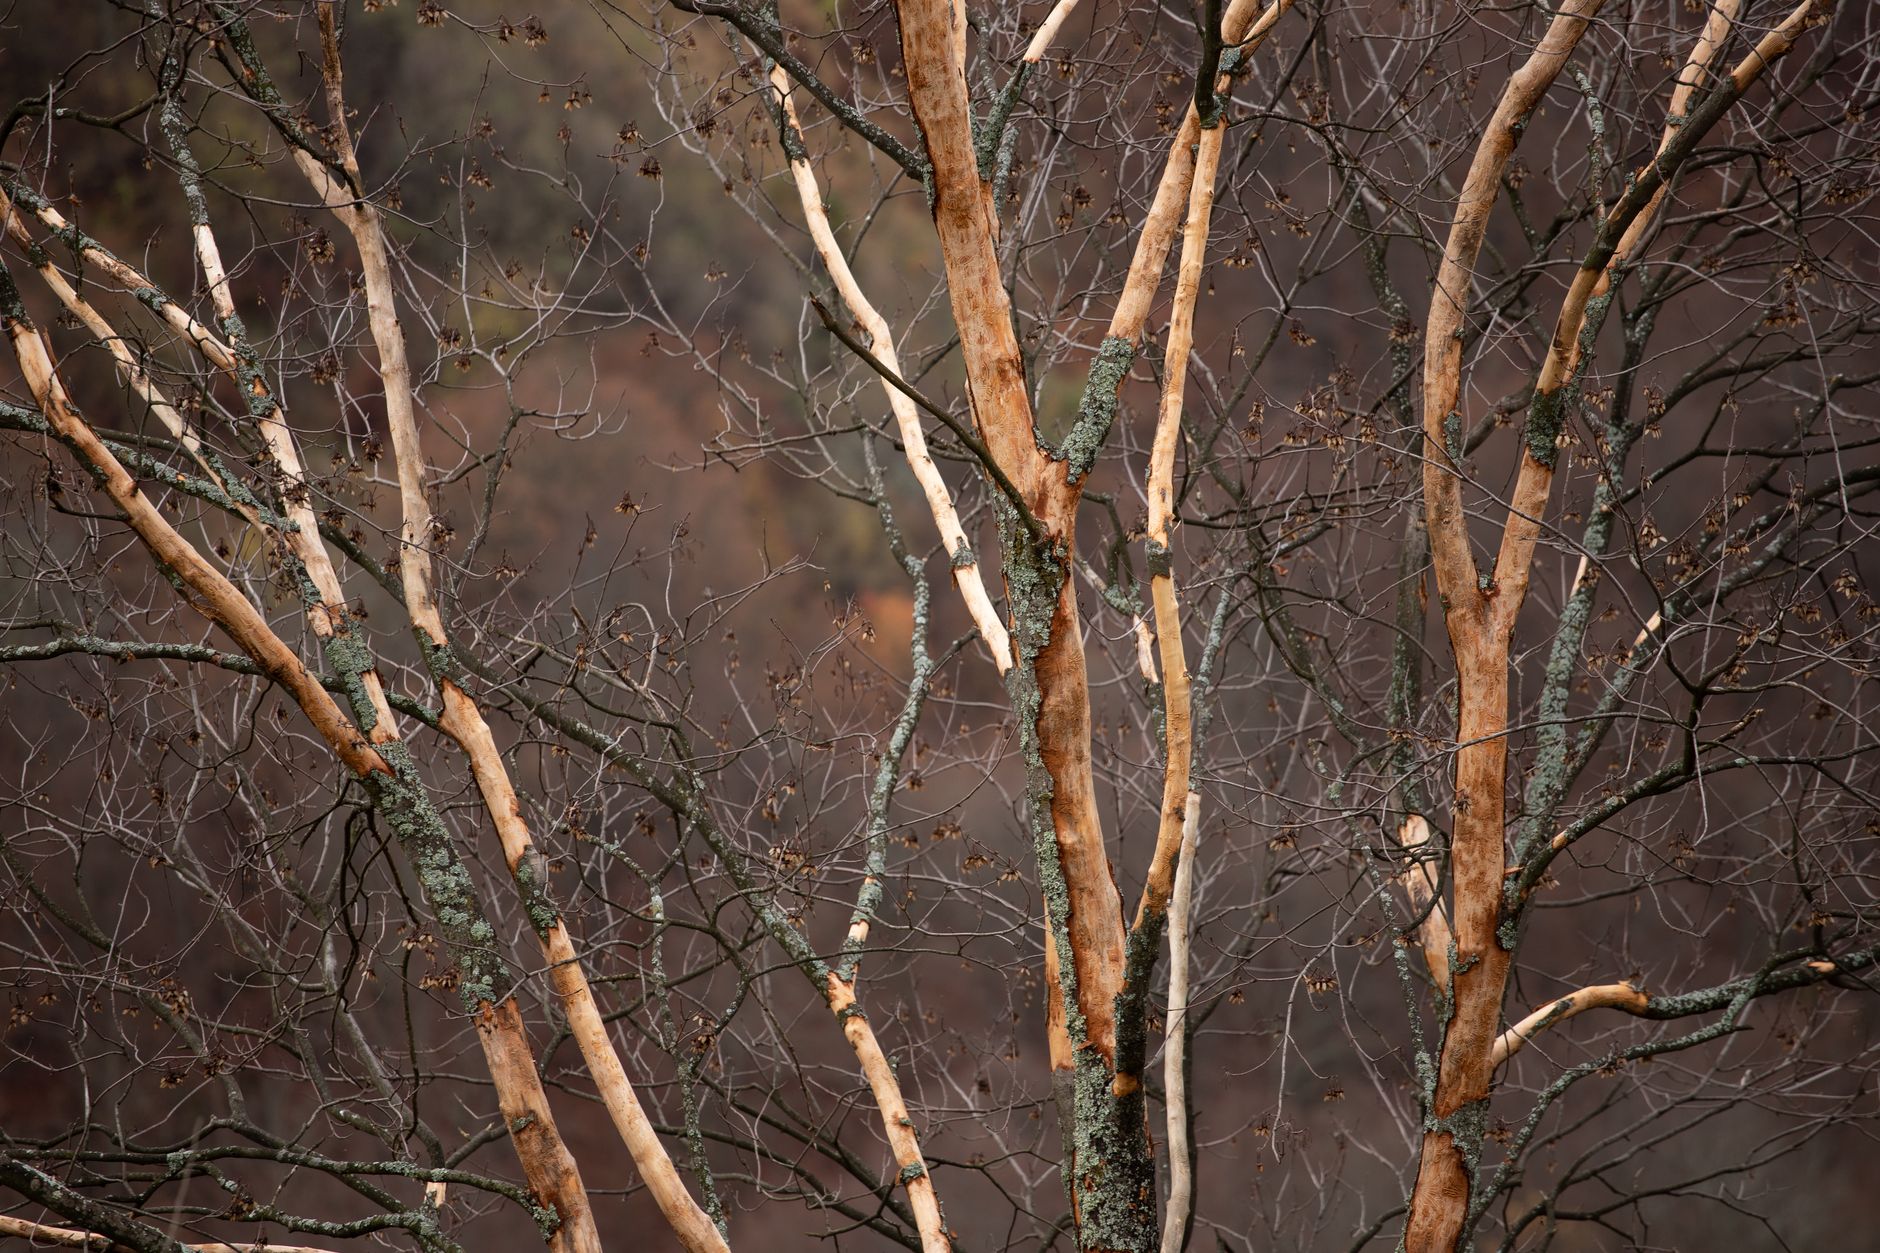
Identify maple trees by their distinctive leaf shape (when in leaf) or by bark and branching pattern during the dormant winter tapping season, when leaves aren't present for easy identification.
Only tap trees at least 12 inches in diameter (measured at chest height), since smaller trees don't have sufficient sap flow to tap without risking harm to the tree's health.
Larger trees can support multiple taps: one tap for trees 12-20 inches, two taps for trees 20-25 inches, and up to three or four taps for exceptionally large, mature trees over 25 inches in diameter.
Choose healthy trees without visible disease, extensive damage, or signs of stress, since a tree's overall vigor affects both sap production and its ability to heal properly from the tapping process.
Tap Trees at the Right Time
The ideal tapping window occurs in late winter to early spring, when nighttime temperatures drop below freezing (around 20-32°F) and daytime temperatures rise above freezing (above 40°F), creating the pressure changes within the tree that drive sap flow.
Drill a hole at a slight upward angle, about 2-2.5 inches deep, using a 5/16 or 7/16 inch drill bit depending on your tap size, positioned about 3-4 feet above the ground on the sunny south-facing side of the tree where possible.
Insert the tap (spile) into the drilled hole, tapping gently with a mallet until snug, then hang a collection bucket or attach tubing leading to a collection container beneath the tap's spout.
Sap flow typically begins within a day of tapping if temperature conditions are favorable, and the season generally lasts 4-6 weeks total, though this varies by region and specific weather patterns each year.
Stop collecting once buds begin swelling and sap develops an off flavor (sometimes called 'buddy' sap), which signals the tree has shifted into its spring growth phase and the sap is no longer suitable for quality syrup.
Collect Sap Daily
Check and empty collection buckets or containers daily during active sap flow, since sap is essentially just slightly sweetened water and can spoil or ferment if left standing too long, particularly on warmer days.
Sap should appear clear, similar to water, with a faint sweetness when tasted; discard any sap that appears cloudy, has an off smell, or tastes sour, since this indicates spoilage has already begun.
Store collected sap in a cool location (or refrigerate if the quantity is manageable) if you can't process it the same day, ideally boiling within 24-48 hours of collection for the best quality finished syrup.
Combine sap from multiple taps into a larger clean container for processing, keeping everything as clean as possible throughout collection to avoid introducing contamination that could affect flavor or safety.
Expect roughly 10-20 gallons of sap per tap over a full season under good conditions, though this varies considerably based on tree size, health, and each season's specific weather pattern.
Boil Sap Down Outdoors
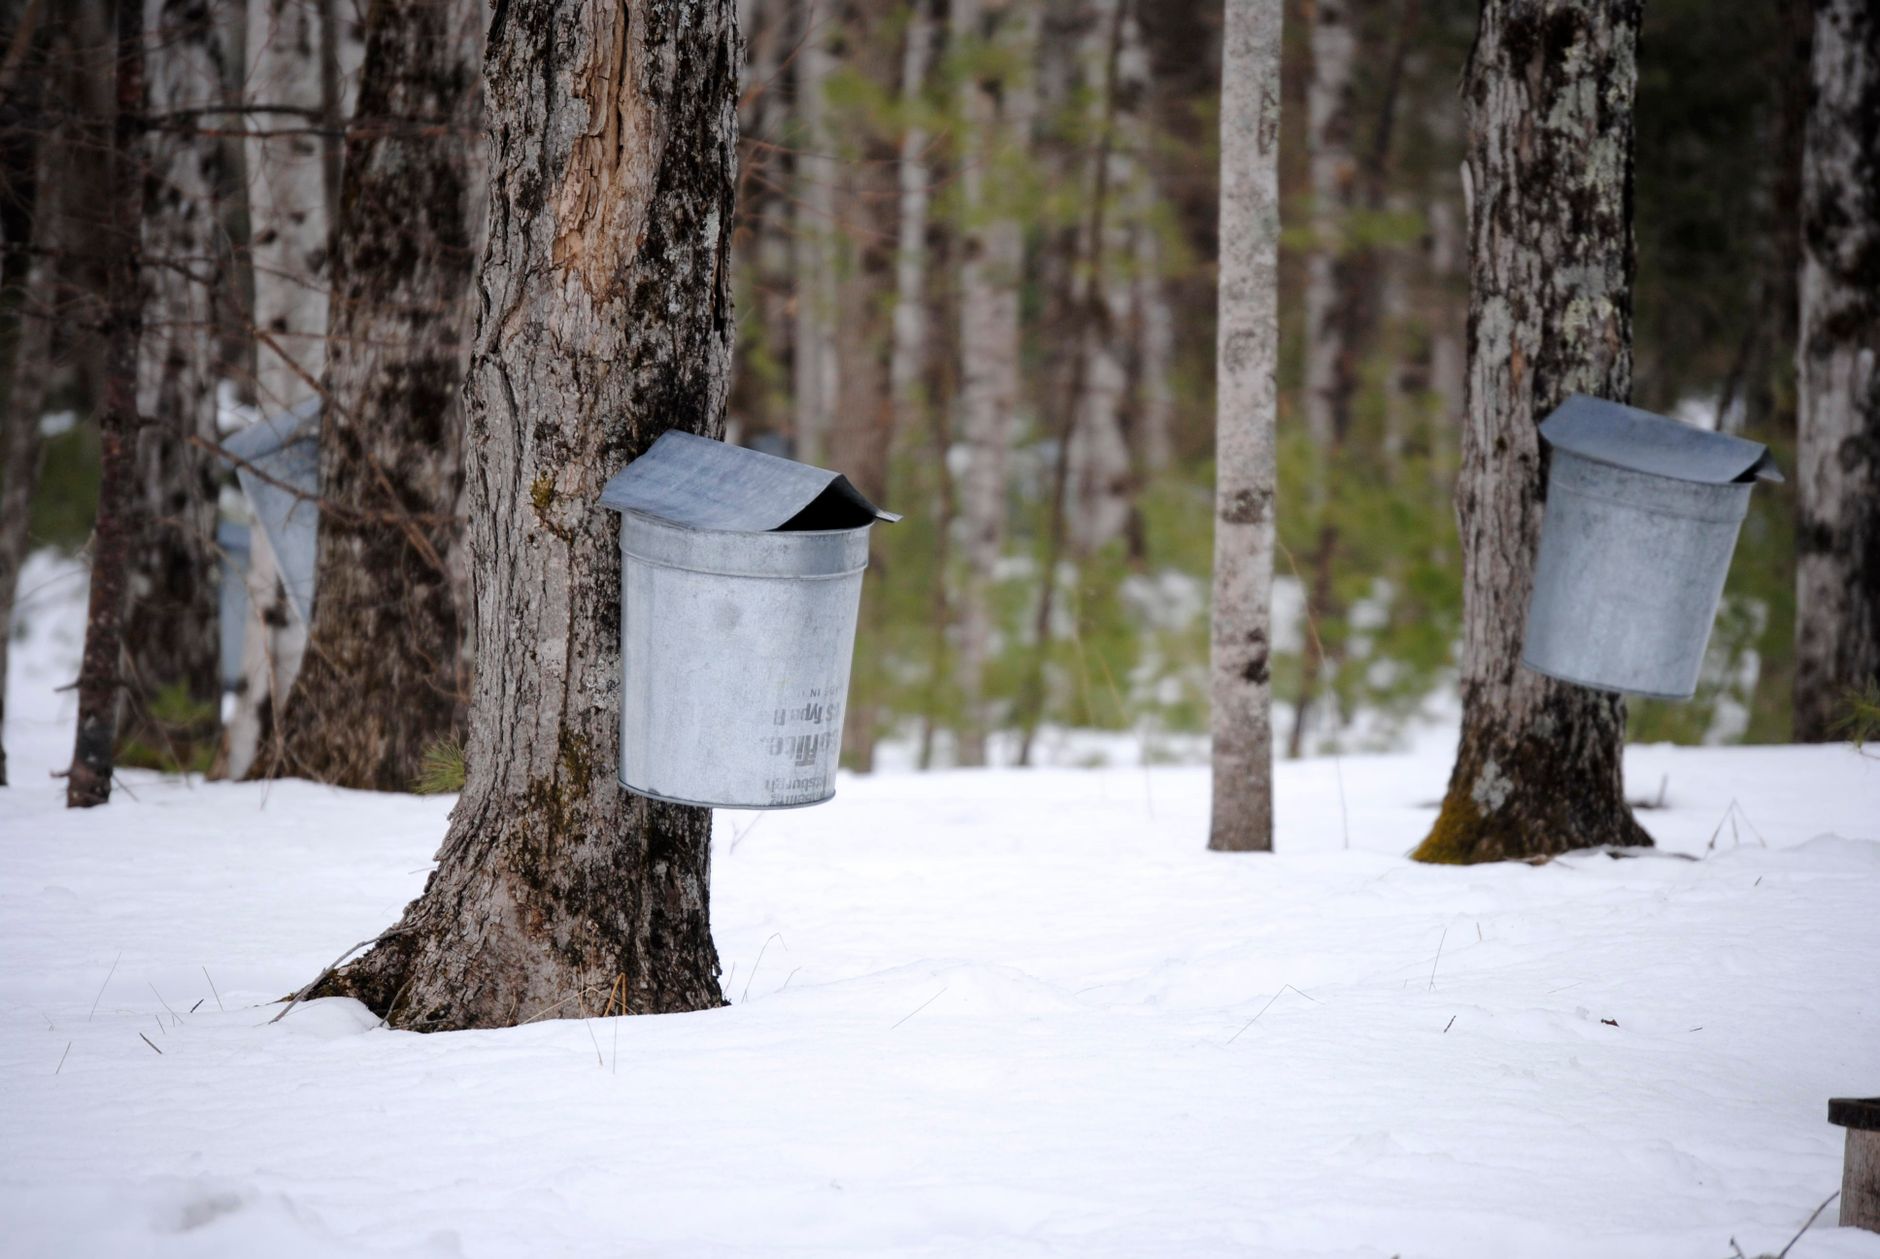
Boil sap outdoors if at all possible, since the process generates enormous amounts of steam over several hours, which can cause significant moisture damage to indoor kitchens, wallpaper, and cabinetry if attempted inside.
Use a wide, shallow pan rather than a deep pot, since a larger surface area significantly speeds up evaporation compared to a narrow, deep vessel holding the same volume of sap.
Add sap gradually as the level in your pan reduces, rather than trying to boil an enormous volume all at once, which lets you process a full season's collection over multiple boiling sessions using the same equipment.
This boiling-down process is genuinely time-intensive, often taking 4-8 hours or more to reduce a substantial batch of sap, given the approximately 40:1 ratio of sap to finished syrup.
Monitor the boil continuously as it approaches completion, since the sap-to-syrup ratio means the final stages progress from watery sap to actual syrup relatively quickly once most of the water has evaporated.
Finish Indoors and Check Temperature Precisely
Once your sap has reduced significantly and you're getting close to finished syrup, move the pan indoors to a stovetop, where you can monitor the final finishing stage more precisely without wind or temperature fluctuations affecting your reading.
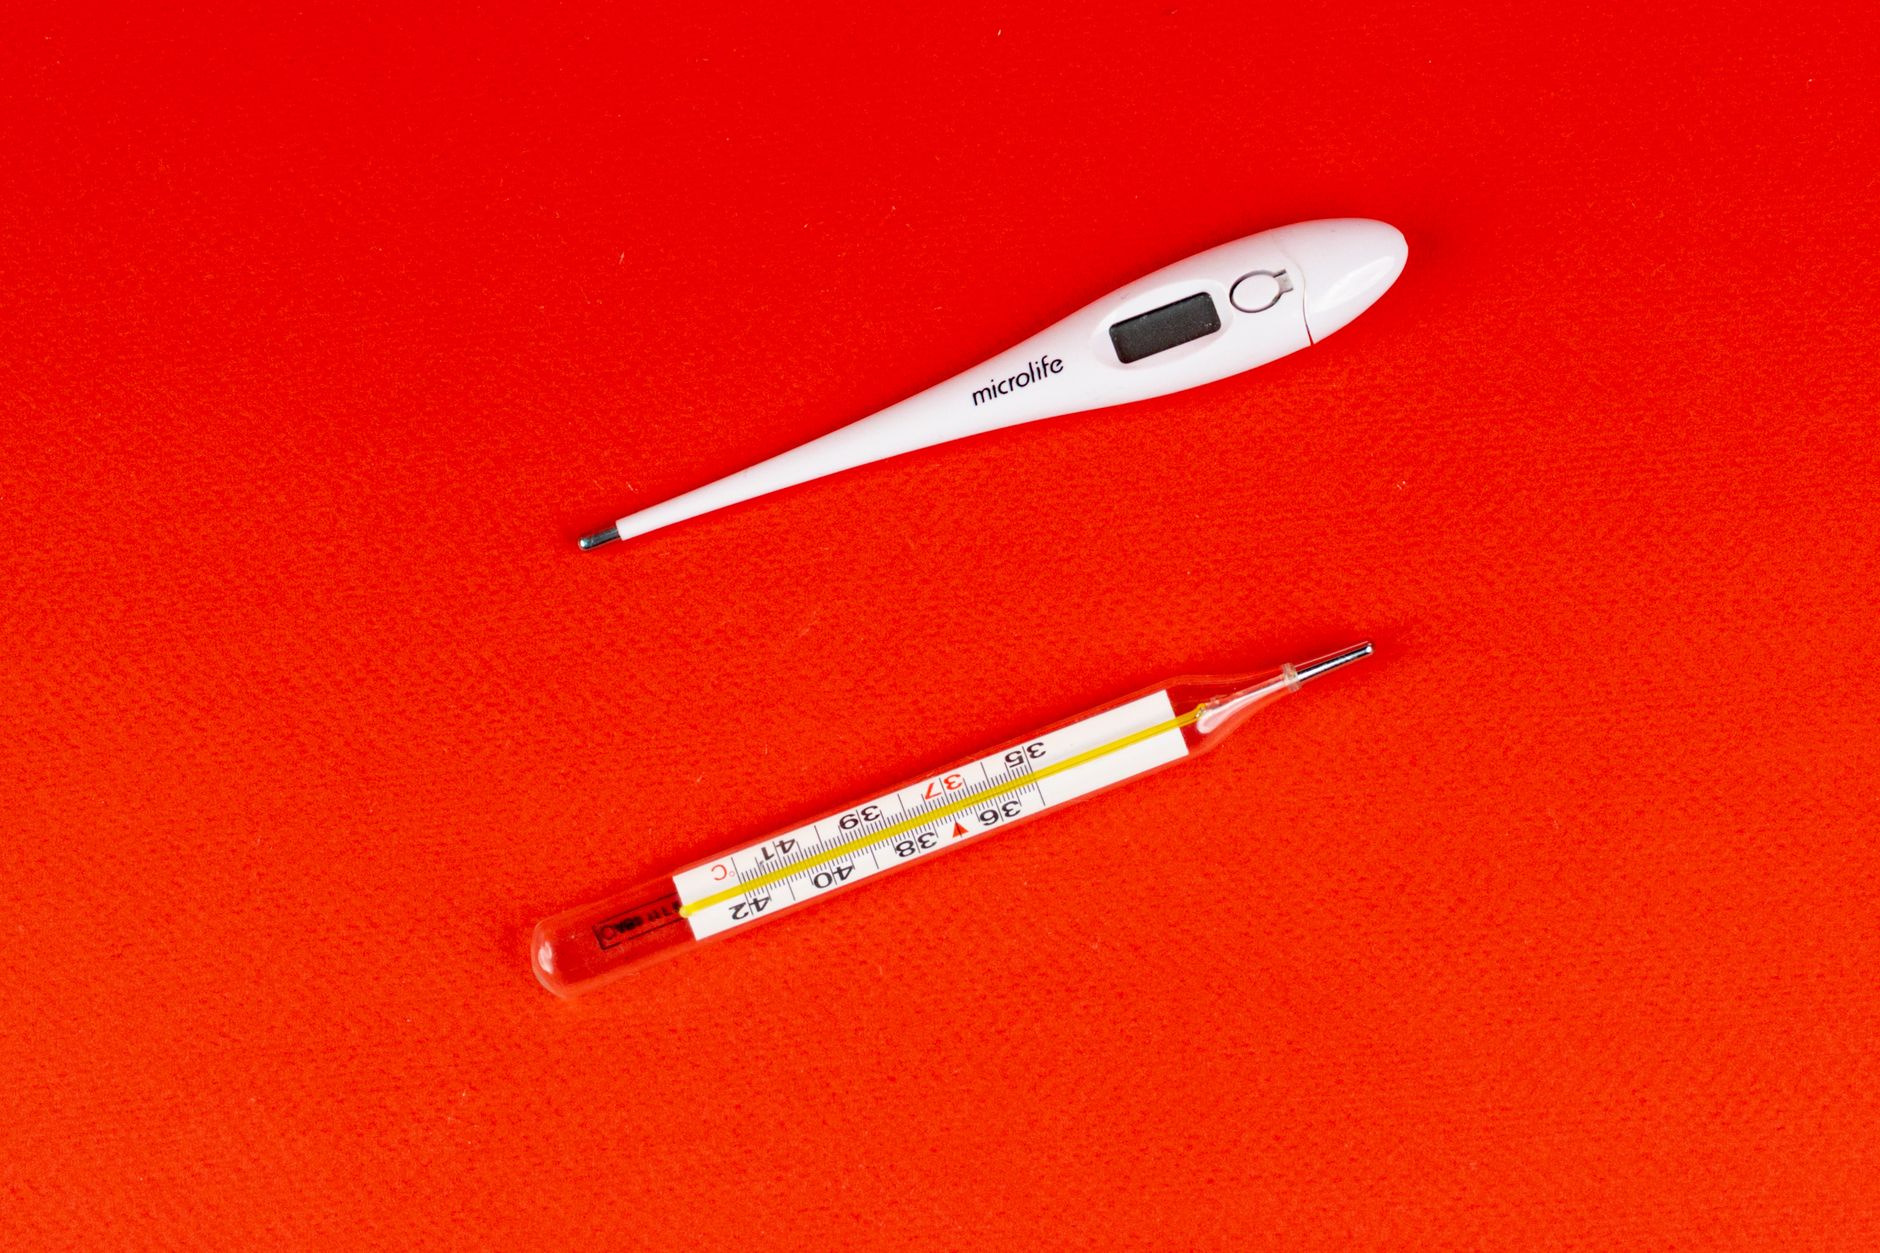
Maple syrup is officially finished when it reaches exactly 219°F, which is 7°F above water's boiling point (adjusted for your specific altitude, since water boils at lower temperatures at higher elevations).
Use a reliable candy or digital thermometer for this final stage, since the difference between properly finished syrup and either underdone (too watery) or overdone (too thick, potentially burnt) syrup comes down to just a few degrees.
Watch closely as the temperature approaches the target, since the final rise happens relatively quickly once most water has evaporated, requiring more frequent monitoring than the earlier, slower stages of boiling.
Remove from heat immediately once the target temperature is reached, since even a minute or two of continued boiling past this point can push the syrup toward an overly thick, potentially burnt result.
Filter and Bottle Your Finished Syrup
Filter the hot, finished syrup through cheesecloth or a dedicated maple syrup filter, which removes 'sugar sand,' the natural mineral deposits (mostly calcium malate) that concentrate during boiling and would otherwise leave gritty sediment in your finished product.
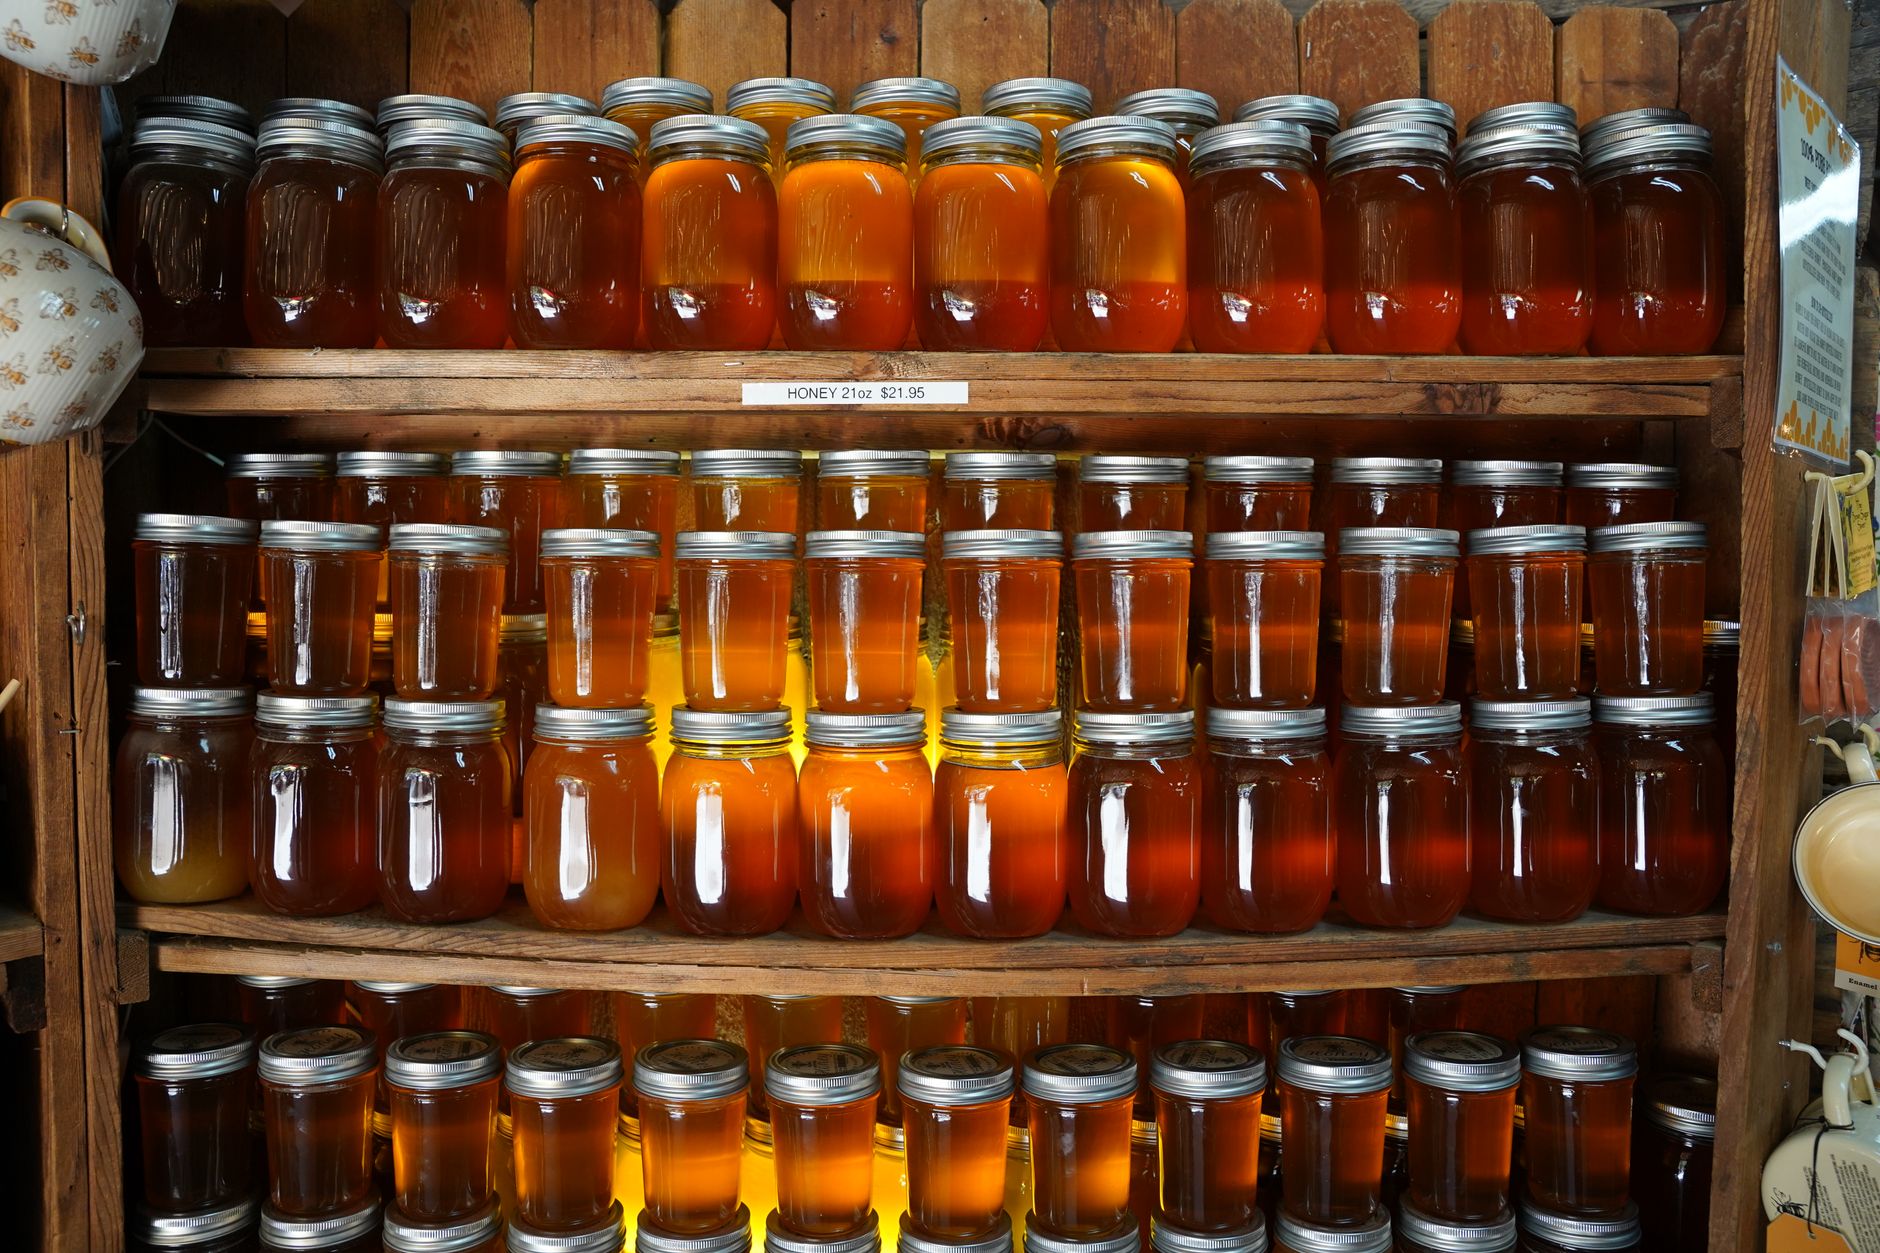
Pour hot, filtered syrup directly into clean, sterilized glass bottles or jars, sealing while still hot, which creates a seal similar to standard canning through the heat of the syrup itself.
Properly bottled, sealed syrup stores well at room temperature for 1-2 years, though refrigeration after opening is recommended to prevent mold growth once the seal is broken.
Label bottles with the production date and grade (color and flavor intensity generally shift from lighter, more delicate early-season syrup to darker, more robust late-season syrup) if you're processing multiple batches through the season.
Store any syrup not sealed while hot in the refrigerator instead, since it won't have the same shelf-stable seal as properly hot-bottled syrup and needs cold storage to prevent spoilage.
Scale Your Approach Based on Available Trees

A single mature tree can produce enough sap over a season to yield roughly a quart to half-gallon of finished syrup, a genuinely worthwhile and manageable project for a first attempt or a smaller yard with limited tapping trees available.
If you have access to multiple mature maples, scaling up simply means more collection containers and a larger boiling setup, though the fundamental process and timing remain identical regardless of scale.
Consider starting with just one or two taps your first season to learn the collection and boiling process before committing to a larger setup, since the learning curve around timing and technique is easier to manage with a smaller volume.
Neighbors or local sugaring cooperatives sometimes share equipment or even sap collection duties for larger operations, making this a potentially social, community-oriented homesteading project beyond just a solo endeavor.
Common problems and fixes
| Problem | Likely cause | What to do |
|---|---|---|
| Sap flow stops or is minimal despite tapping correctly | Temperature conditions aren't providing the necessary freeze-thaw cycle, or the tapping season has ended. | Wait for the right weather pattern (freezing nights, thawing days), and recognize the season naturally ends as trees begin spring growth. |
| Finished syrup tastes burnt or has a scorched flavor | Syrup was left on heat too long past the proper finishing temperature. | Monitor temperature more closely in the final stage, removing from heat promptly once 219°F is reached in future batches. |
| Syrup is too thin and watery | Removed from heat before reaching the proper finishing temperature. | Return the syrup to heat and continue boiling until it reaches exactly 219°F, checking with a reliable thermometer. |
Gardener's checklist
Test what you learned
What minimum tree diameter is recommended before tapping for sap?
Answer: 12 inches
At what temperature is maple syrup considered finished?
Answer: 219°F
Approximately how much sap is needed to produce one gallon of finished syrup?
Answer: 40 gallons
Common questions
What time of year can I tap maple trees?
The ideal window is late winter to early spring, when nighttime temperatures drop below freezing and daytime temperatures rise above freezing, creating the pressure changes within the tree that drive sap flow; exact timing varies by region.
Does tapping harm the tree?
When done correctly on appropriately sized, healthy trees (12+ inches in diameter) with proper tap hole size and depth, tapping causes minimal harm, and trees typically heal the small wound naturally over the following growing season.
Can I make maple syrup from any type of maple tree?
Sugar maples produce the sweetest sap and are the traditional choice, though red maples, black maples, and boxelder can also be tapped, generally requiring more boiling per gallon of finished syrup due to lower natural sugar content.
Why does maple syrup color and flavor change throughout the season?
Early-season sap typically produces lighter, more delicate syrup, while later in the season, as trees prepare for spring growth, sap composition shifts, producing darker, more robust-flavored syrup, which is why maple syrup is traditionally graded by both color and flavor intensity.
How many taps can I put in a single tree?
This depends on tree diameter: one tap for trees 12-20 inches, two taps for trees 20-25 inches, and up to three or four taps for exceptionally large, mature trees over 25 inches, always erring on the conservative side to protect tree health.
Can I use a smaller pot instead of a wide, shallow pan for boiling?
A wide, shallow pan is strongly recommended over a deep, narrow pot, since surface area directly determines evaporation speed; using a poorly suited vessel can extend an already lengthy boiling process considerably longer than necessary.
Home maple syrup making rewards patience and genuine time investment, from the 40:1 sap-to-syrup ratio to the hours of outdoor boiling, with a deeply satisfying, self-produced sweetener that captures a genuinely traditional homesteading skill.
Frequently asked questions
How often should a vegetable garden be watered?
Frequency depends on weather, soil and plant size. Check the soil rather than watering on a rigid schedule.
Is compost enough fertilizer?
Compost improves soil and provides nutrients slowly. Heavy-feeding crops may still need additional feeding.

The Sproutstead Editorial Team
We create clear, practical gardening and homesteading guides designed for real homes and beginner growers.
View author profile →