Kombucha is made by fermenting sweetened black or green tea with a SCOBY (symbiotic culture of bacteria and yeast) for 7-14 days at room temperature, producing a tangy, mildly effervescent beverage. After first fermentation, the kombucha can undergo a second fermentation with added fruit or flavorings for 2-5 days to build carbonation before refrigerating. A healthy SCOBY can be reused indefinitely, producing a new layer with each batch.
What you will need
Get or Grow a SCOBY

A SCOBY (symbiotic culture of bacteria and yeast) is the pancake-like, somewhat rubbery culture responsible for converting sweetened tea into kombucha through fermentation; you can obtain one from a friend who brews, purchase one from a specialty supplier, or grow your own from a bottle of raw, unflavored store-bought kombucha.
To grow your own, pour a bottle of raw kombucha (labeled as containing live cultures) into a jar, cover with a breathable cloth, and wait 2-4 weeks in a warm spot for a new SCOBY to form on the surface.
A healthy SCOBY is typically pale tan to white, with a somewhat rubbery, pancake-like texture; brown stringy bits (yeast strands) hanging from it are completely normal and not a sign of any problem.
Always obtain a SCOBY along with some starter liquid, the already-fermented kombucha it comes packaged in, since this liquid provides the acidic environment new batches need to ferment safely and successfully.
Store extra or backup SCOBYs in a 'SCOBY hotel,' a jar of starter liquid kept at room temperature, which maintains healthy cultures in reserve for future batches or for sharing with other aspiring brewers.
Brew and Sweeten Your Tea Base
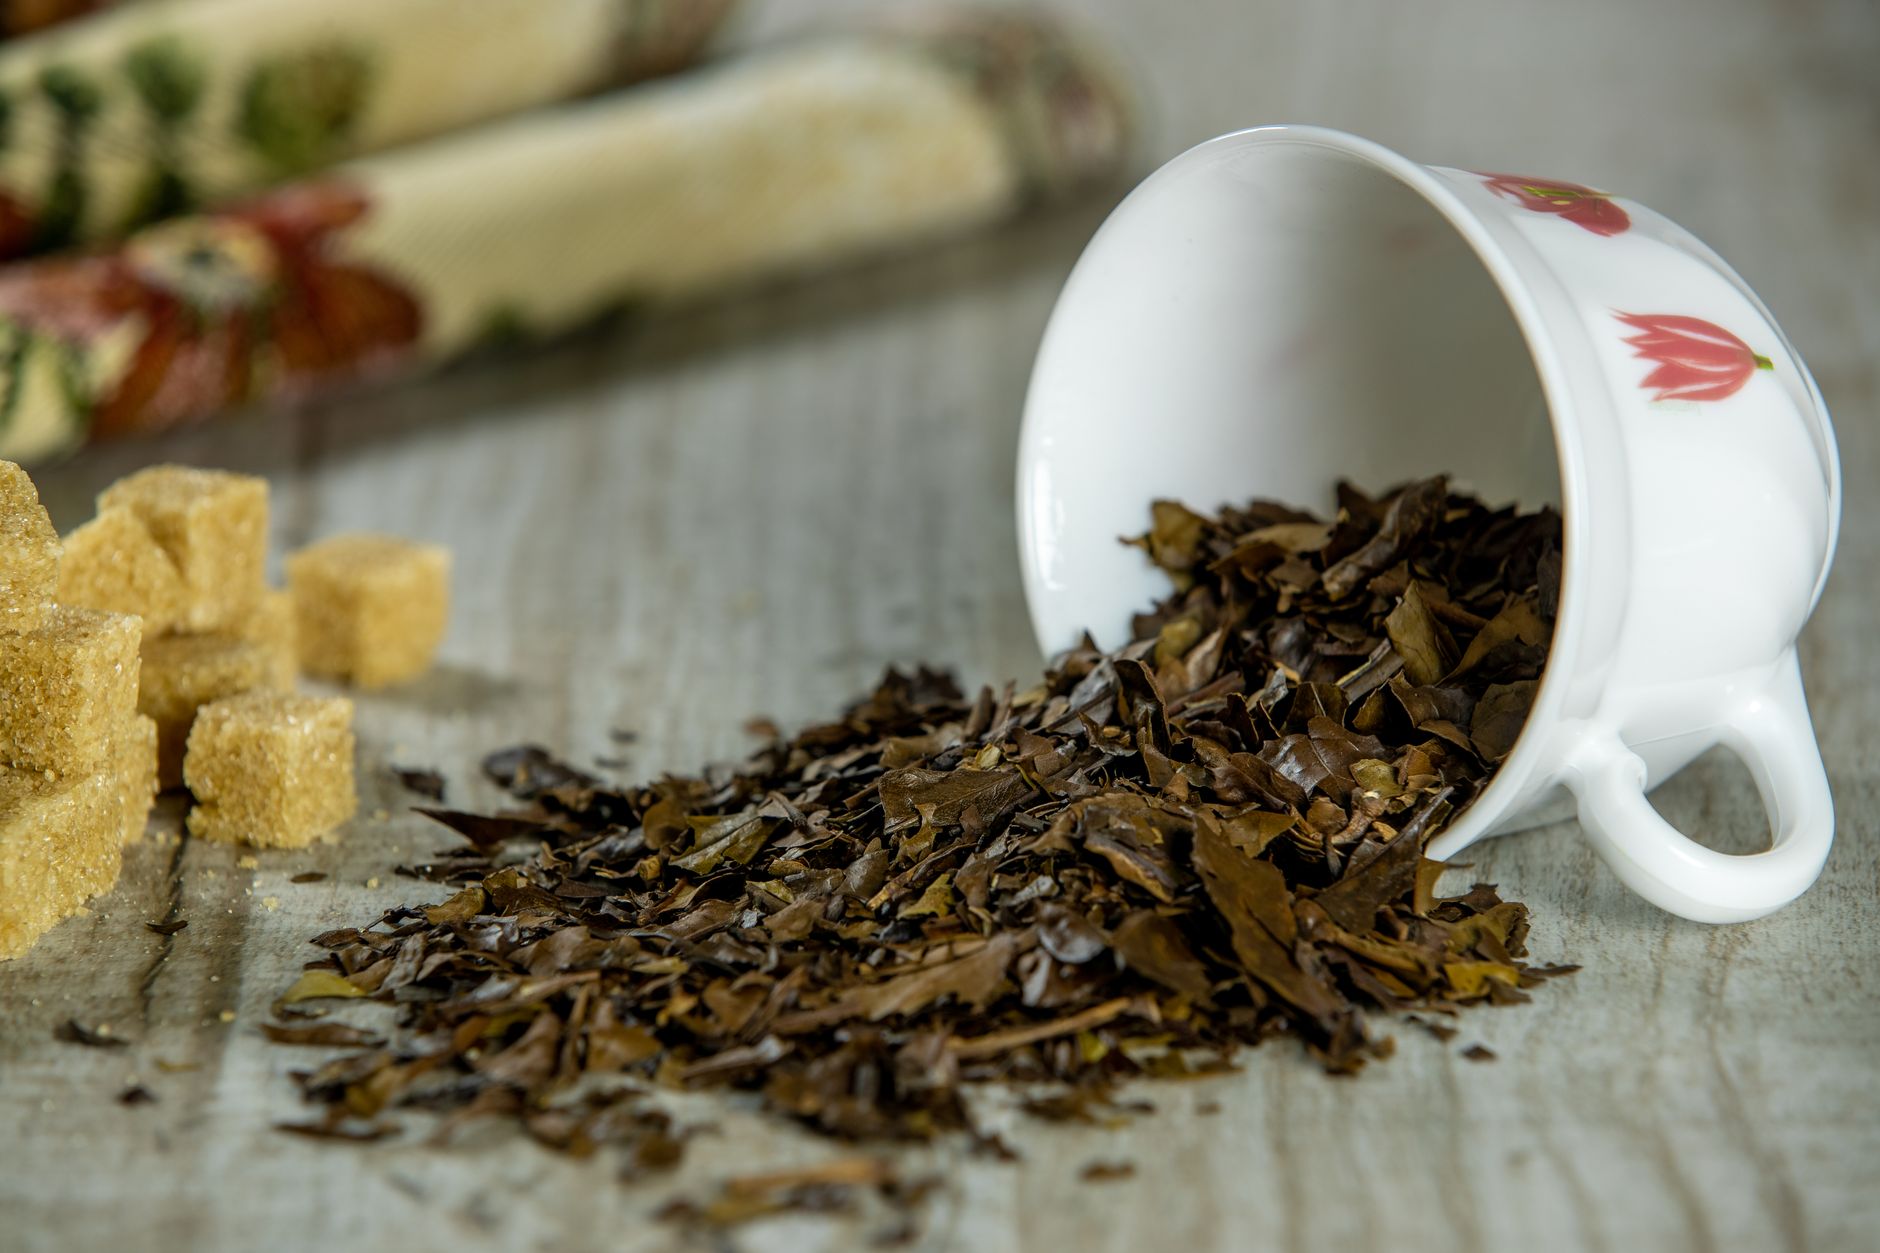
Brew strong black or green tea using about 1 tablespoon of loose tea or one tea bag per 2 cups of water, steeping for 10-15 minutes to extract adequate strength for the fermentation process ahead.
Dissolve white sugar into the hot tea at a ratio of roughly 1 cup per gallon of finished liquid, stirring until fully dissolved; this sugar feeds the SCOBY during fermentation and is largely consumed by the process rather than remaining in the finished product.
Avoid using honey, artificial sweeteners, or flavored teas for the base fermentation, since these can introduce antimicrobial compounds or additives that interfere with the SCOBY's health and fermentation activity.
Let the sweetened tea cool completely to room temperature before adding the SCOBY, since hot liquid can damage or kill the delicate culture, undoing all the preparation up to this point.
Use filtered or dechlorinated water for brewing if your tap water is heavily chlorinated, since chlorine is specifically designed to kill microorganisms and can inhibit the SCOBY's fermentation activity.
Add the SCOBY and Begin First Fermentation

Pour the cooled sweetened tea into a large glass jar, then add the SCOBY along with its accompanying starter liquid (typically about 1-2 cups per gallon batch), which jumpstarts fermentation with an already-acidic environment.
Cover the jar with a tightly woven cloth secured by a rubber band, which allows airflow (fermentation is aerobic) while keeping out fruit flies and other contaminants.
Place the jar in a warm spot, ideally 68-78°F, away from direct sunlight, and let it ferment undisturbed for 7-14 days, with warmer temperatures generally producing faster fermentation.
Taste-test starting around day 7 using a clean straw, checking for your preferred balance of sweetness and tartness; the kombucha becomes progressively more tart and less sweet as fermentation continues.
A new, pale SCOBY layer will typically form on the surface during this period, sometimes attached to the original and sometimes separate, both of which are completely normal signs of active, healthy fermentation.
Bottle and Flavor Through Second Fermentation

Once first fermentation reaches your preferred taste, remove the SCOBY and set aside about 1-2 cups of the finished kombucha as starter liquid for your next batch.
Add fresh or frozen fruit, fruit juice, ginger, or herbs to clean glass bottles, typically about 1-2 tablespoons of flavoring per 16-ounce bottle, then fill with the fermented kombucha using a funnel, leaving an inch of headspace.
Seal bottles tightly with flip-top lids or tight-fitting caps, which traps the carbon dioxide produced during this second fermentation, building natural carbonation over the following days.
Let sealed bottles sit at room temperature for 2-5 days, 'burping' them briefly once daily by loosening the cap slightly to release excess pressure, which prevents bottles from over-pressurizing and potentially breaking.
Popular flavor combinations include ginger, mixed berries, apple-cinnamon, and citrus, though nearly any fruit or herb can be experimented with to discover your own preferred combinations.
Refrigerate and Enjoy Your Finished Kombucha

Move bottles to the refrigerator once they've reached your desired carbonation level, which significantly slows further fermentation and preserves the flavor and fizz you've developed.
Refrigerated kombucha typically keeps well for 1-2 months, though flavor continues to slowly evolve over time even in cold storage, generally becoming slightly more tart the longer it sits.
Open bottles carefully over a sink, since well-carbonated kombucha can occasionally foam up dramatically when first opened, similar to a shaken soda bottle.
Strain out any fruit pieces or flavoring solids before drinking if desired, though many people simply drink around them or strain as they pour into a glass.
Start your next batch of first fermentation as soon as convenient using your reserved SCOBY and starter liquid, maintaining a continuous brewing cycle if you want a steady, ongoing supply.
Maintain Your SCOBY for Long-Term Brewing

A healthy SCOBY can be reused indefinitely, growing a new layer with each batch; you can either keep multiple layers together (a growing 'SCOBY stack') or peel layers apart to share with other brewers or start additional batches.
If you're not brewing continuously, maintain extra SCOBYs in a 'SCOBY hotel,' a jar with enough starter liquid to keep the culture submerged, checked periodically and fed with fresh sweet tea every few weeks to keep it healthy during storage.
Discard any SCOBY showing signs of mold, distinguished from normal yeast strands by fuzzy, colorful (often green, black, or pink) growth, since mold indicates contamination that shouldn't be used for continued brewing.
A thinning, unusually dark, or consistently sinking SCOBY can indicate declining health; starting fresh from a healthy backup or purchasing a new culture is often more practical than trying to nurse a struggling SCOBY back to full vigor.
Compost excess SCOBY layers you don't need, or explore alternative uses like SCOBY leather (a dehydrated, leather-like material) or animal treats, both popular ways to make use of a rapidly multiplying culture.
Follow Basic Hygiene and Equipment Practices

Use glass containers exclusively for brewing, avoiding metal (which can react with the acidic kombucha) and plastic (which can leach chemicals or harbor bacteria in scratches over repeated use).
Wash hands thoroughly before handling the SCOBY or any brewing equipment, and avoid using antibacterial soap directly on equipment that will contact the culture, since residue could harm the beneficial bacteria.
Keep brewing vessels away from other fermentation projects happening simultaneously in your kitchen, such as sourdough or other cultures, to avoid any risk of cross-contamination between different beneficial microorganism communities.
Clean all equipment between batches with hot water rather than harsh chemical cleaners, which can leave residue that potentially disrupts the delicate balance of organisms in your next batch.
Common problems and fixes
| Problem | Likely cause | What to do |
|---|---|---|
| Fuzzy, colorful growth appears on the SCOBY | Mold contamination, distinct from the normal brown yeast strands that commonly hang from a healthy SCOBY. | Discard the entire batch and SCOBY, and start fresh with a new culture, ensuring clean equipment and adequate starter liquid acidity in future batches. |
| Kombucha tastes overly vinegary or sour | First fermentation was allowed to continue too long past the desired taste point. | Taste-test more frequently starting around day 7 in future batches, and bottle promptly once your preferred balance of sweetness and tartness is reached. |
| Second fermentation produces little to no carbonation | Insufficient sugar from flavoring additions, too cool a fermentation temperature, or bottles that aren't sealing tightly enough to trap gas. | Add slightly more fruit or a touch of sugar to second fermentation, ensure a warm room temperature, and confirm bottle seals are tight. |
Gardener's checklist
Test what you learned
What does SCOBY stand for?
Answer: Symbiotic culture of bacteria and yeast
Why should the SCOBY not be added to hot tea?
Answer: Heat can damage or kill the delicate culture
What is the purpose of 'burping' bottles during second fermentation?
Answer: Releasing excess pressure to prevent over-pressurized bottles
Common questions
How long does a SCOBY last?
A healthy SCOBY can be reused indefinitely, growing a new layer with each batch of kombucha brewed, making it a genuinely long-term investment rather than something needing regular replacement.
Can I use green tea instead of black tea for kombucha?
Yes, green tea works well and produces a somewhat lighter, milder flavor profile than black tea, though both are commonly used and the SCOBY ferments either type successfully.
Why does my kombucha taste different from batch to batch?
Slight flavor variation between batches is completely normal, influenced by fermentation time, room temperature, and even seasonal changes in your kitchen environment, similar to natural variation seen in other fermented foods.
Is homemade kombucha alcoholic?
Kombucha naturally contains trace amounts of alcohol as a byproduct of fermentation, typically well under 0.5%, similar to what's found in some fruit juices, though longer fermentation or warmer conditions can slightly increase this amount.
Can I drink kombucha every day?
Many people do consume kombucha daily, though starting with smaller amounts is generally recommended for those new to fermented, probiotic beverages, since the live cultures can occasionally cause digestive adjustment for first-time drinkers.
What's the difference between first and second fermentation?
First fermentation is when the SCOBY converts sweetened tea into tangy kombucha over 7-14 days; second fermentation is an optional additional step, done after removing the SCOBY, that builds carbonation and adds flavor through fruit or other additions over 2-5 more days.
Kombucha brewing rewards patience through two distinct fermentation stages with an endlessly customizable, naturally probiotic beverage, and a well-maintained SCOBY can keep your kitchen supplied with fresh batches for years to come.
Frequently asked questions
How often should a vegetable garden be watered?
Frequency depends on weather, soil and plant size. Check the soil rather than watering on a rigid schedule.
Is compost enough fertilizer?
Compost improves soil and provides nutrients slowly. Heavy-feeding crops may still need additional feeding.

The Sproutstead Editorial Team
We create clear, practical gardening and homesteading guides designed for real homes and beginner growers.
View author profile →