Make fire cider by combining chopped ginger, horseradish, garlic, onion, hot pepper, and citrus in a jar, covering completely with raw apple cider vinegar, and letting the mixture infuse in a cool, dark place for 3-4 weeks, shaking daily. Strain out the solids, optionally sweeten with honey to taste, and store the finished liquid in the refrigerator. This traditional folk preparation is valued for its pungent, warming flavor profile.
What you will need
Gather Traditional Ingredients

The traditional core blend includes fresh ginger, horseradish root, garlic, onion, and a hot pepper (such as cayenne or jalapeño), all pungent ingredients that give fire cider its characteristic intense, warming flavor.
Add citrus, typically lemon or orange (including the peel, if using organic fruit), which contributes brightness and additional flavor complexity to balance the more intense root vegetable ingredients.
Some traditional recipes include turmeric root for its color and flavor, along with fresh herbs like rosemary or thyme, though the base combination of ginger, horseradish, garlic, onion, and hot pepper remains the most consistent across variations.
Use fresh ingredients rather than dried or powdered versions where possible, since fresh roots and produce infuse more effectively into the vinegar base over the multi-week process.
Wash all produce thoroughly, and there's no need to peel ginger or horseradish, since the skin doesn't need removal for this preparation and peeling simply adds unnecessary preparation time.
Chop and Combine Ingredients

Roughly chop or grate all solid ingredients (ginger, horseradish, garlic, onion, hot pepper, citrus), since smaller pieces increase surface area contact with the vinegar, speeding up the infusion process.
Combine all chopped ingredients in a large, clean glass jar, filling it roughly halfway to two-thirds full, leaving adequate room for the vinegar and some headspace above the liquid line.
Layer or mix ingredients as you prefer, since the exact arrangement doesn't significantly affect the final infused product, unlike some fermentation projects where layering technique matters more.
Adjust ingredient ratios to your personal taste preference; some fire cider makers prefer a milder blend with less horseradish and hot pepper, while others favor a more intensely pungent, fiery result.
Consider your intended use when deciding on hot pepper quantity specifically, since this ingredient most directly determines the finished product's overall heat level.
Cover with Apple Cider Vinegar

Pour raw, unfiltered apple cider vinegar over the chopped ingredients until they're completely submerged, with at least an inch of vinegar covering the top of the solid ingredients.
Use raw, unfiltered vinegar specifically (often labeled as containing 'the mother'), since this traditional choice is preferred for its perceived additional benefits beyond standard filtered, pasteurized vinegar.
Ensure genuine full submersion, since any ingredients exposed above the vinegar surface are at risk of mold growth during the multi-week infusing period that follows.
Use a weight, such as a smaller jar or a fermentation weight, if ingredients tend to float upward, similar to techniques used in vegetable fermentation to maintain proper submersion.
Seal the jar with a tight-fitting lid; if using a metal lid, place a piece of parchment paper or plastic wrap between the vinegar and metal to prevent the acidic vinegar from corroding the lid over the extended infusing period.
Infuse for 3-4 Weeks

Store the sealed jar in a cool, dark location, such as a pantry or cupboard, for 3-4 weeks, which allows adequate time for the vinegar to fully extract flavor and compounds from all the chopped ingredients.
Shake the jar daily throughout this infusing period, which helps redistribute the ingredients and vinegar, ensuring more even and thorough extraction across the entire mixture.
Check periodically that ingredients remain submerged, adjusting your weight or adding a bit more vinegar if needed, since maintaining submersion throughout stays important for the full infusing duration.
Some fire cider makers infuse for longer, up to 6-8 weeks, believing this produces a more intensely flavored result, though 3-4 weeks is the most commonly recommended minimum timeframe.
The vinegar will gradually take on a golden-orange color and increasingly pungent aroma throughout this period, both signs that infusion is progressing as expected.
Strain and Sweeten
After the infusing period, strain the liquid through cheesecloth or a fine mesh strainer into a clean container, pressing firmly on the solids to extract as much flavorful liquid as possible.
Discard the strained-out solids, or compost them, since their flavor and beneficial compounds have largely transferred into the vinegar at this point.
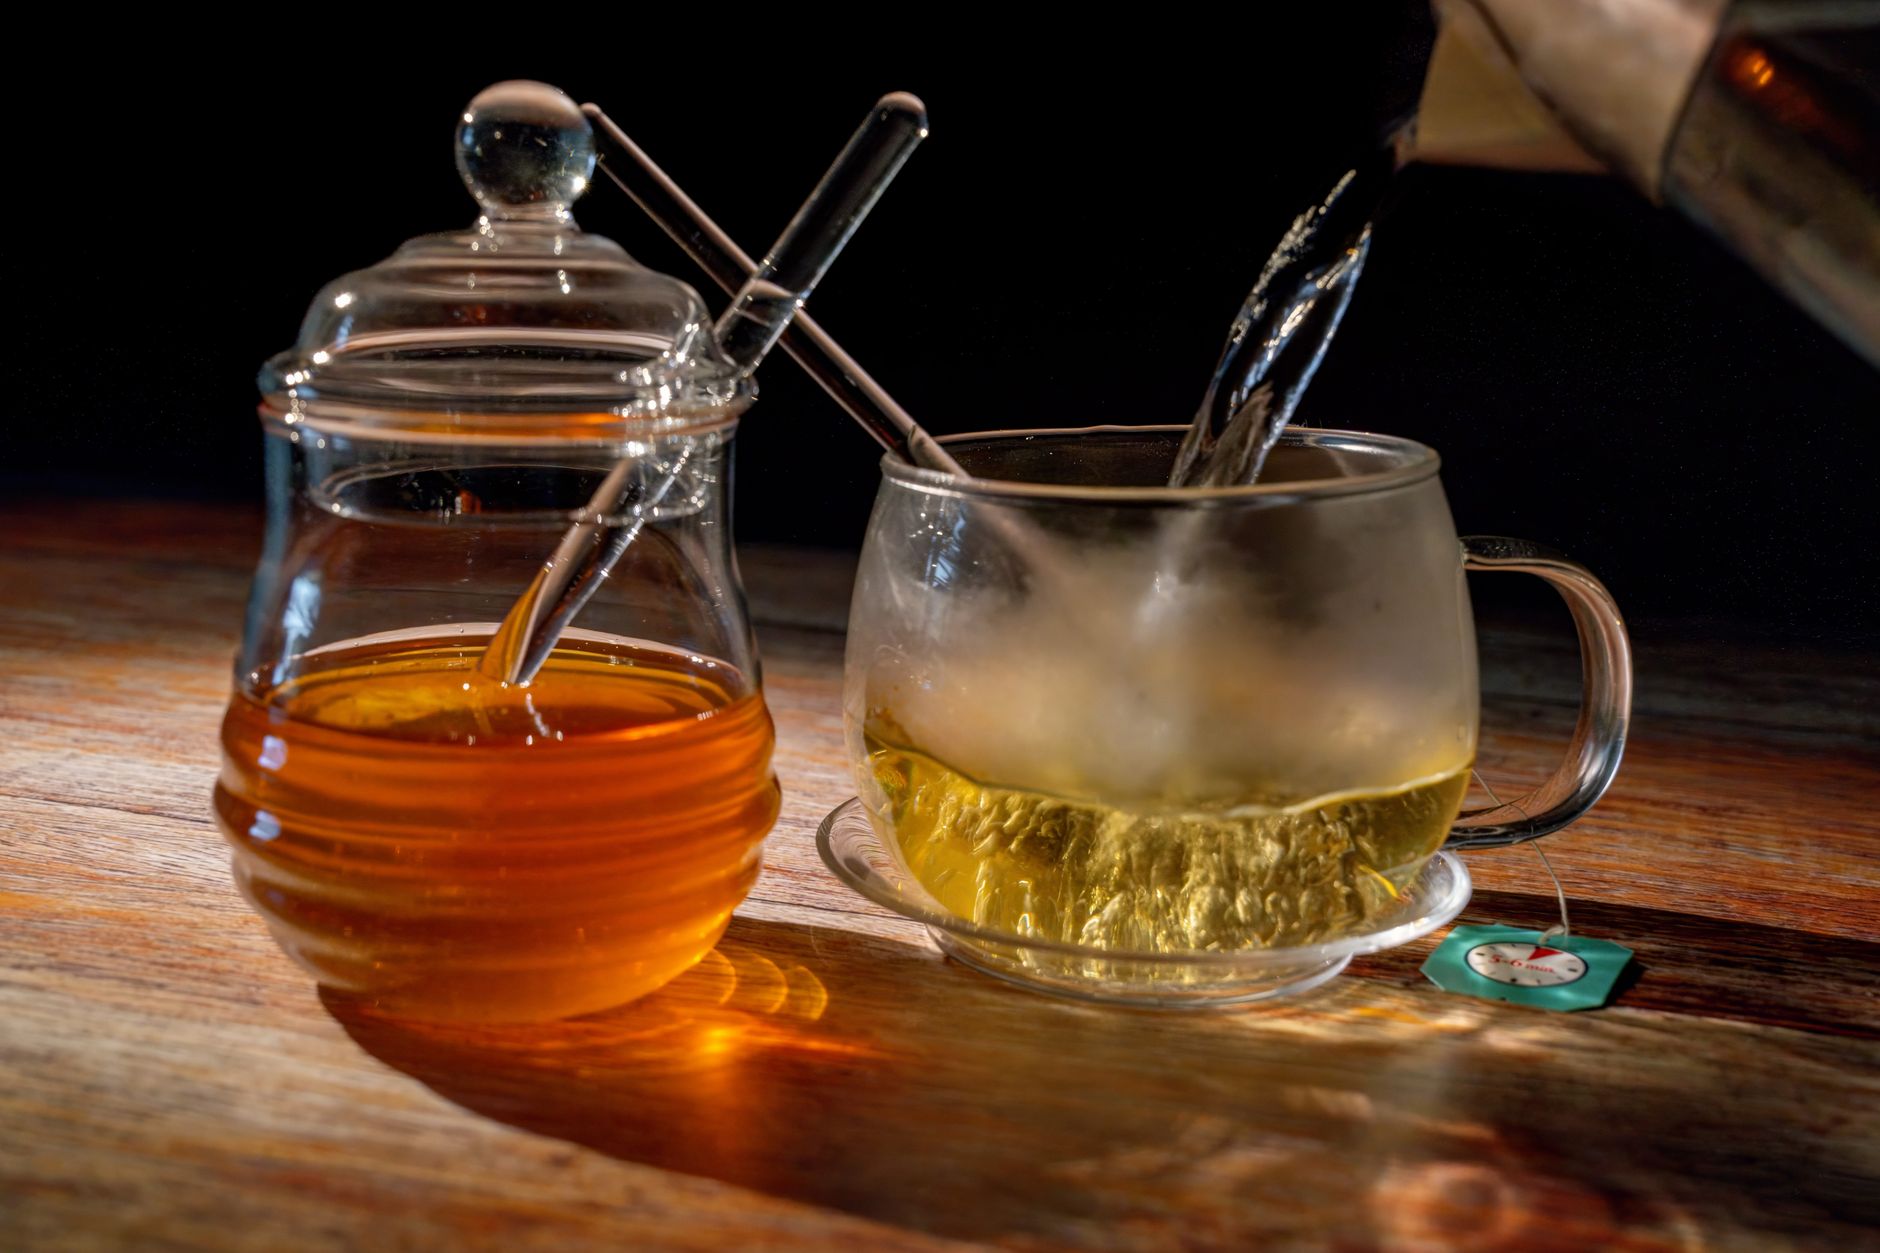
Add raw honey to taste if you prefer a sweetened version, which helps balance the intense, pungent flavor of straight fire cider; a common starting point is about 1/4 cup of honey per quart of strained liquid, adjusted to preference.
Taste-test the strained liquid before deciding on sweetening, since some people prefer fire cider completely unsweetened, taken as a straight shot for its intense, bracing flavor.
Stir thoroughly if adding honey, ensuring it fully dissolves into the vinegar rather than settling unevenly at the bottom of your storage container.
Store and Use Your Fire Cider

Store finished fire cider in the refrigerator, where it typically keeps well for several months to a year, thanks to the naturally preservative qualities of its vinegar base.
Shake before each use, since some settling can occur over time, particularly in versions with added honey or where ingredient particles weren't fully strained out.
Many people take fire cider by the tablespoon or as a small shot, either straight or diluted in water, though preferred serving methods vary considerably by individual preference.
Fire cider can also be used as a flavorful addition to salad dressings, marinades, or other culinary applications beyond straight consumption, taking advantage of its complex, pungent flavor profile.
This guide covers traditional preparation only and doesn't constitute medical advice; anyone with specific health conditions, who is pregnant or nursing, or taking medications should consult a healthcare provider before regular use.
Understand Fire Cider's Traditional Roots

Vinegar-based tonics using pungent roots and spices have appeared in various folk traditions for generations, with fire cider representing one popular modern iteration of this broader herbal preparation category.
The specific combination of ginger, horseradish, garlic, onion, and hot pepper became particularly associated with the name 'fire cider' through herbalist Rosemary Gladstar's popularization of the recipe starting in the 1970s.
Countless home variations have emerged since, with different practitioners adjusting ingredients based on personal preference, regional availability, and individual taste, making this a genuinely flexible, personalizable tradition rather than a single fixed recipe.
This adaptability is part of what makes fire cider an approachable project for home preparation, since there's considerable room to experiment and develop your own preferred version over multiple batches.
Common problems and fixes
| Problem | Likely cause | What to do |
|---|---|---|
| Mold appears on ingredients during infusing | Ingredients weren't kept fully submerged beneath the vinegar throughout the process. | Discard the batch if mold is extensive, and use a weight to ensure full submersion in future attempts. |
| Metal lid corrodes during storage | Direct contact between the acidic vinegar and metal lid without a protective barrier. | Use a plastic lid, or place parchment paper or plastic wrap between the vinegar and any metal lid in future batches. |
Gardener's checklist
Test what you learned
What is the base ingredient for fire cider?
Answer: Raw apple cider vinegar
How long should fire cider typically infuse before straining?
Answer: 3-4 weeks
Why should a barrier be placed between vinegar and a metal lid?
Answer: Acidic vinegar can corrode metal over the extended infusing period
Common questions
What ingredients go into traditional fire cider?
The traditional core blend includes fresh ginger, horseradish root, garlic, onion, hot pepper, and citrus, all infused in raw apple cider vinegar, though many variations add turmeric, herbs, or other pungent ingredients.
How long does fire cider last?
Refrigerated fire cider typically keeps well for several months to a year, thanks to the naturally preservative qualities of its apple cider vinegar base.
Can I use regular vinegar instead of raw apple cider vinegar?
Raw, unfiltered apple cider vinegar is the traditional and recommended choice, valued for its perceived additional qualities beyond standard filtered vinegar, though other vinegar types can technically be substituted with a different resulting flavor.
How do I take fire cider?
Common approaches include taking a tablespoon or small shot straight, diluting it in water, or using it as a flavorful ingredient in salad dressings and marinades; preferred methods vary considerably by individual taste and tolerance for its pungent flavor.
Can I customize the traditional fire cider recipe?
Yes, fire cider is a highly adaptable folk tradition, and many people adjust ingredient ratios, add turmeric or fresh herbs, or vary the citrus used based on personal preference and what's available, while keeping the core pungent, vinegar-based foundation.
Is fire cider safe for everyone to try?
This traditional preparation contains strong, pungent ingredients that may not suit everyone, particularly those with acid reflux or sensitive digestive systems; starting with a small amount and consulting a healthcare provider if you have specific health concerns is a reasonable approach.
Fire cider is a straightforward traditional preparation that rewards patience through its multi-week infusing period, resulting in a pungent, warming vinegar preparation that reflects generations of folk tradition and personal customization.
Frequently asked questions
How often should a vegetable garden be watered?
Frequency depends on weather, soil and plant size. Check the soil rather than watering on a rigid schedule.
Is compost enough fertilizer?
Compost improves soil and provides nutrients slowly. Heavy-feeding crops may still need additional feeding.

The Sproutstead Editorial Team
We create clear, practical gardening and homesteading guides designed for real homes and beginner growers.
View author profile →