Render lard by melting chopped pork fat slowly over low heat for 2-4 hours, using leaf fat (from around the kidneys) for the highest quality, most neutral-flavored result, or back fat for a slightly more porky flavor. Strain through cheesecloth to remove cracklings, then cool and store. Leaf lard is particularly prized for baking, producing exceptionally flaky pastry, while all properly rendered lard keeps for months at room temperature or longer refrigerated.
What you will need
Choose Leaf Fat or Back Fat

Leaf fat, the fat surrounding a pig's kidneys, is specifically prized for producing the highest quality lard, with a clean, nearly flavorless character and firm texture ideal for baking applications like pie crust.
Back fat, taken from along the pig's spine, renders into a perfectly usable lard as well, though it typically carries a slightly more pronounced porky flavor better suited to savory cooking than delicate baking.
Ask a local butcher specifically for leaf fat if baking is your primary goal, since this specific cut isn't always displayed or requested by name, meaning you may need to ask directly.
Choose fat that's firm, white in color, without significant discoloration or off odors, since starting quality directly affects both your finished lard's flavor and shelf stability.
If sourcing fat from your own butchering, leaf fat is typically found in the body cavity, while back fat is the layer just beneath the skin along the pig's back, both distinct in both location and eventual rendered character.
Chop or Grind the Fat

Cut fat into small pieces, roughly 1-inch cubes or smaller, since smaller pieces expose more surface area and render considerably faster and more completely than larger chunks.
Alternatively, run fat through a meat grinder for even smaller, more uniform pieces, which can meaningfully speed rendering time, particularly useful for larger batches.
Remove any obvious meat, skin, or non-fat tissue during this preparation stage, since these components don't render into usable lard and can affect flavor if left in the batch.
Partially freezing the fat for 30-60 minutes before chopping makes it firmer and easier to work with, similar to techniques used when preparing meat for slicing.
Work through your fat in manageable batches if processing a large quantity, since consistent piece size across your entire batch produces more even, predictable rendering results.
Render Using the Wet or Dry Method

For dry rendering, place chopped fat directly in a heavy-bottomed pot over low heat, stirring occasionally, producing a slightly more traditionally flavored lard through the more direct heat exposure.
For wet rendering, add a small amount of water (about a cup per few pounds of fat), which helps prevent scorching and produces an especially clean, neutral-tasting lard, since the water evaporates off during the process.
Maintain low heat throughout, roughly 200-250°F, since higher heat risks scorching the fat, imparting a bitter, off flavor to your finished lard.
Rendering typically takes 2-4 hours, during which the fat gradually liquefies while solid connective tissue (cracklings) separates and settles, depending on your specific rendering method.
Stir occasionally throughout to prevent scorching at the bottom of the pot, particularly important as rendering approaches completion and less liquid remains to buffer against direct pot contact.
Strain Out the Cracklings

Once rendering is complete, with fat fully liquefied and solids clearly separated, strain the liquid through cheesecloth or a fine mesh strainer into clean containers, capturing the leftover cracklings.
Press the solids gently to extract remaining trapped liquid lard, maximizing your yield from the batch rather than leaving usable fat in the discarded solids.
Save the cracklings, a traditional and popular snack or ingredient, since pork cracklings are genuinely enjoyed on their own or used to add crunch and flavor to other dishes.
Strain a second time through a finer cloth if you want an especially clean, pale finished lard, particularly worthwhile for leaf lard intended for delicate baking applications.
Work relatively quickly while the lard is still liquid and warm, since it begins solidifying as it cools, making straining considerably more difficult once this process starts.
Cool and Store Your Finished Lard
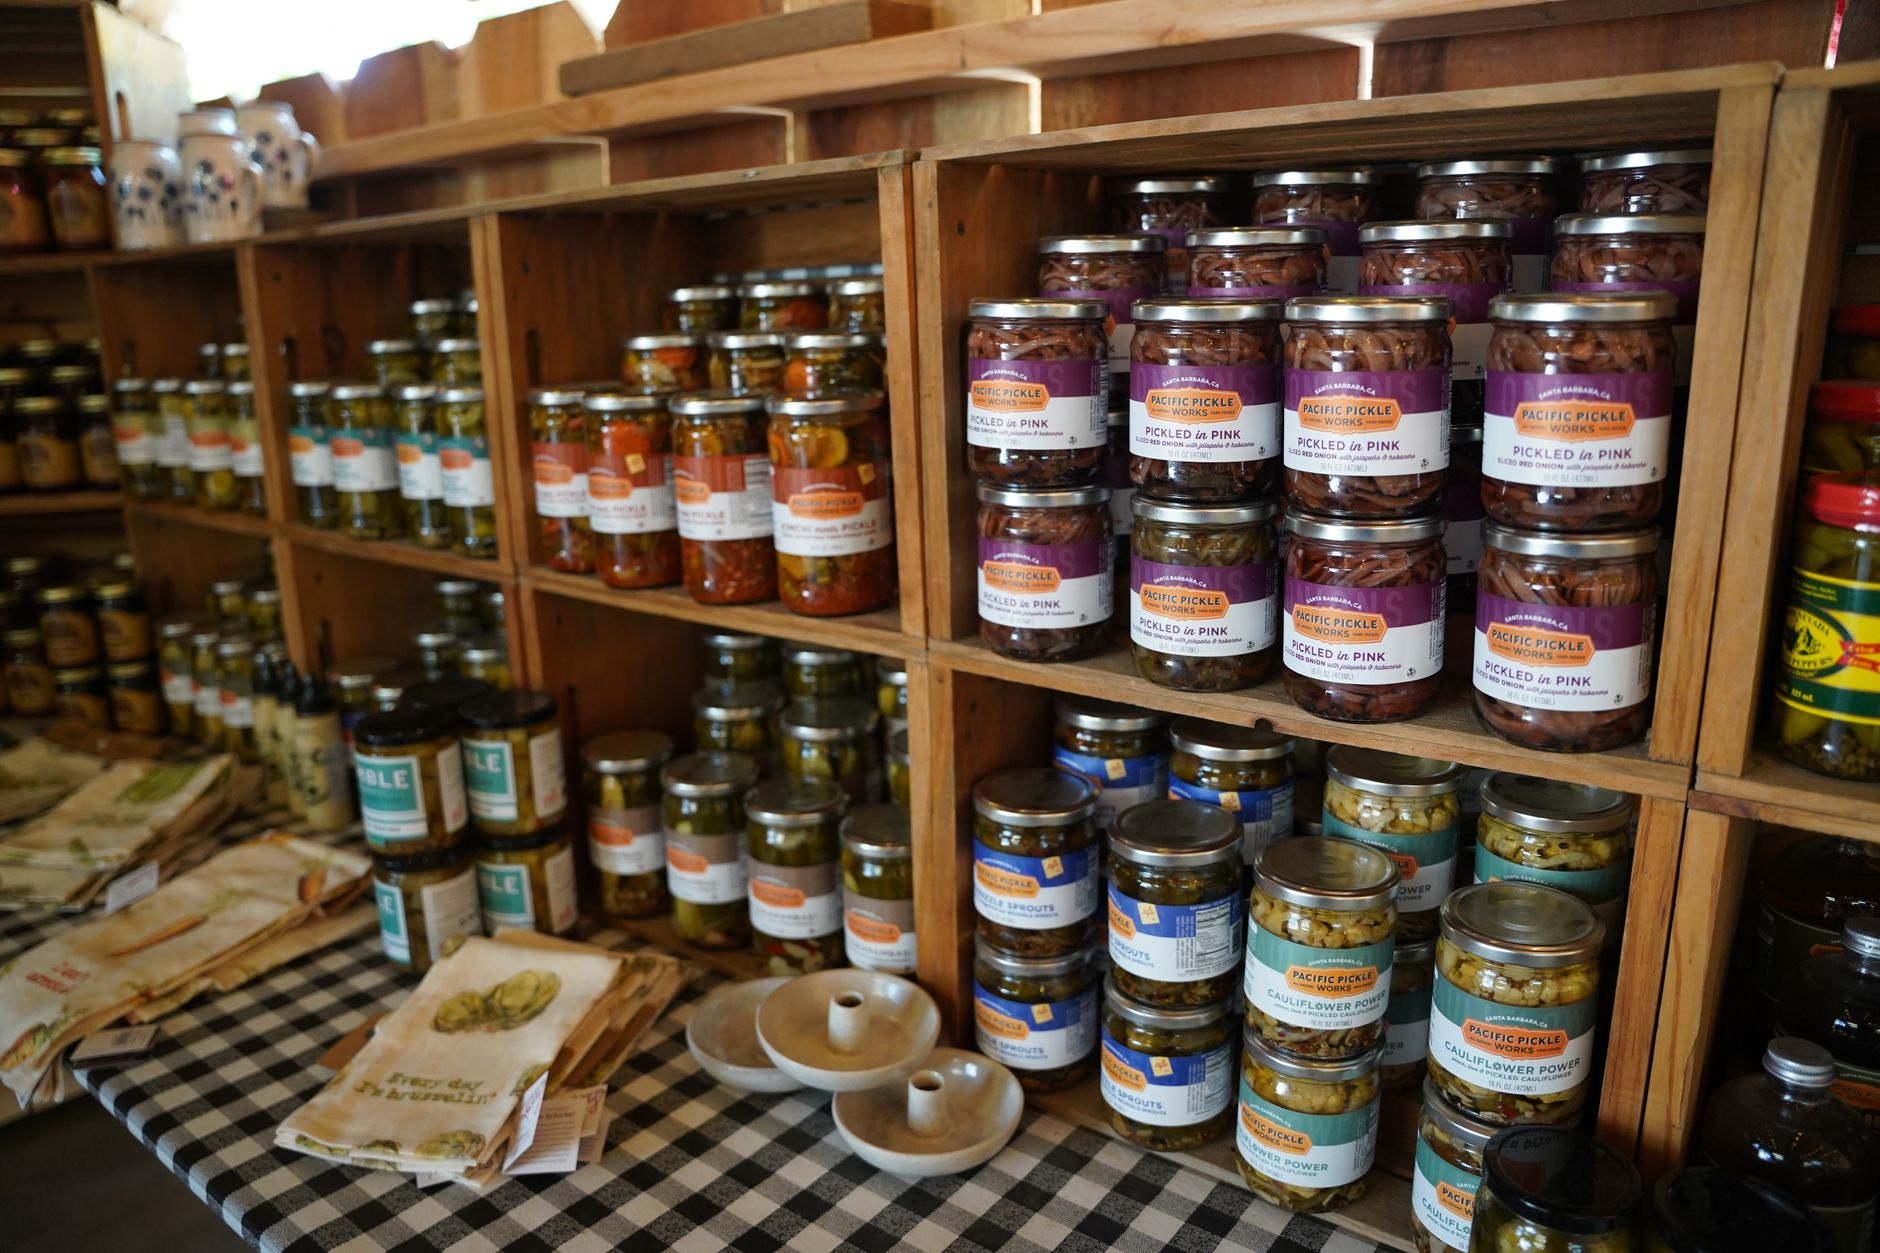
Pour strained, still-liquid lard into clean glass jars, leaving them uncovered until fully cooled to room temperature, since covering while warm can trap condensation affecting shelf stability.
Once cooled, lard solidifies into a soft, white fat with a texture similar to shortening, ready for sealed storage.
Store sealed jars in a cool, dark pantry for room-temperature storage, where properly rendered lard typically keeps for 4-6 months, thanks to the removal of water and impurities during rendering.
For extended shelf life, refrigerate lard, which extends storage to a year or more; freezing extends it even further, particularly useful if you've rendered a larger batch than you'll use quickly.
Always use a clean, dry utensil when scooping lard from storage, since introducing moisture or food particles can compromise its otherwise good shelf stability.
Use Lard in Cooking and Baking

Use leaf lard specifically for baking pie crusts and other pastries, where its clean flavor and unique fat structure produce an exceptionally flaky, tender texture that's genuinely difficult to replicate with other fats.
Substitute lard for butter or shortening in many baking recipes, particularly savory pastries, biscuits, and pie crusts, adjusting ratios slightly since lard's fat content differs somewhat from butter's.
Use back fat lard for high-heat frying and general savory cooking, taking advantage of its roughly 370°F smoke point, well-suited to frying applications.
Some traditional cooks combine lard with butter in baking recipes, capturing lard's flakiness benefits alongside butter's rich flavor, a popular compromise for pastry perfectionists.
Consider Alternative Rendering Equipment

A slow cooker set to its lowest temperature setting works well for rendering, offering more consistent, hands-off low heat than monitoring a stovetop pot, particularly convenient for a first attempt or a busy schedule.
An oven set to a very low temperature (around 200-225°F) in a covered Dutch oven or heavy pot can also render fat effectively, similarly offering more passive, hands-off heat management than direct stovetop cooking.
Regardless of equipment choice, the core principles remain the same: low, consistent heat, adequate time for full liquefaction, and prompt straining once rendering is complete.
Choose whichever equipment fits your existing kitchen setup and comfort level, since the rendering principles matter considerably more than the specific vessel used to achieve them.
Common problems and fixes
| Problem | Likely cause | What to do |
|---|---|---|
| Rendered lard has a strong, porky off flavor | Back fat was used instead of leaf fat, or the fat was scorched during rendering. | Use leaf fat specifically for the most neutral flavor, and maintain lower heat throughout the rendering process. |
| Baked goods made with lard don't turn out as flaky as expected | Back fat lard was used instead of leaf lard, or the lard wasn't kept sufficiently cold during pastry preparation. | Use leaf lard specifically for baking, and keep it well-chilled throughout pastry-making, similar to standard butter-based pastry techniques. |
Gardener's checklist
Test what you learned
What type of pork fat is specifically prized for baking?
Answer: Leaf fat
What is a traditional use for the solid cracklings left after straining?
Answer: A crunchy snack or ingredient
What baking quality is lard particularly celebrated for producing?
Answer: Exceptionally flaky pastry
Common questions
What is the difference between leaf lard and regular lard?
Leaf lard comes specifically from the fat surrounding a pig's kidneys and has a cleaner, more neutral flavor and finer texture than lard rendered from back fat, making it particularly prized for baking applications.
How long does homemade lard last?
Properly rendered lard typically keeps for 4-6 months at room temperature, extending to a year or more when refrigerated, thanks to the removal of water and impurities during the rendering process.
Can I use lard instead of butter in all my baking?
Lard works particularly well in pastry and pie crust applications where flakiness is desired, though butter's flavor is often preferred in recipes like cookies or cakes where its taste is a primary characteristic; many bakers use a combination for the best of both qualities.
Is lard healthier than vegetable shortening?
This is a nuanced nutritional question beyond the scope of this preparation guide; lard is a traditional, minimally processed animal fat, while shortening is typically a more processed vegetable oil product, and individual dietary considerations should guide this choice.
How much lard does a pound of fat produce?
Typically about 70-80% of the starting fat weight, since the remaining portion consists of water content that evaporates and solid cracklings that are strained out during the rendering process.
Can I render lard in a slow cooker instead of on the stovetop?
Yes, a slow cooker on its lowest setting works well for rendering lard, offering more hands-off, consistent low heat than stovetop rendering, though the process still typically takes several hours regardless of equipment used.
Rendering lard transforms pork fat into a genuinely versatile traditional cooking and baking fat, and choosing leaf fat specifically for baking applications rewards the rendering effort with pastry results that are difficult to achieve with any other fat.
Frequently asked questions
How often should a vegetable garden be watered?
Frequency depends on weather, soil and plant size. Check the soil rather than watering on a rigid schedule.
Is compost enough fertilizer?
Compost improves soil and provides nutrients slowly. Heavy-feeding crops may still need additional feeding.

The Sproutstead Editorial Team
We create clear, practical gardening and homesteading guides designed for real homes and beginner growers.
View author profile →