Harvest honey once frames are at least 80% capped with wax (indicating the honey is properly cured), typically in late summer, using a bee brush or blower to remove bees, then uncapping the wax with a hot knife and extracting honey via a centrifugal extractor or gravity straining. Strain the extracted honey through mesh to remove wax debris, then bottle and store in a cool, dark location, where properly harvested honey keeps indefinitely without spoiling.
What you will need
Determine When Honey Is Ready to Harvest
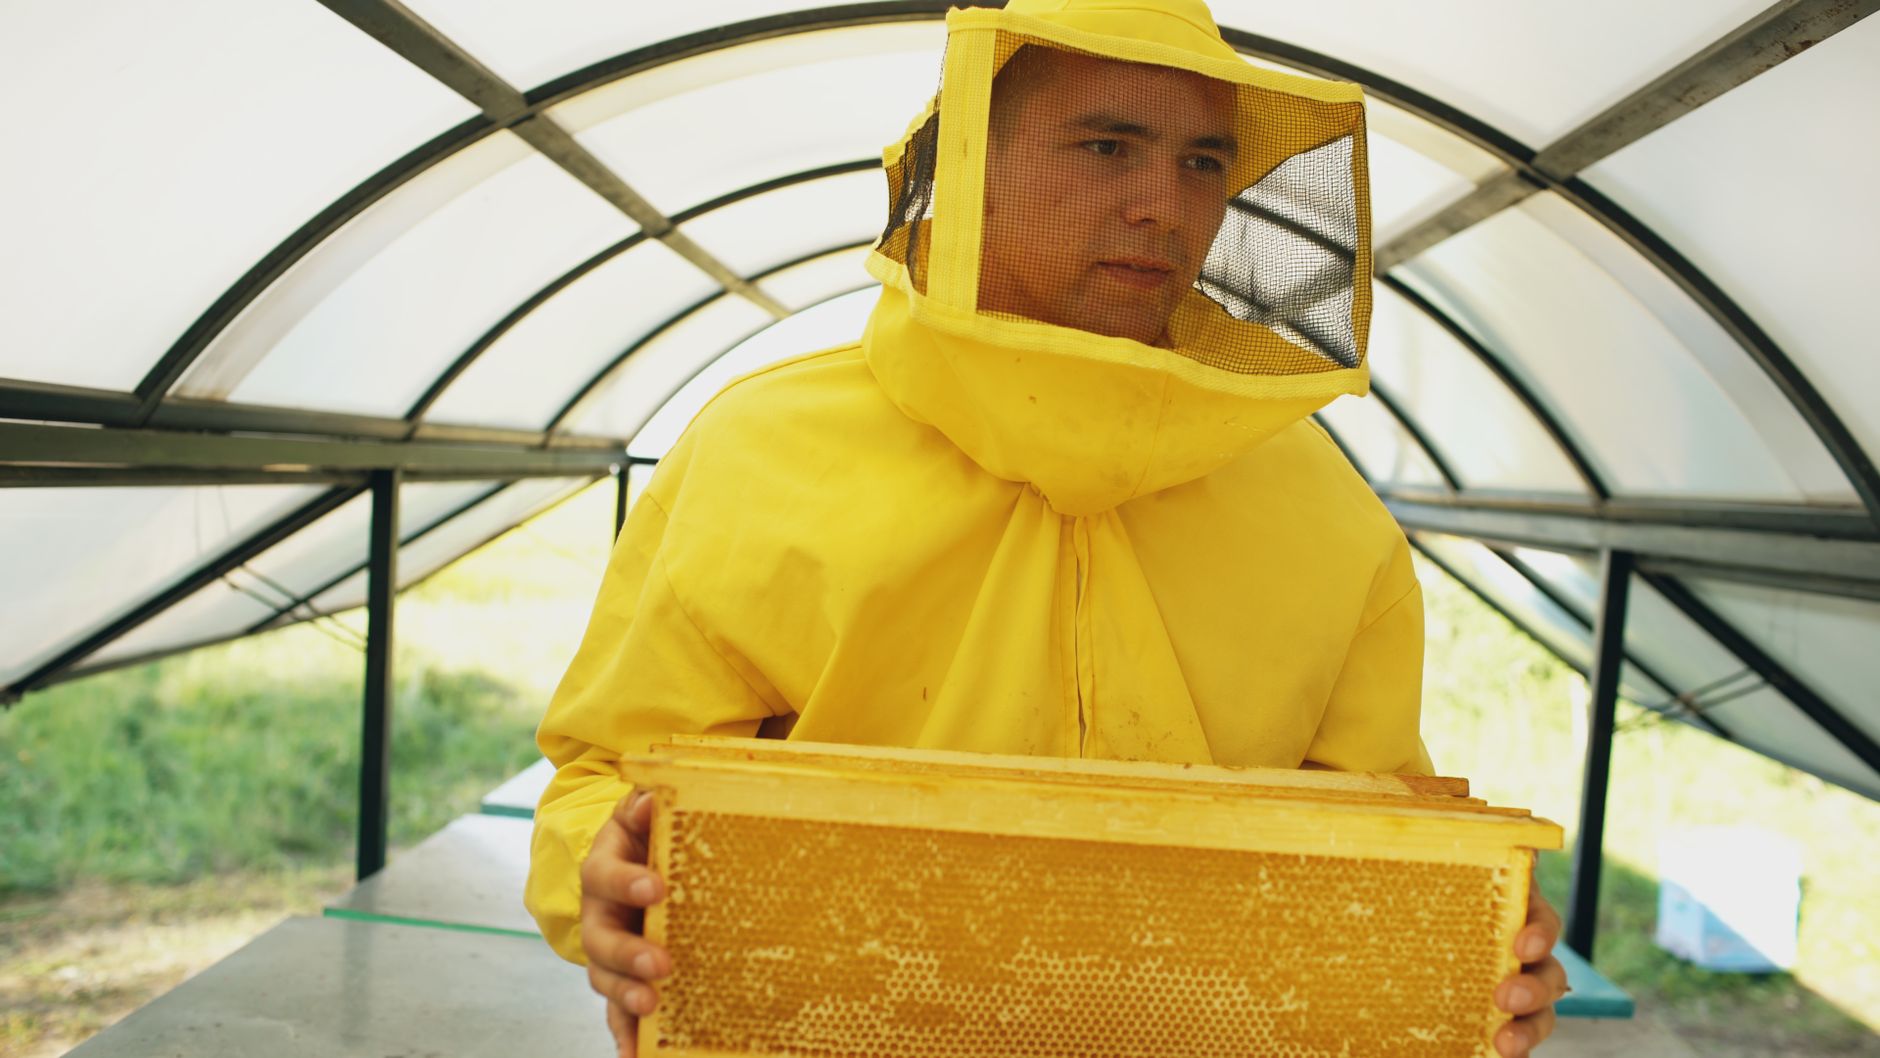
Wait until frames are at least 80% capped with wax, since bees cap cells only once honey has cured to an appropriately low moisture content, typically around 18% or less, which prevents fermentation during storage.
Harvesting uncapped or minimally capped honey risks a higher moisture content that can lead to fermentation in storage, making this readiness check a genuine practical priority rather than an arbitrary guideline.
Most backyard beekeepers harvest in late summer, though exact timing varies by region and the specific nectar flow patterns of local flowering plants throughout the season.
Inspect multiple frames throughout the hive before deciding to harvest, since capping percentage can vary somewhat between frames, and you want a genuinely representative sense of overall hive readiness.
Consider consulting with local beekeeping associations or experienced local beekeepers about typical harvest timing in your specific region, since this varies considerably based on climate and local flora.
Leave Adequate Honey for the Colony
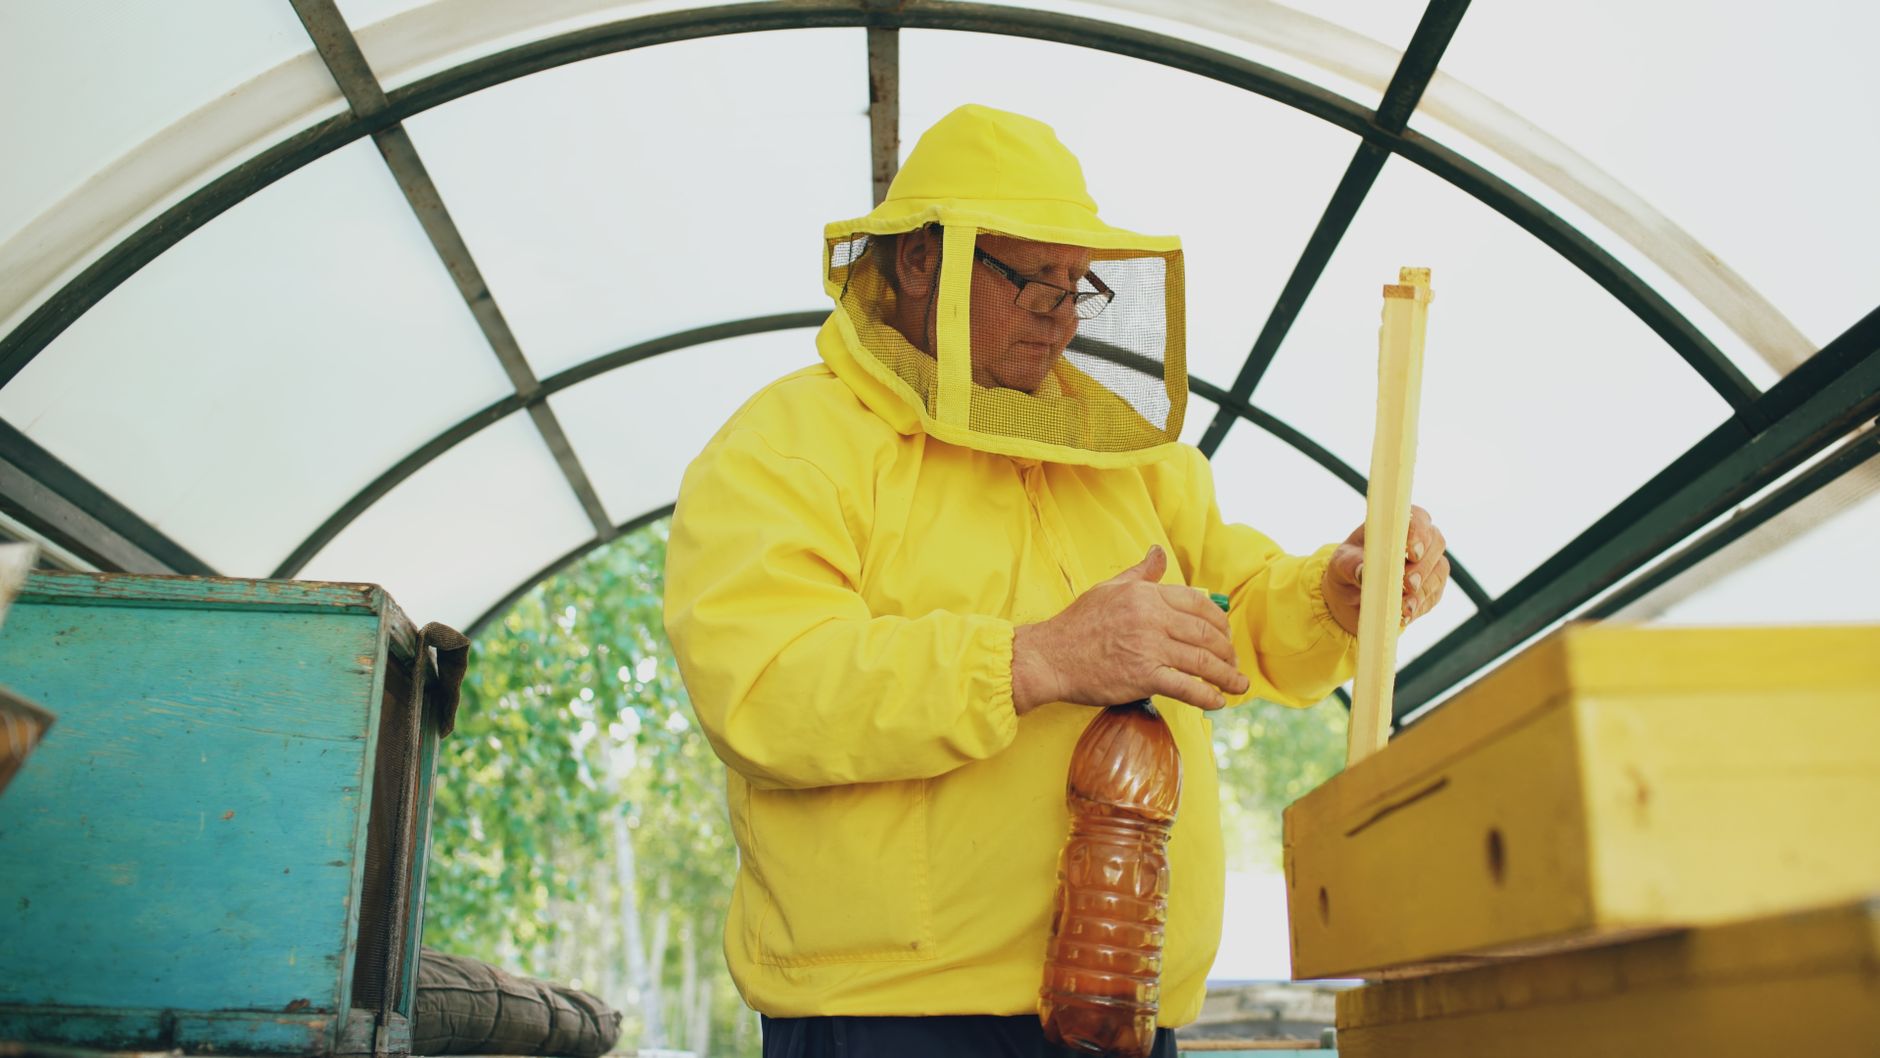
Bees produce honey primarily as their own winter food source, and harvesting all available honey without leaving adequate reserves can genuinely endanger the colony's survival through cold months when foraging isn't possible.
General guidance suggests leaving 40-60 pounds of honey for the colony in most temperate climates, though exact needs vary by region, colony size, and how long your local winter typically lasts.
Harvest only from supers (upper hive boxes) specifically designated for surplus honey collection, leaving the brood boxes and their honey stores untouched for the colony's own ongoing use.
Monitor your specific colony's health and stores throughout the season rather than harvesting on a fixed schedule regardless of conditions, since a weaker colony or a poor nectar flow year may mean less surplus is genuinely available to harvest.
Consider supplemental feeding in early spring if your colony's stores run low before new nectar flow begins, a common practice that supports colony health through any gap between reserves and fresh forage availability.
Remove Frames from the Hive
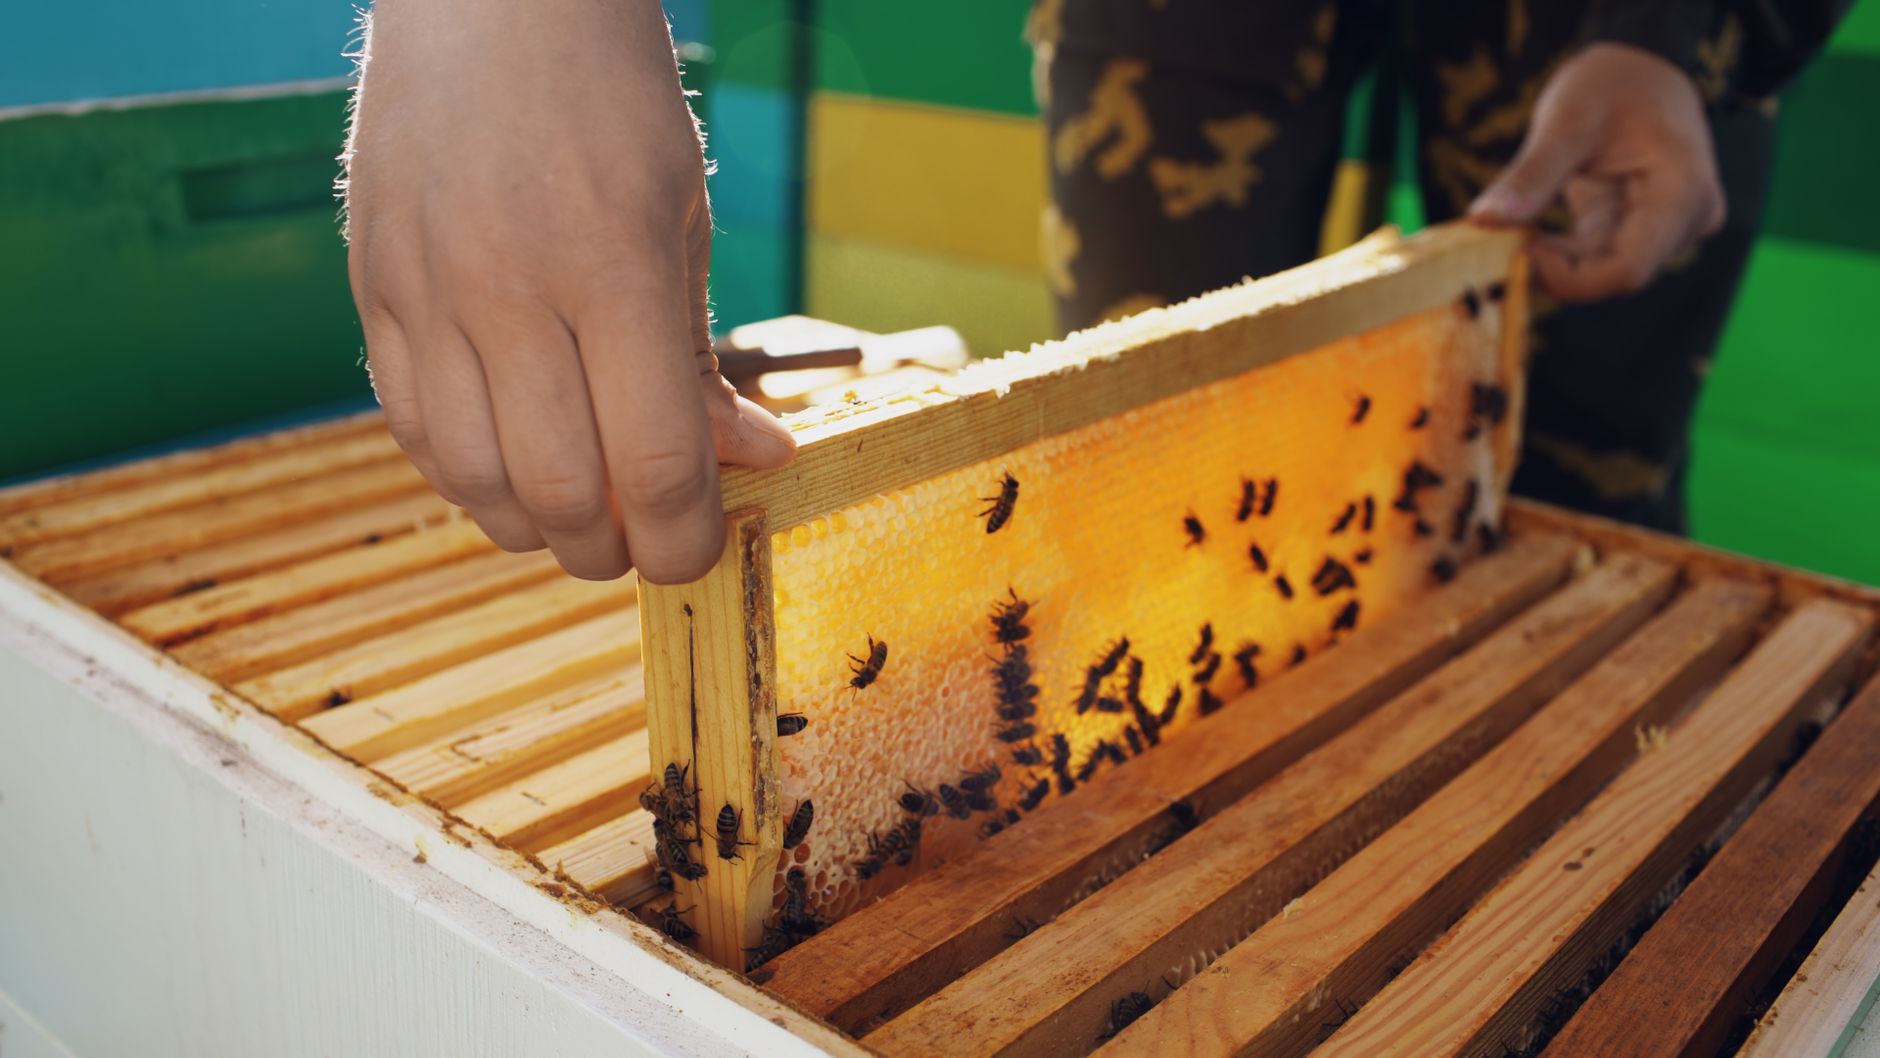
Wear appropriate protective gear (bee suit, veil, gloves) and use a smoker to calm the colony before opening the hive, standard beekeeping safety practice that applies to harvest just as it does to regular hive inspections.
Gently remove bees from frames you intend to harvest using a soft bee brush or a specialized bee blower, working carefully to minimize stress and injury to the bees during this process.
Work efficiently once frames are removed from the hive, transporting them promptly to your extraction area, since exposed honey can attract robbing behavior from other bees if left accessible for extended periods.
Choose a day with mild, calm weather for harvesting if possible, since bees tend to be calmer and more manageable in favorable conditions compared to extreme heat, cold, or storms.
Return the emptied frames to the hive after extraction (covered in a later step), since bees can reuse the existing comb structure, saving significant energy compared to building entirely new comb from scratch.
Uncap and Extract the Honey
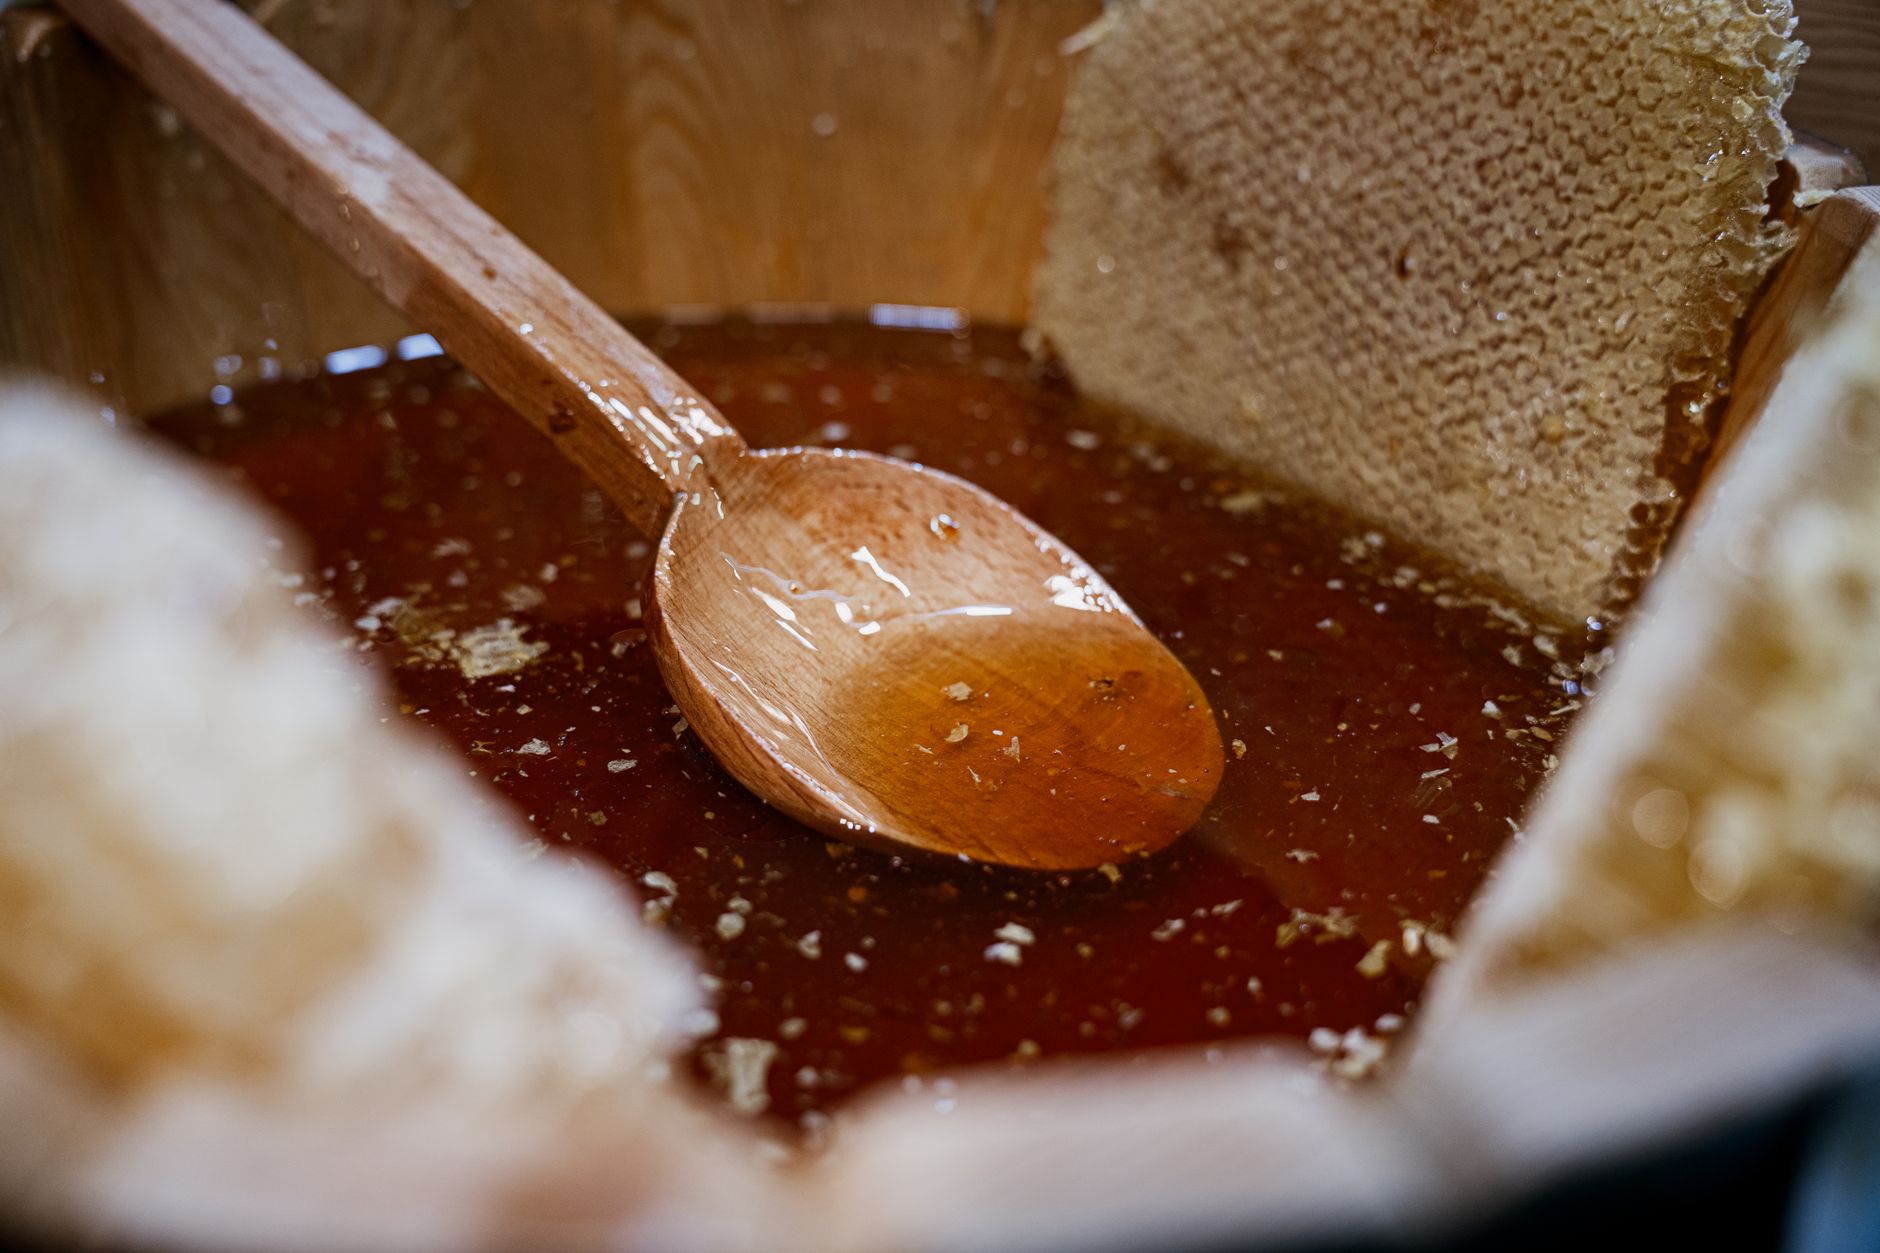
Uncap each frame using a heated uncapping knife or an uncapping fork, slicing off the thin wax layer covering each cell to expose the honey underneath for extraction.
For a centrifugal extractor, load uncapped frames into the machine, which spins frames to fling honey out via centrifugal force while leaving the comb structure largely intact for reuse.
For gravity straining without an extractor, crush the uncapped comb and let honey drain through a mesh strainer over several hours, a simpler method suited to smaller-scale harvests without requiring specialized equipment, though it destroys the comb in the process.
Collect extracted honey in a clean container beneath your extraction setup, whether that's the extractor's built-in collection tank or a bowl positioned beneath your straining setup.
Save removed wax cappings separately, since they're valuable for making beeswax candles, lip balm, or other homestead projects rather than simply being discarded.
Strain and Bottle Your Honey
Strain extracted honey through a fine mesh strainer or cheesecloth to remove wax fragments, bee parts, and other debris, producing a cleaner finished product than unstrained honey directly from extraction.
Let strained honey settle briefly before bottling, which allows any remaining tiny air bubbles to rise and dissipate, improving the finished appearance in your jars.
Pour into clean, dry glass jars, sealing tightly once filled, since honey's naturally low moisture content and acidity make it genuinely shelf-stable without needing refrigeration or additional processing.
Label jars with the harvest date and, if you're tracking it, the general floral source (based on what was blooming during that collection period), since honey flavor genuinely varies by nectar source.
Return extracted, empty frames to the hive once your extraction process is complete, allowing bees to clean up any residual honey and reuse the comb structure for the next collection cycle.
Store Honey for Long-Term Use
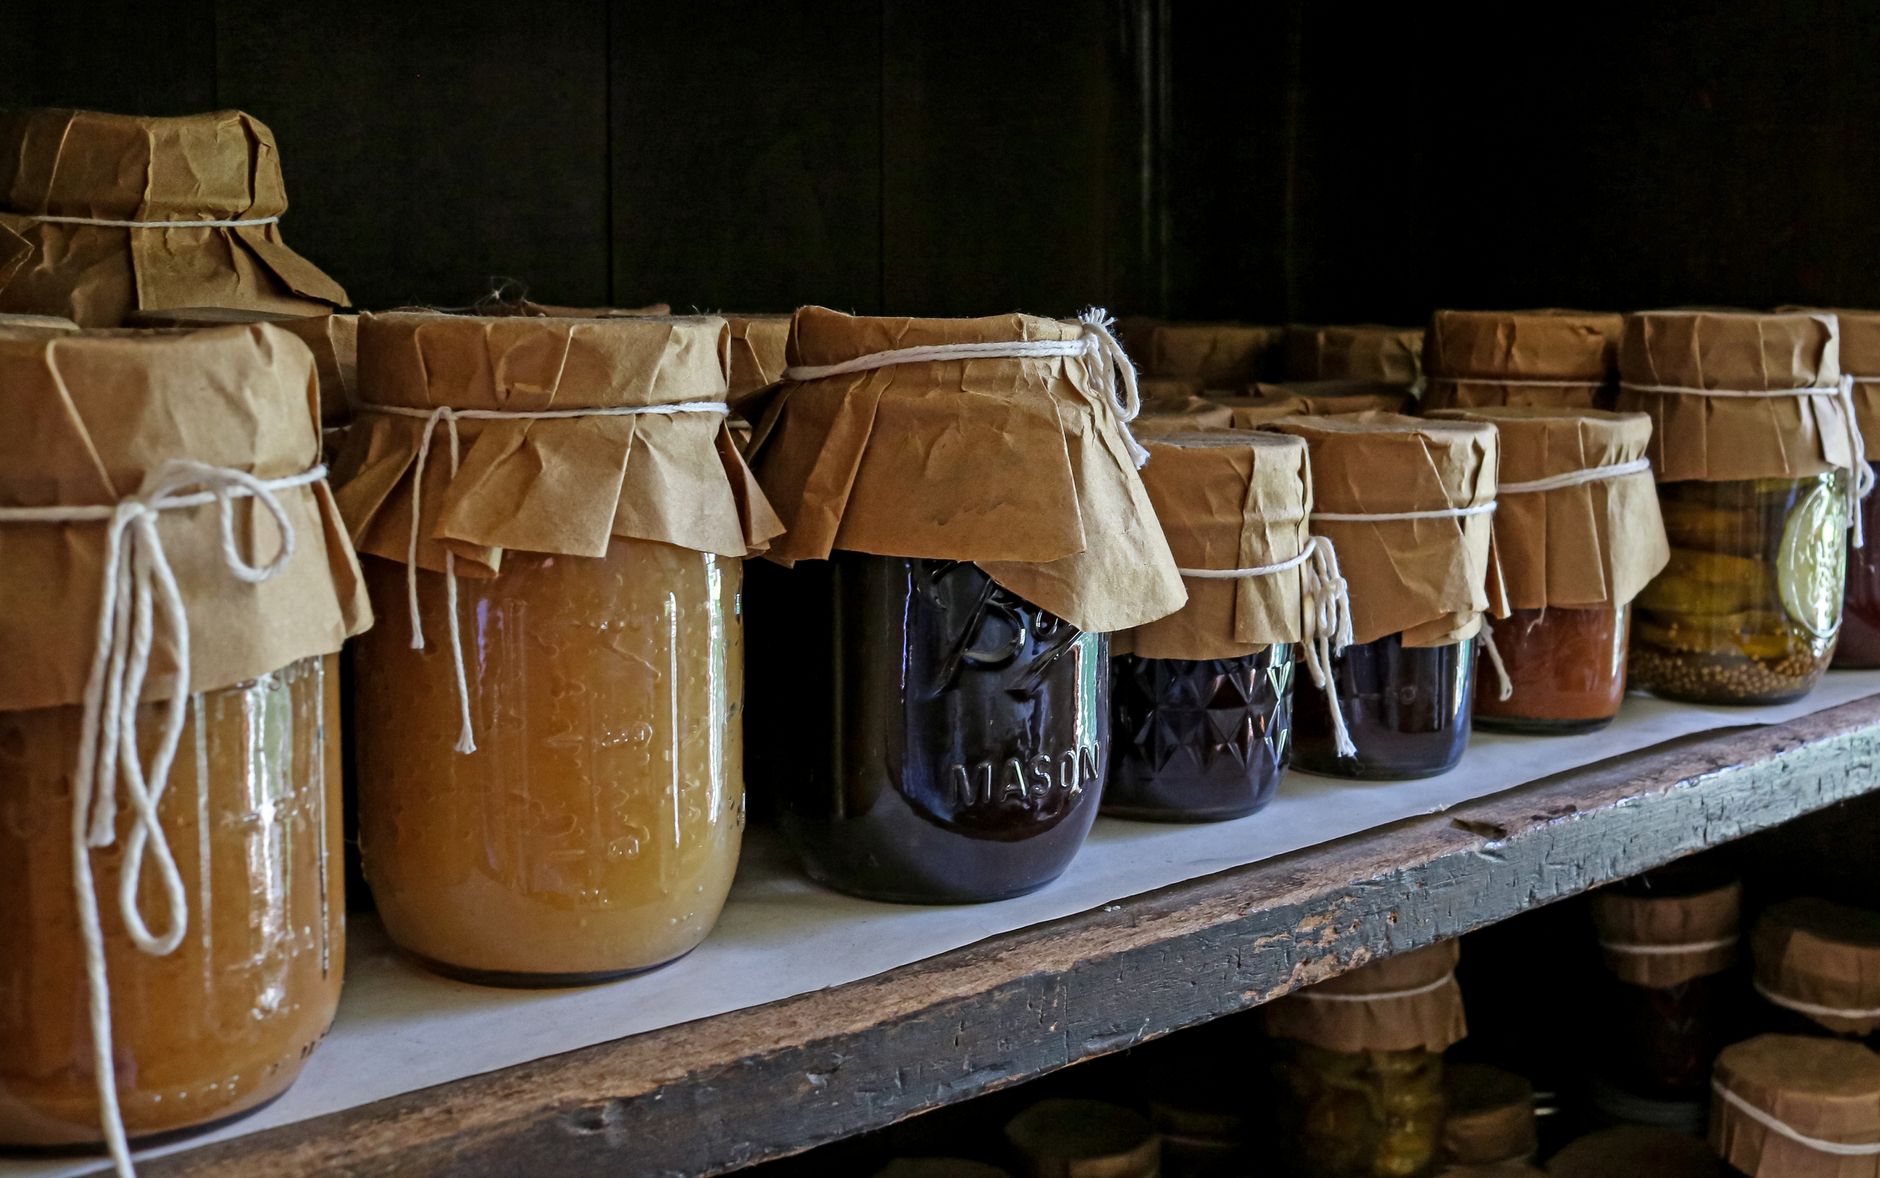
Store honey at room temperature in a cool, dark location, since honey's naturally low moisture content and acidic pH create an environment inherently hostile to most bacteria and microorganisms.
Avoid refrigerating honey, since cold temperatures actually accelerate crystallization, a natural process where honey becomes cloudy and grainy, though crystallized honey remains perfectly safe and edible.
If your honey crystallizes over time, simply place the sealed jar in warm water for a gentle reheat, which dissolves the crystals and returns the honey to its liquid state without harming its quality.
Properly harvested and sealed honey doesn't spoil in the traditional sense, with archaeological examples of ancient honey remaining technically edible after thousands of years, though quality and flavor may shift somewhat over very extended storage.
Keep honey jars sealed tightly between uses, since exposure to air and moisture can gradually affect quality, even though honey's inherent properties make it remarkably resistant to spoilage compared to most foods.
Explore Honey Varieties and Seasonal Differences
Early season honey, collected when spring flowers dominate the local nectar flow, often produces a lighter color and milder flavor compared to honey collected later in the season.
Late season honey, influenced by different flowering plants as summer progresses into fall, frequently develops a darker color and more robust, complex flavor profile.
If you harvest multiple times per season, consider keeping batches separate rather than blending them, which lets you and anyone you share honey with appreciate these genuine seasonal flavor differences.
Over multiple years of harvesting from the same location, you'll likely notice your own honey's characteristic flavor profile, shaped by the specific mix of flowering plants available to your bees throughout each season.
Common problems and fixes
| Problem | Likely cause | What to do |
|---|---|---|
| Harvested honey ferments in storage | Honey was harvested before frames were sufficiently capped, meaning moisture content was too high. | Wait for at least 80% capped frames in future harvests, and discard fermented honey rather than consuming it. |
| Honey crystallizes in the jar | Natural crystallization process, accelerated by cool storage temperatures. | This is normal and doesn't indicate spoilage; gently warm the sealed jar in warm water to return it to liquid form if desired. |
Gardener's checklist
Test what you learned
What percentage of frame capping generally indicates honey is ready to harvest?
Answer: 80% or more
Why should beekeepers leave adequate honey reserves for the colony?
Answer: Bees need this honey as their own winter food source
Why shouldn't finished honey be refrigerated?
Answer: Cold temperatures accelerate crystallization
Common questions
How much honey should I leave for my bees?
General guidance suggests 40-60 pounds in most temperate climates, though exact needs vary by region, colony size, and local winter length, making it worth consulting local beekeeping resources for region-specific guidance.
Does honey ever go bad?
Properly harvested (adequately cured, low-moisture) and sealed honey doesn't spoil in the traditional sense, thanks to its naturally low moisture content and acidic pH, though quality and flavor can shift somewhat over very extended storage periods.
Why did my harvested honey ferment?
This typically occurs when honey is harvested before frames are sufficiently capped, meaning the honey's moisture content was too high; waiting for at least 80% capped frames helps ensure proper curing before harvest.
Can I harvest honey without special extraction equipment?
Yes, gravity straining, crushing uncapped comb and letting honey drain through mesh, works for smaller-scale harvests without a centrifugal extractor, though this method destroys the comb structure rather than preserving it for reuse.
How many times per year can I harvest honey from one hive?
This depends heavily on your region's nectar flow patterns, but many beekeepers in temperate climates harvest once or twice per season, timing collection around major local blooming periods and always ensuring adequate reserves remain for the colony.
What should I do with the wax cappings removed during uncapping?
Save them rather than discarding, since wax cappings are valuable for making beeswax candles, lip balm, wood conditioner, or other traditional homestead crafts, offering a useful secondary product from your honey harvest.
Harvesting your own honey rewards a season of beekeeping stewardship with a genuinely satisfying, shelf-stable harvest, and prioritizing your colony's own winter reserves ensures this rewarding pursuit remains sustainable year after year.
Frequently asked questions
How often should a vegetable garden be watered?
Frequency depends on weather, soil and plant size. Check the soil rather than watering on a rigid schedule.
Is compost enough fertilizer?
Compost improves soil and provides nutrients slowly. Heavy-feeding crops may still need additional feeding.

The Sproutstead Editorial Team
We create clear, practical gardening and homesteading guides designed for real homes and beginner growers.
View author profile →