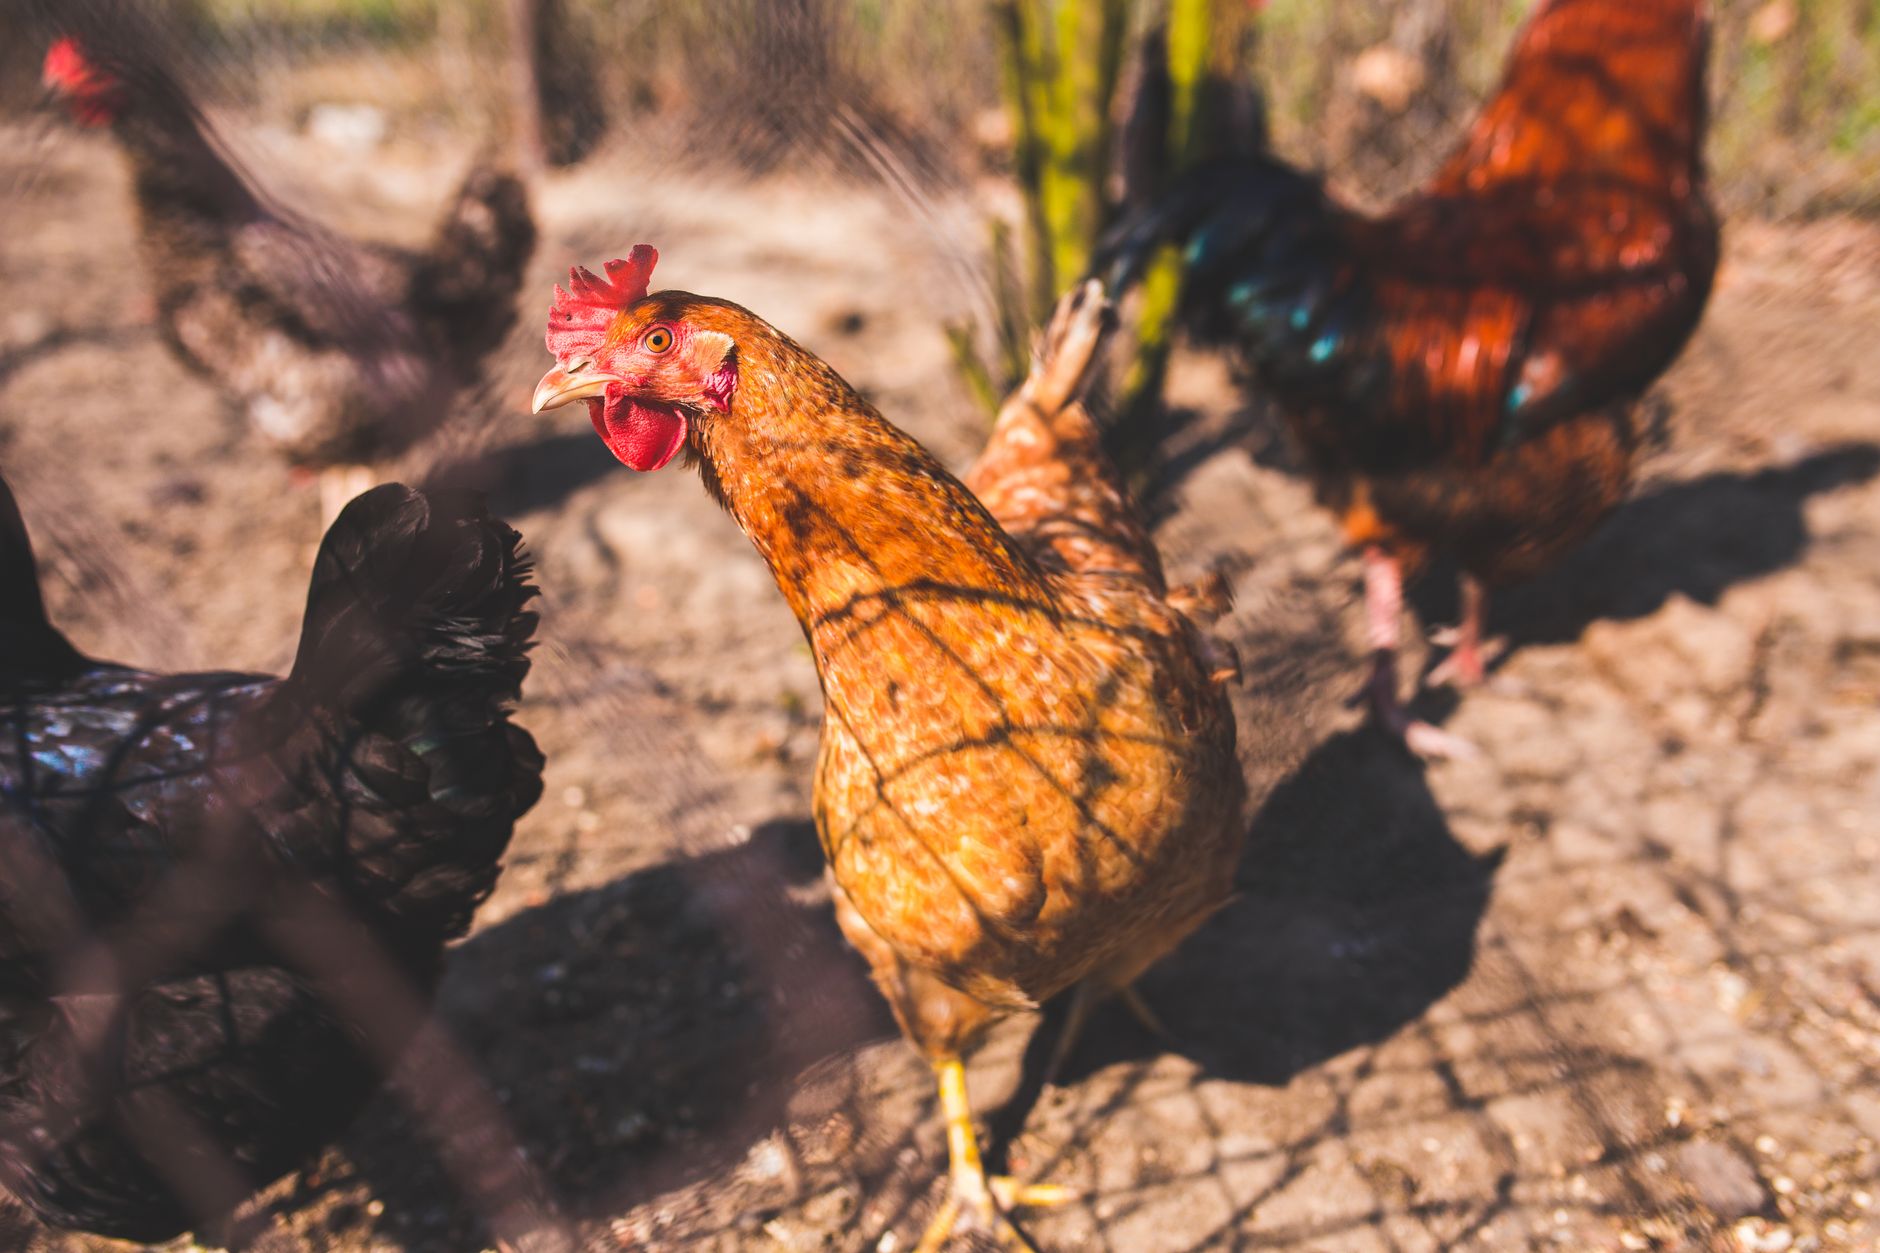
Make butter by whipping heavy cream past the whipped cream stage until it separates into solid butterfat and liquid buttermilk, which takes about 10-15 minutes with a stand mixer or food processor. Drain off the buttermilk, rinse the butter solids under cold water while kneading out remaining liquid, then salt to taste and shape for storage.
What you will need
Choose the Right Cream

Use heavy cream or heavy whipping cream with a fat content of at least 36%, since butter is essentially concentrated milkfat, and cream with lower fat content, such as light cream or half-and-half, simply doesn't contain enough fat to separate into solid butter no matter how long you churn it.
If possible, source cream from a local dairy or farm, particularly cream that hasn't been ultra-pasteurized, since ultra-pasteurization at very high temperatures can occasionally make cream slightly more resistant to churning and typically produces a milder final flavor compared to less processed cream.
Room-temperature cream, or cream that's been out of the refrigerator for about 30 minutes to an hour, churns noticeably faster than cream straight from the fridge, since the fat molecules move more freely and clump together more readily at a slightly warmer temperature.
For the richest flavor, some homesteaders prefer to let fresh cream sour very slightly at room temperature for a day before churning, which produces a tangier, more traditional cultured butter reminiscent of European styles, though this step is entirely optional and fresh sweet cream works perfectly well too.
Choose Your Churning Method

A stand mixer fitted with the whisk attachment is one of the fastest and most hands-off methods, typically taking 10-15 minutes on medium-high speed to fully separate the cream into butter and buttermilk with minimal ongoing effort required.
A food processor works similarly well and often finishes even faster than a stand mixer, though it requires more active attention since the process can go from properly whipped to fully separated quite suddenly once it reaches the tipping point.
For a traditional, low-tech approach requiring no electrical equipment, pour cream into a mason jar filled no more than halfway, seal tightly, and shake vigorously for 10-20 minutes; this method takes noticeably more physical effort but works just as effectively and is a popular activity for involving kids in the process.
A hand mixer or even a whisk and considerable elbow grease can also be used, though these methods generally take longer and require more sustained physical effort compared to a stand mixer or food processor.
Regardless of method, cover your mixing bowl or work area with a splatter guard or towel if possible, since the cream will pass through a whipped cream stage before separating, and the transition to actual butter can happen somewhat unpredictably and splatter buttermilk.
Churn Until the Cream Separates
As you begin whipping, the cream will first pass through soft peaks and then stiff peaks, looking essentially like whipped cream at this stage; continue past this point rather than stopping, since true butter hasn't formed yet.
Continuing to churn past the whipped cream stage, the mixture will next look grainy and slightly curdled, almost like it's broken or gone wrong, which is actually a completely normal and expected transitional stage on the way to full separation.
With continued churning, you'll suddenly see clear separation occur: solid yellow butterfat clumping together while a thin, milky liquid (the buttermilk) splashes and pools at the bottom and sides of the bowl, usually happening somewhat abruptly after the graininess stage.
Total churning time typically runs 10-15 minutes with a stand mixer or food processor, though this can vary based on the cream's temperature, fat content, and freshness; colder cream or lower-fat cream generally takes longer to fully separate.
Once you see clear, distinct separation between solid yellow butter clumps and thin liquid buttermilk, stop churning immediately, since continuing beyond this point doesn't improve the butter and just makes the eventual straining and washing steps messier.
Drain Off the Buttermilk
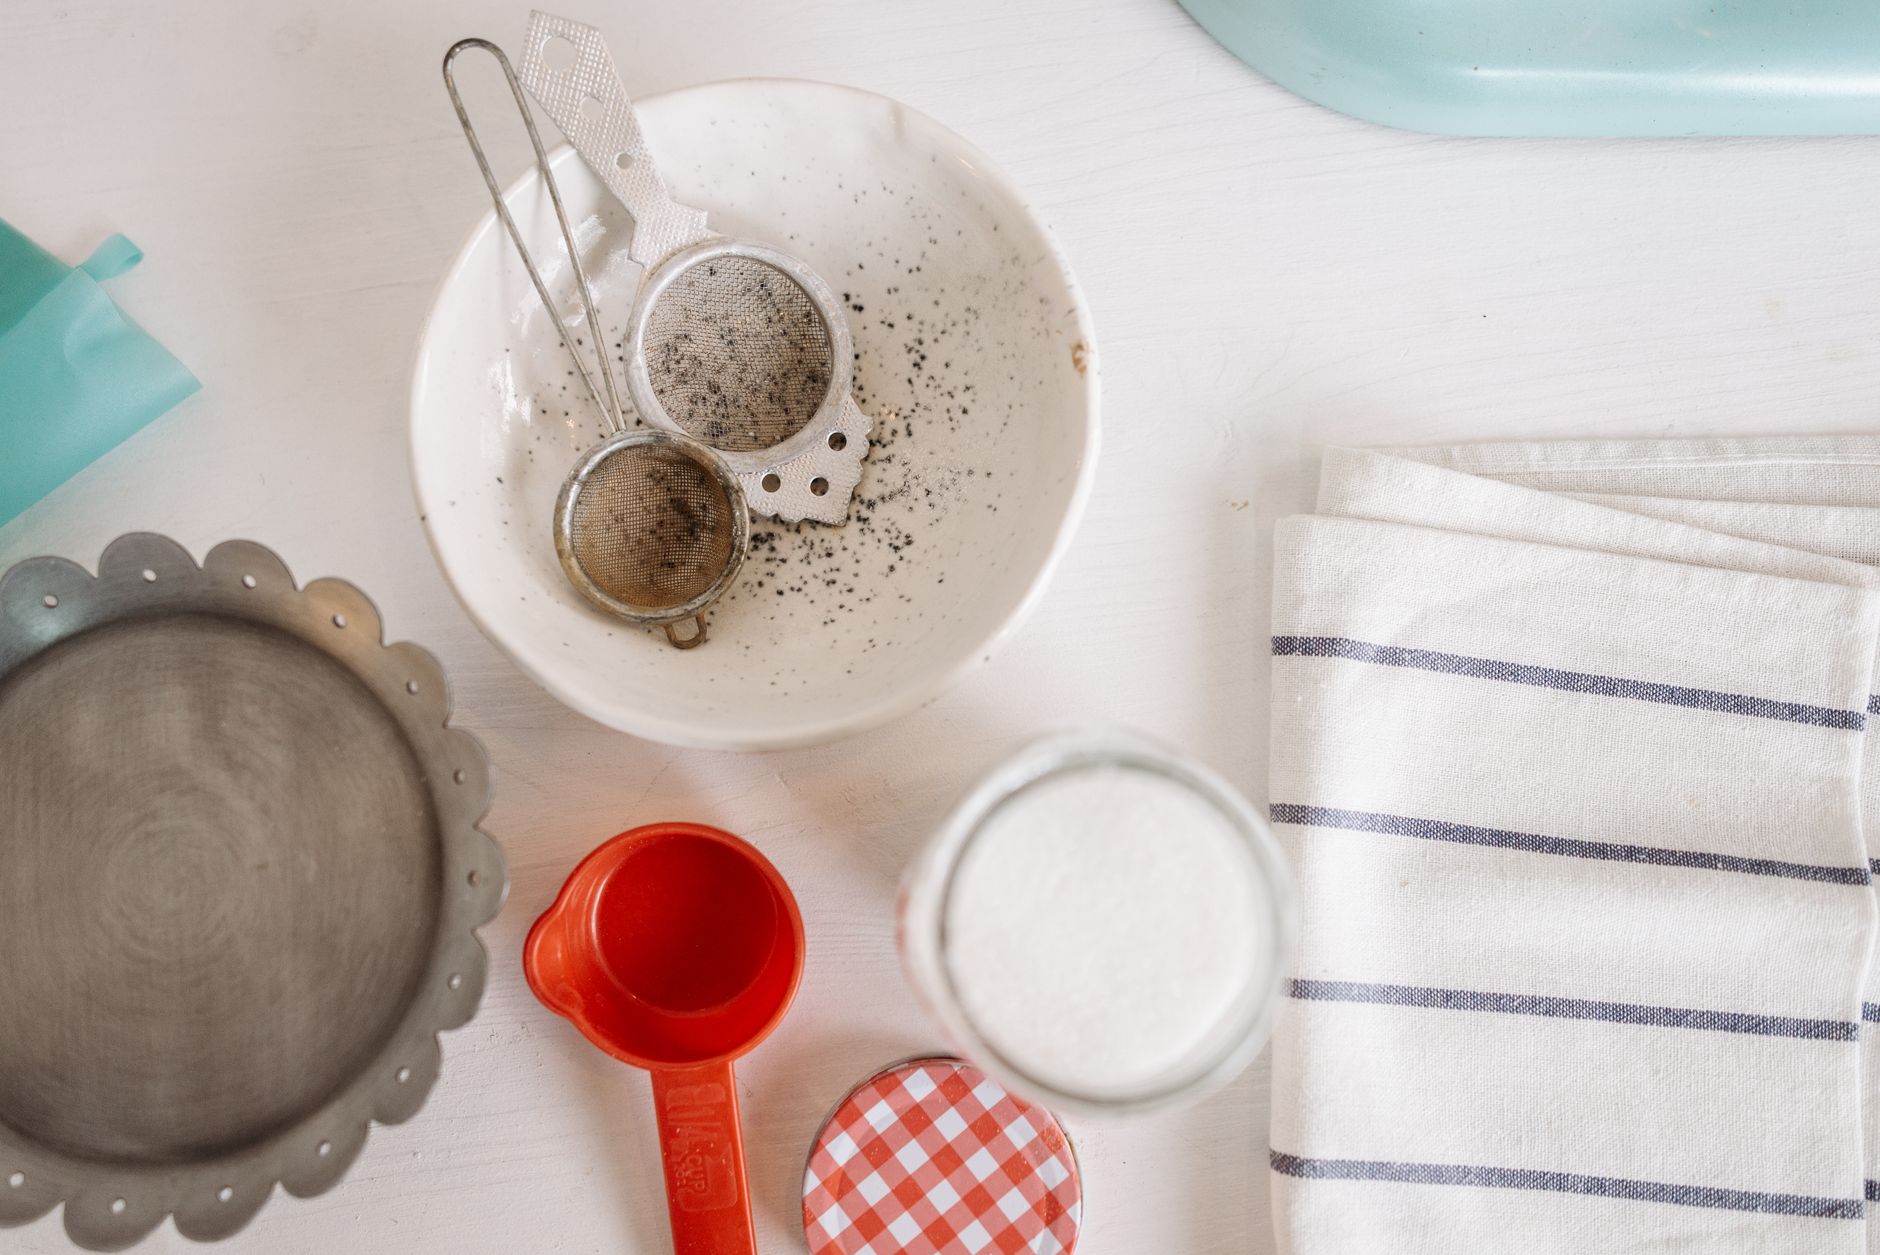
Pour the contents of your bowl or jar through a fine mesh strainer or a strainer lined with cheesecloth set over a separate bowl or container, allowing the liquid buttermilk to drain away from the solid butter clumps.
Save the drained buttermilk; it's genuine, real cultured buttermilk (distinct from the commercial cultured buttermilk sold in stores, though similar in use) and works wonderfully in pancakes, biscuits, salad dressings, or any recipe calling for buttermilk.
Use a spatula or the back of a spoon to gently press the remaining butter solids against the strainer, encouraging any remaining trapped buttermilk to drain out, since leftover buttermilk inside the finished butter is the primary cause of butter spoiling faster than it should.
The butter at this stage will look somewhat rough and uneven, almost like coarse curds pressed together, which is completely normal; the smooth, spreadable texture associated with finished butter develops during the kneading and washing steps that follow.
Wash the Butter Thoroughly

Place the drained butter in a bowl and add very cold water, ideally with a few ice cubes, then knead and press the butter with a spatula, wooden paddles, or clean hands, working it thoroughly to release any remaining trapped buttermilk into the water.
Pour off the cloudy wash water, add fresh cold water, and repeat this kneading and rinsing process 3-4 times, or until the water you pour off runs completely clear rather than cloudy or milky, which indicates the last traces of buttermilk have been removed.
This washing step is genuinely important rather than optional, since any residual buttermilk left in the finished butter will cause it to sour and spoil considerably faster than properly washed butter, sometimes within just a few days instead of a few weeks.
Cold water is specifically important throughout this process, since warm water can cause the butter to soften too much or even begin melting, making it much harder to work with and press effectively.
Once the wash water runs clear, give the butter a final firm pressing to squeeze out as much remaining moisture as possible, since excess water content in the finished butter can also contribute to faster spoilage and a less desirable texture.
Salt and Flavor Your Butter (Optional)

For salted butter, work in salt to taste, typically about 1/4 to 1/2 teaspoon of fine salt per cup of finished butter, kneading it in thoroughly until evenly distributed rather than concentrated in a few spots.
Unsalted butter is preferred by many bakers for precise recipe control, and it's simply the plain washed butter from the previous step with nothing added; both salted and unsalted versions store similarly well once properly washed.
For flavored butter variations, consider working in fresh minced herbs like chives, rosemary, or dill, roasted garlic, honey, or citrus zest, all popular additions that turn plain butter into a distinctive compound butter suited to specific dishes.
If making flavored butter intended for freezing, keep in mind that some fresh herb flavors can mellow or shift slightly during frozen storage, so flavored butters are often best used within a somewhat shorter window than plain butter.
Shape and Store Your Finished Butter

Shape the finished butter into a log, block, or press it into a small crock or container, using parchment or wax paper to help form a neat shape if you're going for a traditional log or block presentation.
Store butter in the refrigerator in an airtight container or wrapped tightly in parchment or wax paper, where properly washed and salted butter typically keeps well for 2-3 weeks without significant flavor degradation.
For longer storage, wrap butter tightly in plastic wrap followed by a layer of foil, then freeze; well-wrapped homemade butter keeps in the freezer for 6-9 months, making it worthwhile to make a larger batch when cream is affordably available.
Keep butter away from strongly flavored foods in the refrigerator when possible, since butter readily absorbs surrounding odors, and a butter dish or well-sealed container helps protect its fresh, clean flavor from picking up unwanted notes from nearby items.
Common problems and fixes
| Problem | Likely cause | What to do |
|---|---|---|
| Cream won't separate into butter no matter how long it's whipped | Cream with insufficient fat content, or cream that's too cold. | Confirm you're using heavy cream with at least 36% fat, and let the cream warm slightly to room temperature before churning again. |
| Finished butter spoils within just a few days | Residual buttermilk left in the butter from insufficient washing. | Wash the butter more thoroughly next time, rinsing and kneading with cold water until the water runs completely clear. |
| Butter has a soft, greasy texture rather than a firm, spreadable one | Excess water content remaining after washing, or butter that was worked with water that was too warm. | Press the butter more firmly after the final rinse to remove excess moisture, and always use very cold water throughout the washing process. |
Gardener's checklist
Test what you learned
What minimum fat content does cream need to make butter?
Answer: 36% or higher
Why is washing the butter with cold water important?
Answer: It removes remaining buttermilk, which extends shelf life
What can the drained buttermilk be used for?
Answer: Pancakes, biscuits, and salad dressings
How long does properly washed, salted homemade butter keep in the refrigerator?
Answer: 2-3 weeks
Common questions
Can I make butter without a stand mixer or food processor?
Yes, a mason jar method works well: fill a jar no more than halfway with cream, seal tightly, and shake vigorously for 10-20 minutes until it separates. This traditional method takes more physical effort but produces the same result.
Why does my homemade butter taste different from store-bought butter?
Homemade butter often has a fresher, cleaner flavor since it hasn't been processed or stored for extended periods. The exact taste also depends on your cream source, whether you used cultured or sweet cream, and whether you added salt.
Is the buttermilk from making butter the same as store-bought buttermilk?
It's similar but not identical. Homemade buttermilk from churning is simply the liquid left after separating butterfat from cream, while most commercial buttermilk is cultured (fermented) separately for its tangy flavor. Both work well in most recipes calling for buttermilk.
How much butter does one quart of cream make?
Roughly one quart of heavy cream yields about half a pound of butter, though this can vary slightly depending on the exact fat content of your cream, so two quarts of cream typically produces close to a full pound of finished butter.
Making butter at home is genuinely simple, requiring little more than heavy cream and patience, and the reward is a fresher, richer product along with real homemade buttermilk as a bonus from every batch.
Frequently asked questions
How often should a vegetable garden be watered?
Frequency depends on weather, soil and plant size. Check the soil rather than watering on a rigid schedule.
Is compost enough fertilizer?
Compost improves soil and provides nutrients slowly. Heavy-feeding crops may still need additional feeding.

The Sproutstead Editorial Team
We create clear, practical gardening and homesteading guides designed for real homes and beginner growers.
View author profile →