Plant shallot bulbs (sets) pointy-side up, 1 inch deep and 6-8 inches apart, in fall for the largest harvest or early spring as an alternative, in loose, fertile, well-draining soil. Each planted bulb multiplies into a cluster of 4-8 new bulbs, ready to harvest in mid-summer once tops yellow and fall over, followed by curing for months of storage.
What you will need
Understand How Shallots Multiply
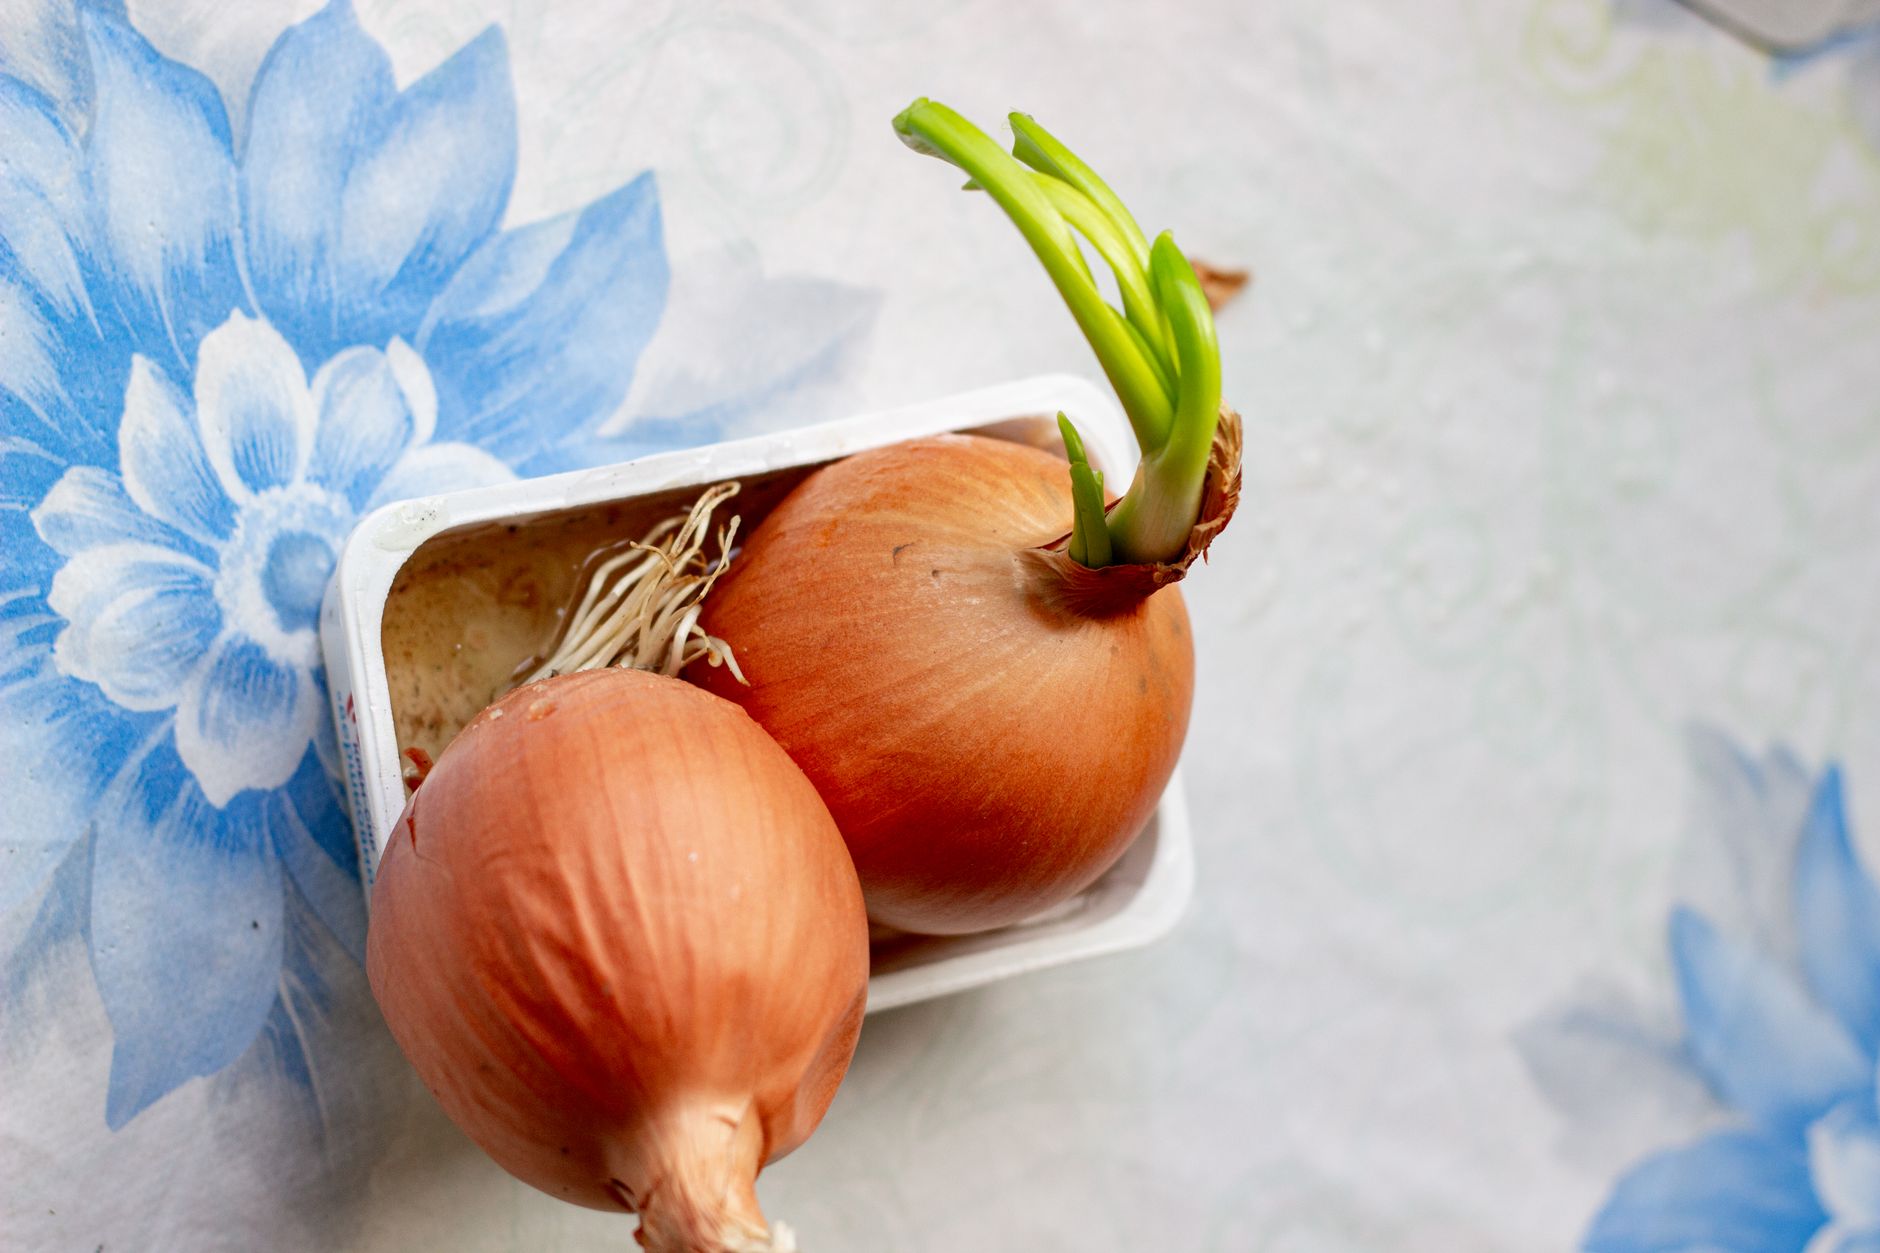
Unlike onions, which typically grow as a single bulb from a single planted set, shallots multiply, meaning one planted bulb divides underground and produces a cluster of 4-8 new bulbs by harvest time, similar in principle to how garlic cloves multiply within a single planted clove.
This multiplying habit means shallot plantings are remarkably space-efficient for their yield; a modest row of individually planted sets can produce a surprisingly large total harvest once each one has divided and developed through the season.
Because of this multiplication, spacing between individual planted sets needs to account for the eventual cluster size each one will grow into, which is covered in more detail in the planting step, rather than just the size of the single bulb going into the ground.
Understanding this pattern from the start also helps with harvest expectations; a bed that looks sparsely planted in fall or spring will fill in considerably by summer as each individual set expands into its own cluster of bulbs.
Choose Fall or Spring Planting
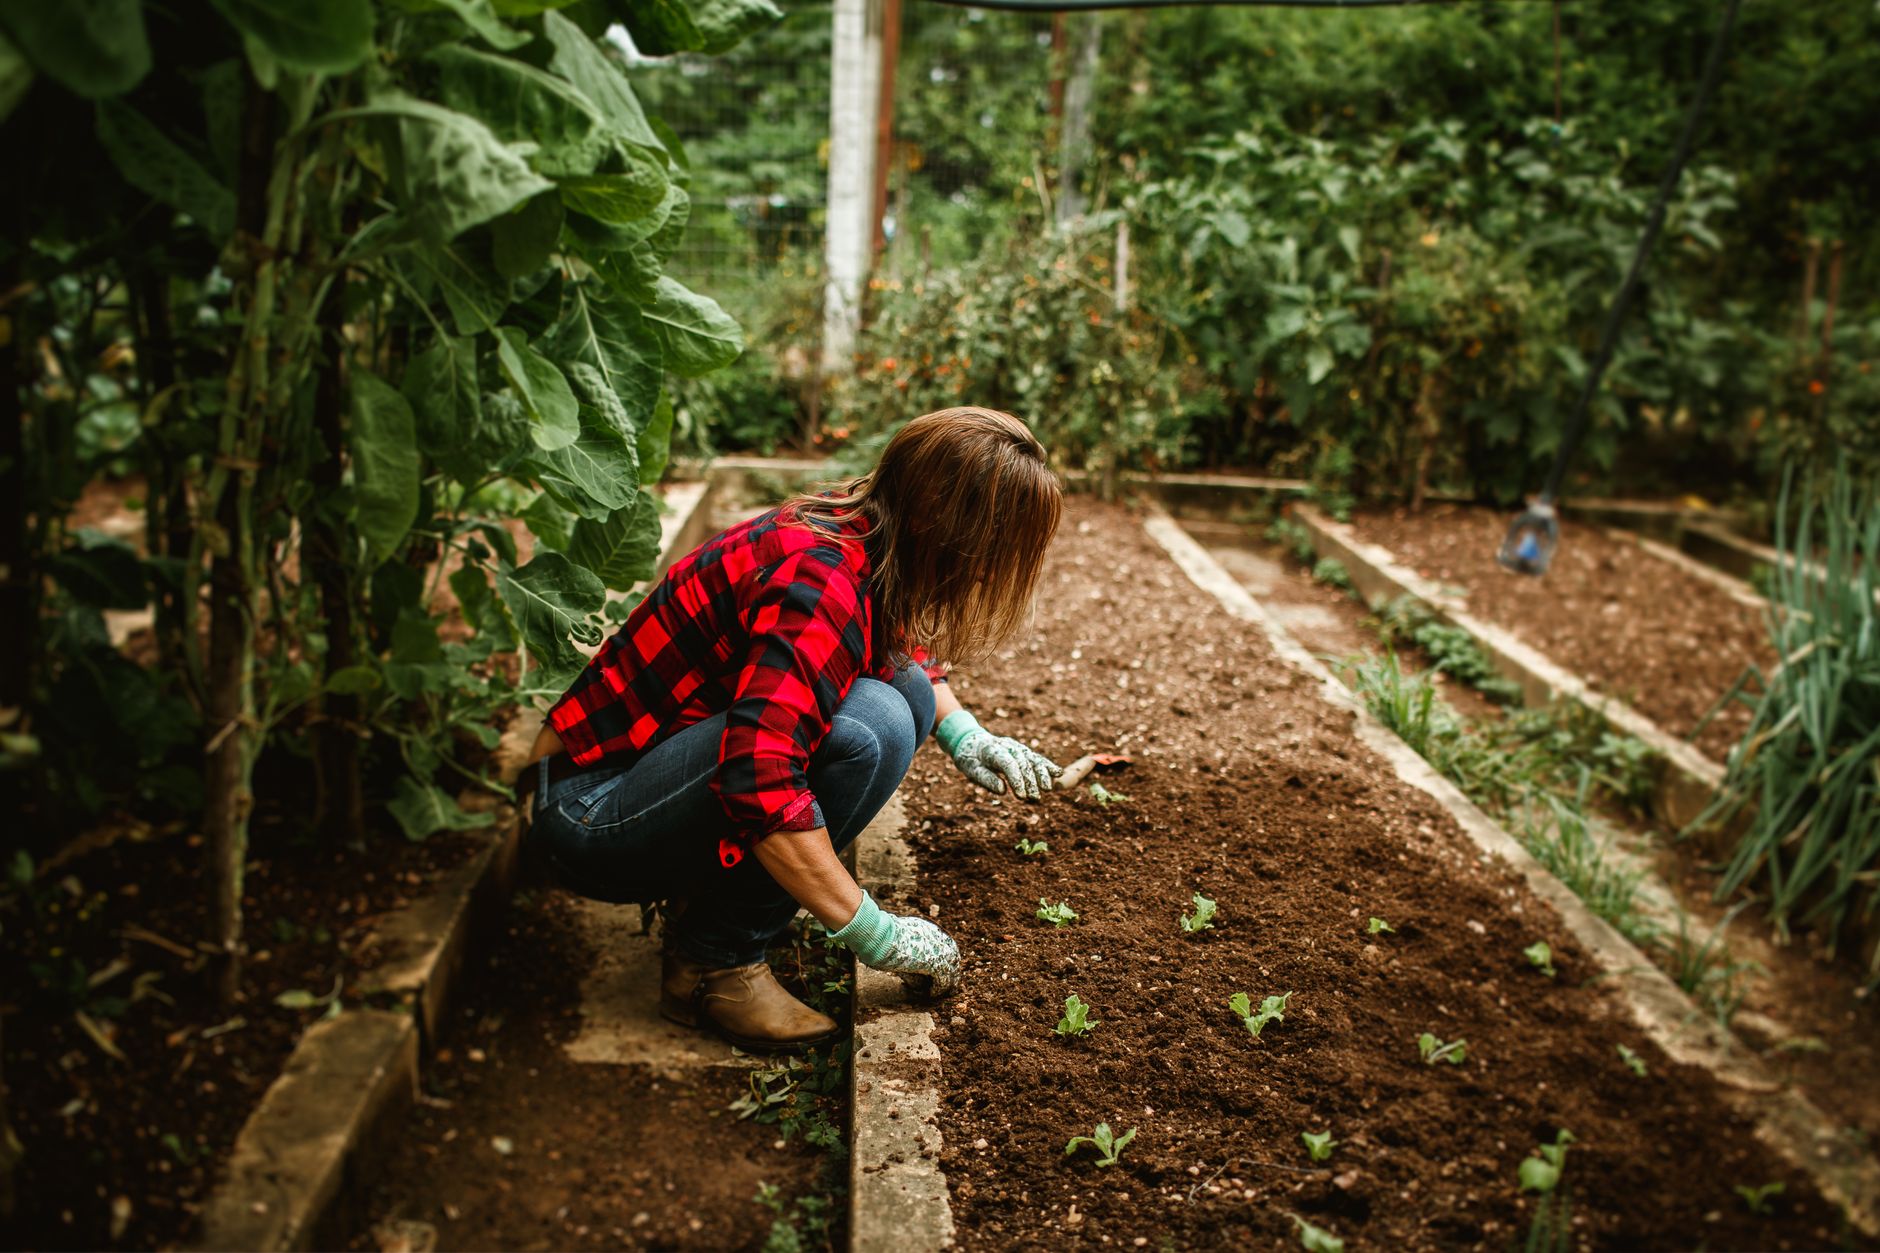
Fall planting, similar to garlic, generally produces the largest shallot harvests, since bulbs establish roots before winter dormancy and resume vigorous growth as soon as soil warms in spring, giving them a genuine head start over spring-planted sets.
Plant in fall about 4-6 weeks before your ground typically freezes, which gives sets enough time to establish roots without pushing up vulnerable green growth that could be damaged by an early hard frost.
Spring planting, done as soon as the soil can be worked, is a completely viable alternative, particularly in regions with very harsh winters where fall-planted sets might not survive reliably, though harvests are often somewhat smaller than a well-established fall planting.
If you're uncertain which approach suits your climate, planting a portion of your shallot sets in fall and a portion in spring is a reasonable way to compare results in your specific garden conditions before committing fully to one method.
Prepare Loose, Fertile Soil and Plant Sets

Choose a sunny bed with loose, well-draining soil enriched with compost or aged manure, since shallots, like their allium relatives, are prone to bulb rot in heavy, waterlogged soil.
Push each set into the soil about 1 inch deep, pointed end facing up, with the top of the set just barely covered or even slightly visible at the soil surface, spaced 6-8 inches apart to give each cluster room to develop as it multiplies through the season.
A soil pH between 6.0 and 6.8 suits shallots well, similar to onions and garlic, and testing beforehand is worthwhile if you've had difficulty growing other alliums in the same bed.
Avoid planting shallots in a bed that grew onions, garlic, or leeks within the past 2-3 years, since this rotation gap helps reduce the buildup of allium-specific soil pests and diseases.
Water and Feed Through the Season
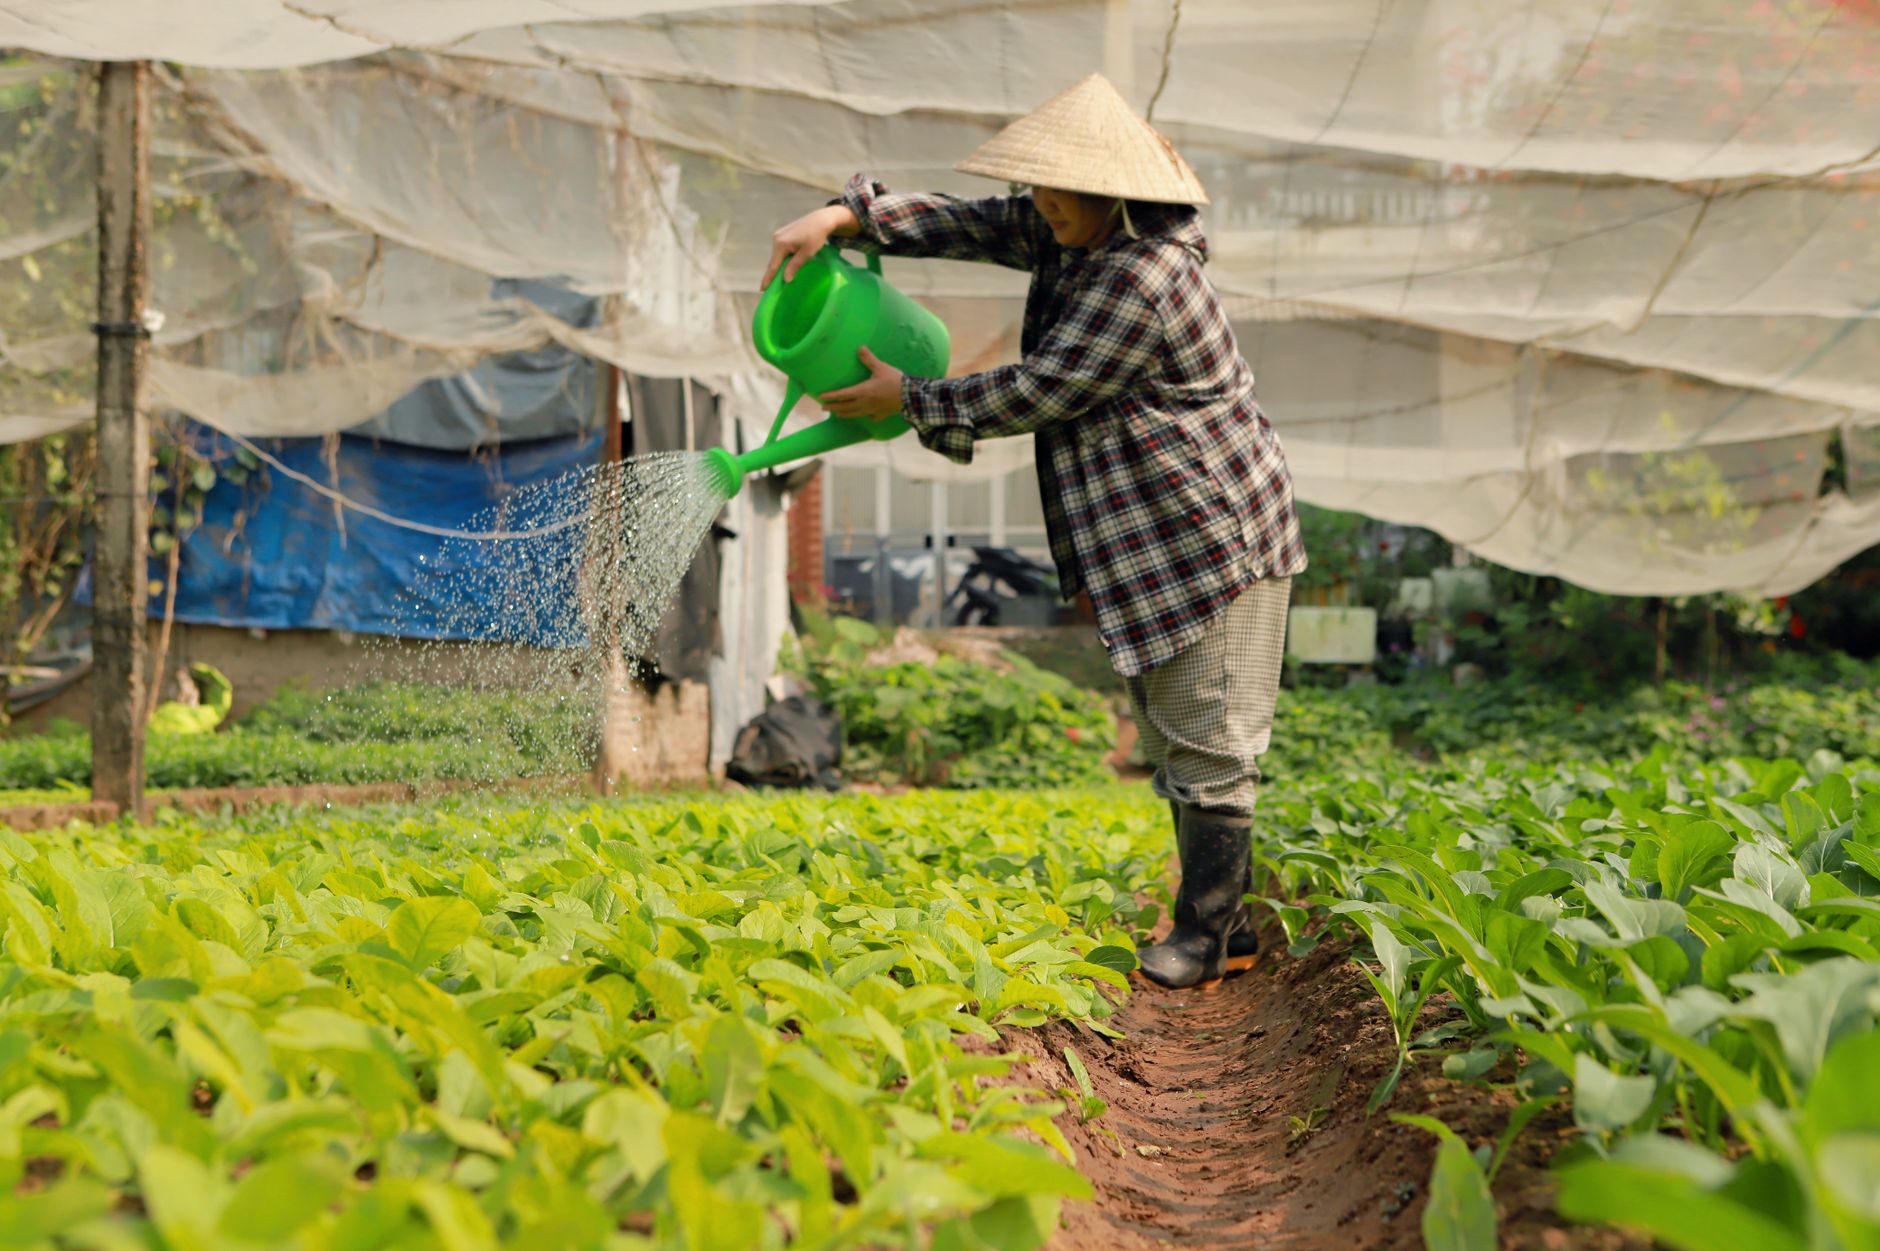
Water consistently, providing about an inch per week, since inconsistent moisture can affect both the number and size of bulbs each set produces as it multiplies underground.
Feed with a balanced or nitrogen-rich fertilizer in early spring as growth resumes (for fall-planted sets) or a few weeks after planting (for spring-planted sets), supporting the leafy growth that directly feeds bulb development later in the season.
Mulch around plants once established to help retain soil moisture and suppress weeds, which compete directly with shallots' relatively narrow foliage for light, water, and nutrients.
Stop watering and fertilizing once tops begin to yellow and fall over naturally, which signals the plant is shifting energy from leaf growth into final bulb maturation and curing while still in the ground.
Manage Weeds and Common Pests
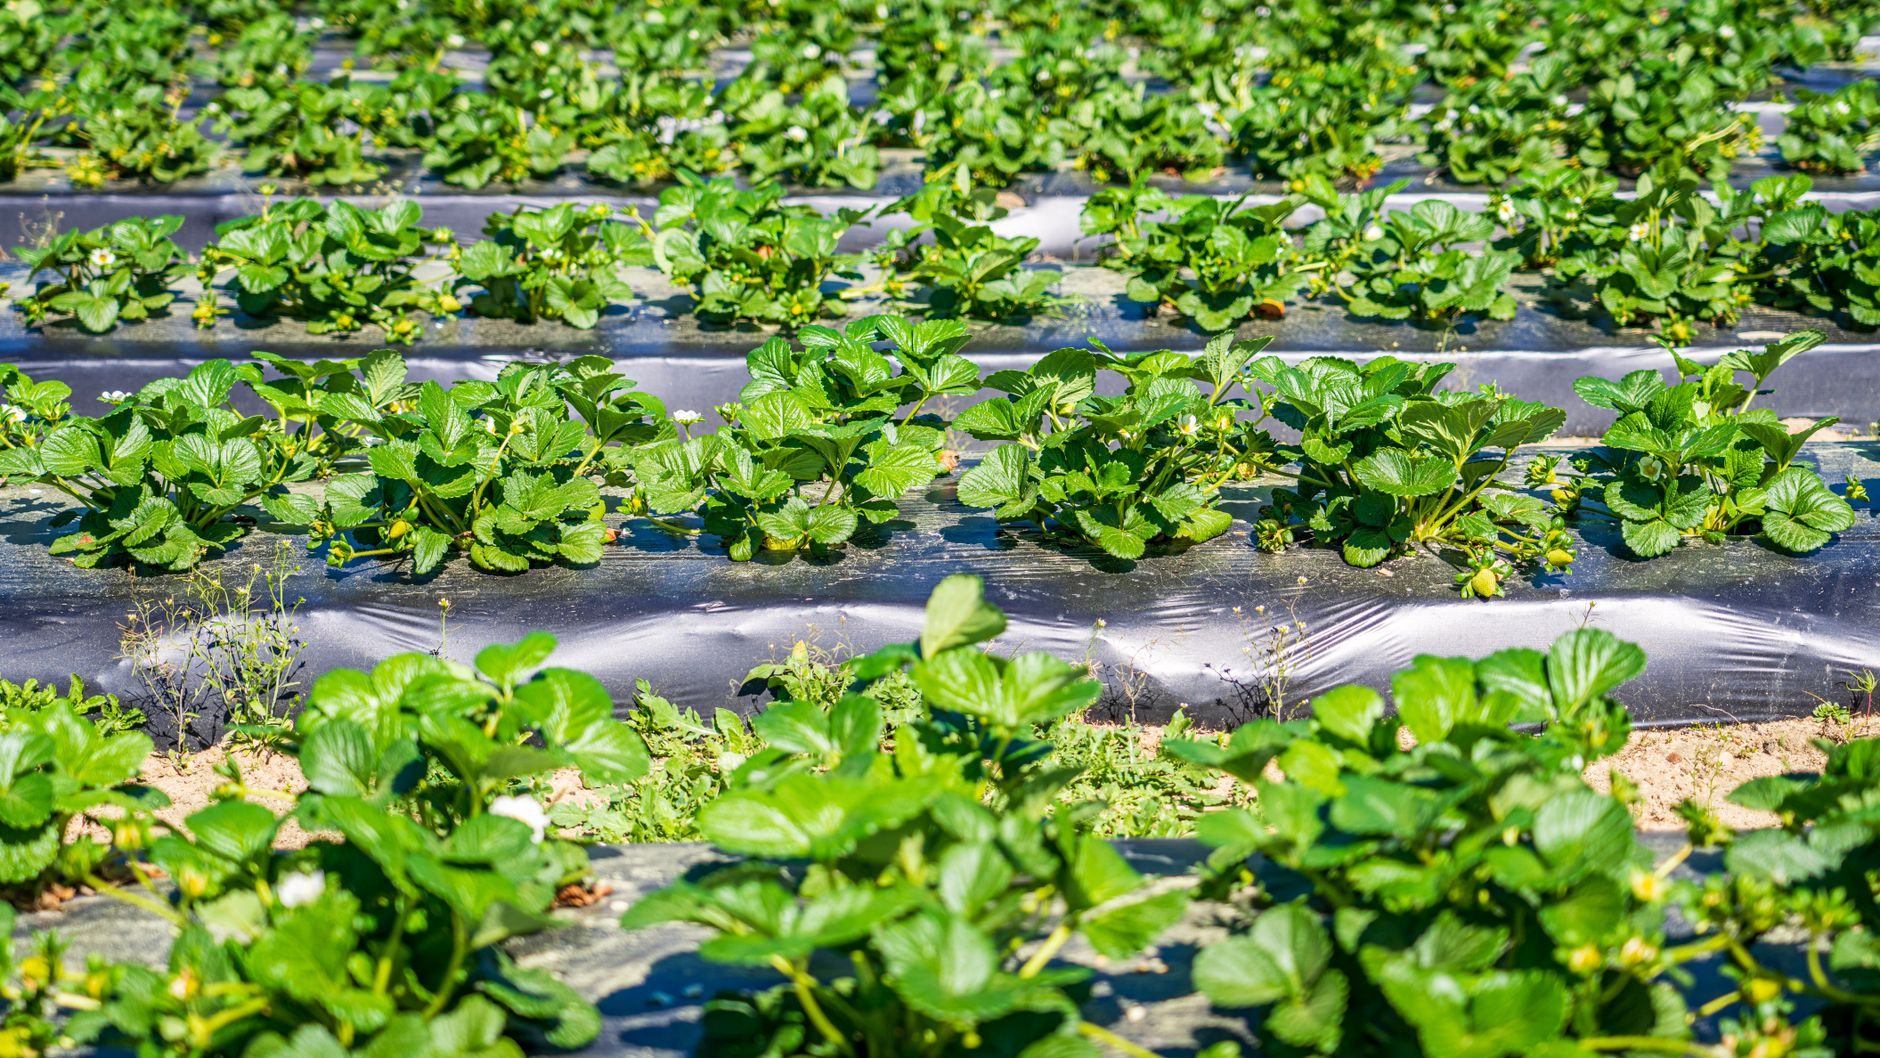
Shallots have narrow, upright leaves that don't shade out competing weeds effectively, making consistent weeding especially important, particularly during the first couple months after planting or as growth resumes in spring.
Onion maggots and thrips are the most common pests, similar to those affecting onions and garlic; crop rotation and removing plant debris after harvest are the most effective long-term prevention strategies.
Hand-weed carefully close to plants to avoid disturbing the shallow, multiplying bulb clusters developing just beneath the soil surface, using a hoe for the wider spaces between rows to save time on larger plantings.
Shallots are generally considered relatively pest-resistant overall, similar to their allium relatives, with most plantings requiring only modest ongoing pest monitoring through the season.
Harvest Once Tops Yellow and Fall Over
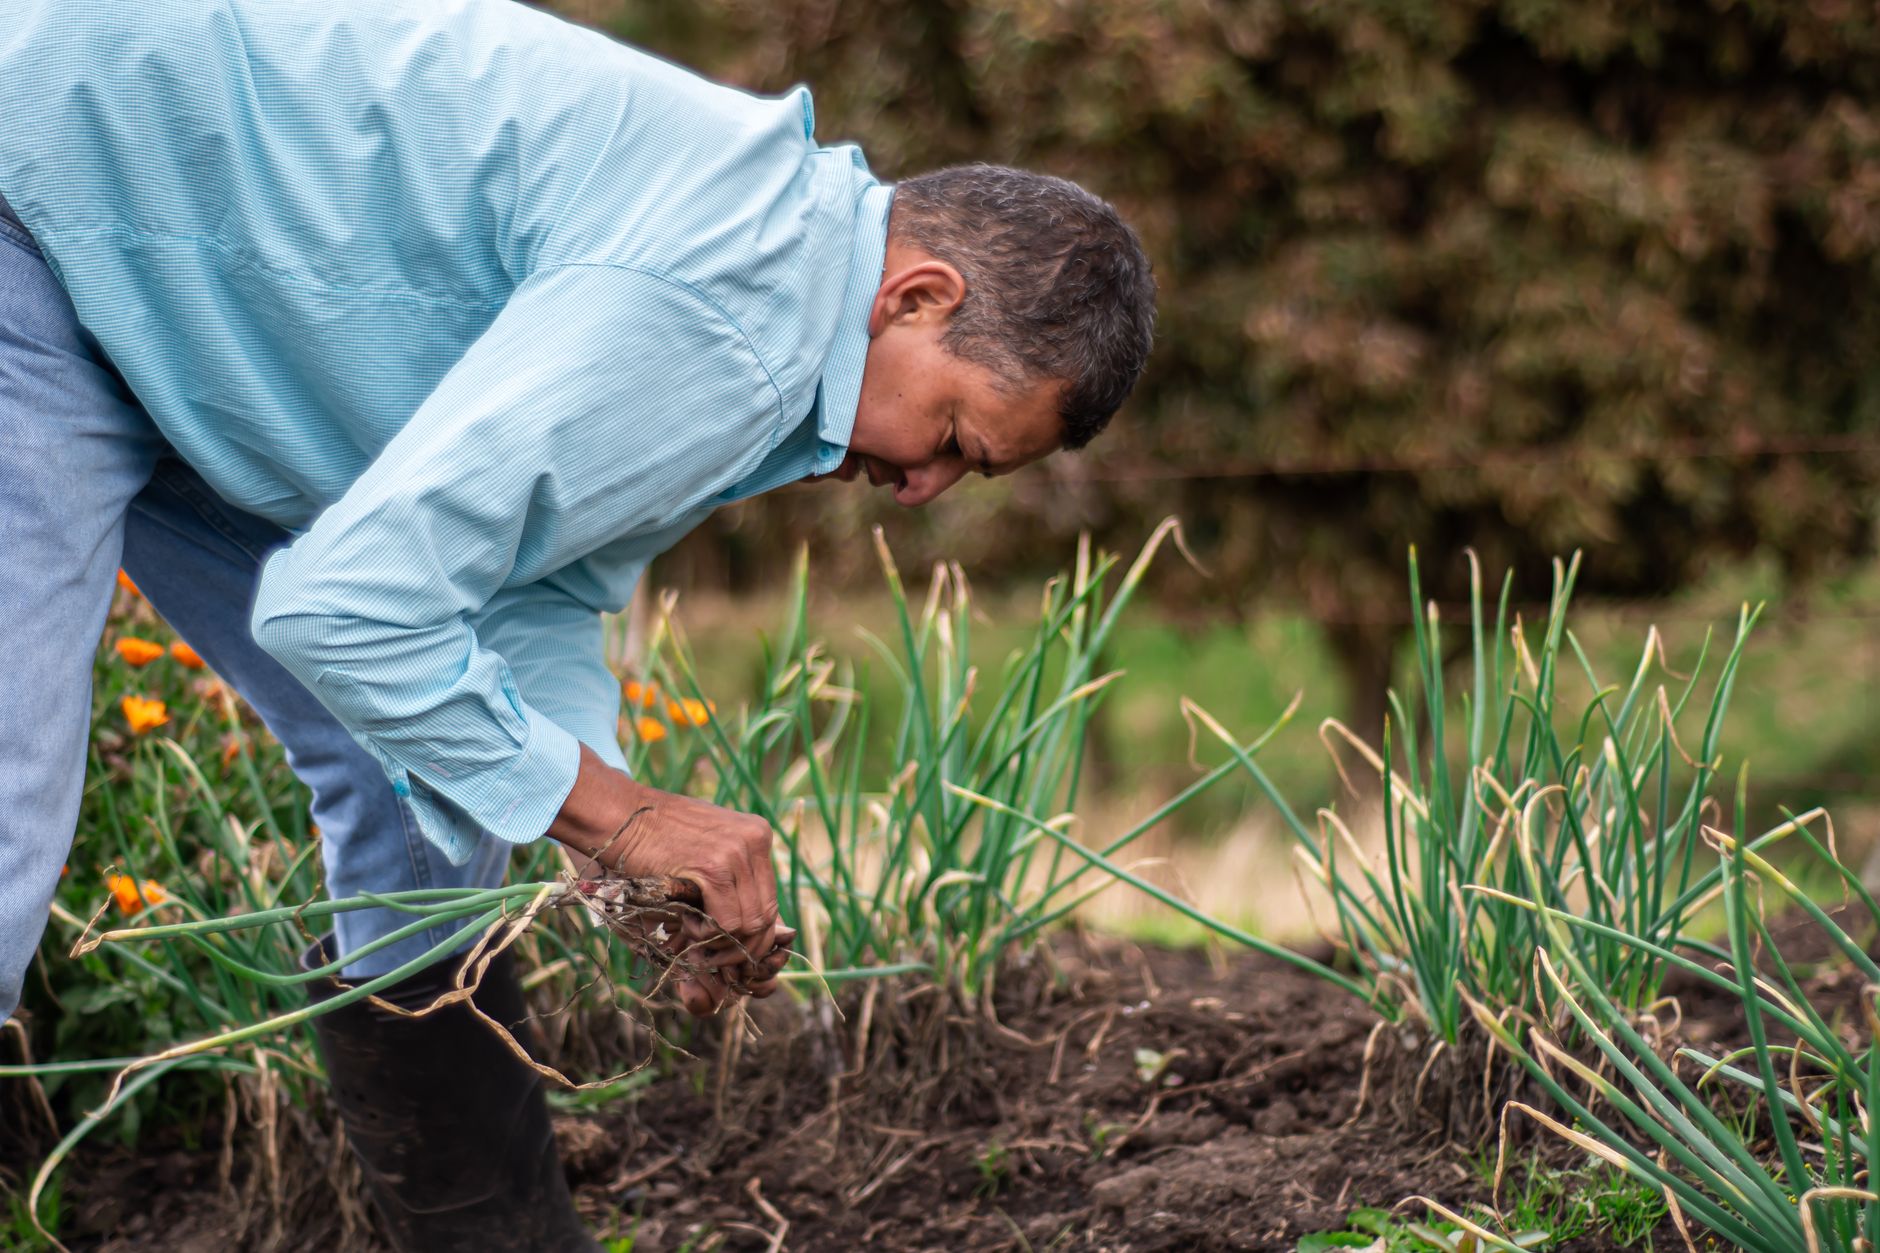
Shallots are ready to harvest when the majority of tops have fallen over and begun to yellow or brown naturally, typically 90-120 days after planting, similar to the harvest signal used for onions.
Gently lift the entire cluster with a garden fork rather than pulling directly by the tops, since the cluster of multiplied bulbs sits just beneath the soil surface and can be damaged by pulling without first loosening the surrounding soil.
Handle freshly dug shallot clusters carefully, since bruised or damaged bulbs are considerably more prone to rot in storage than bulbs harvested and handled gently, similar to the care needed with onions and garlic.
Let harvested clusters dry in the garden for a day if weather is dry and sunny, which begins the curing process right in the field before you move them to a more controlled curing location.
Cure and Store for Long-Term Use
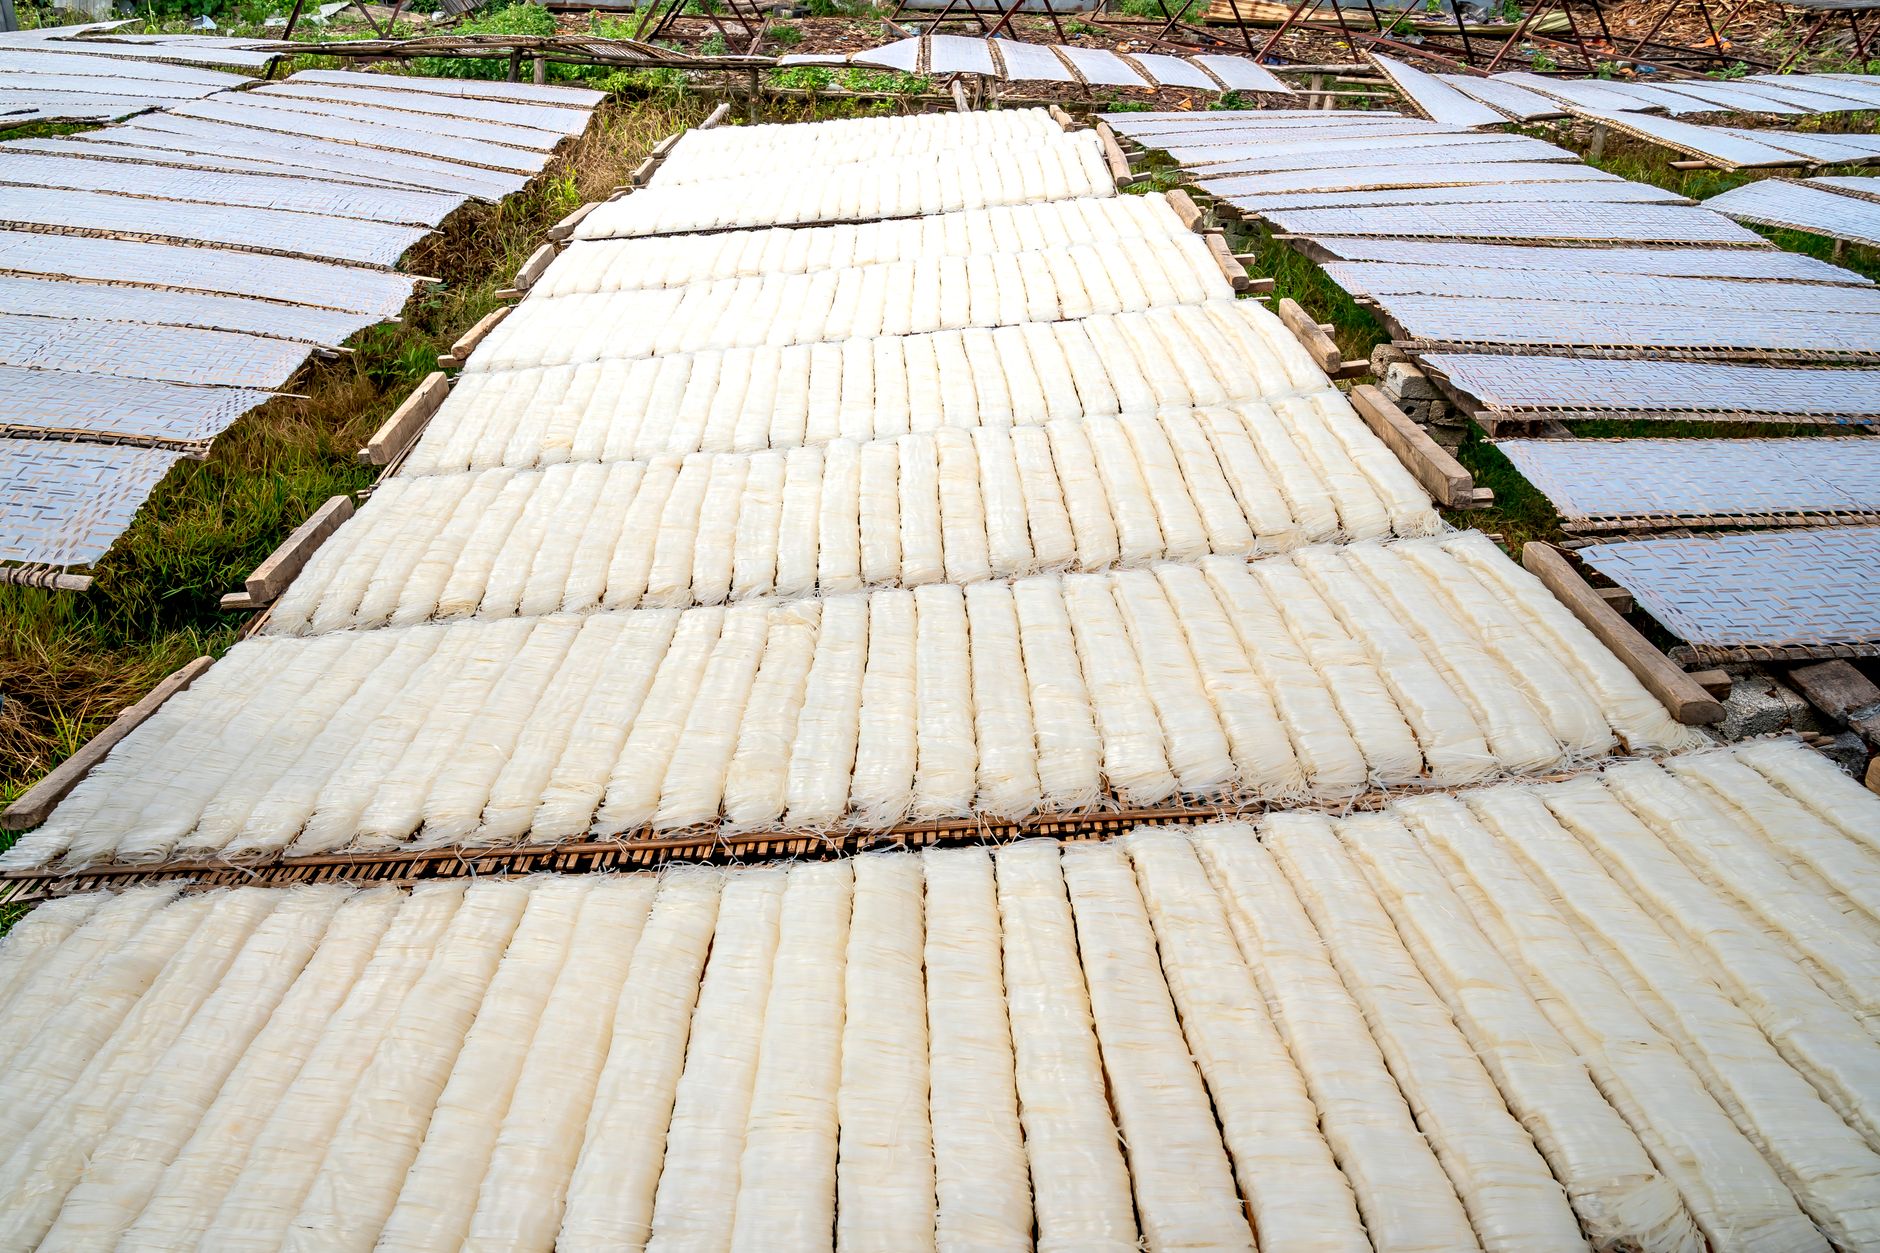
Cure shallot clusters in a warm, dry, well-ventilated, shaded location for 2-3 weeks until the outer skins are fully papery and the necks are dry and tight, similar to the curing process used for onions and garlic.
Once cured, separate the individual bulbs from the cluster by gently breaking them apart at their natural connection points, then trim roots and tops, leaving an inch or so of neck on each bulb.
Store cured shallots in mesh bags, shallow crates, or braided bunches in a cool, dark, dry location with good air circulation, where they typically keep for 6-8 months or longer under good conditions, often outlasting stored onions.
Save your largest, healthiest bulbs from the harvest to replant for next season's crop, gradually building a self-sustaining supply of shallot sets without needing to purchase new stock every year.
Common problems and fixes
| Problem | Likely cause | What to do |
|---|---|---|
| Small clusters with few bulbs at harvest | Insufficient spacing, inconsistent watering, or poor soil fertility during the growing season. | Space sets properly at 6-8 inches, maintain consistent watering, and enrich soil with compost before planting. |
| Bulbs rotting in the ground before harvest | Poor drainage or waterlogged soil. | Plant in raised beds or amend heavy soil with compost and coarse material to improve drainage in future plantings. |
| Stored shallots spoiling faster than expected | Insufficient curing time, or bulbs that were bruised during harvest. | Cure fully for 2-3 weeks before storage, and handle harvested clusters gently to avoid bruising. |
Gardener's checklist
Test what you learned
How is growing shallots different from growing onions?
Answer: Each planted shallot bulb multiplies into a cluster of several new bulbs
Which planting time generally produces the largest shallot harvest?
Answer: Fall
How many bulbs does a single planted shallot set typically produce?
Answer: 4-8 bulbs
Common questions
Can I grow shallots from grocery store bulbs?
While technically possible if the bulbs haven't been treated to prevent sprouting, it's generally recommended to use certified shallot sets from a nursery or garden supplier, which are more reliably disease-free and suited to garden growing conditions.
How long do shallots take to grow?
Shallots typically take 90-120 days from planting to harvest, similar to onions, with fall-planted sets taking longer overall since they include a winter dormancy period before active growth resumes in spring.
How long do stored shallots last?
Properly cured shallots stored in a cool, dry, dark location with good air circulation can last 6-8 months or longer, often outlasting stored onions thanks to their generally denser, more compact bulb structure.
Do shallots need full sun?
Yes, shallots grow best with full sun, at least 6 hours of direct light daily, similar to their onion and garlic relatives, for the strongest leafy growth that feeds bulb development.
Shallots reward relatively simple care with a surprisingly generous, space-efficient harvest, since each individual bulb you plant multiplies into a full cluster by the time you're ready to dig, cure, and store them for months of use.
Frequently asked questions
How often should a vegetable garden be watered?
Frequency depends on weather, soil and plant size. Check the soil rather than watering on a rigid schedule.
Is compost enough fertilizer?
Compost improves soil and provides nutrients slowly. Heavy-feeding crops may still need additional feeding.

The Sproutstead Editorial Team
We create clear, practical gardening and homesteading guides designed for real homes and beginner growers.
View author profile →