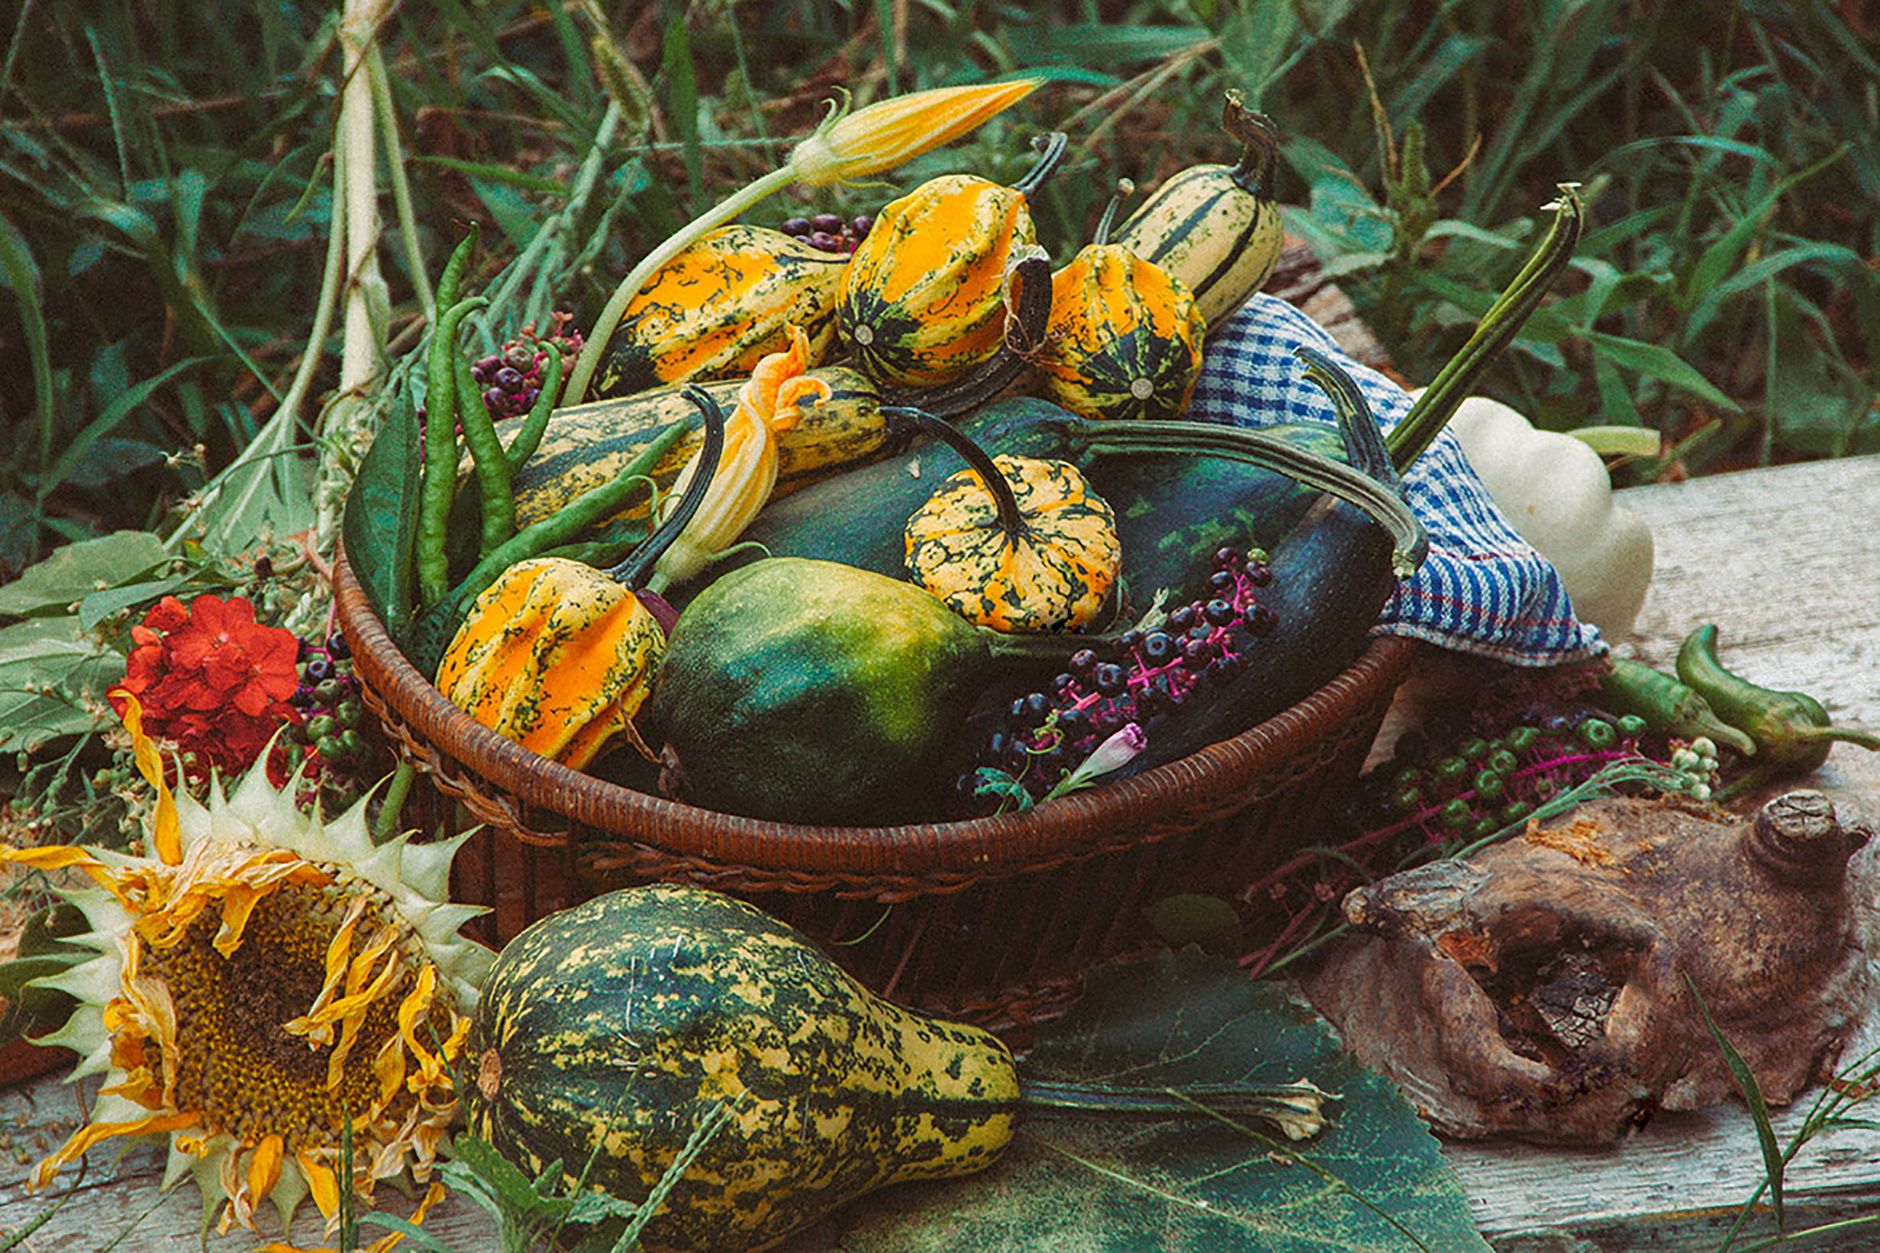
Plant pumpkin seeds directly in the garden after the last frost, once soil is at least 65°F, spacing hills 4-8 feet apart depending on variety. Water deeply at the base, ensure good pollination, manage pests like squash bugs and vine borers, and harvest once the rind is fully colored and hard and the vine has begun to die back, roughly 90-120 days after planting.
What you will need
Choose a Variety and Plant at the Right Time
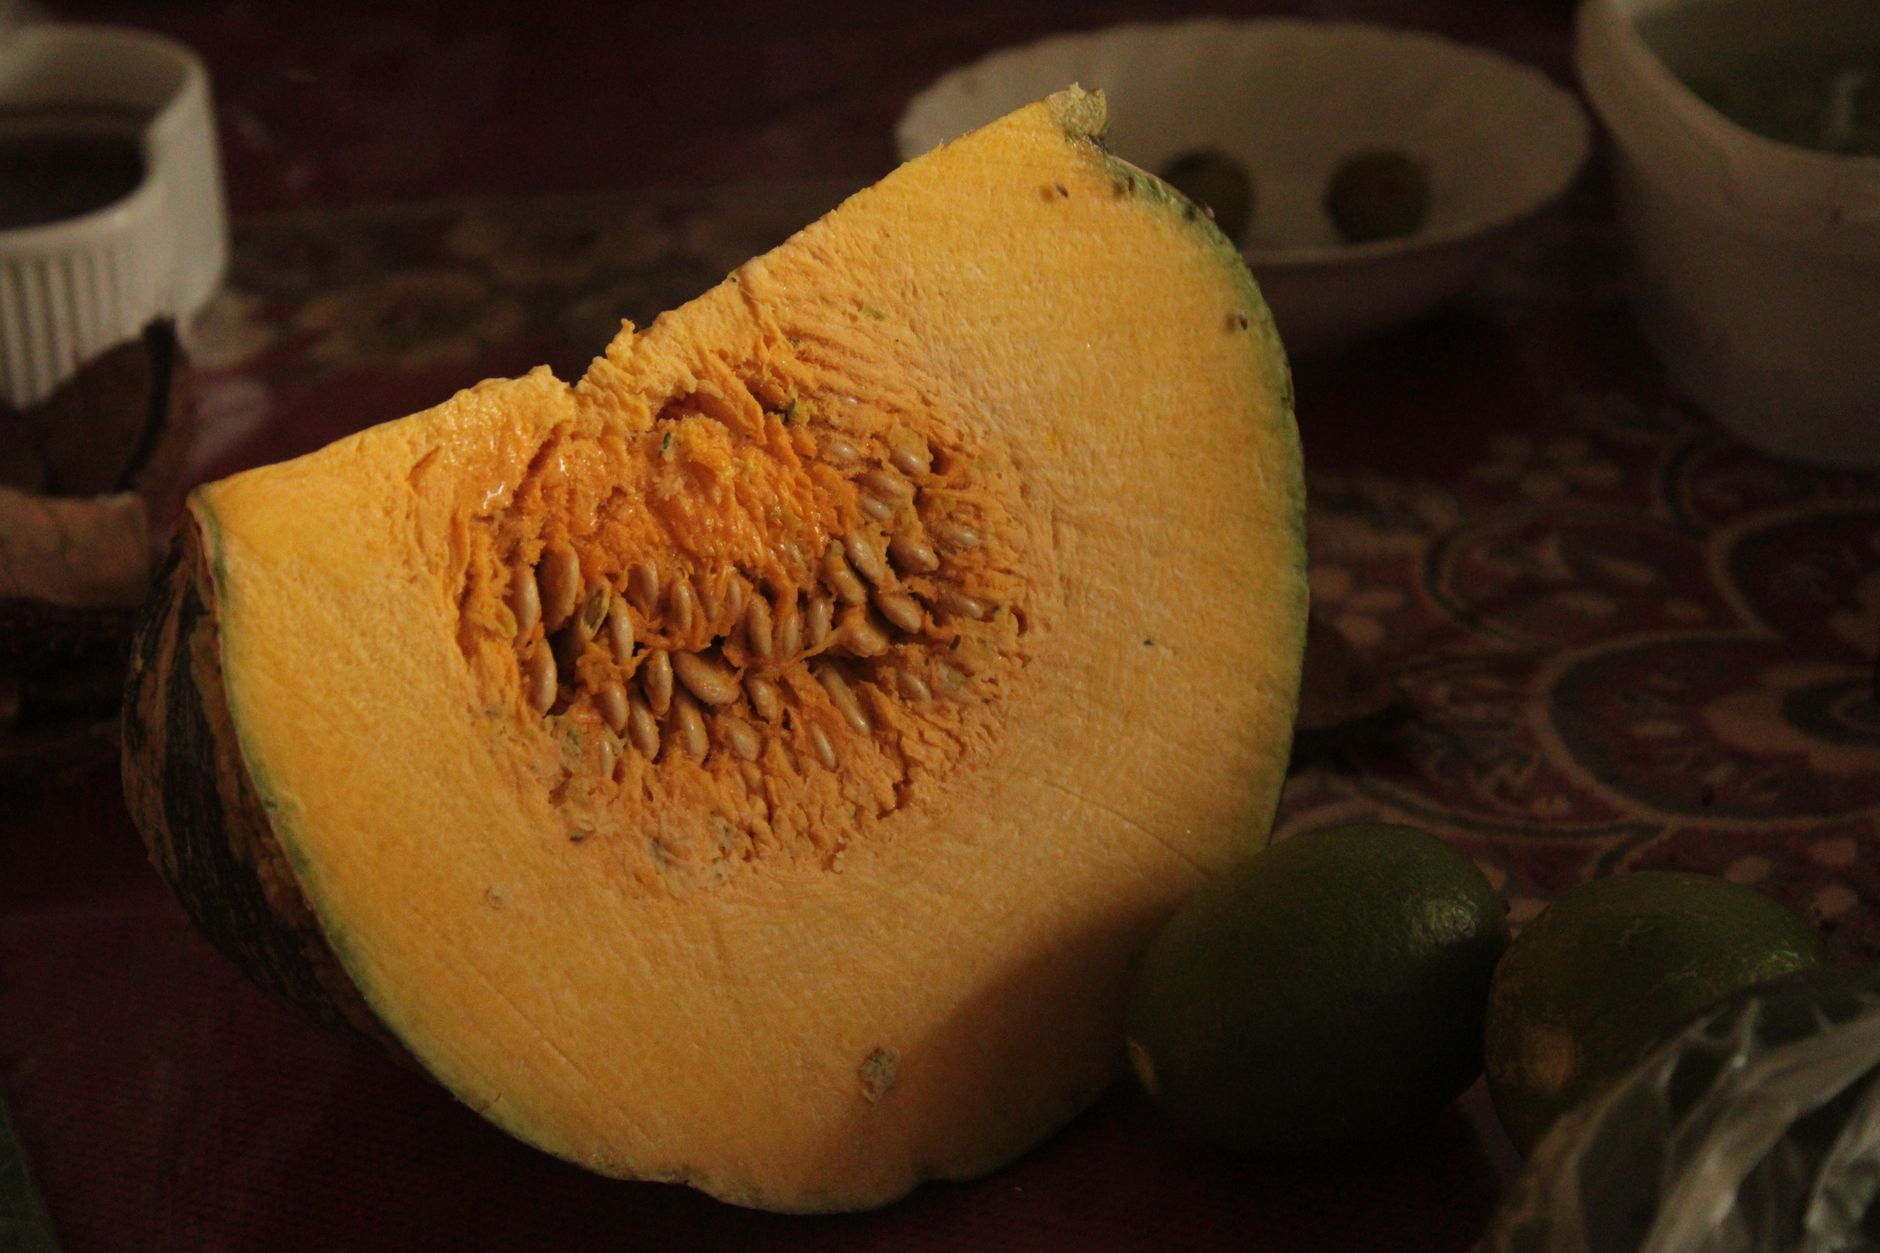
Choose a variety suited to your goals: small pie or sugar pumpkins mature faster and take considerably less garden space, while large carving or giant competition varieties need a genuinely long season and significant room to sprawl across the garden.
Count backward from your desired harvest time, often mid-to-late October for most gardeners, using the variety's days-to-maturity listed on the seed packet, then plant so that timeline lines up realistically with your local last frost date and expected growing season length.
Direct-sow seeds an inch deep into small mounded hills once soil has warmed to at least 65°F, planting 4-5 seeds per hill and thinning to the strongest 2-3 seedlings once they've developed their first true leaves.
Pumpkins can also be started indoors 2-3 weeks before your last frost in biodegradable pots for gardeners in shorter-season climates, though pumpkin roots are sensitive to disturbance, so minimizing transplant shock by using pots that go directly into the ground is worthwhile.
Avoid the common temptation to plant too early hoping for a head start; pumpkin seeds and seedlings genuinely struggle in cold soil and rarely catch up to properly timed plantings, often ending up smaller and less productive by harvest time despite the earlier start.
Prepare Fertile, Well-Draining Soil
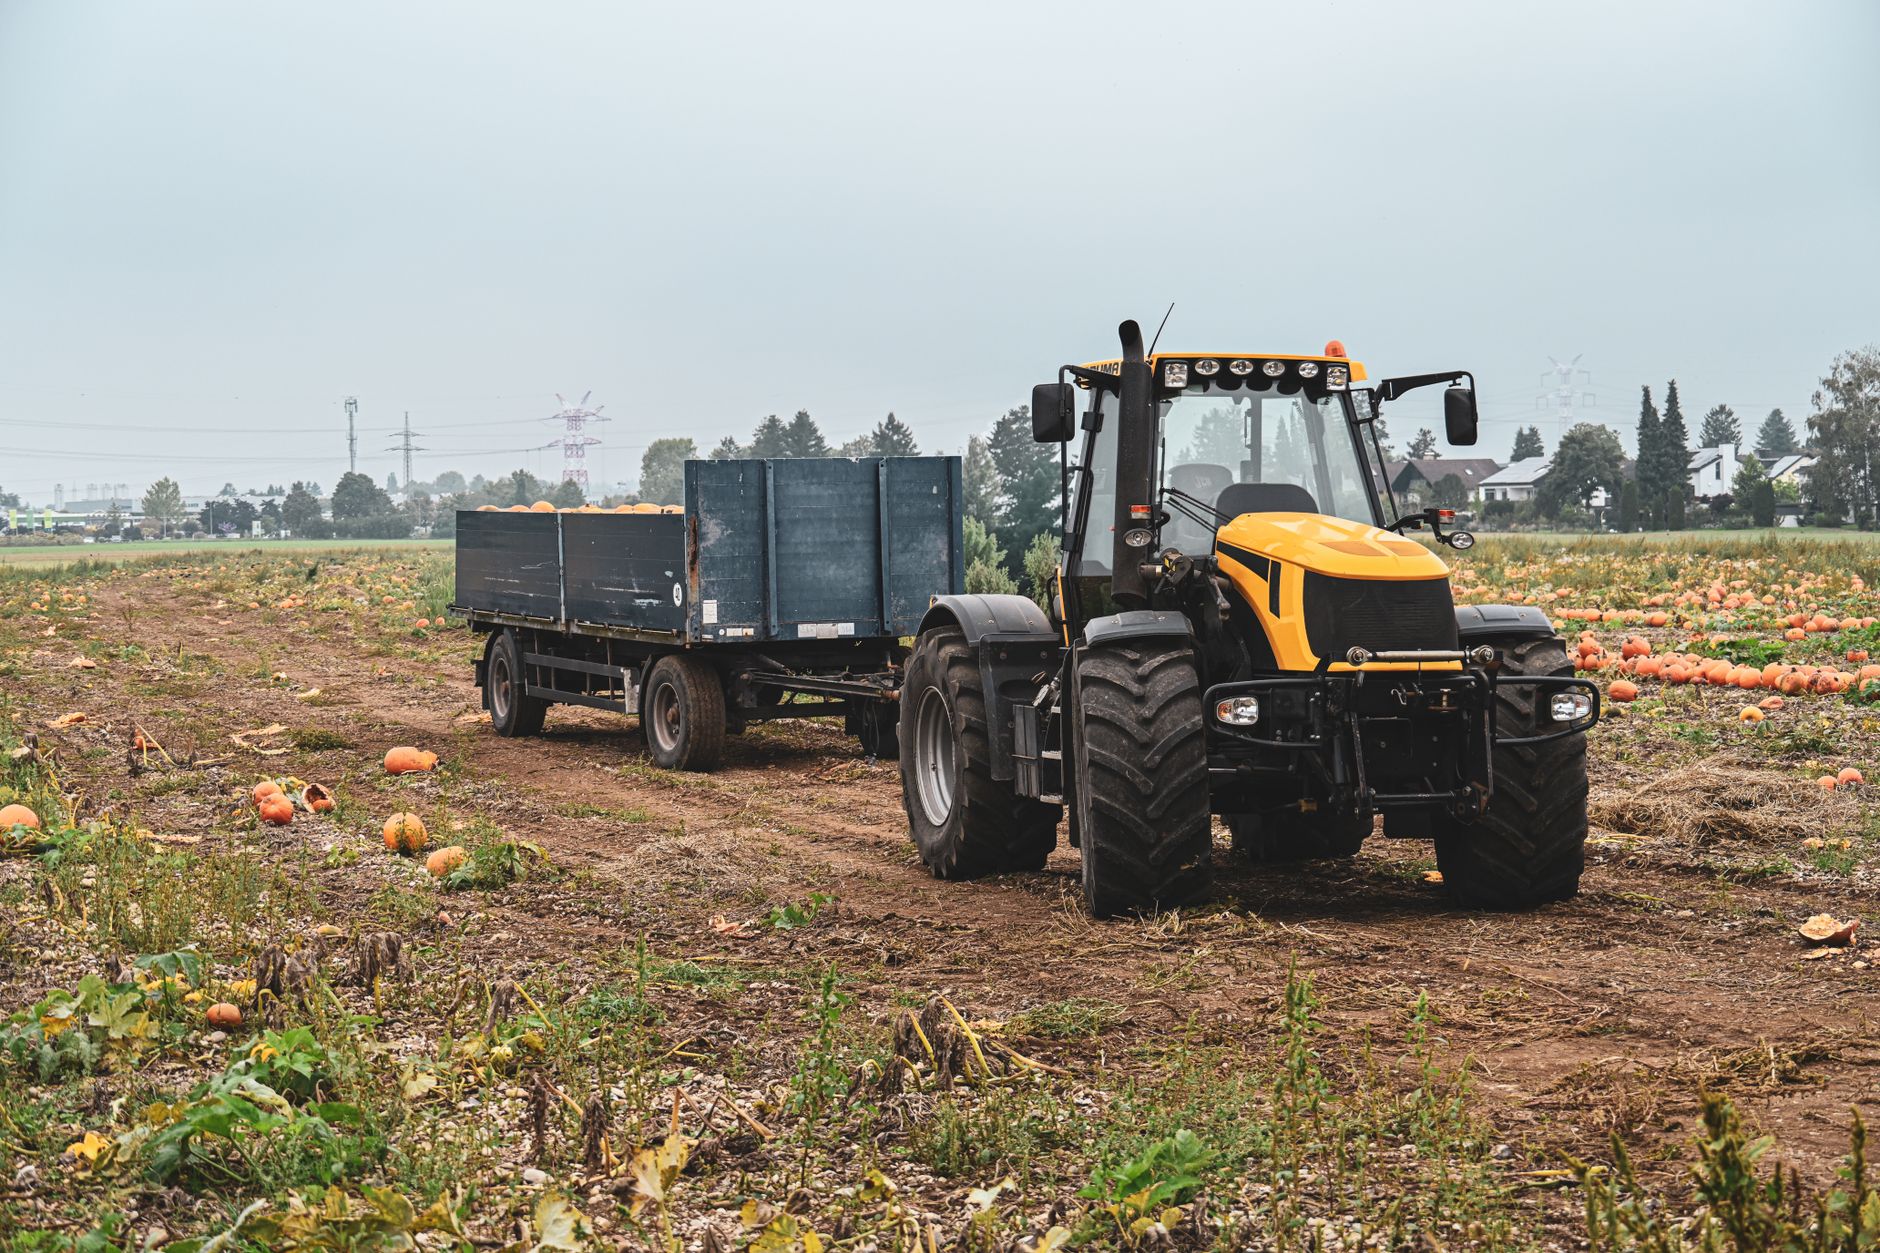
Work 3-4 inches of well-rotted compost or aged manure into each planting hill before sowing, since pumpkins are notably heavy feeders that draw substantial nutrients from the soil throughout their long growing season.
Aim for a soil pH between 6.0 and 6.8, and ensure the planting site drains well, since pumpkin roots are prone to rot in soil that stays consistently waterlogged after rain or irrigation.
Mounded hills, raised 4-6 inches above the surrounding soil level, improve both drainage and early-season soil warming in one step, which is especially valuable for gardeners in regions with heavier clay soil or shorter growing seasons.
Choose a planting site in full sun that receives at least 6-8 hours of direct light daily, since pumpkins grown in partial shade typically produce smaller fruit and are more susceptible to powdery mildew and other fungal issues.
Space Hills for Sprawling Vines
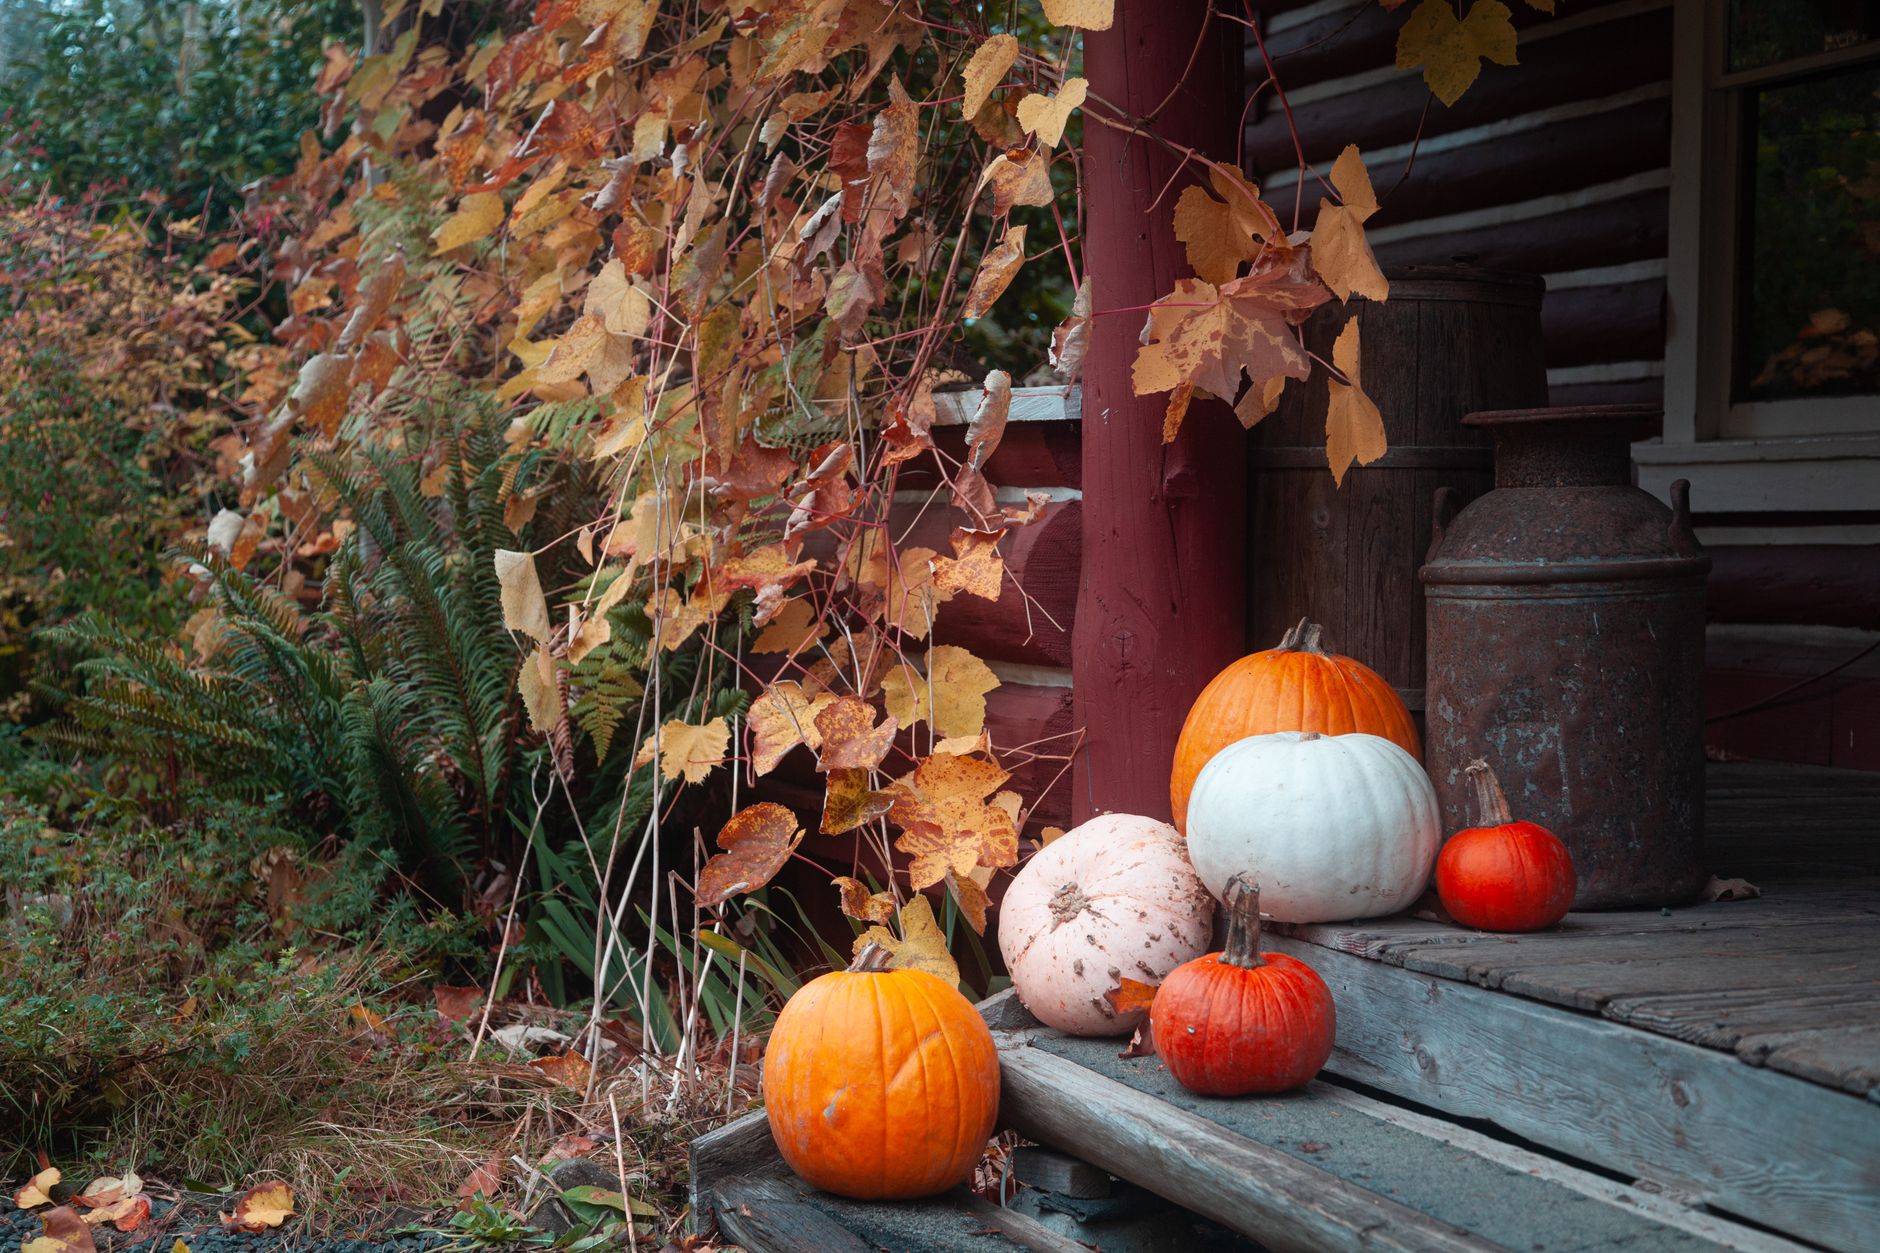
Space hills 4-8 feet apart depending on variety; smaller bush-type pumpkins need considerably less room, often fitting in a space as small as 4x4 feet, while large traditional and giant varieties need significantly more, sometimes 10-15 feet or more between plants.
If your garden space is limited, consider training vines along a sturdy fence or trellis for smaller-fruited varieties, supporting developing pumpkins with cloth or mesh slings as they grow heavier to prevent the vine from tearing under the weight.
Allow vines to sprawl into unused pathways, lawn edges, or fallow garden sections if needed, since pumpkins are genuinely one of the more space-demanding common garden crops and rarely fit neatly within a small, defined bed.
Keep in mind that vines will continue extending throughout the season and may need occasional gentle redirection away from walkways or neighboring plants, rather than being left to grow in a completely uncontrolled direction from the start.
Water Deeply at the Base of the Plant
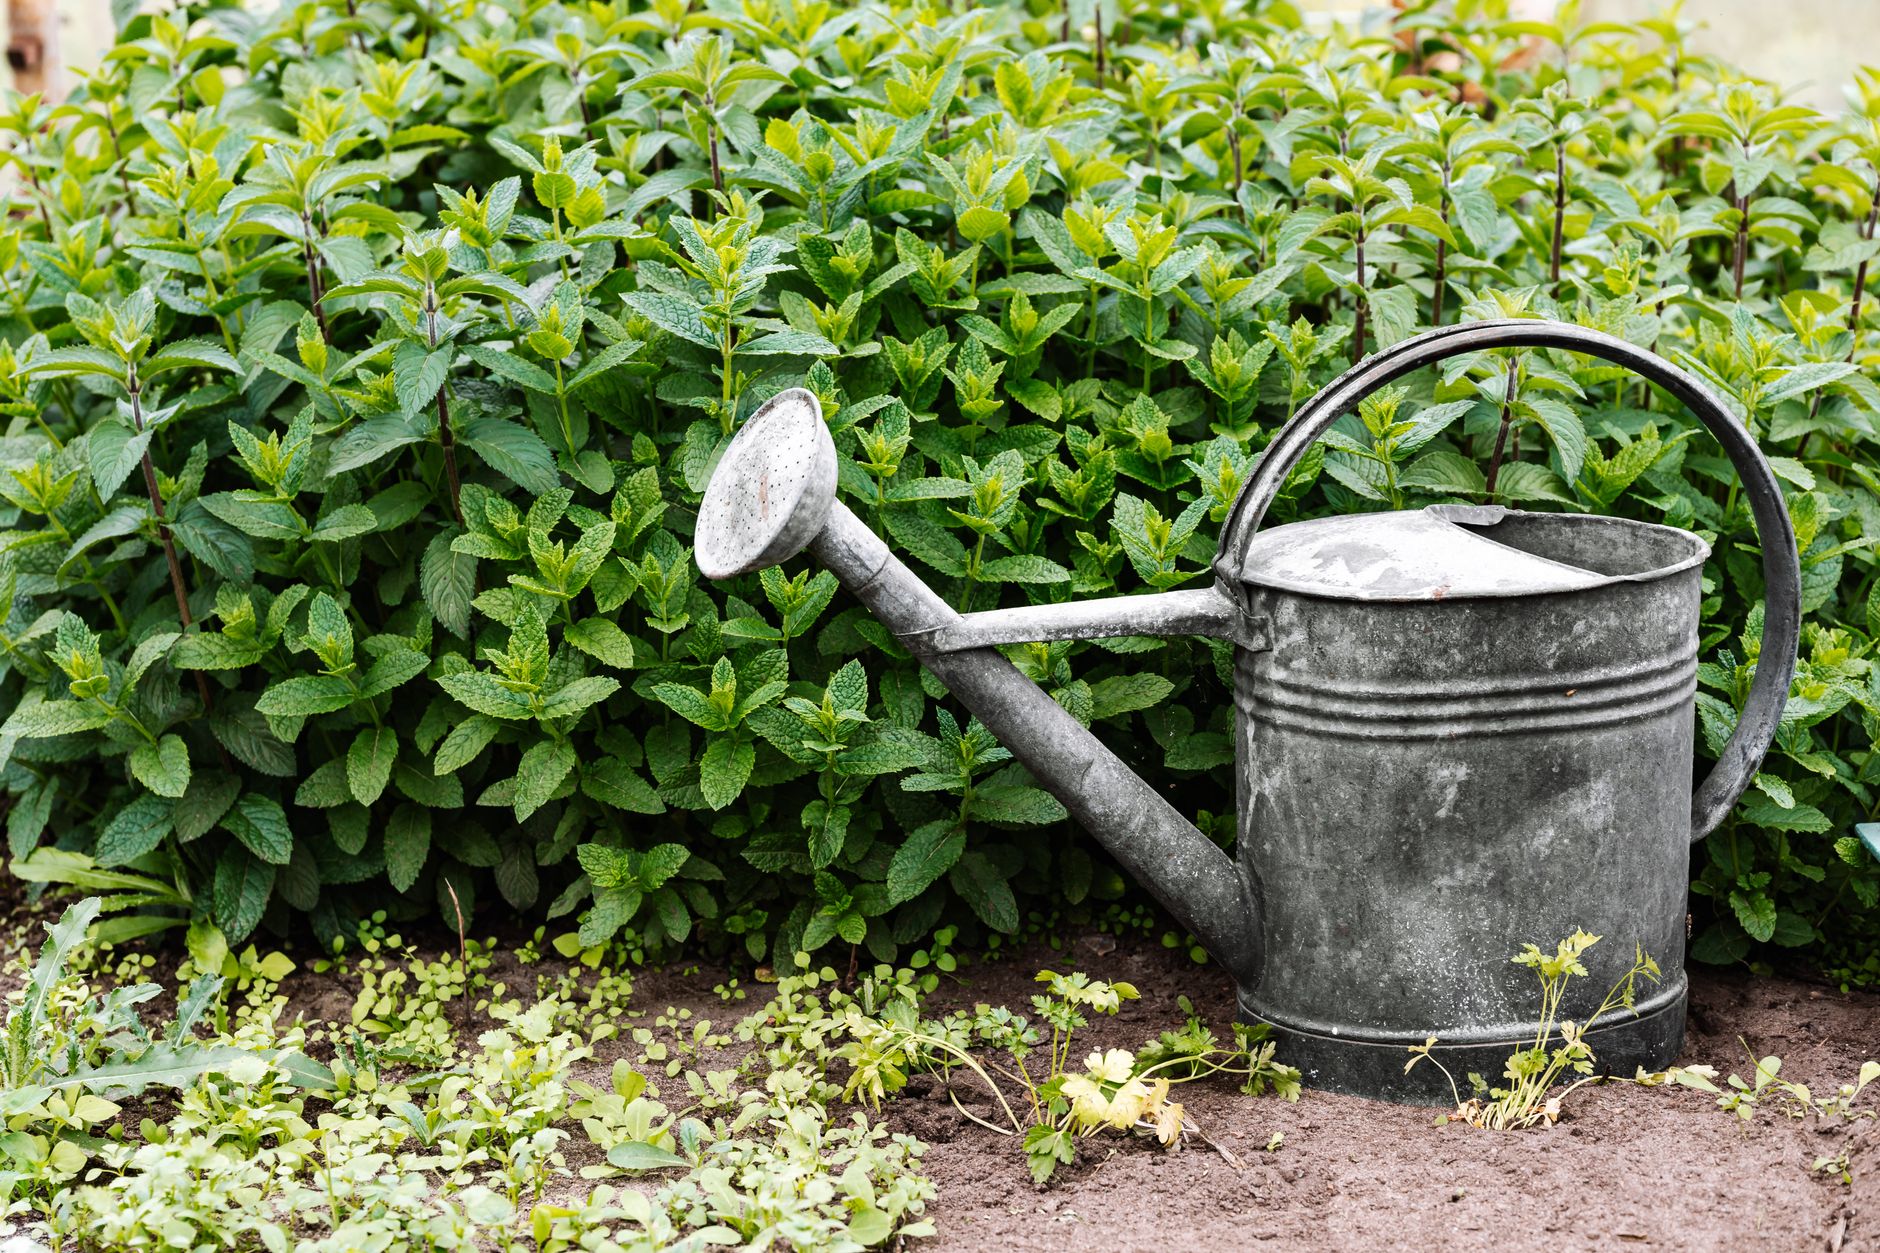
Water deeply once or twice a week, providing about 1-2 inches total, always watering at the base of the plant rather than overhead, which significantly reduces the risk of powdery mildew and other fungal diseases that commonly affect pumpkin leaves.
Drip irrigation or soaker hoses work particularly well for pumpkin patches, since they deliver water directly to the root zone across a potentially large planting area without wetting the extensive foliage that develops as vines mature.
Mulch heavily around the base of plants with straw once vines are established, which helps retain soil moisture between waterings, suppresses weeds that would otherwise compete for resources, and keeps developing fruit from sitting directly on bare, potentially damp soil.
Reduce watering somewhat in the final couple of weeks before expected harvest, once the rind has largely developed its mature color, which can help the fruit finish curing properly on the vine before it's cut.
Support Pollination for Good Fruit Set
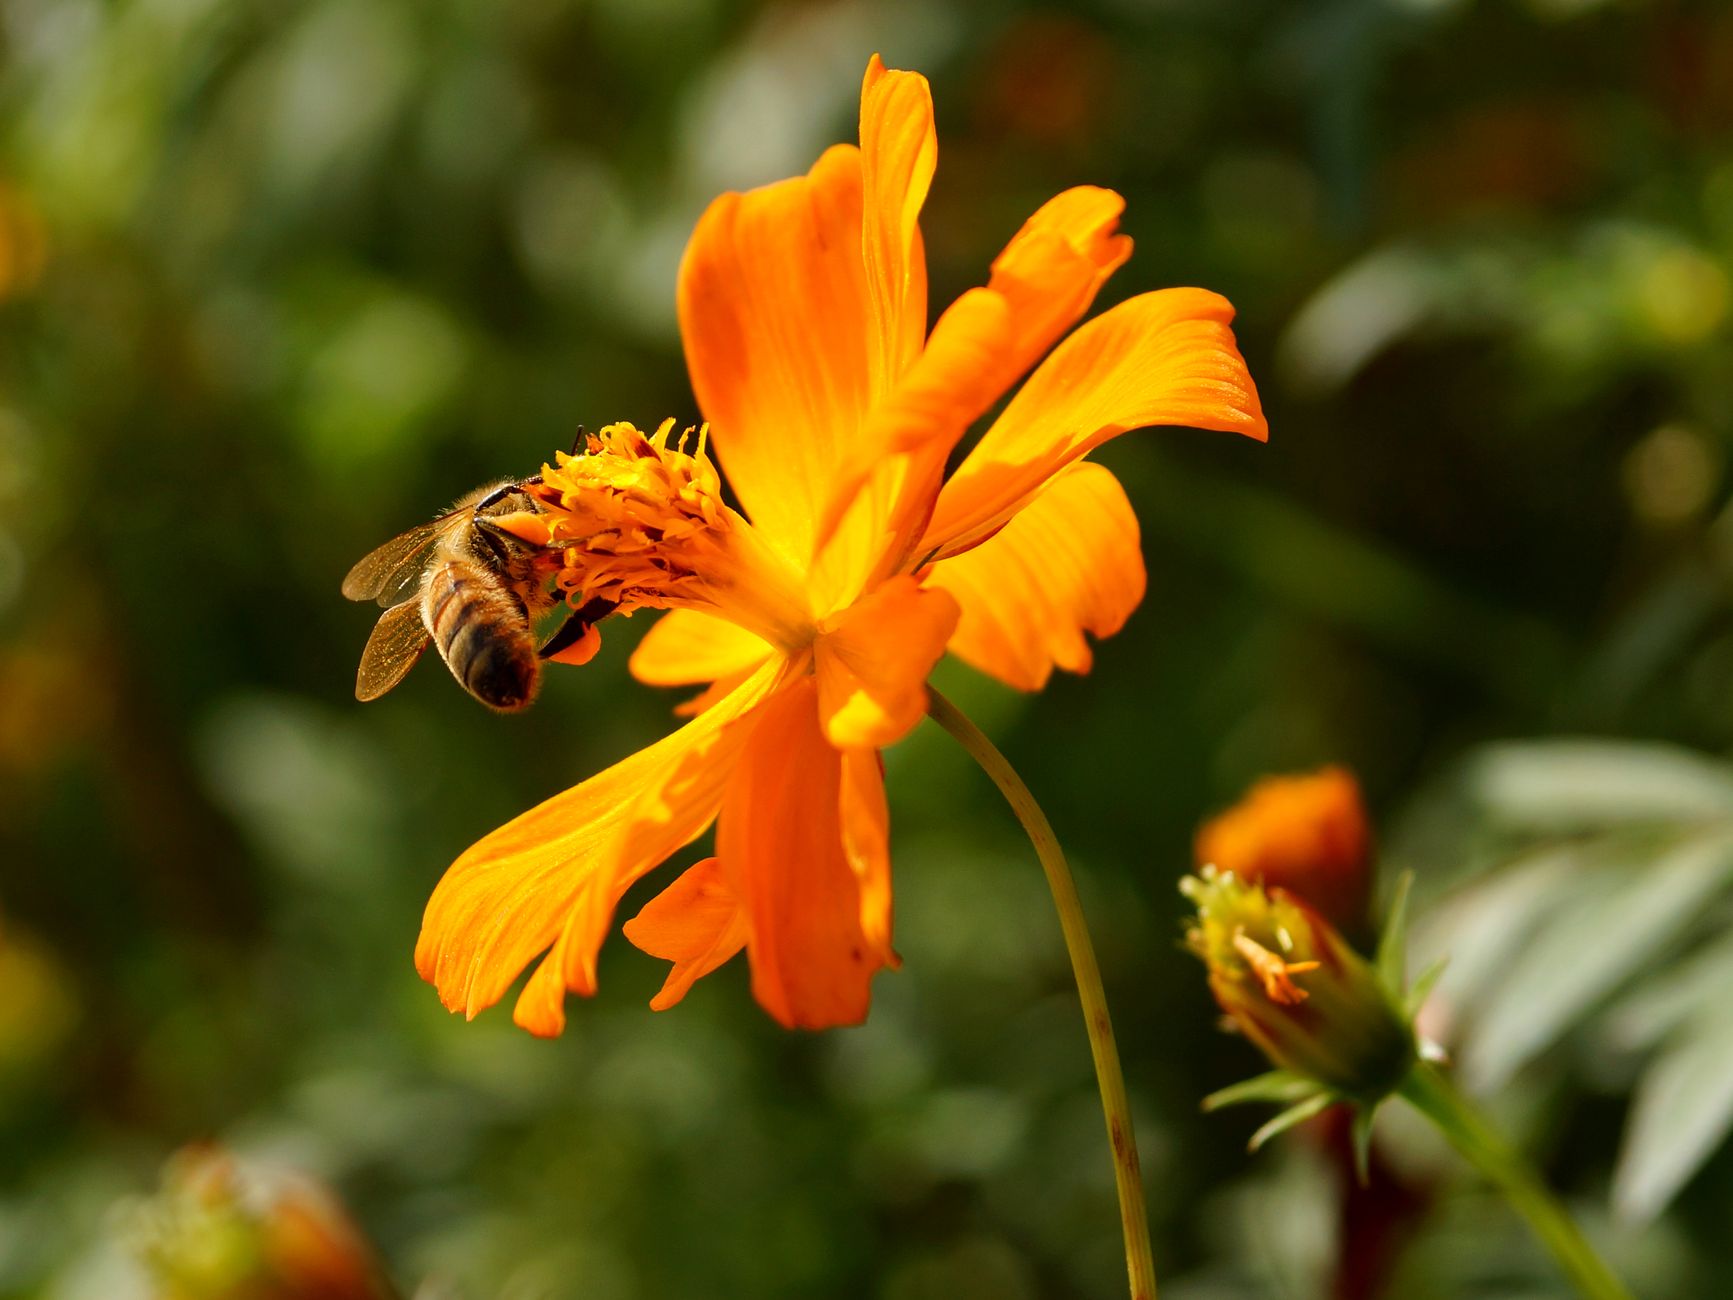
Pumpkins produce separate male and female flowers on the same vine, relying on bees and other pollinating insects to transfer pollen between them, since the flowers aren't self-pollinating or wind-pollinated the way some other garden crops are.
Male flowers typically appear first, often up to a week or more before the first female flowers show up, so don't be concerned if early blossoms drop without producing any fruit; this staggered flowering pattern is completely normal for the species.
Avoid spraying pesticides during the flowering period, even organic options, since these can harm the bee populations pumpkin plants depend on for fruit set; if pest treatment is genuinely necessary during bloom, apply it in the evening after bees have finished their daily foraging.
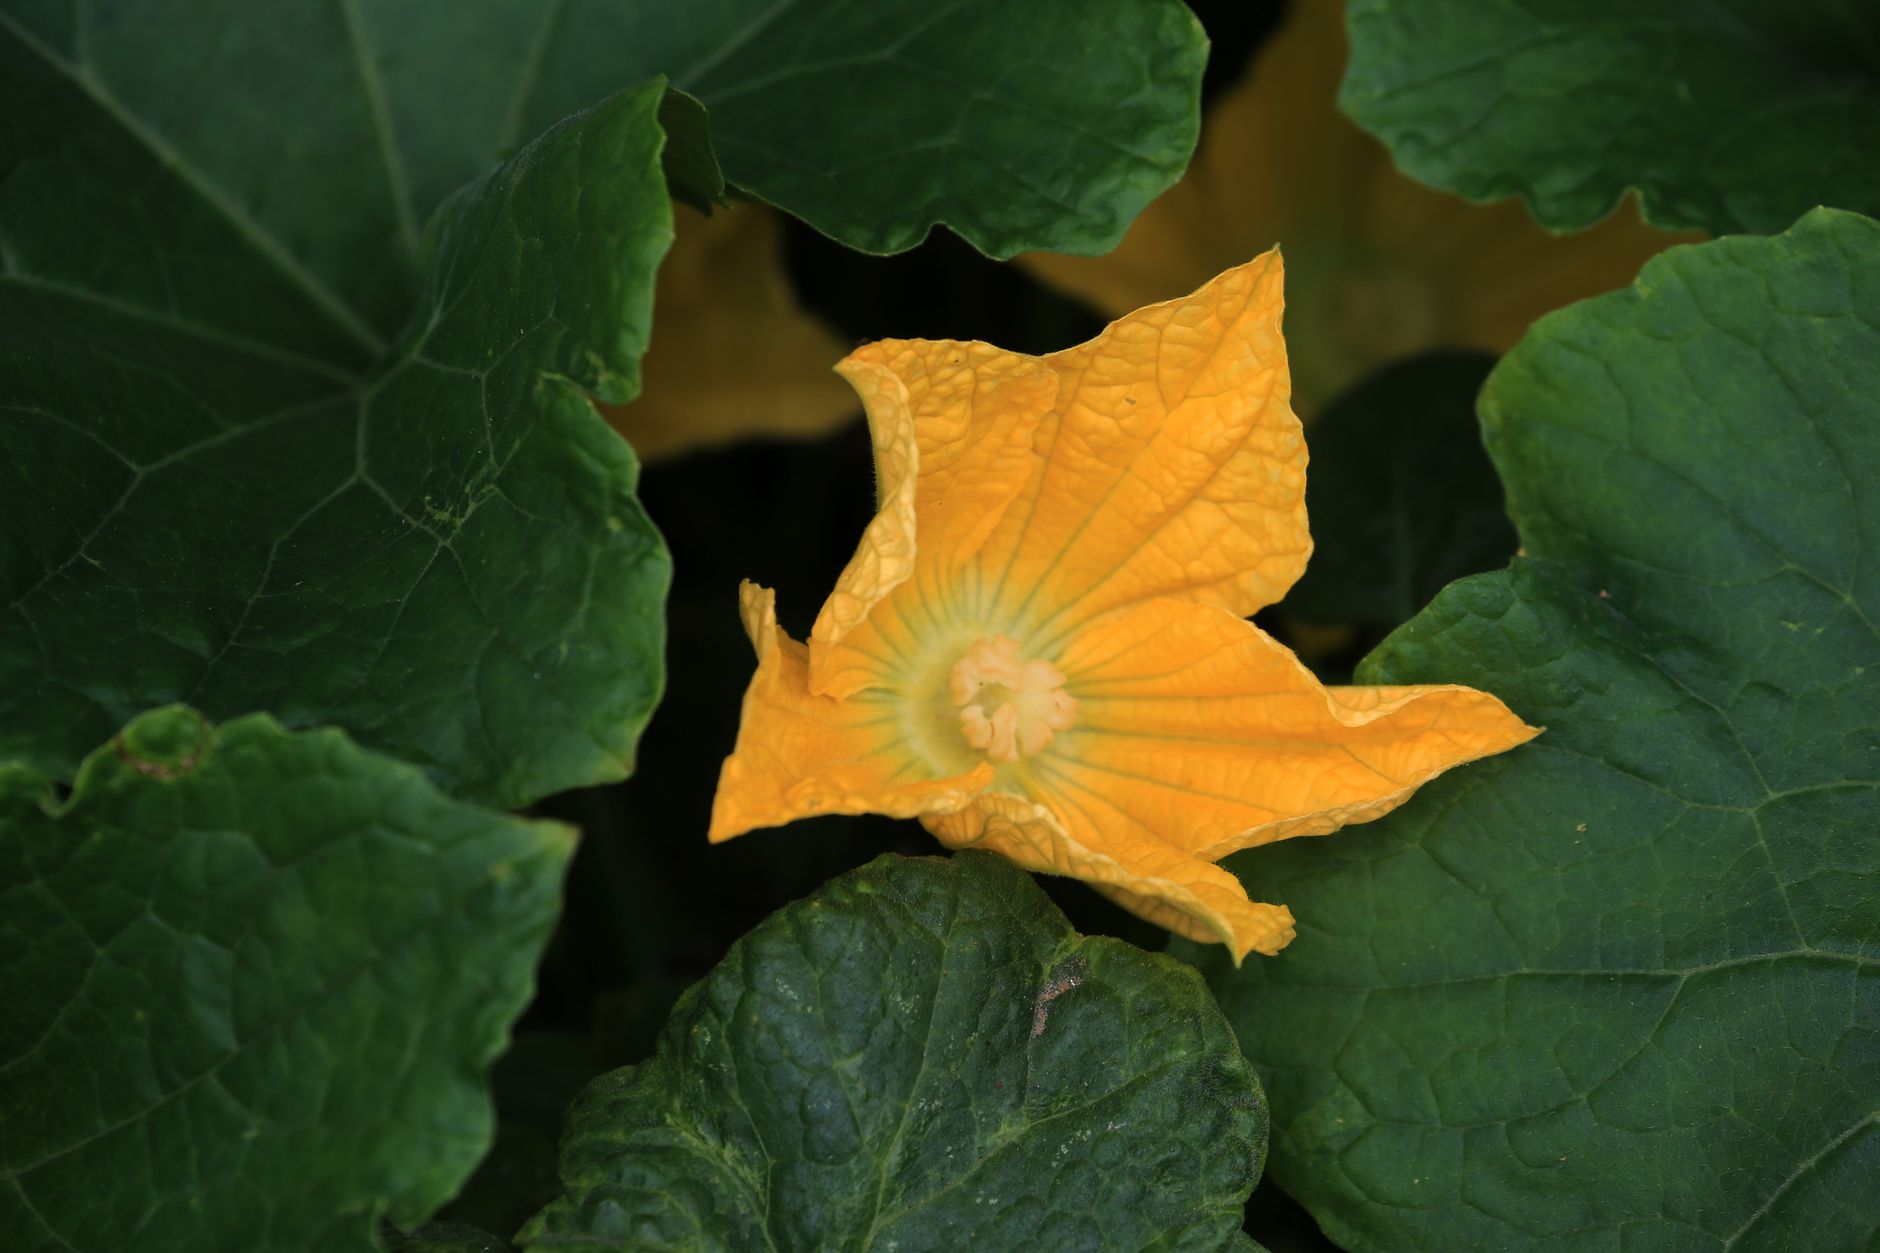
If pollination seems consistently poor in your area, hand-pollinate using a small, soft paintbrush to transfer pollen from the center of a male flower to a female flower, identifiable by the small swollen bulge, resembling a miniature pumpkin, at its base.
Planting pollinator-friendly flowers such as zinnias, sunflowers, or borage near your pumpkin patch can help attract and support a stronger local bee population throughout the growing season, benefiting your entire garden rather than just the pumpkins.
Manage Squash Bugs and Vine Borers
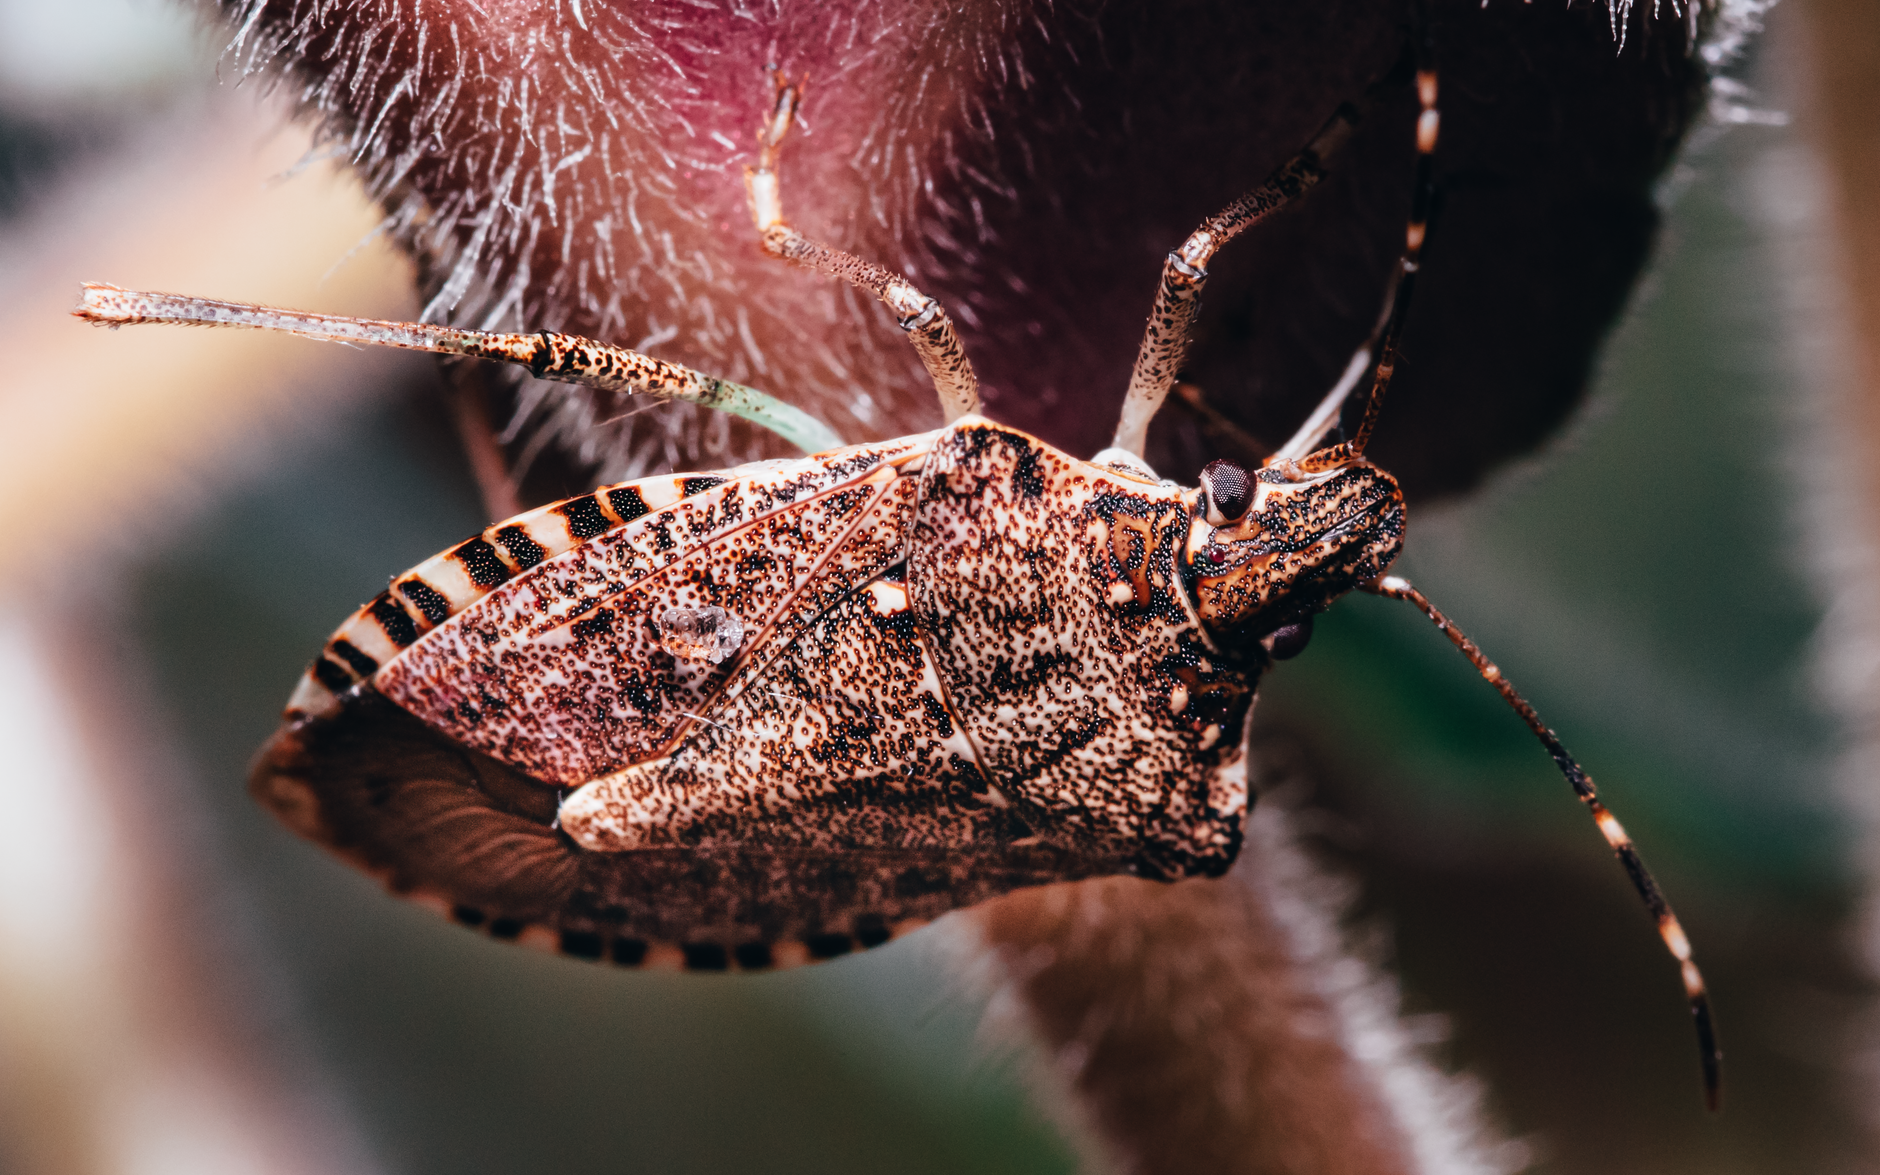
Check the undersides of leaves regularly for squash bug eggs, which appear as small clusters of bronze or copper-colored eggs, and remove them by hand before they hatch into the much more damaging and harder-to-control nymph stage.
Watch closely for signs of squash vine borer, including sudden wilting of a single vine even when soil moisture seems adequate; this pest tunnels inside the stem and is notoriously difficult to treat once established, making early prevention far more effective than after-the-fact treatment.
Wrapping the base of main stems with aluminum foil or a strip of garden fabric at planting time is a preventive barrier some growers use successfully in areas with known heavy vine borer pressure, physically blocking the adult moth from laying eggs at the stem base.
Row covers over young plants, removed once flowering begins to allow pollinator access, offer broad protection against both squash bugs and vine borers during the vulnerable seedling stage, though they need to come off in time for bees to reach the flowers.
Rotate pumpkin and other squash-family plantings to a different section of the garden each year, ideally on a 2-3 year rotation, which meaningfully reduces the buildup of both pests and soil-borne diseases specific to this plant family over time.
Watch for Powdery Mildew and Other Diseases
Powdery mildew, appearing as a white, dusty coating on leaves, is extremely common on pumpkin foliage by late summer, particularly in humid climates or when leaves stay wet from overhead watering or heavy morning dew.
Ensure adequate spacing between plants for good airflow, water only at the base of plants, and consider choosing mildew-resistant varieties where available, all of which meaningfully reduce the severity of infections even if they don't eliminate the risk entirely.
A light case of powdery mildew late in the season, after fruit has already fully set and is sizing up, generally isn't cause for serious concern, since it's the fruit rather than the foliage that matters most at that stage of growth.
Bacterial wilt, spread by cucumber beetles feeding on the plant, causes sudden and often irreversible wilting; managing cucumber beetle populations through row covers and regular monitoring is the most effective prevention available to home gardeners.
Support Developing Fruit as It Grows
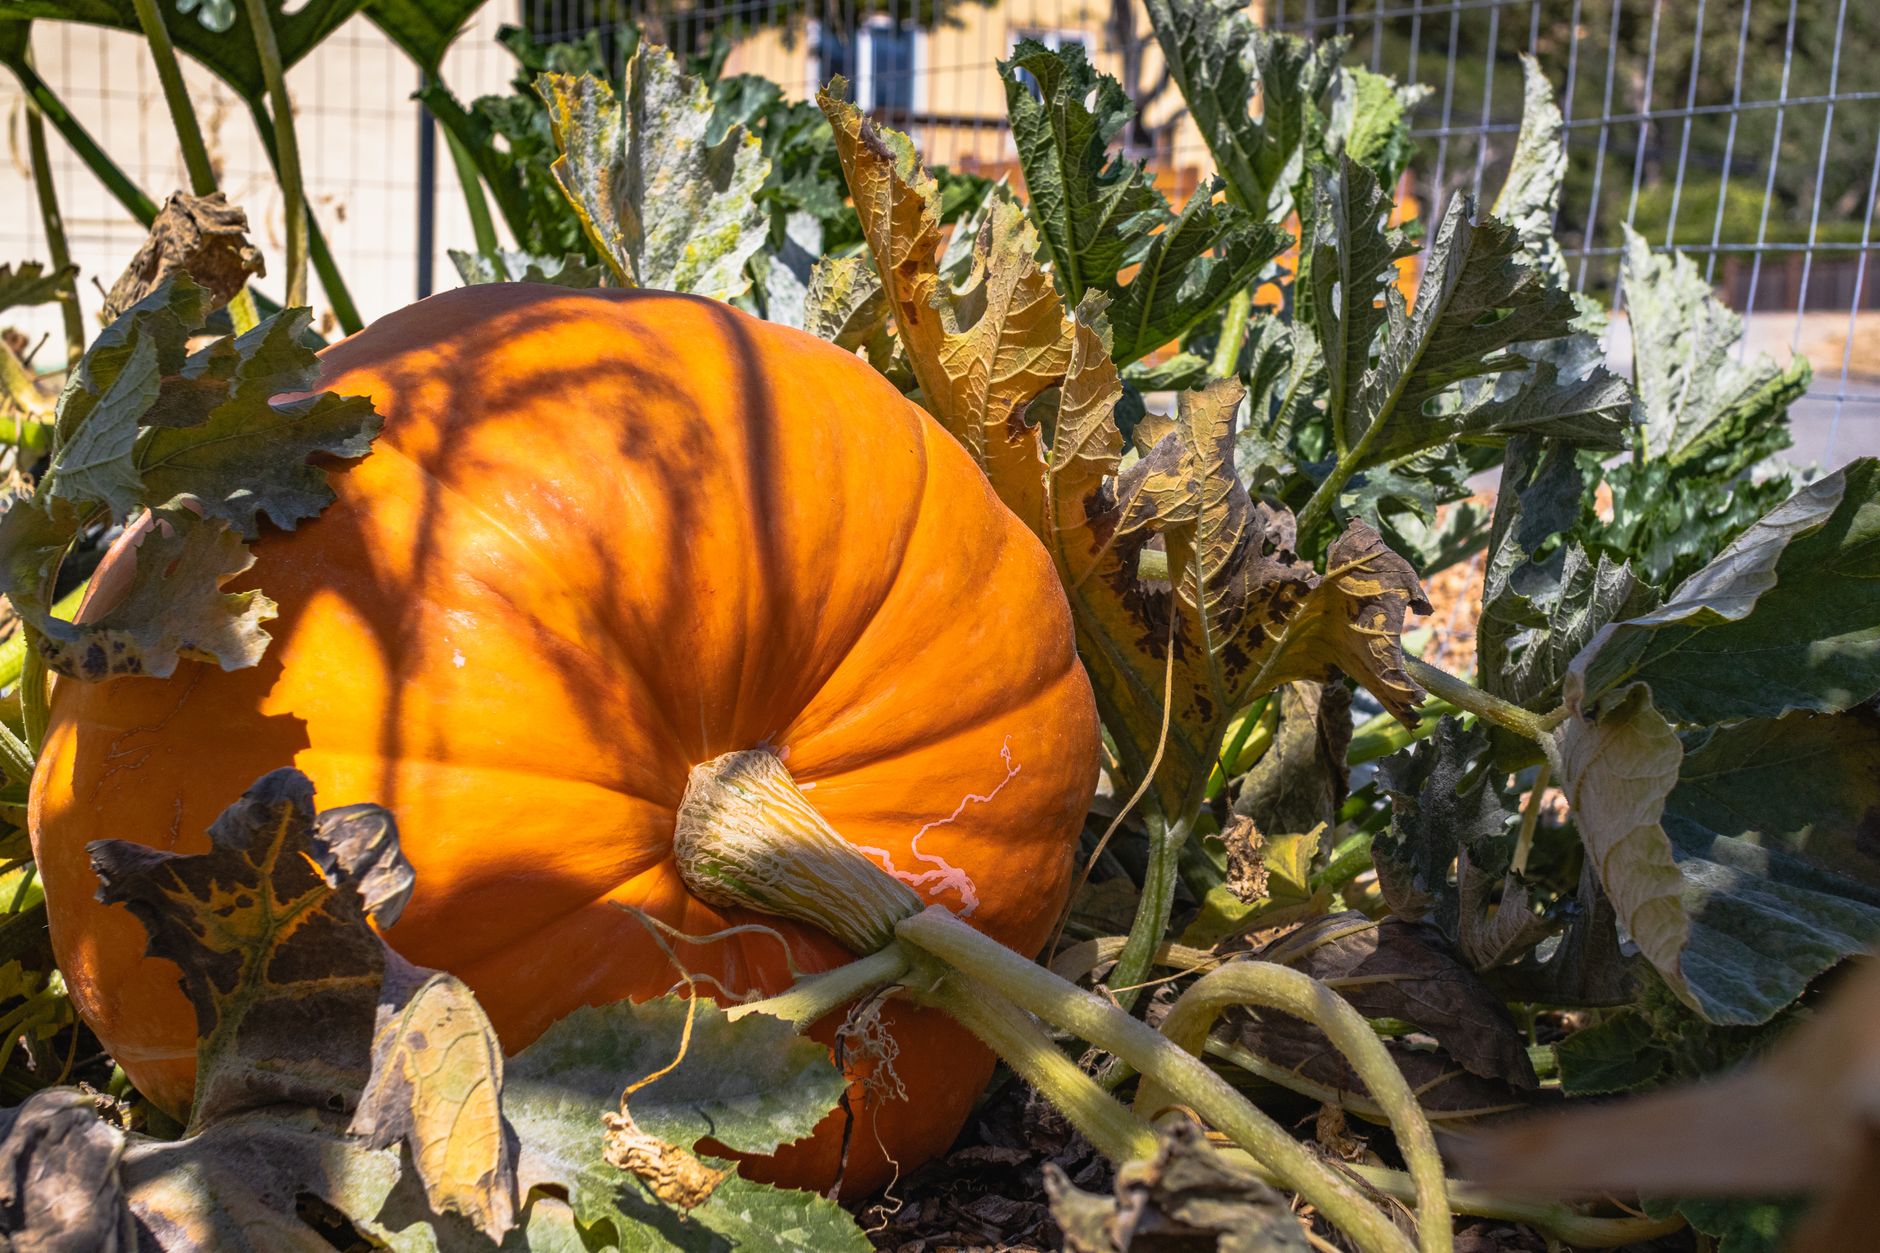
Once fruit begins to form and reaches roughly baseball size, slide a piece of cardboard, a layer of straw, or a small board underneath it to lift the developing pumpkin off damp soil, which helps prevent rot on the underside and discourages pests like slugs from causing damage.
For larger carving or giant varieties, some growers limit each vine to just one or two developing pumpkins by removing additional female flowers once fruit set is confirmed, which typically results in noticeably larger individual fruit since the plant's energy isn't divided among as many pumpkins.
Gently turn developing fruit every week or two, rotating it slightly to encourage more even coloring and shape, though this should be done carefully to avoid snapping the stem, which can significantly shorten the pumpkin's storage life later.
As the season progresses toward fall, prune off any new flowers that appear once it's clear there isn't enough remaining time for new fruit to mature before frost, redirecting the plant's energy into fully ripening the pumpkins already developing on the vine.
Harvest at Full Maturity
Harvest once the rind has reached its full mature color for the variety and is hard enough that it resists puncture from a fingernail; a rind that still dents or scratches easily under light pressure usually means the fruit needs more time on the vine.
Watch for the vine itself to begin yellowing and dying back naturally as an additional supporting sign of full maturity, which typically happens around the same time the rind has hardened and colored fully.
Cut pumpkins from the vine leaving 3-4 inches of stem attached, using sharp pruning shears rather than twisting or snapping the stem, since pumpkins with broken, missing, or damaged stems tend to rot considerably faster once in storage.
Harvest before a hard frost damages the fruit, since while pumpkins can typically tolerate a very light frost on the vine without issue, a hard freeze can damage the rind and significantly shorten storage life even if the fruit appeared otherwise fully ripe.
Handle harvested pumpkins gently by their body rather than lifting them by the stem, since even a sturdy-looking stem can crack or break under the fruit's full weight, again reducing storage potential.
Cure and Store for Long-Term Use
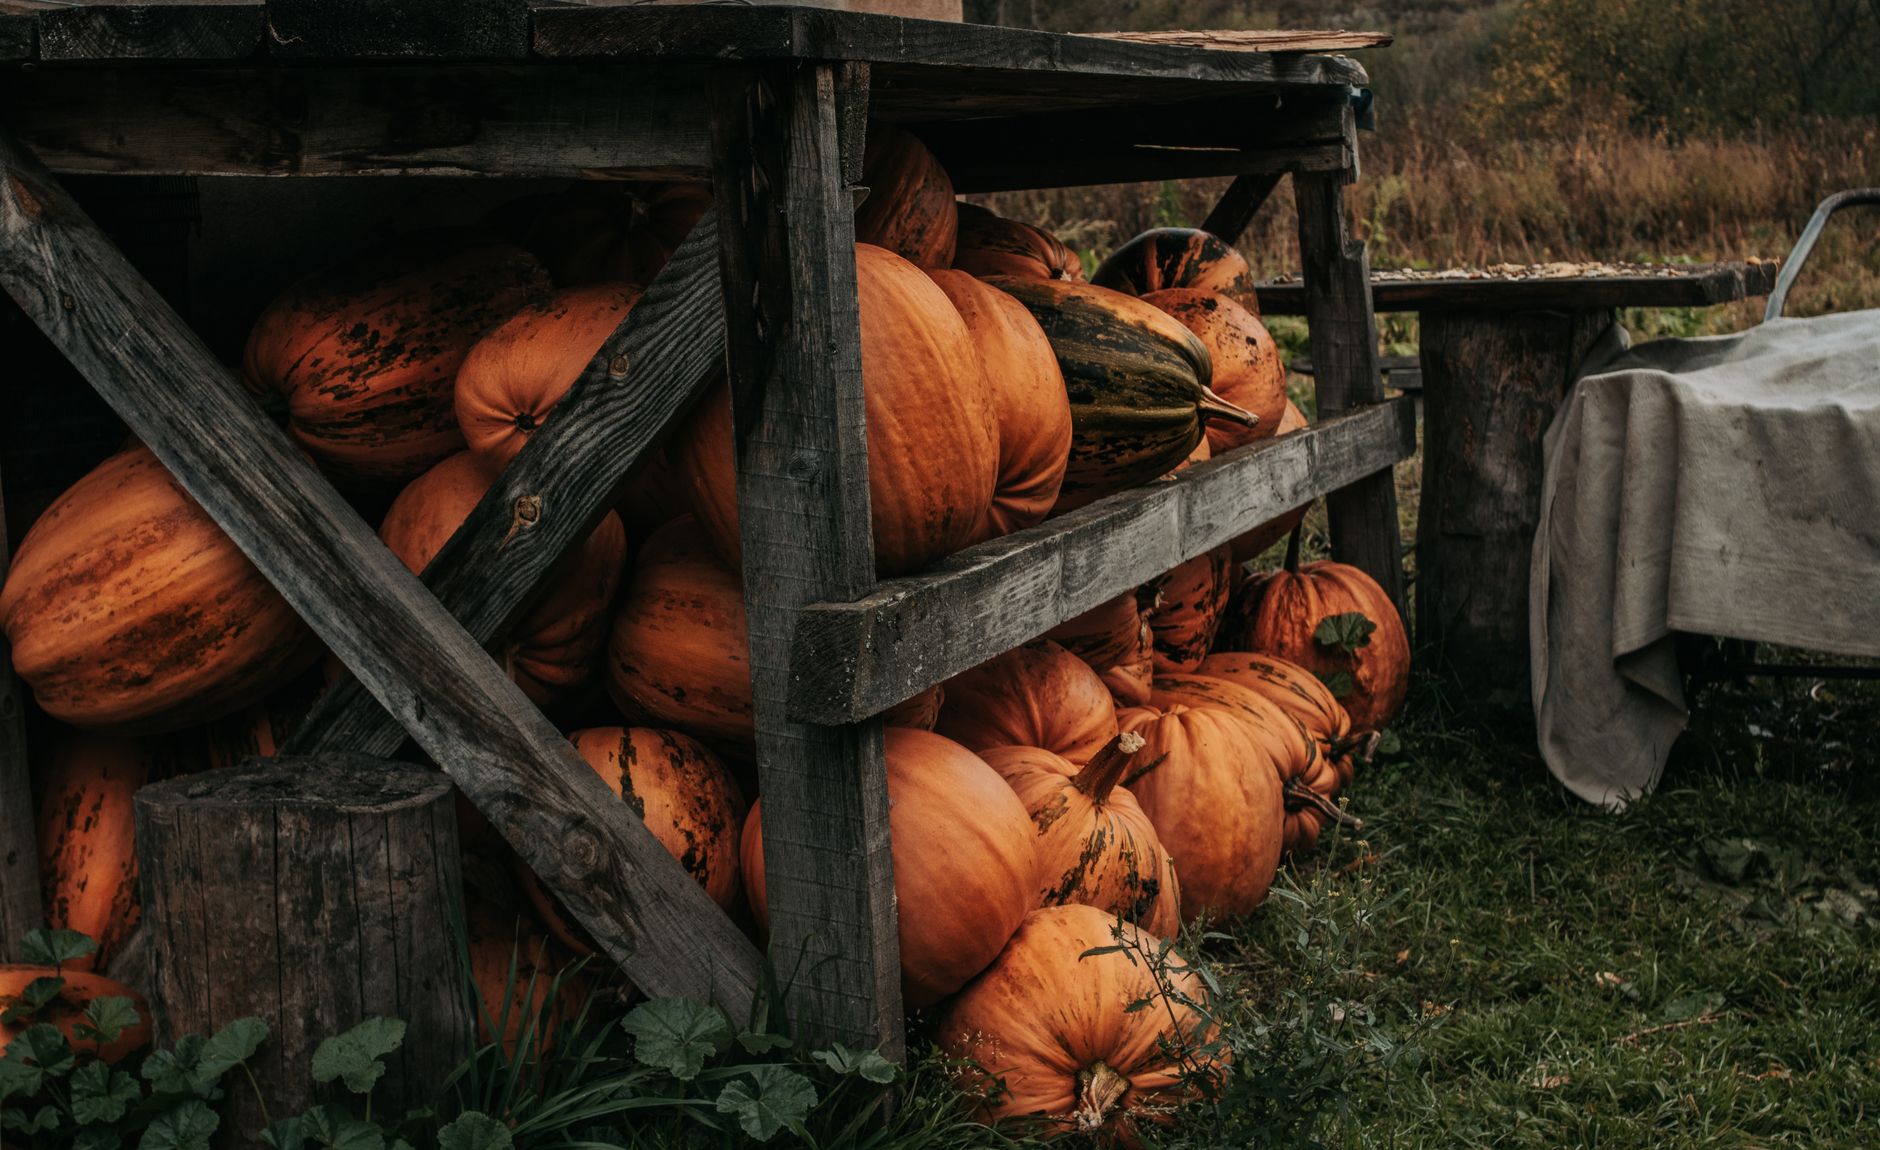
Cure pumpkins in a warm, sunny spot for about a week to further harden the outer skin, which meaningfully improves their storage life compared to moving them directly into storage right after harvest.
After curing, move pumpkins to a cool, dry location around 50-55°F with moderate humidity and good air circulation; a garage, basement, or covered porch often works well, provided temperatures don't drop below freezing.
Properly cured and stored pumpkins can keep for 2-3 months or longer depending on variety, with thicker-skinned varieties generally storing noticeably longer than thin-skinned decorative types.
Check stored pumpkins periodically for any soft spots or signs of developing rot, and use or discard any affected fruit promptly, since decay can sometimes spread to other pumpkins stored nearby if left unaddressed.
Common problems and fixes
| Problem | Likely cause | What to do |
|---|---|---|
| Sudden wilting of a single vine | Squash vine borer larvae feeding inside the stem. | Inspect the base of the affected vine for small holes and frass, and remove and destroy infested sections if caught early, or use preventive stem wraps in following seasons. |
| Flowers appearing but no fruit forming | Poor pollination, often due to low bee activity or the normal early-season pattern of male flowers blooming before female flowers appear. | Be patient in early bloom, avoid pesticide use during flowering, and hand-pollinate with a small paintbrush if needed once female flowers appear. |
| White powdery coating on leaves late in the season | Powdery mildew, favored by humidity and wet foliage from overhead watering. | Switch to base watering, ensure good spacing for airflow, and don't be overly concerned if mildew appears after fruit has already fully sized up. |
| Pumpkins rotting quickly in storage | Damaged stems at harvest, skipped curing, or storage conditions that are too warm, cold, or humid. | Leave 3-4 inches of stem attached at harvest, cure for about a week in a warm, sunny spot, and store at 50-55°F with good air circulation. |
Gardener's checklist
Test what you learned
How much stem should be left attached when harvesting a pumpkin?
Answer: 3-4 inches
What pest causes sudden wilting of a single pumpkin vine?
Answer: Squash vine borer
Why should pumpkins be cured before long-term storage?
Answer: It hardens the skin and significantly improves storage life
What temperature range is ideal for storing cured pumpkins?
Answer: 50-55°F
Common questions
How long does it take to grow a pumpkin?
Most pumpkin varieties take 90-120 days from planting to harvest, though giant varieties can take even longer, so it's important to plant early enough in your season for a full fall harvest before the first hard frost.
Can pumpkins be grown in a small garden?
Yes, by choosing compact bush varieties or training vining types up a sturdy trellis with fruit slings for support, though most traditional carving pumpkins still need significant ground space to sprawl properly.
Why is my pumpkin vine wilting suddenly?
Sudden wilting of a single vine, especially when soil moisture seems adequate, is a classic sign of squash vine borer damage. Check near the base of the stem for small holes or sawdust-like frass, which confirms the diagnosis.
How can I tell when a pumpkin is ready to pick?
A ripe pumpkin has reached its full mature color, has a hard rind that resists puncture from a fingernail, and often coincides with the vine itself beginning to yellow and die back naturally.
How long do pumpkins store after harvest?
Properly cured pumpkins stored in a cool, dry spot with good air circulation typically keep for 2-3 months or longer, with thicker-skinned storage and pie varieties generally lasting longer than thin-skinned decorative types.
Pumpkins need patience, space, and healthy pollinator activity, but properly timed planting, careful pest monitoring, and correct harvesting and curing reward you with pumpkins that store for months into fall and winter.
Frequently asked questions
How often should a vegetable garden be watered?
Frequency depends on weather, soil and plant size. Check the soil rather than watering on a rigid schedule.
Is compost enough fertilizer?
Compost improves soil and provides nutrients slowly. Heavy-feeding crops may still need additional feeding.

The Sproutstead Editorial Team
We create clear, practical gardening and homesteading guides designed for real homes and beginner growers.
View author profile →