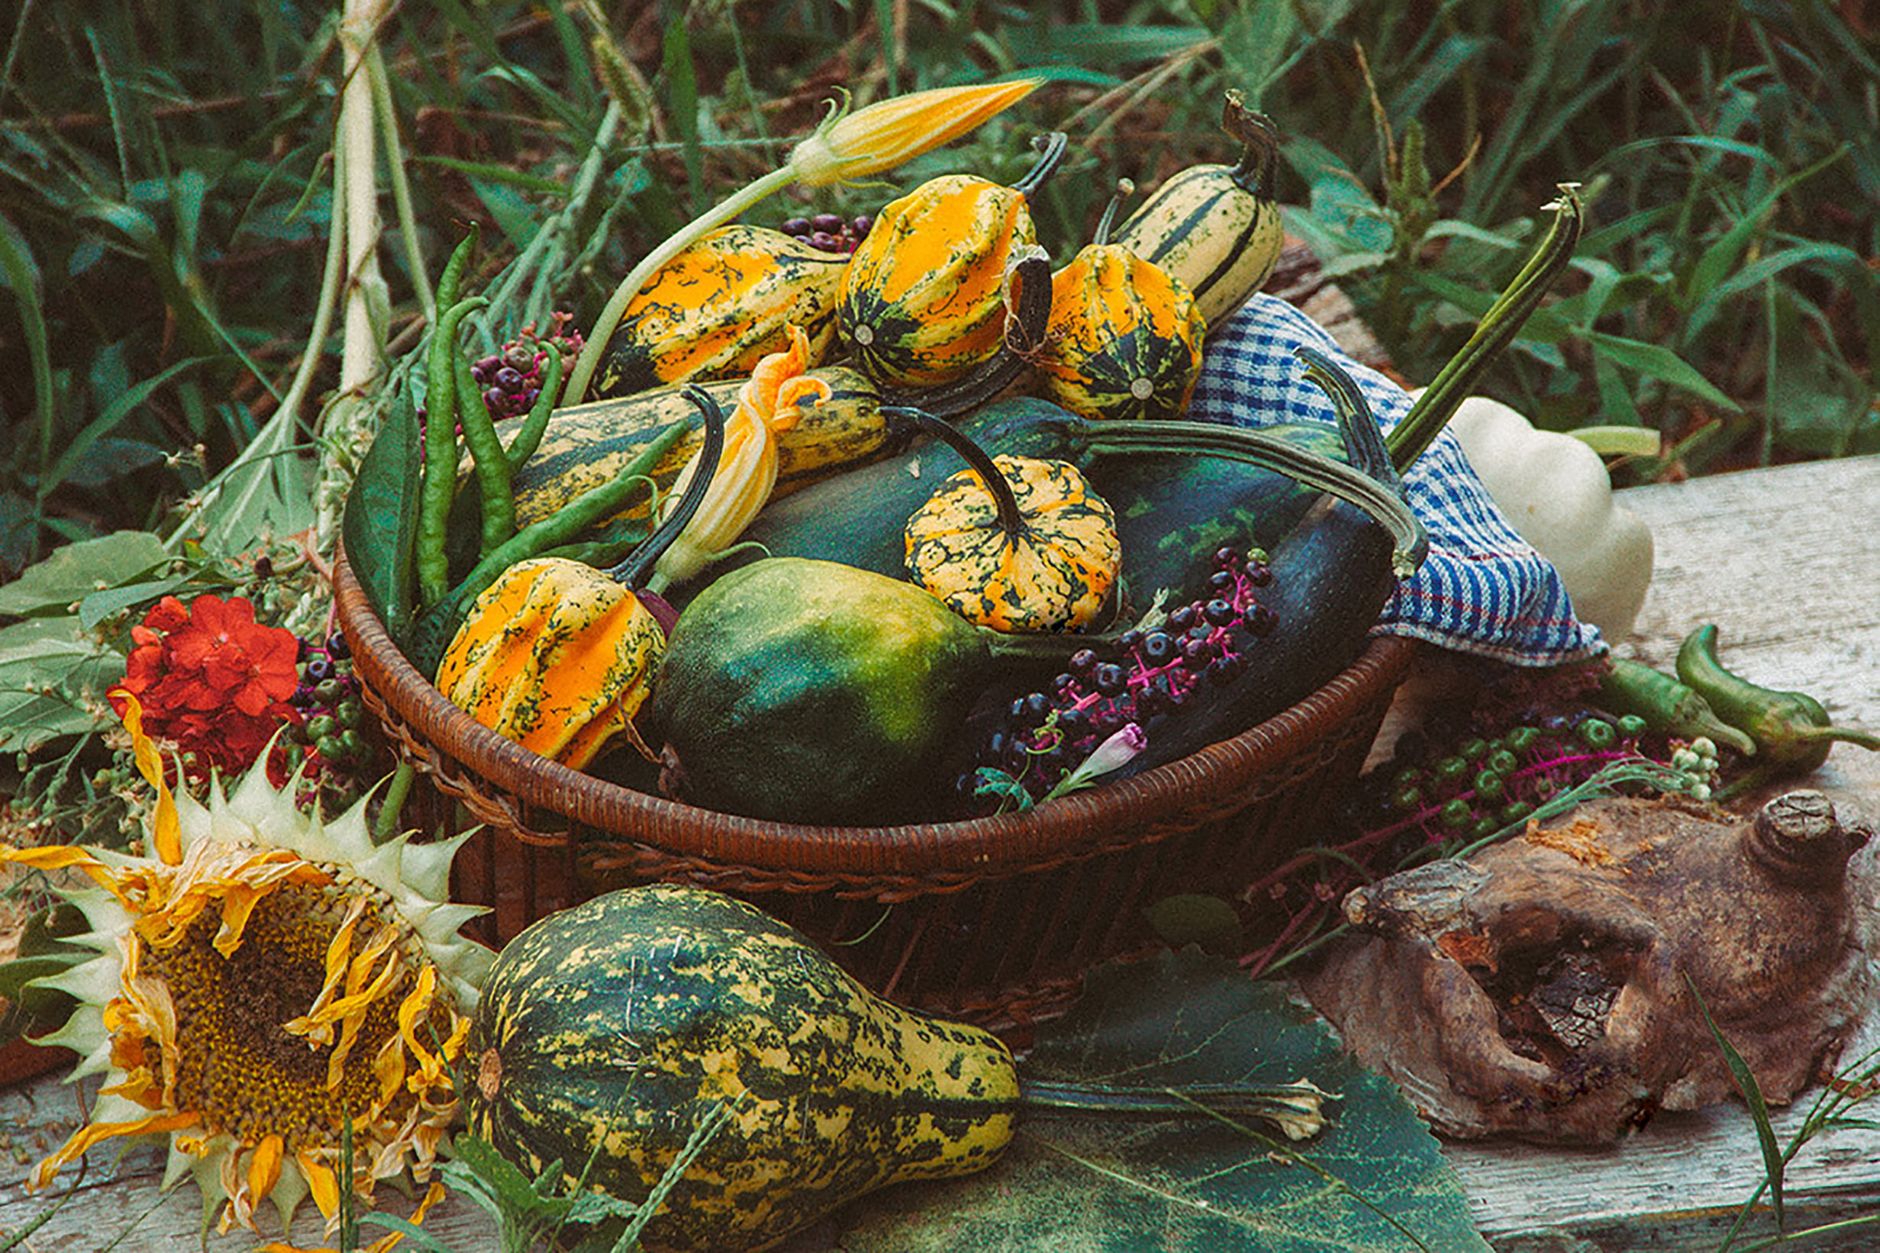
Plant green bean seeds directly in the garden after the last frost, once soil is at least 60°F, choosing bush varieties for compact growth or pole varieties for a trellis and extended harvest. Space seeds accordingly, water consistently, and pick pods every 1-2 days once they reach pencil thickness to keep plants producing continuously through the season.
What you will need
Choose Between Bush and Pole Varieties

Bush beans grow as compact plants roughly 1-2 feet tall that need no support or trellising, produce their harvest over a relatively concentrated few weeks, and are well-suited to smaller gardens or gardeners who prefer minimal maintenance.
Pole beans grow as climbing vines that can reach 6-10 feet or more, requiring a trellis, stakes, or netting for support, but reward that extra setup effort with a considerably longer harvest window, often continuing to produce for two to three months rather than just a few weeks.
Many experienced gardeners plant both types together, using bush beans for an early, concentrated harvest and pole beans planted at the same time or slightly staggered for continued production once the bush beans have finished their run.
If garden space is limited, pole beans make more efficient use of a small footprint by growing vertically, while bush beans work well in wider, shorter plantings or containers where a trellis isn't practical.
Plant Seeds Directly After the Soil Warms

Direct-sow bean seeds about an inch deep once soil has warmed to at least 60°F, typically a week or two after your last spring frost date, since bean seeds planted into cold, wet soil are highly prone to rotting before they germinate.
For bush beans, space seeds 3-4 inches apart in rows 18-24 inches apart; for pole beans, plant seeds 4-6 inches apart around the base of each trellis support or teepee structure.
Beans generally don't transplant well due to their sensitive root systems, so direct sowing is strongly preferred over starting seeds indoors, though if you're in a very short-season climate, seeds can be started in biodegradable pots 2-3 weeks before the last frost as an exception.
For a continuous harvest of bush beans throughout the summer, stagger plantings every 2-3 weeks through early-to-mid summer, since bush varieties tend to produce their entire harvest over a relatively short window rather than continuing steadily like pole varieties do.
Set Up Support for Pole Beans

Install a trellis, series of stakes, or a teepee structure made from tall poles lashed together at the top before or immediately at planting time, since pole beans begin climbing quickly and disturbing established roots to add support later can set plants back significantly.
A simple teepee made from 3-4 tall bamboo poles or branches, tied together near the top and spread out at the base, is one of the easiest and most traditional support structures, with 4-6 bean seeds planted around the base of each pole.
For a longer row of pole beans, a simple trellis made from netting or string strung between sturdy end posts works well, giving vines a continuous surface to climb along the entire row rather than individual separate structures.
Ensure whatever support structure you choose is genuinely sturdy, since a mature pole bean planting with a full season of vine growth and developing pods carries significant weight, especially once wet from rain or morning dew.
Water Consistently Through Flowering and Pod Development
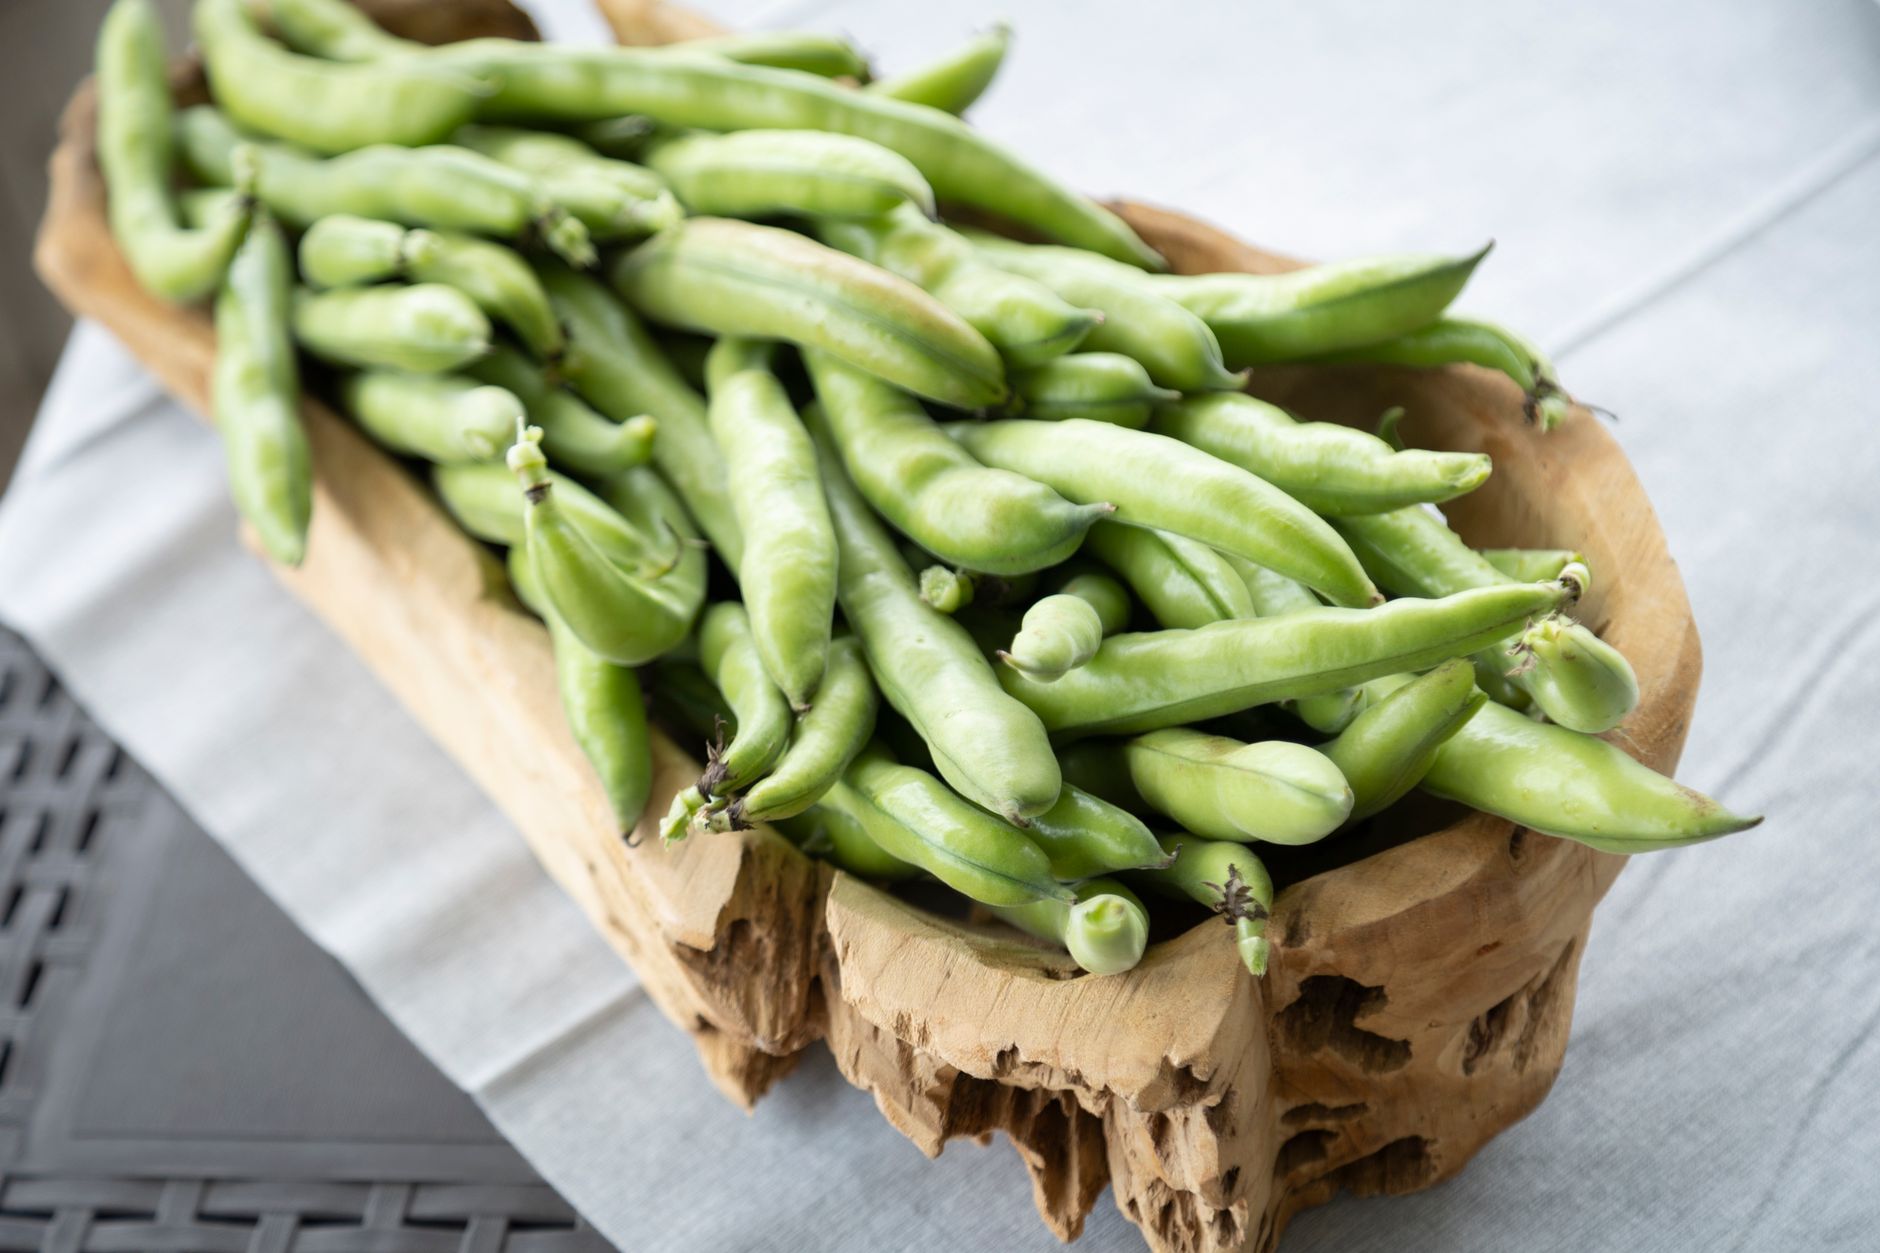
Water consistently, providing about 1 inch per week from rainfall and irrigation combined, with particular attention during flowering and early pod development, since water stress during this specific window can cause blossoms to drop without ever setting pods.
Water at the base of plants rather than overhead when possible, since wet foliage increases the risk of fungal diseases like bean rust and bacterial blight, both of which spread more readily in consistently damp conditions.
Mulch around the base of plants once established to help retain soil moisture and suppress competing weeds, particularly useful during hot, dry stretches of summer weather.
As a member of the legume family, beans actually fix their own nitrogen from the air through a symbiotic relationship with soil bacteria, so avoid heavy nitrogen fertilization, which can encourage excessive leafy growth at the expense of flower and pod production.
Manage Mexican Bean Beetles and Other Pests
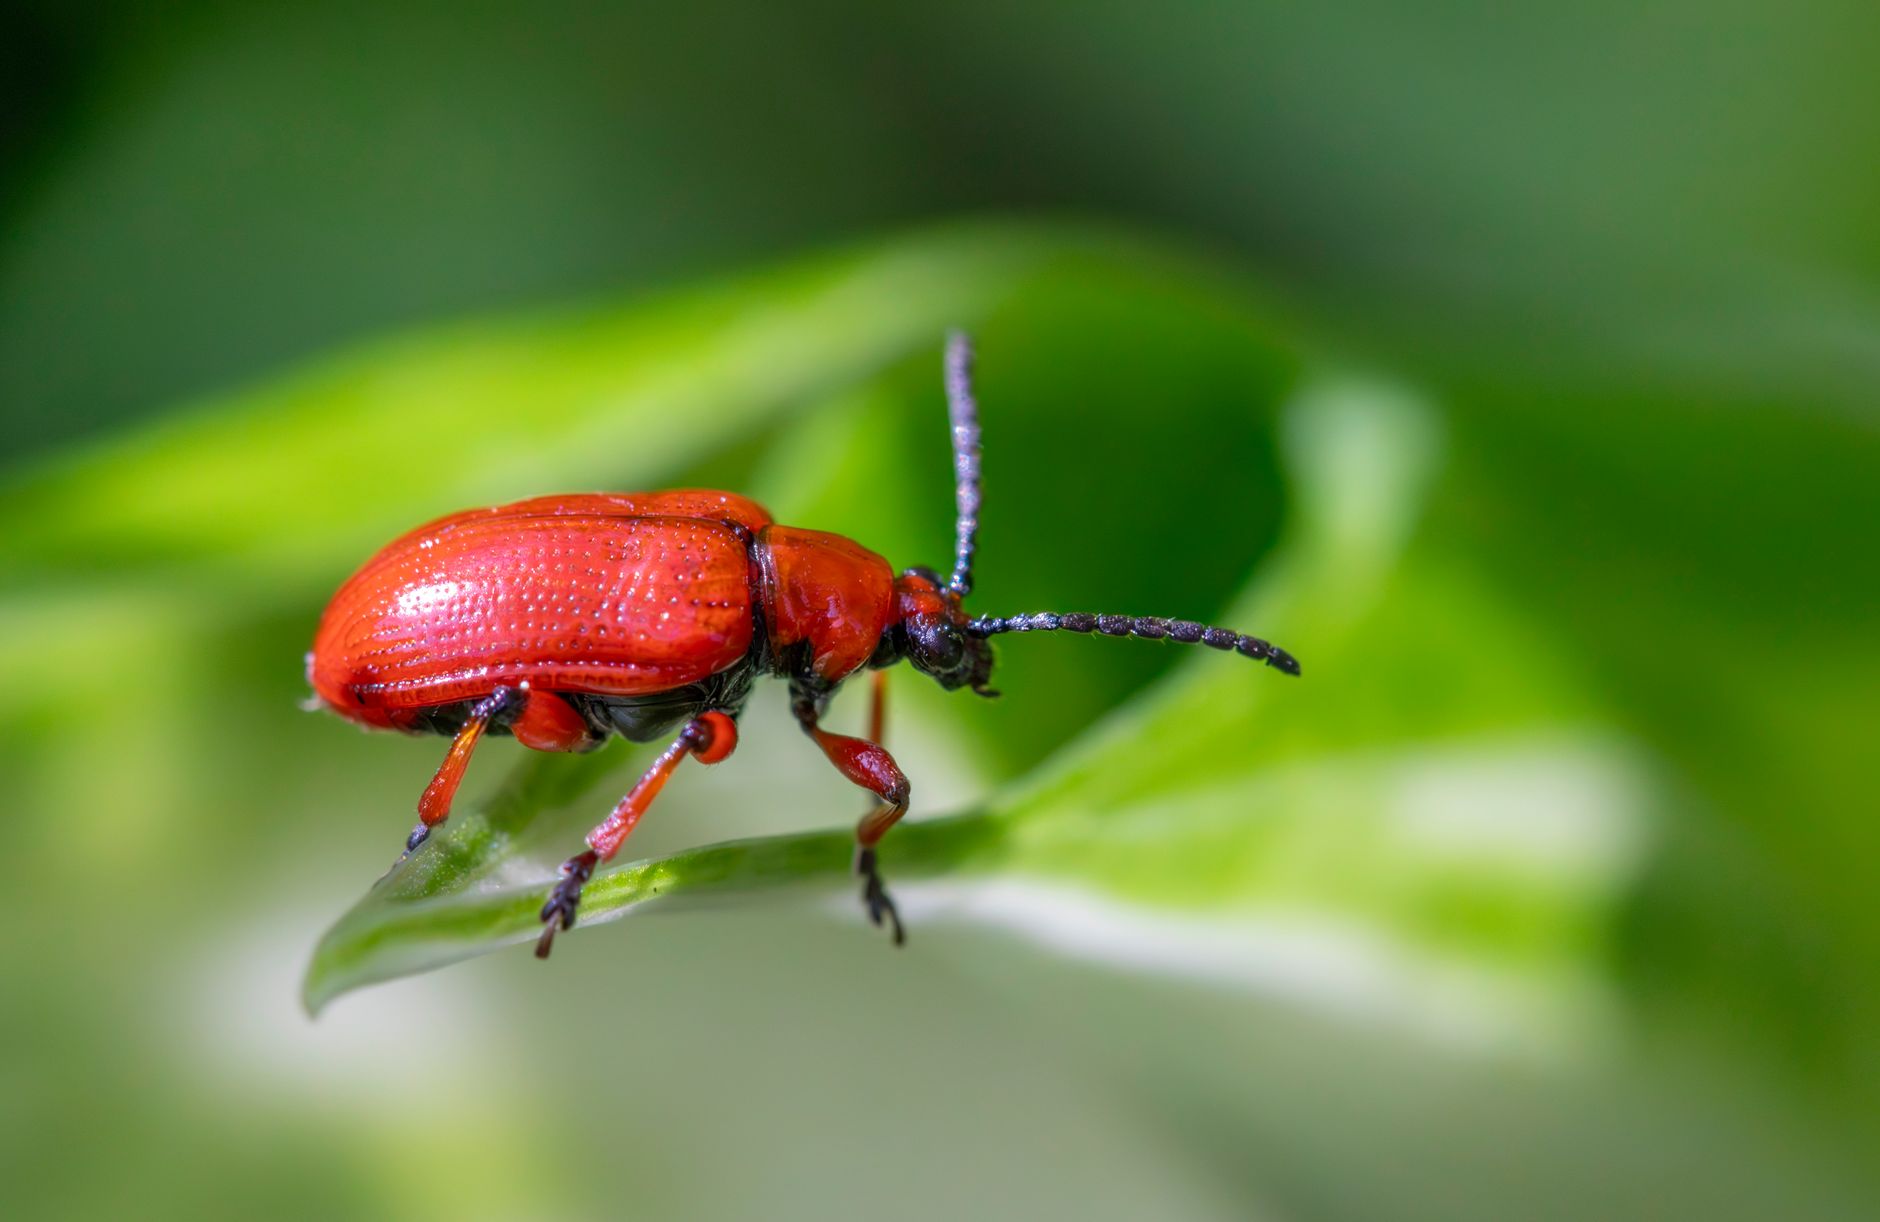
Mexican bean beetles, which resemble large, coppery ladybugs, and their yellow, spiny larvae feed on the undersides of leaves, creating distinctive lace-like skeletonized damage; handpicking adults, larvae, and their yellow egg clusters is often sufficient control for a home garden.
Aphids can cluster on new growth and undersides of leaves, typically manageable with a strong spray of water or insecticidal soap before populations build to damaging levels.
Bean beetles and other pests are generally more problematic later in the season as populations build up over time, so planting a bit earlier when practical, and staying ahead of pest buildup with regular monitoring, both help reduce overall damage.
Row covers over young plants offer good broad protection during the vulnerable seedling stage, though they need to be removed once flowering begins so bees and other pollinators can reach the blossoms.
Watch for Bean Rust and Bacterial Blight

Bean rust appears as small, rusty orange spots on the undersides of leaves, generally favored by humid conditions and overhead watering; watering at the base of plants and ensuring good airflow through proper spacing are the best preventive measures.
Bacterial blight causes water-soaked spots on leaves that eventually turn brown and dry, sometimes affecting pods as well; avoiding overhead watering and not working around wet plants (which can spread bacteria on your hands or tools) both help limit its spread.
Avoid planting beans in the same location more than once every 2-3 years, since crop rotation meaningfully reduces the buildup of both fungal and bacterial diseases specific to the bean family in the soil over successive seasons.
Remove and destroy severely diseased plant material rather than composting it, since home compost piles don't always reach temperatures high enough to reliably kill plant disease pathogens.
Harvest Pods Frequently for Continuous Production

Harvest pods once they reach about pencil thickness and snap crisply when bent, typically 50-65 days after planting for bush varieties and 60-70 days for pole varieties, checking plants every 1-2 days during peak production.
Pick beans with two hands when possible, holding the vine or stem with one hand while pulling the pod with the other, which prevents accidentally damaging or uprooting the plant, particularly important for pole varieties still actively climbing and producing.
Regular harvesting is essential for continuous production, since allowing pods to mature fully and develop hard seeds inside signals the plant to slow down and redirect energy toward seed maturation rather than continuing to set new flowers and pods.
Bush beans tend to produce their entire crop over a more concentrated 2-3 week window, while well-maintained pole beans, picked consistently, can continue producing for two to three months or longer through the growing season.
If pods do get away from you and become tough or overly mature, they can still be shelled for the beans inside, used fresh in soups, or left to fully dry on the vine for use as dried beans later in the season.
Store and Preserve Your Harvest

Store fresh, unwashed green beans in the refrigerator crisper drawer in a perforated plastic bag, where they typically keep well for about a week to ten days before quality begins noticeably declining.
For longer-term preservation, green beans can be canned using a pressure canner (a boiling water bath is not sufficient for this low-acid vegetable) or frozen after a brief blanching step, both of which are traditional, reliable methods for handling a larger harvest.
Pickled dilly beans are another popular preservation method, producing a tangy, crisp product that's especially useful for using up a surplus during the peak weeks of bush bean production.
If you have more beans than you can use or preserve, they're readily accepted by most neighbors and local food pantries, and letting a few pods fully mature and dry on the vine lets you save your own seed for next season's planting.
Common problems and fixes
| Problem | Likely cause | What to do |
|---|---|---|
| Flowers dropping without setting pods | Water stress during flowering, or temperature extremes. | Maintain consistent watering, especially during the flowering and early pod-set window, and be patient during unusually hot or cool spells. |
| Lace-like holes in leaves | Mexican bean beetle adults and larvae feeding on foliage. | Handpick adults, larvae, and yellow egg clusters regularly, especially on the undersides of leaves. |
| Rusty orange spots on leaf undersides | Bean rust, a fungal disease favored by humidity and overhead watering. | Switch to base watering, ensure adequate plant spacing for airflow, and rotate bean plantings to new locations each year. |
| Production slows dramatically mid-season on bush beans | This is normal; bush varieties produce over a shorter, more concentrated window than pole beans. | Stagger additional bush bean plantings every 2-3 weeks, or plant pole beans for a longer continuous harvest. |
Gardener's checklist
Test what you learned
What is the main difference between bush and pole beans?
Answer: Pole beans need a trellis and produce over a longer window
Why should you avoid heavy nitrogen fertilizer on beans?
Answer: Beans fix their own nitrogen and excess feeding favors leaves over pods
What is the ideal texture for harvesting green bean pods?
Answer: Pencil thickness, snapping crisply
Common questions
Do green beans need a trellis?
Only pole bean varieties need a trellis, stakes, or netting for support, since they climb as vines. Bush bean varieties grow as compact, self-supporting plants and don't require any structure.
How long do green beans take to produce a harvest?
Bush beans typically reach harvest in 50-65 days from planting, while pole beans take slightly longer at 60-70 days, though pole beans continue producing for a much longer window afterward compared to bush varieties.
Can I save seeds from my green beans?
Yes, simply let a few pods mature fully on the vine until they're dry and the beans inside rattle, then remove and store them in a cool, dry place for planting the following season, provided you're growing an open-pollinated rather than hybrid variety.
Why is my bean harvest slowing down?
For bush varieties, this is often simply their natural pattern, since they produce over a shorter, more concentrated window than pole beans. For either type, inconsistent watering or infrequent harvesting can also cause plants to slow production prematurely.
Green beans are one of the most rewarding vegetables for beginning gardeners, and the key to a great harvest is simple: pick often, since regular harvesting is what keeps the plants producing new pods throughout the season.
Frequently asked questions
How often should a vegetable garden be watered?
Frequency depends on weather, soil and plant size. Check the soil rather than watering on a rigid schedule.
Is compost enough fertilizer?
Compost improves soil and provides nutrients slowly. Heavy-feeding crops may still need additional feeding.

The Sproutstead Editorial Team
We create clear, practical gardening and homesteading guides designed for real homes and beginner growers.
View author profile →