Cutworms are caterpillars that hide in the soil and feed at night, severing young plants at the base. To control cutworms, create physical barriers: place cardboard collars (toilet paper rolls or paper cups) around seedlings. Hand-pick cutworms at night by digging around damaged plants. Apply beneficial nematodes (Steinernema carpocapsae) to the soil to kill cutworm larvae. Use diatomaceous earth around plants. For severe infestations, use Bacillus thuringiensis (Bt) or spinosad. Prevention is key: till soil in fall to expose pupae, remove plant debris, and delay planting until soil warms. Crop rotation also helps reduce cutworm populations.
What you will need
Identify Cutworms and Signs of Damage
What they look like: Plump, smooth caterpillars (1-2 inches long). Colors vary from gray, brown, or black. Curl into a C-shape when disturbed.
Where they hide: Just below the soil surface, under debris, and around plant bases during the day.
Signs of damage: Seedlings cut off at the soil line, wilted plants, and damaged stems. They feed at night.
When they're active: Cutworms are most active in spring and early summer. They feed at night.
Why they're a problem: A single cutworm can destroy several seedlings in one night.
Create Physical Barriers

How it works: Collars create a physical barrier that prevents cutworms from reaching the stem.
How to make: Cut toilet paper rolls, paper cups, or cardboard into 2-3 inch tall rings.
How to use: Push the collar 1 inch into the soil around the seedling. It should extend 1-2 inches above the soil.
Best for: Seedlings and young plants.
Alternative: Use cut plastic bottles or aluminum foil as collars.
Hand-Pick Cutworms
When to pick: Go out at night with a flashlight—cutworms are most active then.
How to do it: Dig around damaged plants and remove cutworms. Drop them in a bucket of soapy water.
Where to look: In the soil around plant bases, under debris, and just below the surface.
Frequency: Check your garden nightly during the active season.
Tip: Look for the characteristic C-shape when disturbed.
Apply Beneficial Nematodes
How it works: Nematodes (Steinernema carpocapsae) infect and kill cutworm larvae in the soil.
When to apply: Apply in spring or early summer when the soil temperature is 55-85°F.
How to apply: Follow package instructions. Mix with water and apply to the soil.
Benefits: Nematodes are safe for pets, wildlife, and beneficial insects.
Tip: Water the soil before and after application.
Apply Diatomaceous Earth
How it works: Diatomaceous earth is made from fossilized algae. The sharp edges cut the cutworm's exoskeleton, causing dehydration and death.
How to use: Sprinkle a ring of diatomaceous earth around plant bases.
Food-grade: Use food-grade diatomaceous earth for safety.
Reapplication: Reapply after rain and every 1-2 weeks.
Caution: Avoid applying directly on flowers—it can harm pollinators.
Use Bacillus thuringiensis (Bt)
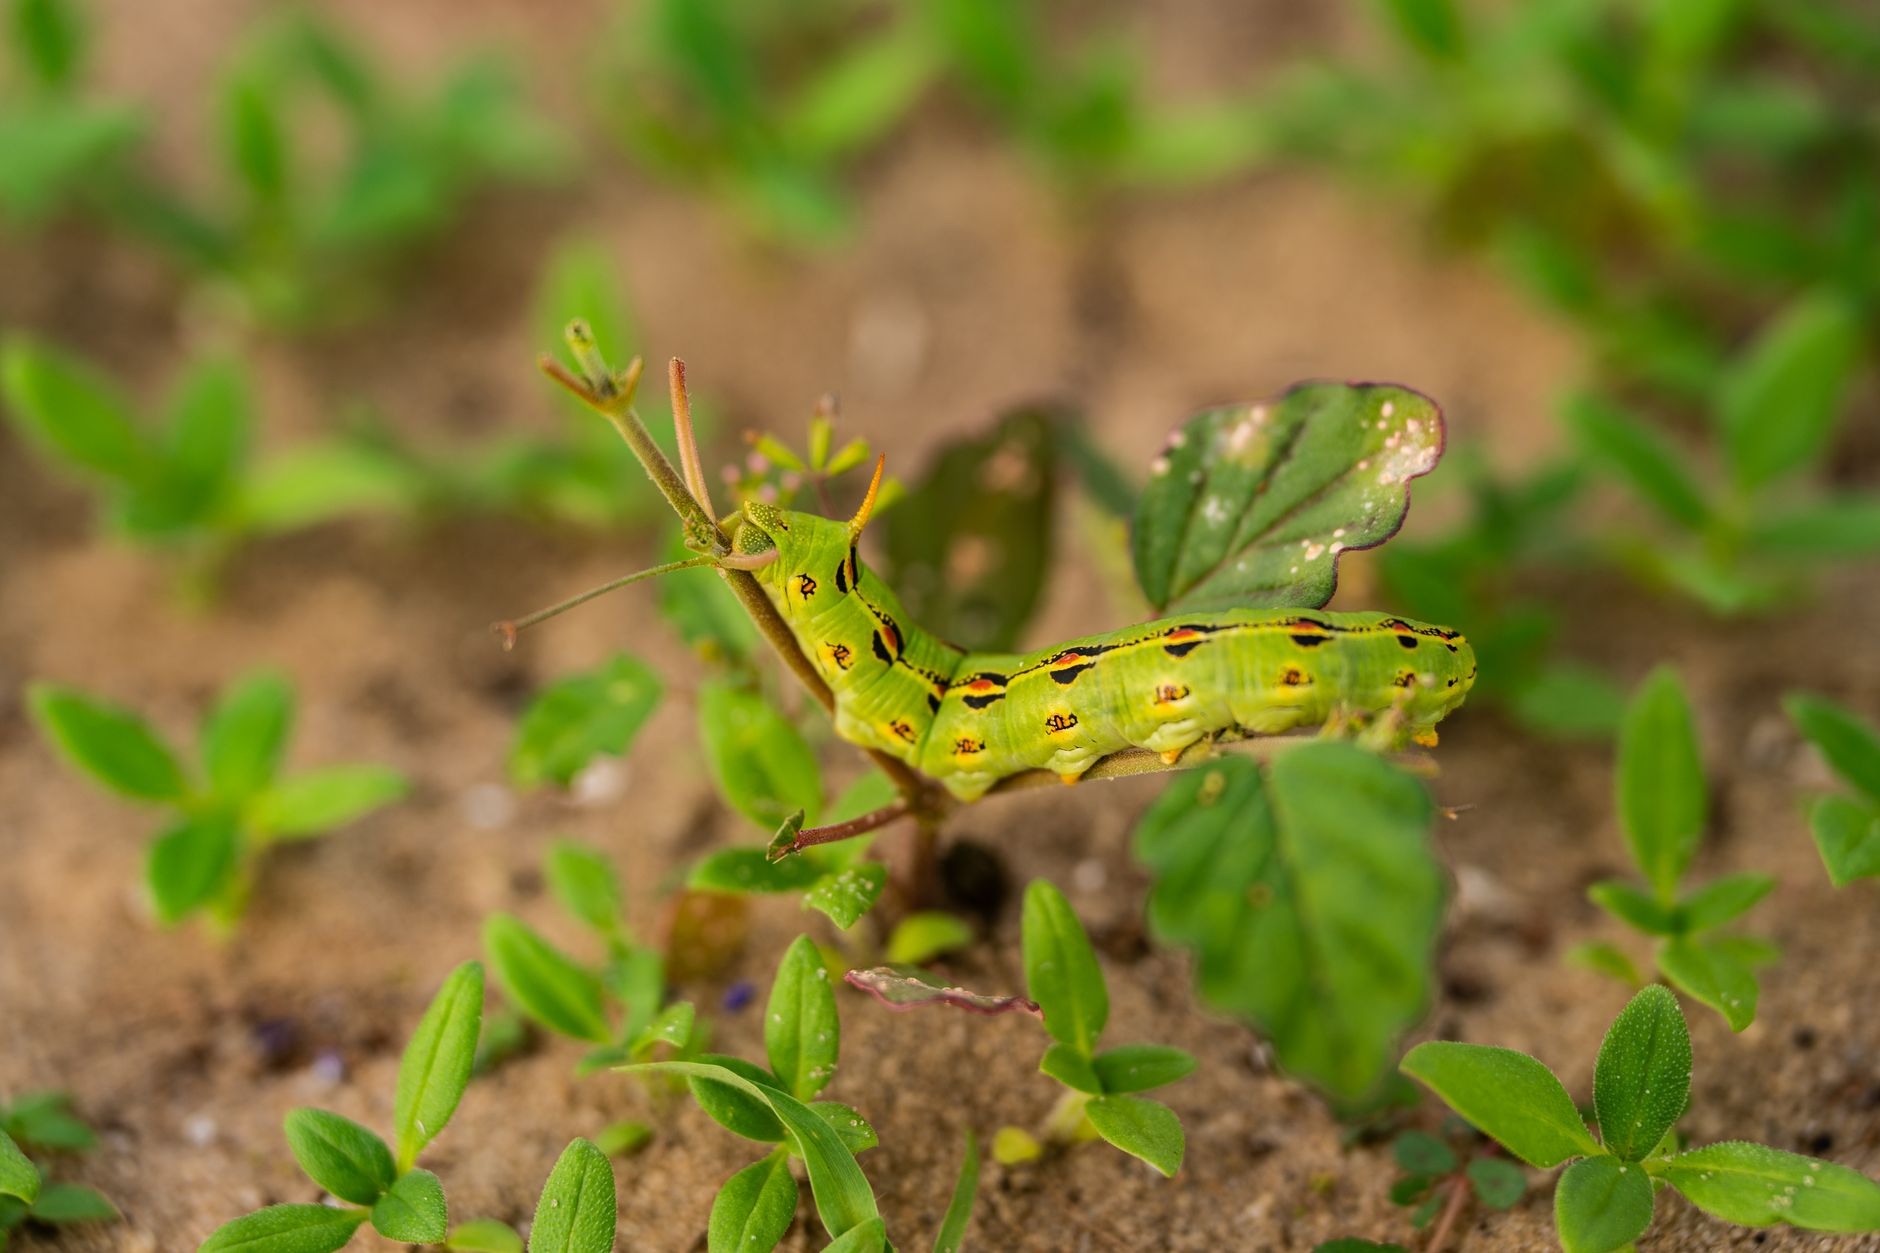
How it works: Bt is a naturally occurring bacterium that produces a toxin that kills caterpillars (including cutworms) when ingested.
How to use: Apply Bt to plants in the evening when cutworms are active.
Application: Follow label instructions. Apply every 5-7 days.
Benefits: Bt is safe for beneficial insects, pets, and humans.
Timing: Apply when cutworms are actively feeding (spring to early summer).
Use Spinosad
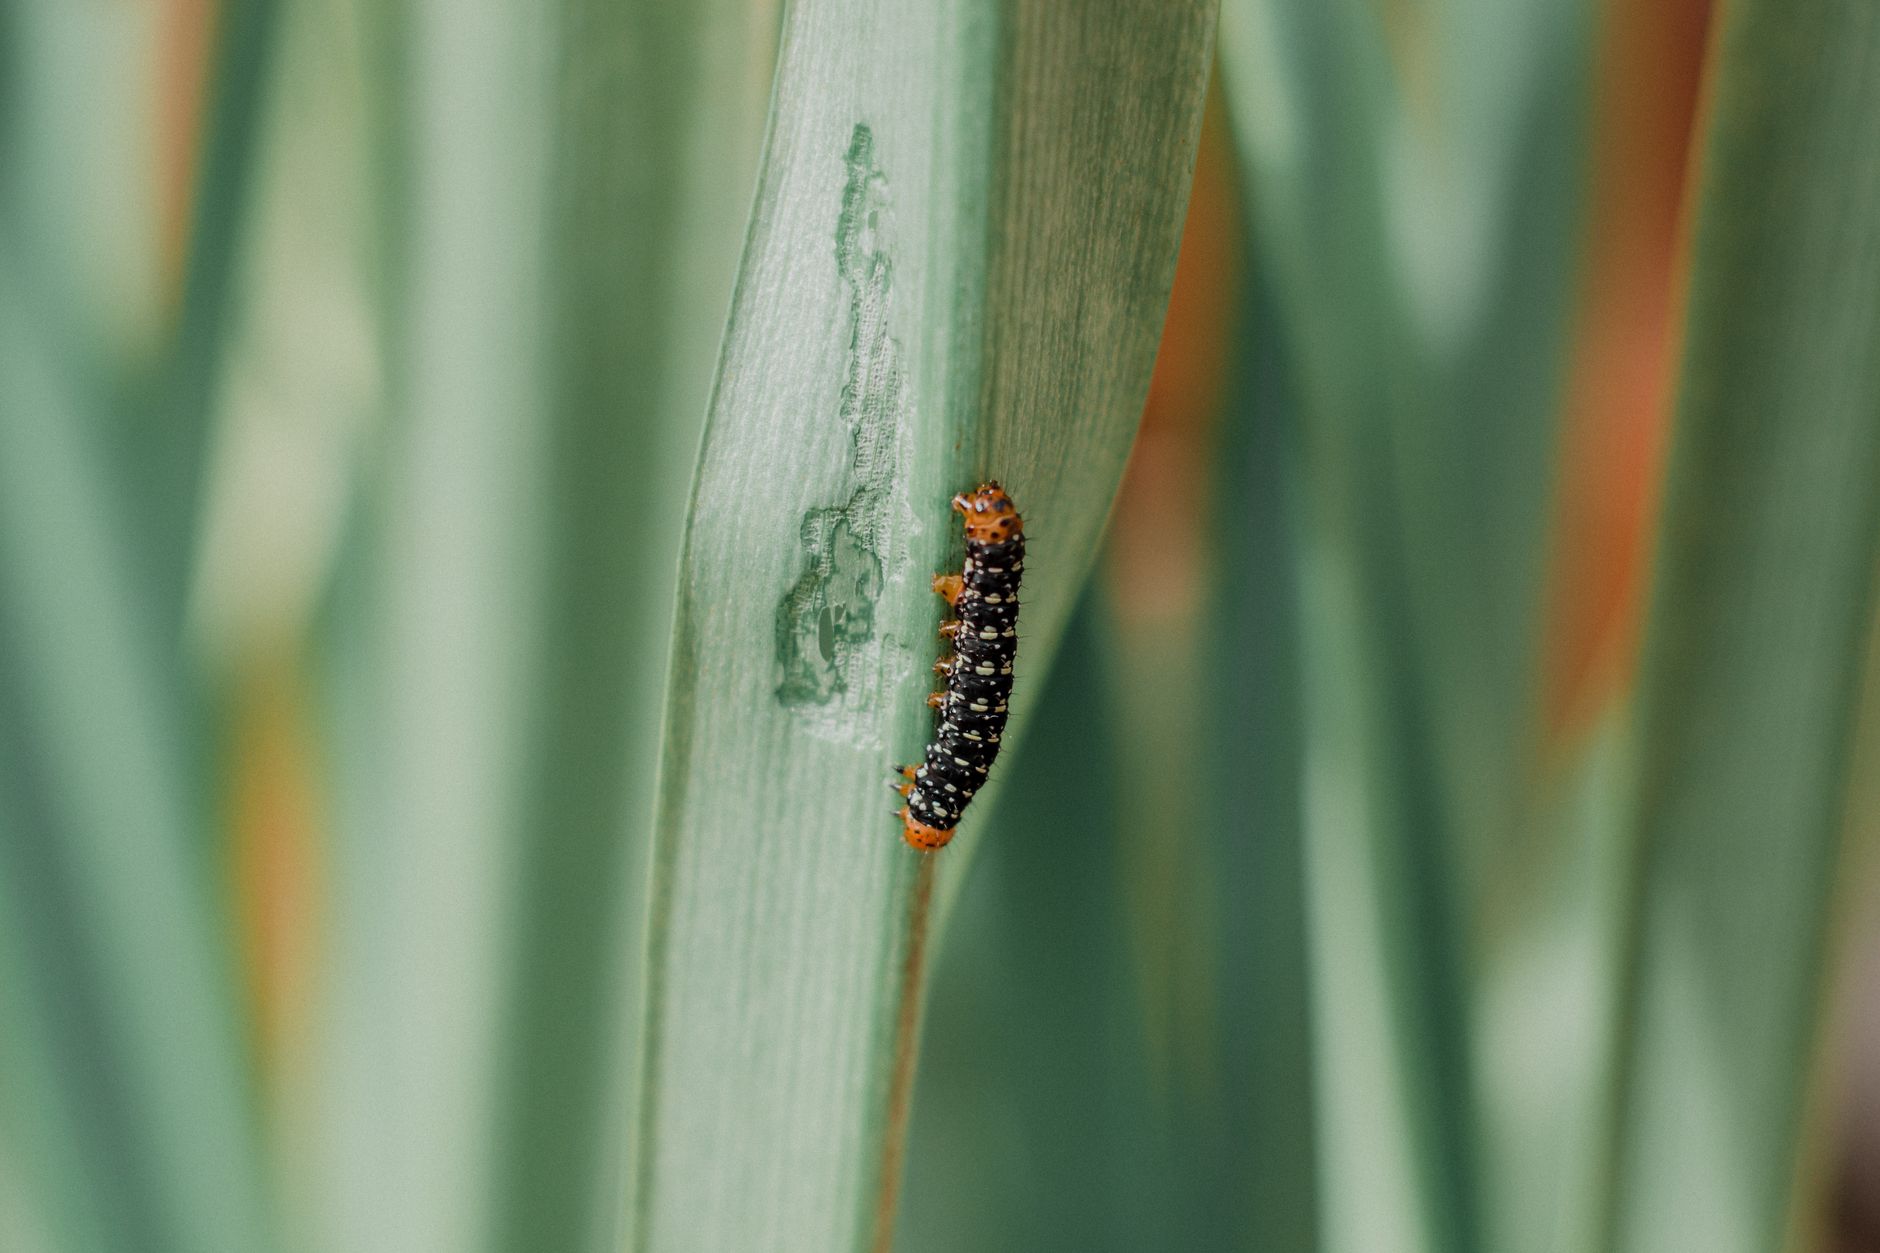
How it works: Spinosad is a natural insecticide derived from soil bacteria. It kills cutworms on contact and by ingestion.
How to use: Apply to plants in the evening when cutworms are active.
Application: Follow label instructions. Apply every 5-7 days.
Caution: Spinosad can harm bees—avoid applying during flowering.
Timing: Apply when cutworms are actively feeding.
Prevent Future Cutworm Problems
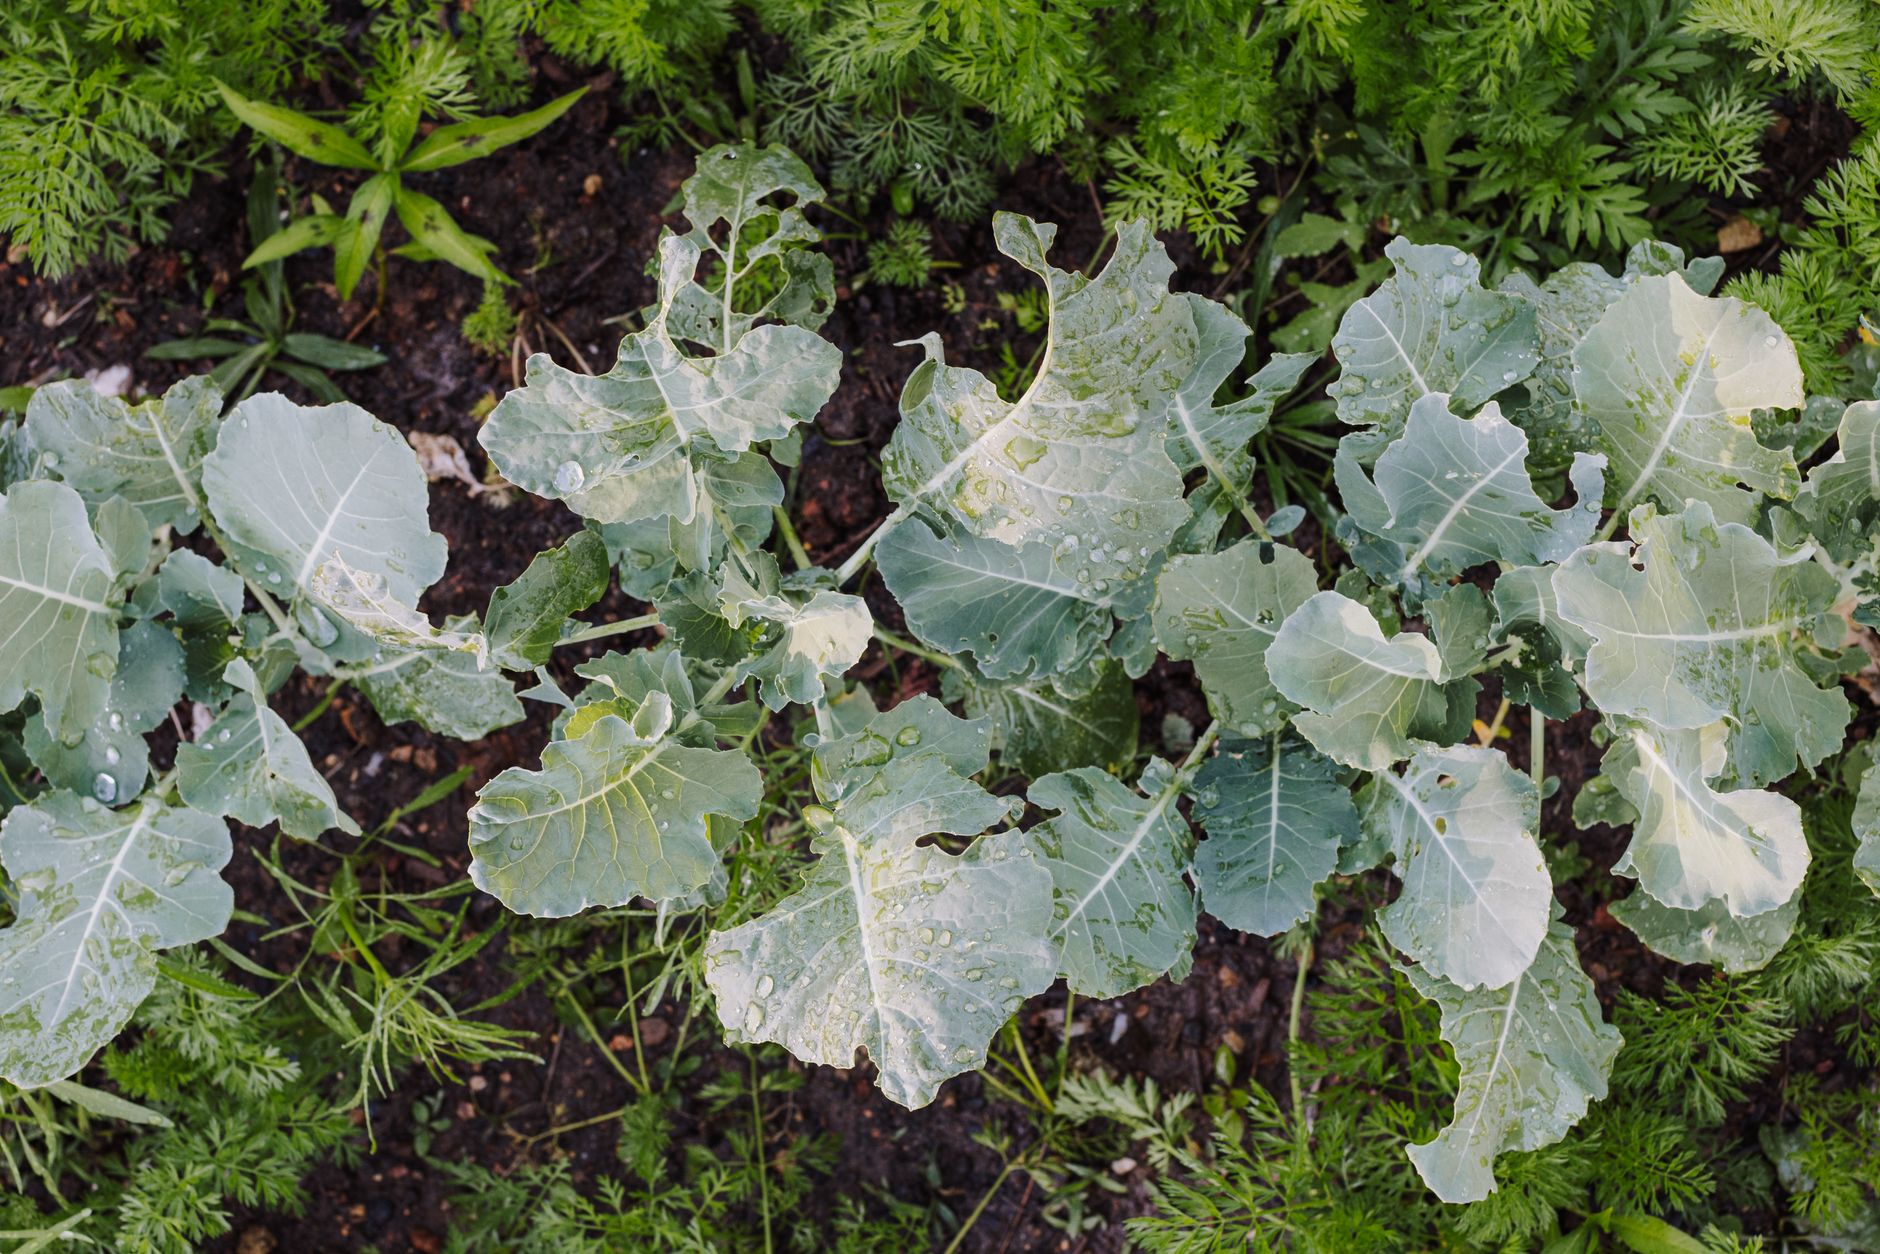
Till soil in fall: Tilling exposes cutworm pupae to predators and weather.
Remove plant debris: Remove plant debris where cutworms hide.
Delay planting: Plant seedlings after the soil has warmed—cutworms are less active.
Rotate crops: Crop rotation reduces cutworm populations.
Attract natural predators: Ground beetles, parasitic wasps, and birds eat cutworms.
Common problems and fixes
| Problem | Likely cause | What to do |
|---|---|---|
| Cutworms returning quickly | Not treating all areas or new adults emerging. | Apply beneficial nematodes and use collars on all seedlings. |
| Collars not working | Collars not pushed deep enough into the soil. | Push collars 1 inch into the soil around seedlings. |
| Bt not working | Applied too late or not enough coverage. | Apply in the evening when cutworms are actively feeding. |
| Cutworms in vegetable garden | Favorable conditions or no prevention measures. | Use collars, Bt, and till soil in fall. |
Gardener's checklist
Test what you learned
What is one of the most effective cutworm control methods?
Answer: Cardboard collars
When are cutworms most active?
Answer: Night
What biological control is effective against cutworms?
Answer: Beneficial nematodes
What is Bt (Bacillus thuringiensis)?
Answer: A biological insecticide
What should you do in fall to prevent cutworms?
Answer: Till the soil
Common questions
What do cutworms turn into?
Cutworms are the larvae of moths. They turn into adult moths (Noctuidae family).
Can cutworms climb plants?
Some cutworm species climb plants, but most stay near the soil surface and cut stems at the base.
How long do cutworms live?
The larval stage lasts 2-4 weeks, depending on the species and temperature.
Do cutworms eat plant leaves?
Yes, some cutworm species climb plants and eat leaves. Others feed on stems at the soil line.
Are cutworms harmful to humans?
No, cutworms are not harmful to humans. They only affect plants.
Cutworms can destroy young seedlings overnight, but you can protect your garden with a combination of methods. Use cardboard collars around seedlings to create a physical barrier. Apply beneficial nematodes (Steinernema carpocapsae) to the soil for long-term control. Hand-pick cutworms at night with a flashlight. Use Bt (Bacillus thuringiensis) or spinosad for severe infestations. Prevent future problems by tilling soil in fall, removing plant debris, and rotating crops. With persistence and a multi-method approach, you can keep cutworms from damaging your garden.
Frequently asked questions
How often should a vegetable garden be watered?
Frequency depends on weather, soil and plant size. Check the soil rather than watering on a rigid schedule.
Is compost enough fertilizer?
Compost improves soil and provides nutrients slowly. Heavy-feeding crops may still need additional feeding.

The Sproutstead Editorial Team
We create clear, practical gardening and homesteading guides designed for real homes and beginner growers.
View author profile →