To save tomato seeds, choose fully ripe, disease-free tomatoes from open-pollinated or heirloom varieties. Cut the tomato in half and squeeze the seeds and gel into a glass jar. Add a little water and let the mixture ferment for 3-5 days, stirring daily. The fermentation process removes the gel sac and kills seed-borne diseases. After fermentation, add water, stir, and pour off the floating pulp and debris—good seeds will sink to the bottom. Rinse the seeds thoroughly, spread them on a coffee filter or paper towel to dry for 1-2 weeks, then store in a cool, dry place in an airtight container. Properly stored tomato seeds can remain viable for 5-10 years.
What you will need
Choose the Right Tomatoes for Seed Saving

Heirloom vs. Hybrid: Only save seeds from heirloom or open-pollinated varieties. Hybrid seeds (marked F1) will NOT grow true-to-type—the resulting plants will be different from the parent.
Choose the best tomatoes: Select tomatoes from the healthiest, most productive plants with the best flavor, size, and disease resistance. This selects for desirable traits.
Fully ripe: Only use fully ripe (or overripe) tomatoes. Seeds from underripe tomatoes are not mature and won't germinate well.
Disease-free: Choose tomatoes from plants that show no signs of disease. Seed-borne diseases can be passed to the next generation.
Multiple fruits: If possible, save seeds from 2-3 fruits from different plants of the same variety. This preserves genetic diversity.
Cherry tomatoes: Cherry tomatoes work the same way—just use more fruits since each has fewer seeds.
Extract the Seeds and Gel
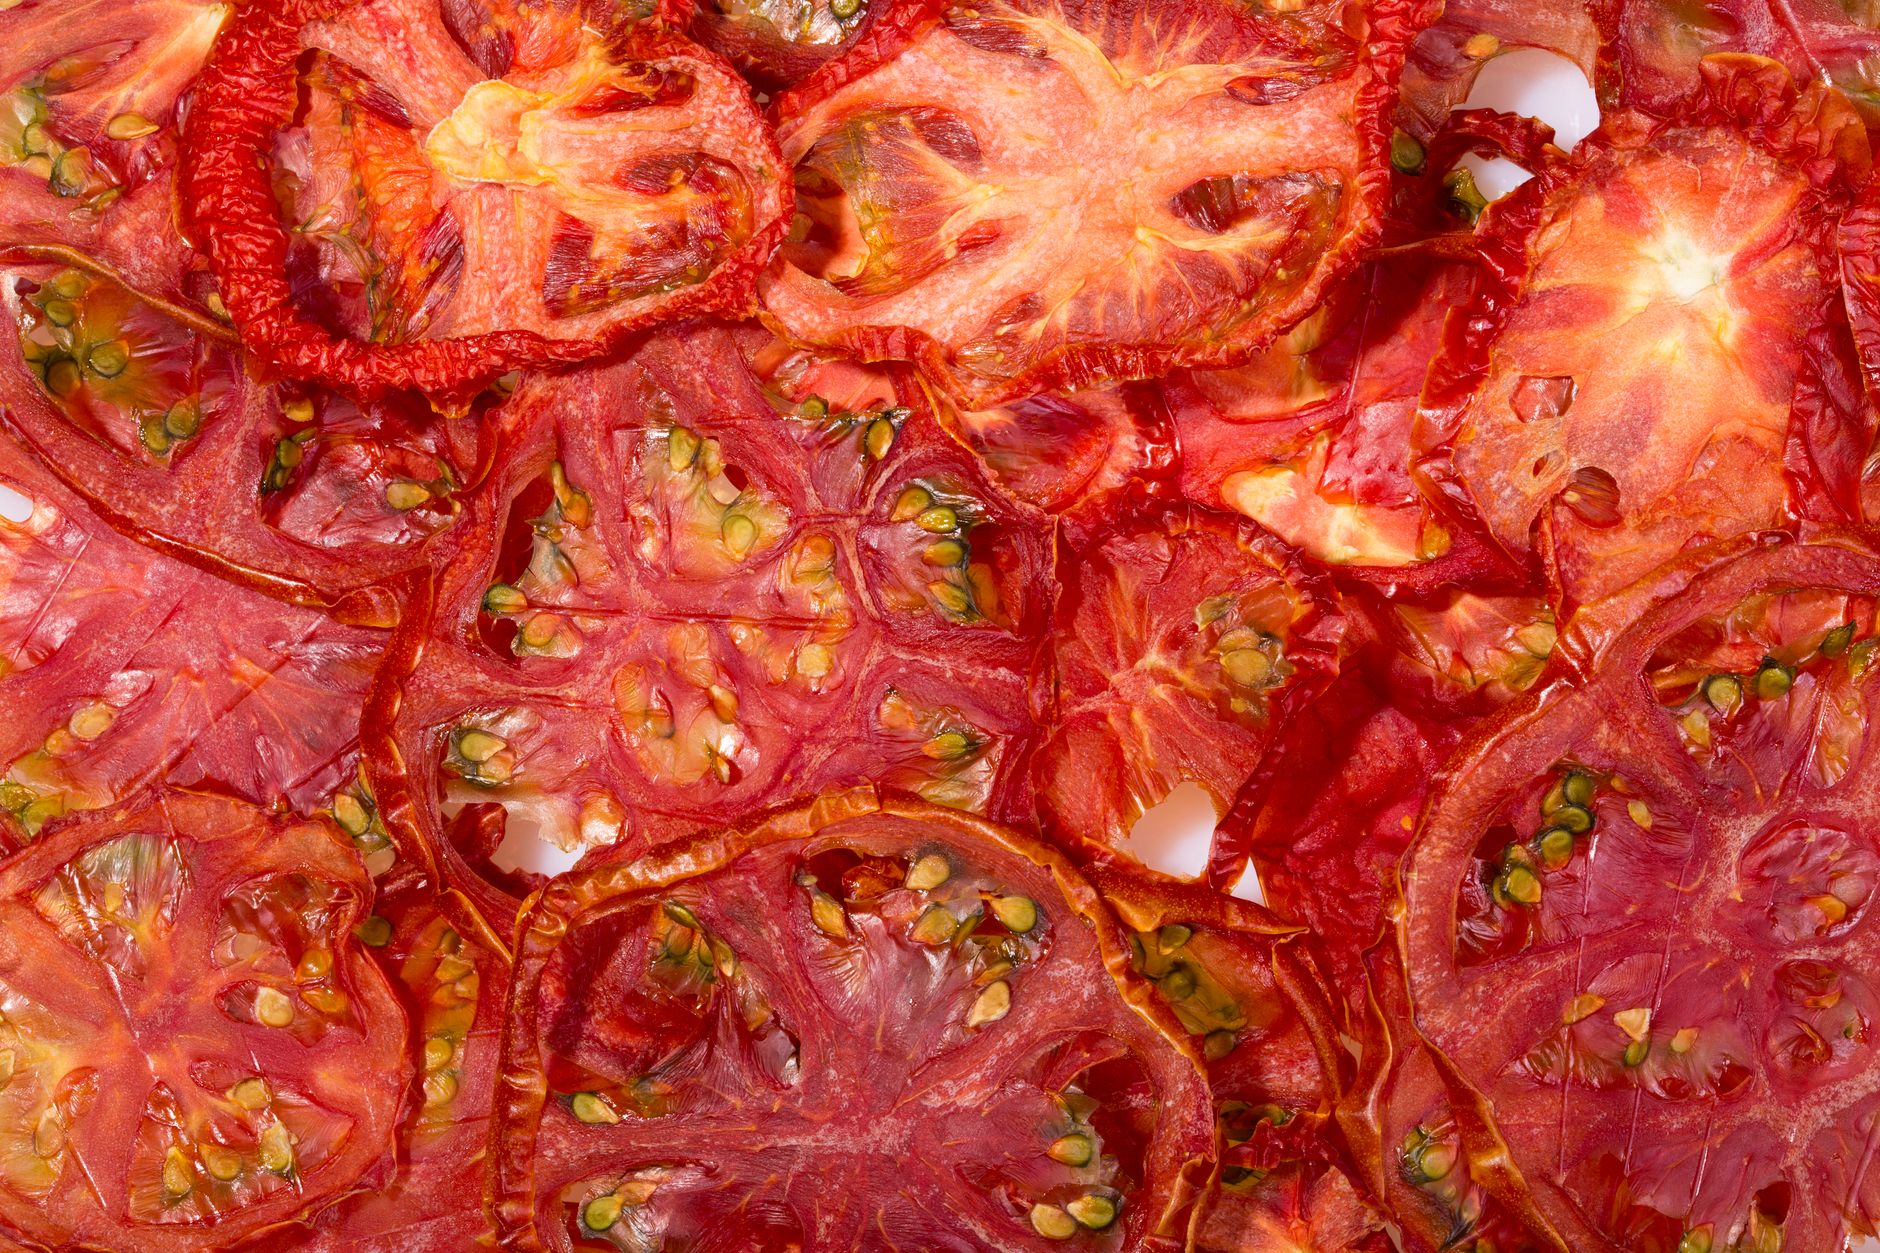
Cut the tomato: Cut the tomato in half across the equator (not top to bottom). This exposes the seed chambers.
Squeeze out the seeds: Gently squeeze the tomato halves over a glass jar to release the seeds and the surrounding gel into the jar.
Scrape if needed: Use a spoon to scrape any remaining seeds and gel from the tomato flesh.
Add water: Add about 1/4 cup of water to the jar. This helps the fermentation process.
Don't overfill: Leave plenty of room in the jar (at least 2 inches of space) because the mixture will expand during fermentation.
Save the flesh: The remaining tomato flesh can be eaten, cooked, or composted.
Ferment the Seeds

Why ferment? Fermentation mimics the natural process of a tomato rotting on the ground. It removes the gel sac (which inhibits germination), kills seed-borne diseases, and improves germination rates.
Fermentation time: Leave the jar at room temperature (65-75°F) for 3-5 days. The mixture will ferment, bubble, and develop a foul odor—this is normal!
Stir daily: Stir the mixture once or twice daily with a spoon. This breaks up the top layer of mold and helps the fermentation process.
Cover the jar: Cover the jar with a coffee filter, paper towel, or cheesecloth secured with a rubber band. This keeps fruit flies out while allowing air in.
Signs it's done: The fermentation is complete when: the seeds sink to the bottom, the liquid is clear or slightly cloudy, and there's a layer of mold or foam on top. This usually takes 3-5 days.
Don't over-ferment: If left too long (more than 7 days), the seeds can start to germinate in the jar—not ideal.
Rinse and Separate Good Seeds

Add water: Fill the jar about halfway with water. Stir gently to mix.
Let settle: Allow the mixture to settle for 1-2 minutes. The good seeds will sink to the bottom. The pulp, debris, and bad seeds will float to the top.
Decant the floating debris: Carefully pour off the floating material. Try not to lose the good seeds at the bottom. Add more water and repeat until the water is clear.
Strain the seeds: Pour the remaining liquid and seeds through a fine-mesh strainer or sieve. Shake gently to remove excess water.
Final rinse: Rinse the seeds in the strainer under running water to remove any remaining debris.
What you get: The seeds in the strainer are your saved seeds—clean, viable, and ready for drying.
Dry the Seeds Completely
Spread the seeds: Spread the clean, wet seeds in a single layer on a coffee filter, paper towel, or glass plate. Avoid plastic—it can trap moisture and cause mold.
Label: Label the paper towel or plate with the variety name and the date.
Drying location: Place the seeds in a warm, dry, well-ventilated area out of direct sunlight. A fan can speed up drying.
Don't rush: Allow the seeds to dry for 1-2 weeks. Seeds must be completely dry before storage.
How to test: A dry seed will snap when bent, not bend. If it bends, it's not dry enough.
Separating seeds from paper: If you dried seeds on a paper towel, the seeds may stick. Gently peel them off—many gardeners plant the paper towel with the seeds in spring.
Store immediately: Once completely dry, transfer seeds to an airtight container.
Store Seeds Properly

Containers: Use an airtight container like a glass jar with a tight lid, a seed envelope, or a small plastic bag. Add a silica gel packet to absorb moisture.
Label clearly: Label each container with: tomato variety name, date saved, and any notable traits (e.g., "Big Rainbow — 2024 — great flavor").
Storage location: Store seeds in a cool, dark, dry place. A basement, pantry, or refrigerator works well.
Temperature: Ideal temperature is 32-41°F (0-5°C). If using a refrigerator, ensure the seeds are in an airtight container to protect from moisture.
Humidity: Low humidity (20-30%) is ideal. High humidity reduces seed viability.
Viability: Properly stored tomato seeds remain viable for 5-10 years. Germination rates gradually decline over time.
Seed banks: For extra security, store a small sample of your seeds in a second location (e.g., a friend's house).
Test Seed Viability

Why test: Germination rates decline with age. Testing tells you how many seeds to plant to get the desired number of plants.
How to test: Place 10 seeds on a damp paper towel. Fold it, place it in a plastic bag, and keep it in a warm spot (70-75°F). Check after 5-10 days.
What to count: Count how many seeds have sprouted. If 8 out of 10 germinate, you have 80% germination.
Interpreting results: 90-100% = excellent, 70-90% = good, 50-70% = fair (plant extra), below 50% = poor (consider using fresh seeds).
When to test: Test your saved seeds a few weeks before planting season so you know what to expect.
Plant the test seeds: Don't waste the germinated test seeds—you can plant them in the garden!
Troubleshoot Common Seed Saving Problems

Problem: Seeds are fermenting but there's no bubbling. The temperature may be too low. Move to a warmer spot (65-75°F). Add a tiny amount of sugar to kick-start fermentation.
Problem: Seeds are germinating in the jar. You've fermented for too long. Try to use them or dry them immediately. In the future, check daily and process when seeds sink.
Problem: Seeds turn black or moldy during drying. Moisture was trapped. Spread seeds in a thinner layer. Ensure good airflow. If using paper towels, switch to coffee filters.
Problem: Seeds are stuck to the paper towel. You dried them on a paper towel and they adhered. Cut around the seeds and plant the paper towel directly in the soil.
Problem: Low germination rate from saved seeds. Seeds may not have been fully mature, dried completely, or stored properly. Use fully ripe tomatoes, dry thoroughly, and store in cool, dry conditions.
Common problems and fixes
| Problem | Likely cause | What to do |
|---|---|---|
| No fermentation bubbles after 3 days | Temperature too low or seeds from underripe tomatoes. | Move to warmer spot (65-75°F). Add a pinch of sugar. If still no fermentation, try again with riper tomatoes. |
| Seeds are germinating in the jar | Fermented too long (over 7 days). | Process immediately. Dry them or plant them. Next time, check daily and process when seeds sink. |
| Seeds turn black or moldy during drying | Too much moisture, not enough airflow. | Spread seeds in a thinner layer. Place in a warm, dry spot with good ventilation. Use coffee filters instead of paper towels. |
| Seeds stick to paper towel | Dried on paper towels and adhered. | Cut around the seeds and plant the paper towel section directly in the soil. For next time, use coffee filters or glass plates. |
Gardener's checklist
Test what you learned
How long should tomato seeds ferment?
Answer: 3-5 days
Why is fermentation important for tomato seeds?
Answer: It removes the gel sac and kills diseases
Can you save seeds from hybrid (F1) tomatoes?
Answer: No, they won't grow true-to-type
How long do properly stored tomato seeds remain viable?
Answer: 5-10 years
Common questions
Do I need to ferment tomato seeds?
Yes! Fermentation is essential. It removes the gel sac around the seed (which inhibits germination) and kills seed-borne diseases. Skipping this step leads to lower germination rates and potential disease problems.
Can I save seeds from hybrid tomatoes?
You can, but they won't grow true-to-type. Hybrid seeds produce plants that are different from the parent—often with less desirable traits. Stick to heirloom and open-pollinated varieties for reliable seed saving.
How long should tomato seeds dry before storage?
1-2 weeks. The seeds must be completely dry. A dry seed will snap when bent, not bend. If it bends, it's not dry enough and will likely mold in storage.
How long do saved tomato seeds last?
Properly stored tomato seeds remain viable for 5-10 years. Germination rates gradually decline over time. Store in a cool, dark, dry place for maximum longevity.
Can I save seeds from green tomatoes?
No. Seeds must be fully mature to germinate. Only use fully ripe or overripe tomatoes for seed saving. Green tomato seeds are not viable.
Saving tomato seeds is a rewarding and cost-effective way to preserve your favorite heirloom varieties. The fermentation method is the gold standard—it removes the gel sac, kills diseases, and improves germination rates. Start with fully ripe, disease-free tomatoes from open-pollinated plants. Ferment for 3-5 days, rinse, dry for 1-2 weeks, and store in a cool, dark place. With proper storage, your seeds will remain viable for 5-10 years. By saving seeds, you're not just saving money—you're participating in the ancient tradition of seed saving and preserving genetic diversity for future generations.
Frequently asked questions
How often should a vegetable garden be watered?
Frequency depends on weather, soil and plant size. Check the soil rather than watering on a rigid schedule.
Is compost enough fertilizer?
Compost improves soil and provides nutrients slowly. Heavy-feeding crops may still need additional feeding.

The Sproutstead Editorial Team
We create clear, practical gardening and homesteading guides designed for real homes and beginner growers.
View author profile →