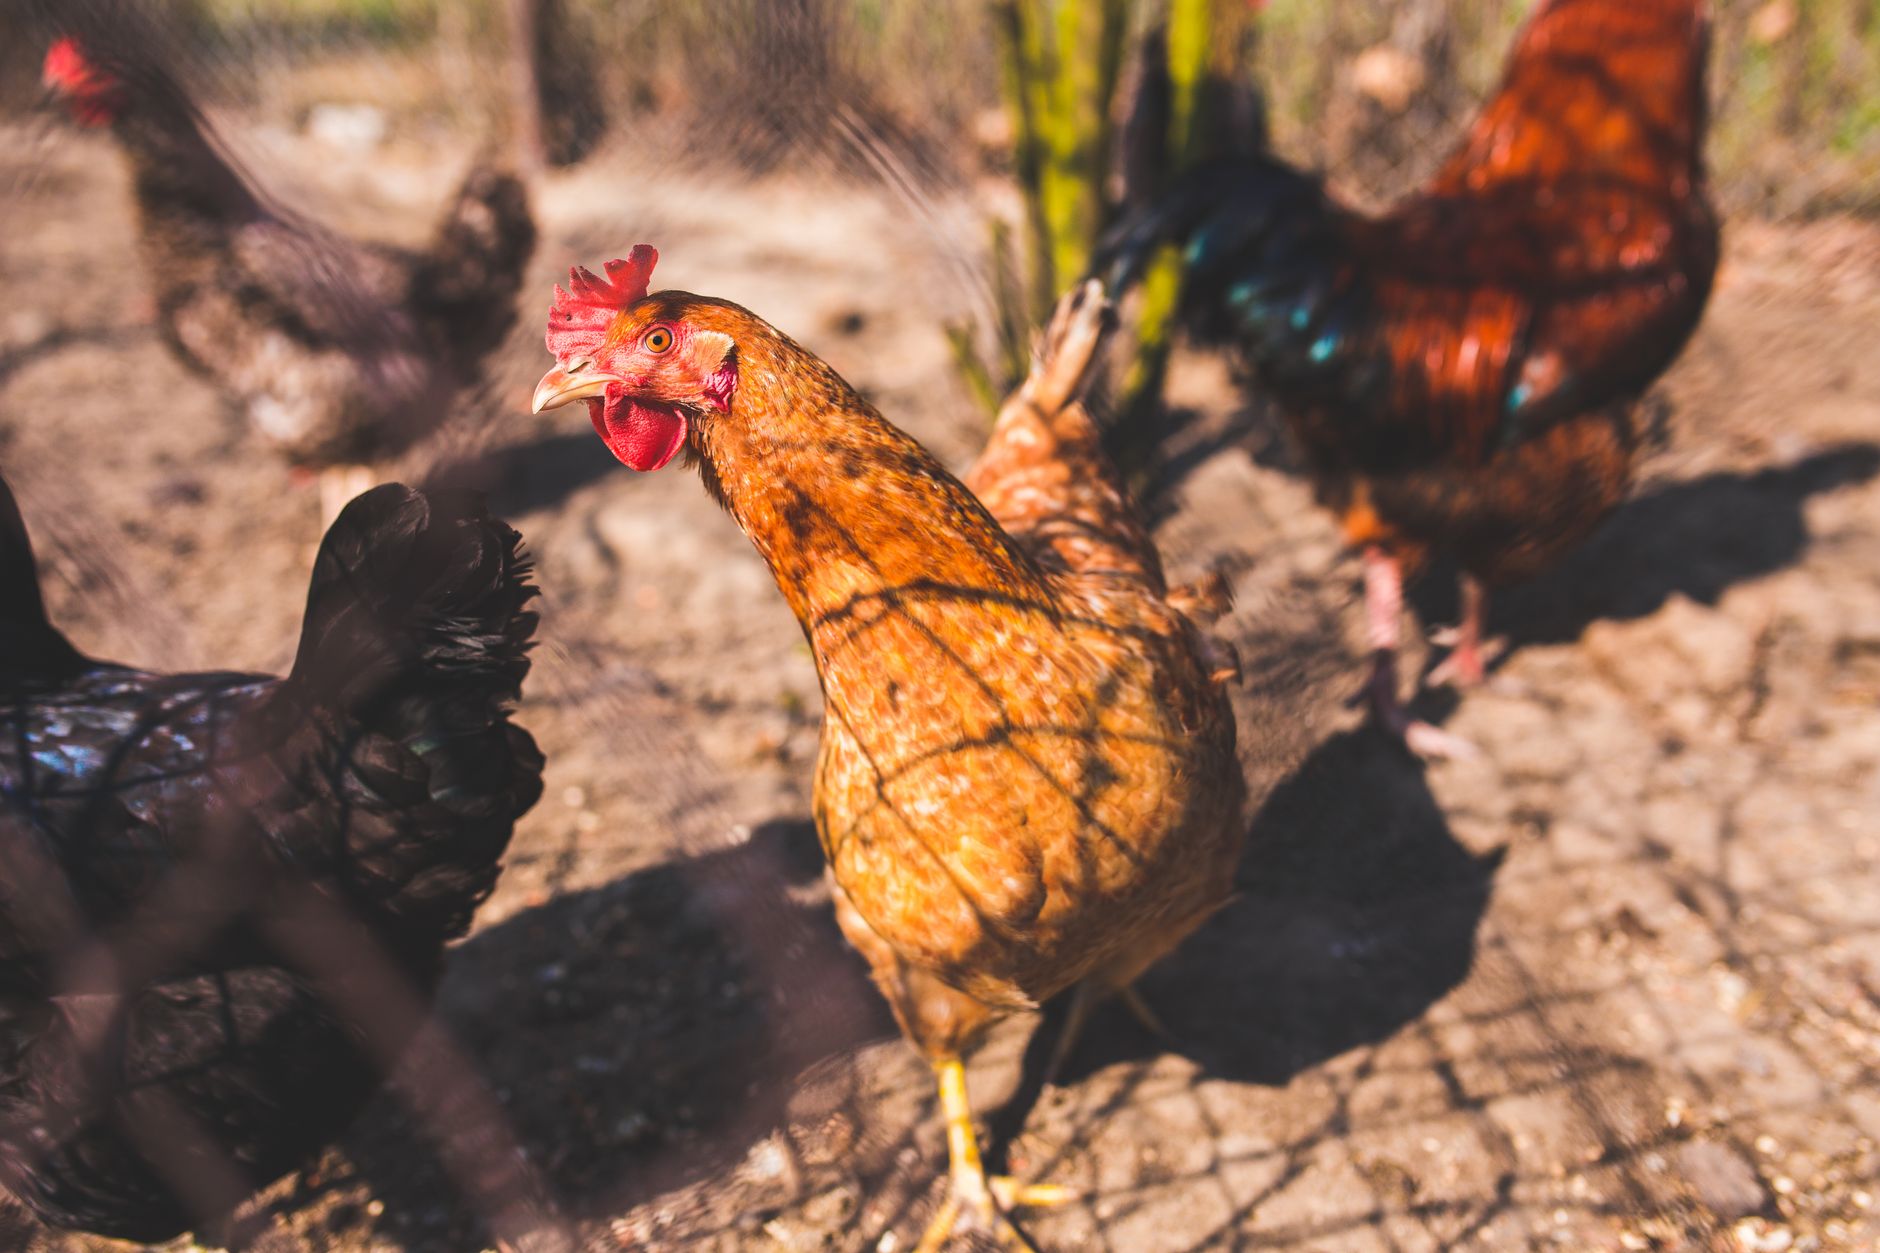
Make ghee by simmering unsalted butter over low heat until the milk solids separate and sink, gently toasting at the bottom of the pot while the clear golden fat rises to the top, typically taking 15-25 minutes. Strain the golden liquid through cheesecloth into a clean jar, discarding the toasted solids. Unlike regular butter, properly made ghee is shelf-stable at room temperature for several months due to the removal of milk solids and water.
What you will need
Choose Quality Butter
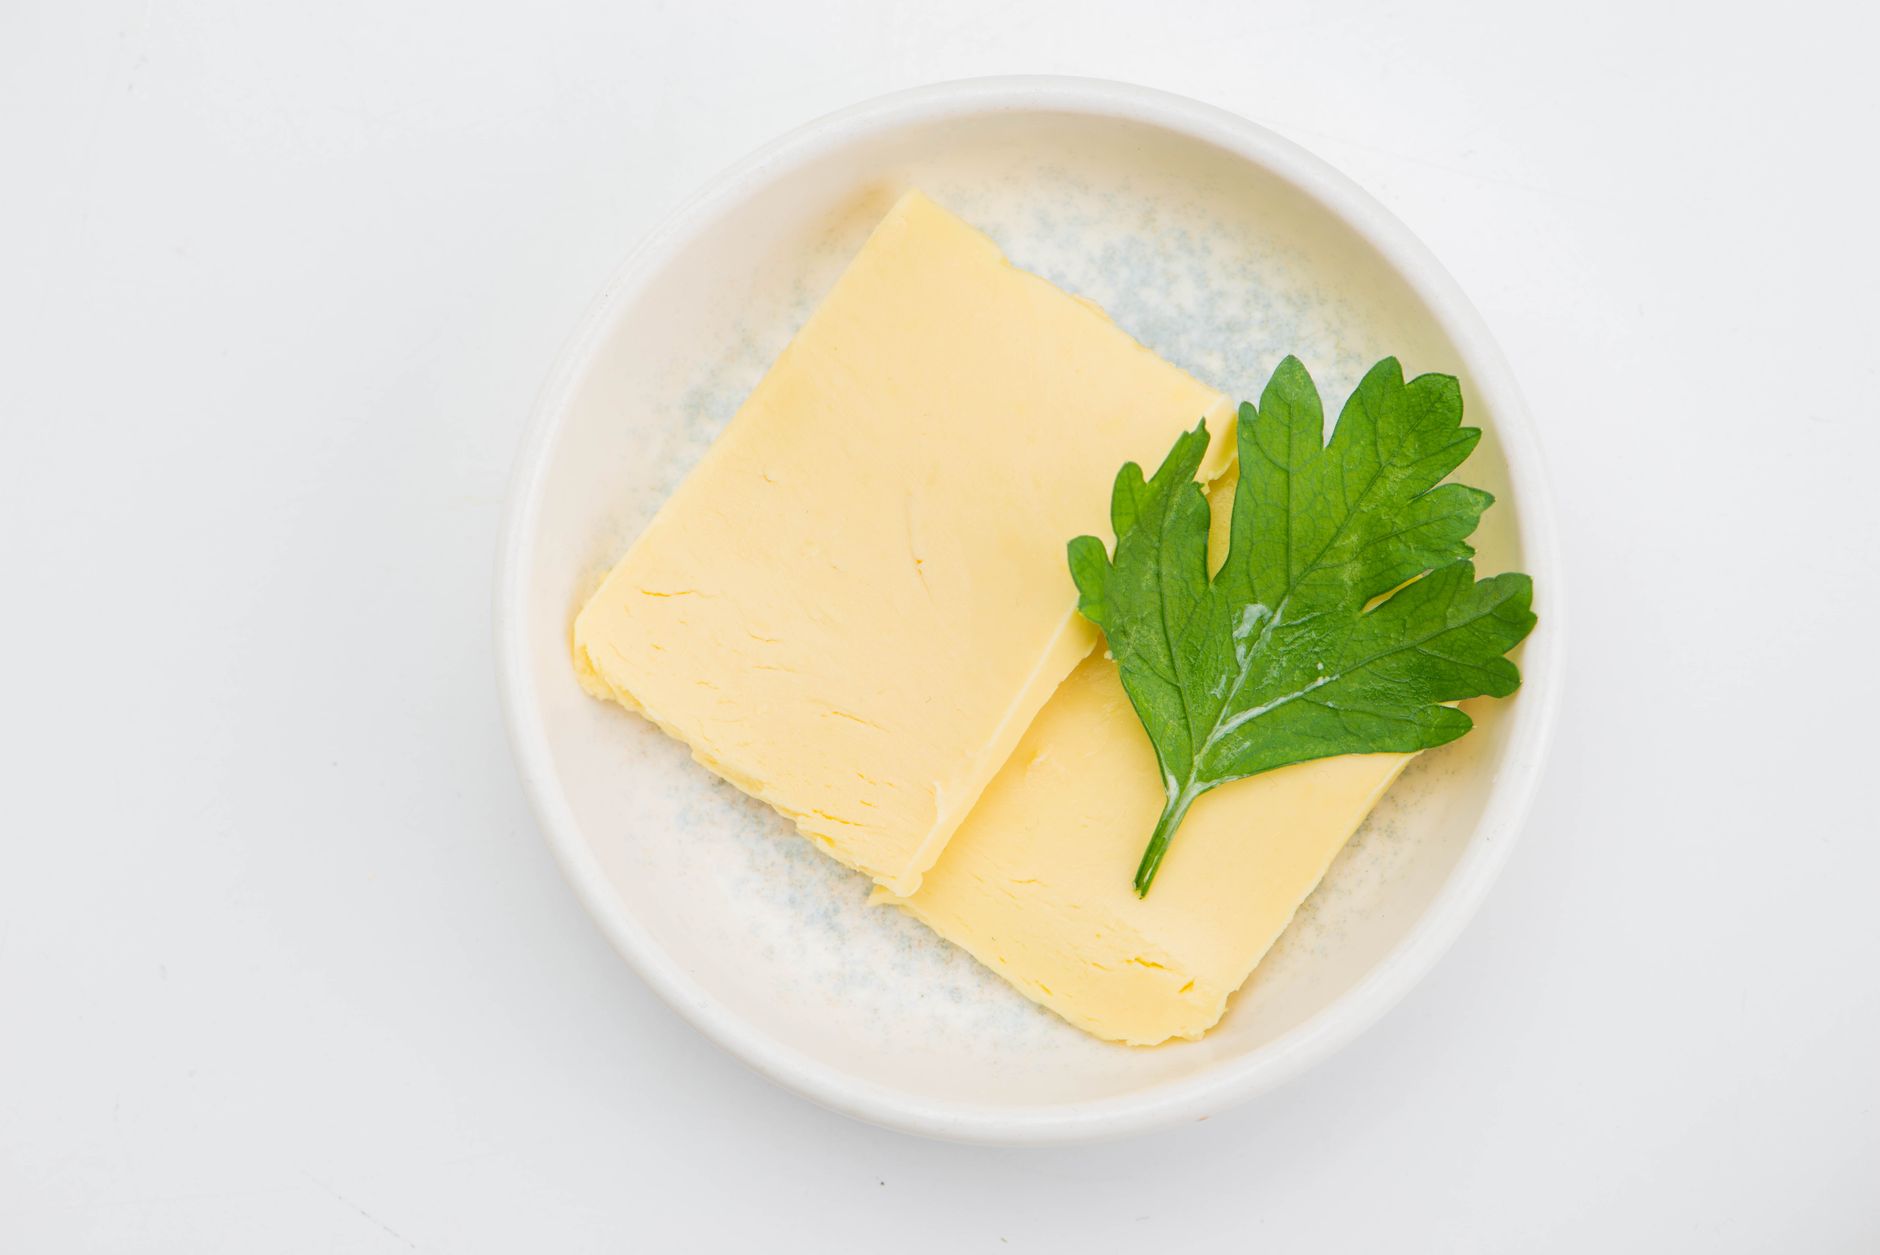
Use unsalted butter specifically, since salted butter can produce a ghee with an overly concentrated, unbalanced salty flavor once the water and milk solids are removed during processing.
Higher-quality butter, particularly from grass-fed cows if available, often produces ghee with a richer color and more complex flavor, though standard grocery store butter works perfectly well for a good result too.
You can use any quantity of butter you like, since the process scales easily; a pound of butter is a common starting batch size for beginners, yielding roughly 12-14 ounces of finished ghee.
Avoid using butter substitutes, margarine, or spreads, since these products contain water and other additives not present in real butter that can prevent proper ghee formation and won't clarify the same way.
Cut butter into smaller chunks before starting, which helps it melt more evenly and speeds up the initial melting phase before the actual simmering and clarification process begins.
Melt and Begin Simmering
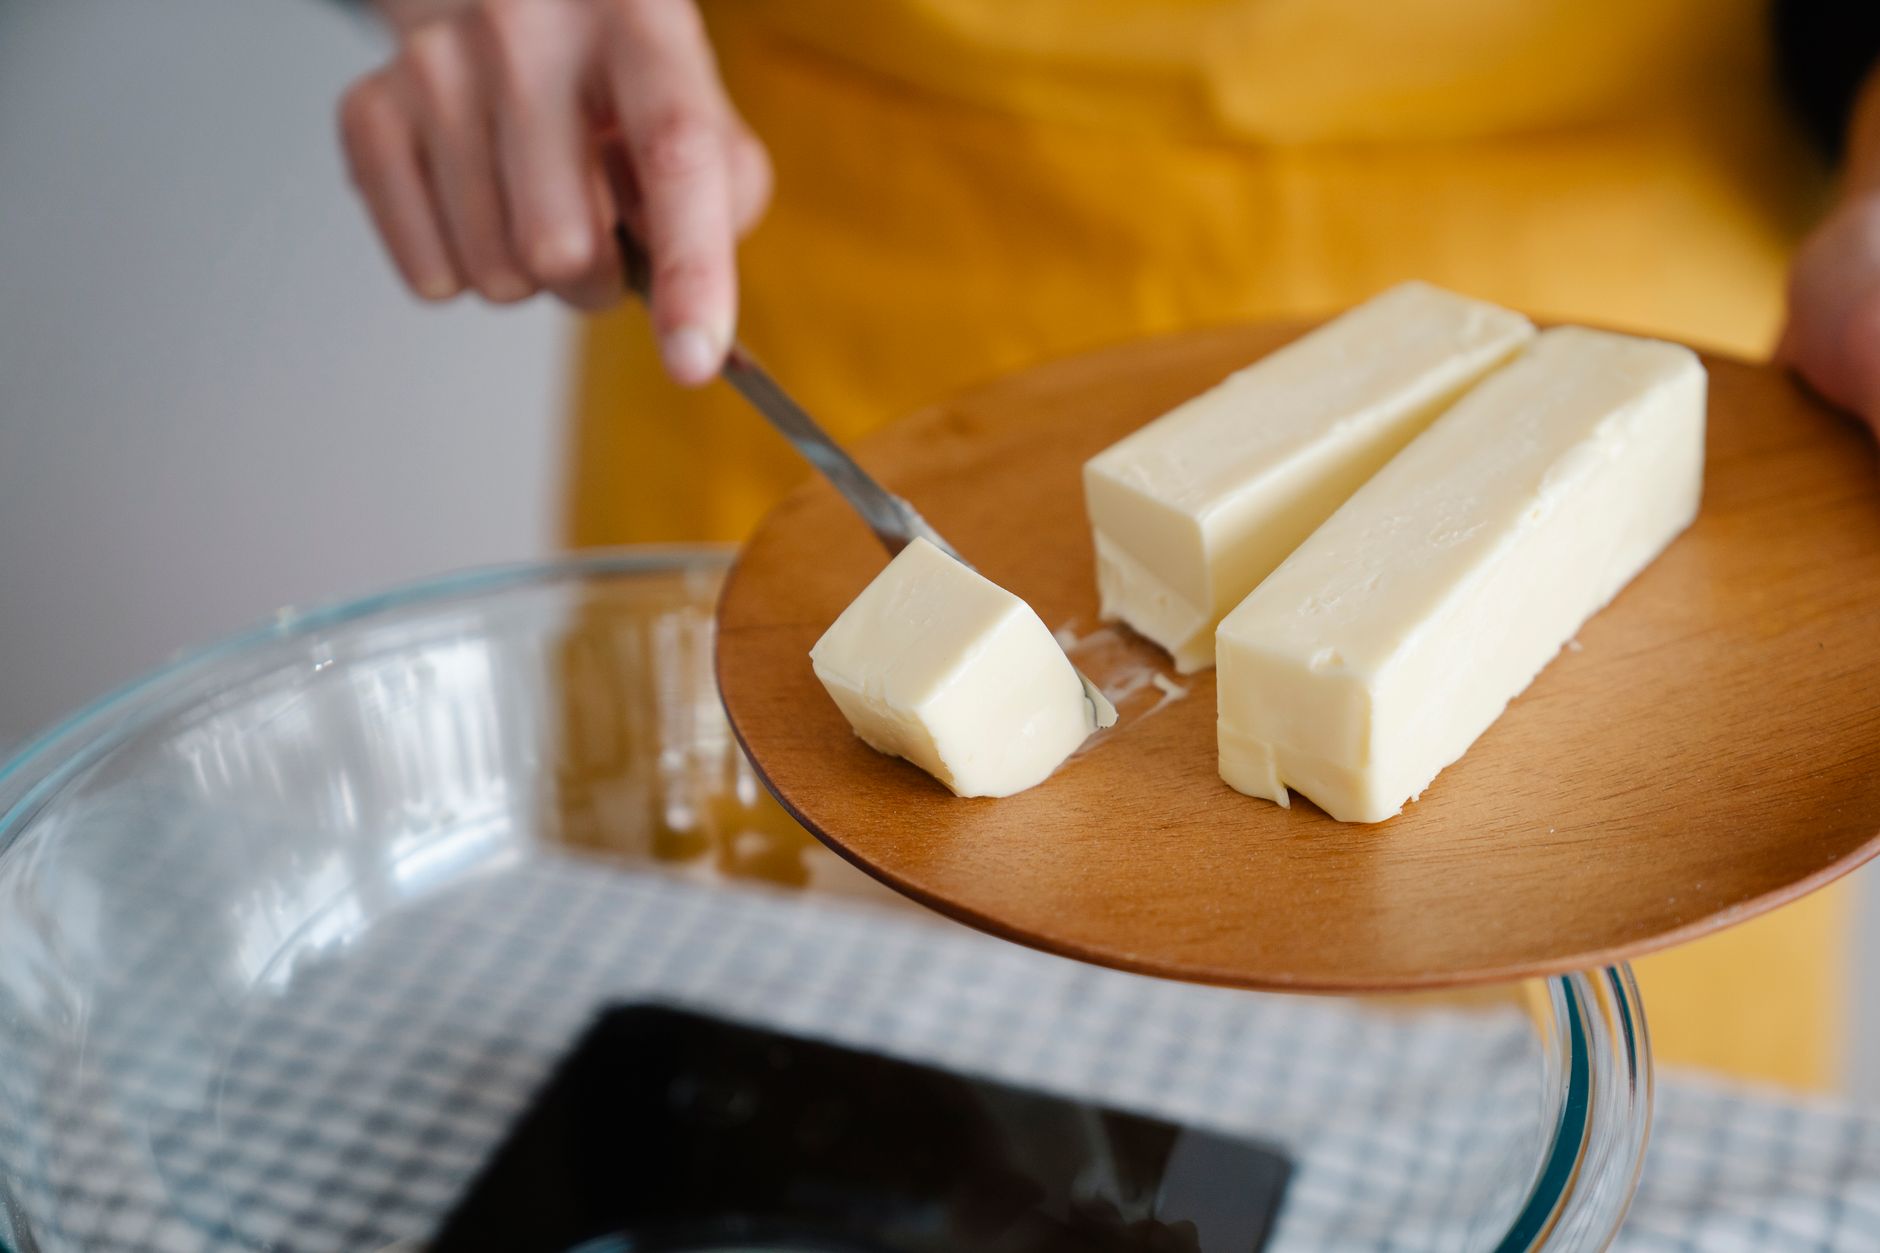
Place chunked butter in a heavy-bottomed saucepan over low to medium-low heat, which distributes heat evenly and reduces the risk of scorching compared to a thin-bottomed pan.
Let the butter melt completely, which typically takes a few minutes, without stirring excessively, simply allowing the process to proceed gently rather than rushing with higher heat.
Once fully melted, the butter will begin to foam as water content evaporates, a normal and expected stage that signals the process is progressing as it should.
Maintain low heat throughout this entire process; resist the temptation to increase temperature to speed things along, since higher heat significantly increases the risk of burning the milk solids and producing a bitter, off-flavored result.
Keep a close eye on the pot throughout, since ghee-making, while not requiring constant stirring, does require attention to prevent the transition from properly toasted to accidentally burned.
Watch for Milk Solid Separation
As simmering continues, you'll notice the butter separating into distinct layers: a foamy top layer, a clear golden liquid in the middle, and milk solids gradually sinking and browning at the bottom of the pot.
The foam on top will subside as water evaporates, and you may choose to skim some of it off periodically, though this step is optional since it will largely dissipate on its own as the process continues.
Watch the milk solids at the bottom transition from white to golden to light brown, which is the toasting process that gives ghee its distinctive nutty flavor, differentiating it from simple clarified butter.
The liquid itself will become notably clearer and more golden as this process continues, and you'll begin to smell a rich, nutty, almost caramel-like aroma developing as the milk solids toast.
This entire separation and toasting process typically takes 15-25 minutes total from when you first started melting the butter, though exact timing varies based on your specific heat level and batch size.
Know When Ghee Is Ready

Ghee is ready when the milk solids at the bottom turn a light golden-brown color (similar to lightly toasted bread) and the liquid above is completely clear with a golden amber color, rather than cloudy or pale yellow.
The bubbling and foaming activity typically calms down noticeably as ghee approaches readiness, since most of the water content has evaporated by this point in the process.
A nutty, slightly caramelized aroma is a reliable sign of properly toasted milk solids, while a burnt or acrid smell indicates the process has gone too far and the solids have scorched.
If in doubt, remove the pot from heat slightly early rather than risk overcooking, since a slightly underdeveloped ghee is easily fixed by straining and returning to low heat briefly, while burnt milk solids ruin the entire batch's flavor.
Remove the pot from heat as soon as you're satisfied with the color and aroma, since residual heat in the pan continues cooking the milk solids even after the burner is turned off.
Strain and Store Your Ghee

Line a fine mesh strainer with cheesecloth (or use a few layers of paper towel in a pinch) and set it over a clean, dry glass jar, then carefully pour the ghee through, straining out all the toasted milk solids.
Work carefully while the ghee is still warm and fully liquid, since it becomes considerably harder to strain smoothly once it begins solidifying at cooler temperatures.
Let the strained ghee cool to room temperature with the jar uncovered, since covering while still warm can trap condensation that introduces moisture, potentially affecting shelf stability.
Once fully cooled, seal the jar with a tight-fitting lid; ghee will naturally solidify into a soft, spreadable consistency at room temperature, similar to coconut oil, rather than remaining liquid.
Discard the strained-out milk solids, or save them as a flavorful addition to other cooking, since they're perfectly edible and offer a concentrated, toasty butter flavor useful in various dishes.
Store Properly for Maximum Shelf Life

Store ghee in a cool, dark pantry location for room-temperature storage, where it typically remains good for 2-3 months, thanks to the removal of water and milk solids that would otherwise support bacterial growth.
For extended shelf life, refrigerate ghee, where it commonly lasts 6-12 months, though it will become quite firm and solid at refrigerator temperatures, requiring a moment to soften before easy use.
Always use a clean, dry utensil when scooping ghee from the jar, since introducing moisture or food particles can compromise its otherwise excellent shelf stability.
Watch for any signs of spoilage regardless of storage method, including off odors, visible mold, or unusual discoloration, and discard if any of these signs appear, though properly made and stored ghee rarely develops issues within its typical shelf life.
Consider making smaller batches more frequently if you're new to ghee-making, which lets you develop your technique while working with more manageable quantities before scaling up to larger batches.
Use Ghee in Cooking and Beyond
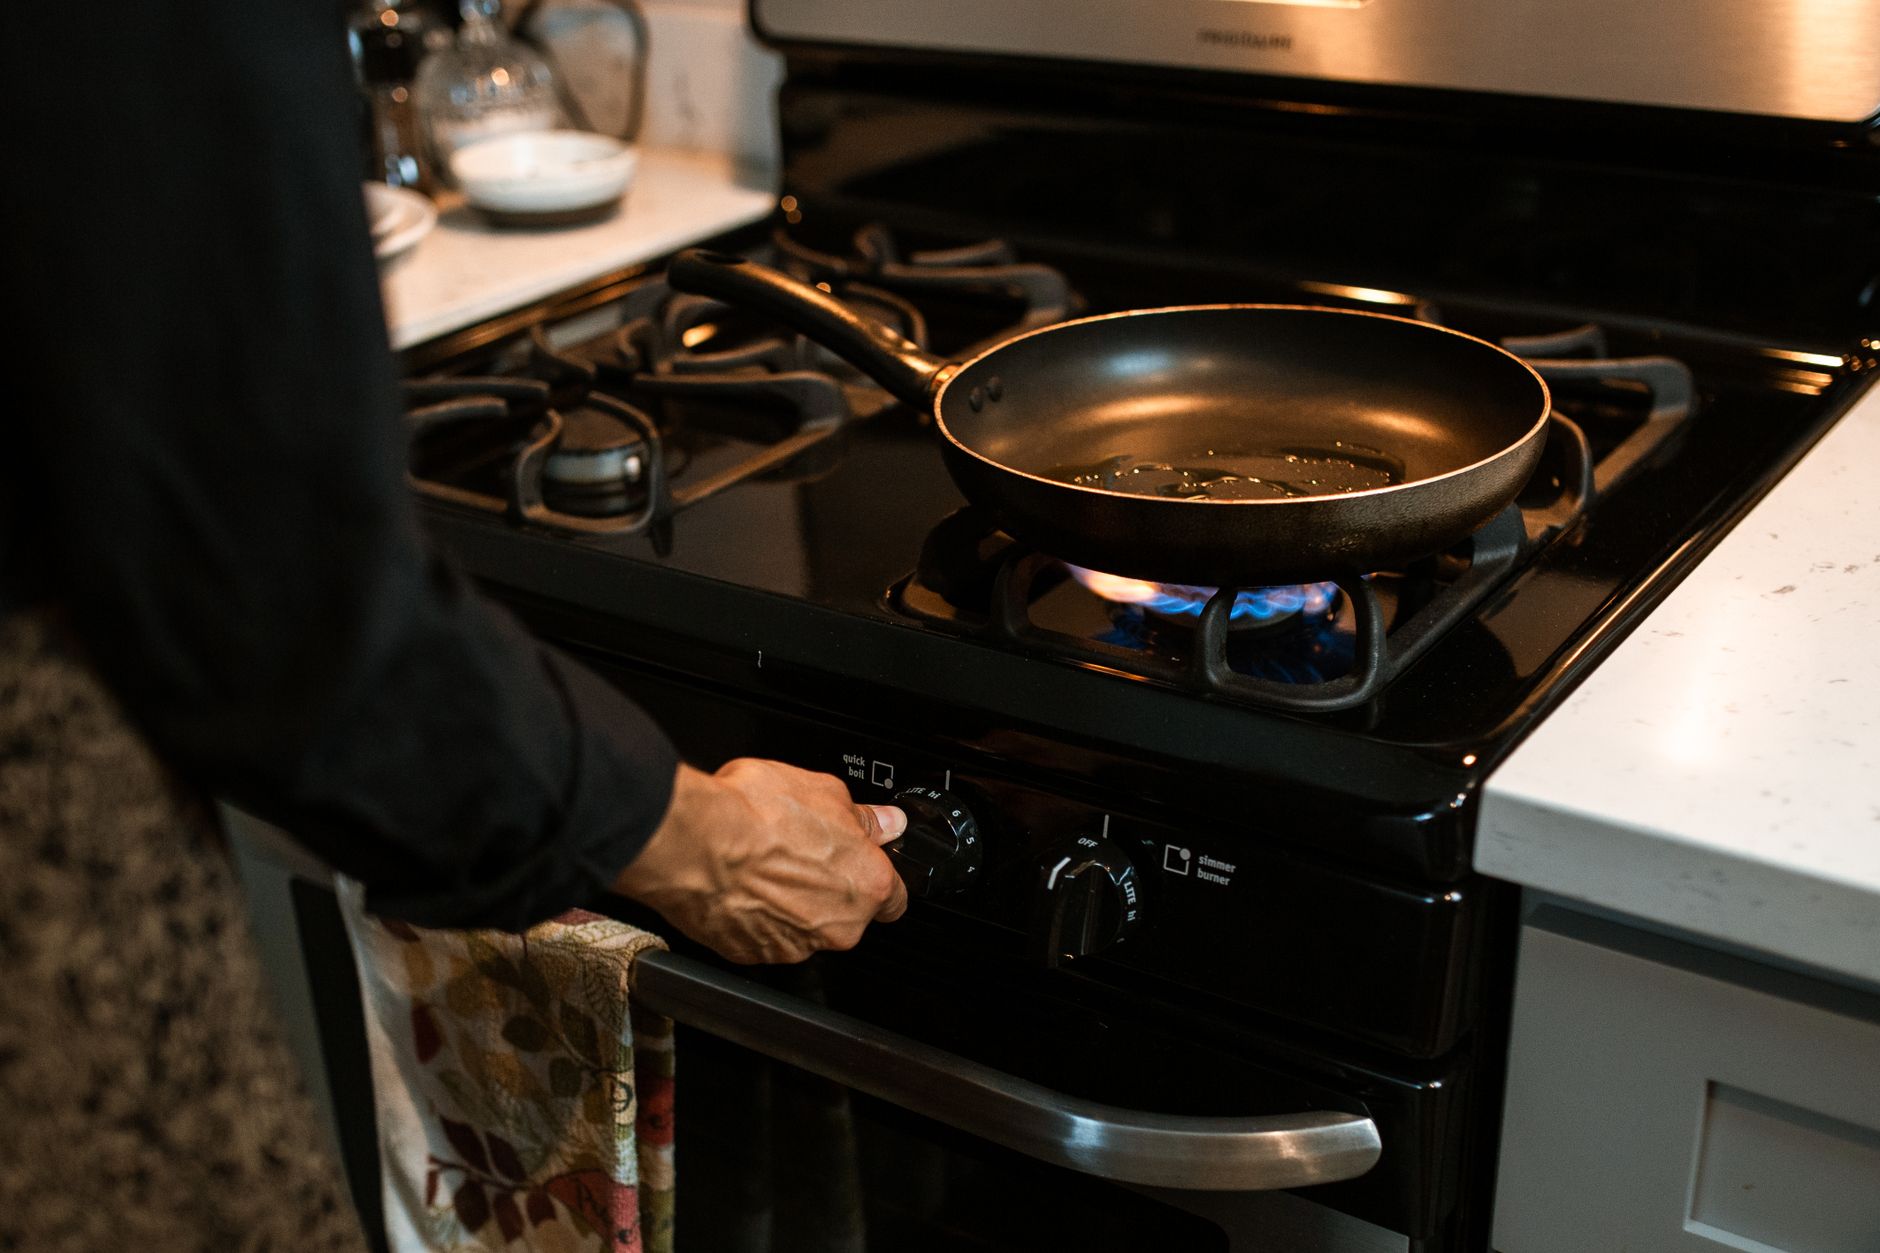
Use ghee for high-heat cooking methods like sautéing, roasting, and frying, taking advantage of its roughly 450°F smoke point, considerably higher than regular butter's approximately 350°F threshold.
Substitute ghee for butter or oil in most recipes at a roughly equal ratio, adjusting to taste since ghee's flavor is somewhat more concentrated and nutty than plain butter due to the toasting process.
Ghee works particularly well in traditional South Asian cooking, where it originated, though its high smoke point and rich flavor make it a versatile addition to a wide range of cuisines and cooking styles.
Some people also use ghee outside the kitchen, such as in homemade skincare recipes, taking advantage of its stable, moisturizing fat content, similar to how other rendered fats are sometimes used in traditional preparations.
Common problems and fixes
| Problem | Likely cause | What to do |
|---|---|---|
| Ghee has a burnt or bitter flavor | Heat was too high, or the process continued too long past the proper toasting point. | Use lower heat and watch more closely for the golden-brown (not dark brown or black) milk solid color in future batches, removing from heat promptly once reached. |
| Finished ghee is cloudy rather than clear | Incomplete straining, leaving some milk solid particles in the finished product. | Strain more thoroughly through multiple layers of cheesecloth, and consider a second straining pass if cloudiness persists. |
| Ghee develops an off smell during storage | Moisture introduced during storage, or milk solids not fully strained out, compromising shelf stability. | Discard the affected batch, and ensure thorough straining and completely dry storage conditions in future batches. |
Gardener's checklist
Test what you learned
Why should unsalted butter be used for making ghee?
Answer: Salted butter produces an overly concentrated salty flavor as water evaporates
What indicates that ghee is properly finished?
Answer: Milk solids are golden-brown with a nutty aroma and the liquid is clear
Why is ghee shelf-stable at room temperature unlike regular butter?
Answer: Water and milk solids, which support bacterial growth, are removed
Common questions
What's the difference between ghee and regular clarified butter?
Both remove milk solids and water from butter, but ghee is simmered longer, allowing the milk solids to toast and brown before straining, which develops a distinctive nutty flavor that plain clarified butter, strained before browning occurs, doesn't have.
Does ghee need to be refrigerated?
No, properly made ghee is shelf-stable at room temperature for 2-3 months due to the removal of water and milk solids, though refrigeration extends shelf life further to 6-12 months if you prefer that storage method.
Can I make ghee from salted butter?
It's not recommended, since removing the water content concentrates the remaining salt, often producing an overly salty finished ghee; unsalted butter gives you full control over seasoning in whatever dish you ultimately use the ghee for.
Why does ghee have a higher smoke point than regular butter?
Ghee's higher smoke point (around 450°F, compared to butter's roughly 350°F) comes from removing the milk solids and water that cause regular butter to burn and smoke at lower temperatures, making ghee better suited to high-heat cooking.
Is ghee suitable for people with lactose intolerance?
Many people with lactose intolerance find ghee easier to tolerate than regular butter, since the milk solids containing most of the lactose are removed during the straining process, though individual sensitivity varies and consulting a healthcare provider is worthwhile for anyone with significant dairy concerns.
How much ghee does one pound of butter make?
Roughly 12-14 ounces of finished ghee, since the water content (making up a meaningful portion of butter's weight) evaporates during simmering, and the milk solids are removed through straining, leaving a somewhat smaller final yield than the starting butter volume.
Making ghee at home transforms simple butter into a flavorful, shelf-stable cooking fat through a straightforward simmering process, and the patience to watch for that perfect golden-brown milk solid color rewards you with rich, nutty flavor that plain clarified butter simply can't match.
Frequently asked questions
How often should a vegetable garden be watered?
Frequency depends on weather, soil and plant size. Check the soil rather than watering on a rigid schedule.
Is compost enough fertilizer?
Compost improves soil and provides nutrients slowly. Heavy-feeding crops may still need additional feeding.

The Sproutstead Editorial Team
We create clear, practical gardening and homesteading guides designed for real homes and beginner growers.
View author profile →