Make elderberry syrup by simmering fresh or dried elderberries in water for 30-45 minutes, then straining out the solids and sweetening the resulting liquid with honey or sugar. Raw elderberries and other plant parts contain compounds that can cause nausea if eaten uncooked, so berries must always be fully cooked before consuming. Refrigerated syrup typically lasts 2-3 months, or longer if a preservative like alcohol is added.
What you will need
Understand Elderberry Safety Basics

Only use fully ripe, dark purple-black elderberries (Sambucus nigra or Sambucus canadensis); unripe green or red berries, along with the plant's leaves, stems, bark, and roots, contain compounds that can cause nausea, vomiting, or other digestive upset if consumed.
Always cook elderberries thoroughly before eating or using them in syrup; the cooking process breaks down the compounds of concern, making properly cooked, ripe berries safe to consume for most people.
Remove berries from their stems before cooking, since the stems themselves are among the plant parts best avoided; this is easiest done by running a fork through the clusters or freezing berries first, which makes them release from stems more readily.
If foraging elderberries rather than purchasing them, positive identification is essential, since elderberry can be confused with similar-looking but toxic plants; consult a knowledgeable local expert or detailed regional foraging guide if you're not already confident in your identification.
This guide covers traditional elderberry syrup preparation; it does not constitute medical advice, and anyone with specific health conditions or who is pregnant, nursing, or taking medications should consult a healthcare provider before using elderberry preparations.
Choose Fresh or Dried Berries

Fresh elderberries, available during their late summer to early fall harvest season, offer the most direct connection to the growing season if you have access to a plant, whether foraged or cultivated.
Dried elderberries, available year-round from herbal suppliers, offer convenience and consistency, working well for gardeners without direct access to fresh berries or those wanting to make syrup outside the fresh harvest window.
Use roughly twice the volume of fresh berries compared to dried, since drying concentrates the berries; a common starting ratio is about 1 cup of dried berries (or 2 cups fresh) per 3 cups of water.
If harvesting fresh berries yourself, pick only fully ripe, deep purple-black clusters, avoiding any berries that are still greenish or red, and process promptly rather than letting harvested berries sit for extended periods.
Dried berries can be stored in a cool, dark location in an airtight container for a year or more, making them a practical pantry staple for making syrup whenever convenient rather than being tied to a specific harvest window.
Simmer Berries Until Fully Cooked

Combine your prepared berries (fresh or dried) with water in a saucepan, using your chosen ratio, and bring to a boil, then reduce to a simmer.
Simmer for 30-45 minutes, which both fully cooks the berries (addressing the safety concern around raw consumption) and extracts their color, flavor, and beneficial compounds into the liquid.
Some traditional recipes add warming spices during this simmering stage, such as cinnamon sticks, whole cloves, or fresh ginger, which infuse into the syrup alongside the elderberry flavor.
The liquid should reduce somewhat during simmering and take on a deep, rich purple-black color as the berries release their pigment and flavor compounds into the water.
Mash the berries gently with a potato masher or the back of a spoon partway through simmering, which helps release more juice and flavor from the softening berries into the surrounding liquid.
Strain Out the Solids
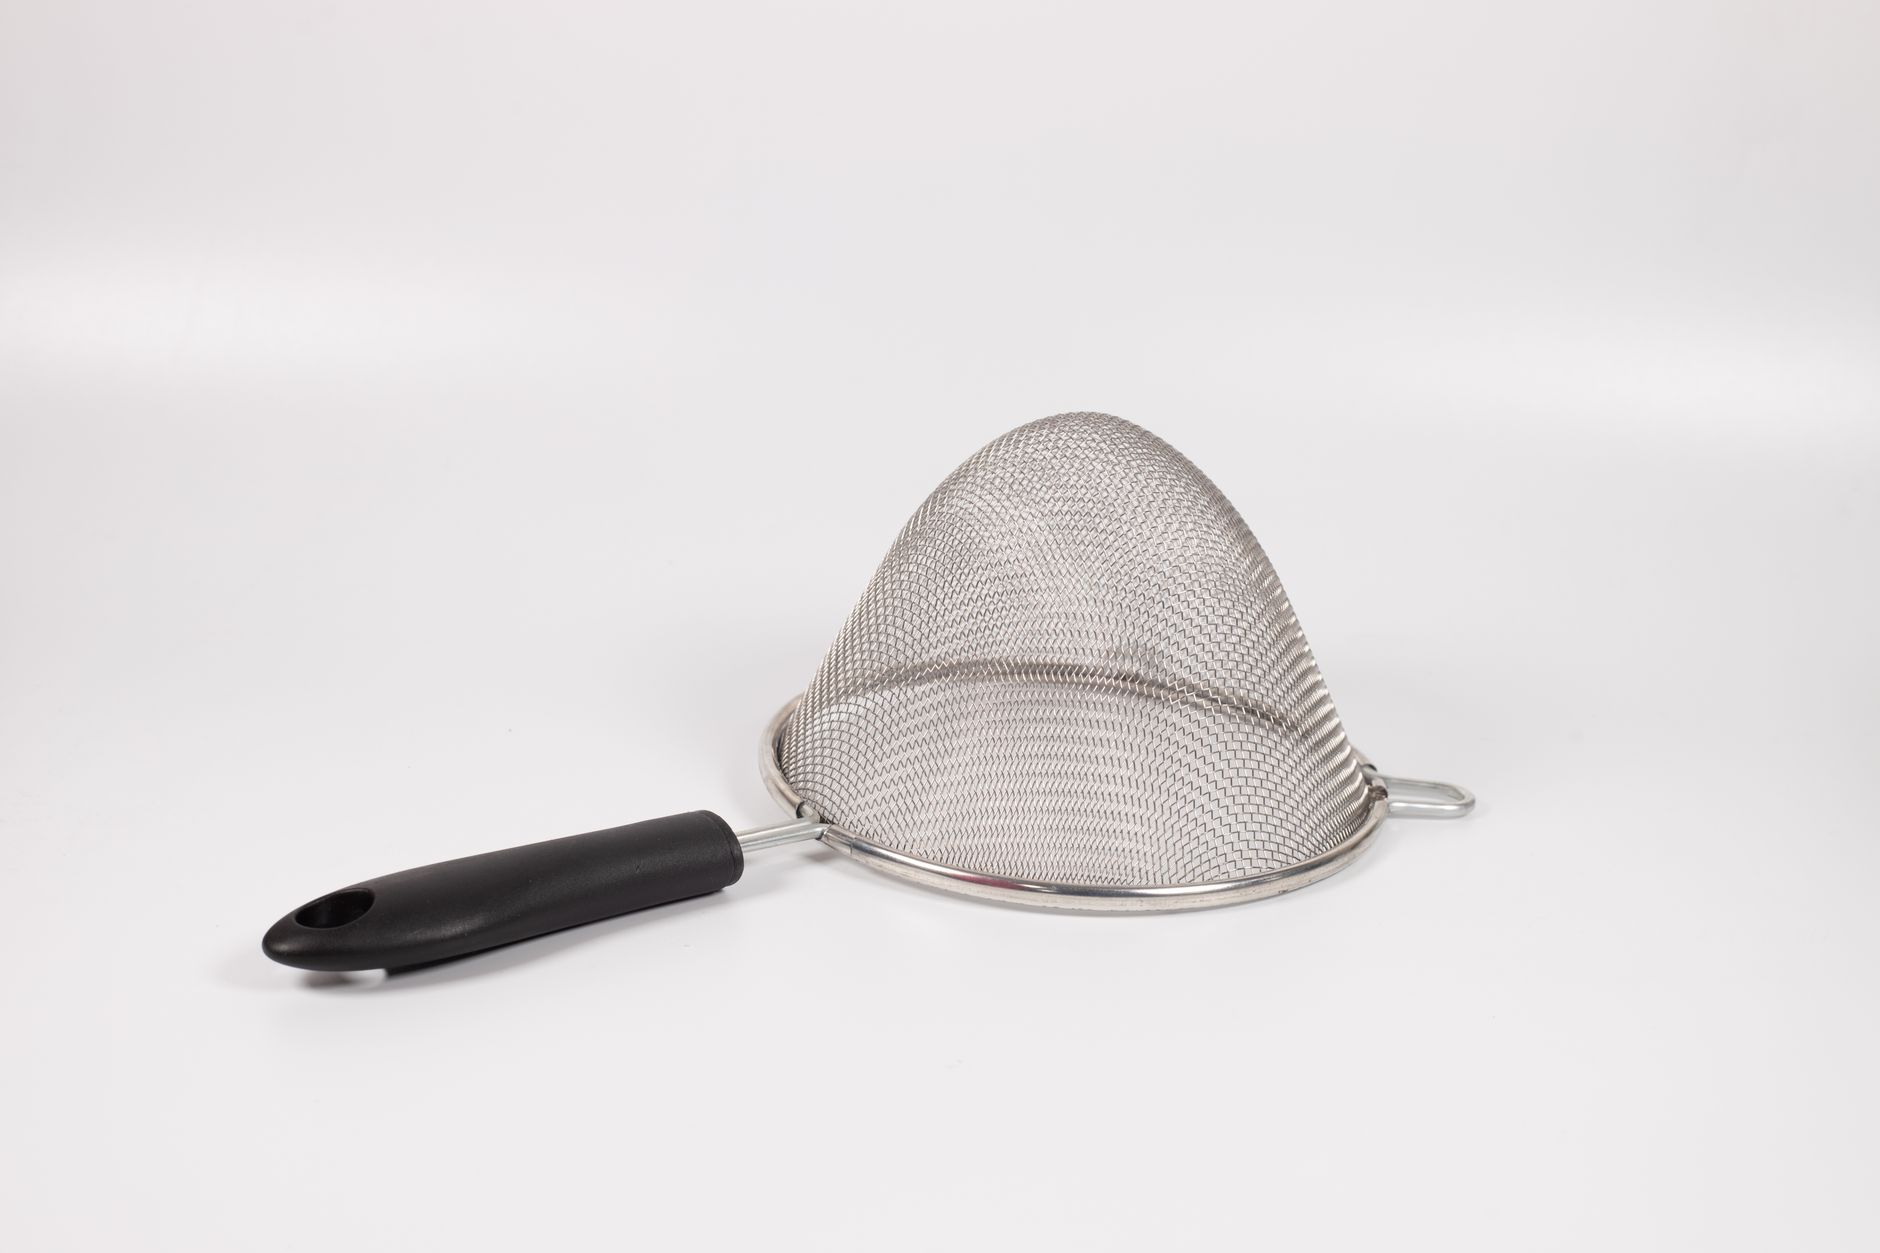
Pour the simmered mixture through a fine mesh strainer lined with cheesecloth, set over a bowl or another pot, allowing the liquid to pass through while capturing the softened berry solids.
Press firmly on the solids with the back of a spoon or by gathering the cheesecloth and squeezing, which extracts additional liquid and flavor that would otherwise be left behind in the discarded solids.
Discard the strained-out berry pulp and any spices used, or compost them, since their flavor and nutritional value have largely transferred to the strained liquid at this point.
Let the strained liquid cool slightly before proceeding to the sweetening step, since adding raw honey specifically to still-very-hot liquid is sometimes avoided by those wanting to preserve honey's more delicate qualities, though this is a matter of preference rather than safety.
Measure your strained liquid at this point, since knowing the exact volume helps you calculate the appropriate amount of sweetener for your preferred final ratio.
Sweeten Your Syrup

Add honey to the warm (not boiling) strained liquid, typically in a roughly equal ratio by volume, stirring until fully dissolved and incorporated.
Raw honey is a popular traditional choice, valued by many for its own beneficial properties, though it should be added to liquid that's warm rather than actively boiling, since very high heat can degrade some of raw honey's more delicate qualities.
Granulated sugar is an alternative sweetener that can be added while the liquid is still hot on the stove, simply stirring until fully dissolved before removing from heat.
Adjust sweetness to taste, understanding that the sweetener also contributes to the syrup's preservation and shelf stability, so significantly reducing sugar or honey content can shorten how long the finished syrup keeps well.
Never give honey-sweetened preparations to infants under one year old, following standard food safety guidance regarding honey and this age group specifically, due to the small risk of infant botulism.
Bottle and Store Properly

Pour finished syrup into clean glass bottles, ideally using a funnel to avoid spills, and seal with a tight-fitting cap or cork.
Refrigerate elderberry syrup, since it isn't processed for shelf-stable room-temperature storage like canned goods; refrigerated syrup typically stays good for 2-3 months.
For extended shelf life, some traditional recipes add a small amount of brandy or vodka (roughly 1/4 cup per pint of syrup) as a natural preservative, which can extend refrigerated shelf life to 6 months or longer.
Label bottles with the preparation date, which helps you track freshness and know when it's time to make a fresh batch.
Freeze elderberry syrup in ice cube trays for longer-term storage if desired, then transfer frozen cubes to a freezer bag, providing convenient single-serving portions that thaw quickly when needed.
Consider Growing Your Own Elderberry Bushes

Elderberry bushes are relatively easy to grow in many temperate climates, tolerating a range of soil conditions and typically beginning to produce a meaningful berry harvest within 2-3 years of planting.
Growing your own plants eliminates any uncertainty around foraged berry identification, since you'll know with confidence that your cultivated plants are genuine elderberry rather than a similar-looking but potentially toxic lookalike.
Plant elderberry in a location with full to partial sun and consistently moist (but not waterlogged) soil, and consider planting more than one variety, since some elderberry types benefit from cross-pollination for better fruit production.
A well-established elderberry bush can produce a substantial annual harvest, often more berries than a single household needs for syrup, making it a practical addition to a homestead or larger garden setup.
Common problems and fixes
| Problem | Likely cause | What to do |
|---|---|---|
| Syrup tastes weak or watery | Insufficient berry-to-water ratio, or not simmering long enough to fully extract flavor. | Increase the berry ratio in future batches, and ensure a full 30-45 minute simmer before straining. |
| Syrup develops mold during storage | Insufficient refrigeration, contamination during bottling, or storage beyond the typical shelf life. | Discard the affected batch, ensure thorough refrigeration, and consider adding a brandy preservative for extended storage in future batches. |
Gardener's checklist
Test what you learned
Why must elderberries be cooked before consumption?
Answer: Raw berries contain compounds that can cause nausea
How long does refrigerated elderberry syrup typically last?
Answer: 2-3 months
Why should honey not be given to infants under one year old?
Answer: Risk of infant botulism
Common questions
Can I use fresh elderberries straight from the plant?
Only fully ripe, dark purple-black berries should be used, and they must always be cooked before consumption; unripe berries and other plant parts like stems and leaves should be avoided entirely.
How do I sweeten elderberry syrup without sugar or honey?
Alternative sweeteners like maple syrup can be substituted, though this will affect both flavor and the syrup's shelf stability, since sweetener concentration plays a role in preservation as well as taste.
Can I freeze elderberry syrup?
Yes, freezing in ice cube trays and then transferring to a freezer bag provides convenient portions and extends storage well beyond the 2-3 month refrigerated shelf life.
Is homemade elderberry syrup the same as store-bought?
Homemade syrup follows the same basic principle as commercial products, cooked elderberries combined with a sweetener, though homemade versions let you control ingredients, sweetness level, and any added spices to your own preference.
Can I add other fruits or herbs to elderberry syrup?
Yes, many traditional recipes incorporate additions like fresh ginger, cinnamon, cloves, or citrus zest during the simmering stage, which infuse into the syrup alongside the elderberry flavor and can be adjusted to your personal taste preference.
What's the correct dosage for elderberry syrup?
This guide covers preparation rather than dosing recommendations, since appropriate use varies by individual circumstances; consult a healthcare provider for guidance specific to your situation, particularly for children, pregnant or nursing individuals, or those with existing health conditions.
Homemade elderberry syrup is a straightforward traditional preparation once you understand the essential safety step of thorough cooking, and the resulting syrup keeps well in the refrigerator as a pantry staple made from properly identified, ripe berries.
Frequently asked questions
How often should a vegetable garden be watered?
Frequency depends on weather, soil and plant size. Check the soil rather than watering on a rigid schedule.
Is compost enough fertilizer?
Compost improves soil and provides nutrients slowly. Heavy-feeding crops may still need additional feeding.

The Sproutstead Editorial Team
We create clear, practical gardening and homesteading guides designed for real homes and beginner growers.
View author profile →