
Grow tomatoes (Solanum lycopersicum) in containers at least 10-15 gallons for determinate varieties or 20+ gallons for indeterminate types, using quality potting mix rather than garden soil. Water daily during hot weather since containers dry out fast, feed every 2-3 weeks, and provide a sturdy stake or cage from the start. Works in USDA zones 3-11 as a warm-season annual, with container growing especially useful for patios, balconies, and poor native soil.
What you will need
Choose the Right Container Size and Variety
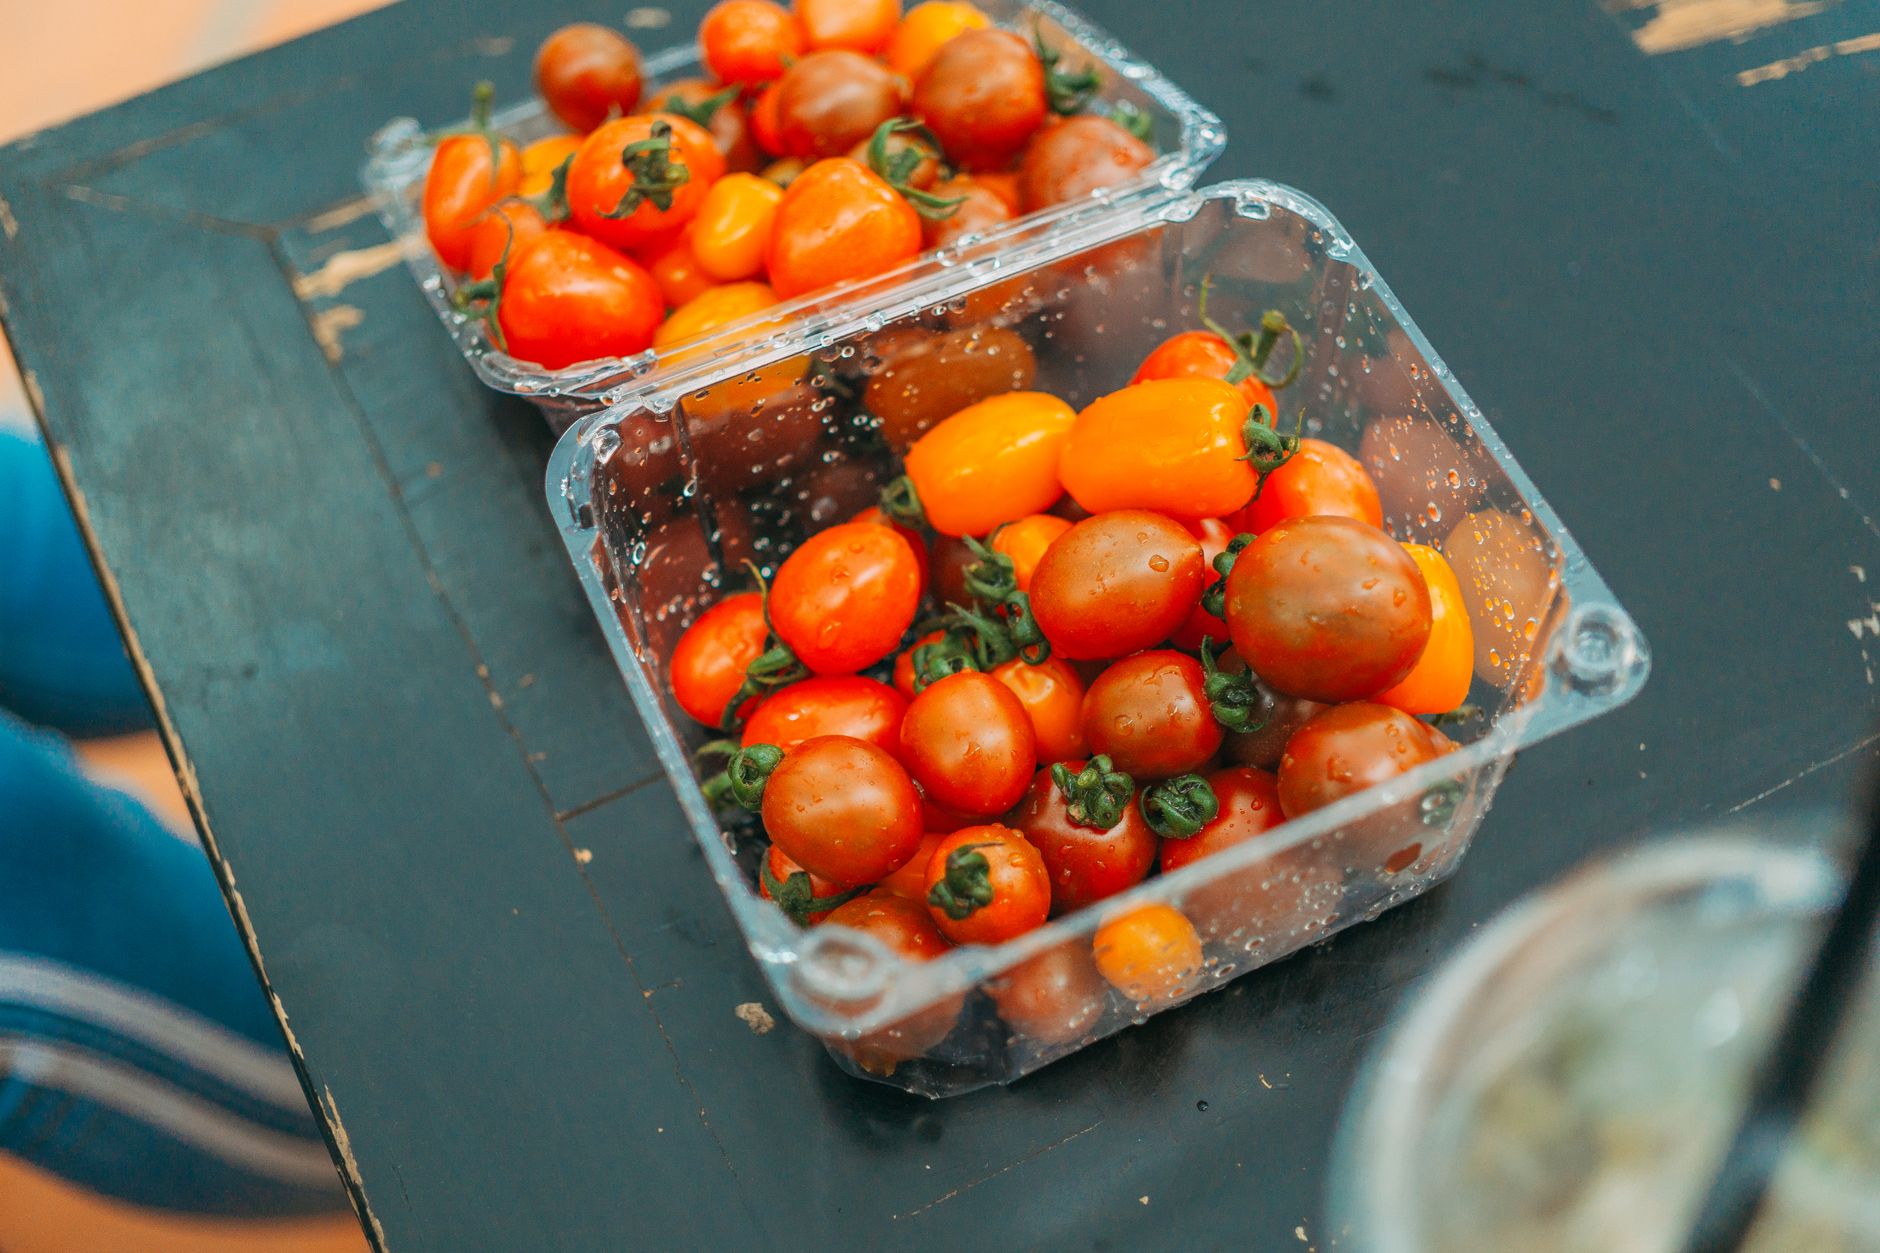
Choose determinate or dwarf/patio varieties like Bush Early Girl, Patio Princess, or Tiny Tim for containers under 15 gallons, since these stay compact and don't need the extensive root volume indeterminate types require to fully size up and produce well.
For indeterminate varieties like Beefsteak or Cherokee Purple, which keep growing and setting new fruit clusters throughout the season, use a container of at least 20-25 gallons; anything smaller genuinely restricts root growth and noticeably reduces both fruit size and total yield by midsummer.
A good rule of thumb is one plant per container regardless of size, since even a large pot doesn't have enough root volume to support multiple full-sized tomato plants competing for the same confined soil space and nutrients.
Cherry and grape tomato varieties are particularly well-suited to container growing, since they're naturally more compact and forgiving of the somewhat limited root space compared to large-fruited beefsteak types, while still producing an abundant, steady harvest.
If you're growing in a genuinely small space like a narrow balcony, consider a half whiskey barrel or similarly proportioned wide, shallow container, which offers good volume without requiring the vertical footprint a tall, narrow pot would need.
Use Quality Potting Mix, Not Garden Soil
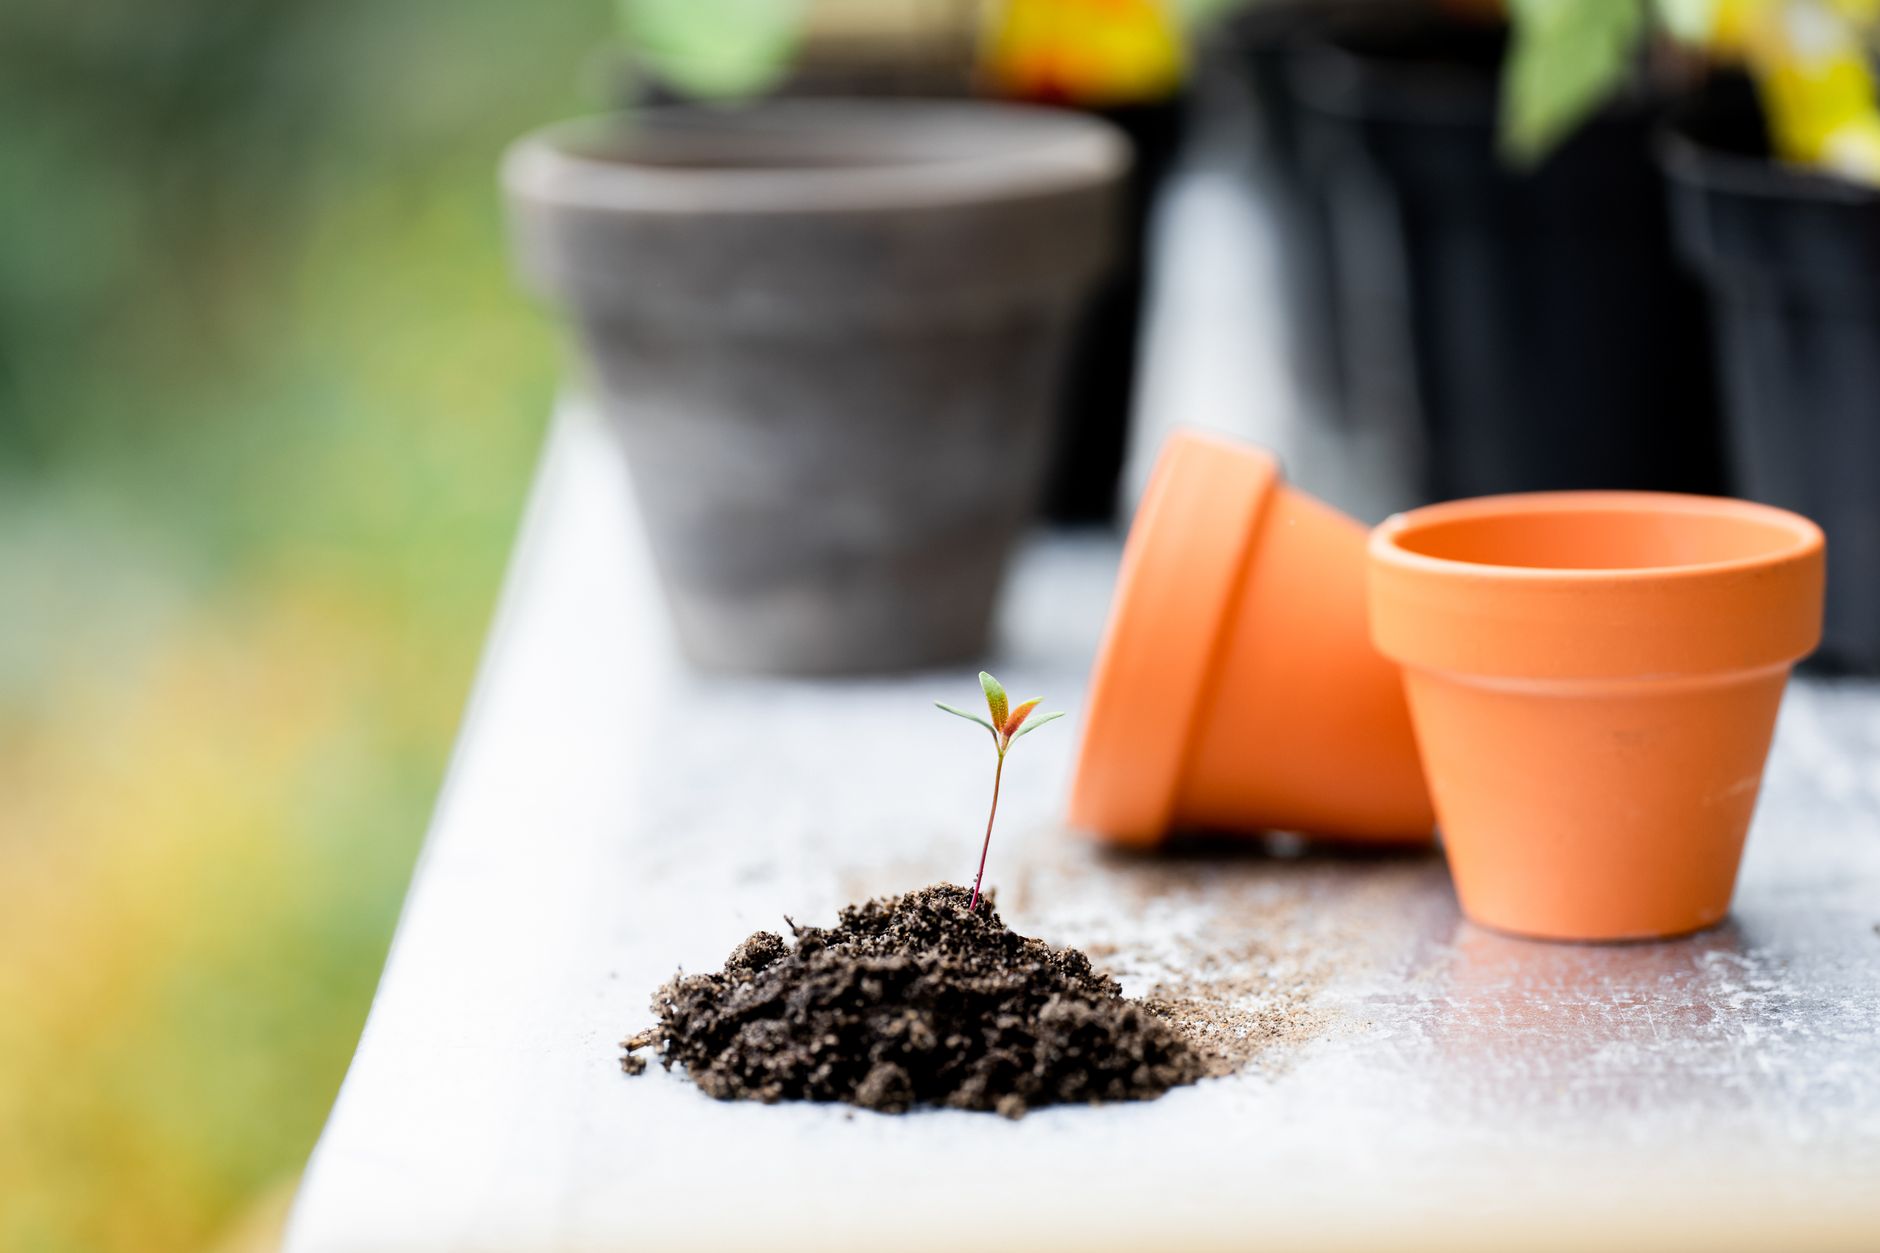
Garden soil, even good garden soil, compacts significantly when confined in a container, restricting oxygen to roots and draining unevenly, so use a quality potting mix specifically formulated for containers rather than digging soil straight from your yard.
Look for a potting mix containing perlite or vermiculite for drainage and aeration, along with some compost or organic matter for fertility; most commercial potting mixes labeled for vegetables or containers already balance these components reasonably well.
Avoid mixes labeled purely as 'garden soil' or 'topsoil' sold in bags, which are intended for amending in-ground beds rather than filling containers, and will compact and drain poorly if used as a container's sole growing medium.
Mix in a slow-release balanced fertilizer at planting time if your potting mix doesn't already include one, giving plants a nutritional head start before your regular feeding schedule begins a few weeks later.
Consider refreshing at least half the potting mix each new season rather than reusing the exact same material year after year, since nutrients deplete and soil structure gradually breaks down over repeated growing seasons.
Ensure Drainage and Plant Deep
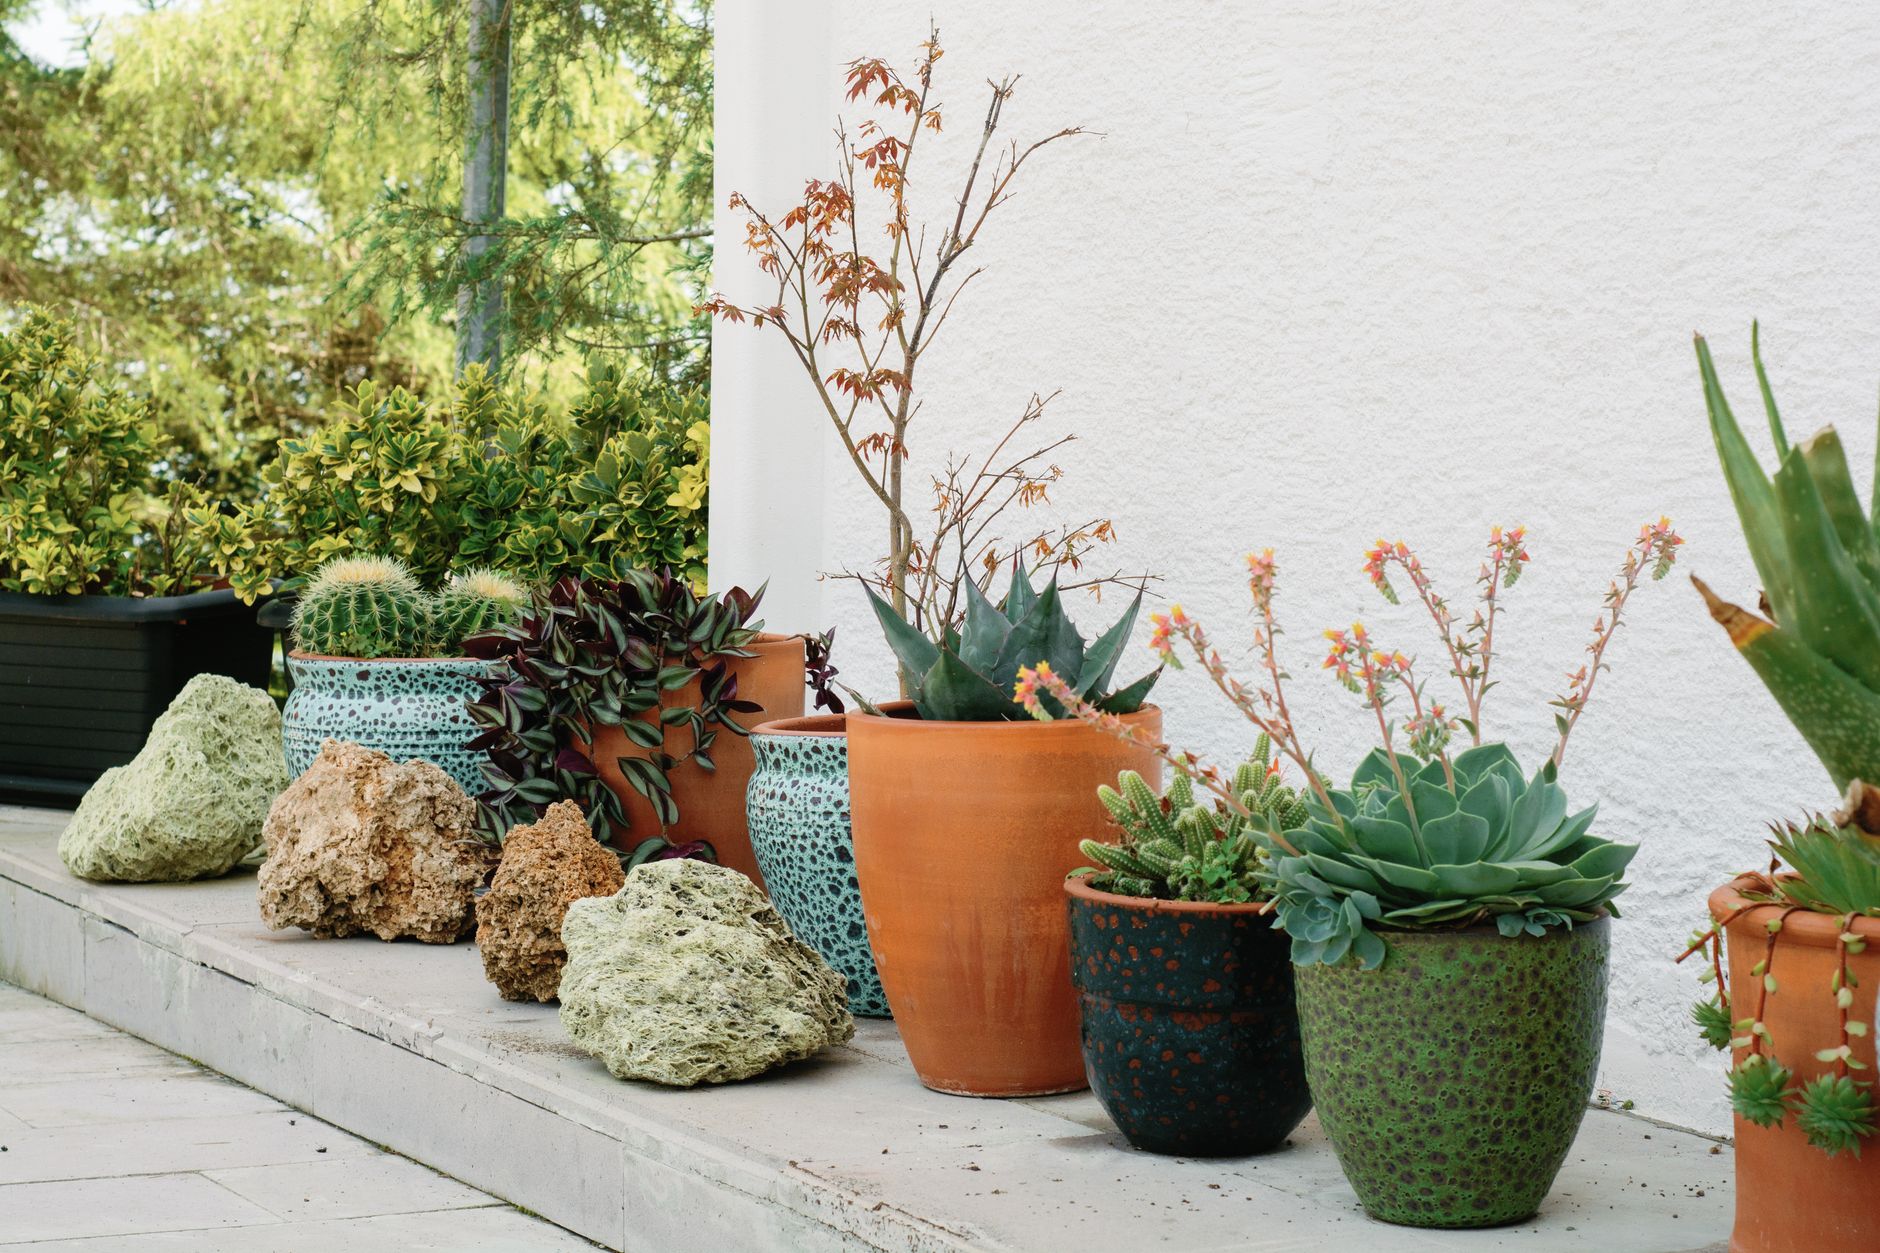
Confirm your container has adequate drainage holes; if not, drill several across the bottom before planting, since tomatoes are quite sensitive to waterlogged roots and standing water at the base of a pot quickly leads to root rot.
Elevate containers slightly on pot feet, blocks, or bricks to ensure water drains freely away from the bottom rather than pooling underneath and blocking the drainage holes from functioning properly.
Plant tomato transplants deep, burying two-thirds of the stem just as you would in the ground, since this encourages the same beneficial adventitious root growth along the buried stem that produces a stronger, more resilient plant.
Fill the container to within 2-3 inches of the rim, leaving room for watering without soil and mulch overflowing every time you water thoroughly.
Avoid using a saucer that traps water directly beneath the pot for extended periods, since this can effectively cancel out the benefit of good drainage holes by keeping the root zone consistently wet from below.
Water More Frequently Than In-Ground Plants
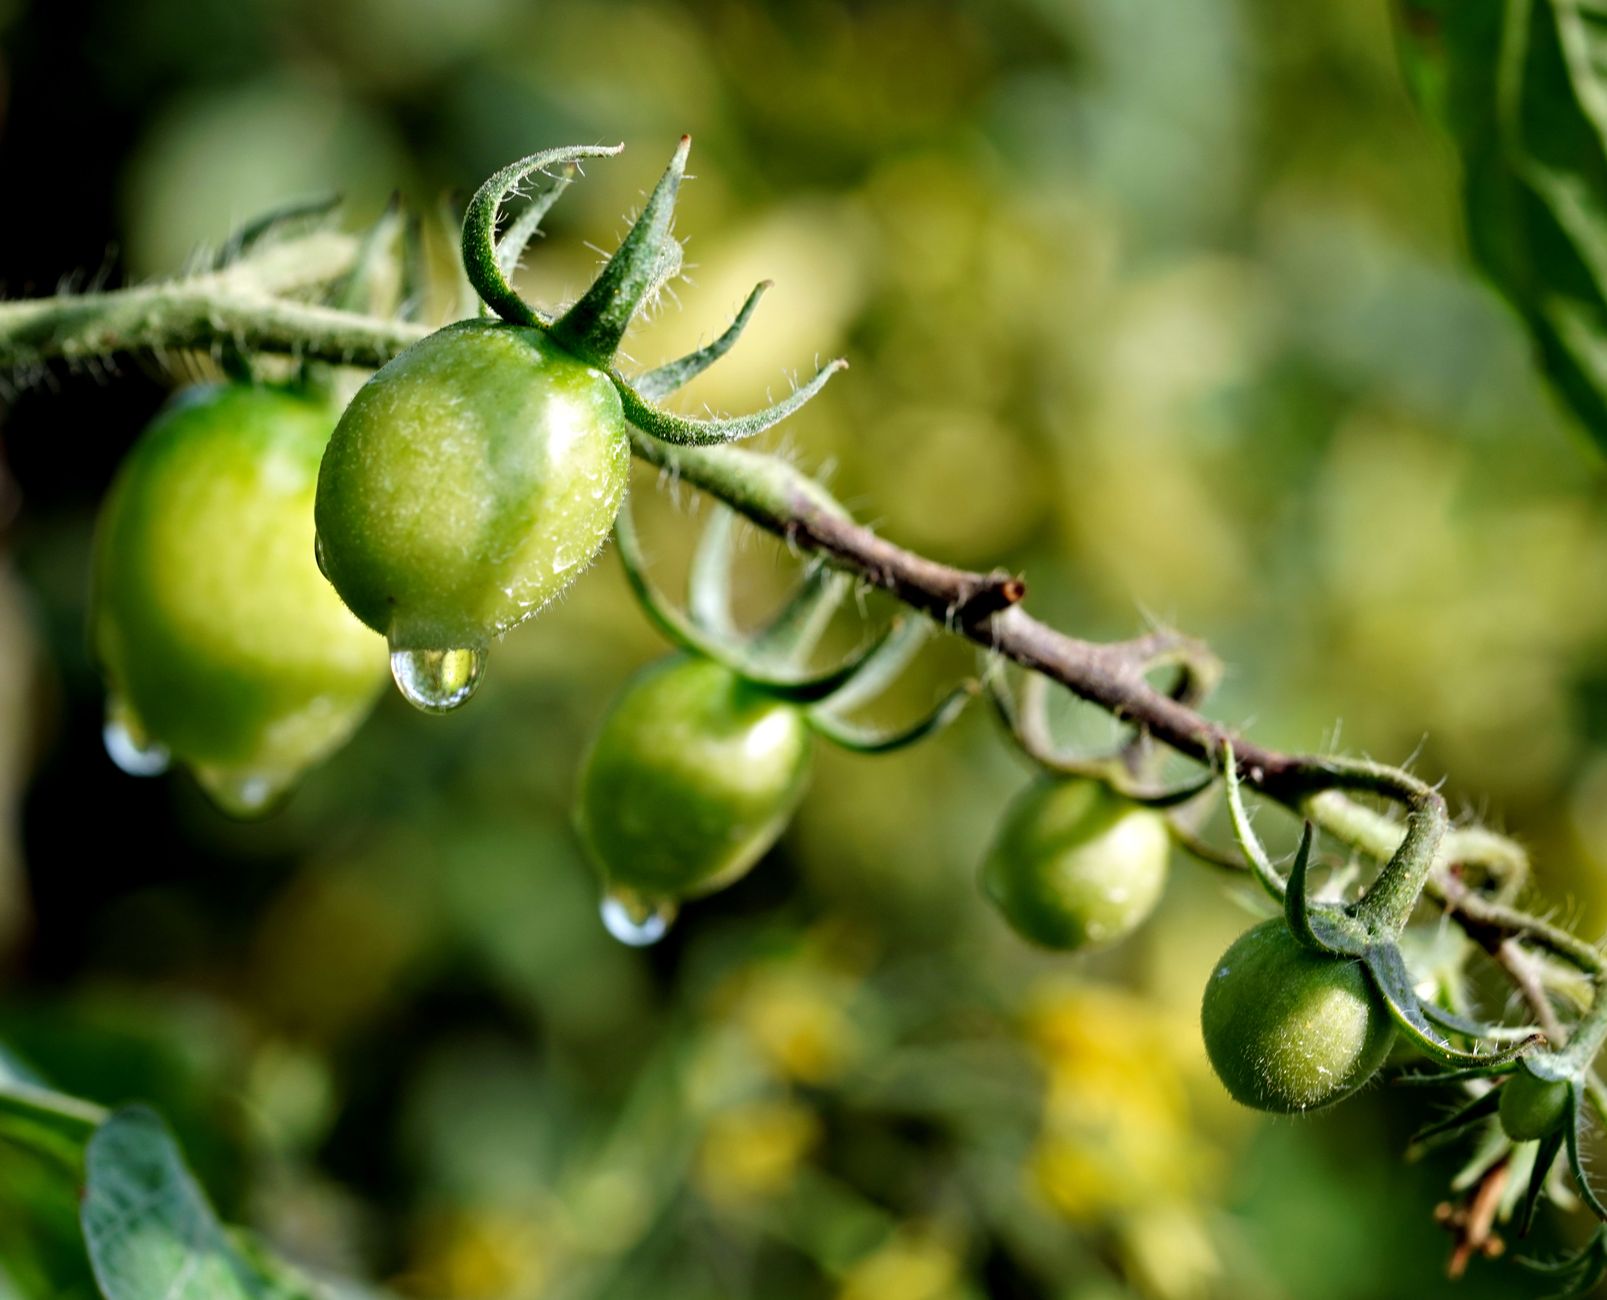
Check soil moisture daily during the growing season, watering whenever the top inch of soil feels dry; this often means daily watering, and sometimes twice daily during peak summer heat when containers can dry out remarkably fast in direct sun.
Water thoroughly until it drains from the bottom holes, which ensures the entire root ball gets moisture rather than just the top layer, a common mistake with light, quick watering that never actually reaches the deeper roots.
Consider a self-watering container or a simple drip irrigation system on a timer if daily manual watering isn't practical for your schedule, both of which can maintain more consistent moisture than manual watering alone typically achieves.
Mulch the soil surface in the container with straw or shredded leaves to help slow moisture loss between waterings, particularly helpful in hot, dry climates or for gardeners who can't check on plants every single day.
Dark-colored containers absorb more heat in direct sun, which accelerates both soil drying and potential root stress; if you have a choice, lighter-colored pots or containers placed in a spot with some afternoon shade can reduce watering demands somewhat.
Feed on a Regular Schedule
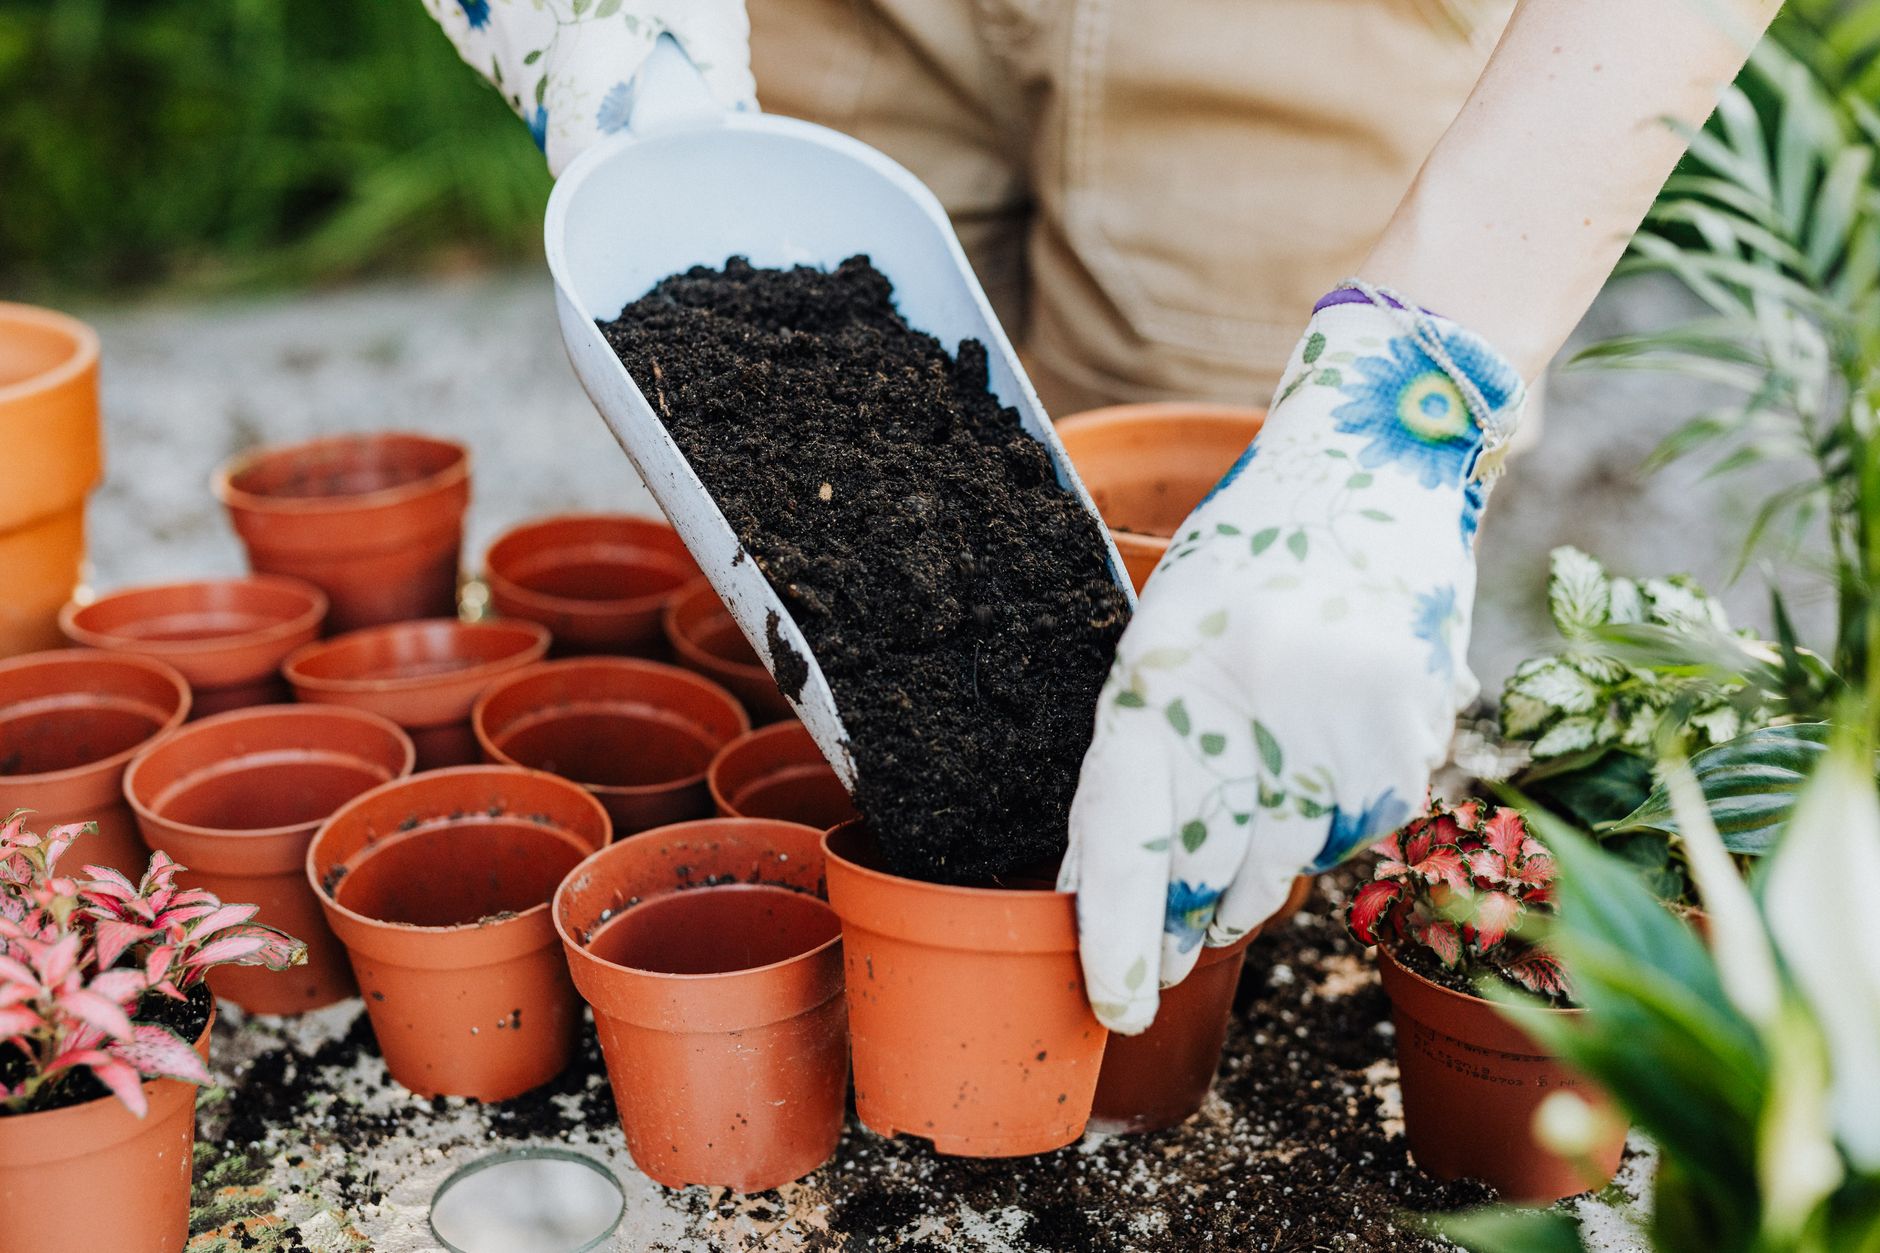
Feed every 2-3 weeks with a balanced liquid fertilizer, since the frequent watering containers need also washes nutrients out of the soil faster than in-ground beds lose them, even with a good starting potting mix.
Switch to a lower-nitrogen, higher-potassium formula once flowering begins, similar to in-ground tomato care, to favor fruit production over continued leafy growth that doesn't contribute to your harvest.
Work a calcium source like crushed eggshell into the potting mix at planting, since container tomatoes are actually more prone to blossom end rot than in-ground plants given how quickly watering fluctuations can occur in a confined space.
Watch for pale, yellowing lower leaves between feedings, which can signal nutrients are depleting faster than your current schedule replaces them, and adjust feeding frequency accordingly if this pattern develops.
A liquid or water-soluble fertilizer generally works better than granular options in containers, since it's immediately available to roots rather than needing to break down slowly the way granular products are designed for larger garden beds.
Support Plants and Manage Growth
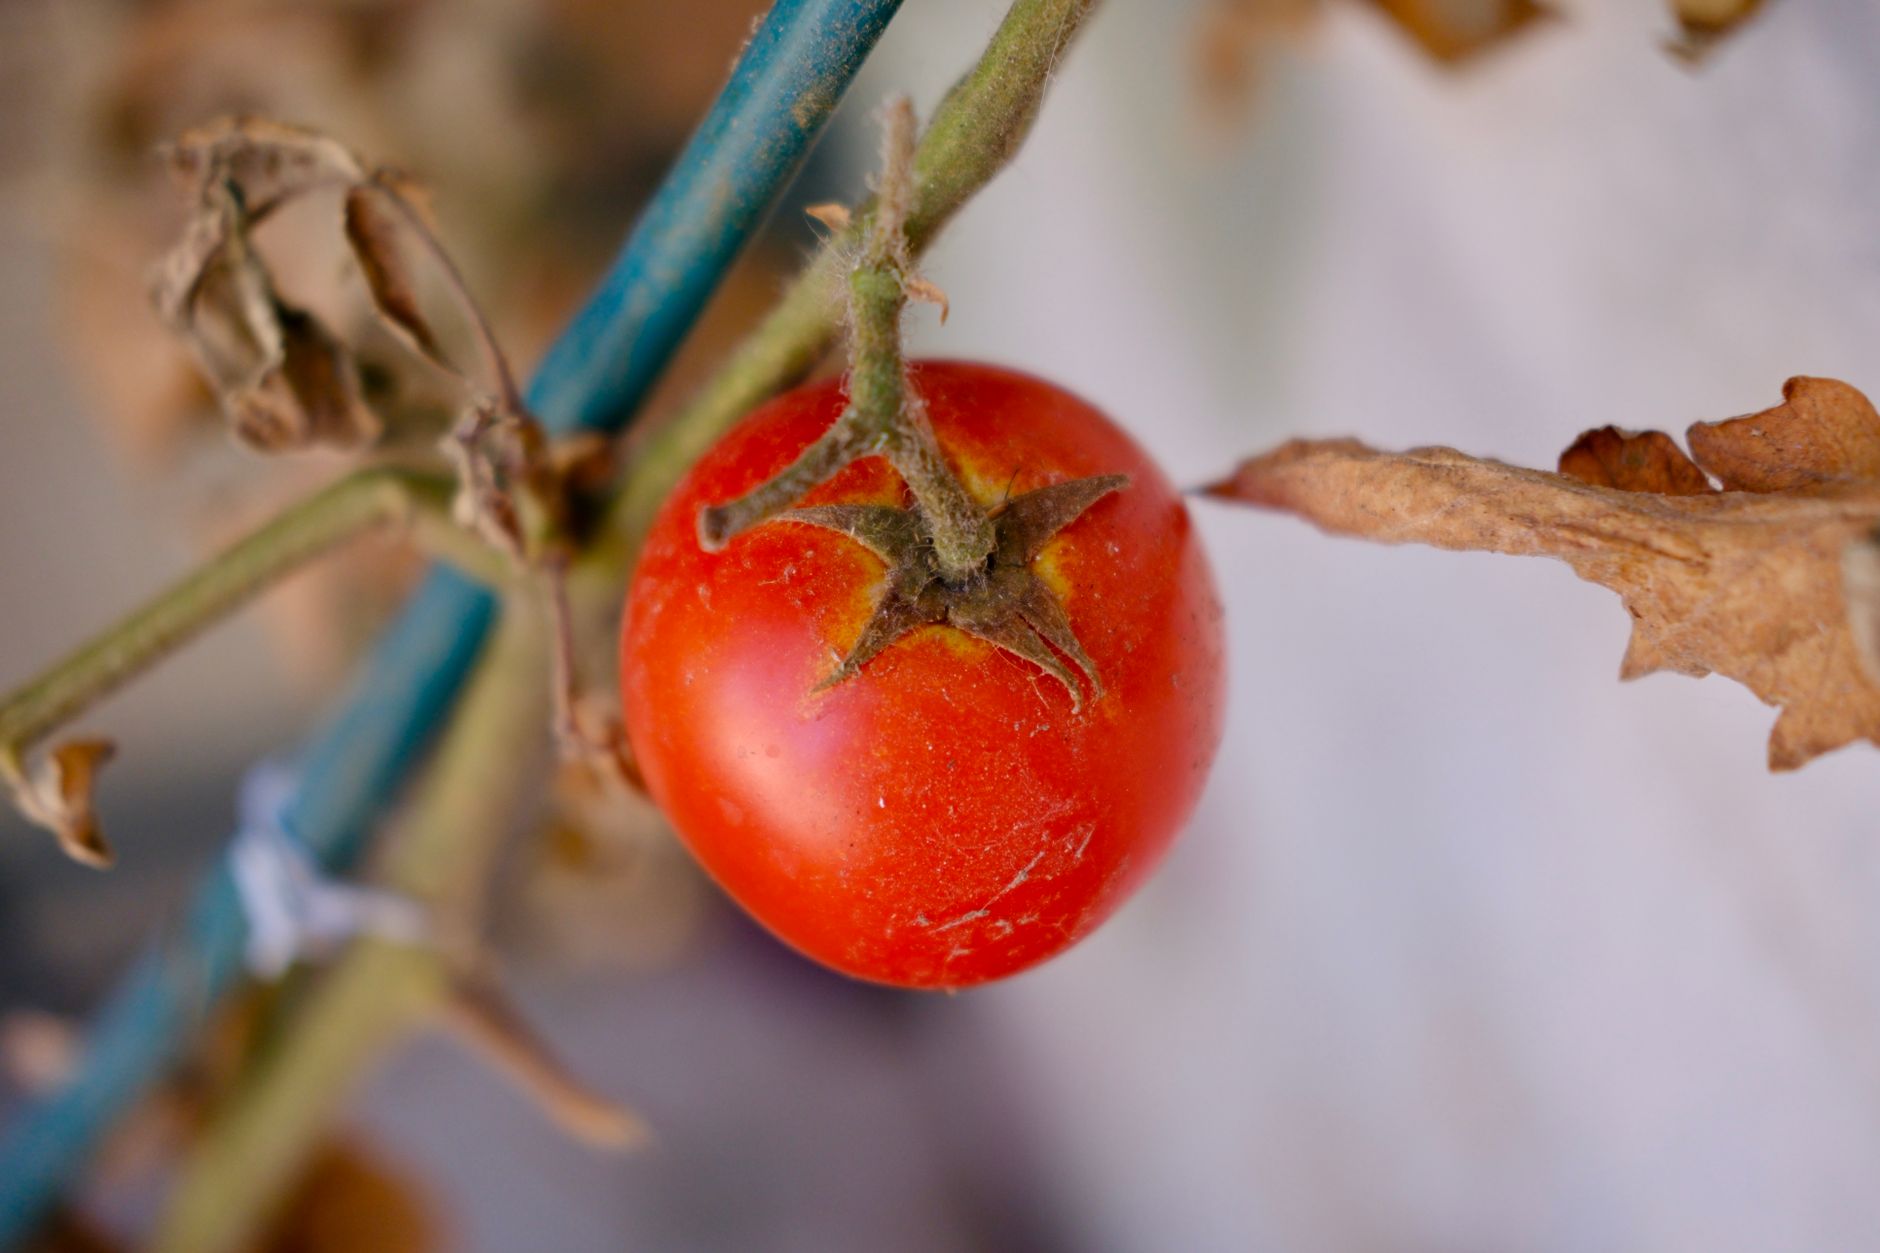
Install a stake, cage, or trellis at planting time, since container-grown tomatoes are more prone to toppling in wind given the confined root system doesn't anchor the plant as firmly as garden soil does around an in-ground root ball.
For indeterminate varieties, prune suckers just as you would with in-ground plants, which helps keep growth manageable within the container's more limited space and improves airflow to reduce disease risk.
Consider placing heavier containers in a sheltered spot or against a wall if your area experiences strong winds, which can topple even well-staked container plants once they're loaded with fruit later in the season.
Rotate the container occasionally if it's only receiving sun from one direction, which helps promote more even growth around the entire plant rather than a lopsided one leaning toward the light source.
For genuinely tall indeterminate varieties in large containers, a sturdy metal cage anchored with stakes driven into the potting mix and, if possible, secured to a nearby wall or fence provides more reliable support than a cage alone.
Harvest and Prepare for Next Season
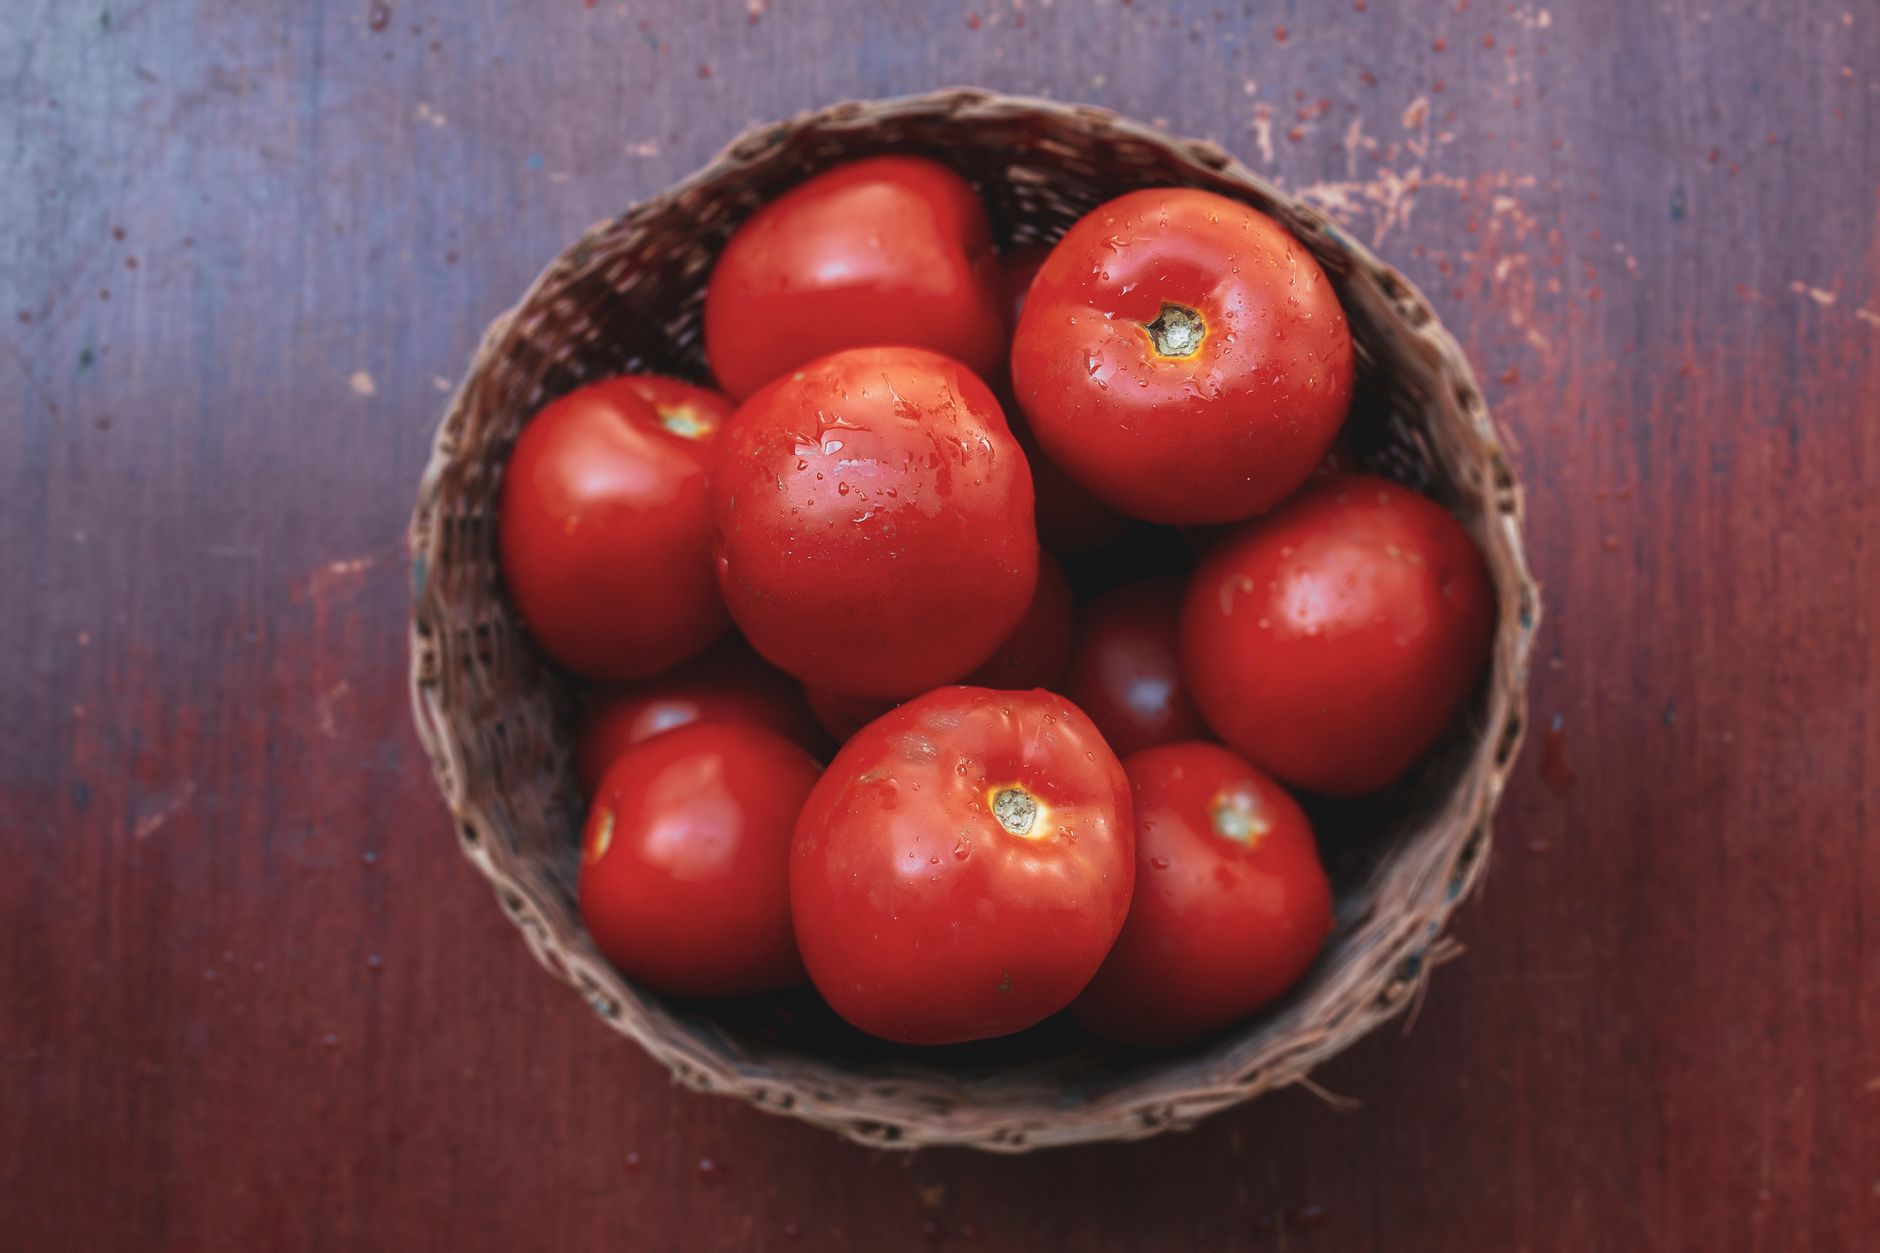
Harvest tomatoes when they've reached full color and give slightly to gentle pressure, following the same signs used for in-ground plants; container-grown fruit ripens on essentially the same timeline as garden-grown tomatoes of the same variety.
At the end of the season, remove spent plant material and either replace the potting mix entirely or refresh it heavily with fresh compost before reusing the container next year, since a full season of tomato growth draws down available nutrients significantly.
Avoid reusing potting mix from a diseased plant without full replacement, since fungal spores and other pathogens can persist in container soil similarly to garden beds, potentially affecting whatever you plant there next.
Clean containers with a diluted bleach solution between seasons if disease was an issue, which helps prevent carrying problems forward into the next planting, then rinse thoroughly before adding fresh potting mix.
Store empty containers in a dry, sheltered spot over winter if they're not being used for a fall or cool-season crop, since repeated freeze-thaw cycles can crack certain container materials, particularly ceramic and some plastics.
Adapt Care for Different USDA Zones
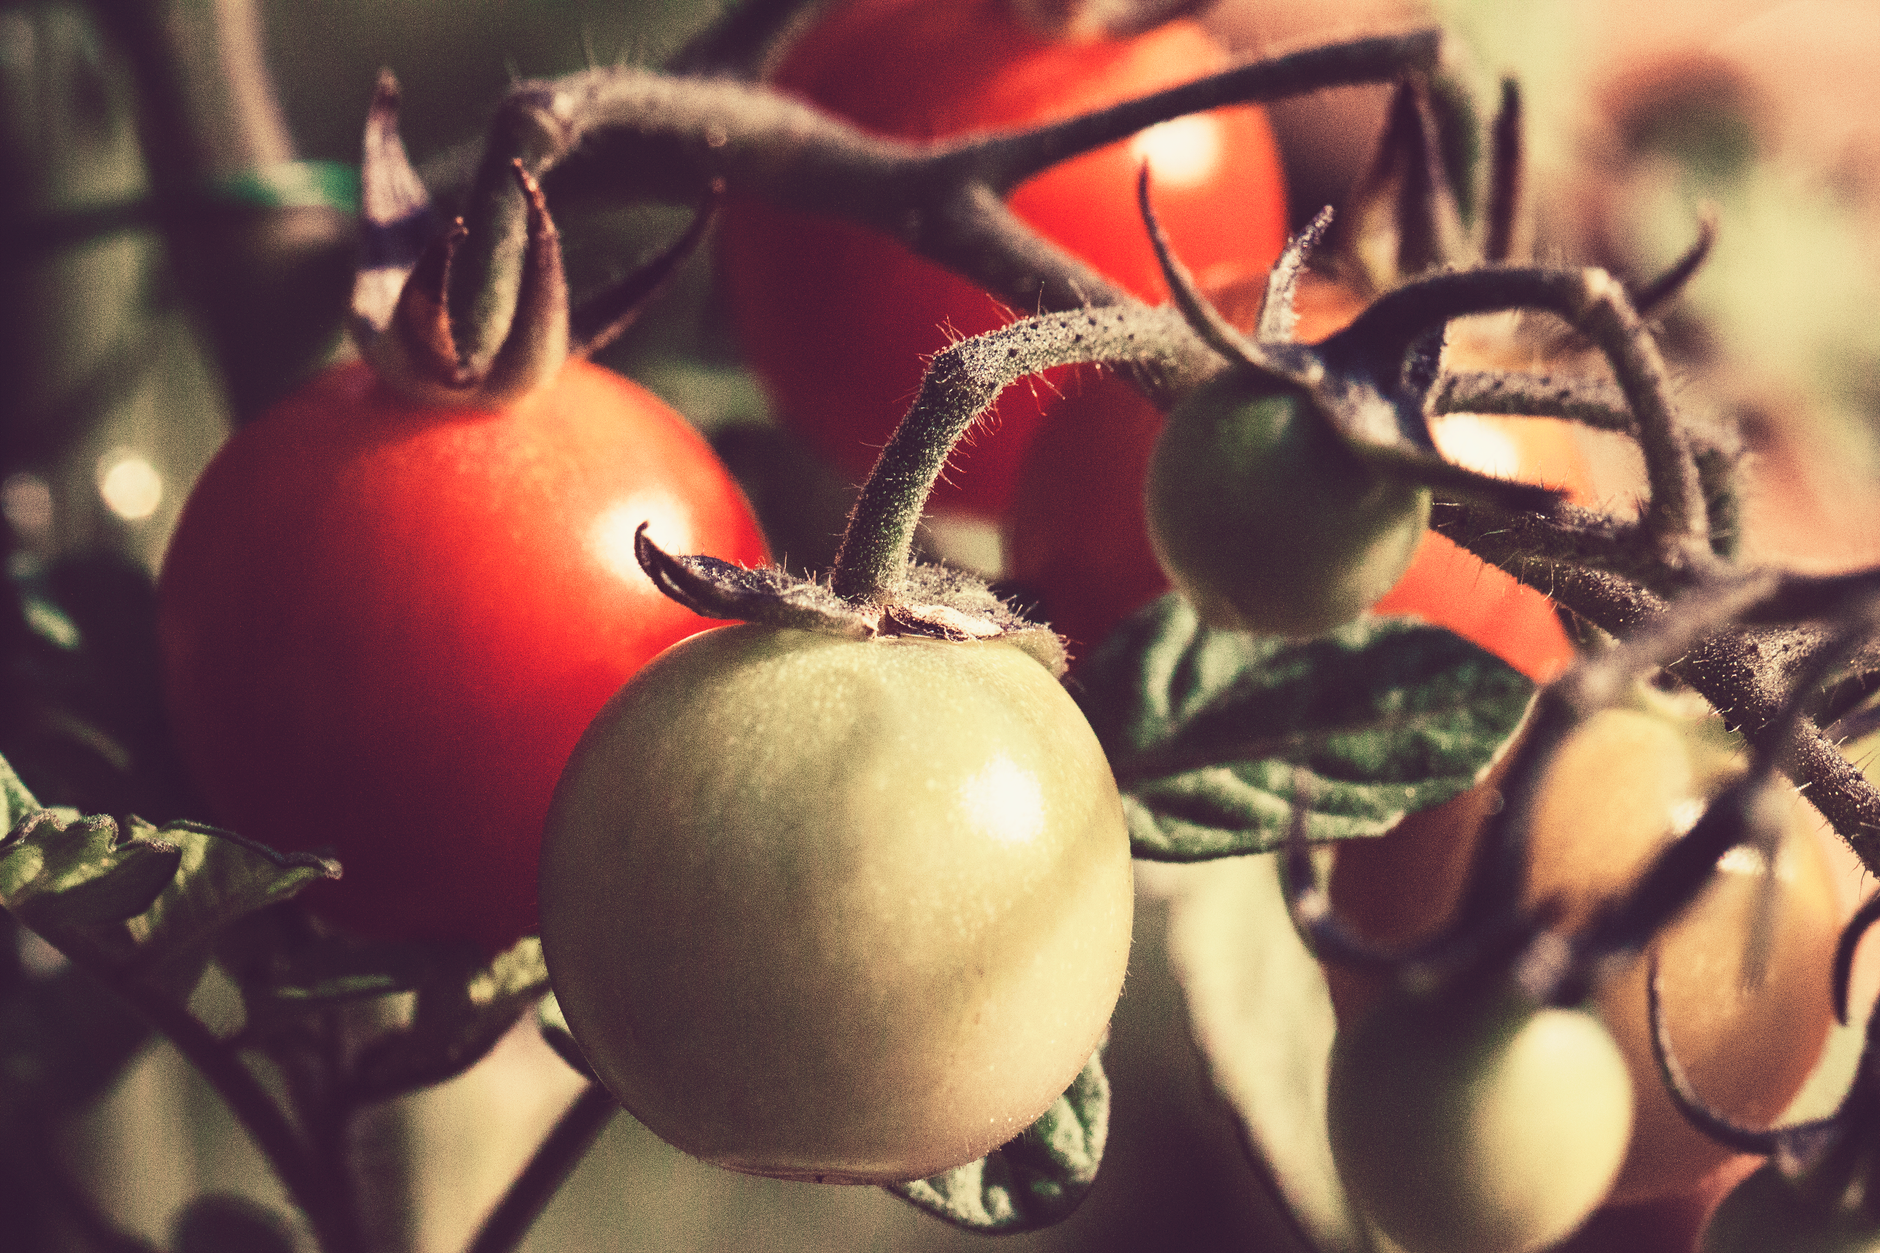
In USDA zones 3-6 with shorter growing seasons, containers offer a meaningful advantage: you can start plants indoors and move them outside once conditions are right, then bring them into a garage or covered space temporarily if a late frost threatens.
In USDA zones 9-11 with intense summer heat, position containers where they get morning sun but some afternoon shade protection, since container roots can overheat in full, unrelenting afternoon sun more readily than in-ground roots protected by surrounding soil mass.
Container mobility also helps in regions prone to sudden hailstorms or severe weather, where plants can be quickly moved under cover for protection that in-ground plants simply don't have access to.
Regardless of zone, dark containers in very hot climates may need to be moved to filtered light or wrapped with reflective material during the most extreme heat waves to prevent root stress from excessive soil temperatures.
Common problems and fixes
| Problem | Likely cause | What to do |
|---|---|---|
| Plant wilts dramatically on hot afternoons even with regular watering | Container too small for the plant's root system and water demand, or soil drying out faster than expected. | Move to a larger container if possible, and consider watering twice daily during the hottest stretches of summer. |
| Blossom end rot appearing more than expected | Container tomatoes are especially prone to this due to watering fluctuations that are harder to avoid than in garden beds. | Water on a more consistent schedule, work calcium into the potting mix, and consider self-watering containers for steadier moisture. |
| Container tips over in wind | Insufficient support or an unstable, top-heavy container. | Install a sturdy stake or cage at planting time and consider placing containers in a wind-sheltered spot. |
| Plant grows well but produces very little fruit | Container too small restricting root development, or insufficient sunlight in the container's placement. | Confirm the container meets minimum size guidelines and ensure the spot receives at least 6-8 hours of direct sun daily. |
Gardener's checklist
Test what you learned
What minimum container size is recommended for indeterminate tomato varieties?
Answer: 20+ gallons
Why should garden soil be avoided in containers?
Answer: It compacts and drains poorly when confined
How often should container tomatoes typically be watered in summer?
Answer: Daily, sometimes twice daily
What is a genuine advantage of growing tomatoes in containers rather than in the ground?
Answer: Mobility to protect plants from frost, heat, or severe weather
Common questions
Can any tomato variety be grown in a container?
Technically yes, but determinate and dwarf varieties perform much better in smaller containers, while indeterminate types need at least 20-25 gallons to reach their full potential.
Why do container tomatoes need more water than in-ground plants?
Containers have a limited soil volume that heats up and dries out faster than the ground, and drainage holes mean excess water doesn't stay available to roots the way it can in garden soil.
Can I reuse potting soil from last year for tomatoes?
It's best to refresh at least half of the potting mix with fresh material each season, since nutrients deplete and soil structure breaks down over a growing season, and reusing soil from a diseased plant without replacement risks carrying problems forward.
Do container tomatoes taste different from garden-grown ones?
Not inherently, though consistent watering (which is more challenging in containers) has a bigger impact on flavor than growing method itself, since inconsistent moisture dilutes sugars regardless of whether a plant is in the ground or a pot.
What size pot do cherry tomatoes need?
Cherry and grape tomato varieties generally do well in containers of 10-15 gallons, since they're naturally more compact than large-fruited beefsteak types.
Do container tomatoes need a saucer underneath?
A saucer can help protect a patio or deck surface from water runoff, but avoid letting water sit in it continuously, since this can keep roots too wet; empty it after each watering or use pot feet to keep the container elevated.
Can I move a tomato container indoors if frost is expected?
Yes, this is one of the genuine advantages of container growing; moving plants to a garage, covered porch, or indoors temporarily during an unexpected late frost can save a crop that would otherwise be lost in the ground.
Container tomatoes can be just as productive as garden-grown plants once you match container size to variety, use quality potting mix, and stay ahead of the more frequent watering and feeding containers demand, while enjoying the genuine bonus of being able to relocate plants when weather turns against you.
Frequently asked questions
How often should a vegetable garden be watered?
Frequency depends on weather, soil and plant size. Check the soil rather than watering on a rigid schedule.
Is compost enough fertilizer?
Compost improves soil and provides nutrients slowly. Heavy-feeding crops may still need additional feeding.

The Sproutstead Editorial Team
We create clear, practical gardening and homesteading guides designed for real homes and beginner growers.
View author profile →

