
Plant tomatoes in full sun (6-8+ hours daily) after your last frost date, in rich, well-drained soil with a pH of 6.0-6.8. Space plants 24-36 inches apart, stake or cage them early, water deeply and consistently, and feed every 2-3 weeks. Most varieties are ready to harvest 60-85 days after transplanting.
What you will need
Choose the Right Tomato Variety
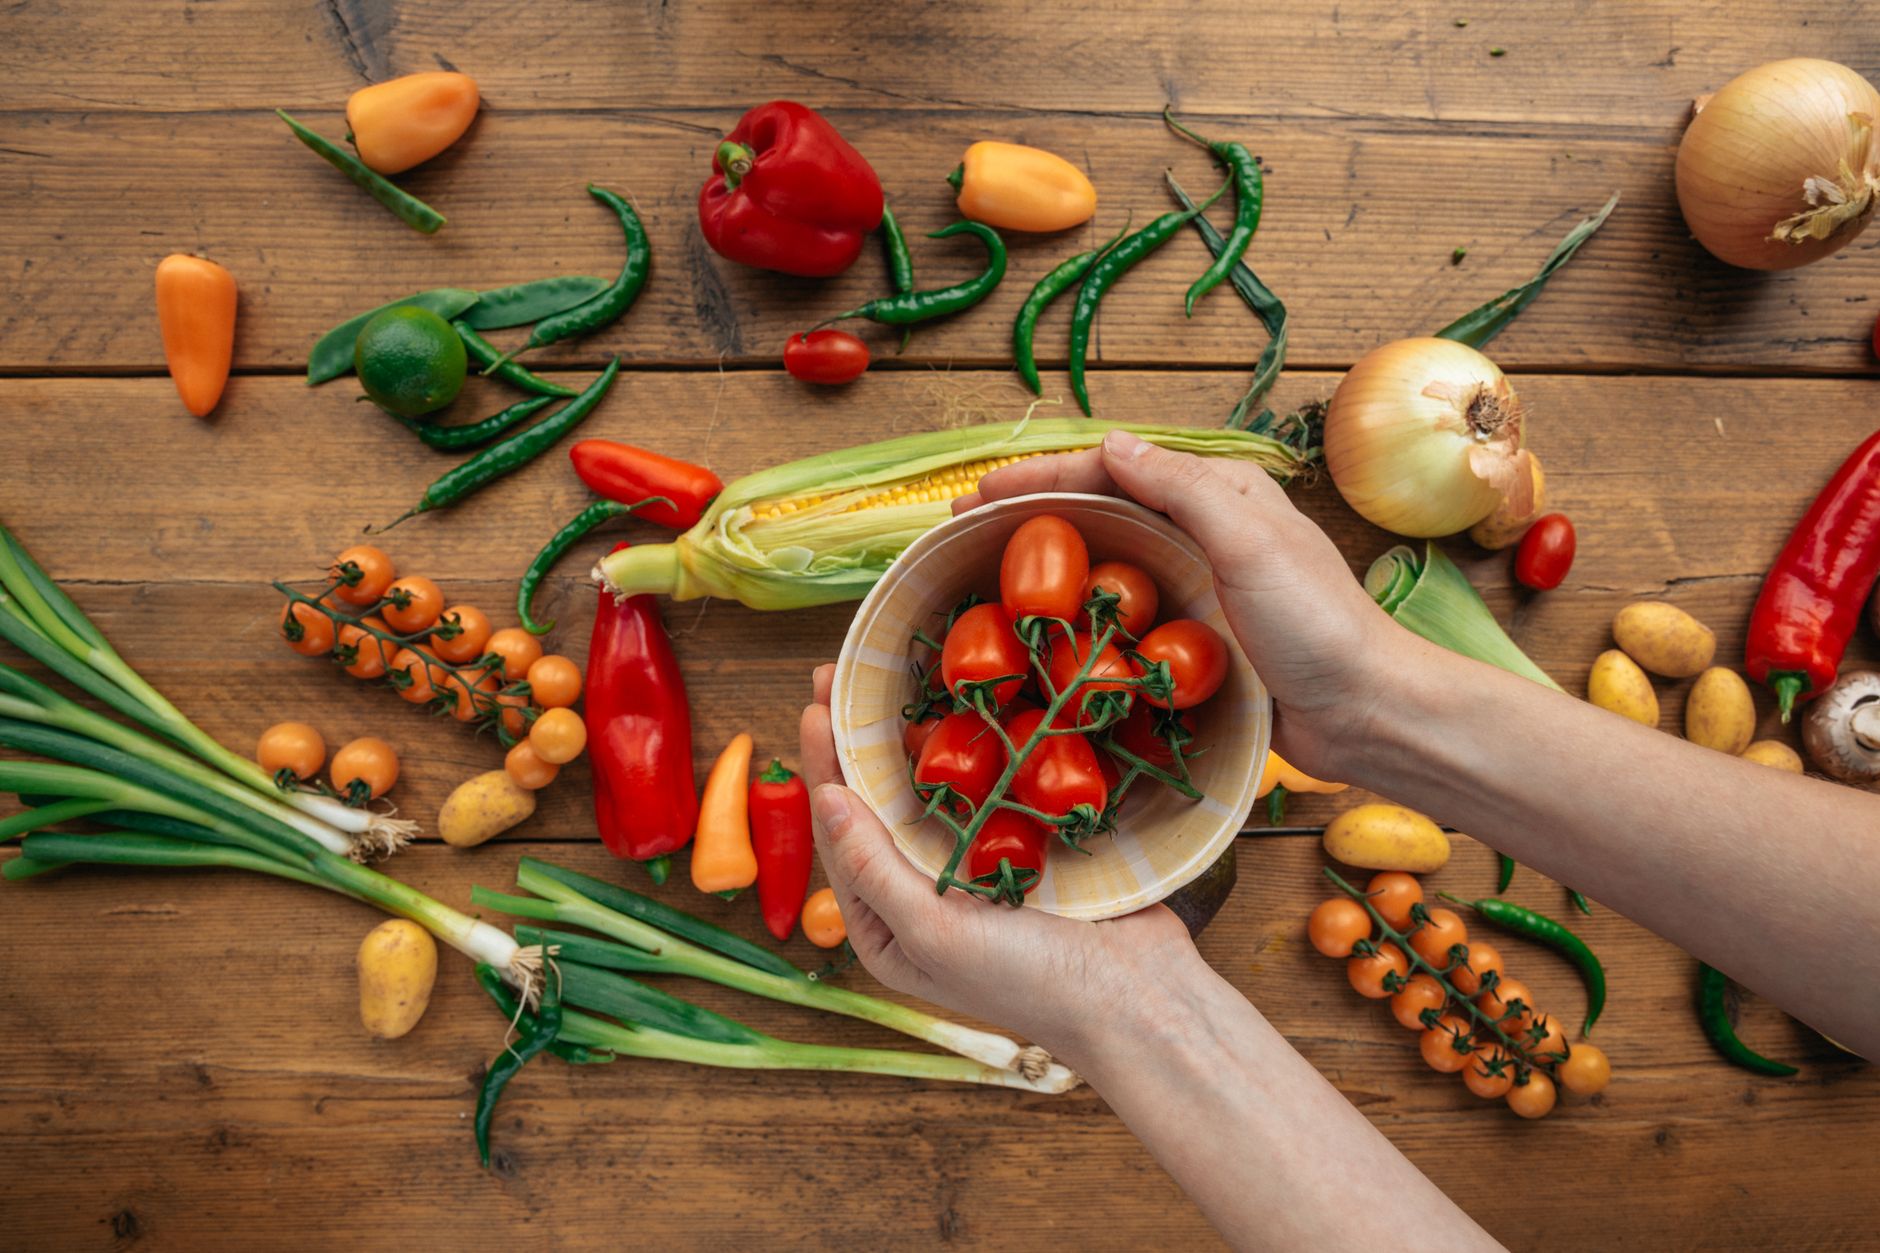
Determinate varieties like Roma and Celebrity grow to a fixed size and ripen most of their fruit around the same time, which makes them ideal for canning and small spaces. Indeterminate varieties like Beefsteak and Cherokee Purple keep growing and producing all season long, so they need more support but reward you with a longer harvest window.
If you're short on space, cherry and patio varieties such as Sun Gold or Tiny Tim are bred for containers and small yards while still producing heavily.
Match your variety to your local growing season length. Shorter-season regions do better with early-maturing varieties (55-65 days), while long, hot summers can support slower heirlooms that take 80+ days to ripen.
Start Seeds or Buy Transplants
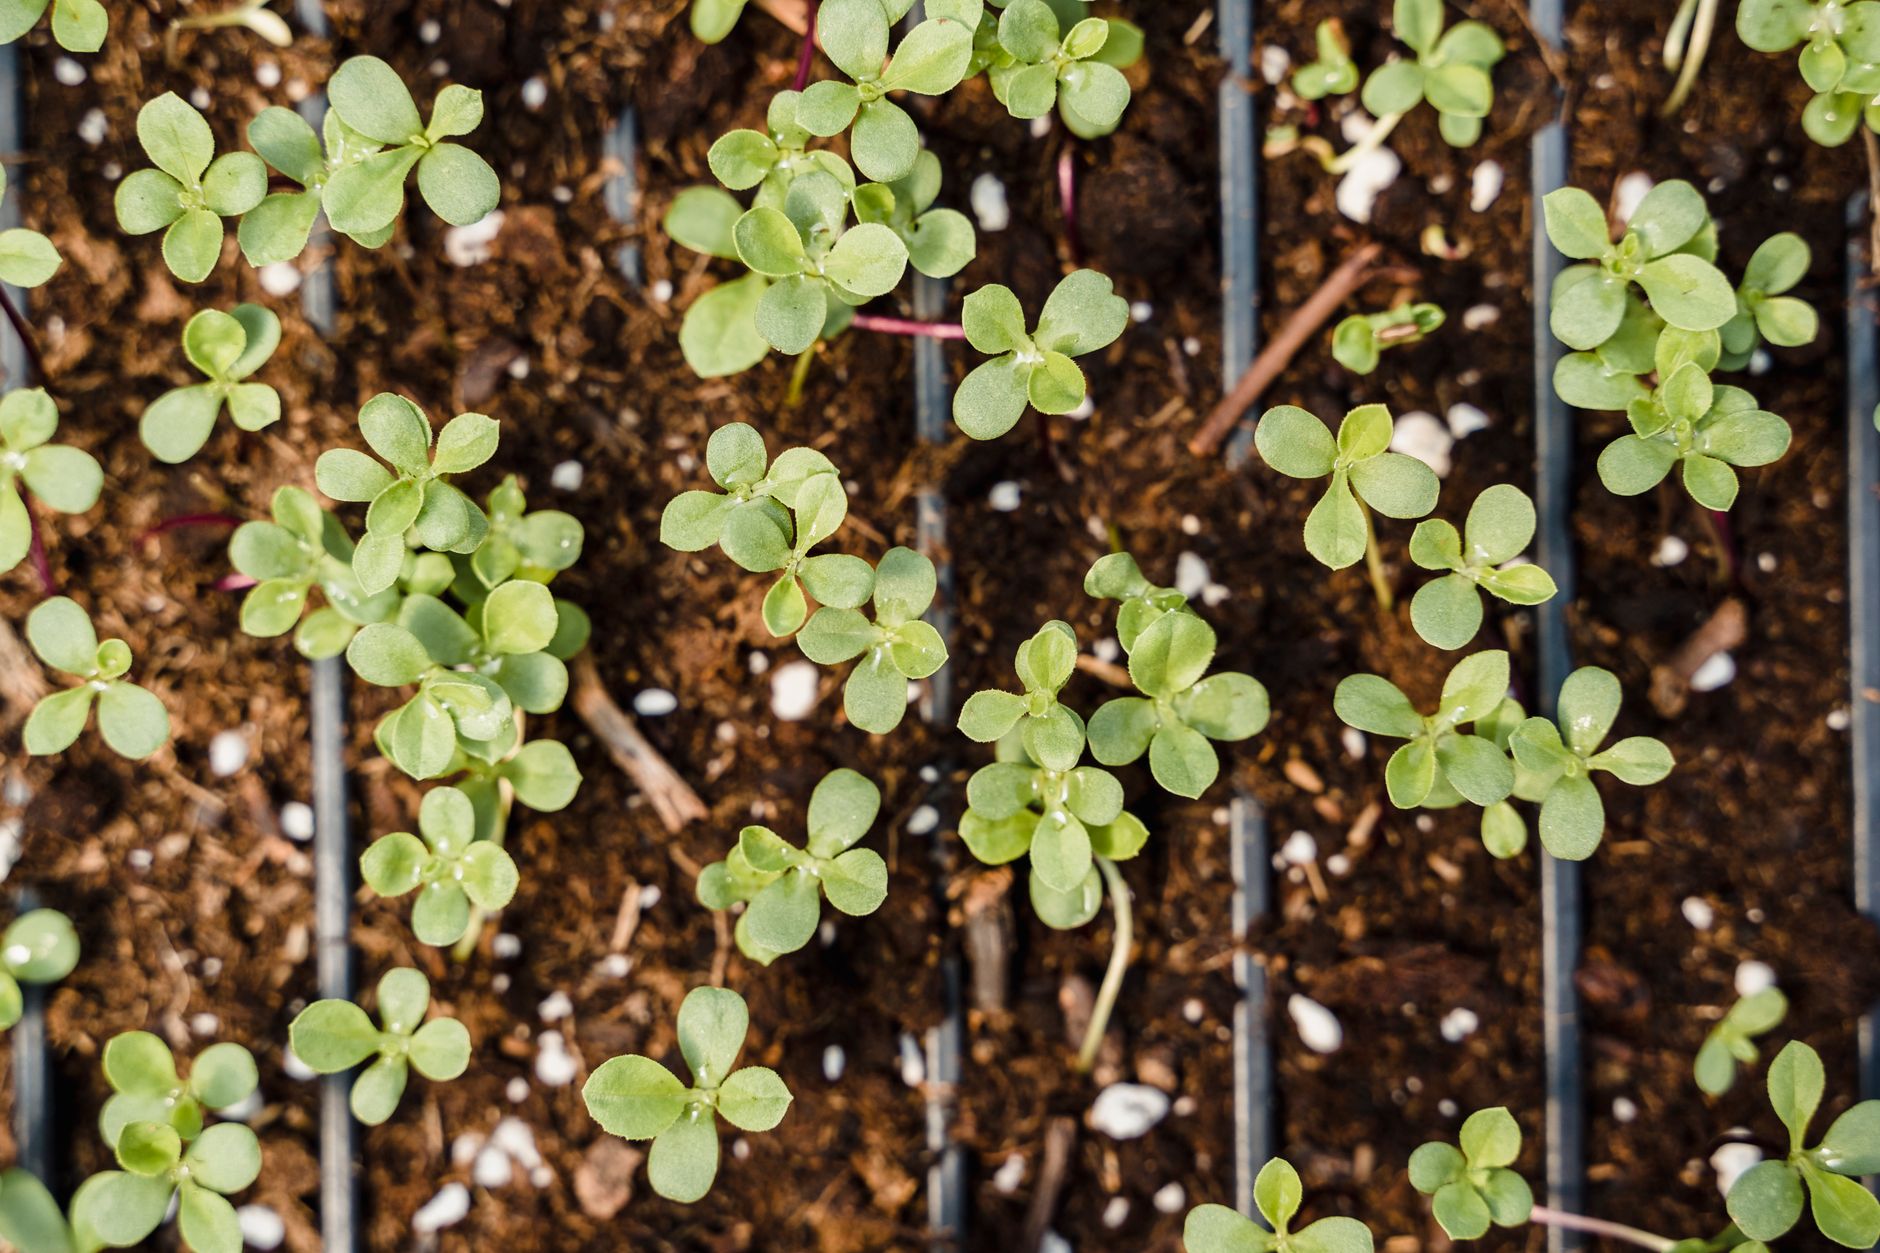
Start seeds indoors 6-8 weeks before your area's last expected frost date. Sow seeds a quarter-inch deep in seed-starting mix, keep the soil consistently moist, and maintain a temperature of 70-80°F for the fastest, most even germination.
Once seedlings have their first true leaves, move them under a strong light source (a sunny window is often not enough) for 14-16 hours a day to prevent leggy, weak stems.
If starting from seed isn't practical, healthy nursery transplants work just as well. Look for stocky, deep-green plants with no yellowing and no flowers or fruit yet, since young plants transplant more successfully than ones already fruiting.
Prepare the Soil and Planting Site
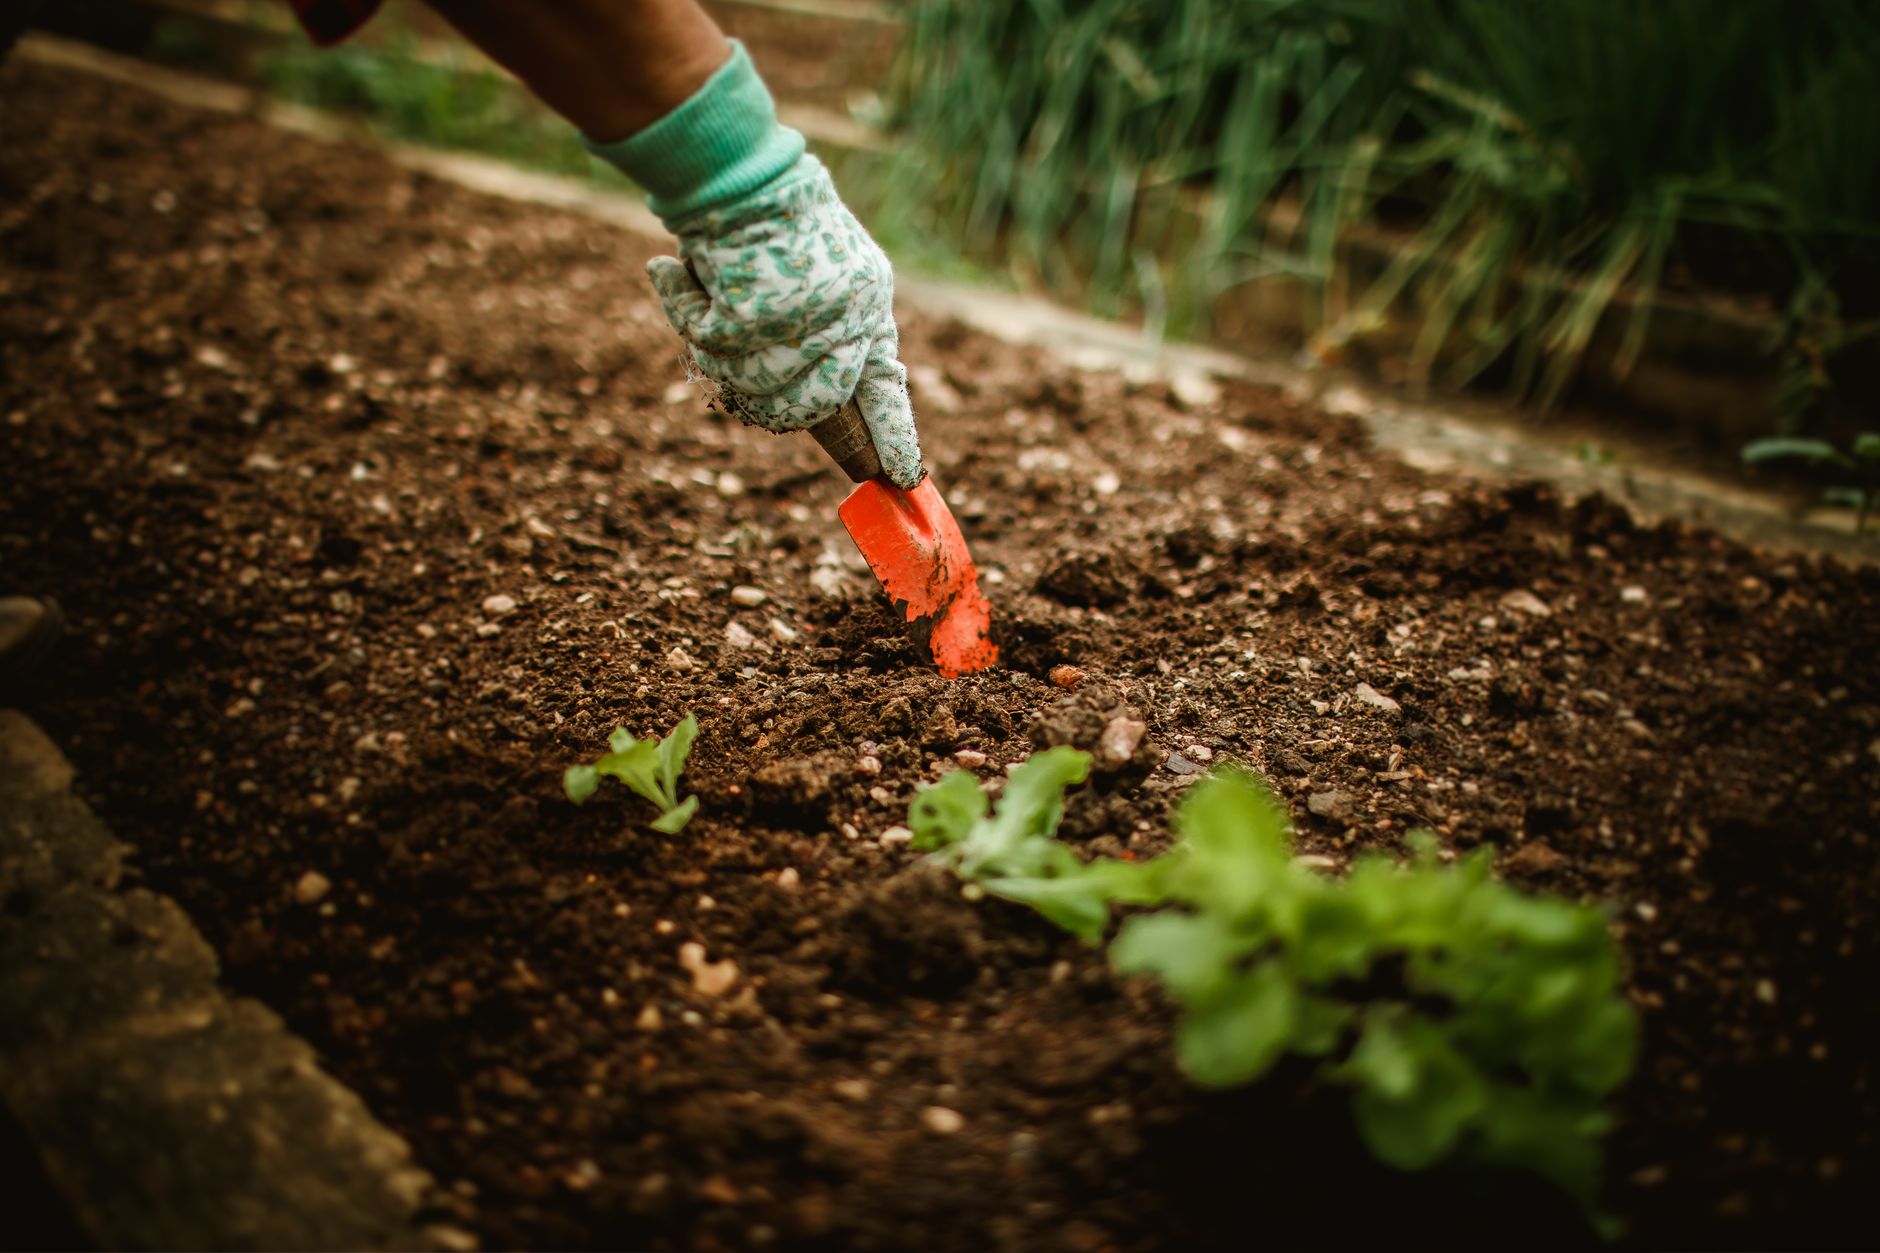
Choose a spot that gets at least 6-8 hours of direct sunlight and has well-draining soil. Tomatoes planted in soggy, compacted soil are far more prone to root rot and disease.
Work 2-3 inches of compost or well-rotted manure into the top 8-10 inches of soil a week or two before planting. This improves drainage, adds slow-release nutrients, and encourages strong root development.
Test your soil pH if possible; tomatoes prefer a slightly acidic range of 6.0-6.8. Adding garden lime raises pH if your soil is too acidic, while sulfur or compost can lower it if it's too alkaline.
Transplant Seedlings Outdoors
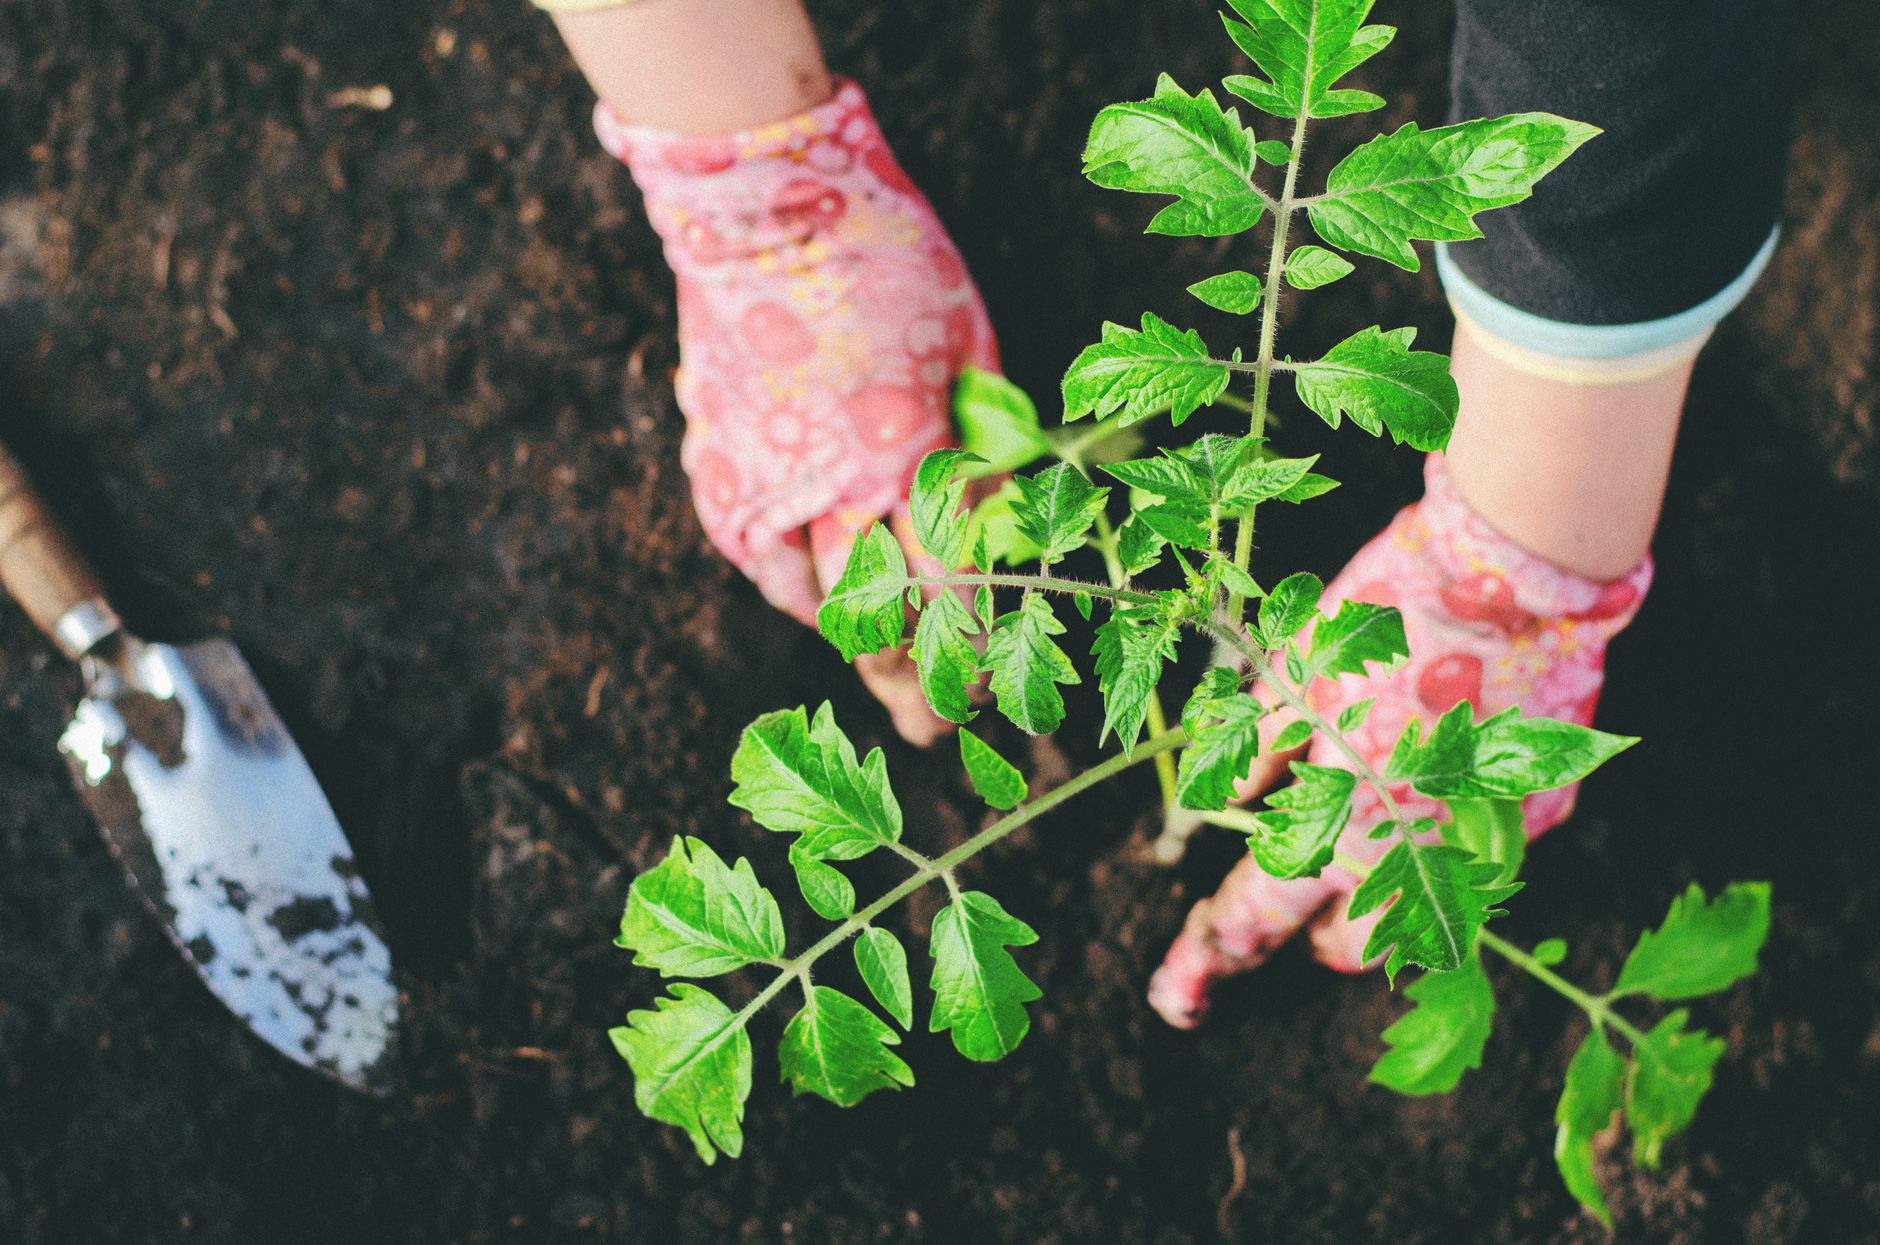
Wait until nighttime temperatures stay reliably above 50°F and all danger of frost has passed. Tomatoes are extremely frost-sensitive and even a light chill can stunt or kill young plants.
Unlike most vegetables, tomatoes benefit from deep planting. Bury two-thirds of the stem, including the lower leaf nodes, since roots will grow along the buried stem and create a much sturdier plant.
Space plants 24-36 inches apart depending on variety, and install stakes or cages at planting time rather than later, so you don't disturb the roots once the plant is established.
Water, Feed, and Mulch Consistently
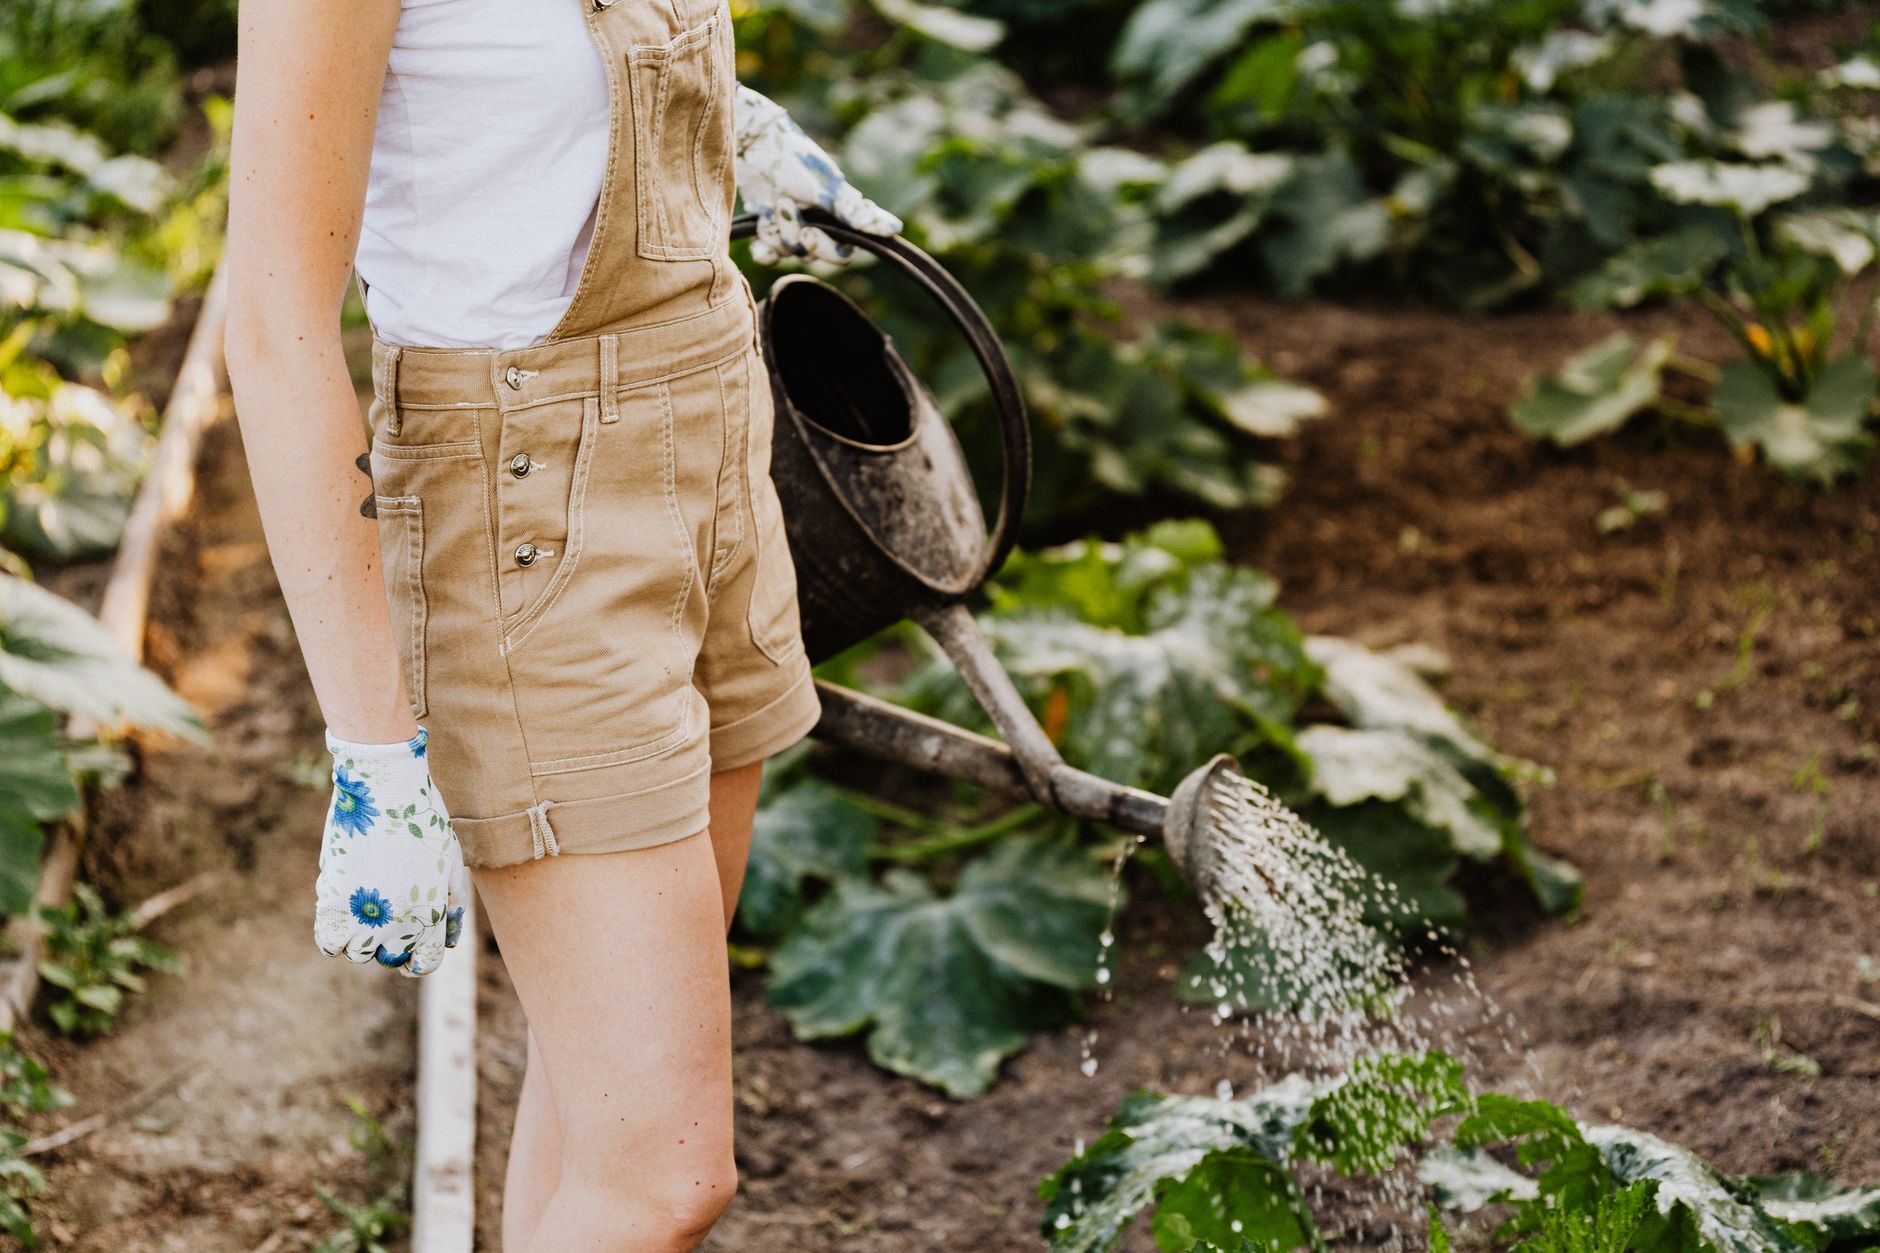
Water deeply 1-2 times per week rather than a light daily sprinkle, aiming for about 1-2 inches of water weekly. Always water at the soil line rather than overhead to reduce the risk of fungal disease.
Apply a 2-3 inch layer of straw or shredded leaf mulch around the base of each plant to retain moisture, suppress weeds, and prevent soil-borne diseases from splashing onto lower leaves.
Feed every 2-3 weeks with a balanced organic fertilizer once the first flowers appear, and switch to a lower-nitrogen, higher-potassium formula once fruit starts setting to encourage fruit production over leafy growth.
Prune, Support, and Monitor for Pests
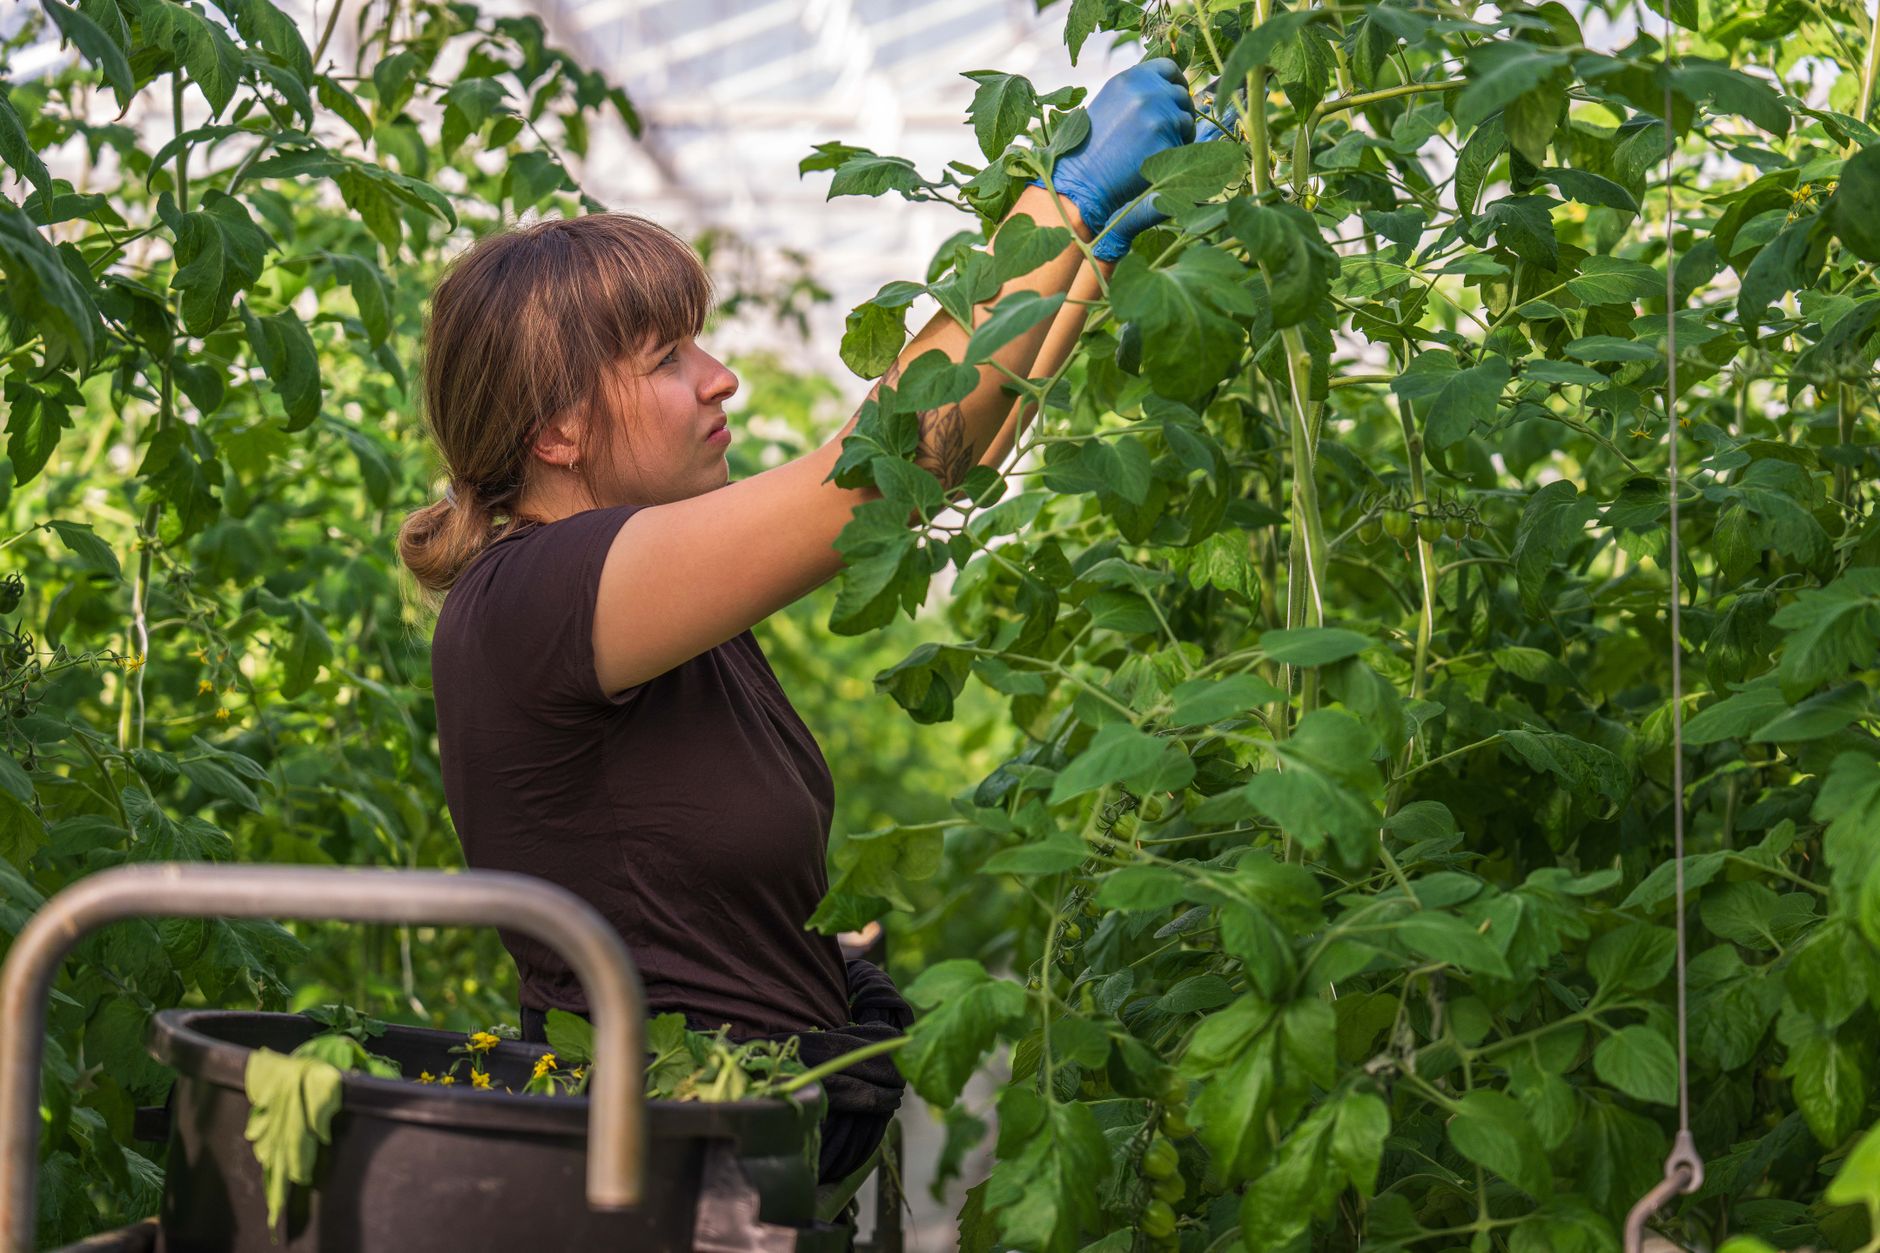
For indeterminate varieties, pinch off the small suckers that grow in the joint between the main stem and side branches. This keeps the plant from becoming an unmanageable tangle and redirects energy into fruit.
Check stakes or cages weekly and gently tie the main stem to supports with soft garden twine as the plant grows, to prevent branches from snapping under the weight of fruit.
Inspect leaves regularly for early signs of pests like aphids or hornworms and diseases like early blight, so you can treat small problems before they spread through the whole plant.
Harvest and Store Your Tomatoes
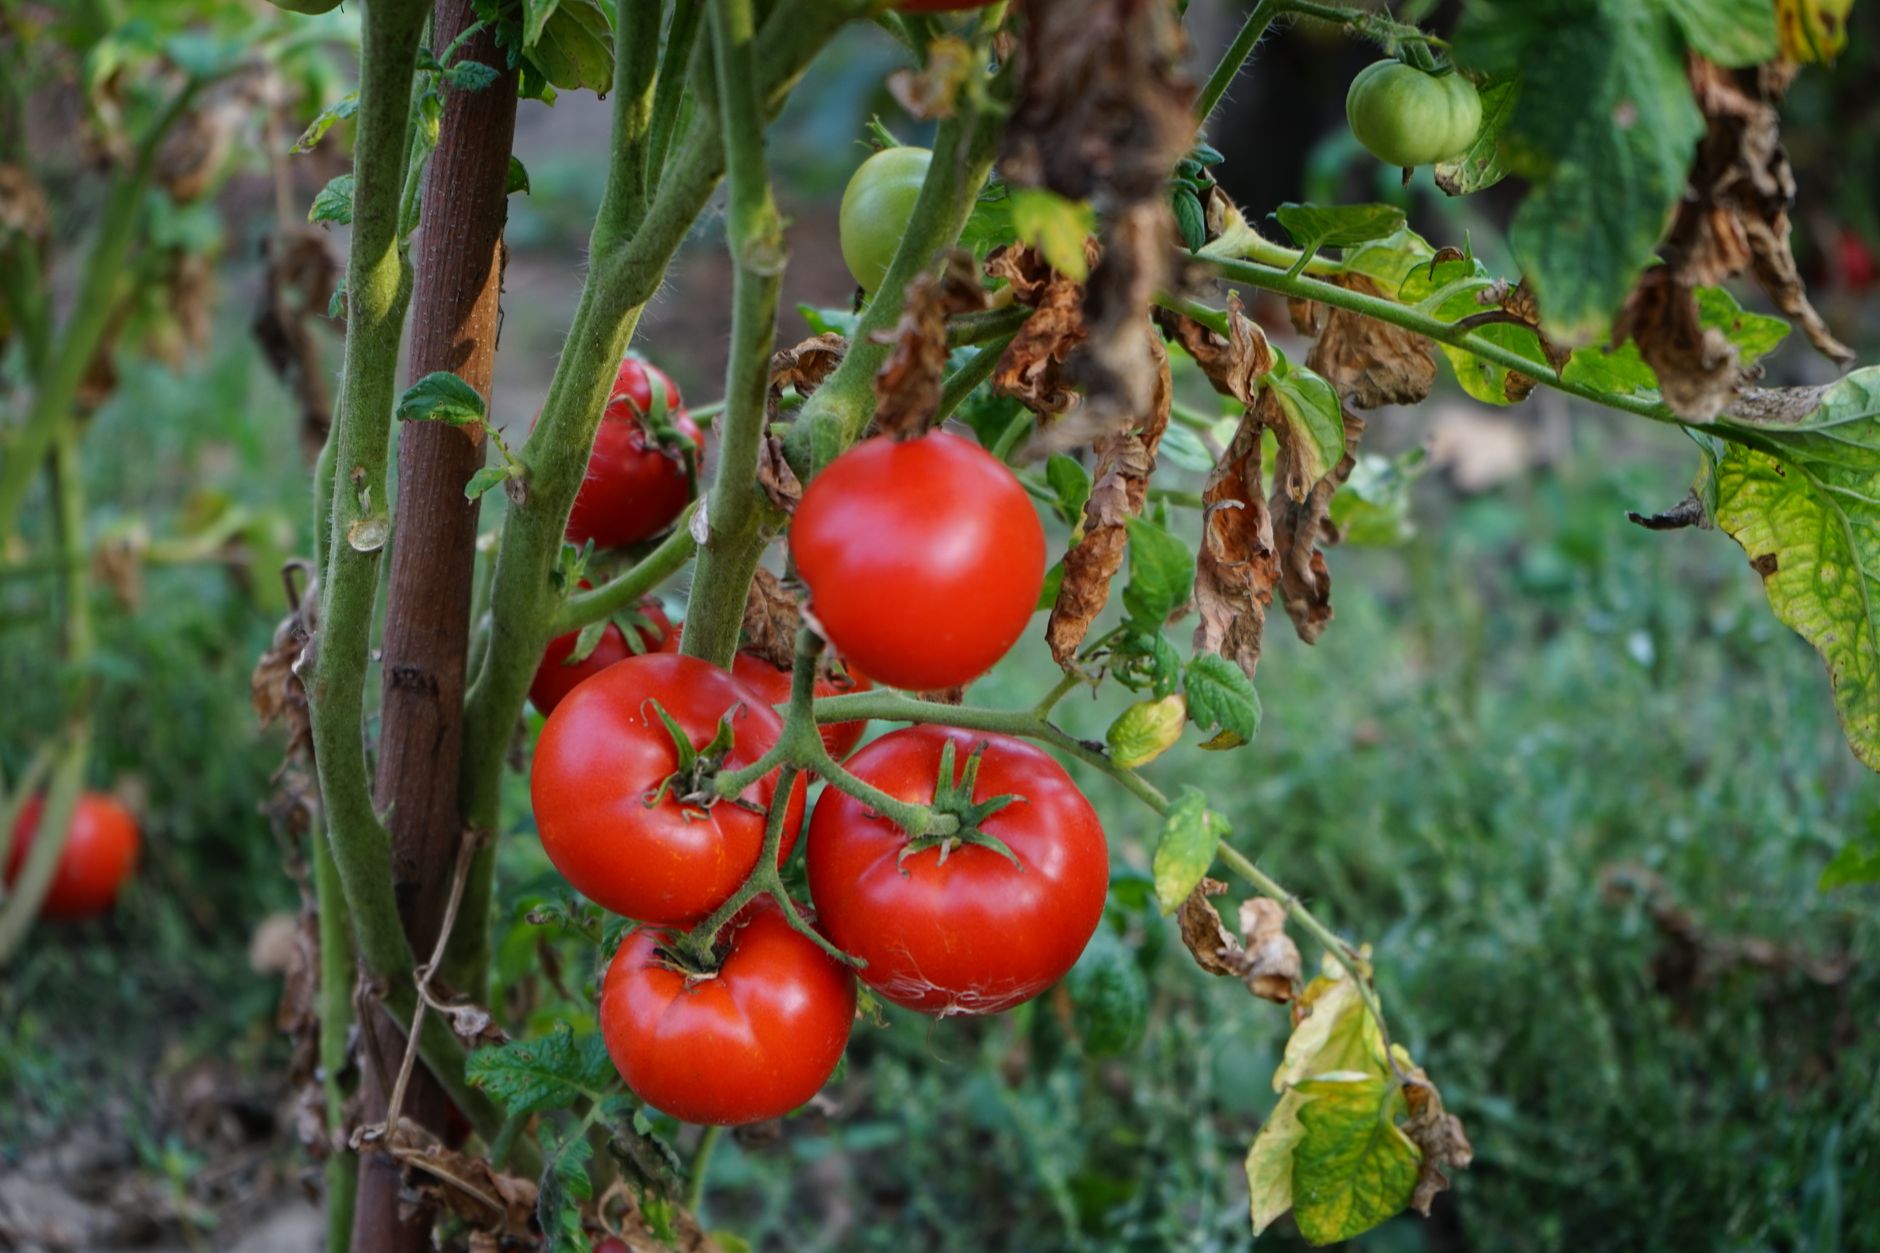
Pick tomatoes when they've reached full color for the variety and give slightly to gentle pressure. Twist or snip the fruit off rather than pulling, to avoid damaging the vine.
Store ripe tomatoes at room temperature out of direct sunlight; refrigeration dulls their flavor and texture. Only refrigerate if they're overripe and you need to slow further ripening for a day or two.
If frost is approaching and you still have green tomatoes on the vine, pick them and ripen indoors in a paper bag with a banana, or use them for fried green tomatoes and relishes.
Common problems and fixes
| Problem | Likely cause | What to do |
|---|---|---|
| Blossom end rot (dark, sunken spots on the bottom of fruit) | Inconsistent watering causing a temporary calcium deficiency in the fruit. | Water deeply and consistently, mulch to retain moisture, and avoid letting soil dry out completely between waterings. |
| Yellowing lower leaves | Normal aging, nitrogen deficiency, or early blight fungal disease. | Remove affected leaves, ensure good airflow, and apply a balanced fertilizer if the rest of the plant looks otherwise healthy. |
| Flowers dropping without setting fruit | Temperatures too hot (above 90°F) or too cold, or lack of pollination. | Gently shake flower clusters midday to help pollination, and be patient during extreme heat waves as fruit set will resume when temperatures moderate. |
| Cracked or split fruit | Sudden heavy watering after a dry spell causes fruit to expand faster than the skin can stretch. | Keep watering consistent throughout the season rather than letting soil dry out then flooding it. |
| Holes chewed in leaves or fruit | Tomato hornworms or other chewing pests. | Hand-pick visible hornworms in the early morning or evening, and introduce beneficial insects like parasitic wasps to control populations naturally. |
Gardener's checklist
Test what you learned
How deep should you plant a tomato seedling?
Answer: Bury about two-thirds of the stem
What is the most common cause of blossom end rot?
Answer: Inconsistent watering
What soil pH range do tomatoes prefer?
Answer: 6.0 - 6.8
Why should you prune suckers on indeterminate tomato varieties?
Answer: To redirect energy into fruit production and improve airflow
Common questions
How long does it take to grow tomatoes from seed?
Most varieties take 60-85 days from transplanting to harvest, plus 6-8 weeks of indoor seed-starting time before that, so expect roughly 3-4 months total from seed to ripe fruit.
Can tomatoes be grown in containers?
Yes, especially patio and cherry varieties bred for compact growth. Use a container at least 18-24 inches deep and wide, with drainage holes, and water more frequently since containers dry out faster than garden beds.
Do tomatoes need full sun?
Yes, tomatoes need at least 6-8 hours of direct sunlight daily to produce a strong harvest. Less sun typically means fewer, smaller fruits and a higher risk of disease.
How often should I water my tomato plants?
Water deeply 1-2 times per week, providing about 1-2 inches of water total, rather than light daily watering. Adjust for heat waves and container growing, which both dry out soil faster.
Why are my tomato leaves curling?
Leaf curl is often caused by heat stress, inconsistent watering, or aggressive pruning, though it can occasionally signal viral disease. In most cases, stabilizing watering and providing afternoon shade during extreme heat resolves it.
Growing great tomatoes comes down to a few fundamentals done consistently: full sun, deep planting, steady watering, regular feeding, and early support. Master these basics and you'll harvest armfuls of ripe, flavorful tomatoes all summer long.
Frequently asked questions
How often should a vegetable garden be watered?
Frequency depends on weather, soil and plant size. Check the soil rather than watering on a rigid schedule.
Is compost enough fertilizer?
Compost improves soil and provides nutrients slowly. Heavy-feeding crops may still need additional feeding.

The Sproutstead Editorial Team
We create clear, practical gardening and homesteading guides designed for real homes and beginner growers.
View author profile →

