Direct-sow turnip seeds a half-inch deep in loose soil in early spring or late summer, thinning to 4-6 inches apart once seedlings emerge. Keep soil consistently moist, and harvest roots at 2-3 inches in diameter, typically 40-60 days after sowing, since larger, older turnips become tough and bitter.
What you will need
Time Your Planting for Cool Weather
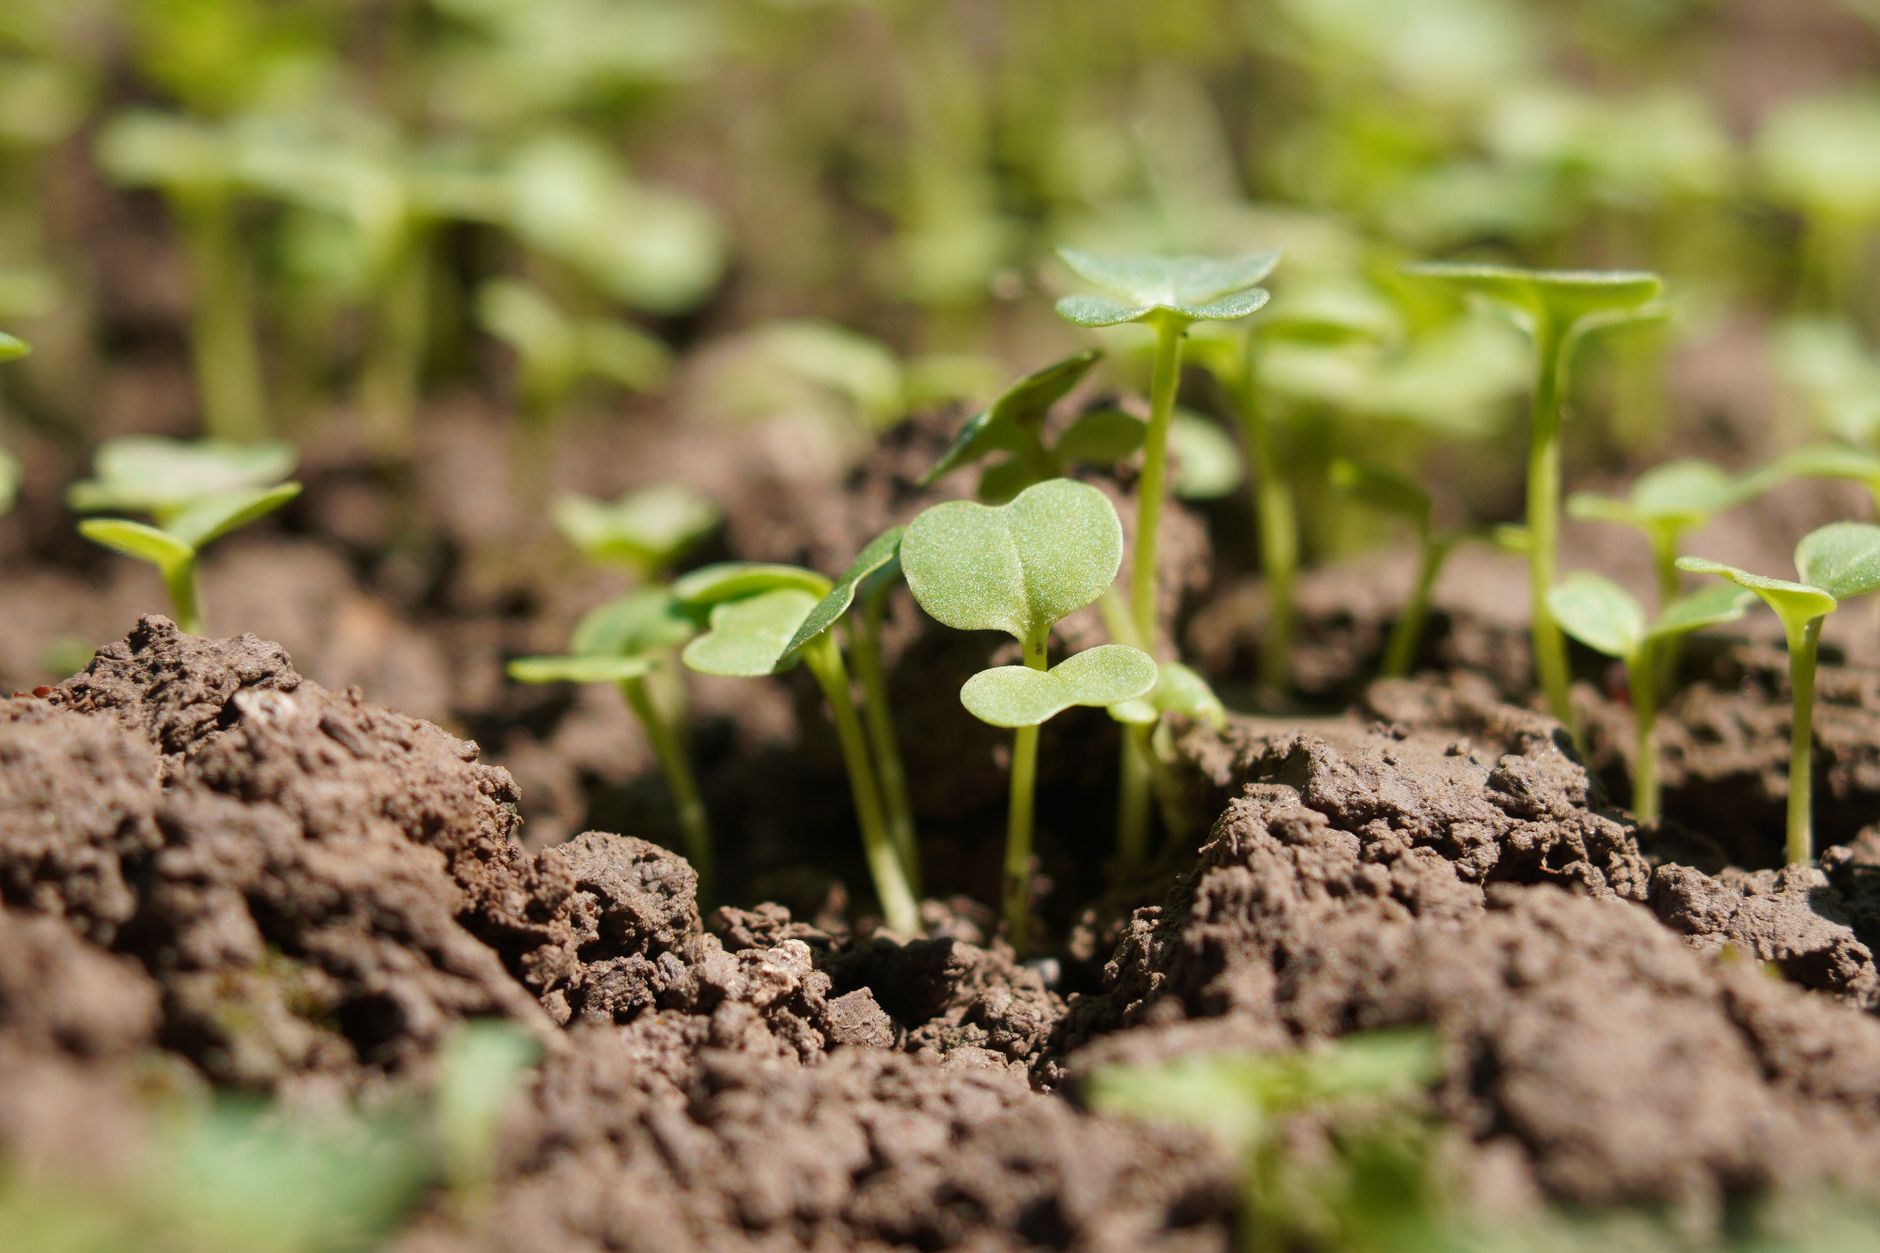
Turnips grow best in cool weather between 50-70°F and tolerate light frost well, making them suitable for both an early spring planting and, for many gardeners, an even more reliable fall planting.
For a spring crop, direct-sow as soon as the soil can be worked, several weeks before the last frost, since turnips handle cool spring conditions considerably better than the heat that arrives later in the season.
For a fall crop, sow seeds in late summer, roughly 6-8 weeks before your first expected fall frost, timed so roots mature during the naturally cooling temperatures of autumn, which many gardeners find produces sweeter, milder-flavored turnips.
Turnips grown in summer heat tend to develop a noticeably sharper, more pungent flavor and are more prone to pest pressure, making the cooler bookend seasons genuinely preferable for the best-tasting harvest.
Prepare Loose Soil and Sow Seeds

Loosen soil to a depth of at least 8-10 inches, removing rocks and breaking up hard clumps, since compacted soil can cause turnip roots to grow misshapen, though this matters somewhat less for turnips than for longer, more slender root vegetables like carrots.
Direct-sow seeds a half-inch deep, spacing them about an inch apart in rows 12-18 inches apart; turnip seeds germinate quickly, often within 5-10 days under good conditions.
Work a light-to-moderate amount of compost into the soil before planting; turnips don't need particularly rich soil, and excessive nitrogen can actually encourage leafy top growth at some expense to root development.
A soil pH between 6.0 and 6.8 suits turnips well, and they tolerate a reasonably wide pH range compared to some vegetables, making them adaptable to a variety of garden soil conditions.
Thin Seedlings for Proper Root Development
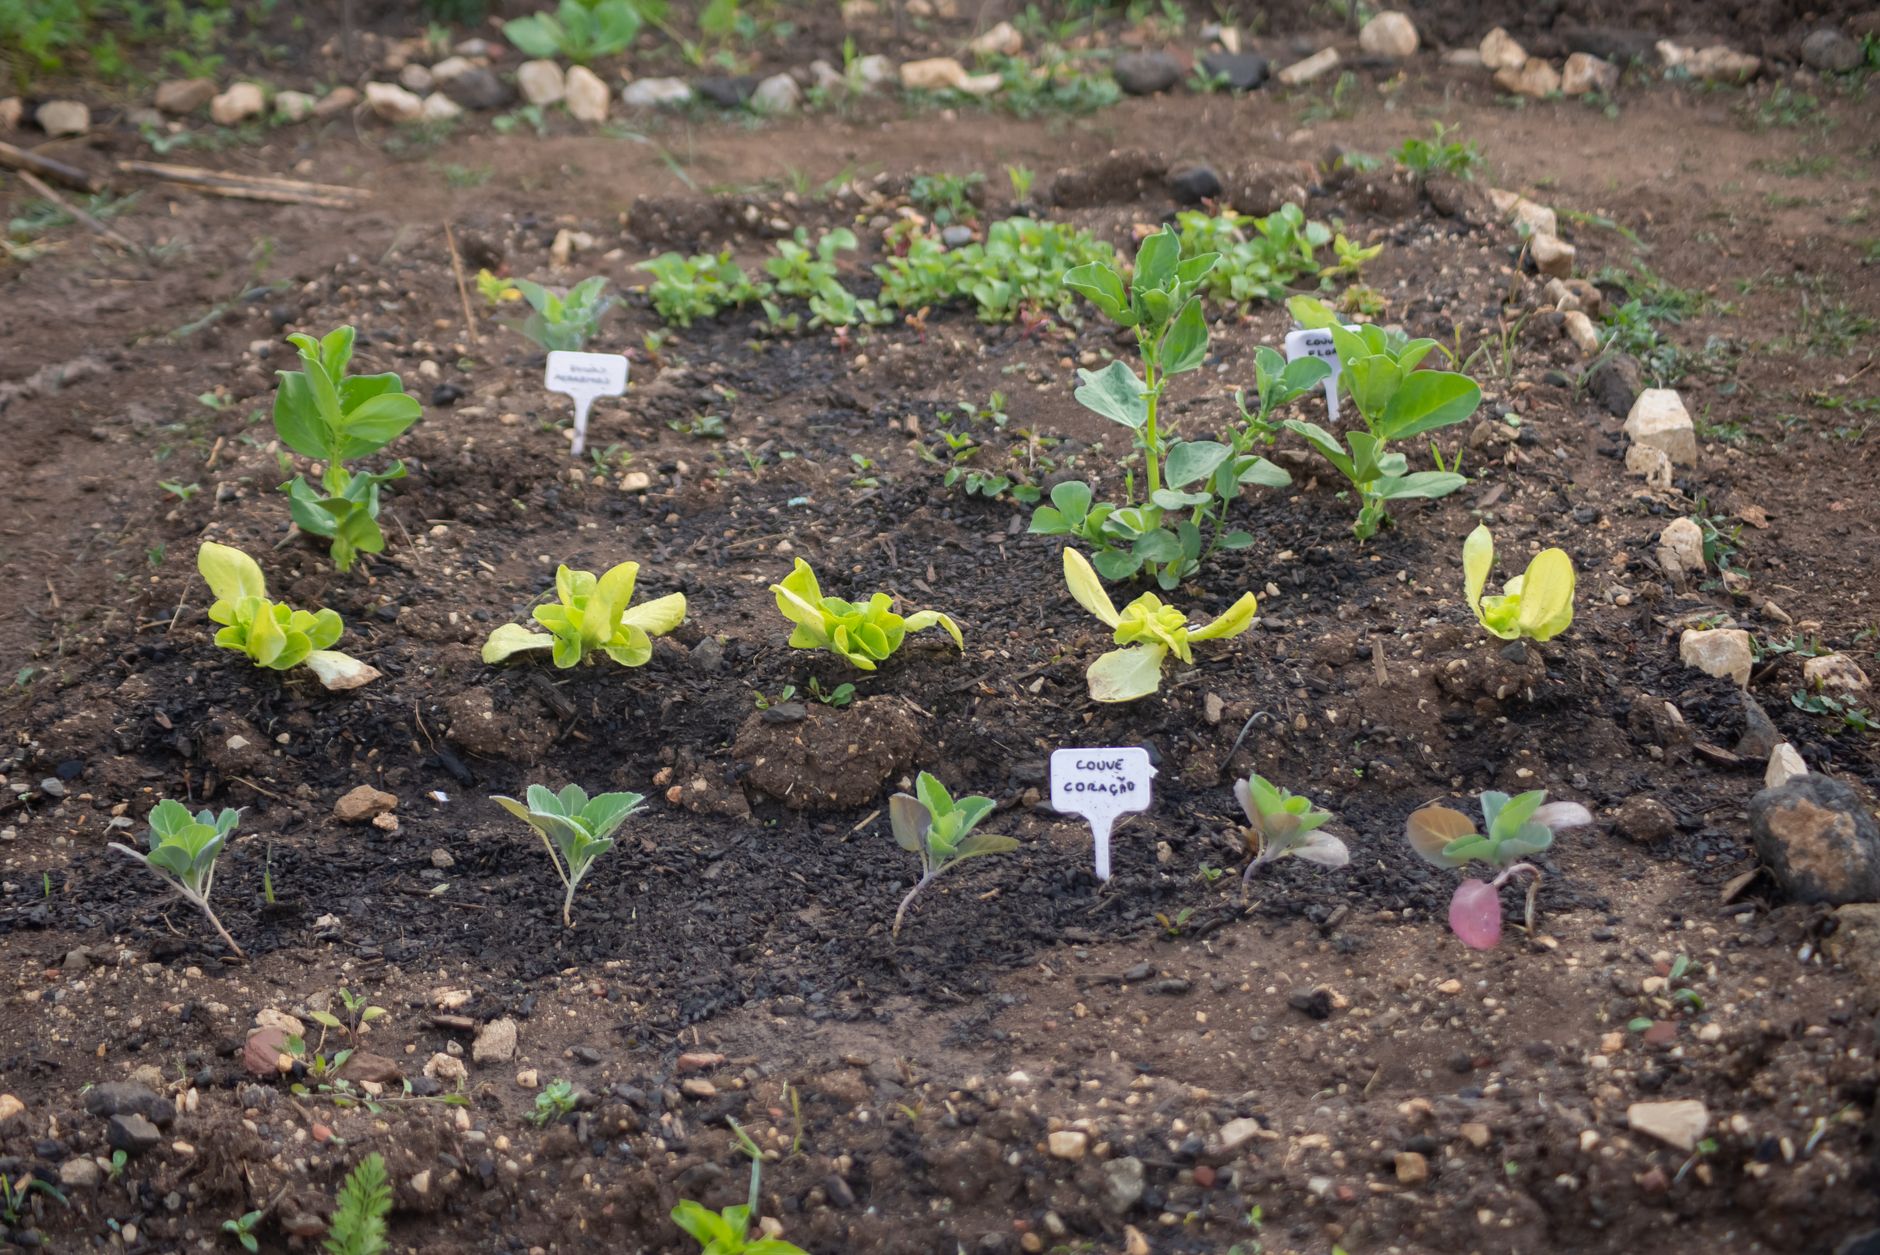
Once seedlings reach about 2-3 inches tall, thin them to 4-6 inches apart, snipping unwanted seedlings at soil level with small scissors rather than pulling, which helps avoid disturbing the roots of neighboring seedlings you're keeping.
Overcrowded turnip plantings, similar to many root vegetables, produce smaller, less well-formed roots as plants compete for limited space and nutrients, making this step genuinely important despite turnips' overall reputation as an easy, forgiving crop.
Thinned seedlings are perfectly edible; young turnip greens, similar to those thinned from beets, make a tender, slightly peppery addition to salads, offering a small bonus harvest from the thinning process itself.
Given turnips' relatively fast growth cycle, this thinning step needs to happen promptly rather than being delayed, since the window for adjusting spacing before roots begin seriously competing is genuinely narrower than for slower-growing vegetables.
Water Consistently for Mild Flavor

Water consistently, providing about an inch per week, since inconsistent moisture, particularly a dry spell, can contribute to roots developing an overly sharp, hot flavor or a tougher, more fibrous texture even before reaching full size.
Mulch lightly around plants once established to help retain even soil moisture and suppress competing weeds, particularly useful during any warmer stretches a spring planting might experience.
Turnips generally don't need heavy additional fertilization beyond the compost worked in at planting, though a light side-dressing partway through growth can help support development on plantings extending toward the longer end of their maturity range.
Avoid letting soil swing between very dry and very wet conditions, which can also contribute to root cracking, similar to the issue seen in carrots and other root vegetables under inconsistent watering.
Manage Flea Beetles and Root Maggots
Flea beetles can create small shot-hole damage on turnip leaves, similar to their effect on radishes and other brassica family members; row cover fabric applied at sowing time offers effective protection, particularly important for young seedlings.
Root maggots can tunnel into turnip roots, similar to the damage seen in radishes; row covers also help prevent this pest by physically blocking the adult flies from laying eggs near the base of plants.
Cabbage worms and loopers can occasionally feed on turnip greens as well, given the family relation; handpicking visible caterpillars is usually sufficient control given turnips' overall vigor and tolerance for some leaf damage.
Rotating turnip plantings to different areas of the garden each season, avoiding repeated planting in the same spot, helps reduce the buildup of these pests over successive years, similar to the rotation strategy used for other brassicas.
Harvest Both Roots and Greens
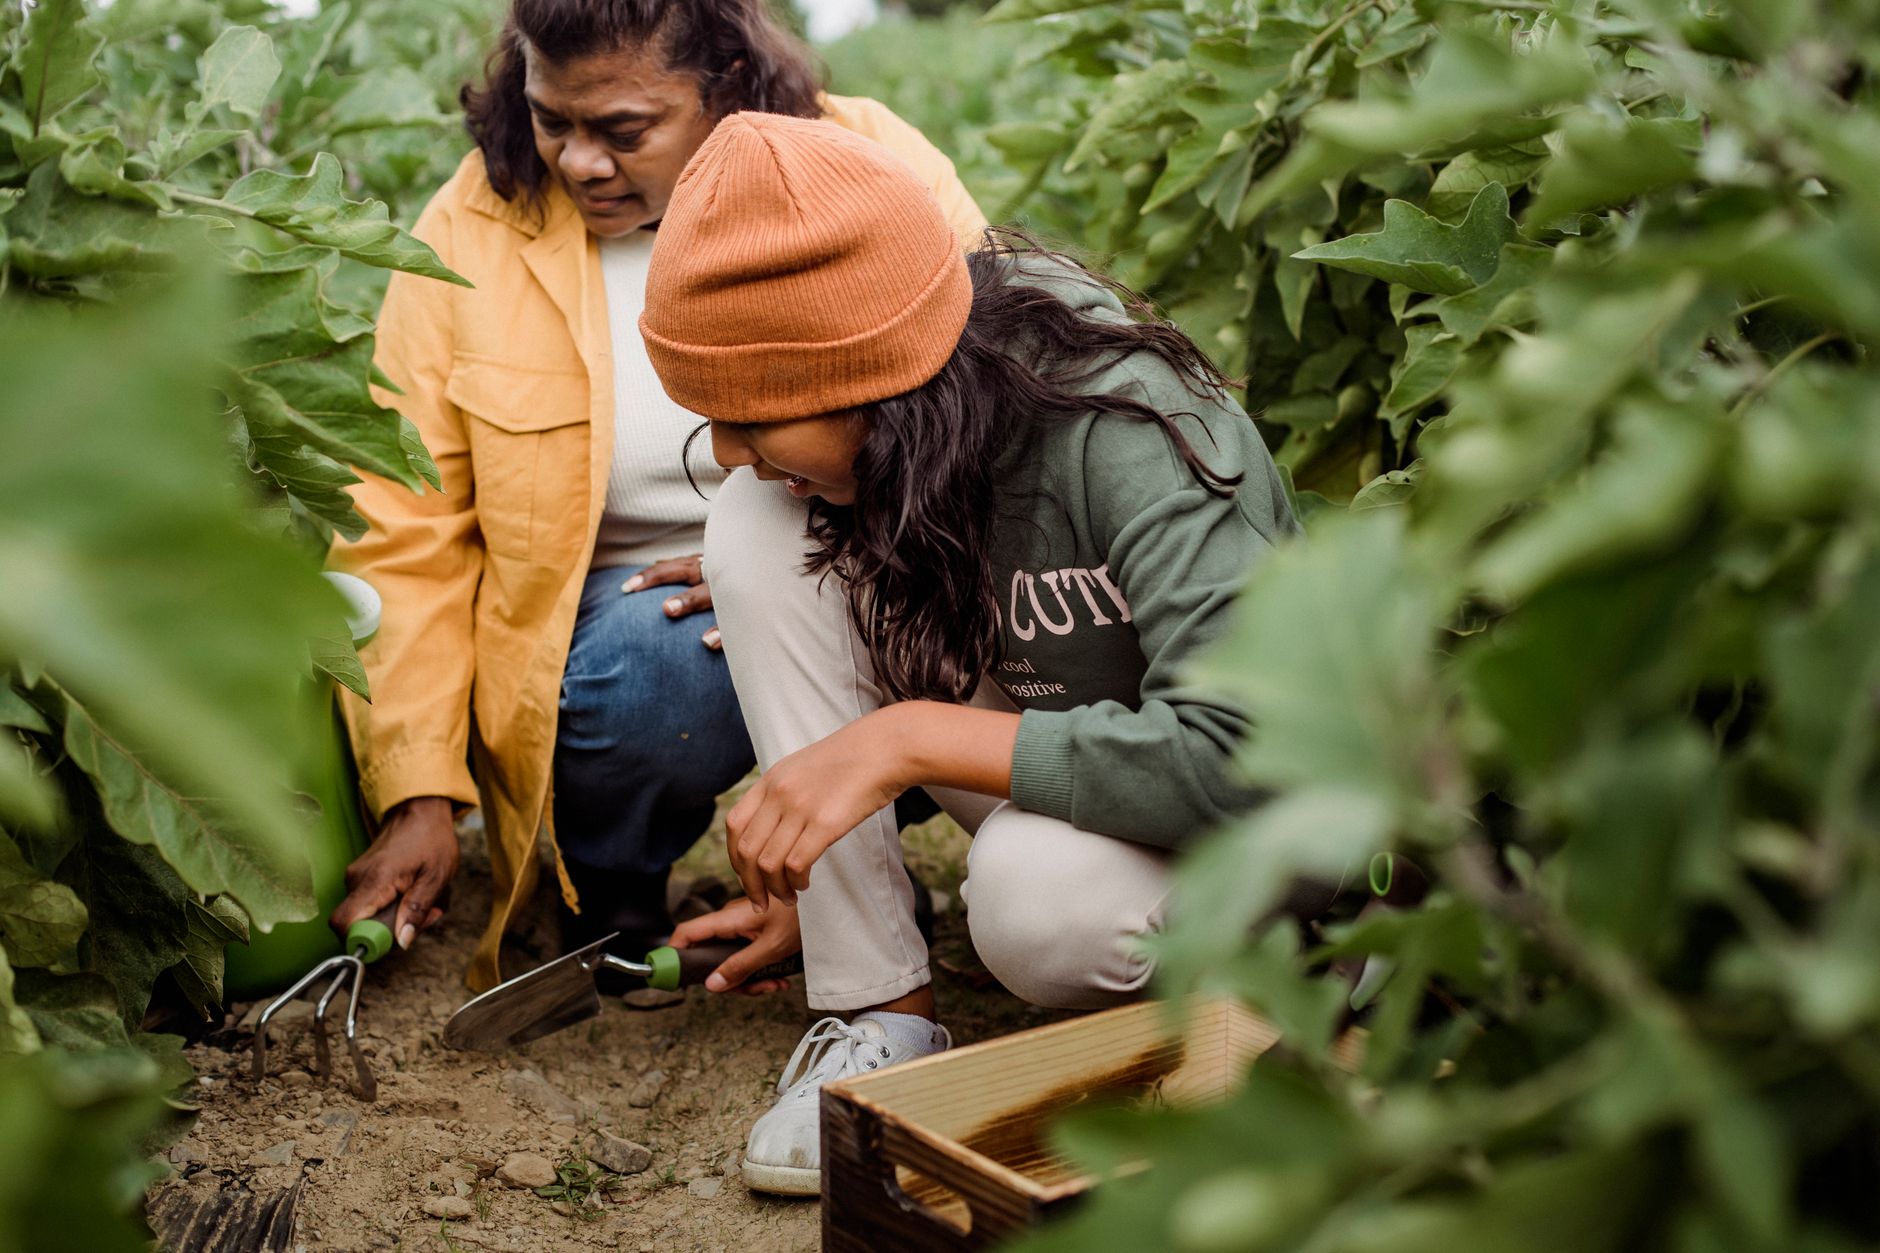
Harvest roots once they reach 2-3 inches in diameter, typically 40-60 days after sowing; checking the top of the root, often visible slightly above the soil line, helps gauge size without needing to pull and check each one individually.
Turnips left to grow much larger than this ideal range tend to become tough, woody, and noticeably more bitter, so checking plantings regularly once they approach maturity matters, similar to the timing sensitivity seen in radishes.
Turnip greens can be harvested separately throughout the growing season by taking a few outer leaves from each plant without disturbing the root's continued development, giving you fresh, nutritious greens while the root continues sizing up underground.
Some gardeners grow varieties specifically for their greens rather than the root, harvesting the entire top growth repeatedly using the cut-and-come-again method, similar to kale, rather than waiting for a substantial root to develop at all.
Gently loosen soil with a garden fork before pulling mature turnips if the ground feels at all compacted, which reduces the risk of snapping the root during harvest.
Store Turnips for Extended Use

Trim greens to about an inch above the root before storing, since leaving the full tops attached causes them to continue drawing moisture out of the root, similar to the storage principle used for carrots and beets.
Store trimmed turnips unwashed in a perforated plastic bag in the refrigerator crisper drawer for several weeks, or in a box layered with slightly damp sand in a cool root cellar around 32-40°F for a few months.
Turnip greens themselves should be used relatively quickly, within about a week, stored separately in the refrigerator wrapped loosely in a damp towel, since they don't hold up as well in storage as the root does.
In regions with mild winters, turnips can often be left in the ground and harvested gradually through the cooler months, similar to carrots and beets, effectively using the garden bed as extended cold storage.
Common problems and fixes
| Problem | Likely cause | What to do |
|---|---|---|
| Roots are tough, woody, or unusually bitter | Harvested too late, well past the ideal 2-3 inch size, or grown during hot summer weather. | Check plantings more frequently as they approach maturity, and prioritize spring or fall planting over summer. |
| Small holes throughout leaves | Flea beetle feeding damage on the foliage. | Use row cover fabric at sowing time in future plantings, though light flea beetle damage rarely affects the root significantly. |
| Roots are small despite healthy-looking greens | Insufficient thinning, leaving too many seedlings competing for the same space. | Thin more thoroughly next planting, removing all but one seedling every 4-6 inches promptly after emergence. |
Gardener's checklist
Test what you learned
What is the ideal size to harvest turnip roots?
Answer: 2-3 inches
Why do turnips grown in fall often taste better than those grown in summer heat?
Answer: Cool temperatures produce milder, sweeter flavor
Can turnip thinnings be eaten?
Answer: Yes, they make a tender salad addition
Common questions
Can I grow turnips just for the greens?
Yes, some varieties are specifically bred for greens production and can be harvested repeatedly using the cut-and-come-again method rather than waiting for a substantial root, similar to how kale is often grown.
Why are my turnips so bitter?
Bitterness in turnips is usually caused by harvesting roots too late, well past their ideal 2-3 inch size, or growing them during hot summer weather rather than the cooler spring or fall seasons they prefer.
How long do turnips take to grow?
Turnips typically take 40-60 days from sowing to harvest, making them one of the faster root vegetables, similar in speed to radishes though generally taking somewhat longer to reach full size.
Do turnips need full sun?
Turnips grow best in full sun but tolerate light shade reasonably well, similar to beets and carrots, making them a flexible option for gardens with some partially shaded areas.
Turnips are a genuinely fast, dual-purpose crop offering both root and greens from a single planting, and the key to the best flavor is simple: grow them in cool weather and harvest roots promptly once they reach a modest size.
Frequently asked questions
How often should a vegetable garden be watered?
Frequency depends on weather, soil and plant size. Check the soil rather than watering on a rigid schedule.
Is compost enough fertilizer?
Compost improves soil and provides nutrients slowly. Heavy-feeding crops may still need additional feeding.

The Sproutstead Editorial Team
We create clear, practical gardening and homesteading guides designed for real homes and beginner growers.
View author profile →