Plant asparagus crowns in early spring in trenches 6-8 inches deep, spaced 12-18 inches apart, in full sun with well-draining soil. Avoid harvesting for the first two years to let the plant establish, then harvest spears for 4-6 weeks each spring once the bed matures, extending gradually as the planting ages.
What you will need
Choose a Permanent Location
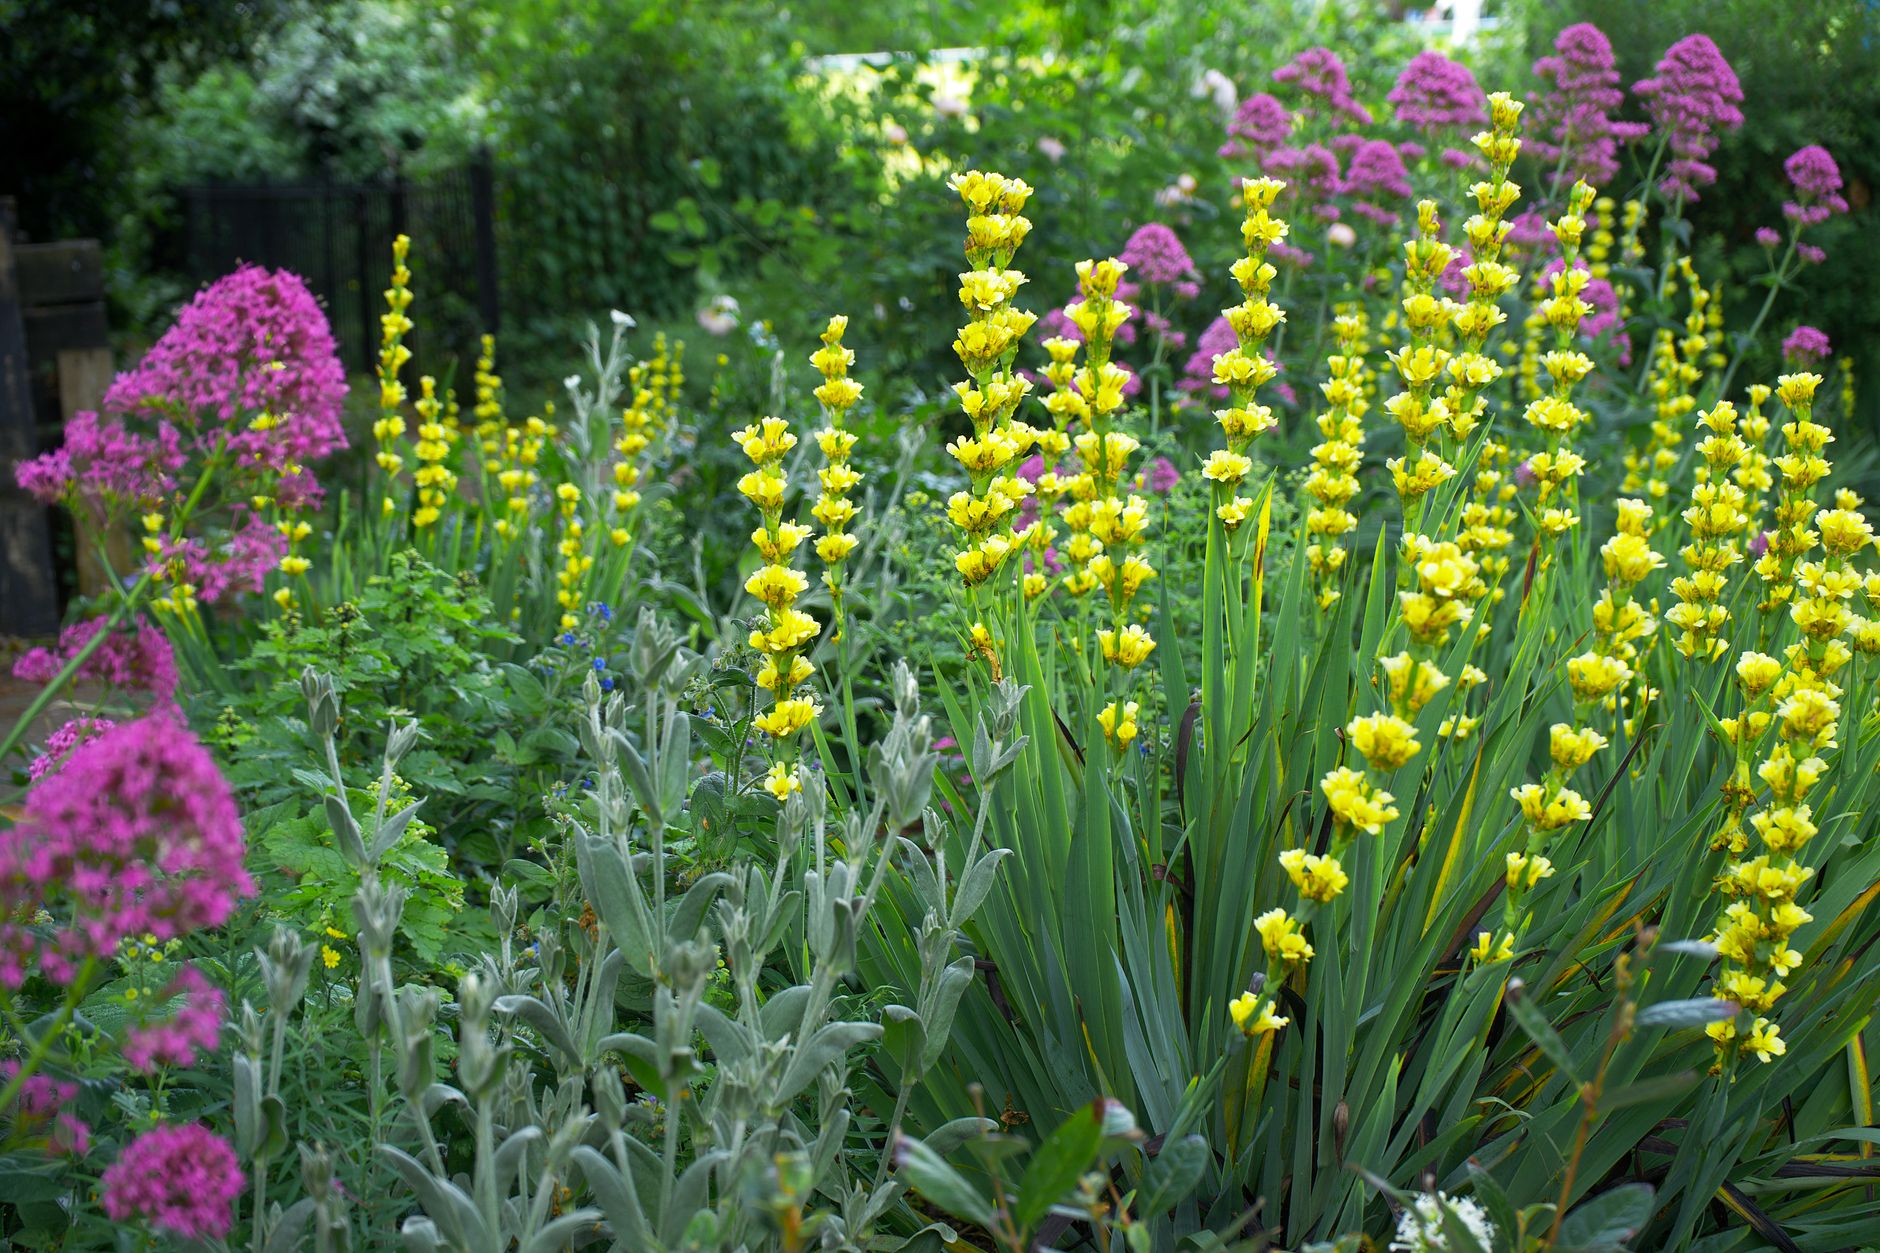
Since a well-maintained asparagus bed can produce for 15-20 years or more, choose a permanent, sunny location that won't need to be tilled, moved, or disturbed for other crop rotations down the line.
Pick a spot with full sun, at least 6-8 hours daily, and excellent drainage, since asparagus crowns are especially prone to rot in waterlogged or heavy clay soil that stays consistently wet.
Position the bed away from your regular annual vegetable rotation, and think carefully about its long-term footprint, since mature plants spread into a fern-like canopy several feet wide and tall by midsummer, potentially shading neighboring beds.
Consider placing the bed along a fence line or garden edge, where its summer ferny growth won't interfere with the sun exposure of shorter annual crops planted elsewhere in the garden.
Prepare the Trench and Soil
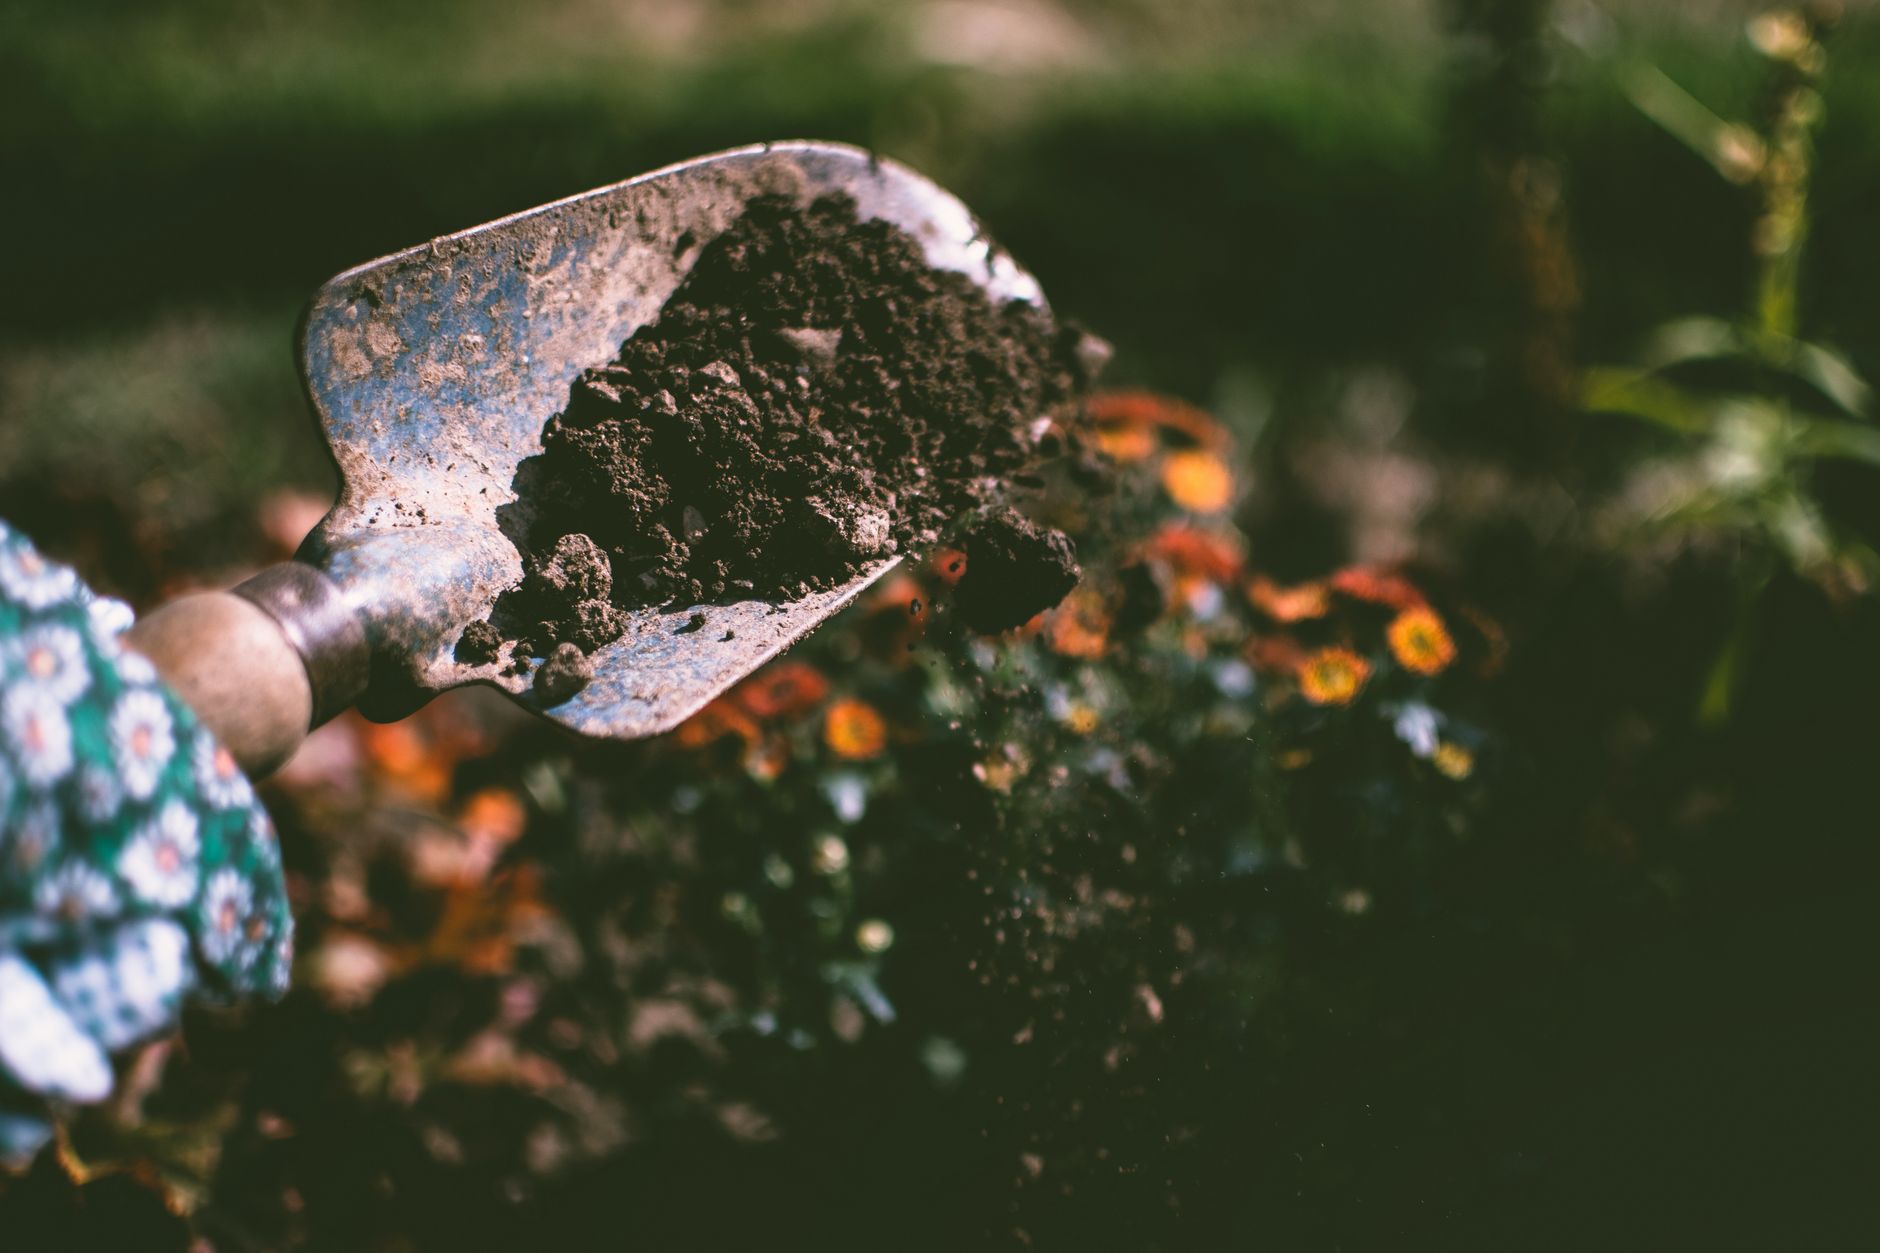
Dig a trench about 6-8 inches deep and 12 inches wide. Work several inches of compost or well-rotted manure into the bottom of the trench to give crowns a nutrient-rich foundation for their first years of establishment.
Asparagus prefers a soil pH of 6.5-7.5, slightly higher than many common vegetables, so test your soil ahead of time and adjust with garden lime if needed before planting.
If your native soil is heavy clay, seriously consider building a raised bed instead of an in-ground trench, since asparagus crowns are especially sensitive to poor drainage and standing water throughout their long lifespan in the same location.
Remove any perennial weed roots thoroughly from the planting area before digging, since it becomes far more difficult to manage weeds like bindweed or quackgrass once asparagus crowns are established and spreading their own root systems.
Plant the Crowns
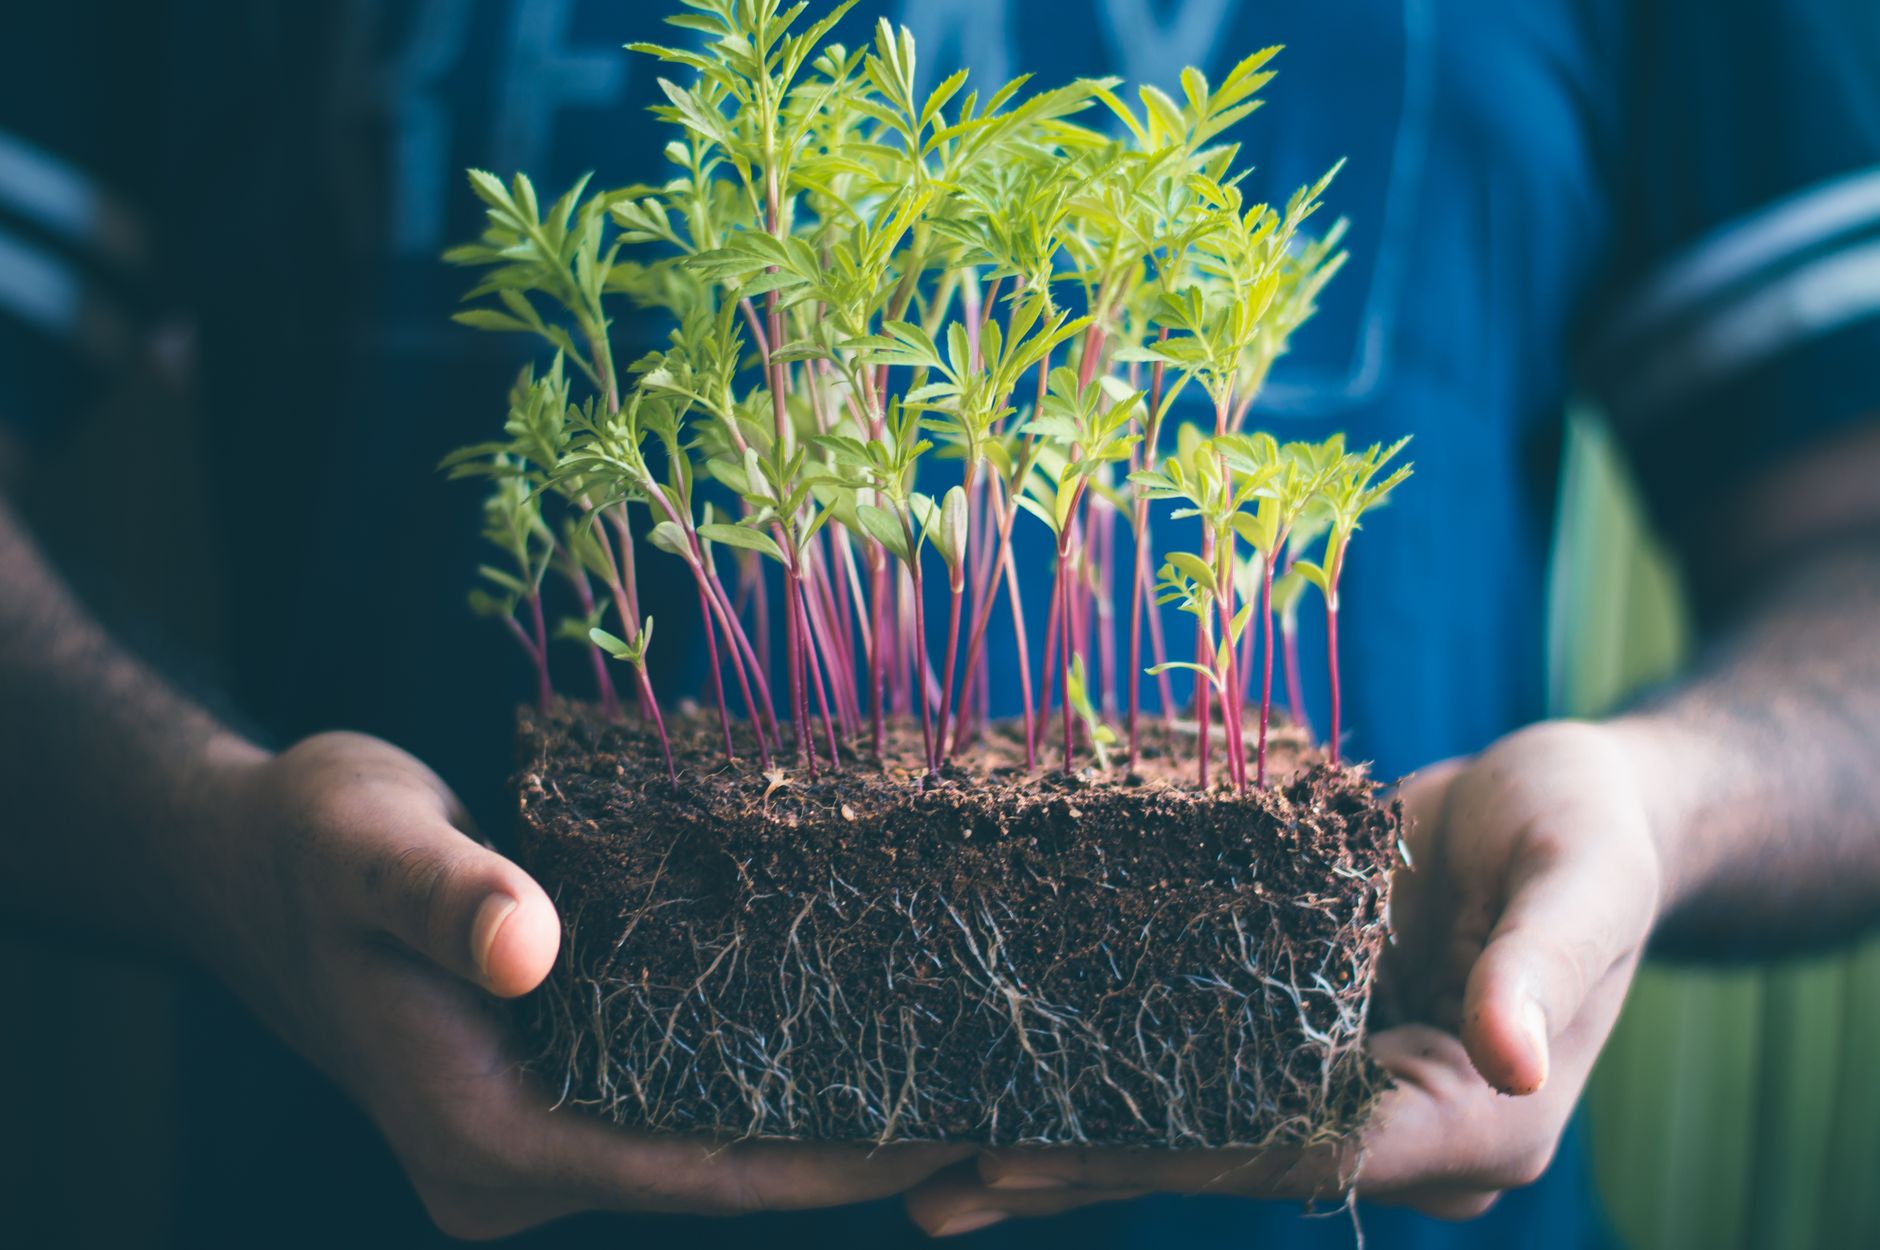
Place crowns in the trench about 12-18 inches apart, spreading the roots out like spokes on a wheel with the central bud cluster facing upward toward the soil surface.
Cover crowns with just 2-3 inches of soil initially rather than filling the entire trench at once. As shoots emerge and grow taller through the season, gradually backfill the remaining trench until it's level with the surrounding bed.
Water thoroughly right after the initial planting and keep soil consistently moist through the entire first growing season while the root system establishes itself underground.
Space multiple rows at least 3-4 feet apart if planting more than one row, since mature asparagus plants develop extensive root systems that need room to spread without competing directly with a neighboring row.
Care for the Bed and Resist Harvesting Early
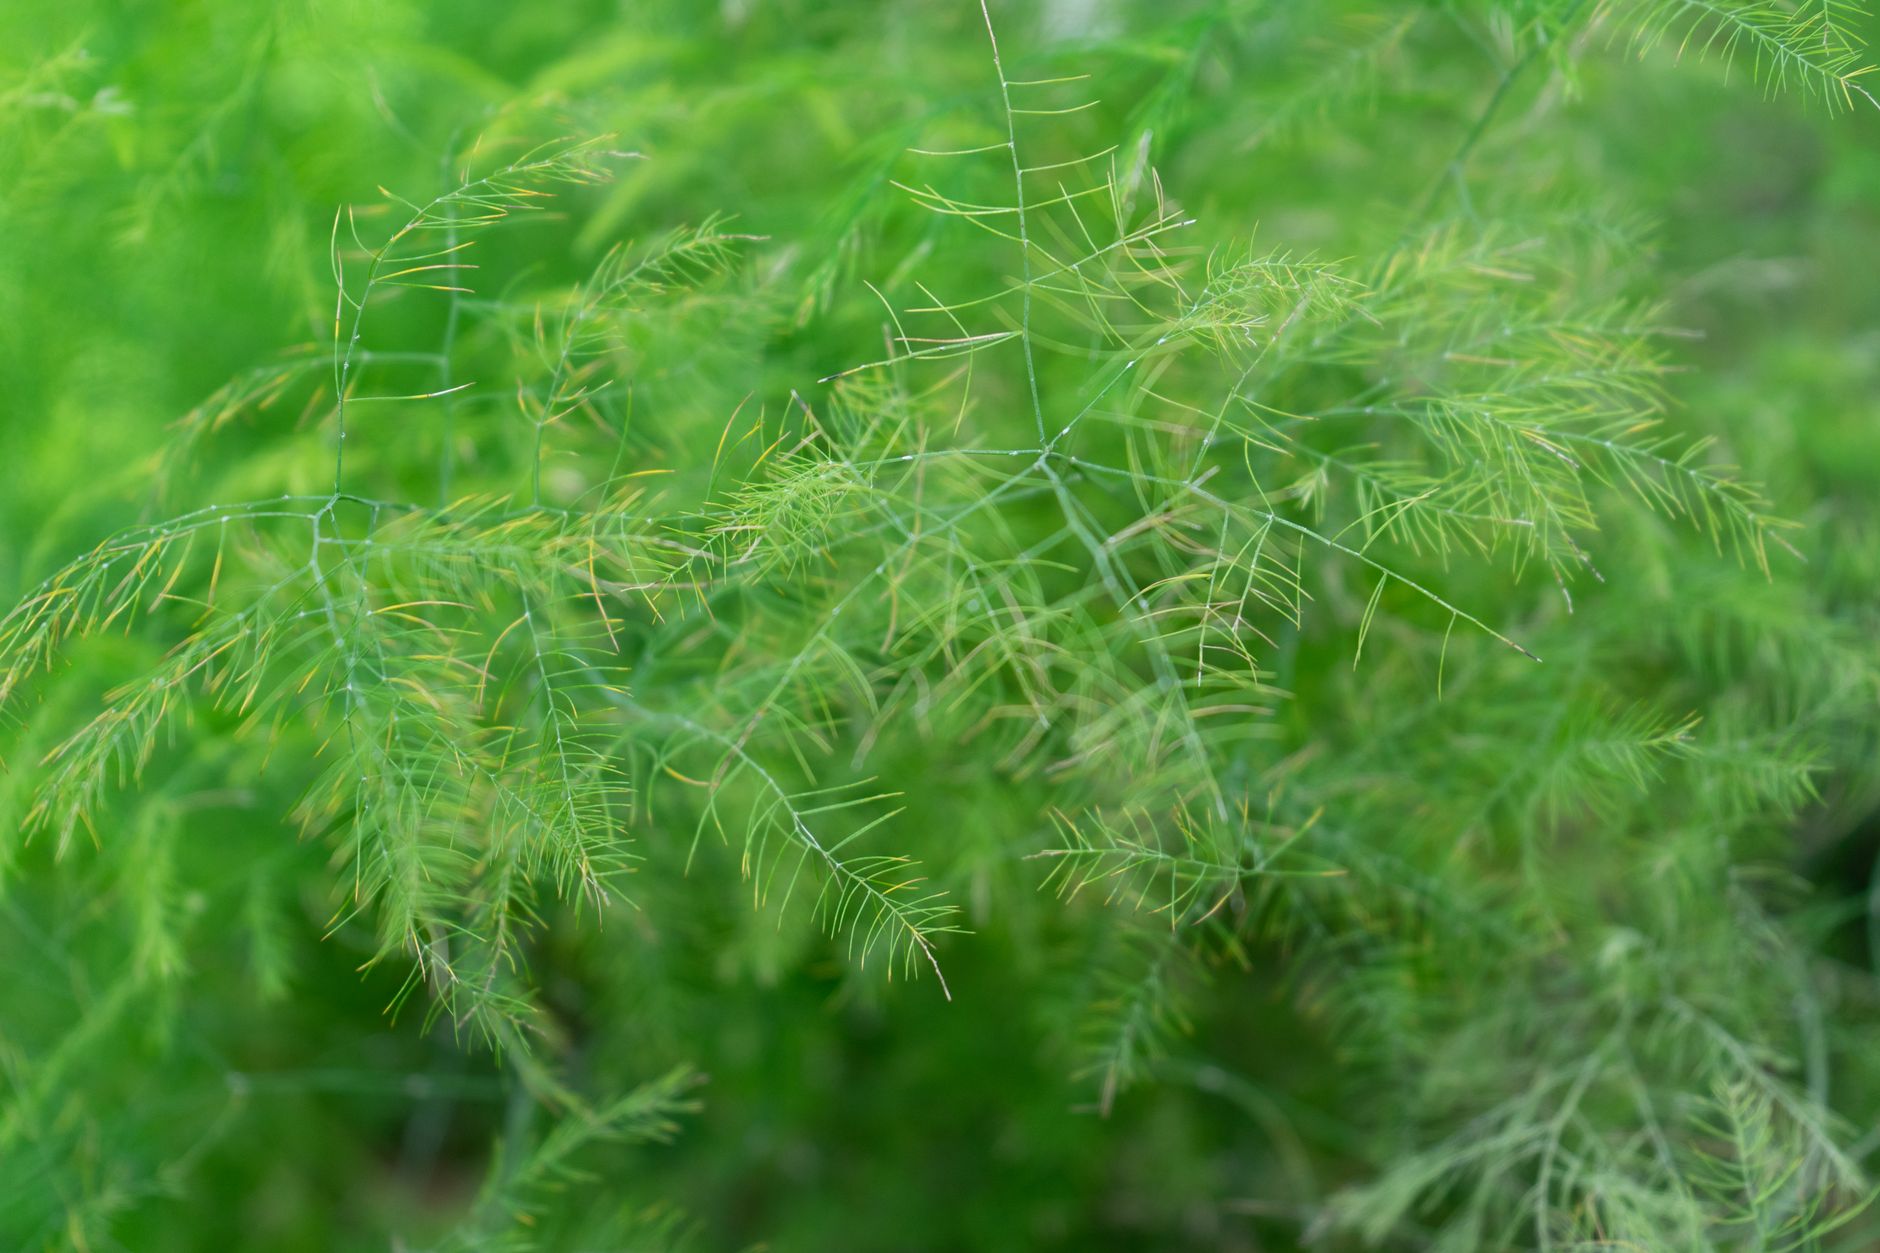
Resist harvesting any spears during the first year entirely, and take only a very light harvest, a few spears at most, in the second year if the bed looks especially vigorous. Harvesting too early significantly weakens the crown's ability to establish a strong, productive root system.
Let the ferny foliage grow undisturbed through summer without cutting it back, since the fronds actively photosynthesize and send stored energy down into the roots, directly fueling next year's spring spear production.
Weed carefully by hand near the crowns to avoid damaging shallow roots, apply mulch to help suppress weeds and retain soil moisture, and top-dress the bed with fresh compost each spring before new growth emerges.
In fall, once fronds have yellowed and died back naturally after the first hard frost, cut them down to soil level and remove the debris, which helps reduce overwintering sites for asparagus beetles.
Manage Asparagus Beetles and Other Pests
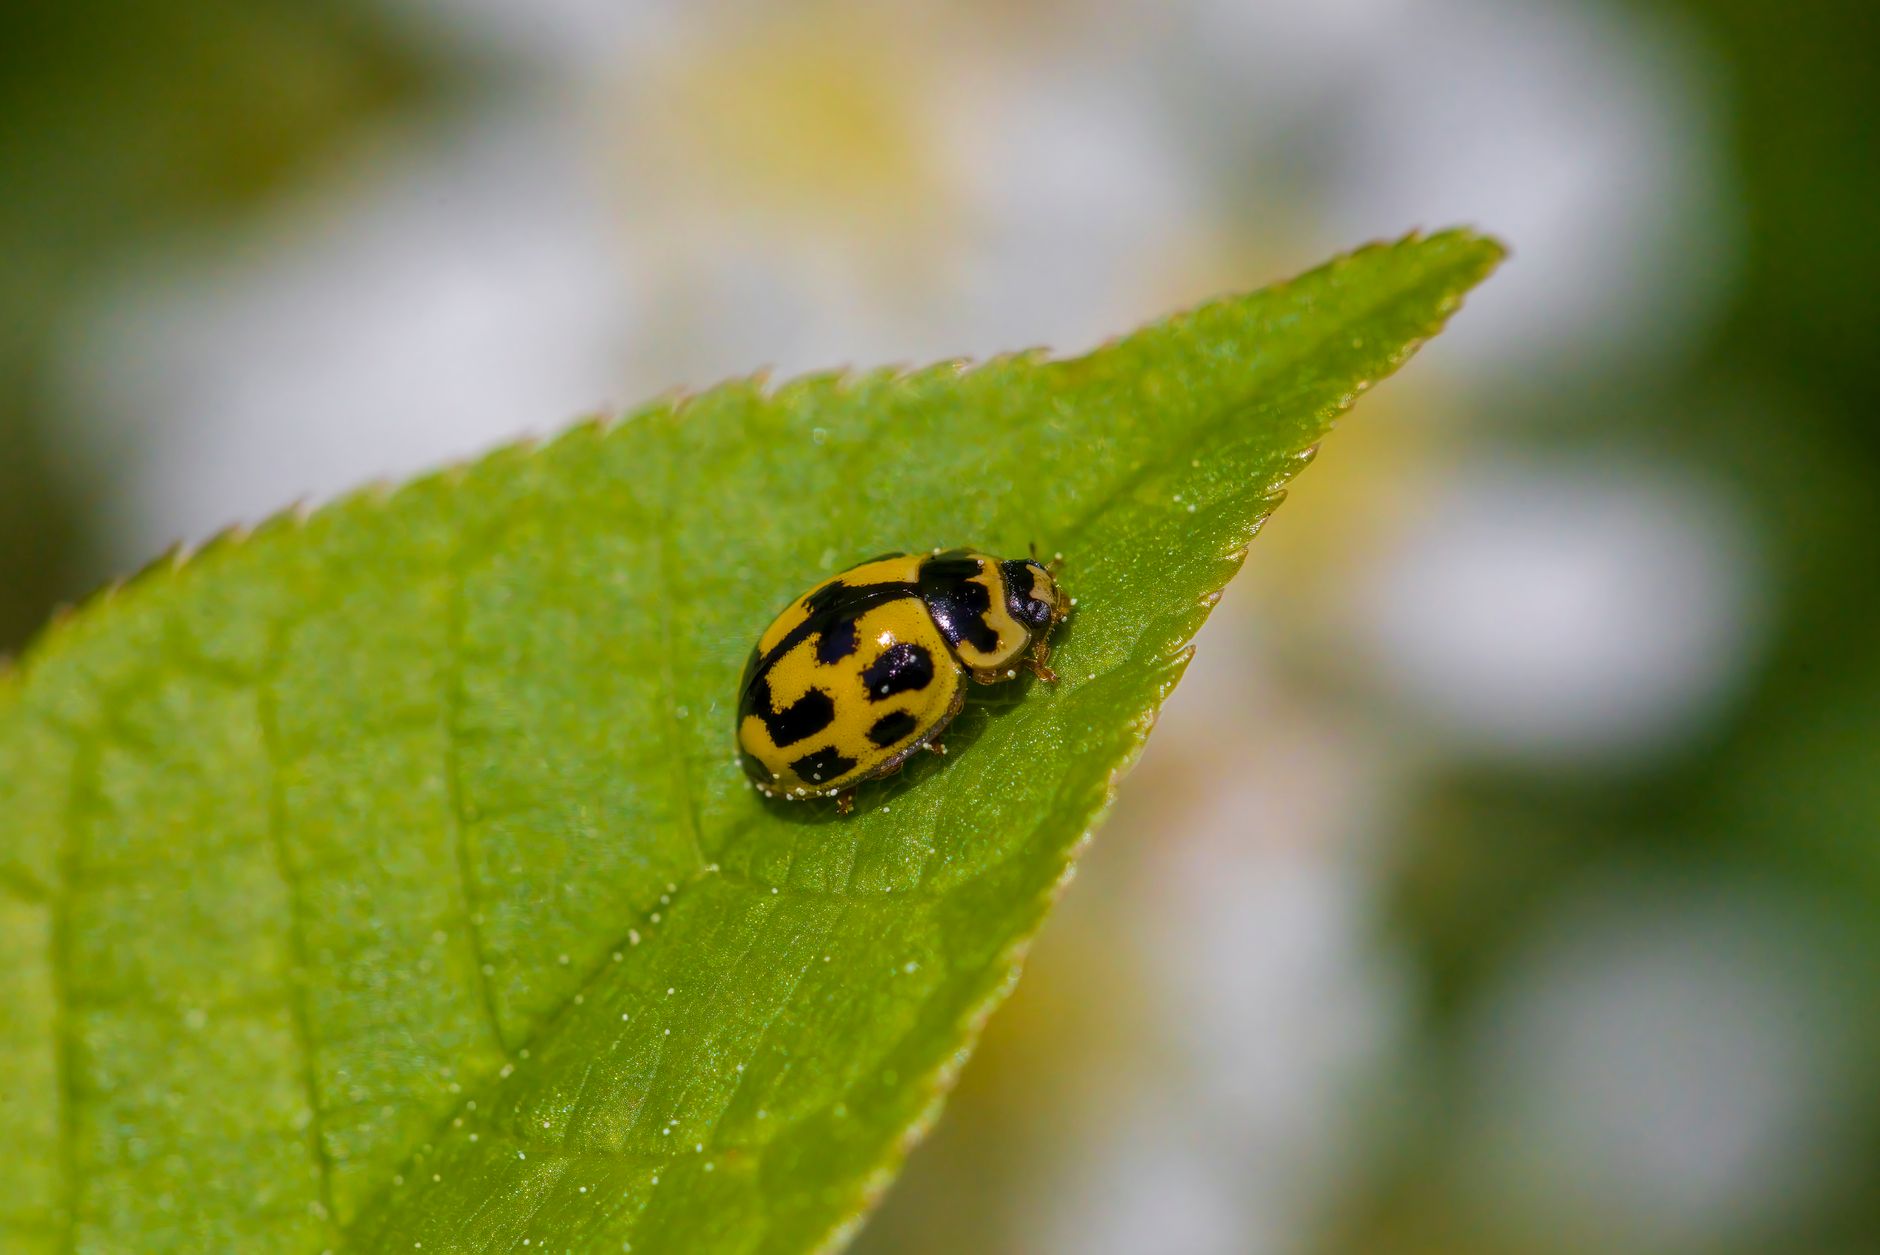
Asparagus beetles, both the common and spotted varieties, feed on spears and foliage and can noticeably reduce yields if left unchecked. Handpicking adult beetles and destroying visible black eggs on spears is often sufficient control for a home garden.
Removing and destroying old fern debris in fall, rather than leaving it in the bed over winter, significantly reduces the number of overwintering beetles that emerge the following spring.
Rust, a fungal disease that causes orange-brown streaking on stems, can affect asparagus in humid climates; choosing rust-resistant varieties and ensuring good air circulation between plants are the best preventive measures.
Harvest Spears in Following Years
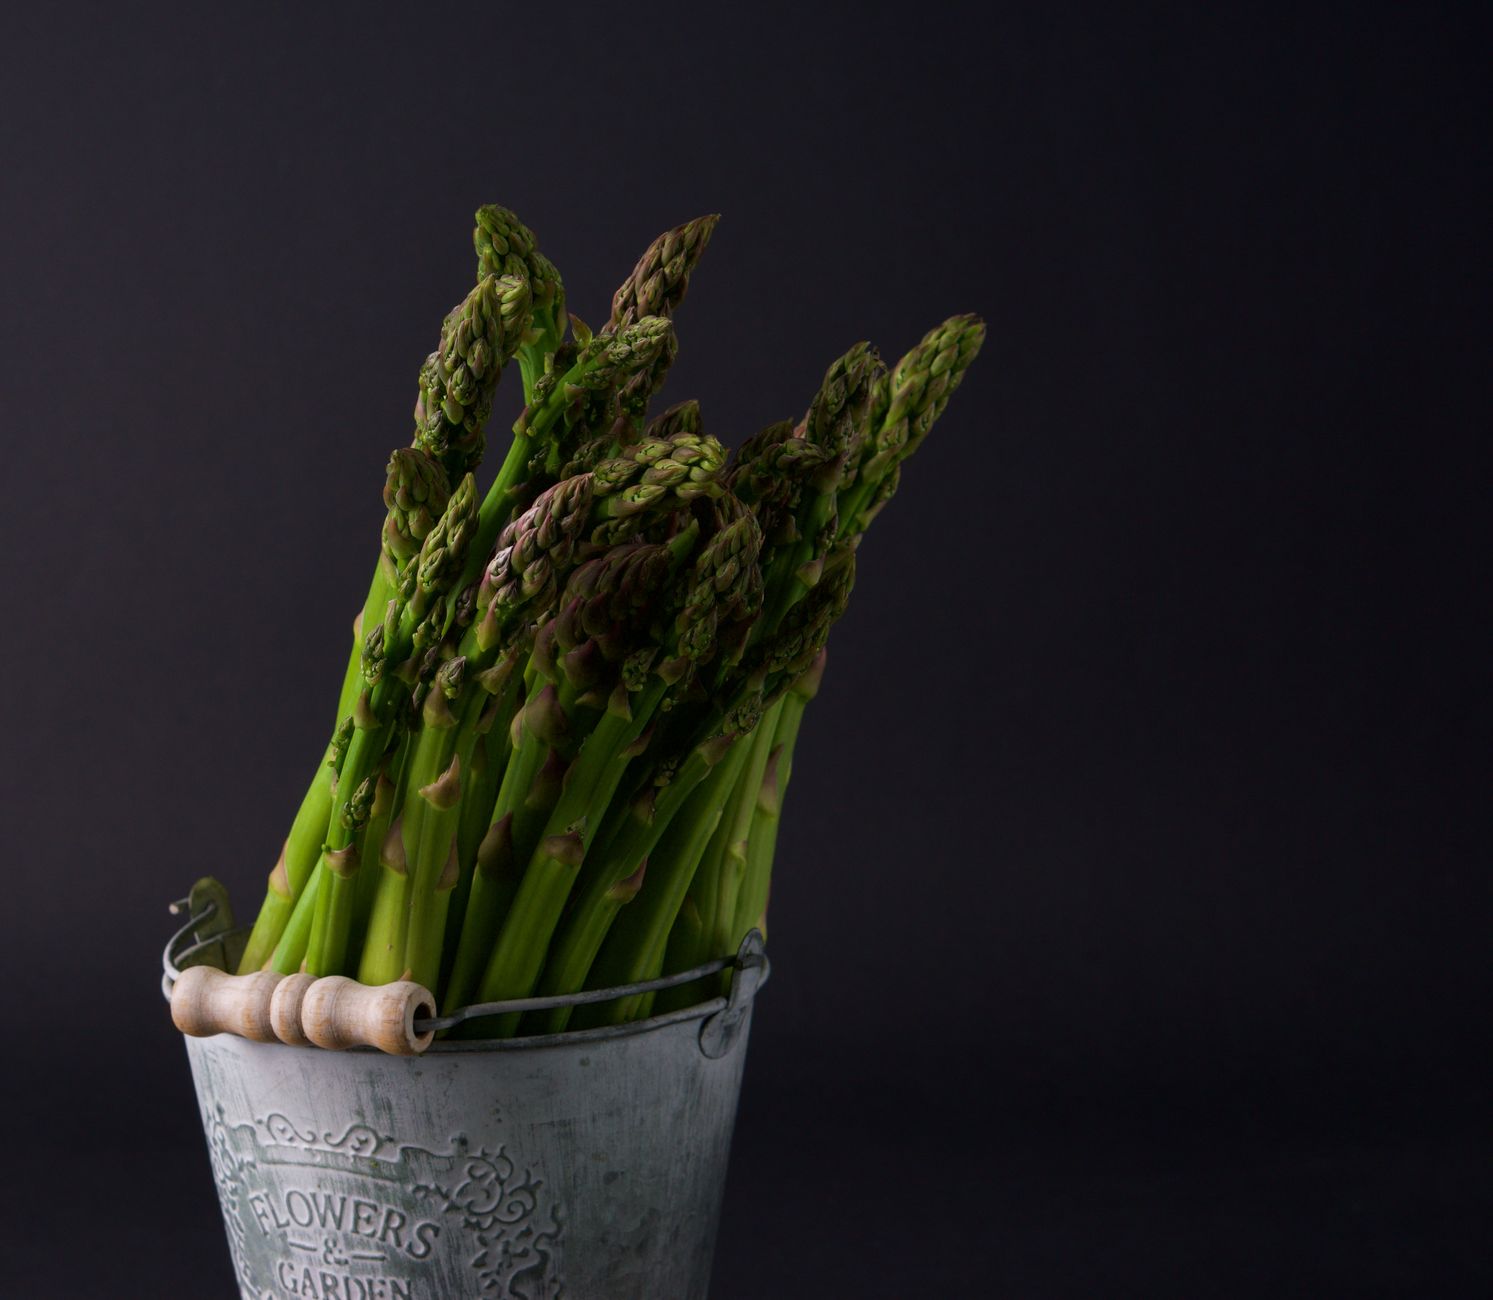
Starting in year three, harvest spears once they reach 6-8 inches tall by snapping them off by hand at their natural breaking point, or cutting them just below the soil line with a sharp knife.
Harvest daily or every other day during peak spring growth, since spears can grow several inches per day in warm weather and quickly become tough and woody if left too long.
Harvest for about 4-6 weeks each spring on a newly mature bed, then stop and let all remaining spears grow into ferny foliage, which recharges the roots with stored energy for next year's crop.
As the bed matures over several more years, the harvest window can gradually extend to 8-10 weeks on well-established, healthy plantings, though it's still important to stop harvesting by early summer even on mature beds.
Maintain the Bed for Long-Term Productivity
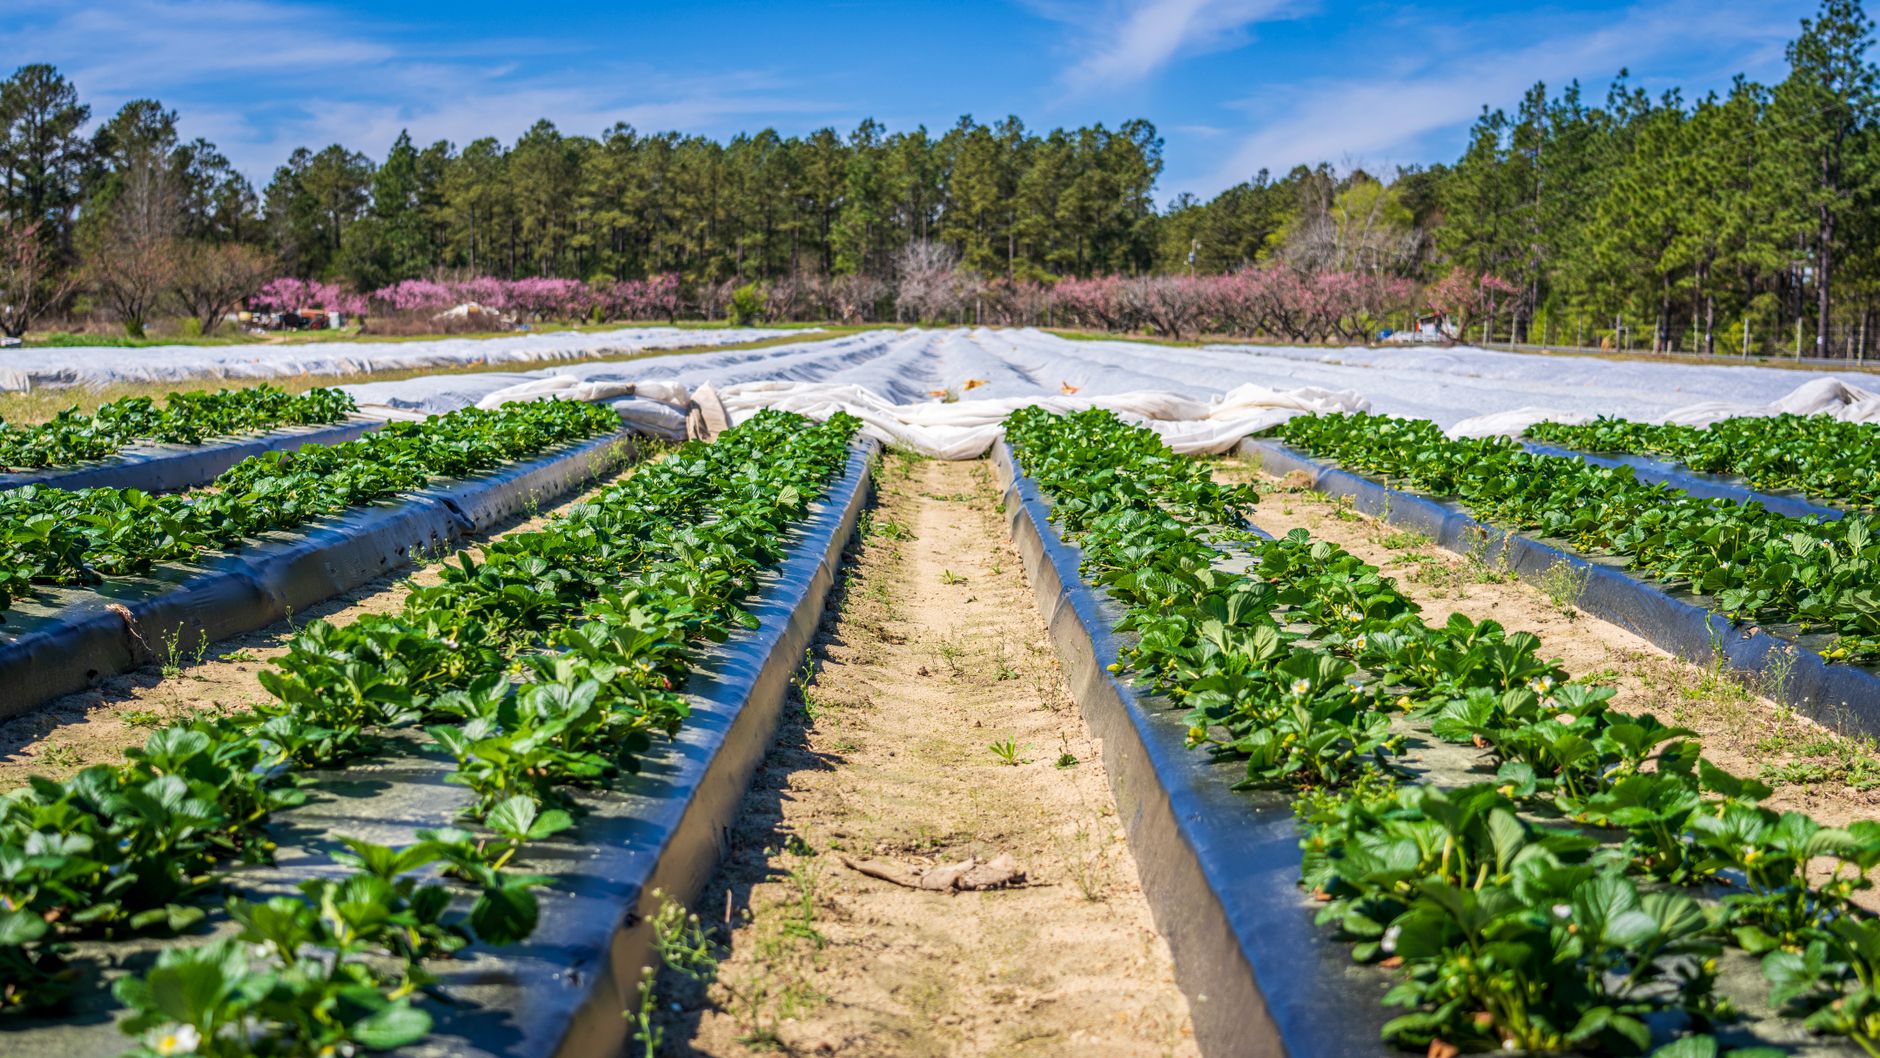
Top-dress the bed with an inch or two of fresh compost every spring before spears emerge, replenishing nutrients that the plant draws on heavily during its productive years.
Keep the bed weeded consistently throughout the growing season, since asparagus competes poorly with aggressive weeds despite its extensive root system.
Divide or replace an asparagus bed only when yields have noticeably declined, typically after 15-20 years or more, since disturbing an otherwise healthy, mature planting sets productivity back significantly.
Common problems and fixes
| Problem | Likely cause | What to do |
|---|---|---|
| Thin, weak spears | Overharvesting, poor soil fertility, or a young, still-establishing bed. | Reduce harvest duration, top-dress with compost each spring, and give younger beds more time to mature before heavy harvesting begins. |
| Crowns rotting after planting | Poor drainage or waterlogged soil in the planting trench. | Improve drainage with raised beds or added organic matter, and avoid planting in low-lying areas that stay wet after rain. |
| Spears with chewed edges or visible small black eggs | Asparagus beetle adults and eggs. | Handpick adult beetles and destroy eggs during the harvest season, and clean up fern debris thoroughly each fall. |
Gardener's checklist
Test what you learned
How many years should you wait before fully harvesting a new asparagus bed?
Answer: 2-3 years
Why should asparagus ferns be left standing through summer?
Answer: They photosynthesize and feed the roots for next year
What is the most common pest affecting home-grown asparagus?
Answer: Asparagus beetles
Common questions
How long does an asparagus bed last?
A well-maintained asparagus bed can remain productive for 15-20 years or longer, making it one of the few true long-term investments in a home vegetable garden.
Can asparagus be grown in containers?
It's not ideal, since asparagus roots spread widely over time and the plant needs a permanent, undisturbed location to reach full productivity over many years, which is difficult to provide in a container.
Why do you snap or cut asparagus spears instead of pulling them?
Snapping at the spear's natural breaking point or cutting just below soil level avoids disturbing the crown and surrounding shoots still developing underground, which pulling could easily damage.
Asparagus asks for patience in its first two years but rewards that patience with over a decade of fresh spears each spring from the very same bed, as long as you maintain it well each year.
Frequently asked questions
How often should a vegetable garden be watered?
Frequency depends on weather, soil and plant size. Check the soil rather than watering on a rigid schedule.
Is compost enough fertilizer?
Compost improves soil and provides nutrients slowly. Heavy-feeding crops may still need additional feeding.

The Sproutstead Editorial Team
We create clear, practical gardening and homesteading guides designed for real homes and beginner growers.
View author profile →