To clean a chicken coop effectively, follow a three-tier routine: daily (collect eggs, check water, spot clean droppings), weekly (change bedding, clean feeders/waterers, remove cobwebs), and deep clean (every 3-6 months, fully empty and scrub the entire coop). The deep clean involves removing all bedding, scraping off manure, scrubbing with a vinegar-water solution or mild detergent, rinsing thoroughly, drying completely, and adding fresh bedding. Proper ventilation and the deep litter method can reduce cleaning frequency, but regular maintenance is essential for flock health.
What you will need
Establish a Daily Cleaning Routine
Collect eggs: Collect eggs at least once daily (twice in hot weather). This prevents eggs from being pecked or broken, and keeps nesting boxes clean.
Check water: Ensure waterers are clean and full. Scrub if algae or debris is present. Refill with fresh water.
Check feed: Ensure feeders have enough feed. Remove any wet or moldy feed—it can make chickens sick.
Spot clean droppings: Use a small shovel or scoop to remove droppings from roosting bars and floor. This prevents buildup and reduces odors.
Check for damage: Quickly inspect the coop and run for any damage (broken wires, loose latches) and fix immediately.
Perform Weekly Cleaning Tasks
Change bedding: Remove soiled bedding from nesting boxes and floor. Replace with fresh, clean bedding (straw, wood shavings, or shredded paper).
Clean feeders: Empty feeders, wash with warm soapy water, rinse, and dry thoroughly before refilling. Moldy feed is dangerous.
Clean waterers: Scrub waterers with a brush to remove algae and debris. Rinse well. Refill with fresh water.
Remove cobwebs: Clear cobwebs from walls, ceiling, and corners. They trap dust and can harbor mites.
Check the run: Pick up droppings in the run (especially under roosting areas). Replenish sand or wood chips if needed.
Dusting: If you use diatomaceous earth or poultry dust, apply to bedding and dust bath areas to control parasites.
Plan Your Deep Clean Schedule
How often: Deep clean the coop every 3-6 months. In warmer climates or with large flocks, more frequent cleaning (every 2-3 months) may be needed.
The deep litter method: If you're using the deep litter method (adding bedding on top without removing the bottom layer), a full clean-out may only be needed once or twice a year.
Spring and fall: Many keepers do a deep clean in spring (after winter) and in fall (before winter). This prepares the coop for the season ahead.
Signs it's time: Strong ammonia smell, damp bedding, visible manure buildup, or you notice more flies or mites.
Plan ahead: Pick a day with good weather. You'll need 2-4 hours to do a thorough job, plus time for drying.
Prepare for the Deep Clean
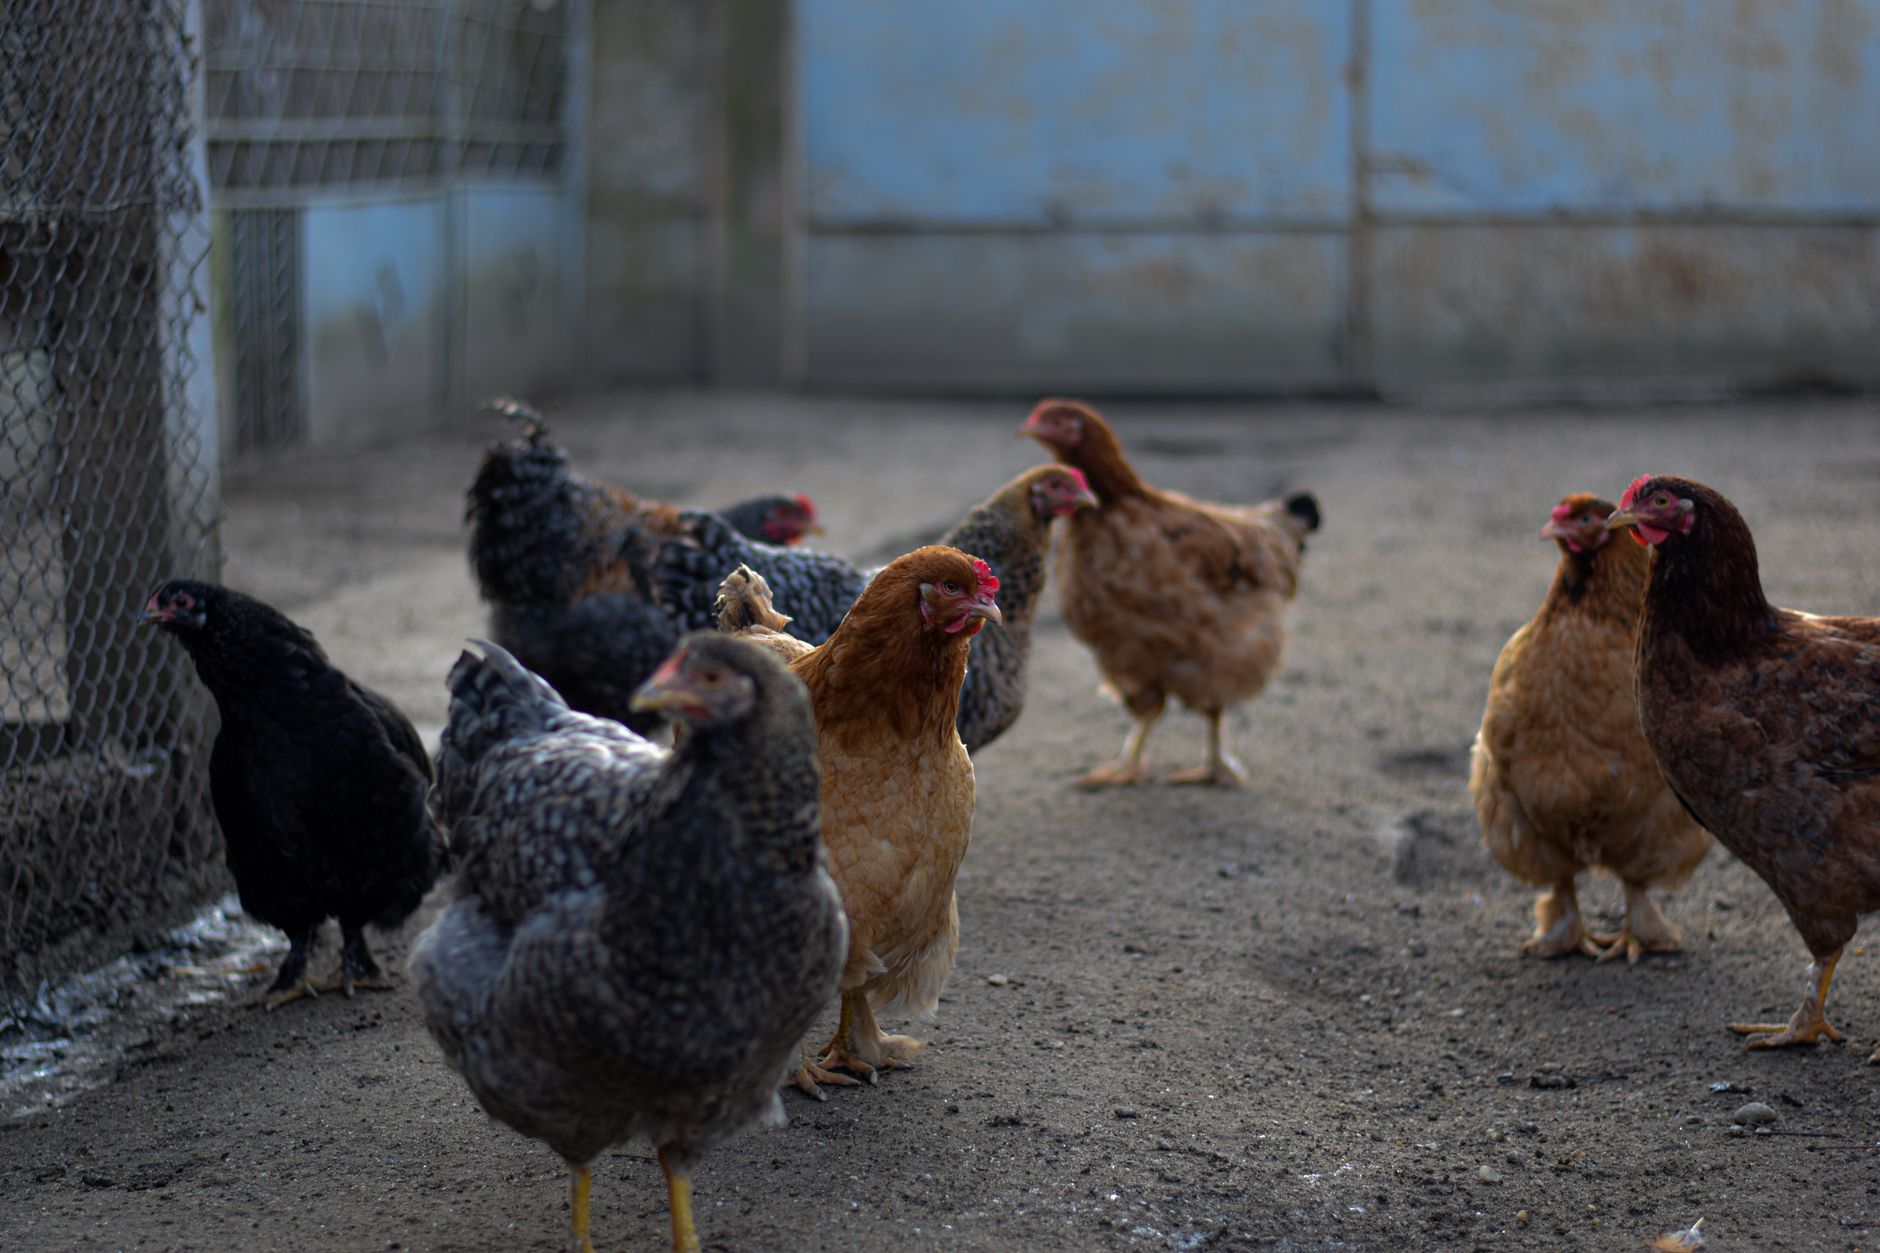
Protective gear: Wear rubber gloves, a dust mask (or N95), and old clothes. Chicken manure contains bacteria and dust that can irritate lungs.
Tools: Shovel, stiff-bristled brush, garden hose or pressure washer, bucket, wheelbarrow or compost bin, and a scrub brush.
Cleaning solution: Use a 1:1 mixture of white vinegar and water, or mild dish soap. Avoid bleach and harsh chemicals—they can harm chickens.
Fresh bedding: Have enough fresh bedding to replace what you remove. For a 4x6 foot coop, you'll need 1-2 bales of straw or several bags of shavings.
Remove chickens: Have a temporary holding area for your chickens (the run, a dog crate, or a fenced area).
Perform the Deep Clean Step-by-Step
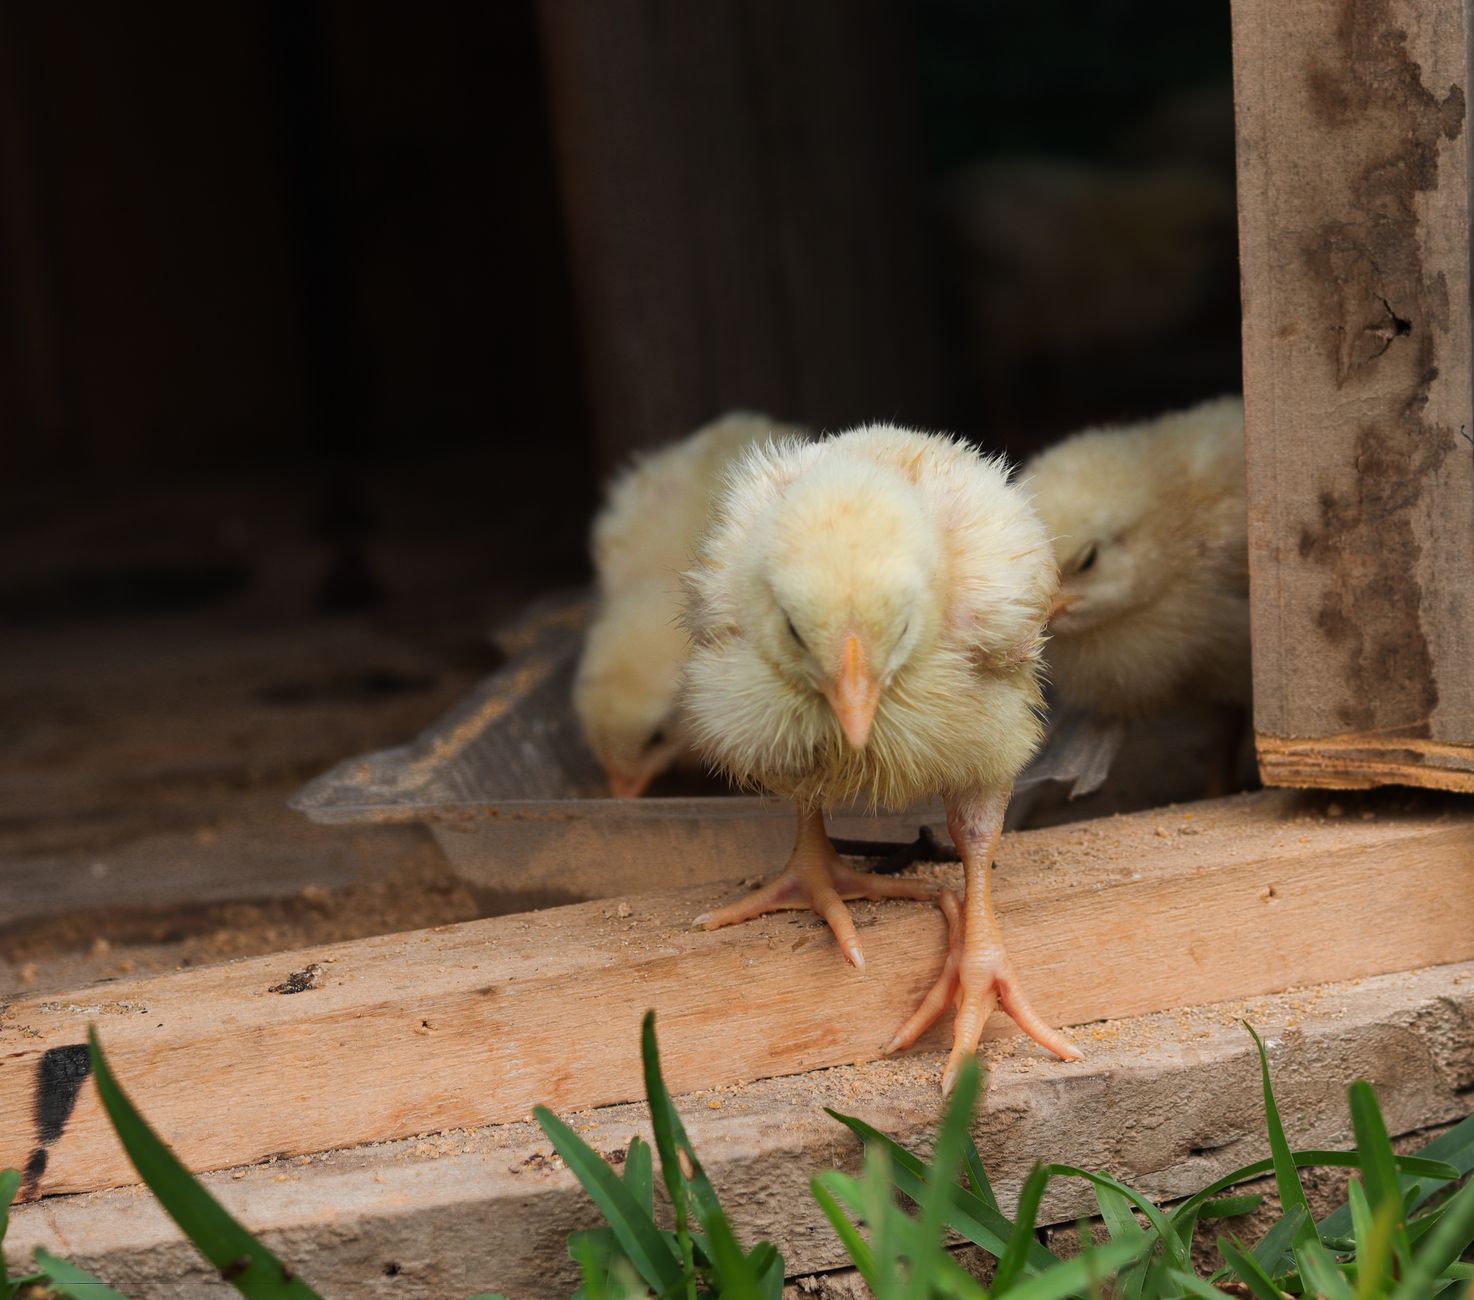
Step 1: Remove everything. Take out all bedding, nesting box materials, feeders, waterers, and movable items. Place them aside.
Step 2: Shovel out manure. Use a shovel to remove all manure and soiled bedding. Put it in a compost bin or wheelbarrow.
Step 3: Scrub walls and surfaces. Use a stiff-bristled brush and cleaning solution to scrub all surfaces—walls, floor, roosts, and nesting boxes. Remove any dried manure.
Step 4: Rinse thoroughly. Use a garden hose or pressure washer to rinse away all soap and debris. Ensure no residue remains.
Step 5: Dry completely. Allow the coop to dry completely (2-6 hours). Sunlight helps kill bacteria. If the weather is wet, you may need to wait a day.
Step 6: Apply preventative treatments. Once dry, you can dust with diatomaceous earth or poultry dust to control mites and parasites.
Step 7: Replace bedding. Add fresh, clean bedding to the floor (2-4 inches). Add 1-2 inches to nesting boxes.
Step 8: Return equipment. Replace clean feeders, waterers, and roosts. Return chickens to the coop.
Use Natural Cleaning Solutions
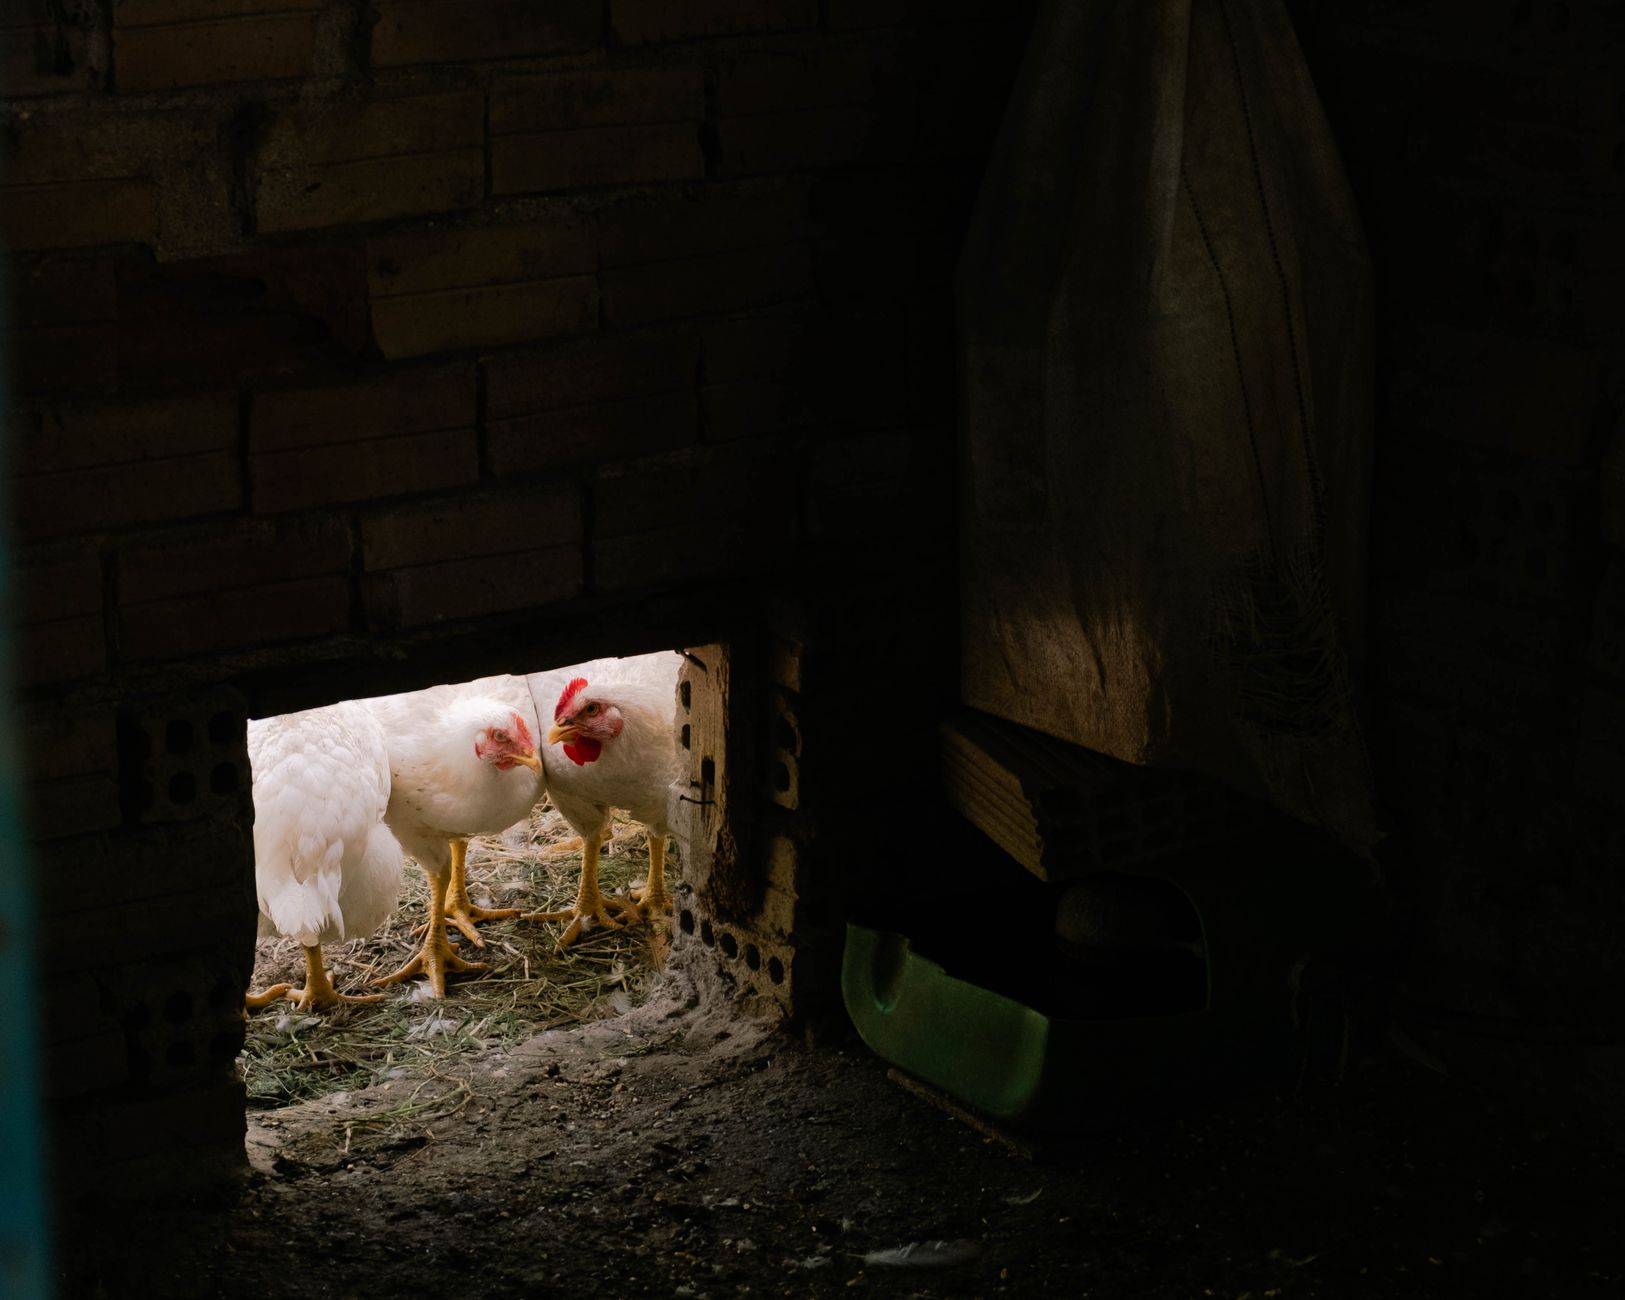
White vinegar and water (1:1): Excellent for general cleaning. Vinegar cuts through manure, kills bacteria, and neutralizes odors. Safe for chickens.
Baking soda: Sprinkle on damp spots to absorb moisture and neutralize odors. Also works well for scrubbing.
Diatomaceous earth (DE): Food-grade DE can be sprinkled on bedding and in dust baths. It kills mites and parasites. Use sparingly—wear a mask when applying.
Citrus-based cleaners: Commercial citrus cleaners are safe and effective. Look for products labeled 'pet-friendly' or 'natural.'
What to avoid: Bleach, ammonia, and harsh chemical cleaners. They can irritate chickens' respiratory systems and leave toxic residues.
Manage Coop Odors
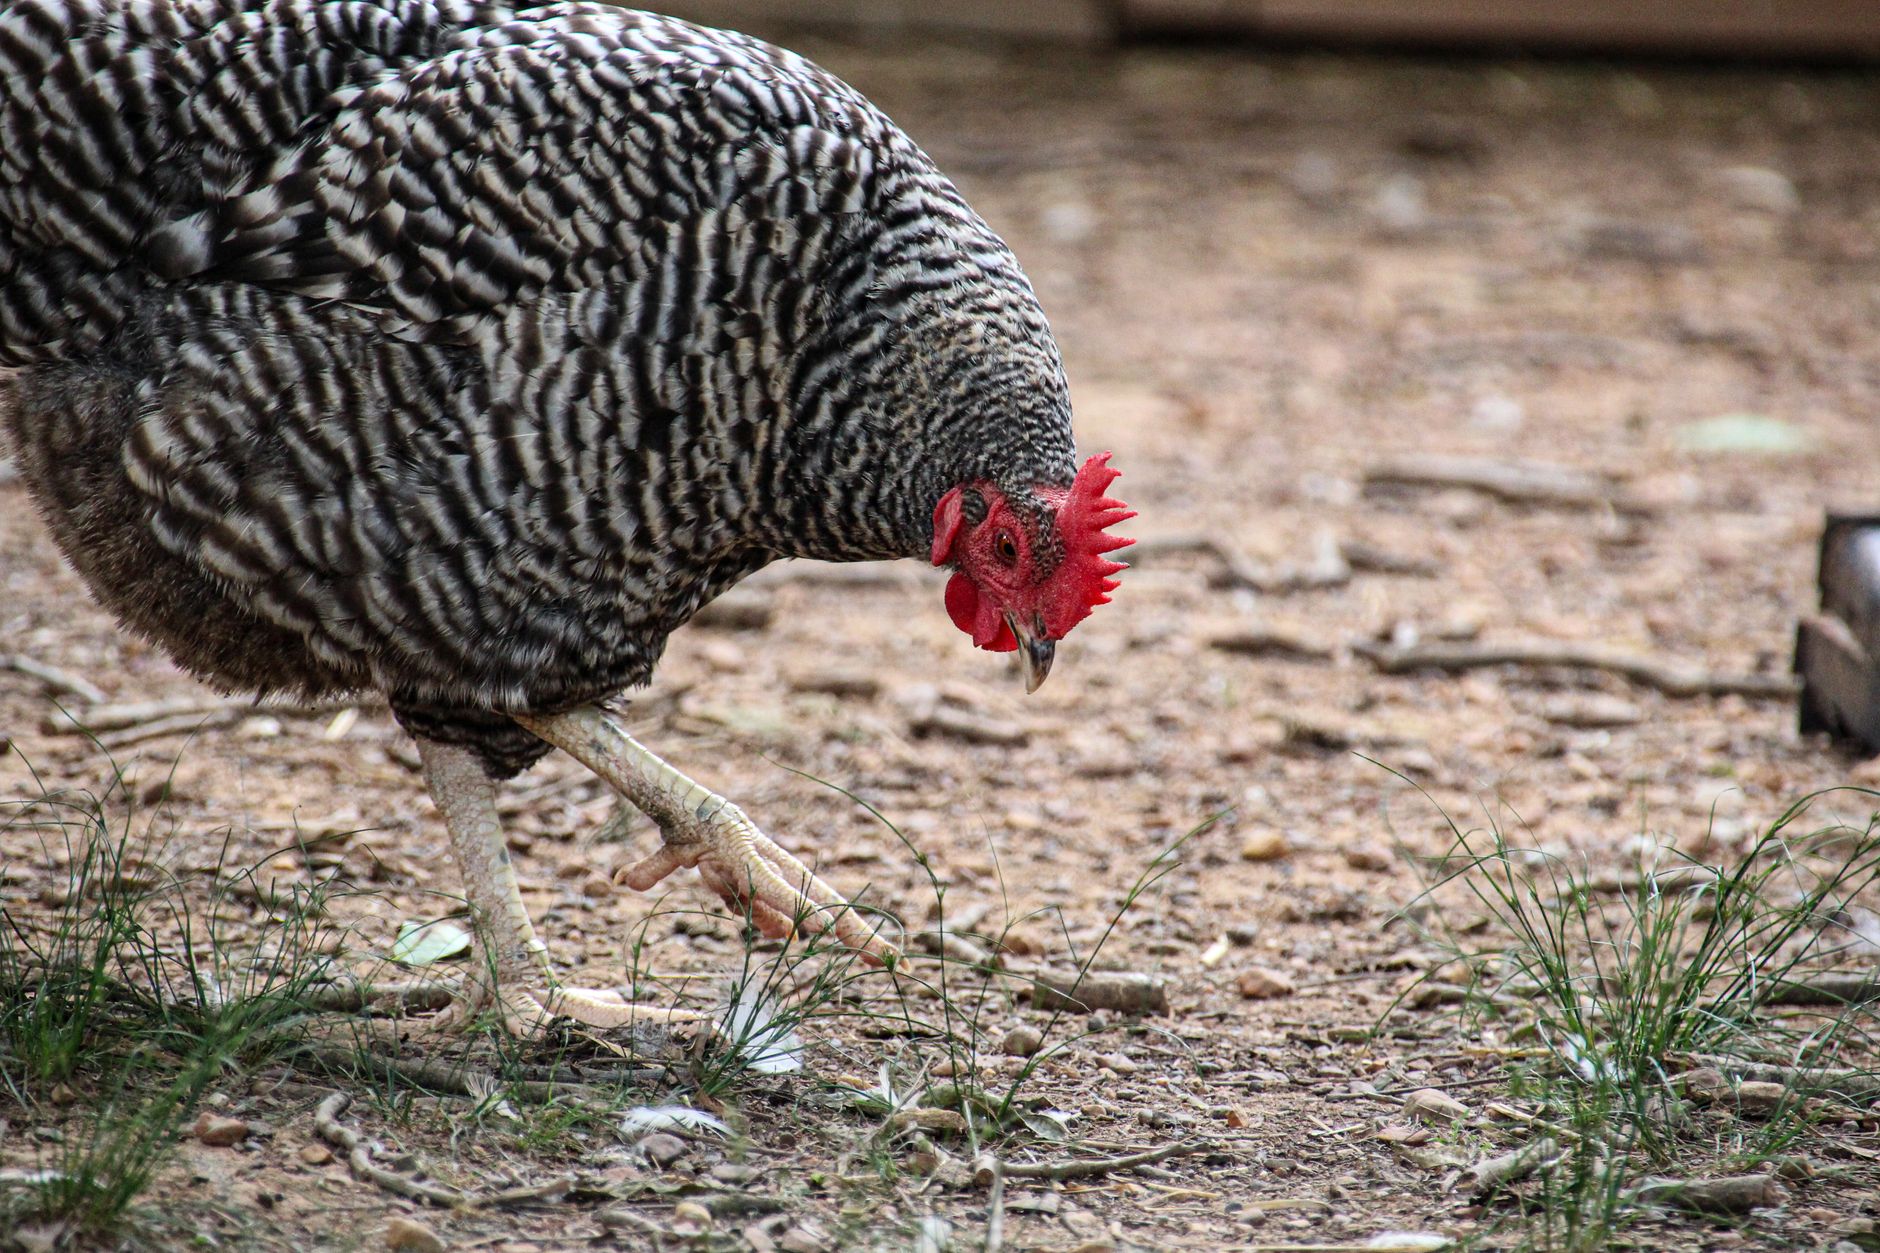
Ventilation: The most important factor. Install vents above the roosting area. Good airflow removes ammonia and moisture.
Deep litter method: The bedding that breaks down creates a natural composting effect that can reduce odors when maintained properly.
Lime: Garden lime (calcium hydroxide) can be sprinkled on the floor before adding bedding. It neutralizes ammonia and reduces odors. Use sparingly.
Zeolite: A natural mineral that absorbs ammonia. Available at some feed stores—add to bedding.
Clean regularly: The best odor control is regular cleaning—daily spot cleaning and weekly bedding changes.
Dispose of Manure and Used Bedding
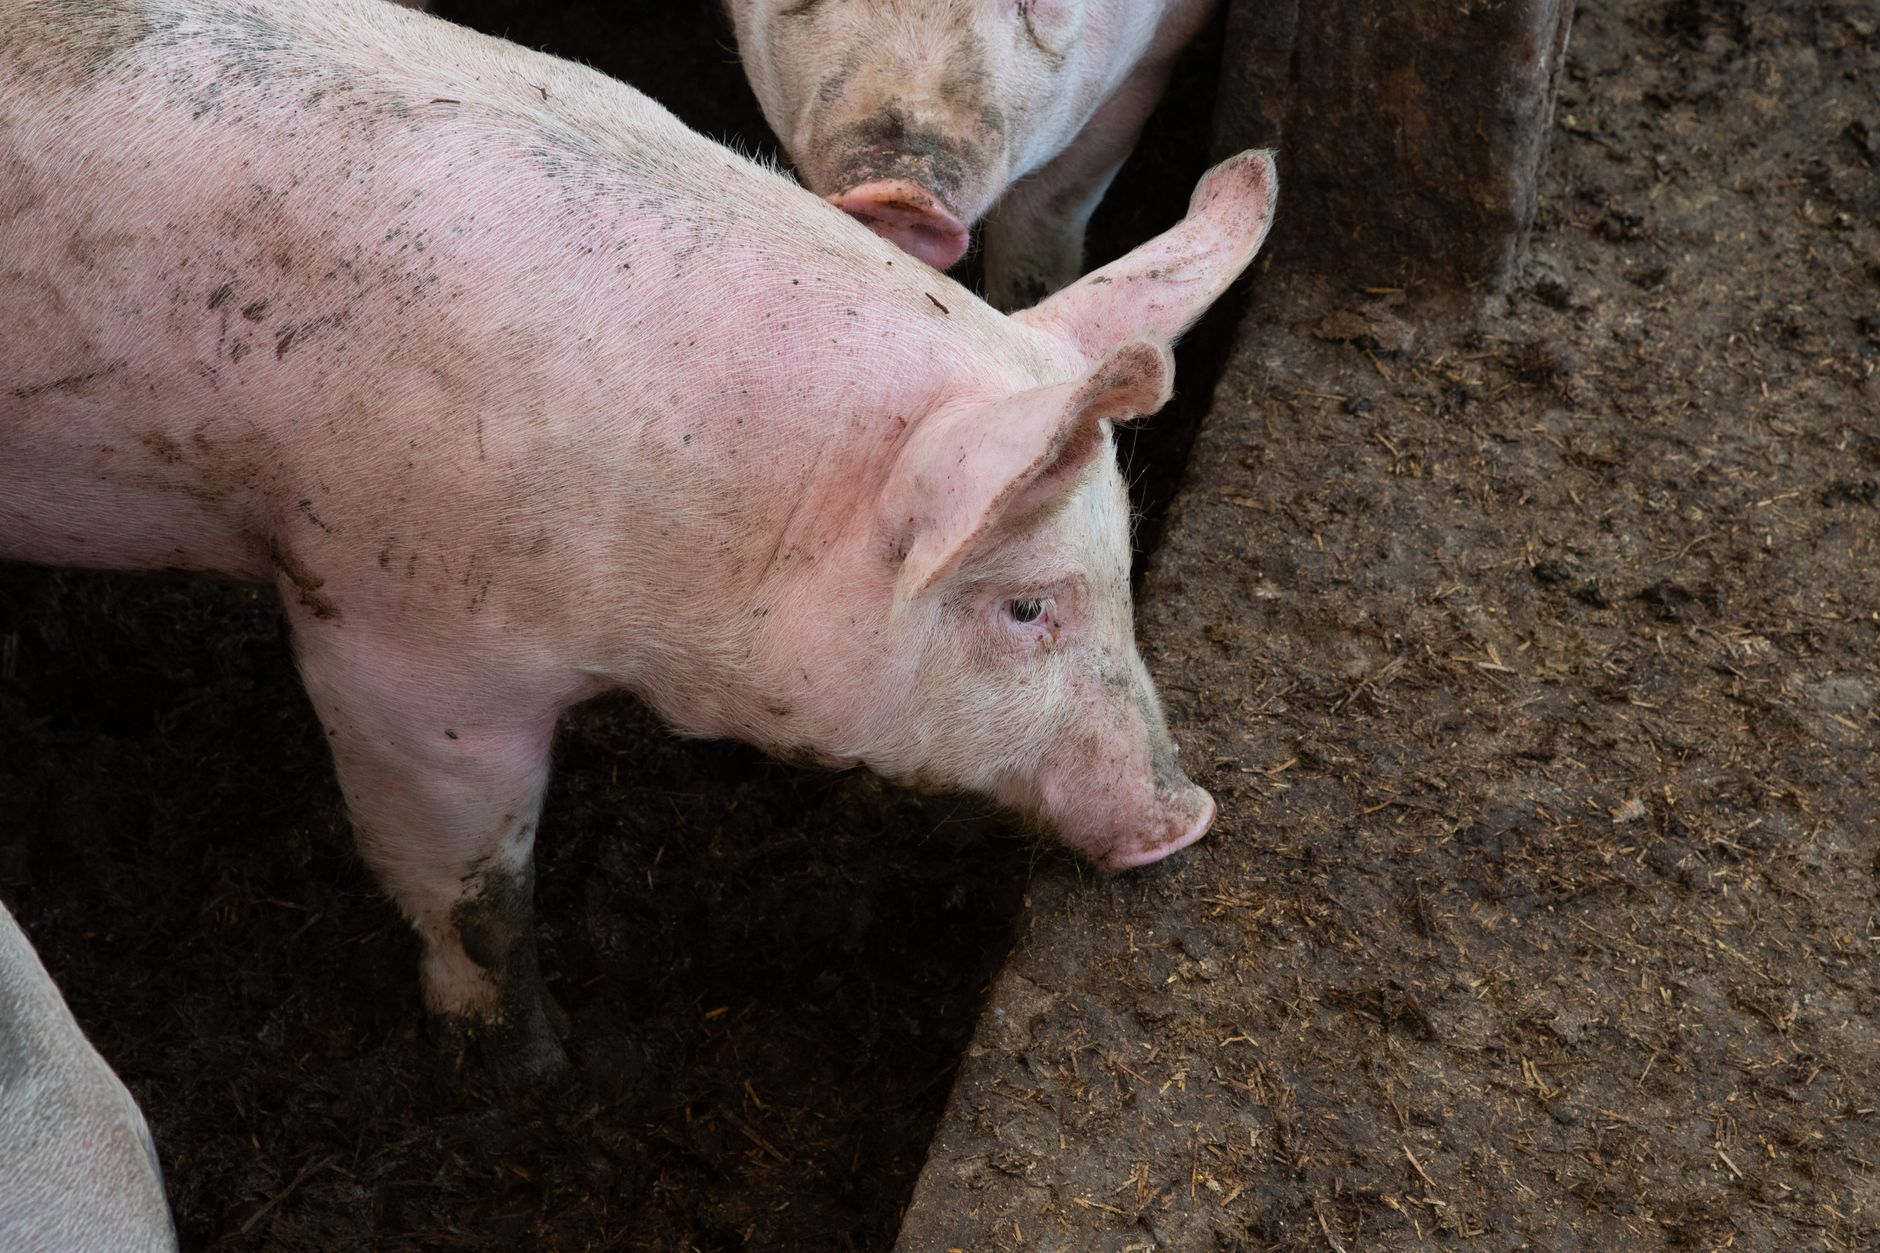
Composting: Chicken manure is excellent for composting. Mix it with carbon-rich materials (straw, leaves, wood shavings) and turn regularly.
Hot composting: Chicken manure is 'hot' (high in nitrogen). Compost it for 3-6 months before using in the garden to prevent burning plants.
Direct application: You can apply composted manure directly to the garden as a soil amendment. It's rich in nitrogen, phosphorus, and potassium.
What not to do: Don't apply fresh manure directly to plants—it's too strong and can burn roots.
Disposal: If you don't have a garden, bag the manure and dispose of it with municipal waste. Check local regulations—some areas require special handling.
Common problems and fixes
| Problem | Likely cause | What to do |
|---|---|---|
| Coop smells strongly of ammonia | Poor ventilation or insufficient cleaning. | Check ventilation (vents above roosts). Increase cleaning frequency. Use lime or zeolite to neutralize odors. |
| Mites or lice in the coop | Infested bedding or chickens. | Deep clean the coop. Dust with diatomaceous earth or poultry dust. Treat the chickens too. |
| Bedding stays wet or clumps | Poor drainage or too much moisture in the coop. | Improve ventilation. Add more bedding. Check for leaks in the roof or walls. |
| Flies are swarming the coop | Manure buildup or wet bedding. | Clean more frequently. Remove droppings daily. Use fly traps or diatomaceous earth. |
Gardener's checklist
Test what you learned
How often should you deep clean the chicken coop?
Answer: Every 3-6 months
What is the best cleaning solution for a chicken coop?
Answer: White vinegar and water (1:1)
Why should you allow the coop to dry completely after cleaning?
Answer: To prevent mold and bacteria growth
What should you wear when cleaning a chicken coop?
Answer: Rubber gloves and a dust mask
Common questions
How often should I clean the nesting boxes?
Change bedding in nesting boxes weekly (or more often if soiled). A clean nesting box means clean eggs.
Can I use bleach to clean the coop?
No—bleach is toxic to chickens and can irritate their respiratory systems. Use white vinegar and water or a mild dish soap.
What is the deep litter method and how does it affect cleaning?
The deep litter method involves adding fresh bedding on top of old bedding without removing it. The bedding decomposes, generating heat and reducing the need for frequent cleanouts. Full clean-outs are needed only once or twice a year.
Do I need to clean the run as well?
Yes! The run should be spot-cleaned weekly and deeply cleaned occasionally (remove droppings, add fresh sand or wood chips).
What do I do with the old bedding and manure?
Compost it! Chicken manure is excellent compost. Mix with carbon-rich materials and let it decompose for 3-6 months before using in the garden.
A clean chicken coop is essential for a healthy, productive flock. Establishing a regular cleaning routine—daily, weekly, and deep clean—prevents disease, controls odors, and keeps your chickens happy. The best approach is to stay consistent: daily spot cleaning takes just minutes, weekly tasks keep things manageable, and deep cleans (every 3-6 months) reset the coop to a fresh state. Use natural cleaning solutions (vinegar and water), wear protective gear, and allow the coop to dry completely before adding fresh bedding. A clean coop means cleaner eggs, healthier chickens, and a more enjoyable chicken-keeping experience.
Frequently asked questions
How often should a vegetable garden be watered?
Frequency depends on weather, soil and plant size. Check the soil rather than watering on a rigid schedule.
Is compost enough fertilizer?
Compost improves soil and provides nutrients slowly. Heavy-feeding crops may still need additional feeding.

The Sproutstead Editorial Team
We create clear, practical gardening and homesteading guides designed for real homes and beginner growers.
View author profile →