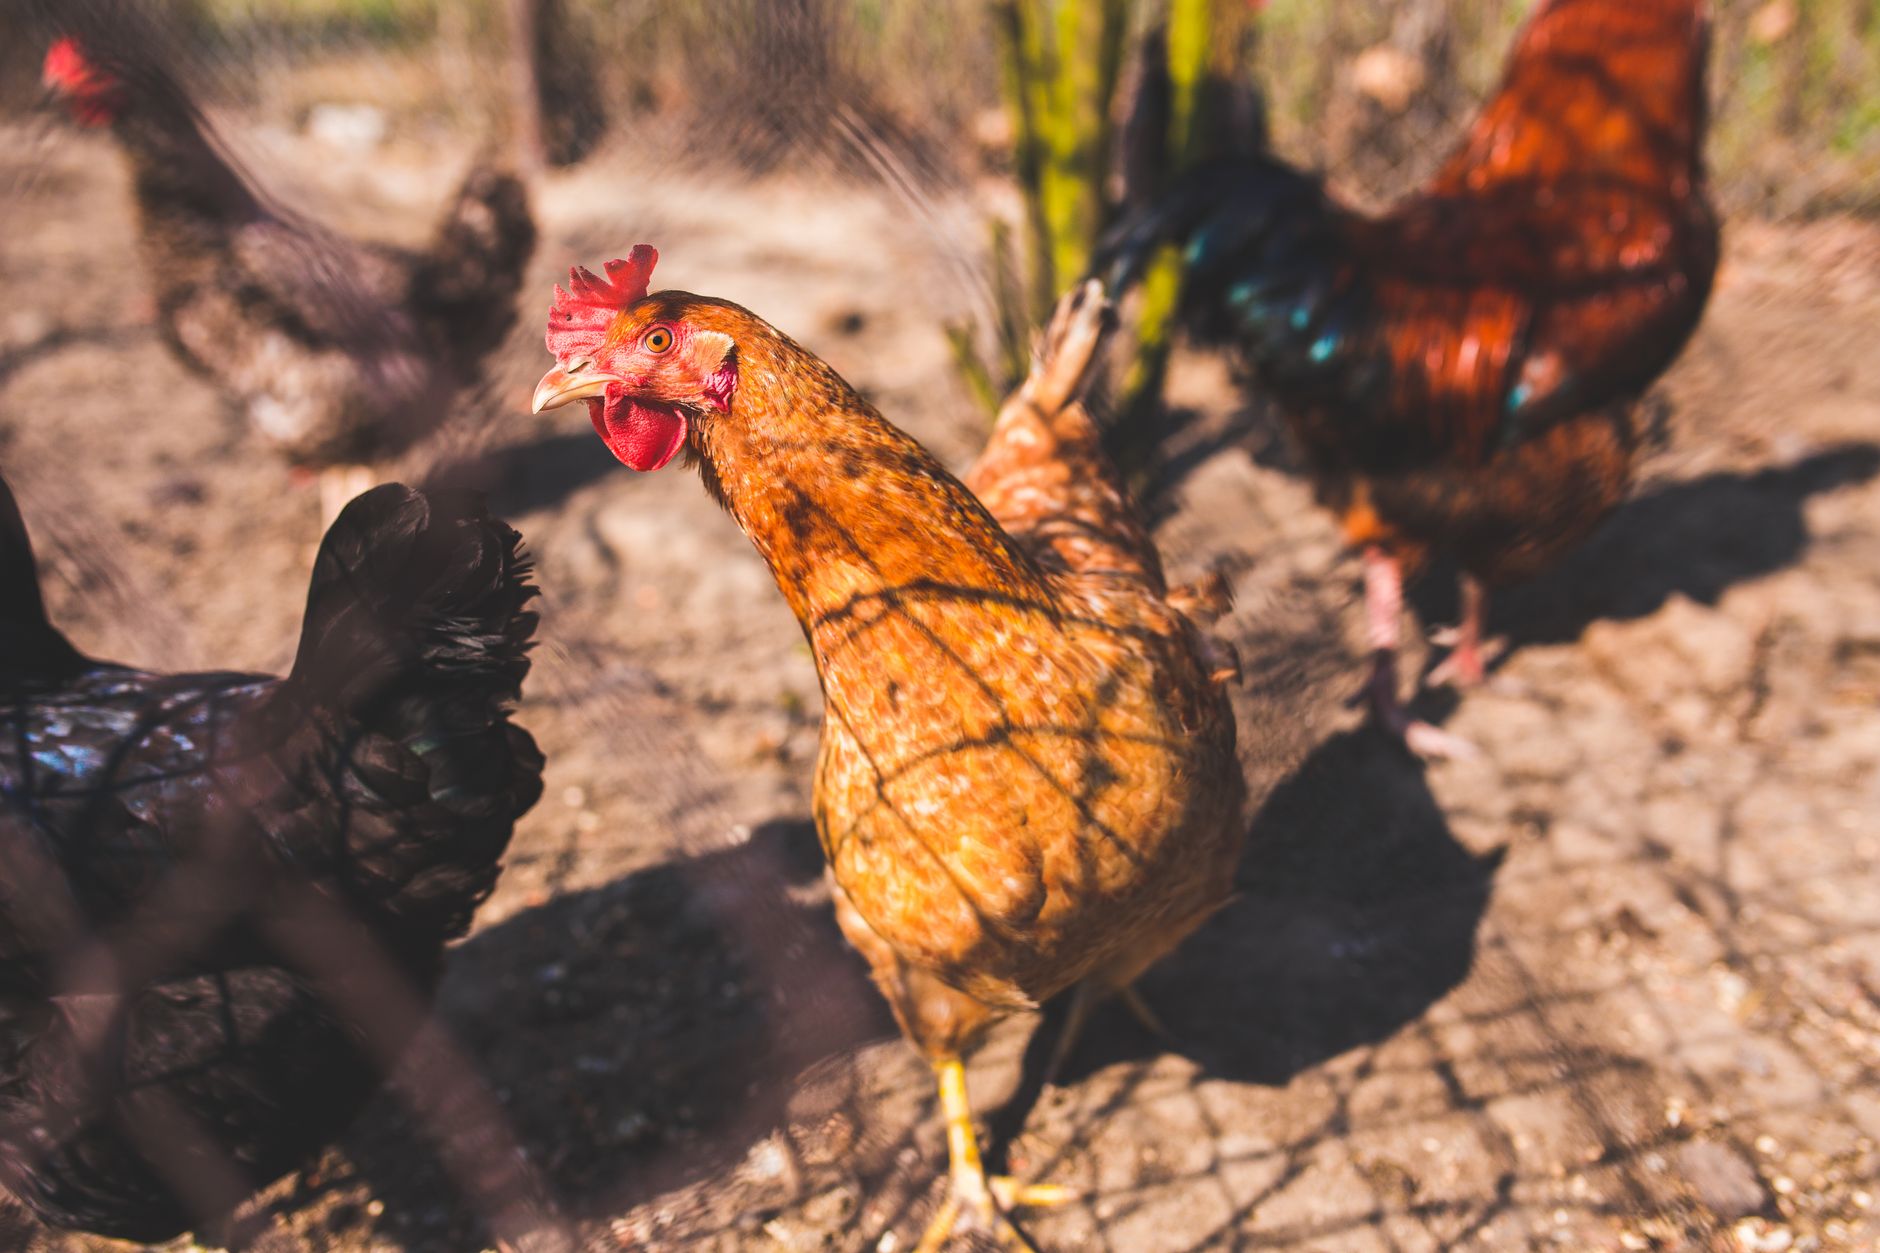
To build a chicken run, start by planning the size (8-10 sq ft per chicken), then mark the area and dig post holes 12-18 inches deep. Set pressure-treated 4x4 posts in concrete, attach 2x4 rails horizontally, and cover the frame with 1/2-inch hardware cloth (not chicken wire). Bury the wire 12 inches deep or add an apron to prevent digging. Add a gate for access, cover the top with hardware cloth or netting for aerial predator protection, and add a shaded area and dust bath inside. The key steps: plan, set posts, attach rails, cover with hardware cloth, secure the bottom, and add finishing touches.
What you will need
Plan Your Run Size and Location

Calculate size: Allow 8-10 square feet per chicken. For 6 chickens, that's 48-60 square feet (e.g., 6x8 feet or 8x8 feet). For 10 chickens, 80-100 square feet.
Location: Choose a well-drained area that gets morning sun and afternoon shade. If possible, place the run on grass (chickens love it).
Access: Position the run adjacent to the coop so chickens can move freely between them.
Ease of access: Place the run where you can easily enter for cleaning, feeding, and collecting eggs.
Mark the area: Use stakes and string to mark the run footprint.
Dig Post Holes and Set Posts

Post spacing: Place posts at all corners and every 6-8 feet along the perimeter.
Dig holes: Dig holes 12-18 inches deep (or below the frost line in cold climates).
Set posts: Place pressure-treated 4x4 posts in the holes. Ensure they're plumb (vertical) using a level.
Add concrete: Pour concrete around the posts to secure them. Allow to cure for 24-48 hours.
Alternative: If you don't want to use concrete, you can tamp the soil tightly around the posts.
Attach Rails to the Posts

Attach rails: Cut 2x4s to the length of each side and attach them horizontally to the posts.
Number of rails: Use at least 2 rails—one at the top and one at the bottom. For extra strength, add a middle rail.
Screws: Use exterior-grade screws (2.5-3.5 inches) to attach rails to posts.
Gate opening: Leave space for a gate (about 3-4 feet wide). Frame the gate opening with posts.
Check level: Ensure all rails are level and square.
Cover the Run with Hardware Cloth

Use 1/2-inch hardware cloth: This is the only material that's predator-proof. Chicken wire is not strong enough.
Install: Roll out the hardware cloth and staple or screw it to the rails. Start at one corner and work your way around.
Overlap: Overlap seams by at least 6 inches and secure both layers together.
Tension: Keep the wire taut as you attach it. Loose wire can be pushed through.
Cover all sides: Cover the sides completely—no gaps.
Secure the Bottom Against Digging

Bury method: Bury hardware cloth 12 inches deep around the perimeter of the run. This prevents digging predators.
Apron method: If you can't bury the wire, create an apron—extend the wire outward 18 inches from the base and pin it to the ground with landscape staples.
Why it matters: Foxes, raccoons, and dogs dig. If the bottom isn't secured, they'll dig under.
Inside the run: You can also bury wire under the run floor, but this is more work.
Cover the Top for Aerial Predator Protection

Hardware cloth: If you want ultimate predator protection, cover the top with 1/2-inch hardware cloth.
Netting: Alternatively, use heavy-duty bird netting or poultry netting. It's cheaper and lighter.
Why: Aerial predators (hawks, owls) can kill chickens in seconds.
How to install: Attach the top covering to the top rails. Ensure it's tight and secure.
Easy access: Make the top cover removable or leave a section accessible for cleaning.
Install a Gate

Build the gate: Frame the gate with 2x4s (3-4 feet wide, 5-6 feet tall). Add a diagonal brace for strength.
Attach hardware cloth: Cover the gate frame with hardware cloth.
Hinges: Attach heavy-duty gate hinges to the posts and gate.
Latch: Install a secure latch—goats can open simple hook-and-eye latches, so use a bolt latch or snap-lock.
Check the gap: Ensure there's no gap under the gate—predators can squeeze through small spaces.
Add Flooring and Finishing Touches

Flooring: Use sand (excellent drainage), wood chips (good for muddy areas), or leave it as grass (chickens love it).
Dust bath: Add a shallow container with sand, wood ash, and diatomaceous earth. Chickens love dust bathing.
Shade: If the run isn't shaded, add a shade cloth or a roofed section.
Perches: Add low perches for resting and observation.
Enrichment: Hang vegetables, scatter scratch grains, or add logs for climbing.
Common problems and fixes
| Problem | Likely cause | What to do |
|---|---|---|
| Predators are getting in (or trying to) | Weak point in the hardware cloth, gaps, or bottom not secured. | Inspect the entire run, patch any holes, and ensure the bottom is buried or has an apron. |
| Chickens are flying out | Fence too low (under 5 feet) or wings not clipped. | Raise fence height to 5-6 feet or clip one wing. |
| Run gets muddy in rainy weather | Poor drainage or location in a low spot. | Add sand or wood chips to improve drainage. Move the run to a higher area if possible. |
| Run smells strong | Manure buildup or poor drainage. | Clean the run regularly. Add more litter or sand. Improve drainage. |
Gardener's checklist
Test what you learned
What is the best material for a chicken run?
Answer: 1/2-inch hardware cloth
How deep should you bury hardware cloth?
Answer: 12 inches
What is the recommended height for a chicken run fence?
Answer: 5-6 feet
Why should you cover the top of the run?
Answer: To protect from aerial predators
Common questions
Can I use chicken wire instead of hardware cloth?
No. Chicken wire is only good for keeping chickens in—it is NOT predator-proof. Raccoons, foxes, and dogs can easily tear through it. Use 1/2-inch hardware cloth.
How deep should fence posts be?
Posts should be set 12-18 inches deep (or below the frost line in cold climates). Set them in concrete for stability.
Do I need to cover the top of the run?
Yes. Aerial predators (hawks, owls) can kill chickens in seconds. Cover the top with hardware cloth or heavy-duty netting.
How much space does a chicken need in the run?
Chickens need 8-10 square feet of run space. For 6 chickens, that's 48-60 square feet.
What is the easiest way to prevent digging predators?
Bury hardware cloth 12 inches deep around the perimeter. Alternatively, create an apron by extending the wire outward 18 inches and pinning it to the ground.
Building a chicken run is a straightforward project that provides your chickens with a safe, spacious place to exercise and forage. The most important step is using 1/2-inch hardware cloth (not chicken wire) and securing the bottom against digging predators. With the right materials and careful construction, your run will keep your chickens safe and happy for years.
Frequently asked questions
How often should a vegetable garden be watered?
Frequency depends on weather, soil and plant size. Check the soil rather than watering on a rigid schedule.
Is compost enough fertilizer?
Compost improves soil and provides nutrients slowly. Heavy-feeding crops may still need additional feeding.

The Sproutstead Editorial Team
We create clear, practical gardening and homesteading guides designed for real homes and beginner growers.
View author profile →