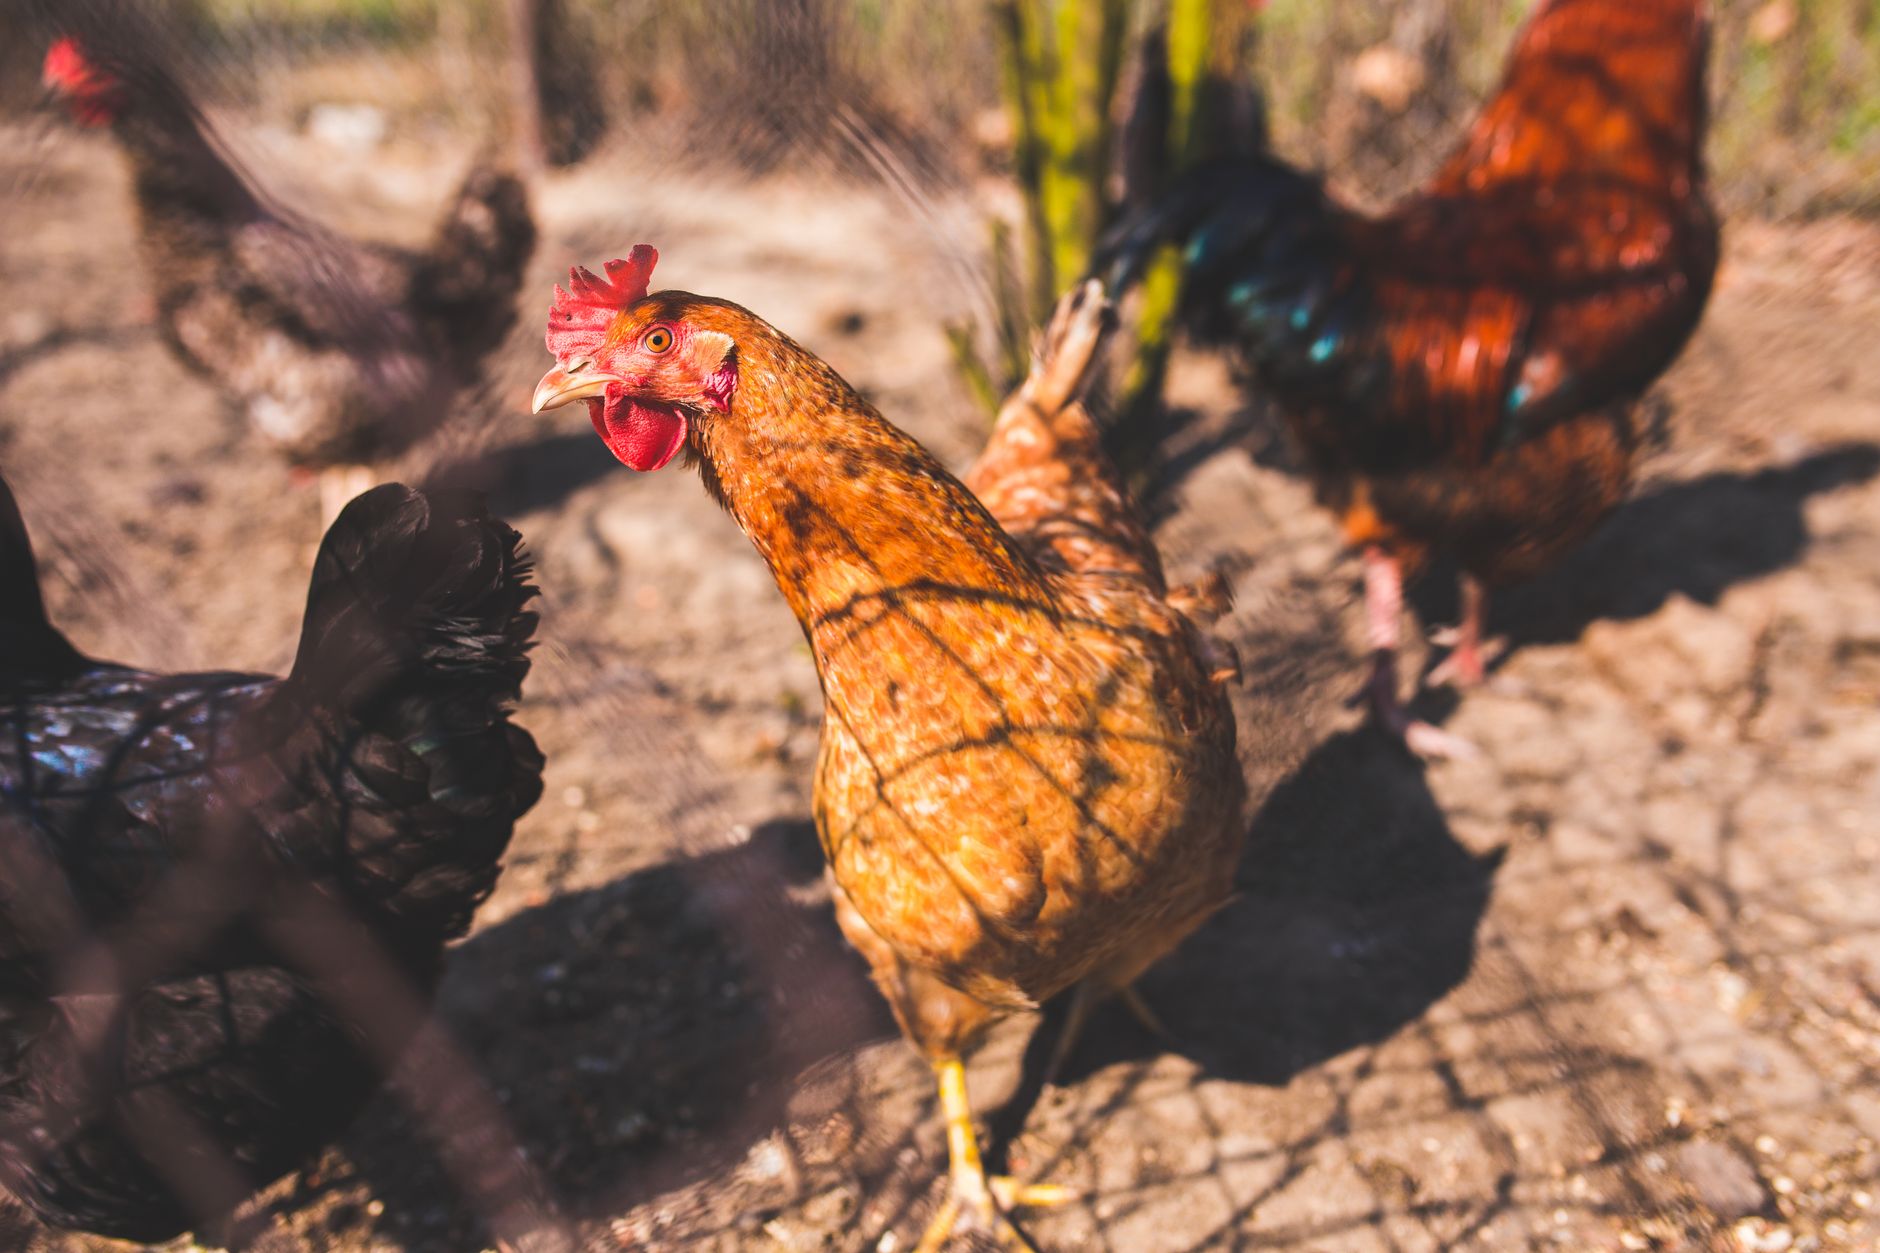
To build a basic 4x6 foot chicken coop for 4-6 chickens, start with a pressure-treated wood skid base, frame walls using 2x4 lumber, install plywood walls and a metal or shingle roof, add ventilation openings covered with hardware cloth, install roosting bars and nesting boxes, build a predator-proof run attached to the coop, and finish with a coat of exterior paint or stain. Budget about $200-$500 depending on materials and size. The key steps: plan your dimensions, build a sturdy base, frame the walls, add the roof, install hardware cloth on all openings, and build the run.
What you will need
Plan Your Coop Size and Design
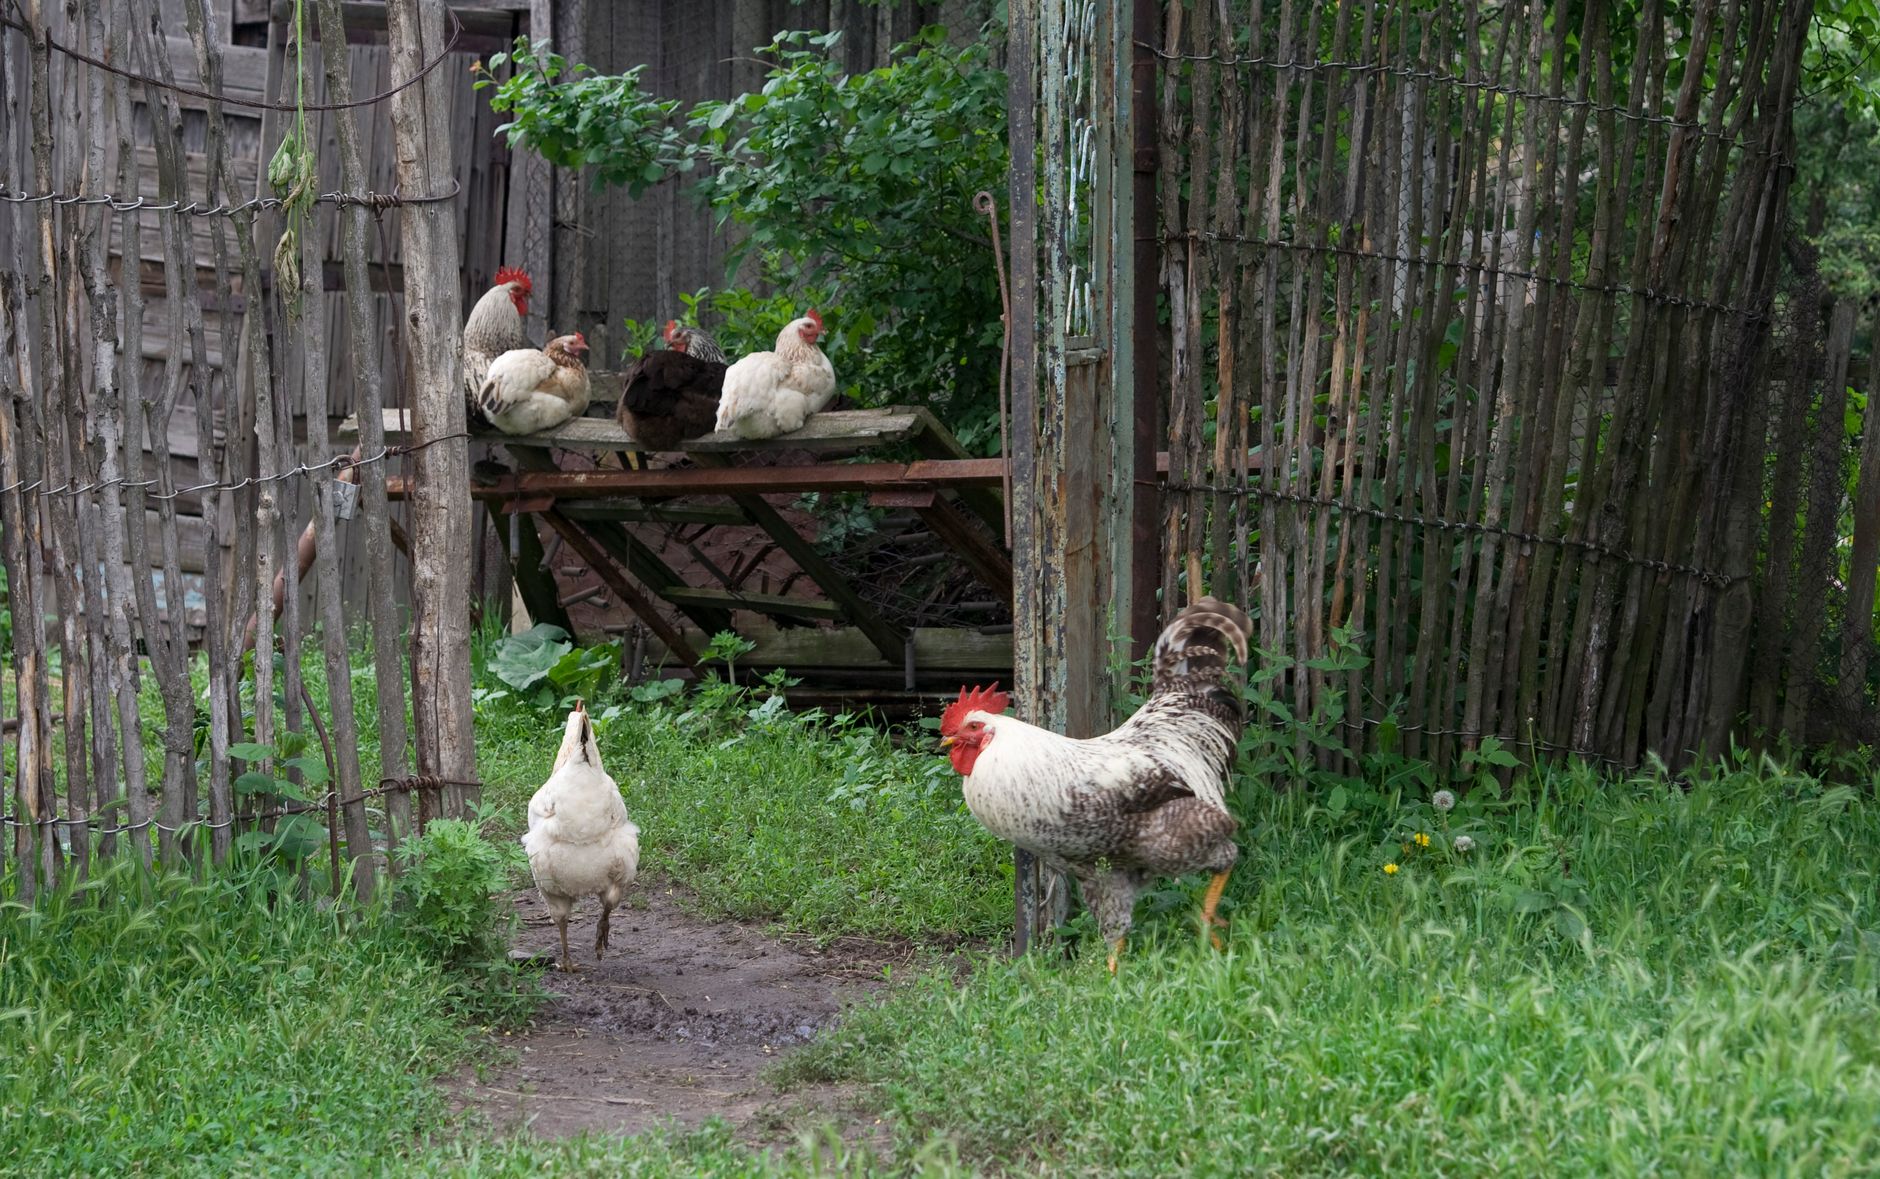
Decide on the dimensions based on your flock size. For 4-6 chickens, a 4x6 foot coop (24 sq ft) with a 6x8 foot run (48 sq ft) is a good starting point.
Sketch a simple floor plan showing: the coop footprint, roost location, nesting box placement, door location, and run dimensions.
Plan the height—at least 4-5 feet at the lowest point, so you can stand or kneel comfortably inside. A walk-in coop (6 feet tall) is ideal.
Use graph paper to draw your design. This helps you visualize and calculate materials accurately.
Plan for: one door for humans (clean-out door), one pop door for chickens, 2-3 ventilation windows, and an attached run.
Build the Base and Floor

Build a base frame using pressure-treated 2x6s. This frame should match the footprint of your coop (e.g., 4x6 feet). Use deck screws to secure the corners.
Place the base frame on concrete blocks, paving stones, or a gravel pad to keep it off the ground. This prevents water damage and makes the coop more predator-proof.
Install a plywood floor (3/4-inch pressure-treated plywood) over the base frame. Screw it down securely. A solid floor prevents burrowing predators and keeps bedding dry.
For a more permanent solution, pour a concrete slab for the floor. This is the most predator-proof option.
Check that the base is level. Use shims under the blocks if needed. An uneven base will make the rest of the construction difficult.
Frame the Walls
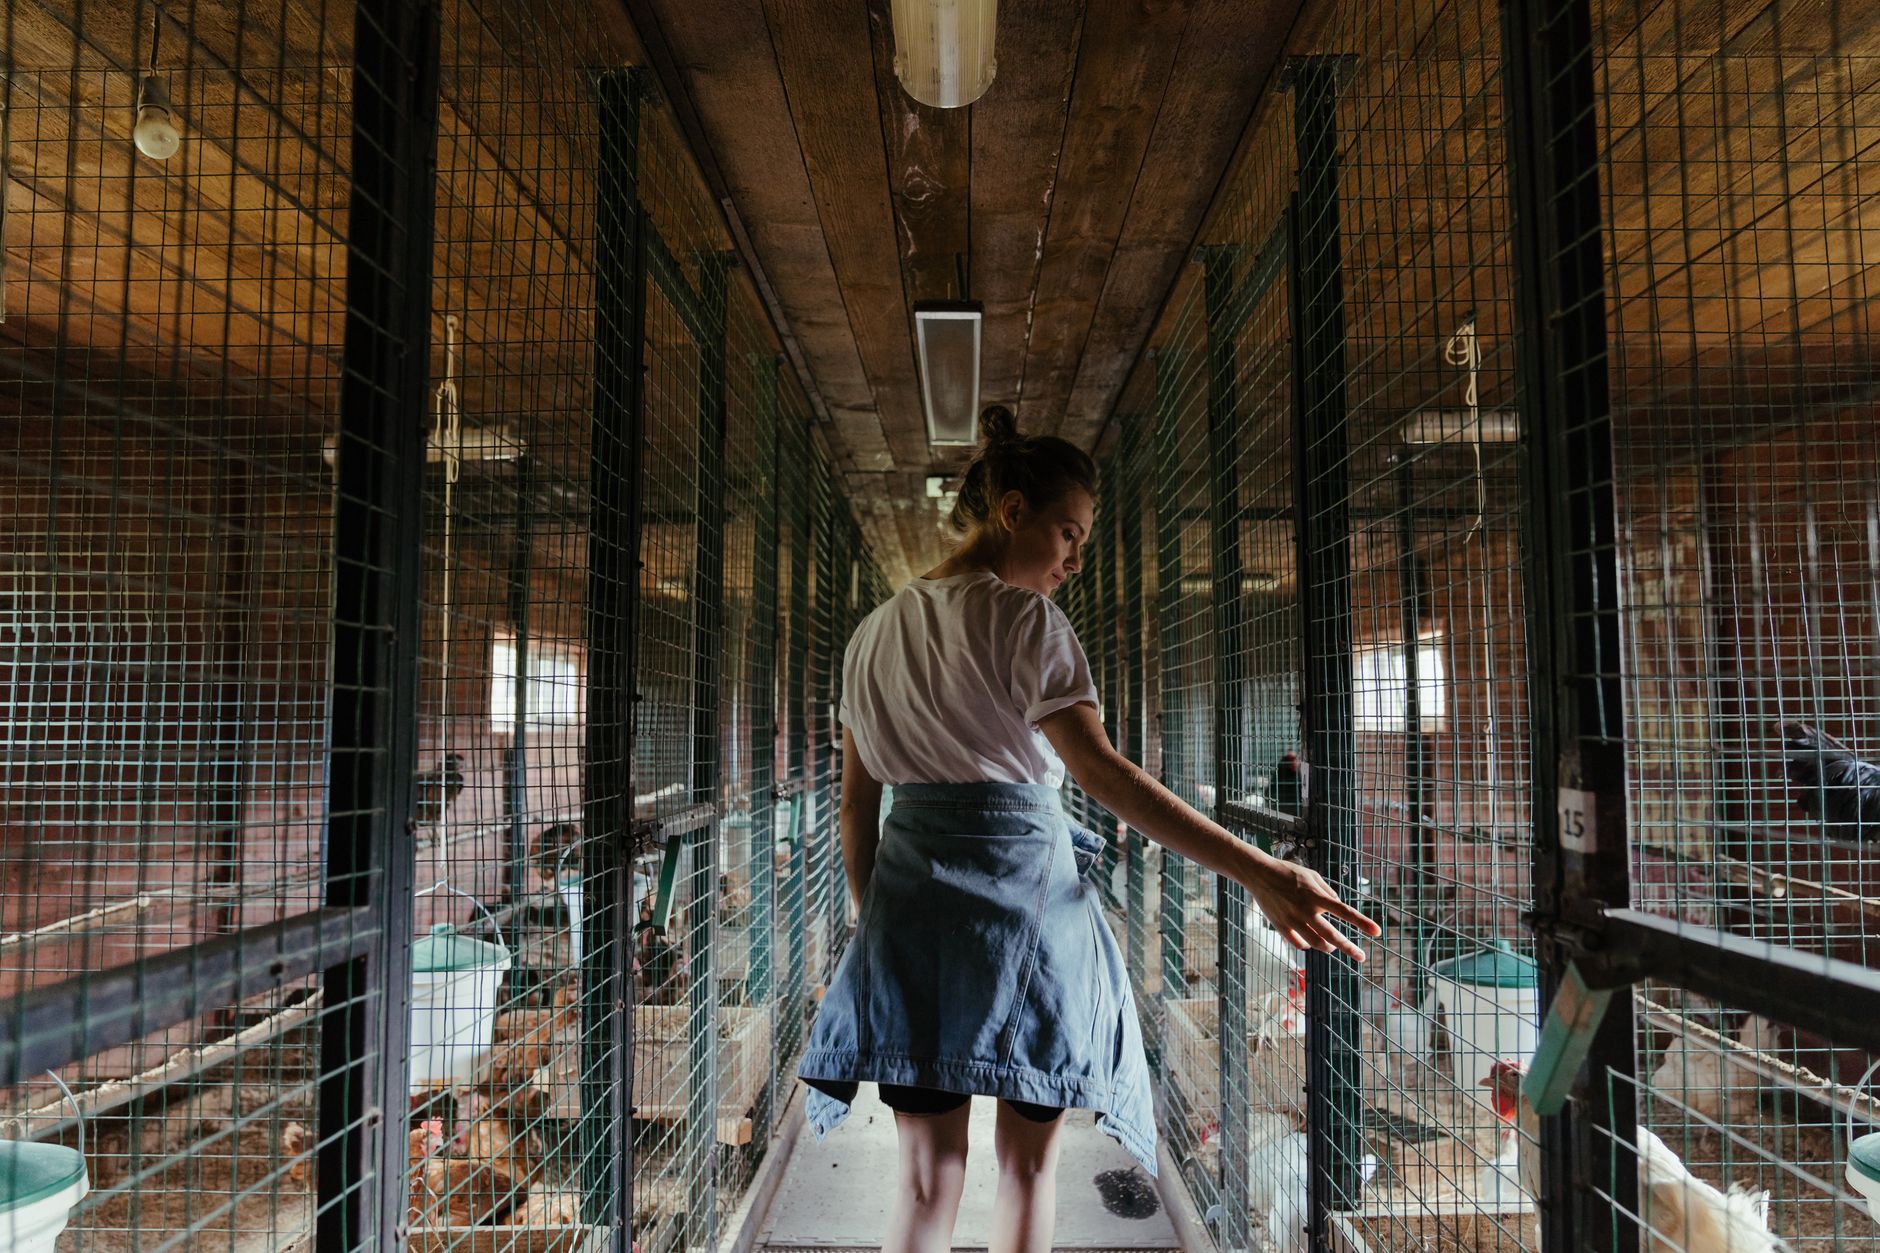
Cut 2x4s to wall height. For a standard coop, build walls that are 4-5 feet tall (you can make the front wall taller than the back for a sloped roof).
Build each wall on the ground: lay out the top and bottom plates (2x4s), then add vertical studs every 16 inches. Mark where the door and window openings will go.
Frame in the door opening. Leave space for a human door (at least 24 inches wide) and a small pop door for the chickens (12x12 inches or larger).
Frame ventilation openings (windows) at the top of the walls. These should be above roosting height.
Lift each wall into place and screw them together at the corners. Secure the walls to the base frame with screws or nails.
Install the Roof

Cut rafters from 2x4s to span the width of the coop. For a 4-foot wide coop, rafters should be slightly longer to create an overhang.
Space rafters every 16-24 inches. Secure them to the top plates of the walls using metal brackets or nails.
Install roof sheathing (plywood or OSB) over the rafters. Screw it down securely.
Add roofing material: corrugated metal is durable and sheds water well. Asphalt shingles work too. Corrugated plastic is a cheaper option but less durable.
Create a slight overhang (6-12 inches) on all sides to direct water away from the walls.
Add Walls, Windows, and Ventilation
Cover the exterior of the walls with plywood (3/8-inch or 1/2-inch). For the north wall, you can make it solid. Other walls should have ventilation.
Cut openings for ventilation windows at the top of the walls. Install them above the roosting height (near the ceiling).
Cover all ventilation openings with 1/2-inch hardware cloth (not chicken wire). Secure with staples or screws.
Install a door for humans—this can be a simple plywood door with hinges and a latch. It should be wide enough to easily clean the coop.
Install a pop door (12x12 inches or larger) for the chickens to access the run. This can be a simple hinged door that opens outwards.
Install Hardware Cloth and Predator-Proof
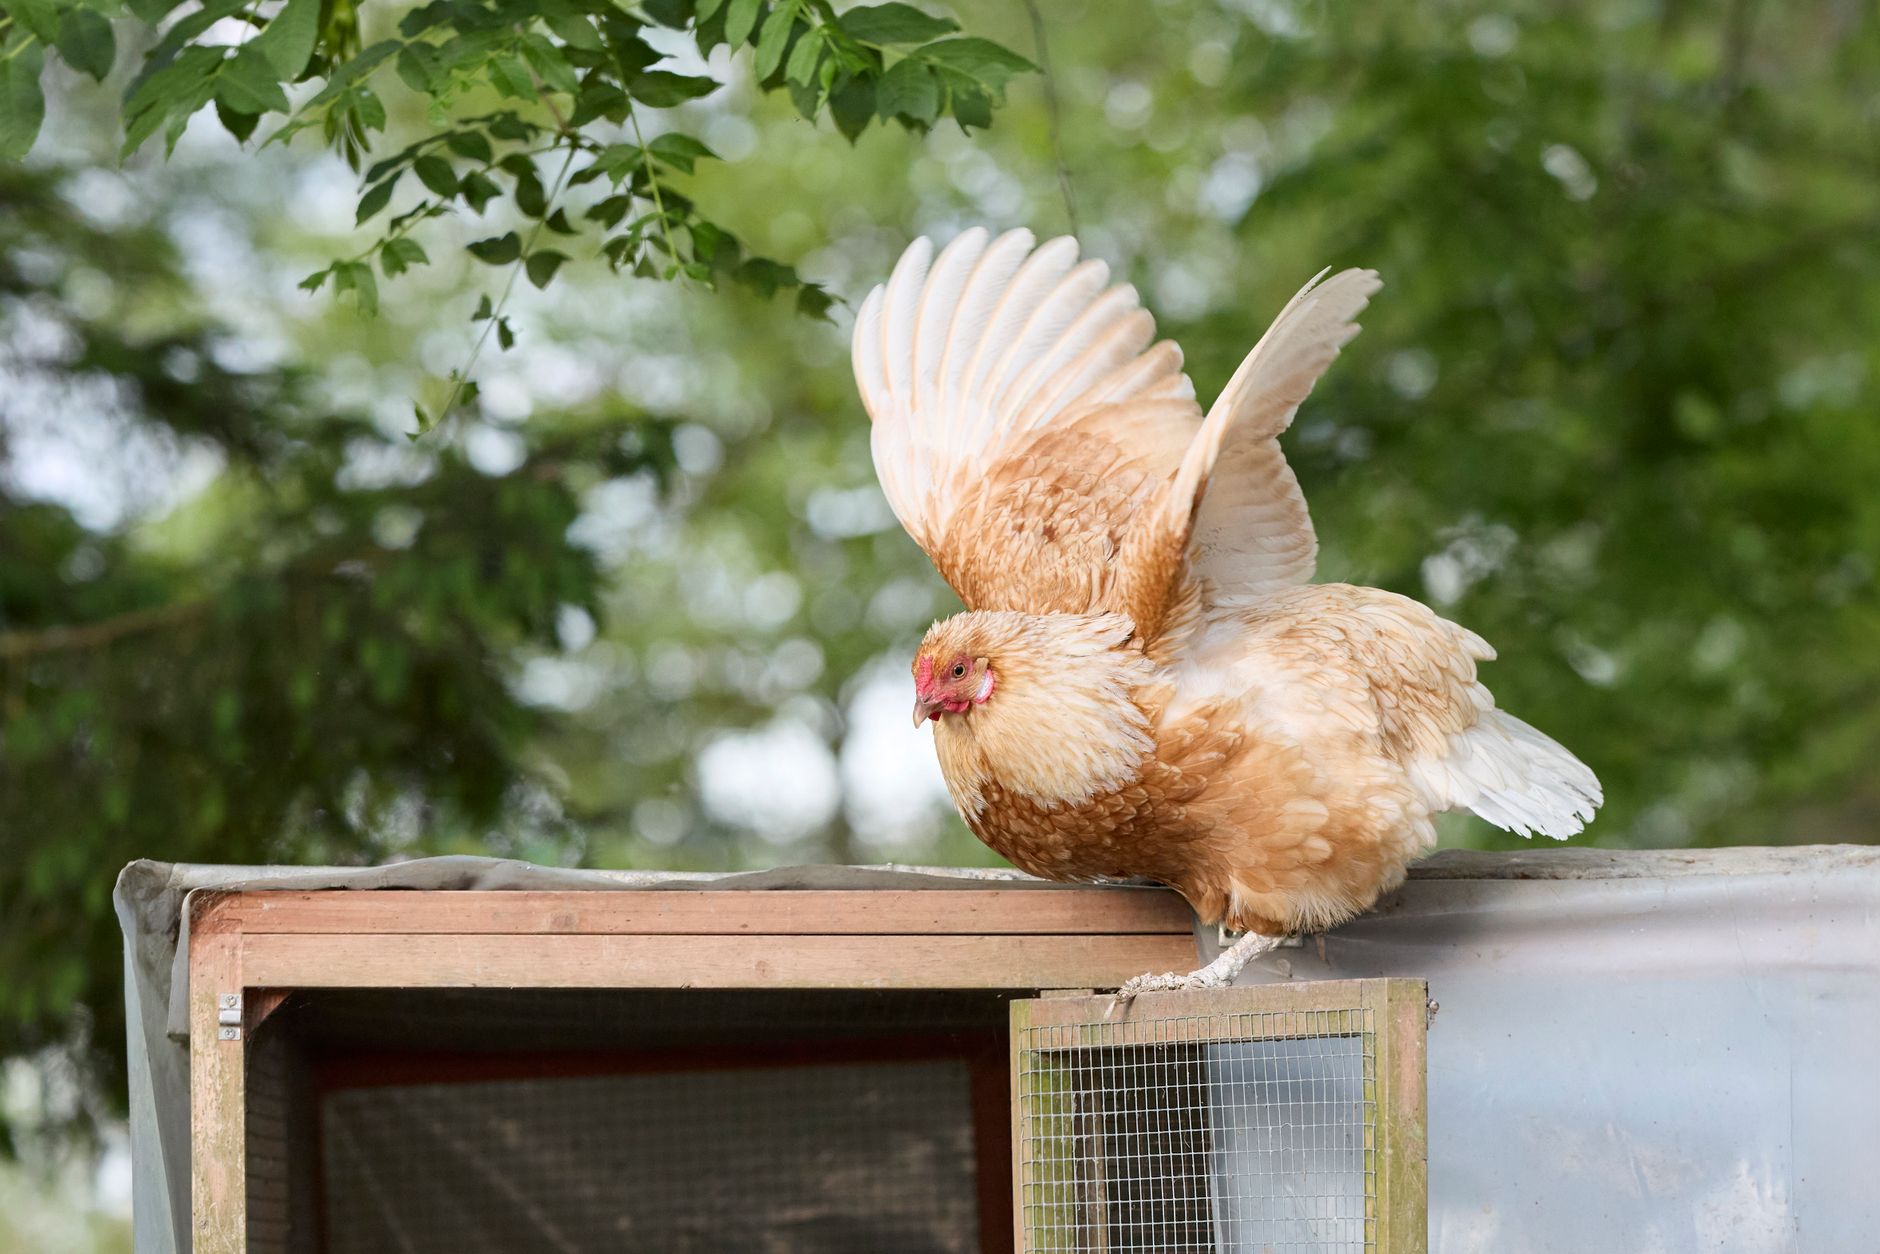
Cover all windows, vents, and openings with 1/2-inch hardware cloth. Use galvanized staples or screws to secure it every 4-6 inches.
Bury hardware cloth 12 inches deep around the perimeter of the run, or lay it flat outward 18 inches to prevent digging.
Secure the pop door with a predator-proof latch. Raccoons can open simple hooks and hasps.
For ground predators, make sure there are no gaps under the walls or doors. Use hardware cloth to seal any openings.
If you're building a walk-in coop, ensure the main door also latches securely from the outside.
Build the Attached Run
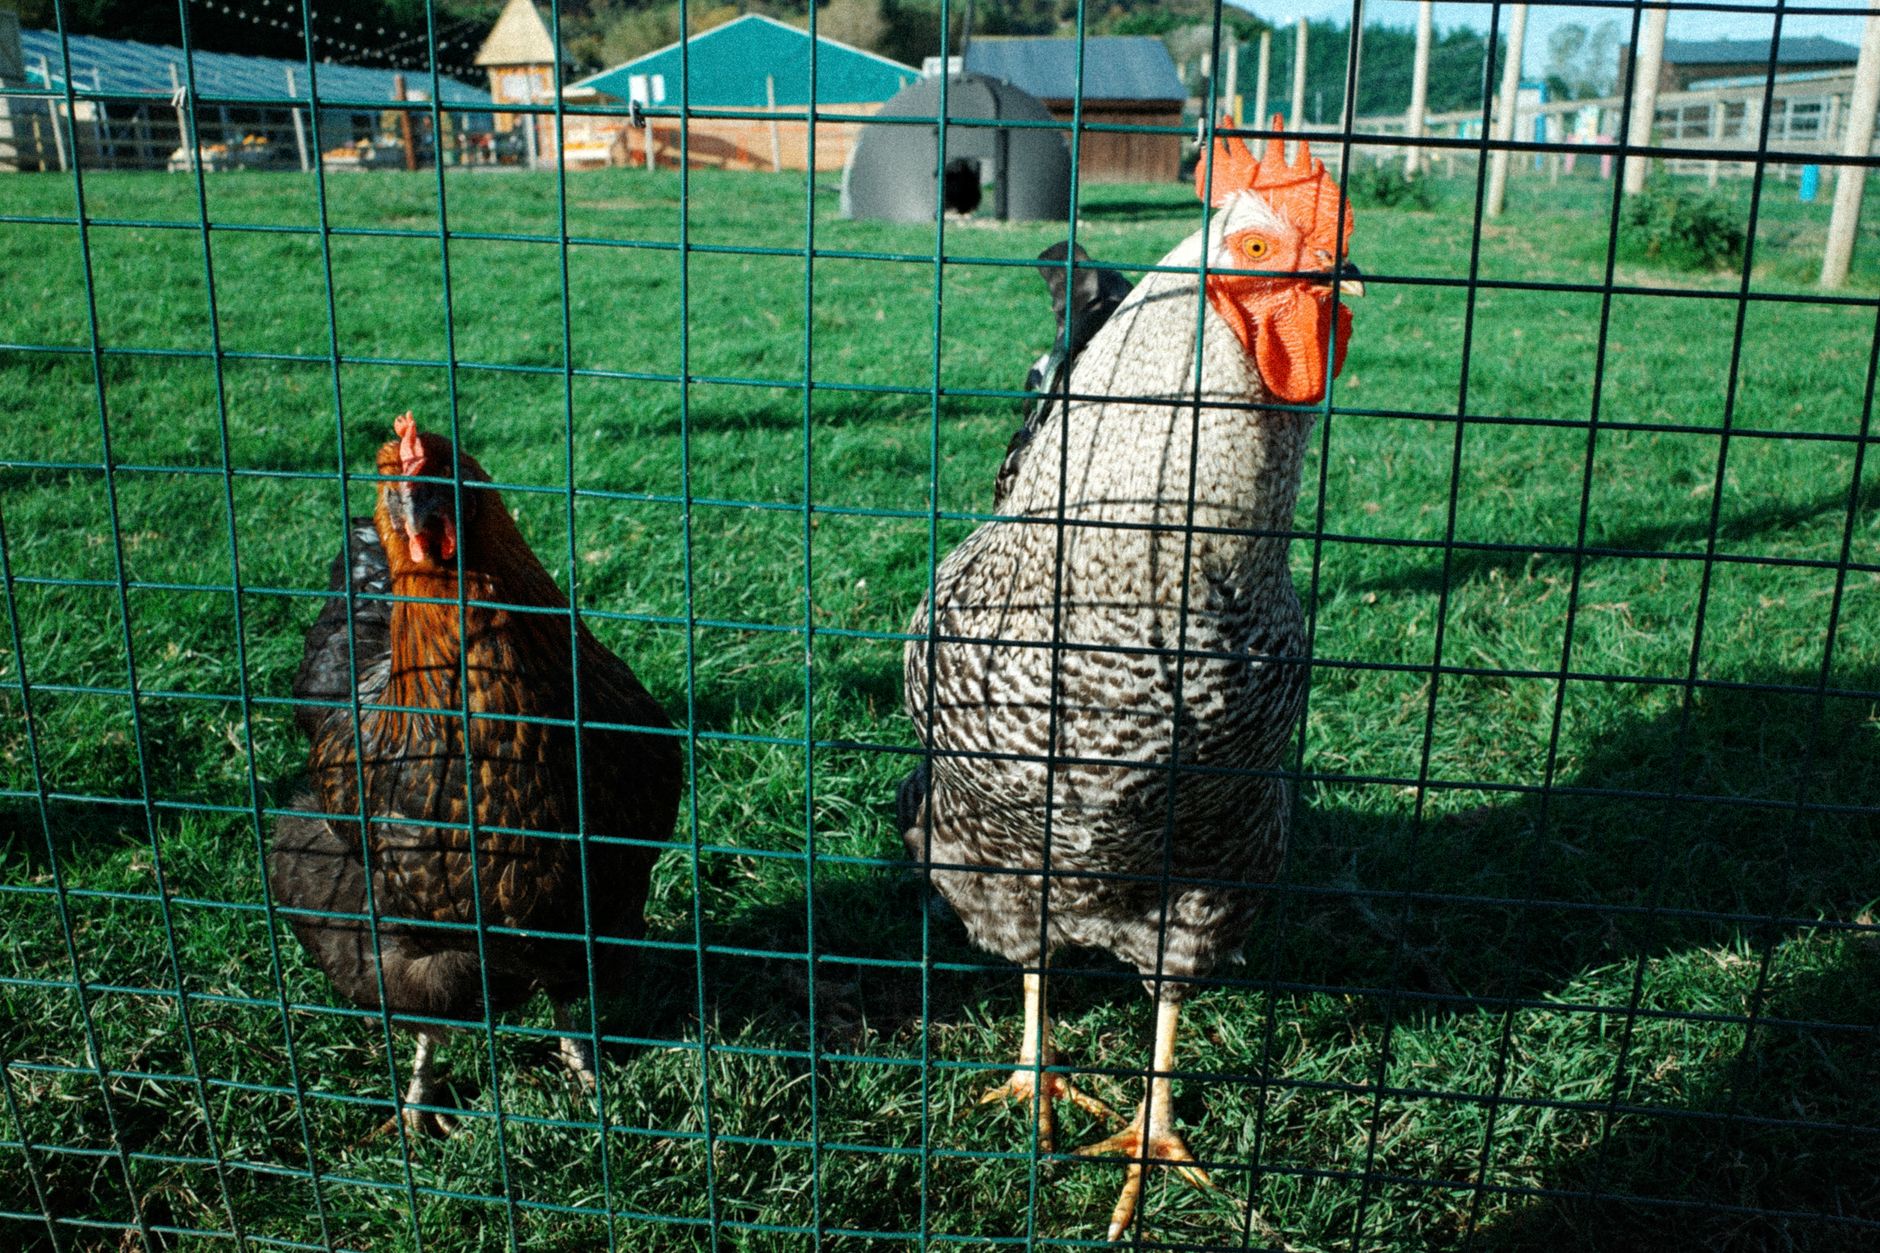
Plan the run footprint. For 4-6 chickens, aim for at least 48 square feet (e.g., 6x8 feet).
Dig post holes 12-18 inches deep and set pressure-treated 4x4 posts in concrete. Space posts 6-8 feet apart.
Attach 2x4 rails between the posts at top and bottom. This creates the frame for the wire.
Cover the run with 1/2-inch hardware cloth, securing it to the posts and rails with staples or screws. Cover the top too (to protect from aerial predators).
Add a door to the run for access. Install a predator-proof latch on the door.
Install Nesting Boxes and Roosts
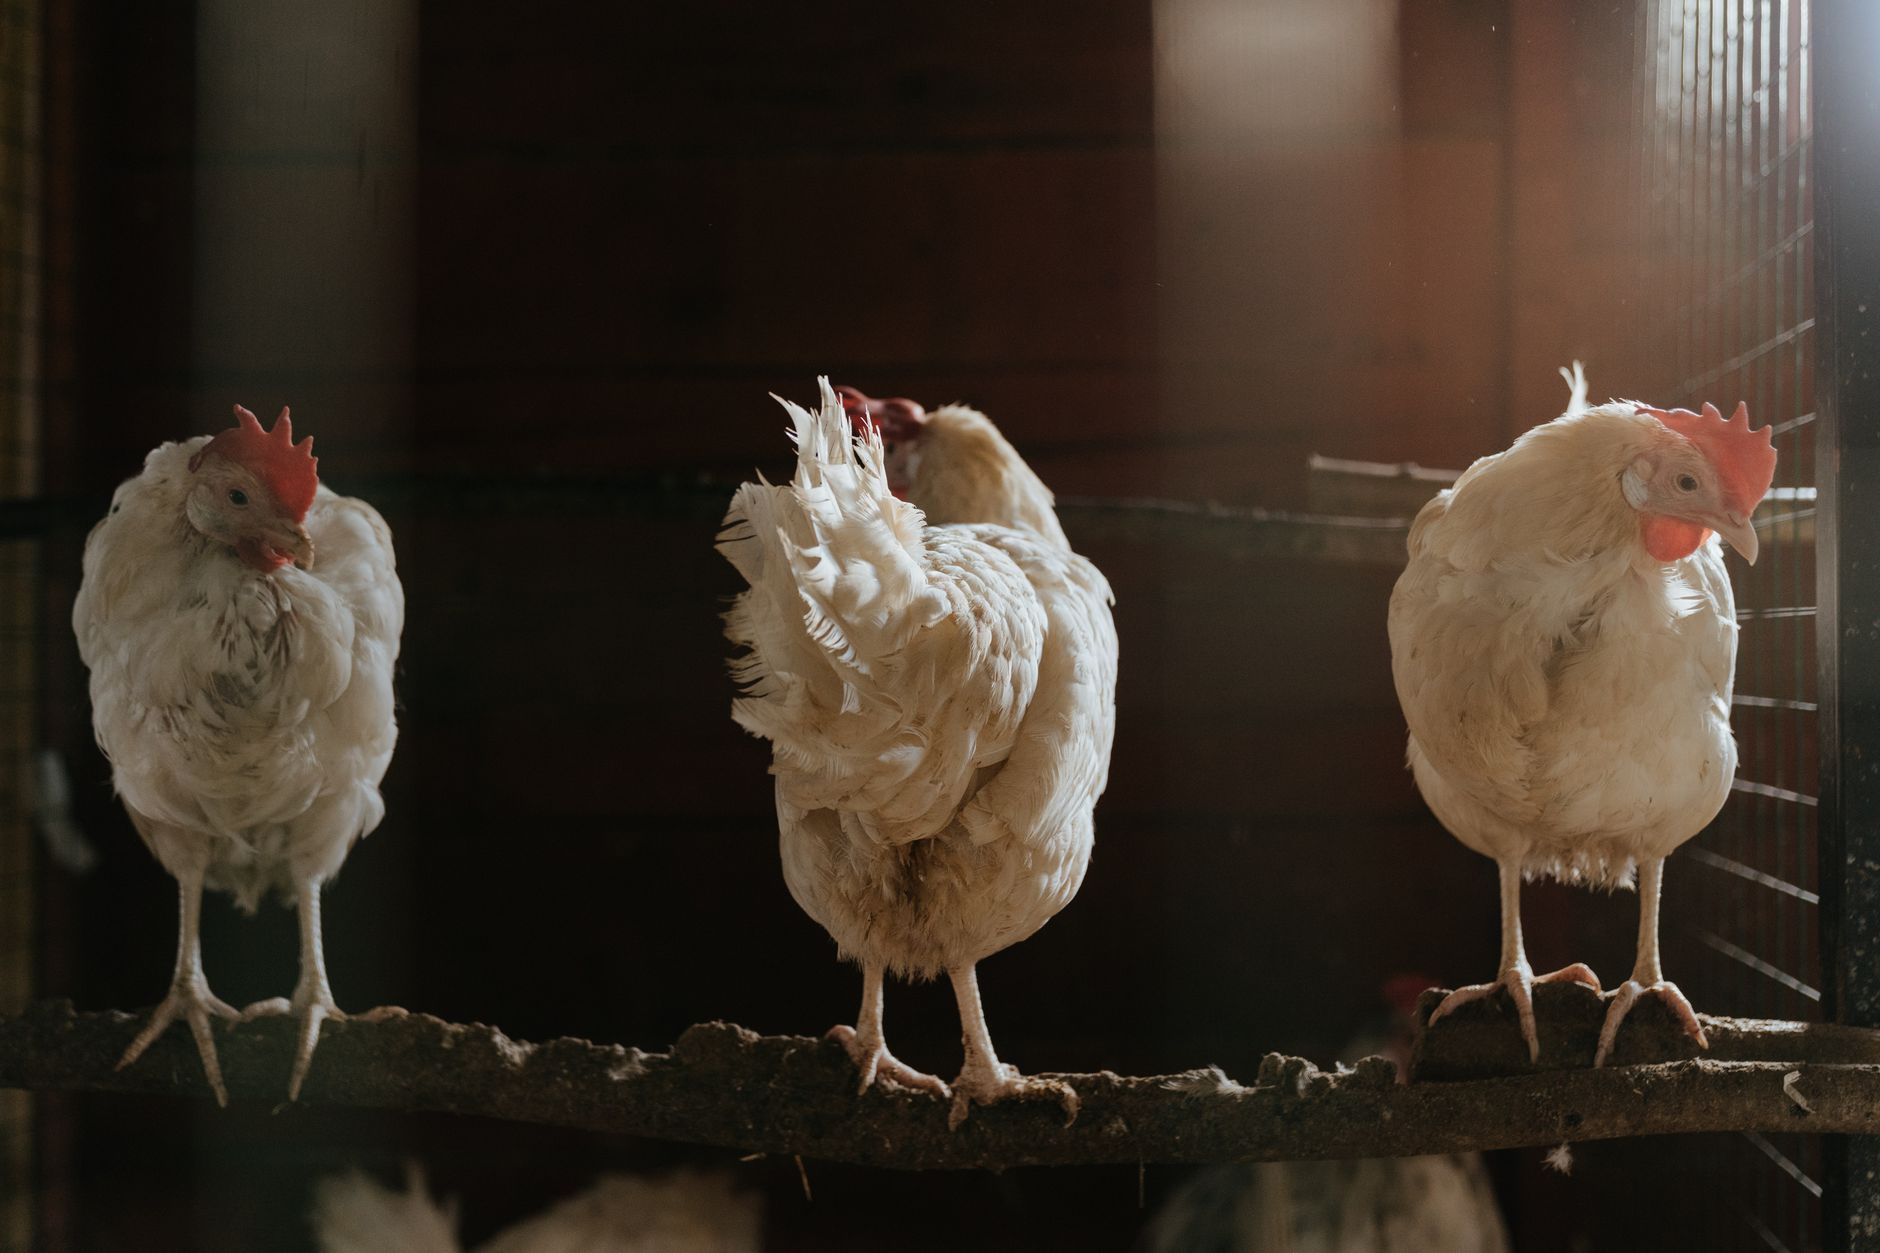
Install roosting bars: Use 2x4s with the wide side up. Attach them to the walls at a height of 18-24 inches (or higher). Provide 8-10 inches of roost space per bird.
Place roosts higher than nesting boxes to encourage sleeping on the roosts, not in the boxes.
Install nesting boxes: Build or buy nesting boxes that are at least 12x12x12 inches. Place them 18-24 inches off the ground.
Attach nesting boxes to the interior wall. Position them below the roosts.
Add 1-2 inches of clean bedding (straw, wood shavings, or shredded paper) to the nesting boxes.
Add Finishing Touches
Paint or stain the exterior of the coop using non-toxic, exterior-grade products. This protects the wood from moisture and UV damage.
Caulk any gaps between the walls and the roof to prevent water intrusion.
Add a removable droppings board under the roosts. This makes cleaning the coop much easier.
Install a feeder and waterer at the proper height (at the level of the chickens' backs).
Add a dust bath area in the run (a shallow container with sand, wood ash, and diatomaceous earth).
Common problems and fixes
| Problem | Likely cause | What to do |
|---|---|---|
| Water leaks into the coop | Roof not properly sealed, flashing missing, or gaps in the walls. | Check roof joints, add flashing where needed, and caulk all gaps. Ensure the roof overhang directs water away. |
| Coop is too hot in summer | Not enough ventilation or shade. | Add more ventilation openings, install a shade cloth over the run, or add a small solar fan. |
| Walls are warping or bowing | Wood wasn't properly dried or not enough bracing. | Add diagonal bracing to the walls. Use kiln-dried lumber to prevent warping. |
| Doors don't close properly | Settling of the base or warping of the door frame. | Install adjustable hinges. Plane the door edges if it's sticking. Make sure the base is level. |
Gardener's checklist
Test what you learned
What is the best material for predator-proofing a chicken coop?
Answer: 1/2-inch hardware cloth
What type of lumber should be used for the base that contacts the ground?
Answer: Pressure-treated lumber
How much space should be in the run for 6 chickens?
Answer: 48 square feet minimum
Where should ventilation openings be placed in the coop?
Answer: Above the roosting bars
Common questions
How long does it take to build a chicken coop?
For a beginner, plan for 1-3 weekends depending on the size and complexity. A simple 4x6 foot coop can be built in about 20-30 hours of work.
Can I use recycled materials to build a coop?
Yes! Windows from old houses, pallets, and salvaged lumber can reduce costs. Just ensure the wood isn't treated with harmful chemicals and the structure is predator-proof.
Do I need planning permission for a chicken coop?
It depends on your local zoning laws. In many rural areas, coops under a certain size are exempt. Always check with your city or county before building.
How much does it cost to build a chicken coop?
A basic 4x6 foot coop with a run costs about $200-$500 in materials. Using recycled materials can lower the cost significantly.
What's the easiest coop design for a beginner?
An A-frame coop or a simple 4x6 foot rectangular coop with an attached run is the most beginner-friendly. Avoid complex designs with multiple angles and custom cuts.
Building a chicken coop from scratch is a rewarding DIY project that saves money and gives you complete control over the design. Start with a solid plan, build on a level base, use pressure-treated lumber for ground contact, and never skimp on predator protection—1/2-inch hardware cloth is your best investment. Take your time during framing to ensure everything is square and level, and add more ventilation than you think you need. A well-built coop can last 10+ years and make chicken-keeping a joy rather than a chore.
Frequently asked questions
How often should a vegetable garden be watered?
Frequency depends on weather, soil and plant size. Check the soil rather than watering on a rigid schedule.
Is compost enough fertilizer?
Compost improves soil and provides nutrients slowly. Heavy-feeding crops may still need additional feeding.

The Sproutstead Editorial Team
We create clear, practical gardening and homesteading guides designed for real homes and beginner growers.
View author profile →