
Raised garden bed kits are pre-cut, pre-drilled bed components that assemble quickly without specialized tools, available in wood, galvanized steel, and composite materials. They cost more per square foot than DIY builds using raw lumber but save significant time and don't require cutting skills. Choose a kit based on material durability needs, desired depth (12 inches for most vegetables, 18+ for root crops), and whether modular expansion is important for future garden growth.
What you will need
Understand the Kit vs. DIY Trade-Off

Kits typically cost 20-50% more than purchasing raw lumber or metal panels and building a bed yourself, since you're paying for precise pre-cutting, pre-drilling, and often simplified tool-free or minimal-tool assembly.
For gardeners without woodworking tools, cutting skills, or the time to source and cut materials themselves, this premium often represents genuine value, turning what could be a multi-hour project into a 15-45 minute assembly task.
For gardeners comfortable with basic tools and willing to invest a bit more time, building from raw lumber can meaningfully reduce cost, particularly for larger gardens with multiple beds where the savings compound significantly.
Consider your specific situation: a single small bed might make a kit's convenience premium negligible in absolute dollar terms, while outfitting an entire large garden with multiple beds could see substantial total savings from a DIY approach instead.
Some gardeners find a hybrid approach works well, using a kit for their first bed to learn the process and dimensions that work for their space, then building additional beds from raw materials once they're comfortable with the construction basics.
Compare Kit Materials

Cedar kits offer the natural rot resistance and attractive appearance many gardeners prefer, typically lasting 10-15 years, and represent one of the most commonly available kit material options at garden centers and online retailers.
Galvanized steel kits provide exceptional durability, often 15-20+ years, and have become increasingly popular for their modern aesthetic and minimal maintenance requirements, though they carry the same heat-absorption considerations as any galvanized bed in hot climates.
Composite or recycled plastic kits offer good durability and low maintenance without wood's natural material cost fluctuations, though they can be more expensive than basic wood options and some gardeners have aesthetic preferences against a plastic appearance.
Pine or basic softwood kits represent the most budget-friendly option, though they carry the same shorter 3-6 year lifespan as any untreated softwood, making them best suited to gardeners testing raised bed gardening before a bigger investment.
When comparing kits, check whether the listed price includes all necessary hardware and fasteners, since some budget kits require purchasing additional screws or brackets separately, which can close the price gap with premium options.
Choose the Right Size and Depth
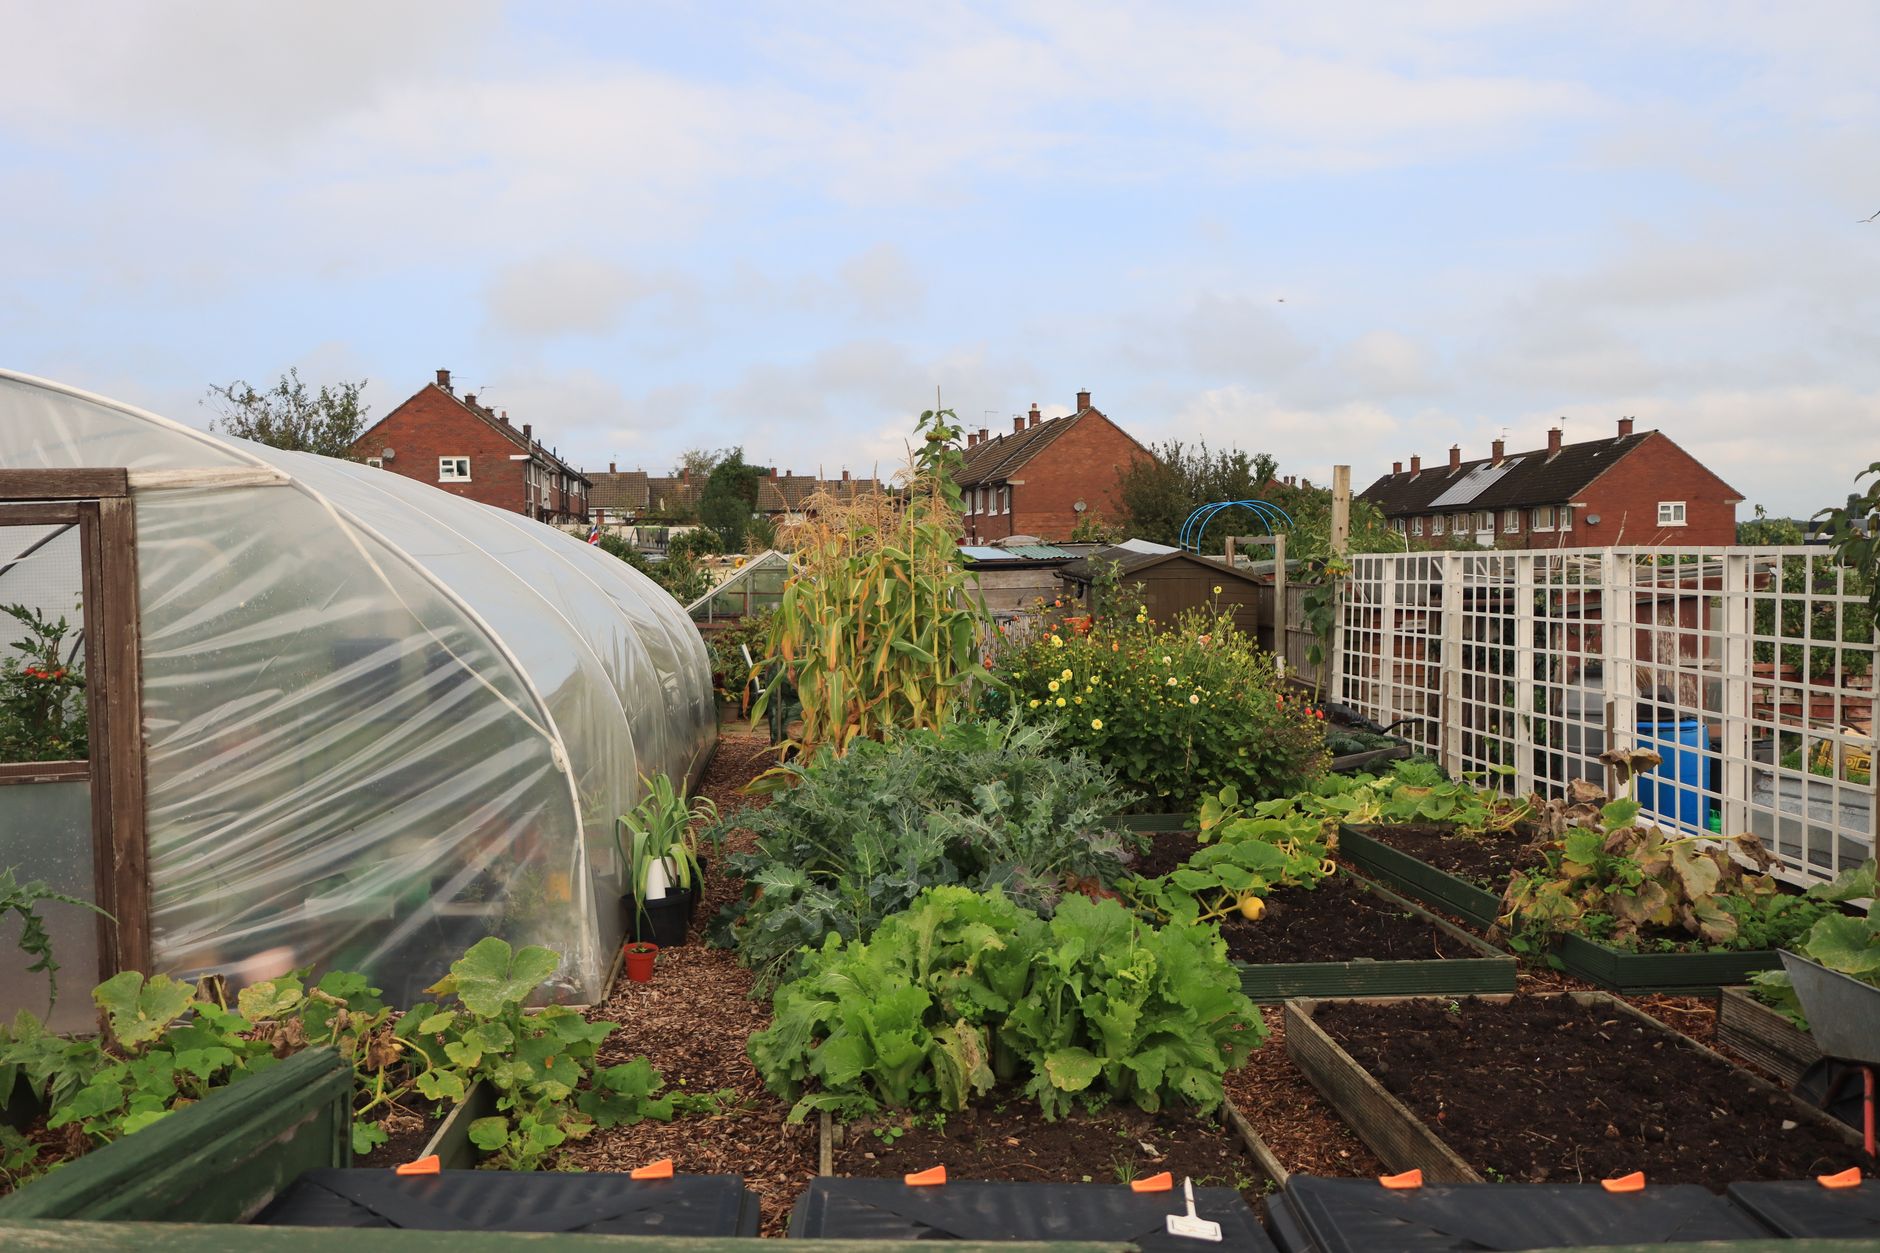
Common kit sizes include 4x4 feet (good for a compact starter garden), 4x8 feet (a popular standard size offering substantial growing area while remaining manageable), and 3x6 feet (a slightly narrower option for tighter spaces).
For depth, most kits offer options around 11-12 inches, adequate for the majority of vegetables, though some manufacturers offer taller 18-24 inch options specifically marketed for root vegetables or gardeners wanting reduced bending.
Measure your intended garden space carefully before ordering, accounting for at least 18-24 inches of path space around all sides of the bed for comfortable access and any wheelbarrow or cart clearance you might need.
Many kit manufacturers offer modular systems where multiple kit units can connect to create custom configurations, letting you start with one bed and expand later without needing entirely new, differently-sized components.
If your garden space has an unusual shape or dimension that standard kit sizes don't accommodate well, compare custom-cut kit options (sometimes available directly from manufacturers) against simply building a custom bed from raw materials instead.
Prepare the Site Before Assembly
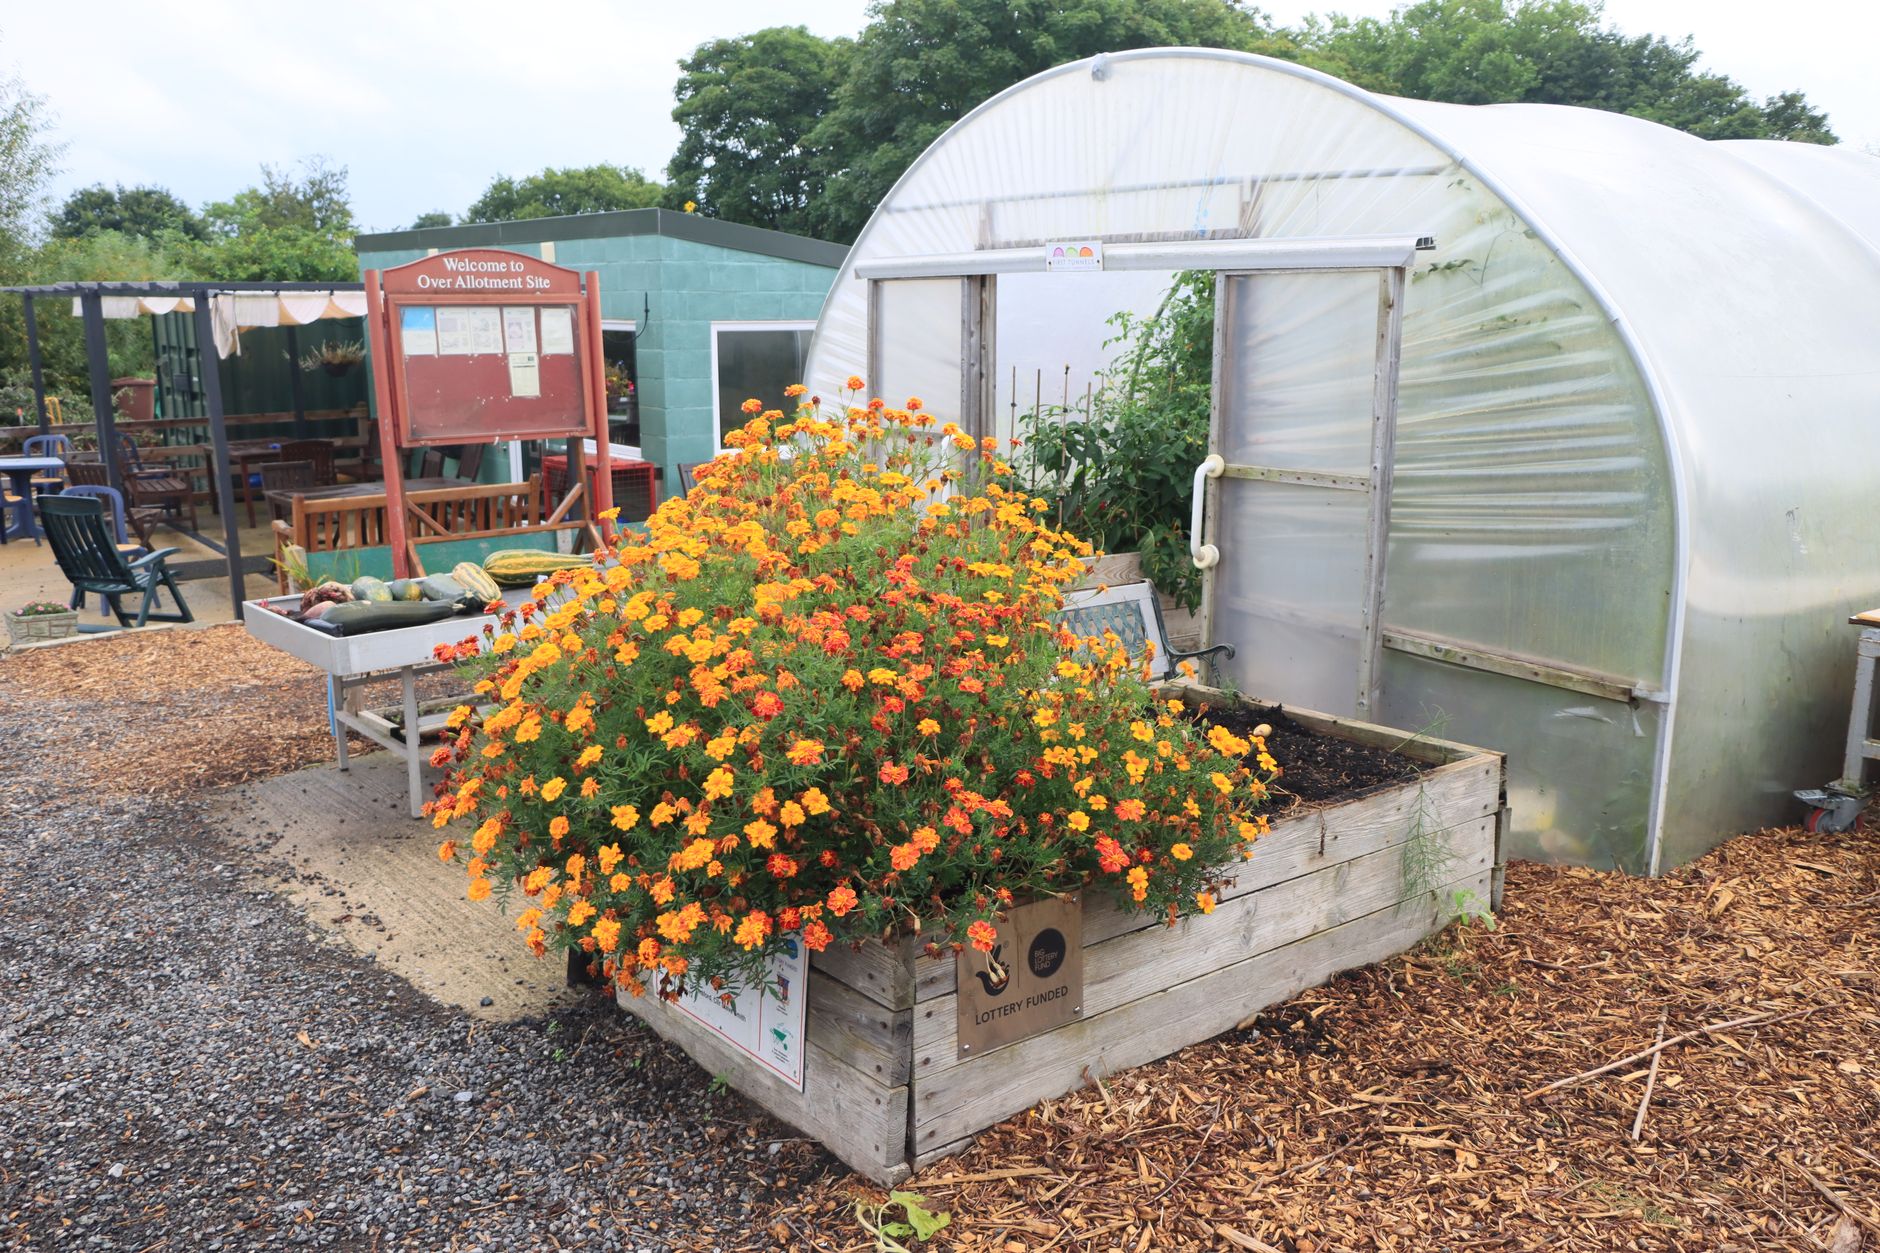
Choose a level site receiving at least 6-8 hours of direct sunlight daily, clearing away grass, rocks, and debris before beginning assembly, since kit panels generally aren't designed to flex and accommodate significantly uneven ground.
Use a level to check the site before placing kit components, adjusting the ground as needed, since most kits rely on precisely matched panel dimensions that can strain or separate at the joints if the underlying ground isn't reasonably flat.
Consider laying landscape fabric or cardboard at the base if placing the kit over grass or a weedy area, which helps suppress unwanted growth from below without needing to fully remove existing sod first.
For kits going on a hard surface like a patio or driveway, confirm the kit's design doesn't require ground anchoring, since some taller kit designs are specifically built freestanding while others may benefit from additional stabilization on hard, non-soil surfaces.
Assemble Following Manufacturer Instructions
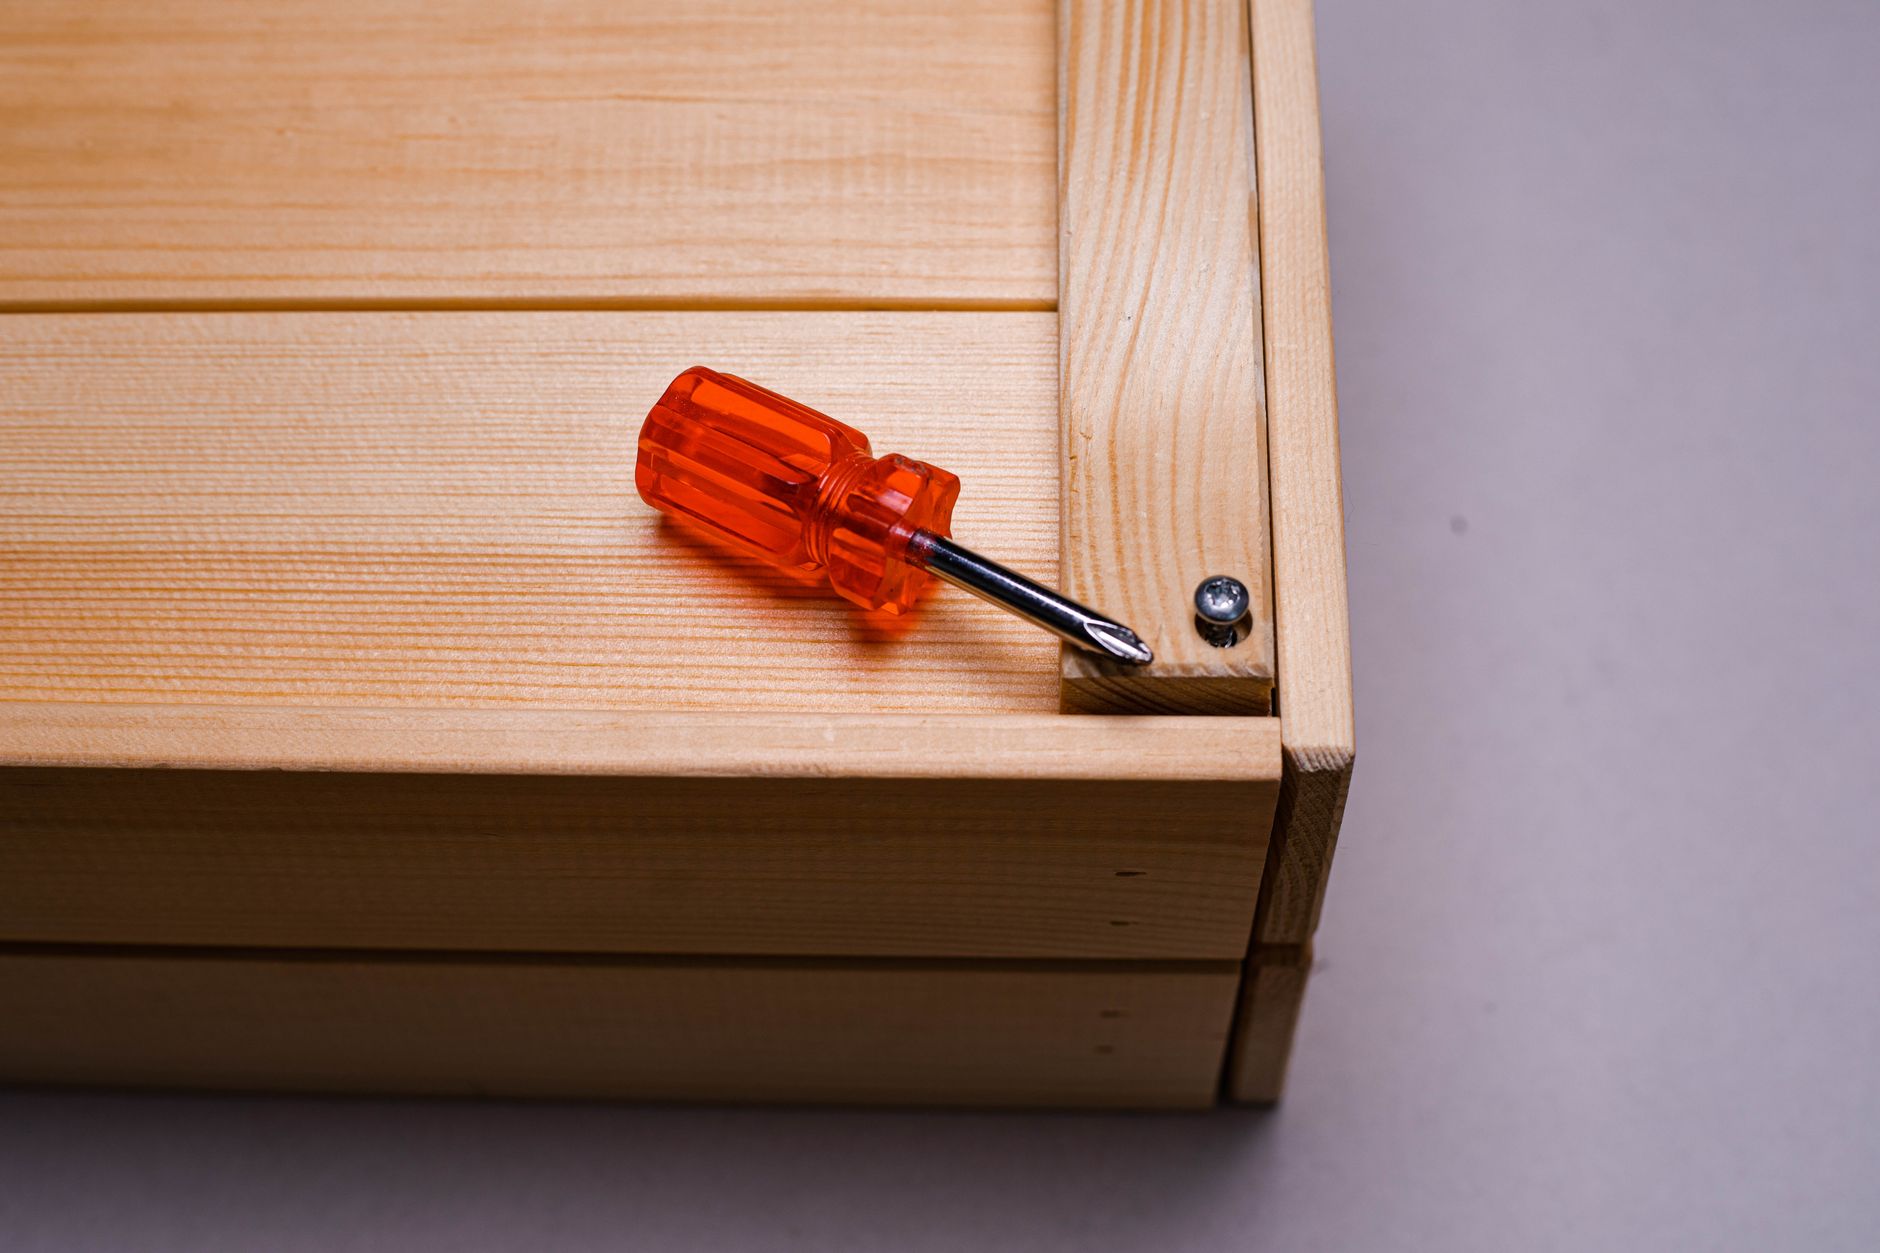
Read through the complete instructions before beginning, since kit assembly methods vary significantly between manufacturers, from simple slot-and-tab wood systems to bolted metal panel connections.
Most modern kits are genuinely designed for assembly without specialized tools, often needing only a basic screwdriver or the included hex key, making this an accessible project even for gardeners with minimal DIY experience.
Assemble on the actual planting site rather than elsewhere and moving the finished bed, since fully assembled beds, especially larger sizes, can be surprisingly heavy and awkward to relocate once complete.
Double-check all corner connections and fasteners are fully secured before filling with soil, since the weight of filled soil makes any loose connections considerably harder to access and tighten afterward.
Keep the included instructions and any spare fasteners in a labeled bag or envelope for future reference, particularly useful if you need to make repairs or adjustments to the bed in later seasons.
Fill and Plant Your New Bed

Fill your assembled kit with a blend of roughly 60% quality topsoil, 30% compost, and 10% aeration material like perlite, following the same soil guidance that applies to any raised bed regardless of its material or origin.
Calculate the volume needed by multiplying the kit's length, width, and depth in feet, and plan to fill slightly above the rim initially, since soil settles by 10-15% over the following weeks.
Water thoroughly after filling to help the soil settle, checking for any low spots or air pockets that need additional material before you begin planting.
From this point forward, care for your kit bed exactly as you would any raised bed: appropriate spacing for your chosen crops, consistent watering, seasonal compost top-ups, and crop rotation over multiple years.
Consider Long-Term Value and Warranty Coverage
Compare warranty terms across kit options, since premium galvanized steel kits often include 10-20 year warranties, while budget wood kits may offer no warranty or only a brief one-year coverage period against manufacturing defects.
Calculate a rough cost-per-year figure by dividing the kit price by its expected lifespan, which often reveals that a more expensive but longer-lasting kit provides better overall value than a cheaper option requiring replacement every few years.
Read recent customer reviews specifically mentioning long-term durability rather than just initial assembly experience, since a kit that assembles easily but fails prematurely doesn't represent good value regardless of its convenient setup.
Factor in your own gardening timeline and commitment level; if you're testing whether raised bed gardening suits your lifestyle before a bigger investment, a budget kit makes sense even with a shorter expected lifespan.
Common problems and fixes
| Problem | Likely cause | What to do |
|---|---|---|
| Kit panels don't fit together smoothly during assembly | Uneven ground causing panels to misalign, or a manufacturing tolerance issue. | Level the site more carefully before reattempting assembly, and contact the manufacturer if panels appear genuinely defective. |
| Assembled bed feels wobbly or unstable | Loose fasteners or connections that weren't fully tightened during assembly. | Go back through all connection points and ensure each is fully secured before filling with soil. |
Gardener's checklist
Test what you learned
How much more do raised bed kits typically cost compared to DIY builds?
Answer: 20-50% more
What depth is recommended for growing root vegetables in a kit bed?
Answer: 18+ inches
Why is site leveling important before kit assembly?
Answer: Kit panels aren't designed to flex around uneven ground
Common questions
Are raised bed kits worth the extra cost compared to DIY?
For gardeners without tools, cutting skills, or time to source materials themselves, the convenience premium is often worthwhile. For larger gardens with multiple beds, building from raw materials can offer more meaningful savings that compound across several beds.
How long does it take to assemble a raised bed kit?
Most kits assemble in 15-45 minutes, depending on size and material, with metal panel kits often assembling faster than wood kits requiring more individual board connections.
Can raised bed kits be expanded later?
Many manufacturers offer modular systems designed for this purpose, where additional kit units can connect to an existing bed, though this depends on the specific product line and isn't universal across all kits.
What tools do I need to assemble a raised bed kit?
Most modern kits require only a basic screwdriver or the included hex key, designed specifically to avoid needing specialized woodworking tools or advanced construction skills.
Do raised bed kits come with a warranty?
Many manufacturers offer warranties ranging from a few years on budget wood kits to 10-20 years on premium galvanized steel kits, so it's worth comparing warranty terms alongside material and price when making a purchase decision.
Can I paint or customize a raised bed kit?
Wood kits can generally be painted or stained with a food-safe finish if desired, while metal kits often come pre-finished and typically shouldn't be painted, since this can interfere with the protective galvanized coating's function.
Raised garden bed kits offer genuine convenience worth their price premium for many gardeners, particularly those without tools or time for a DIY build, though comparing materials and checking what's included in the price ensures you get real value for the convenience you're paying for.
Frequently asked questions
How often should a vegetable garden be watered?
Frequency depends on weather, soil and plant size. Check the soil rather than watering on a rigid schedule.
Is compost enough fertilizer?
Compost improves soil and provides nutrients slowly. Heavy-feeding crops may still need additional feeding.

The Sproutstead Editorial Team
We create clear, practical gardening and homesteading guides designed for real homes and beginner growers.
View author profile →

