
Ferns are beautiful, lush houseplants that thrive in high humidity and consistent moisture. They prefer bright, indirect light but can tolerate low light. Water when the top inch of soil feels dry, keeping the soil consistently moist but not waterlogged. Ferns love humidity. Mist regularly, use a pebble tray, or place near a humidifier. Use well-draining potting mix and a pot with drainage holes. Fertilize every 4-6 weeks during spring and summer. Ferns are excellent air purifiers and add lush greenery to any space. They are non-toxic to pets, making them a safe choice for pet-friendly homes.
What you will need
Understand Fern Basics

Ferns are ancient plants that have been around for over 300 million years. They are non-flowering plants that reproduce through spores.
There are many types of ferns commonly grown as houseplants. Boston ferns, maidenhair ferns, bird's nest ferns, and staghorn ferns are some of the most popular varieties.
Ferns are excellent air purifiers. They remove formaldehyde, xylene, and other toxins from the air.
Ferns are non-toxic to cats and dogs, making them a safe choice for pet-friendly homes.
Ferns are known for their lush, feathery fronds. They add a tropical feel to any room.
Provide the Right Light
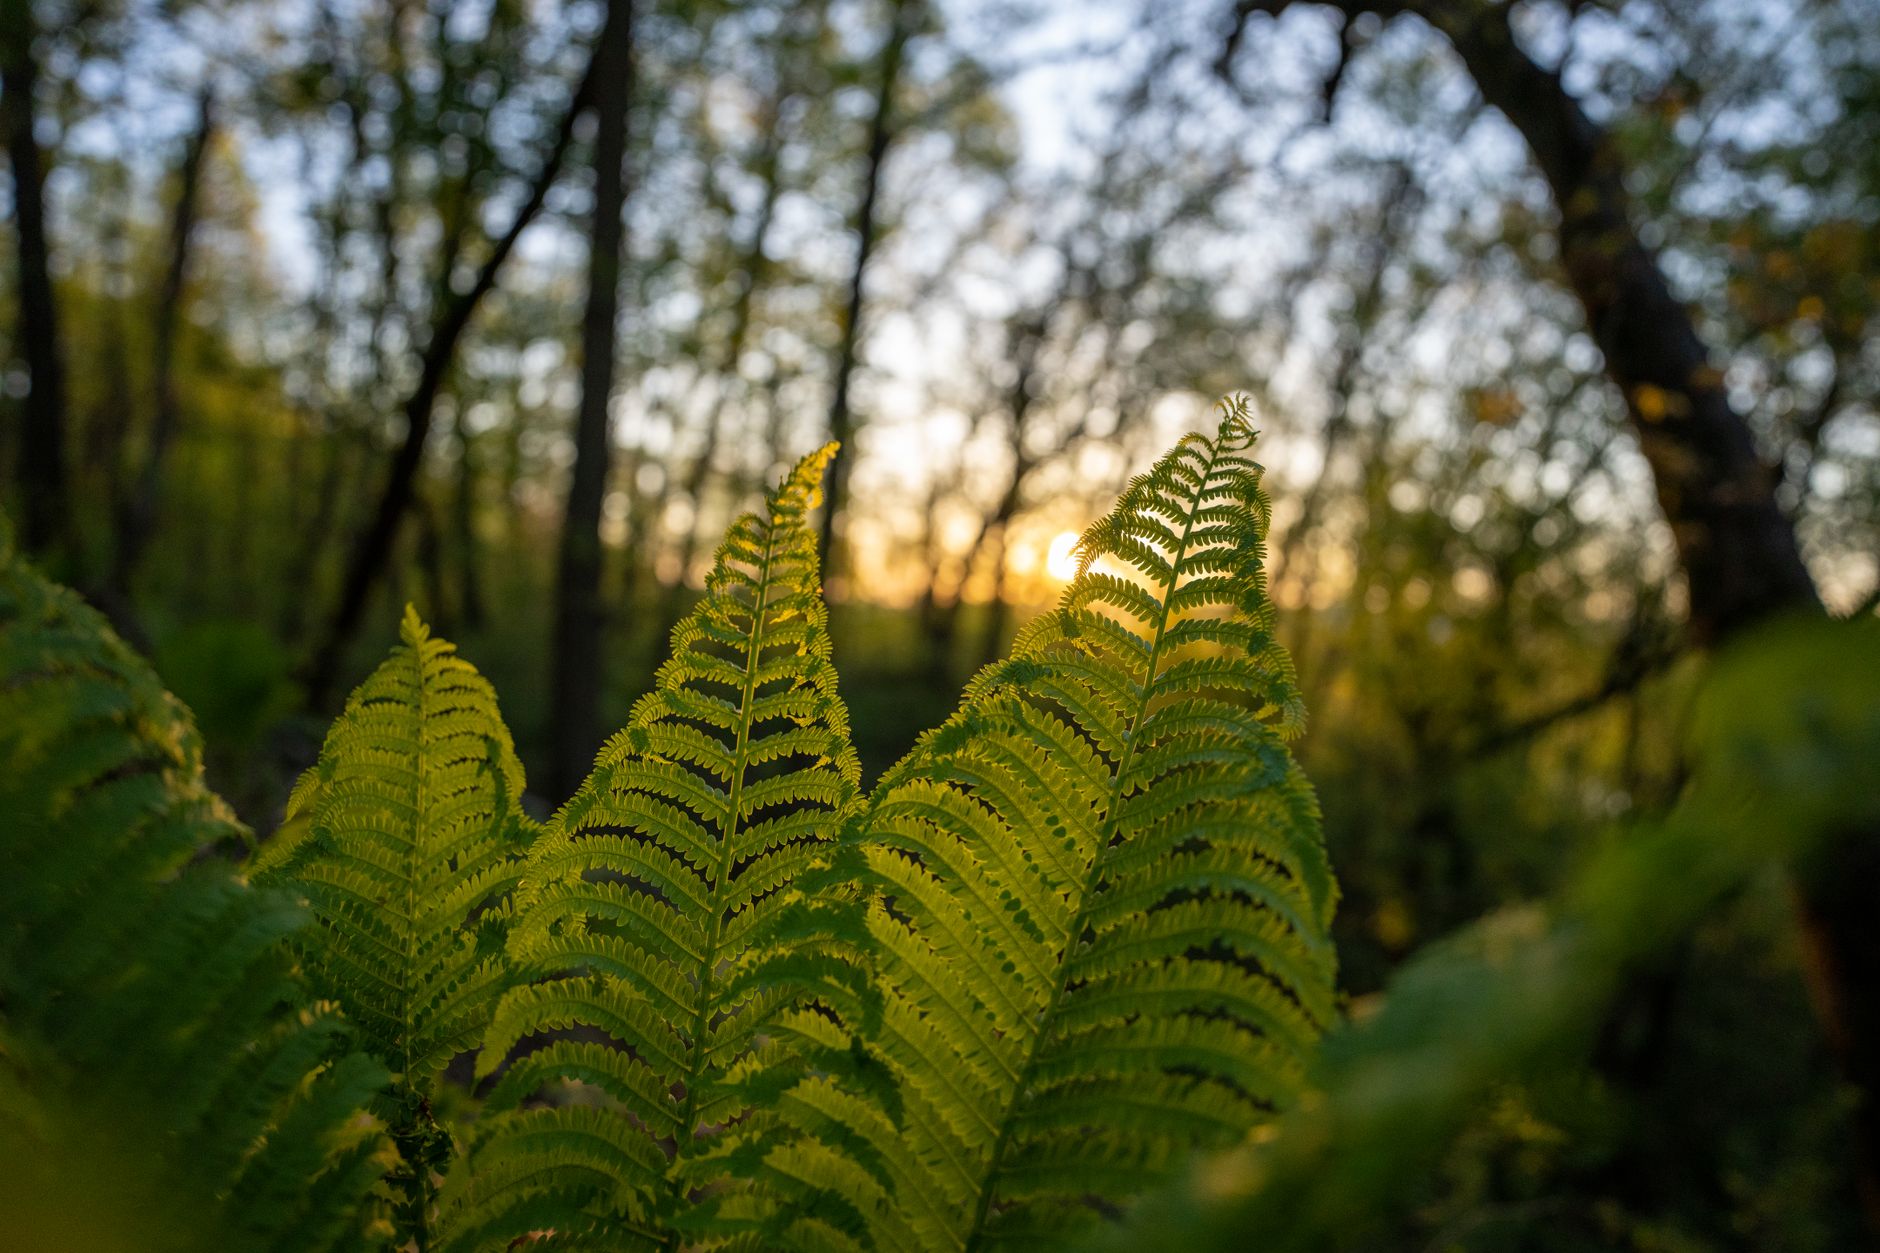
Ferns prefer bright, indirect light. A north- or east-facing window is ideal. They can tolerate low light but grow best with bright, filtered light.
Avoid direct sunlight. Direct sun can scorch the delicate fronds, causing brown spots and crispy edges.
If your fern is not growing or the fronds are pale, it may not be getting enough light. Move it closer to a window.
If the fronds are turning brown or crispy, it may be getting too much light. Move it to a location with filtered light.
Rotate the plant occasionally to ensure even growth on all sides.
Water Correctly

Ferns prefer consistently moist soil. Water when the top inch of soil feels dry. Do not let the soil dry out completely.
Water thoroughly until water drains from the bottom of the pot. Allow the water to drain completely. Do not let the plant sit in standing water.
Ferns do not like wet feet. Overwatering can cause root rot and yellowing fronds.
Reduce watering in winter when growth slows down. The plant uses less water in cooler months.
Signs of underwatering include wilting, brown, crispy fronds. If you see these signs, water immediately.
Provide High Humidity

Ferns love humidity. They thrive in environments with 40-60% or higher humidity.
Mist the fronds regularly with room temperature water. Mist every day or every other day, especially in dry winter months.
Place the pot on a tray filled with pebbles and water. The evaporation creates humidity around the plant. Ensure the pot is not sitting directly in the water.
Group plants together. A cluster of plants creates a microclimate with higher humidity.
Use a humidifier in very dry rooms. This benefits not only the fern but other houseplants as well.
Brown, crispy frond tips are a sign of low humidity. If you see this, increase humidity by misting more frequently.
Use the Right Soil and Pot

Use a well-draining, moisture-retentive potting mix. A mix of potting soil, peat moss, and perlite works well.
Ferns prefer soil that retains moisture but does not stay soggy. The mix should hold water but drain well.
Always use a pot with drainage holes. Ferns do not tolerate standing water and will develop root rot if water accumulates.
Choose a pot that is slightly larger than the root ball. A pot that is too large holds excess moisture and can cause root rot.
Repot every 1-2 years in spring when the plant outgrows its pot. Use fresh potting mix.
Fertilize Ferns
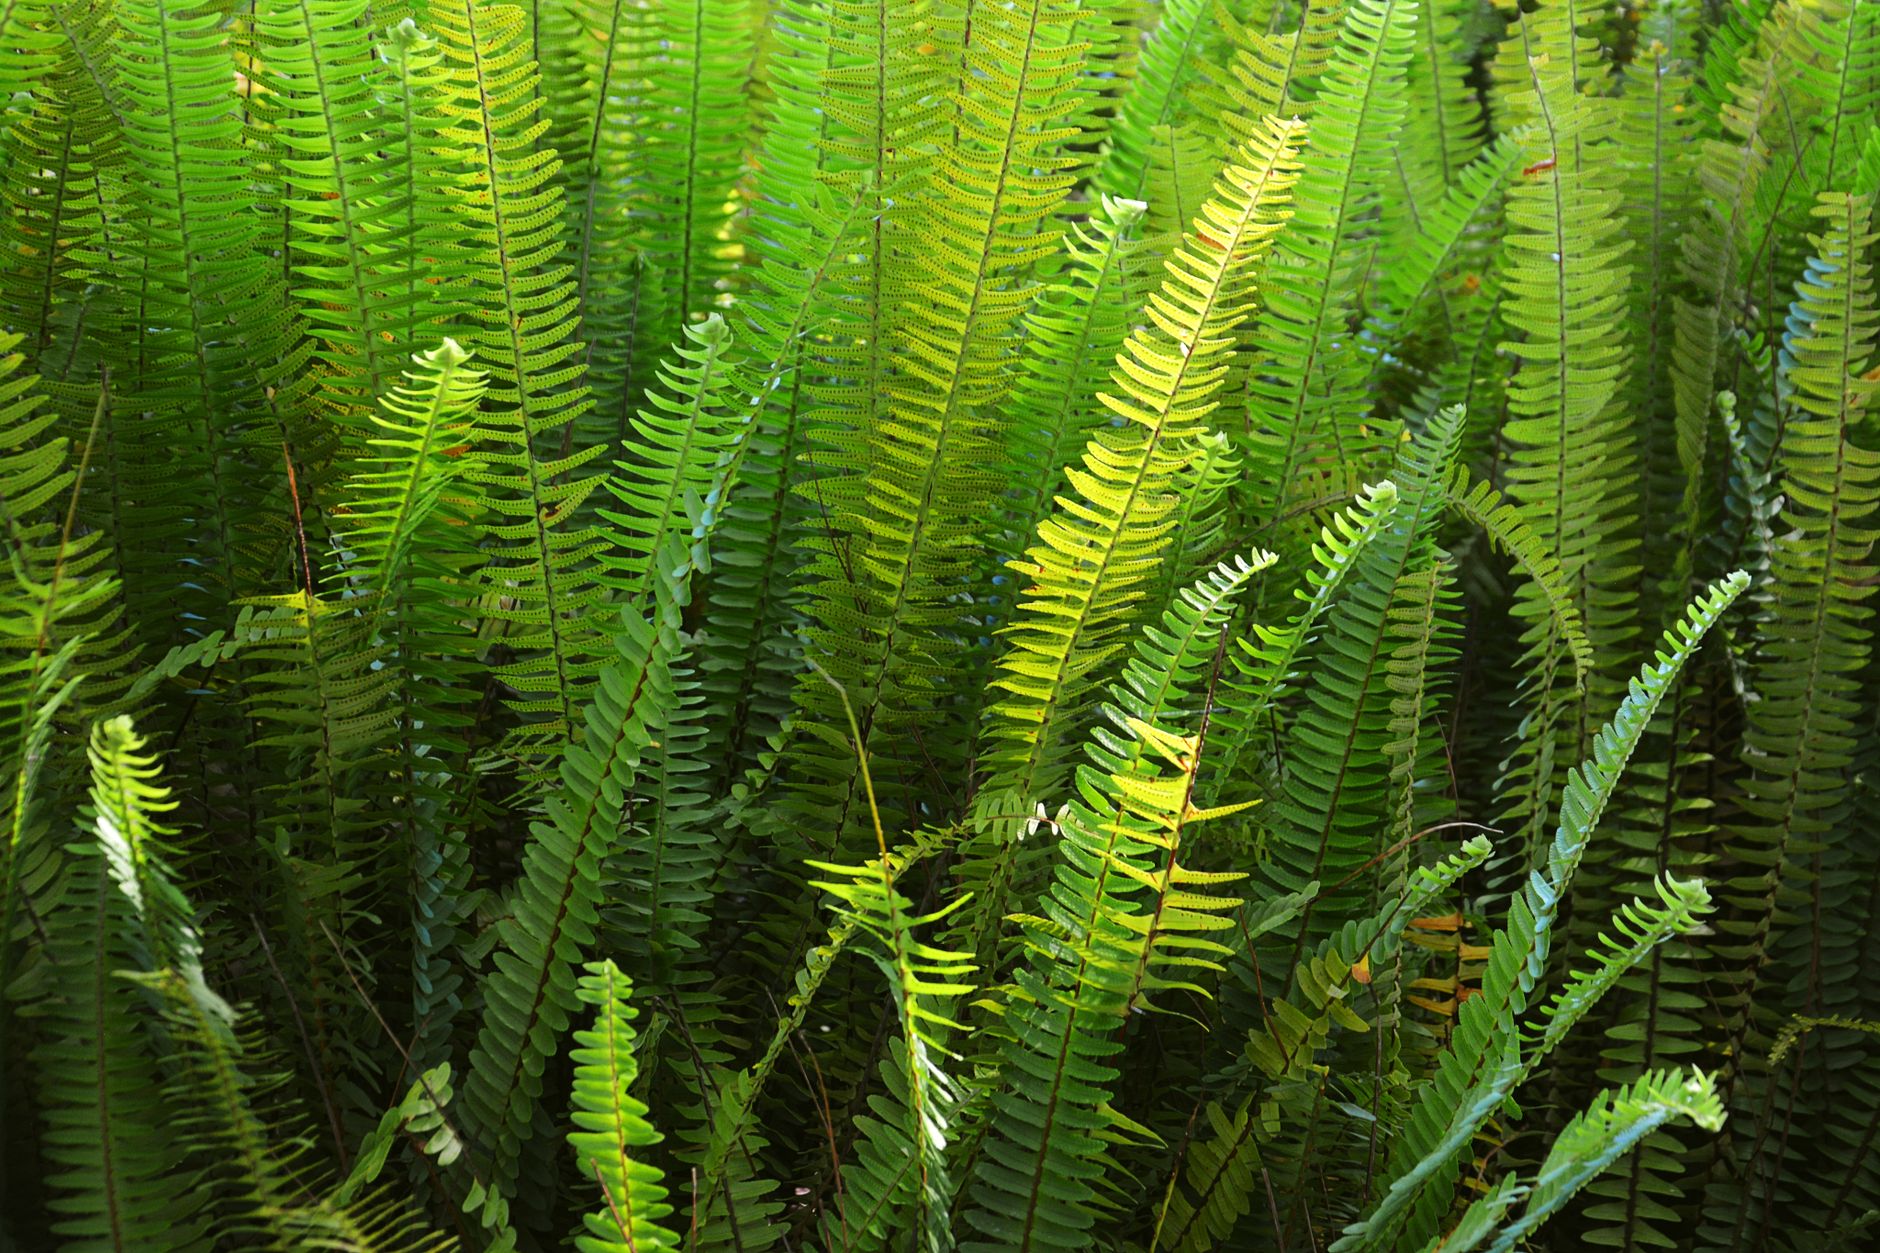
Fertilize ferns every 4-6 weeks during spring and summer. Use a balanced liquid fertilizer (20-20-20) diluted to half strength.
Do not fertilize in winter when growth slows down. The plant is dormant and does not need extra nutrients.
Over-fertilizing can cause brown tips and salt buildup in the soil. If you see brown tips, reduce or stop fertilizing.
If your fern is in fresh potting mix, it may not need fertilizer for the first few months because the soil already contains nutrients.
Prune and Maintain Ferns

Prune dead or yellowing fronds by cutting them at the base. This improves the plant's appearance and prevents disease.
Remove brown or crispy frond tips with sharp scissors. This improves the plant's appearance.
Ferns may become crowded over time. Divide the plant in spring to create new plants.
Clean fronds regularly with a damp cloth. Dust blocks light and can reduce photosynthesis.
Troubleshoot Common Problems

Brown, crispy frond tips are caused by low humidity or dry soil. Increase humidity by misting more frequently and water consistently.
Yellowing fronds can be caused by overwatering or poor drainage. Reduce watering and ensure the pot has drainage holes.
Wilting fronds are a sign of underwatering. Water thoroughly and consistently.
Pests like spider mites and mealybugs can attack ferns. Wipe fronds with rubbing alcohol or use insecticidal soap.
Brown spots on fronds can be caused by too much direct sun. Move the plant to a location with filtered light.
Common problems and fixes
| Problem | Likely cause | What to do |
|---|---|---|
| Brown, crispy frond tips. | Low humidity or dry soil. | Increase humidity. Water consistently. |
| Yellowing fronds. | Overwatering or poor drainage. | Reduce watering. Ensure pot has drainage holes. |
| Wilting fronds. | Underwatering. | Water thoroughly. Water consistently. |
| Fronds are pale or losing color. | Insufficient light. | Move to a brighter location with indirect light. |
Gardener's checklist
Test what you learned
When should you water a fern?
Answer: When the top inch of soil feels dry
What type of light do ferns prefer?
Answer: Bright, indirect light
What is the most common problem with ferns?
Answer: Low humidity
Are ferns toxic to pets?
Answer: No
Common questions
How often should I water my fern?
Water when the top inch of soil feels dry. This is typically every 1-2 days in warm weather and every 3-4 days in cooler weather. Ferns prefer consistently moist soil.
Why are my fern fronds turning brown and crispy?
Brown, crispy frond tips are caused by low humidity or dry soil. Increase humidity by misting more frequently and water consistently.
Can ferns grow in low light?
Yes. Ferns can tolerate low light but prefer bright, indirect light. In low light, they grow slower but remain healthy. Choose varieties like Boston fern that tolerate low light.
How do I increase humidity for my fern?
Mist the fronds regularly, place the pot on a pebble tray with water, group plants together, or use a humidifier. Brown tips are a sign of low humidity.
Can ferns be propagated?
Yes. Ferns can be propagated by division. In spring, divide the root ball into sections and repot each section in fresh potting mix. Each section should have roots and fronds.
Ferns are beautiful, lush houseplants that add a tropical feel to any space. They thrive in high humidity and consistently moist soil. Place them in bright, indirect light, water when the top inch of soil feels dry, and mist regularly for humidity. Use well-draining potting mix and a pot with drainage holes. Fertilize every 4-6 weeks in spring and summer. Prune dead fronds and check for pests regularly. Ferns are non-toxic to pets, making them a safe choice for pet-friendly homes. With the right care, ferns will grow into lush, beautiful plants that are the highlight of any room.
Frequently asked questions
How often should a vegetable garden be watered?
Frequency depends on weather, soil and plant size. Check the soil rather than watering on a rigid schedule.
Is compost enough fertilizer?
Compost improves soil and provides nutrients slowly. Heavy-feeding crops may still need additional feeding.

The Sproutstead Editorial Team
We create clear, practical gardening and homesteading guides designed for real homes and beginner growers.
View author profile →

